Last updated on
Packing your pantry for a move can become less stressful because this article provides simple, effective methods to ensure your food items stay safe, saving both money and time.
Packing your pantry for a move can be challenging due to the range of different items it contains, from canned goods to fragile spice jars. The key steps include sorting and deciding what to take, using the correct packing materials, and properly boxing them up.
In this guide, you’ll learn the most efficient way to pack your pantry that saves space, protects your goods, and avoids food wastage. It covers what food to take with you, ideal packing materials to use, and tips on how not to mix your pantry items.
With careful planning, you can ensure all of your pantry items arrive at your new home in perfect condition, ready to be put away in your new pantry.
Key takeaways:
- Check expiration dates and discard expired items
- Determine what you truly need and want in your new pantry
- Use good quality moving boxes and packing materials
- Pack perishables properly and prioritize freshness
- Group similar items together and use smaller containers for non-perishables
Deciding What Foods to Save and What to Toss Before Moving

When it comes time to sort through your pantry items, start by checking the expiration dates first. Discard any food items that are past their “best by” dates. Also, remove any opened packages that won’t be finished by moving day – leaving these behind prevents spills and saves space.
Next, identify items you aren’t likely to use in the future. These might include specialty ingredients used for a single recipe or impulse buys that didn’t live up to expectations. Instead of hauling these with you, consider donating them to a local food bank, or giving them to neighbors or friends.
Remember, moving day is a fresh start, so determine what you truly need and want in your new pantry space. This cleaning phase not only reduces the moving load but simplifies the unpacking process in your new home, giving you an opportunity to reorganize your foodstuffs in a more efficient and accessible manner.
Lastly, it’s crucial to ensure none of the items you’re keeping are infested with pantry pests. Check for signs of weevils, moths, or other insects, and discard any infested goods accordingly.
Making a List of the Foods You Have and Prioritizing the Freshest Ingredients

Taking inventory might seem like a tedious task, but it’s the key step in efficiently packing your pantry. Aim to identify which items are fresh, nearing their expiration date or already expired.
1. Start by grouping similar items together – keep canned goods with other canned goods, put baking items together, and condiments in a different section.
2. The next task is to check for freshness. Fruits and vegetables can be easier to judge, but with canned foods and condiments, you’ll have to check expiration dates. Be ruthless – if it’s expired, it needs to go.
3. Finally, prioritize. If you’re dealing with non-perishables that you use everyday, these deserve a spot in your moving box. But if you find unopened food products you’ve completely forgotten about, consider donating them. This will save moving space and help reduce waste.
Remember, the fundamental idea here is to limit what you take to your new home to only what’s fresh and essential. You can always restock your pantry in your new place with fresh, new ingredients.
Gathering Supplies to Pack Your Kitchen and Pantry

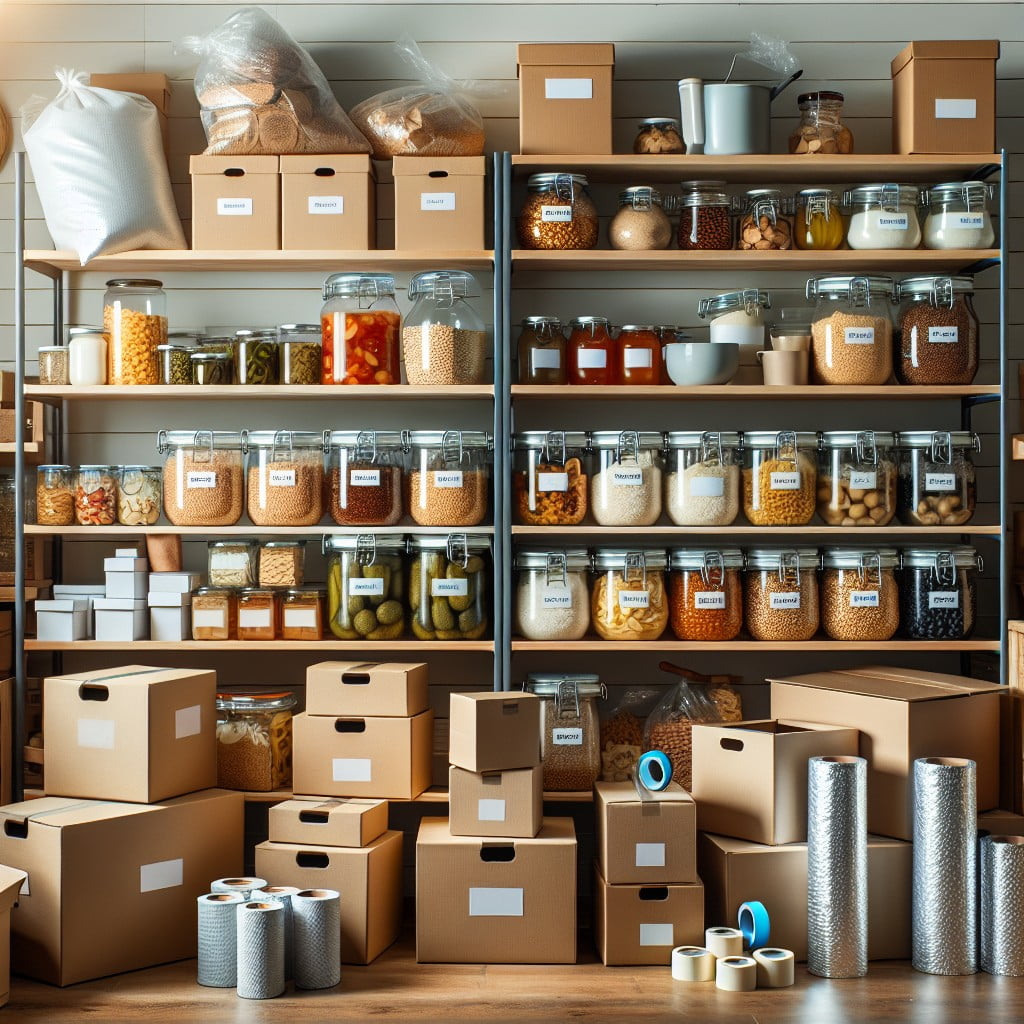
For an efficient packing process, start by gathering the necessary materials. These must include:
- Good quality moving boxes of various sizes to accommodate diverse pantry items.
- Bubble Wrap and packing paper to prevent breakages.
- Permanent markers for labelling your boxes with their contents and eventual location in your new kitchen.
- Ziplock bags or sealable plastic containers for sealing up opened packages.
- Packing tape for securely sealing your boxes.
Remember, the protection of your pantry items is everything; don’t compromise on the quality of your packing materials to prevent loss or damage. Make sure the boxes are sturdy enough to hold the weight of your items, especially if packing heavy cans or glass jars. Always keep your markers handy so you can label boxes as soon as they’re packed and not leave it till later, minimizing confusion.
How to Pack Perishables for Moving Correctly

Not all perishables are suitable for a move, especially if it’s long-distance. Begin by packing your refrigerator and freezer items. Insulated coolers are preferable for these items as they maintain the temperature. Freeze any food that can be frozen a few days before you pack to keep temperatures low longer.
Cold packs and ice can be beneficial in maintaining a sufficient temperature. Consider using vacuum sealing to further preserve your food and hinder spoilage.
Few factors to keep in mind while packing perishables:
- Prioritize – Pack only those items which can maintain freshness during the move.
- Seal – Ensure all containers are tightly sealed to prevent leaks.
- Temperature – Pack cold food with cold packs and hot food with heat packs.
- Timing – Pack the perishables at the last minute to maintain the temperature as long as possible.
- Storage – Avoid placing other heavy boxes on top of packages with perishable items.
- Inspection – Upon arrival, check perishables first. If there is any doubt about an item’s safety, discard it.
Remember, when dealing with perishables, safety is paramount.
Organizing and Packing Non-Perishables From Your Pantry
To start, group similar items together – canned goods with other canned goods, baking supplies with similar ingredients, and so forth. This tactic not only makes packing more efficient, but also simplifies the unpacking process in your new kitchen.
Non-perishables are often heavy, so consider packing them in smaller boxes instead of larger ones. This will make them easier to handle. Plastic bins can be a good option for weighty items like canned foods for their added durability.
Use newspaper or bubble wrap to fill any remaining spaces in boxes to prevent items from moving around during the transport. Tape boxes securely and clearly label each box with its contents to simplify unpacking at your destination.
Remember that food items can attract pests, so ensure the food packaging is sealed tight. If you are moving a long distance or putting things into storage, consider using airtight plastic containers to protect the contents from pests and humidity.
Finally, if you have a lot of spices, use small packing boxes or even zippered plastic bags as they’re lighter and easier to move. Use labels and jot down notes for each box. That way, you’ll easily locate any condiments or spices when you’re cooking the first meal in your new kitchen.
Follow these pointers, and your non-perishables will be well-organized, optimally packed, and ready for the big move.
Creating a No-Spill Pantry Box for Safer Transportation
In order to secure your pantry items and prevent any potential spills or breakages, you’ll need to create a no-spill box. Here’s how to get started:
1. Choose sturdy boxes: It’s essential to select a sturdy box for your pantry items. It not only holds your items securely but also adds an extra layer of protection.
2. Use smaller containers: Divide larger quantities of foods into smaller, sealable containers. It aids in managing space effectively and reducing risks of spilling or leaks.
3. Protective layers: Wrap jars and bottles in paper or bubble wrap before placing in the box for extra security.
4. Fill up gaps: Use towels or packing paper to fill spaces between items. This minimizes movement during the journey.
5. Cover with cling film: For added safety, cover the opening of jars with cling film before securing the lid.
6. Label correctly: Don’t forget to label each box with its contents. This practice will help during unpacking at your new home.
Remember, the goal is to prevent messes during the move while assuring all pantry items reach their destination intact.
Planning a Pre-Move Dinner Party to Reduce Food Waste
With a well-thought-out plan, you can use ingredients from your pantry that may not survive the move to prepare a fantastic meal. Make a list of the perishable items and brainstorm creative ways to combine them into delightful recipes. This could be anything from a pasta dish using various sauces and spices, to a rich, hearty stew utilizing canned vegetables and meats.
Remember to use items that are challenging to pack like glass jars of pickles, or heavy bags of flour. Not only is this an excellent opportunity to clear out your pantry, but it’s also a great excuse to invite friends for a farewell dinner. You cut down on waste and enjoy one last meal in your old home.
When planning the dinner, consider the dietary preferences of your guests. Use this opportunity to experiment, perhaps discovering dishes you wouldn’t typically prepare. Don’t forget to pair the meal with an open bottle of wine or spirits from your collection to complete the festive occasion. The goal is to use up as much of your food stock as possible while enjoying a memorable evening with loved ones.
Ways to Donate Unwanted Pantry Goods Before Moving
Even amidst moving chaos, consider donating unutilized pantry goods to a local food bank or community center. Non-perishables like rice, pasta, and canned goods can make substantial differences for families in need.
To maintain food safety guidelines, ensure donated items are unopened, unused, and in-date.
In preparation for donation, separate and box items distinctly, marking them clearly, thus streamlining the process at the donation site.
If unsure about donation locations, FoodPantries.org or the Food Bank Locator by Feeding America provide comprehensive directories.
Remember, every little bit helps, and your unneeded goods may be someone else’s treasure.
Setting Aside Foods to Give Away to Friends and Family
Before you move, one way to reduce food waste is to share items with those around you. Not only will this lighten your moving load, but it also allows the people you hold dear to benefit from your supply. Consider your close-knit community – friends, family, neighbors, and organize a small meet-up.
Start by taking stock of what you have in your pantry. You’ll likely identify items you don’t necessarily want to move. Those cans of soup, bags of rice, and bottles of gourmet sauce you’ve never opened could be useful to someone else. Be mindful of expiration dates and don’t give away items you wouldn’t use yourself due to spoils or bad quality.
Make an announcement and let them know you are moving and have some foodstuff to give. You can either invite them over to choose for themselves, or pre-pack bags for everyone. Remember to respect dietary preferences and restrictions when distributing the food.
The process not only frees up space and makes packing easier for you but also gives an opportunity to enjoy the company of your loved ones one more time before the move. Sharing like this promotes a sense of community, making this otherwise stressful time a chance for bonding.
Packing Strategies to Prevent Damage During the Move
Take into consideration the nature of each item while you package. Tightly seal items like flours, sugars, and other powdered substances to keep them from leaking and causing messes. Padded bubble wrap can safeguard glass jars while storing canned goods in sturdy boxes can reduce denting. Nested packaging, where smaller items are placed in a larger one, is a lifesaver – all of your spices can easily fit into a large pot.
Regardless of how well you pack, boxes can still experience rough handling during the move. Hence, always make sure to label all boxes with ‘Fragile‘ and ‘This Side Up‘ to ensure proper handling.
Consider packing the most important items such as coffee, a few snacks, and some easy-to-cook items separately. This way, you can locate them easily during the chaotic early days of settling into your new home. Do remember to keep a tab on the box’s weight; heavy boxes are more prone to breaking or being dropped.
Lastly, don’t forget to stick a list on each box’s exterior that specifies its contents. This will save you from having to rummage around amidst the moving madness. So, whether you’re looking for that box of cereal for a quick breakfast or your favorite tea to soothe your nerves, they’ll be just a glance away.
FAQ
Can you move pantry items?
Yes, nonperishable pantry items that are properly sealed can be moved with other boxes, albeit it’s recommended to verify with your moving company first.
What is the best way to pack kitchen items for moving?
The most effective method to pack kitchen items for relocation is by using buffering supports like rolled-up tea towels or packing paper around pots and pans, packing pantry items and canned goods into small boxes, wrapping breakables with liquid in plastic bags to curb leaks, and inserting paper between glass jars of condiments or spices.
How can one safely transport perishable pantry items during a move?
To safely transport perishable pantry items during a move, use coolers or thermal insulated bags, pack them closely, and keep handling and transition times to a minimum.
What are the recommended materials for packing and protecting pantry items?
For packing and protecting pantry items, it’s recommended to use food-safe plastic containers, glass jars with air-tight seals, and impermeable zip-lock bags to ensure freshness and pest prevention.
What are the steps to efficiently organize and label boxes containing pantry items for moving?
To efficiently organize and label boxes containing pantry items for a move, start by decluttering your pantry, sorting items into categories, packing similar items together in sturdy boxes, and labeling each box clearly with its contents and the room it belongs to.
Recap:


