Last updated on
Box decoration transforms ordinary storage pieces into delightful decor because it blends functionality with artistic flair.
I’m delighted to have crafted this article and the associated unique designs on 20 Easy and Creative Box Decoration Ideas, and hope that you’ll find them as inspiring and fun as I did creating them.
Box decorations offer a creative way to spruce up storage or gift boxes, turning them into beautiful pieces of home decor or personalized presents. Whether you’re looking to revamp old cardboard boxes, create a unique gift box, or simply add a decorative touch to a plain box, there’s a plethora of DIY box decoration ideas to suit your needs.
This article will guide you through the process, providing you with a variety of ideas, from simple and rustic to elegant and sophisticated. Let’s delve into the world of box decoration, where functionality meets creativity.
Decoupage With Patterned Paper

Start by selecting your desired patterned paper. Cut or tear it into various shapes and sizes according to your creative vision.
Using a brush, apply a layer of decoupage glue onto the box surface, then place the pieces of paper, overlaying them slightly to avoid gaps.
Once the entire surface is covered, seal your work by applying another thin coat of the glue over the paper pieces. This also adds a glossy finish.
With this technique, you can turn a mundane box into an artistic masterpiece. It’s important to remember patience is key when creating a decoupage piece, do not rush the process.
Et voila, you’ve designed a visually stunning box using a simple crafting method!
Paint With Acrylic Colors
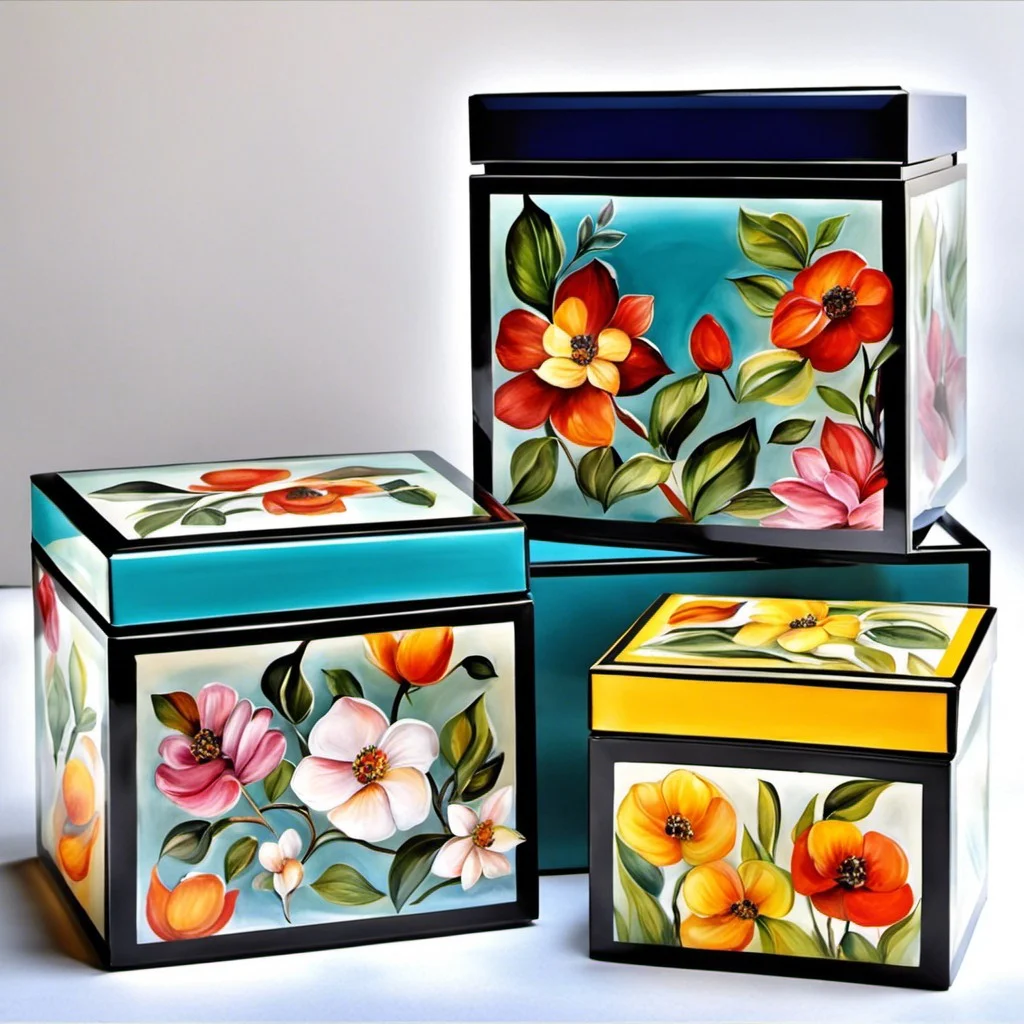
To begin, ensure your box is clean and sanded for a smooth surface. Choose your desired acrylic color palette, often, bold hues give a vibrant and eye-catching result while pastel shades offer a subtle and sophisticated vibe.
Apply a base coat and let it dry completely. Then, the fun part begins. Using a flat brush, you can cover large areas while fine-tip brushes are perfect for detailed work. Stripes, polka dots, geometric patterns, or even abstract art are all great design options.
Remember, acrylic paints dry fast, thus working quickly is essential. Again, let each layer dry before starting another. If you desire a glossy finish, apply a clear acrylic sealer once your painted box is completely dry.
A beautifully painted box can hold your precious keepsakes and add an artsy touch to your decor.
Use Fabric and Lace
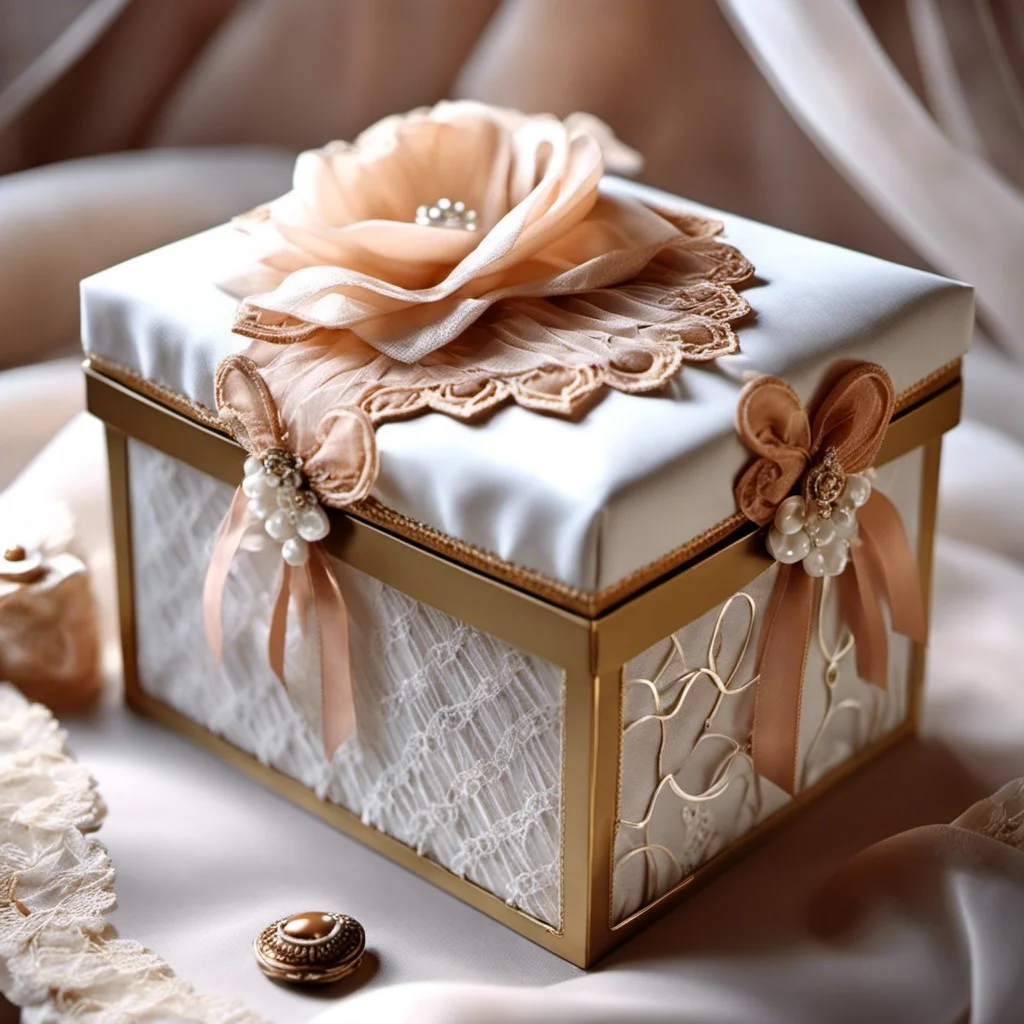
To start with, find a fabric piece that complements the box color and cut to fit the box’s top or sides.
Apply strong craft glue generously and press the fabric onto the glued surface, smoothing out for a sleek appearance.
A lace overlay offers a vintage, delicate touch.
Carefully adhere to the fabric, ensuring you align the patterns beautifully.
The type of fabric or lace plays a big role in achieving different styles.
Satin exudes elegance, cotton breeds a homely feel, while a floral lace induces a sophisticated and intricate vibe.
Remember, it’s all about personal preference and the mood you hope to create.
Add Glitter Accents
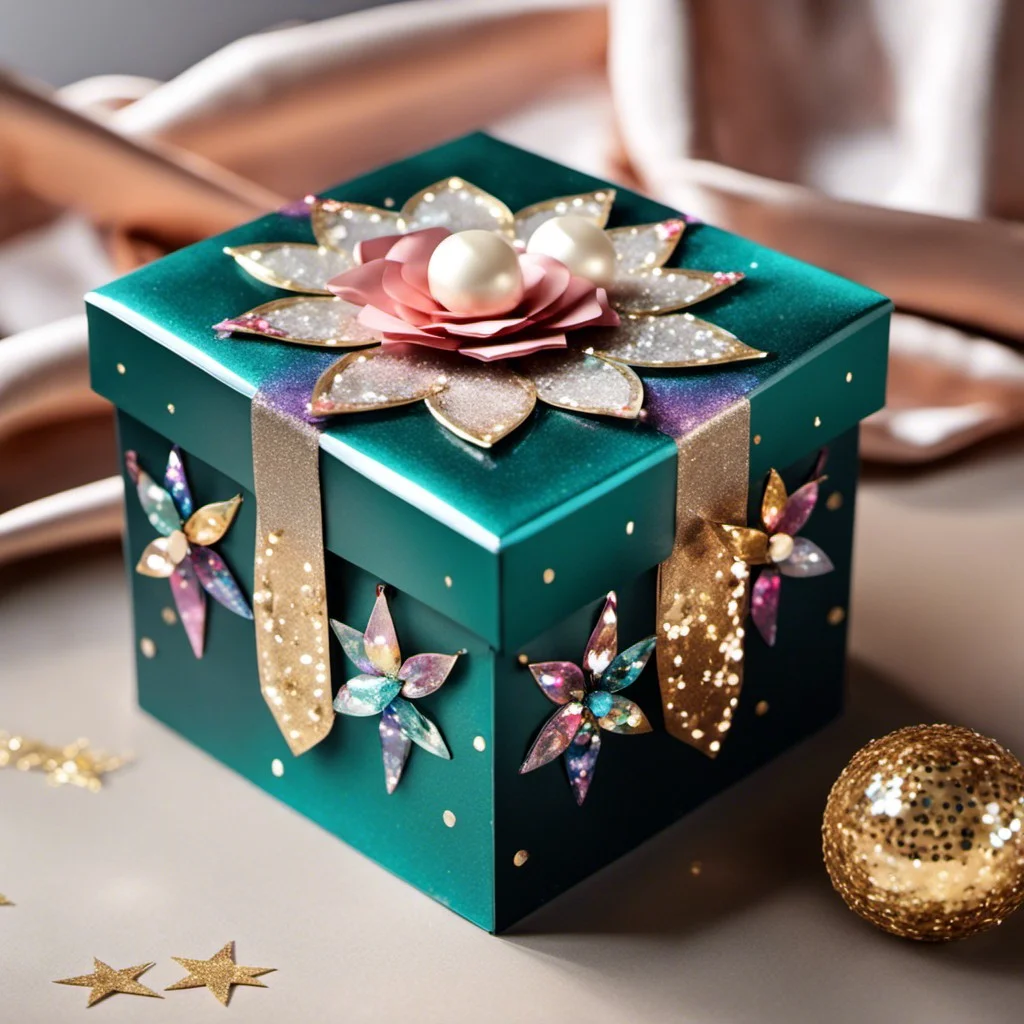
A sparkle here and a twinkle there can elevate a plain box into a dazzling treasure. Here’s how to add a touch of glitz to your box:
1. Select glitter: Different glitter sizes offer varying effects. Fine glitter gives a subtle shimmer, while chunky glitter provides a more outspoken sparkle.
2. Choose adhesive: Regular white glue works perfectly. For an even coating, opt for a spray adhesive.
3. Apply the adhesive: Use a brush to evenly spread the glue over the surface of the box. Aim for complete coverage, less adhesive means less sparkle.
4. Sprinkle glitter: While the adhesive is still wet, liberally sprinkle glitter all over the box. Ensure every sticky spot catches some shine by turning the box as you go.
5. Allow to dry: Once the adhesive is fully saturated with glitter, let the box dry completely.
6. Seal effectively: To prevent the glitter from shedding, it’s crucial to seal the box with a clear sealer or Mod Podge.
Remember, the process can be a tad messy, so consider laying some newspaper down before you begin to make clean-up easier. Happy glittering!
Install Metal Studs
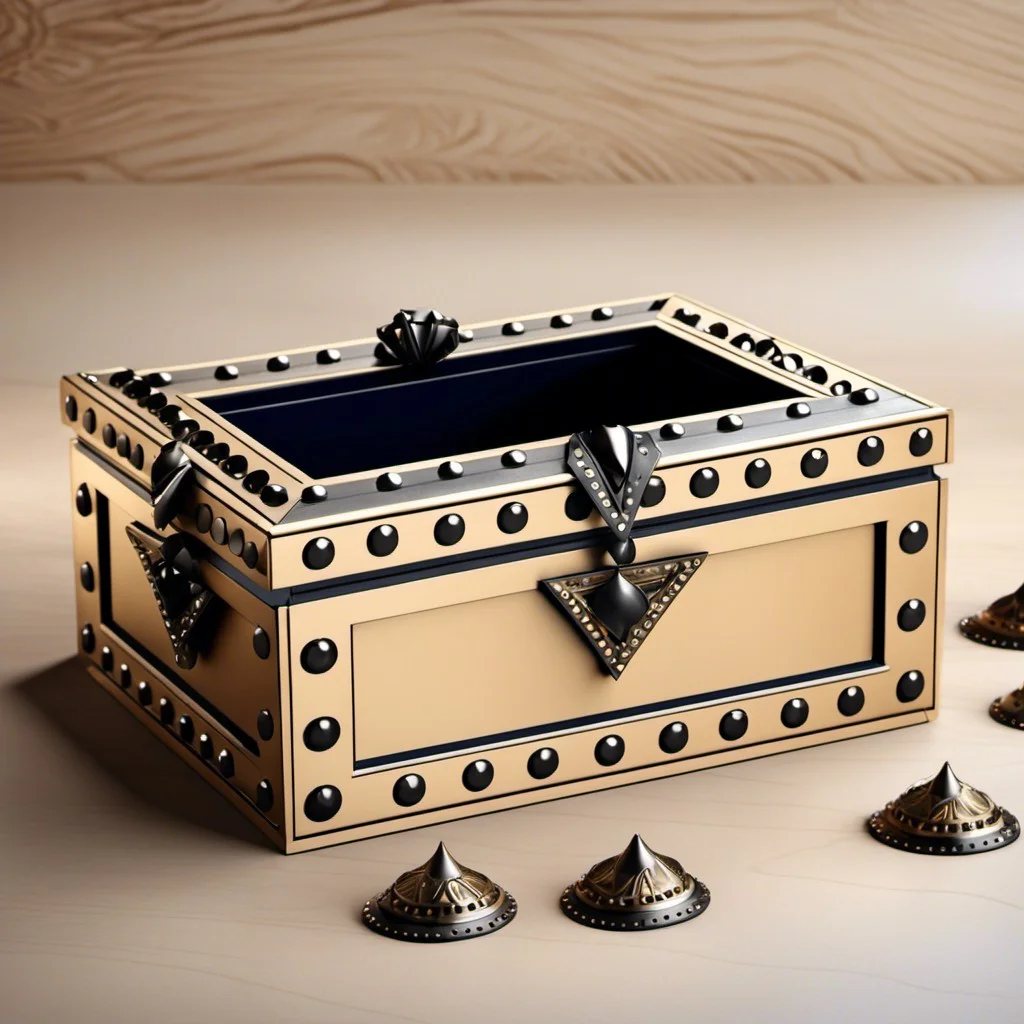
Kick your box decor game up a notch with the edgy and visually striking addition of metal studs. Let’s delve into various ways you could make this work:
1. Placement is everything: Carefully map out the design you want with the studs – consider patterns, borders, or random scatterings.
2. Size matters: Opt for larger studs for an overtly bold statement, or smaller ones for more delicate detailing.
3. Mix and match: Experimenting with different shapes (like squares, stars, or circles) can create rich, unexpected designs.
4. Tool Kit: You’ll need a fabric marker for design planning, a ruler for precision, a thimble to protect your fingers, and a durable glue for adherence.
5. Elevated security: Use a sealant or a clear nail polish coating the studs to prevent them from rusting or detaching.
Remember, while creating your studded masterpiece, have fun and allow your creativity to shine.
Cover in Multicolor Beads
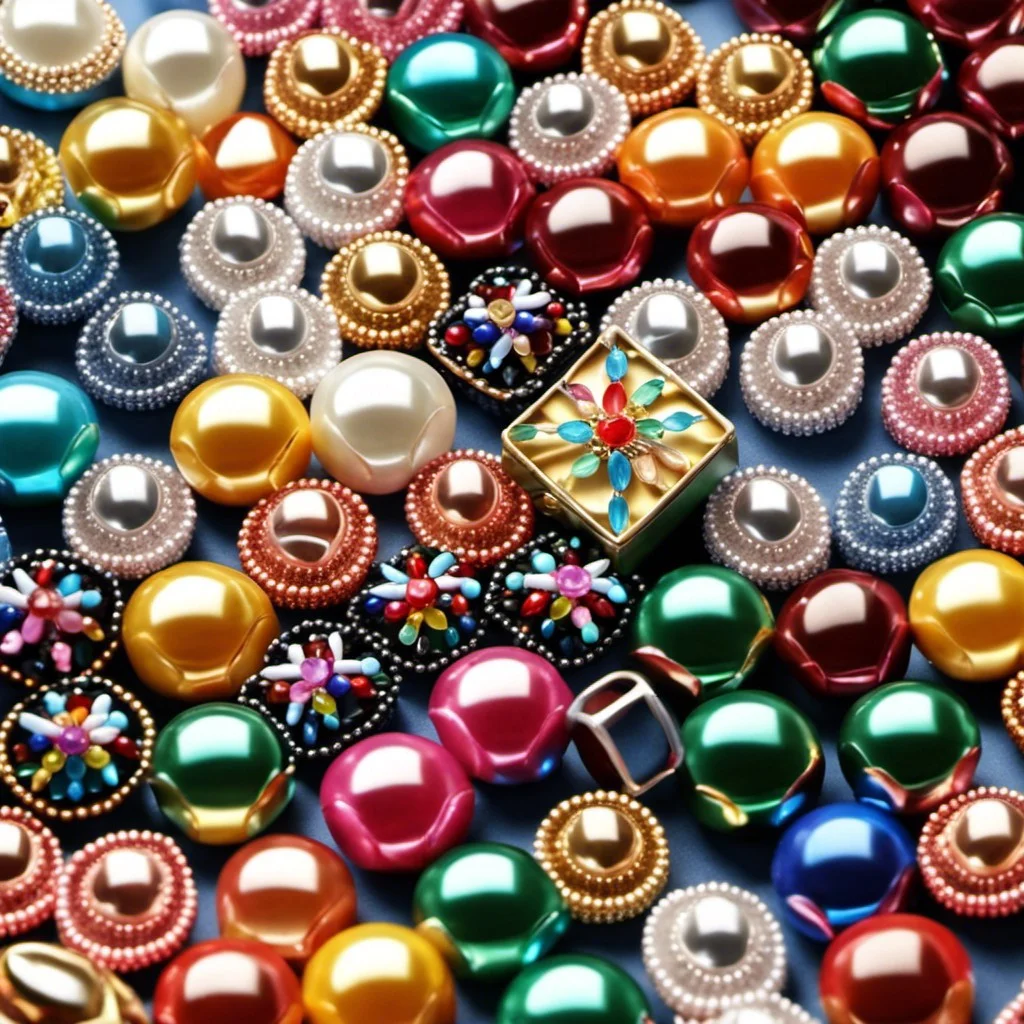
For a vibrant, attention-grabbing look, multicolor beads are a brilliant choice. Begin by selecting beads in various sizes and shades for an eclectic finish.
Apply craft glue onto a small section of your box before gently pressing your beads onto the surface. Work in small sections for greater control and better results. Take care to fill any gaps so that none of the underlying box can be seen.
If you’d like to create patterns, plan your design in advance and sketch it lightly on the box. It’s a fun and engaging project, but it does require patience as you progress bead by bead.
Once complete, not only will your box have a burst of color, but it’ll also have a distinct texture. Remember to let the glue dry thoroughly before handling your newly decorated box.
This technique is suitable for nearly all box types, materials, and sizes. Whether it is a jewelry box or a simple storage container, beads can turn an ordinary item into an extraordinary decor element.
Attach Dried Flowers
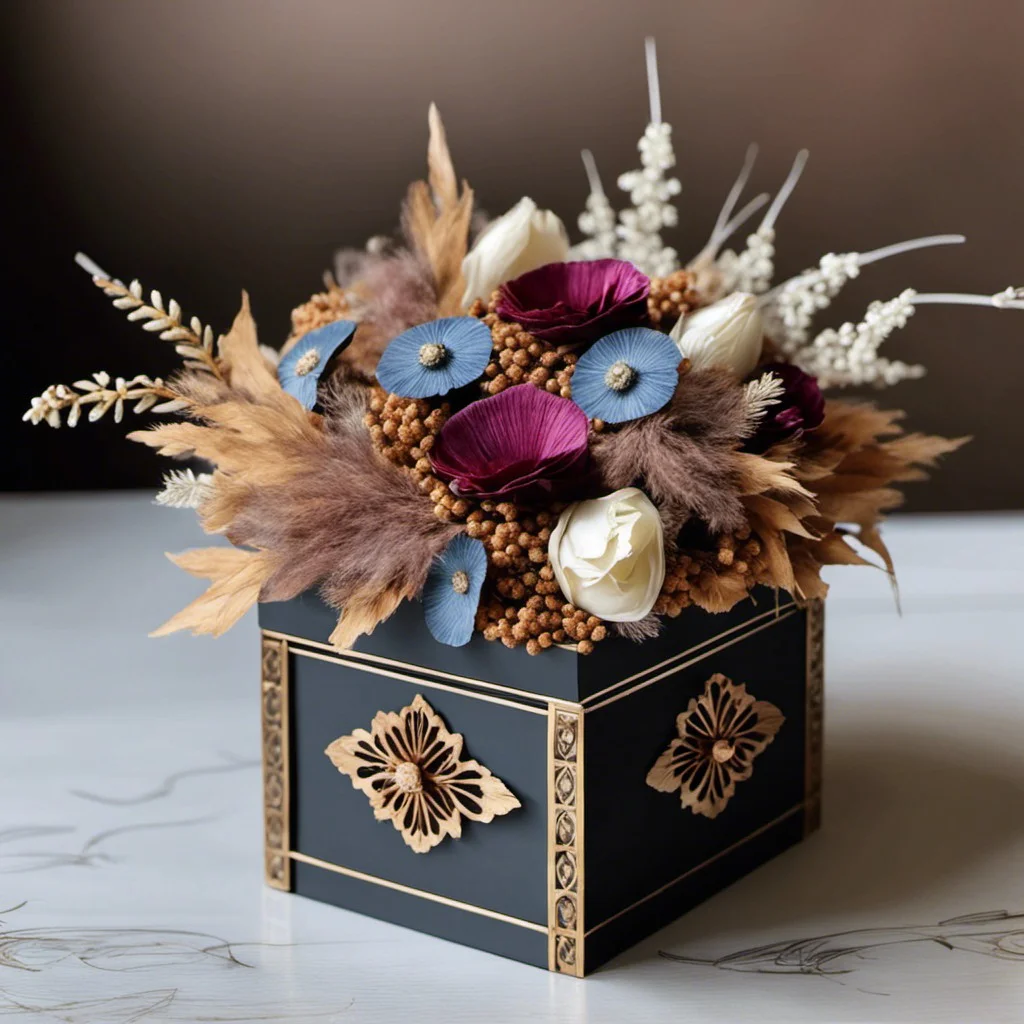
For a natural and elegant look, dried flowers are a perfect pick. To begin, select flowers that have been thoroughly dried. Popular choices include roses, lavender, or baby’s breath, but any dried flower will work just as beautifully.
Now, lay the flowers out on your box, deciding on an arrangement that suits your style. Once satisfied, use a thin layer of mod podge or clear craft glue to attach the flowers onto the box. Remember to apply the adhesive gently to not damage the delicate flowers.
Finally, consider adding a protective clear varnish layer to ensure your dried flowers remain undisturbed and the decoration lasts for a long period. Your box with dried flowers can now serve as a unique piece of decor that brings a bit of nature into your space.
Use Chalkboard Paint
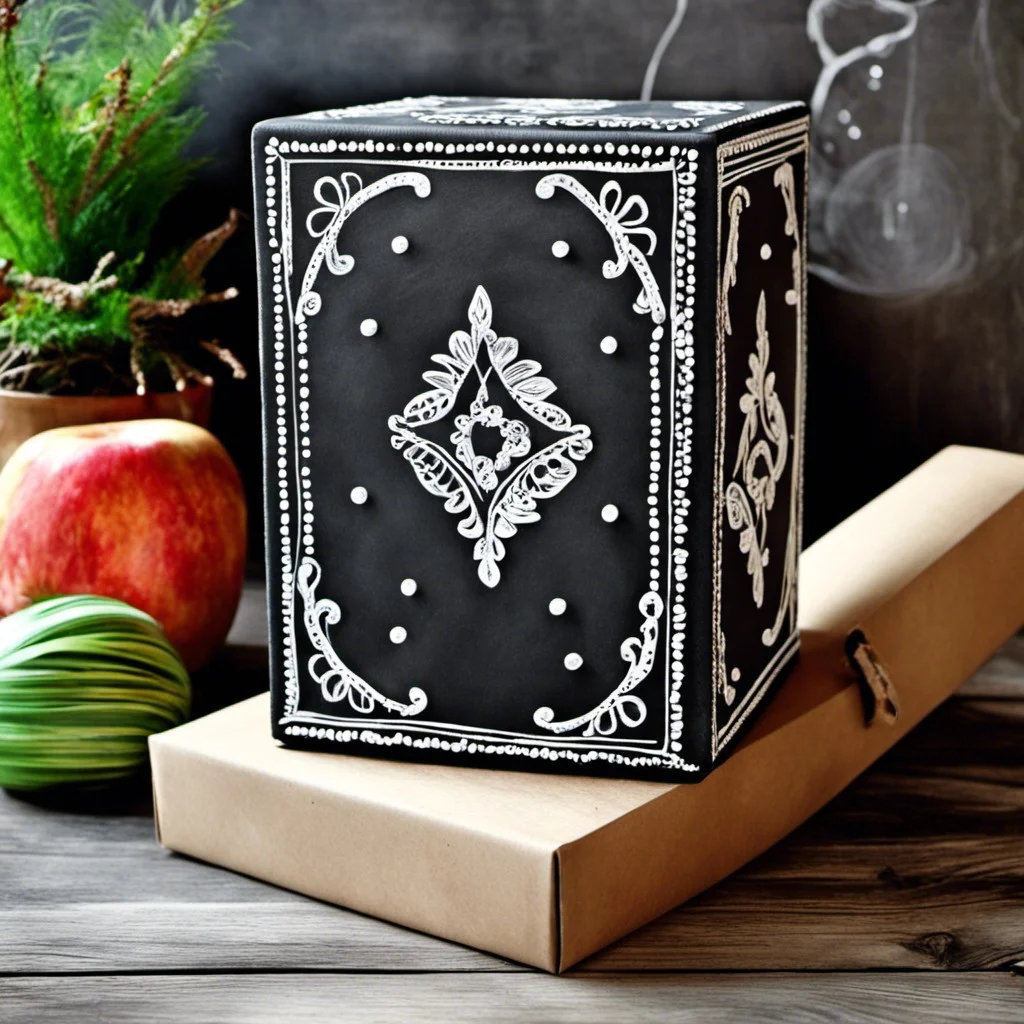
Chalkboard paint offers a unique and interactive approach to box decoration. Not only does it give an attractive matte finish but also turns your box into a reusable, customizable surface! Here are a few points to get started:
- 1. Clean and prime your box. The paint needs a smooth, dust-free base to adhere to properly.
- 2. Apply two or three layers. Allow each coat to dry thoroughly before applying the next for the best result.
- 3. Use a damp cloth or chalkboard eraser to remove any chalk dust after writing or drawing.
- 4. To maintain the surface, condition it by rubbing the side of a chalk piece over the entire surface, then erase.
By adopting these simple steps, you’re able to jot down important reminders, label the contents, or let your creativity flow with engaging drawings on your chalkboard painted box.
Create a Mosaic With Broken Tiles
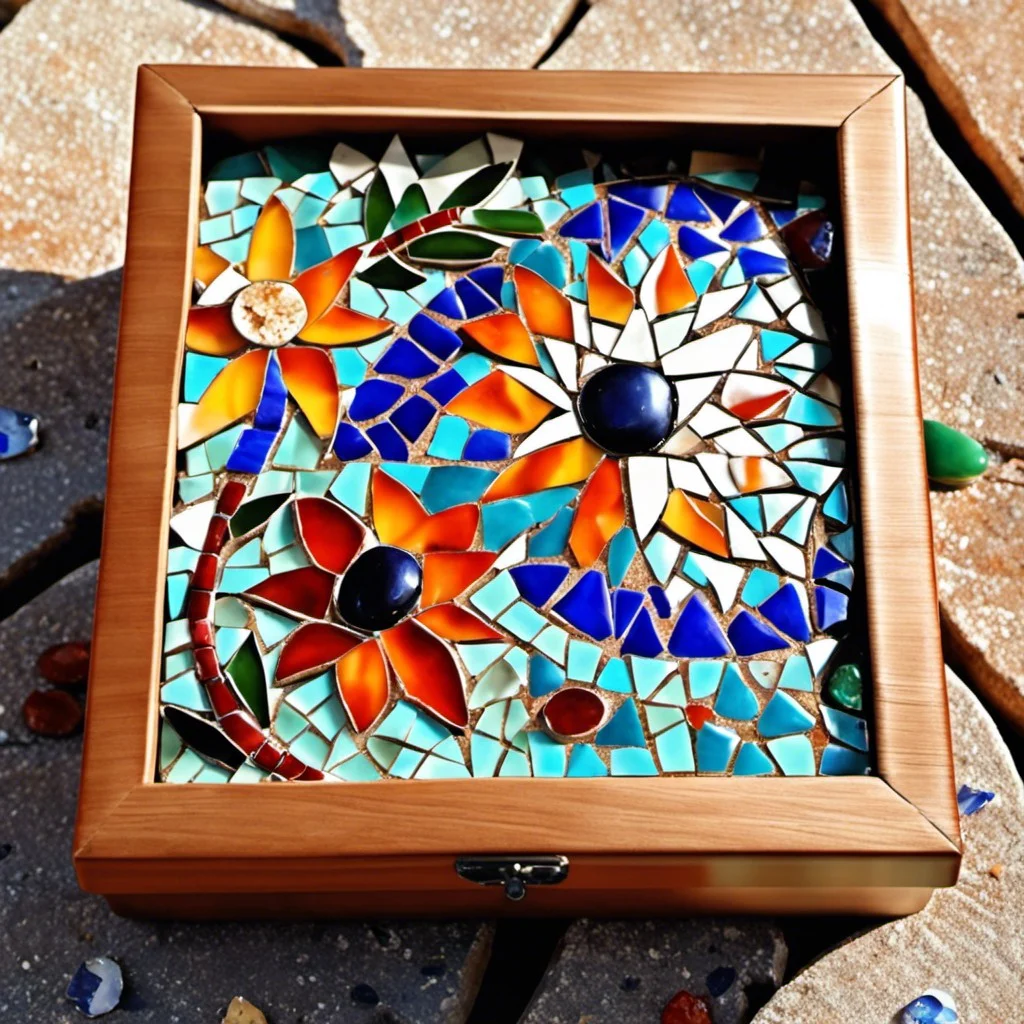
Start your mosaic project by gathering a collection of colored tiles. Feel free to explore and experiment with different sizes, shapes, and textures. Once your assortment is ready, break the tiles into smaller pieces using a hammer, taking care to use safety goggles to protect your eyes from any flying shards.
Next, sketch your desired pattern onto the surface of your box. This acts as a guide when you begin adhering the tile pieces. Using a durable glue like epoxy or another suitable adhesive, start sticking the pieces onto the box following your blueprint. Don’t rush this process, take the time to adjust and position pieces to create the effect you desire.
Remember, gaps will naturally occur between your tile pieces. These are essential to the mosaic look! Once the adhesive dries, apply grout in a color of your choice to fill in these spaces and allow it to sit for a while. As the final step, gently clean the tiled surface with a damp cloth to remove excess grout and polish the tiles.
This process, albeit a bit labor-intensive, transforms an ordinary box into a brilliant, textural mosaic masterpiece. From solid colors to intricate designs, the range of box styles you can create using this method is truly limitless.
Make a Collage With Photos
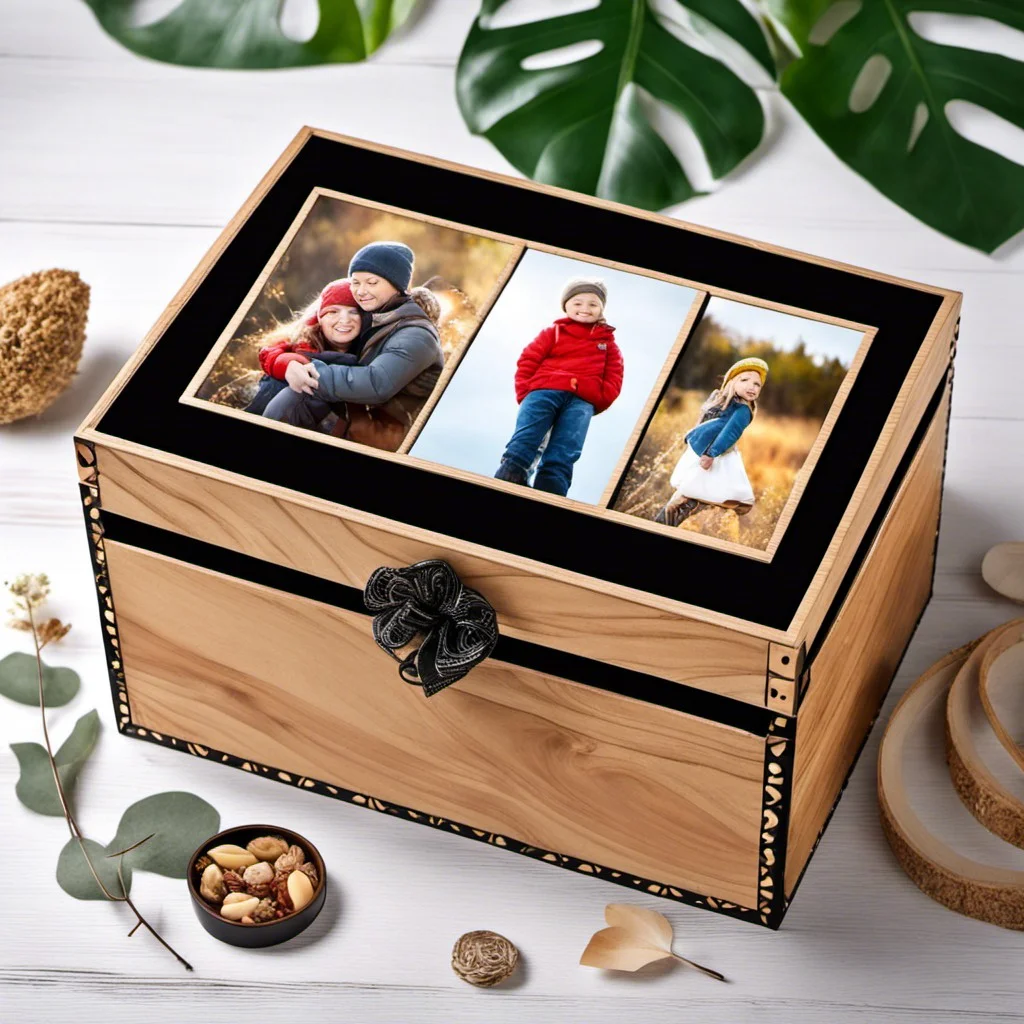
Start this artistic endeavor by gathering your favorite snapshots. They could be family photos, travel pictures, or images that align with a specific theme, like nature or urban life. It’s best to use digital copies as they can be reprinted and won’t damage the original photo.
First, arrange these images on the box’s surface to find an appealing layout. Should some pictures overlap? Perhaps a chronological order is preferable? The decision is yours.
Once pleased with the placement, use mod podge to secure the photos to the box. Cover both the box surface and the back of the pictures. Be sure to press out any bubbles for a smooth result.
To protect your collage, finalize with a coat of mod podge on top of the photos. This addition acts as a sealant, making the collection more durable and long lasting.
Remember, creativity has no boundaries, so design a collage that brings joy and tells your unique story every time you see the box.
Wrap in Map Prints
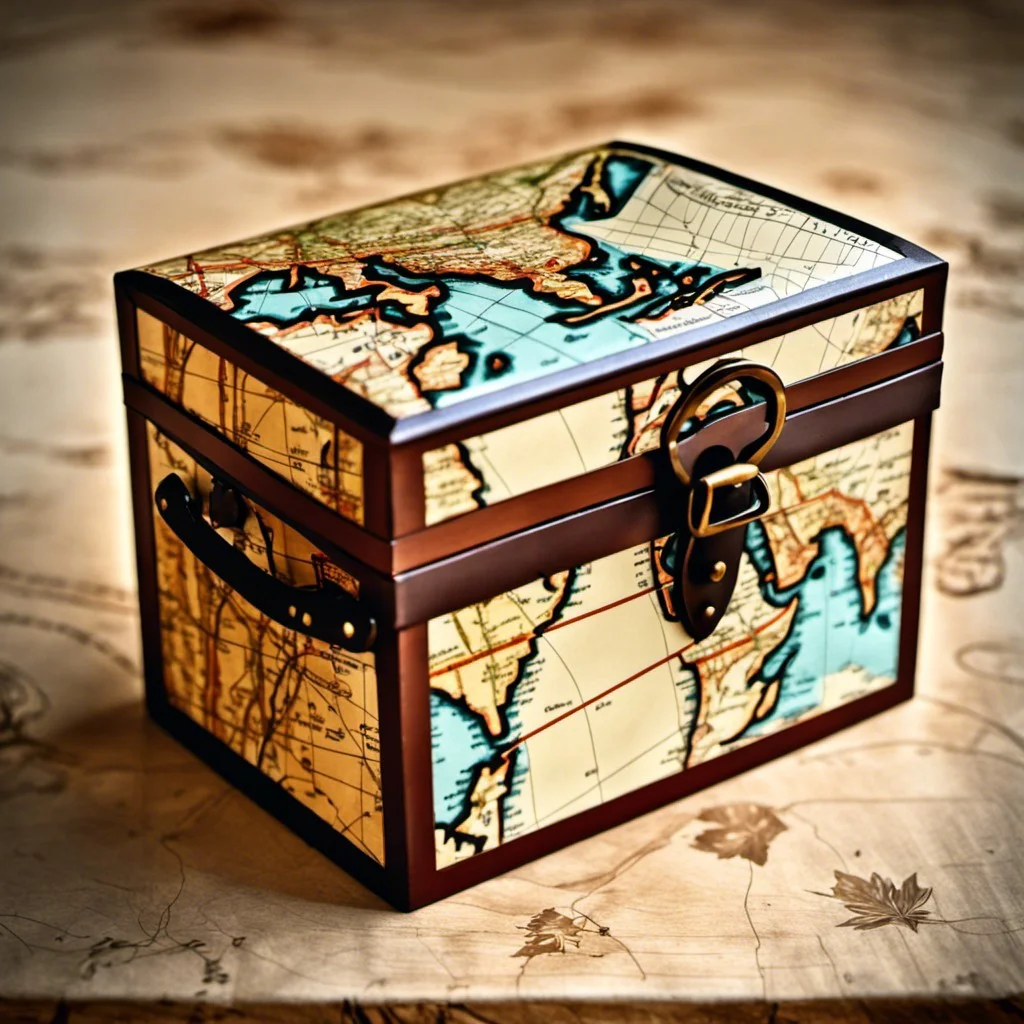
Utilizing maps as a design material lends an enticingly cosmopolitan charm. Old, vintage maps impart an air of nostalgia while vibrant, contemporary maps enliven a box’s exterior. The trick is to choose a map that resonates with the box’s intended aura or the room’s existing decor.
Cutting the maps into pieces can create a unique design, or they can be used as full sheets for a dramatic visual effect. Lightweight, white craft glue easily affixes the paper to surfaces; just be sure to flatten and smooth it out to prevent any bubbles or wrinkles. Practice this technique, and you’ll find that it’s a fun way to repurpose old maps and give a box a new life and personality.
Affix Charms and Medals
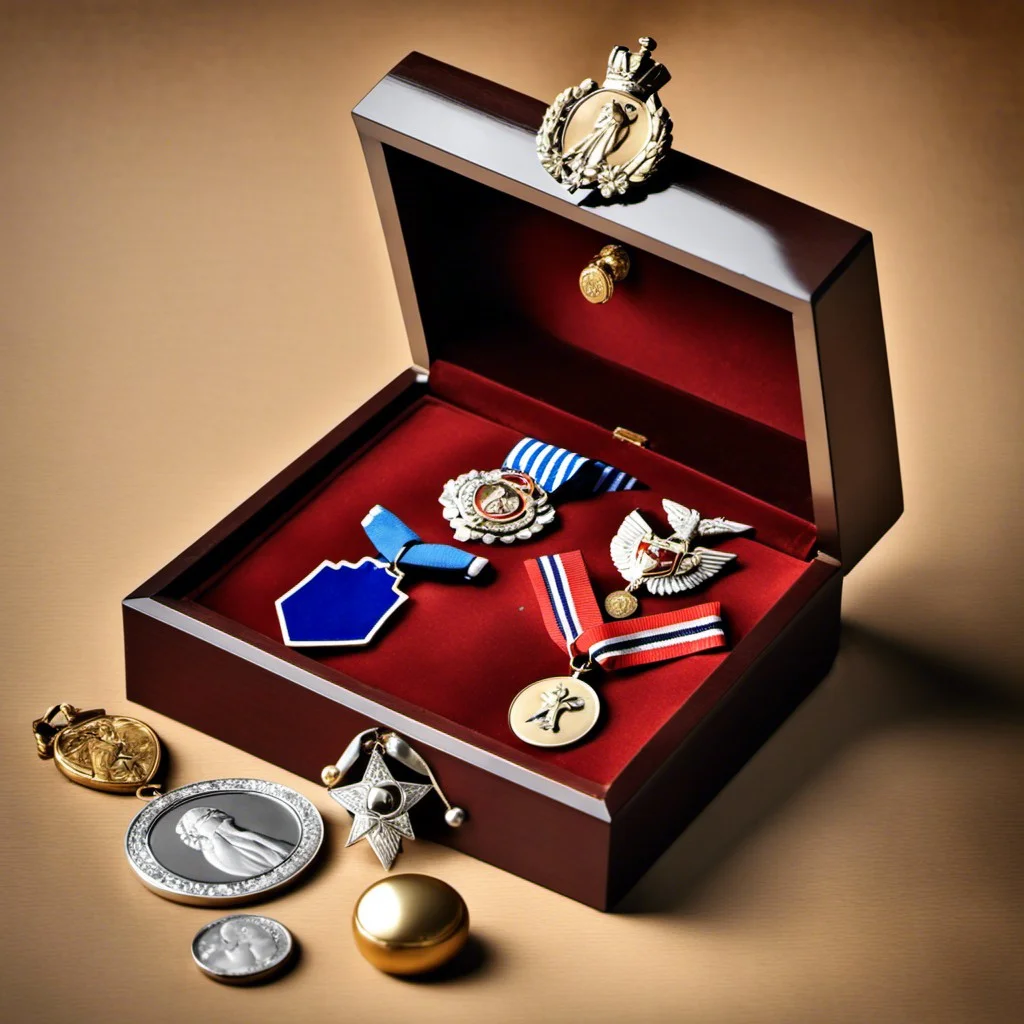
In the realm of box decoration, incorporating elements such as charms and medals offers a unique opportunity to add a touch of elegance and personalization. The following steps can guide you through this process:
1. Gather materials: Collect an assortment of charms and medals that you find appealing. These can range from vintage finds to souvenirs from special occasions.
2. Design layout: Before adhering anything to the box, place the charms and medals in varying arrangements to see which design resonates with you.
3. Attach securely: Use a strong adhesive glue to make sure your embellishments are affixed properly. Remember, less is more when it comes to glue, to avoid a messy appearance.
4. Allow drying time: Patience is key here. Giving your box adequate time to dry after attaching charms and medals ensures they stay in place.
By using these guidelines, you’re well on your way to creating a truly individual, stunningly adorned box that’s a feast for the eyes.
Use Washi Tape Designs

Washi tape, a Japanese crafting tape, is a phenomenal tool for box decoration because of its versatility and wide array of designs. Here are a few ideas:
1. Stripe Pattern: For a modern, clean look, apply the washi tape in straight lines around the box. Mix different widths and colors for an interesting pattern.
2. Geometric Design: Use washi tape to form shapes like triangles, squares or hexagons on the box surface. This creates a stylish, abstract effect.
3. Patchwork Style: Apply different pieces of washi tape in a variety of patterns and colors to mimic a patchwork quilt.
4. Monochrome: Choose tapes in varying shades of the same color for a cohesive, visually pleasing design.
Remember to seal your design with a clear craft sealant to ensure longevity. The beauty of washi tape is that it can be effortlessly applied and removed without leaving residue, making it a perfect choice for temporary or seasonal box decoration.
Decorate With Ribbons or Bows
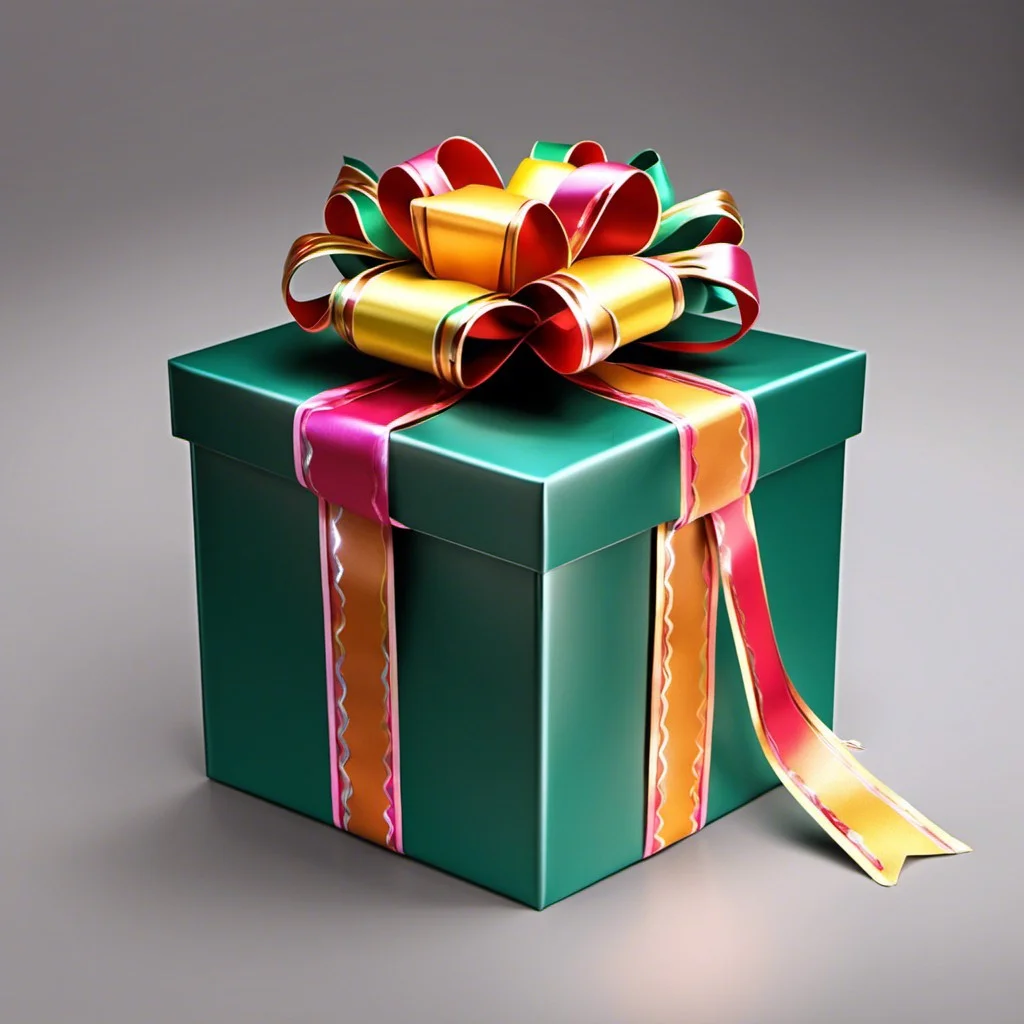
Incorporating ribbons and bows in your box decoration can add an elegant touch. Here’s how you can make the most of these delicate elements:
1. Choose a suitable type and color consistent with the overall theme of your box.
2. Try weaving the ribbon around the box for an intricate touch. Be careful to ensure the weave remains tight and neat.
3. Consider using bows as centerpiece accents, making them focal points on the box lid or front.
4. When using multiple ribbons, vary widths or textures for contrast.
5. Remember to secure the ribbons and bows tightly to prevent them from coming loose. Double-sided adhesive tape or a hot glue gun work well for this.
By being creative with these simple adornments, your box can transform from plain to eye-catching, reflecting thoughtfulness and attention to detail.
Apply Gold Leafing Details
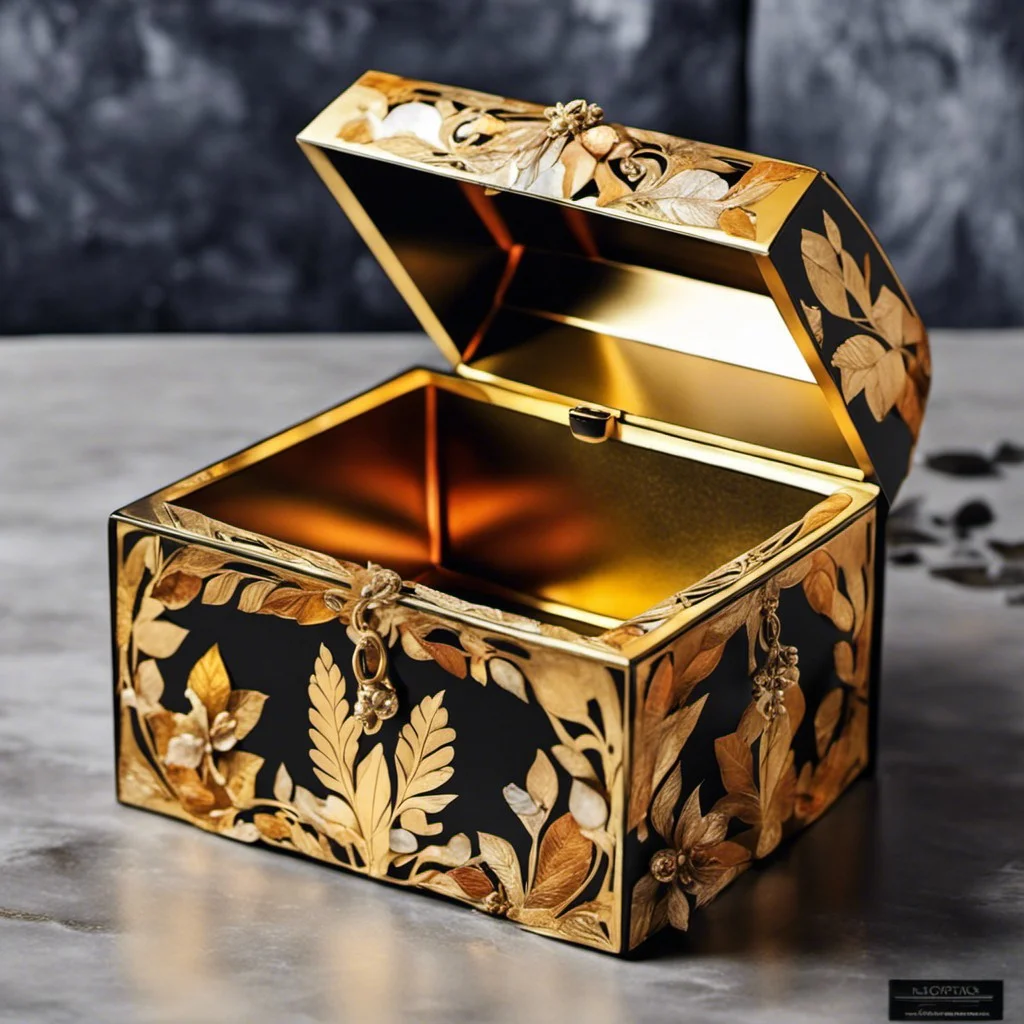
Gold leafing can add an exquisite and radiant accent to your box decoration. To apply gold leaf, you’ll require adhesive, a soft brush, and of course, your gold leaf sheets.
Here’s how to do it:
- Coat the box bare area with adhesive – a thin layer will suffice. Allow the adhesive to get tacky slightly.
- Gently lay the gold leaf sheet onto the adhesive. Use your brush softly to push the leaf onto the surface and into any nooks and crannies.
- Brush away excess leaf. The gold only adheres where there’s adhesive, resulting in a clean finish.
Remember, it’s okay to leave some areas uncovered. Imperfections lend character and lend a rustic, handmade appeal. Lastly, seal your ornate work with a clear sealer; it aids in maintaining the leafing and gives your crafted box a professional finish. Stand back and admire your masterpiece – it’s not just a box, but a treasury haven when perfected with the shimmer of gold!
Stick On Fun Stickers
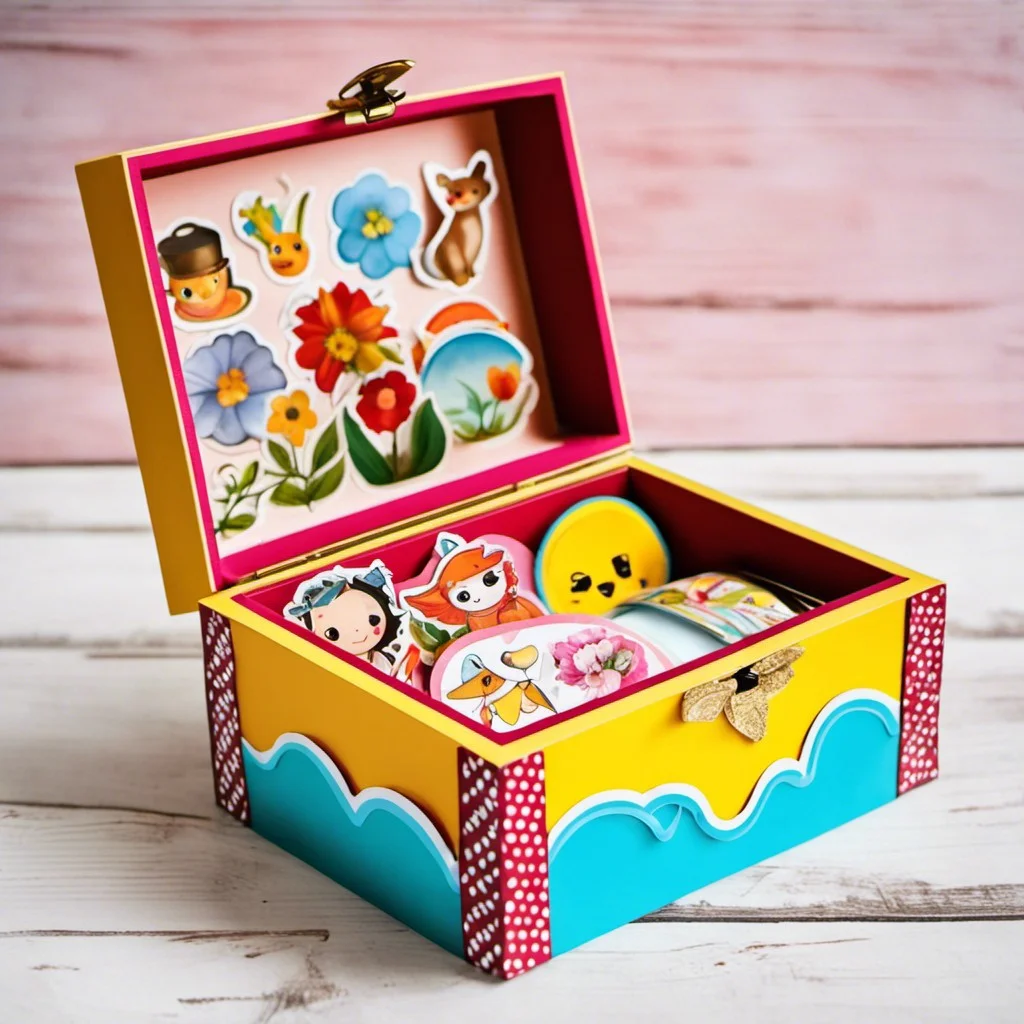
Stickers bring an instant boost of charm to any box, making it visually attractive without a lot of effort. From adorable animal stickers to inspirational quote stickers, the choices are diverse, enabling customization according to personal style and preference. Plus, they’re ideal for those who want to avoid the mess that comes with paints or glues.
First select your stickers, bearing in mind that they should complement the box’s size, color, and purpose. For instance, cute smiley stickers would be fitting for a kid’s storage box, while a sophisticated foil sticker would suit a gift box for a colleague.
Peel off the backing and press the sticker onto the box, making sure it is properly aligned and free of air bubbles. For a neat, professional look, space out your stickers evenly and use a ruler if necessary. Layering stickers can also create a dynamic sense of depth. However, avoid overcrowding, which can make the design appear cluttered.
Remember, always clean and dry the box before application to ensure the stickers adhere well and last longer. You might also want to seal in your design with a clear protective finish for extra durability.
Add Color With Sharpie Doodles
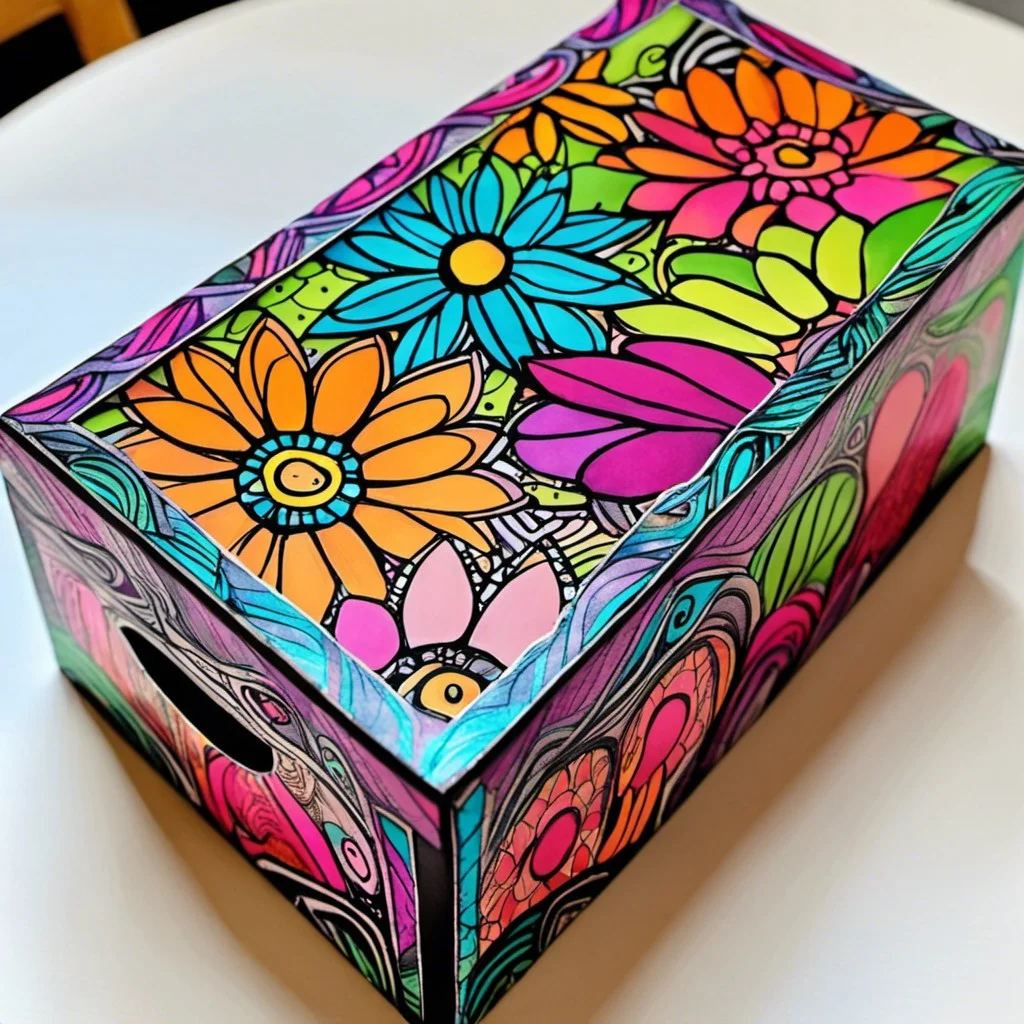
Colorful sharpie doodles have defined a creative edge in box decoration. Here are a few pointers to make your boxed creations more eye-catching:
1. Select a varied palette: The right mix of colors can make your box visually appealing. Don’t limit yourself, the more colors you have, the more vibrant your box will look.
2. Doodle designs: Think flowers, swirls, mandalas or abstract patterns. Even a simple pattern, consistently repeated, can have a stunning effect.
3. Experiment with sizes: Small intricate doodles can be as effective as larger bold sketches. Varying the sizes of your drawings can add depth and interest.
4. Use different types of sharpies: Select between fine point, ultra-fine point, or chisel tip depending on the detail and thickness you need.
Remember to let each color dry before adding another to prevent smudging.
Paint With Watercolors

Harnessing the ethereal quality of watercolors can lend a charming effect to box decorations. Select a palette that matches your room’s color scheme or stands out as a dashing contrast.
Begin by applying a white primer to ensure vivid results. Utilize a large, flat brush to create broad strokes for a background wash. For a rich, varied look, consider adding multiple layers.
Once dry, add detail using smaller brushes and more concentrated pigment. An essential tip to remember is that watercolors lighten as they dry. However, for a more textured look, salt can be sprinkled on while the paint is still wet.
This method maximizes the artistic potential of watercolors, transforming ordinary boxes into eye-catching accents. Finally, seal your work with a clear varnish to preserve its beauty. It’s indeed a notable way to unleash one’s creativity on a simple box, creating a truly unique piece of décor.
Use Leather or Faux Leather Material
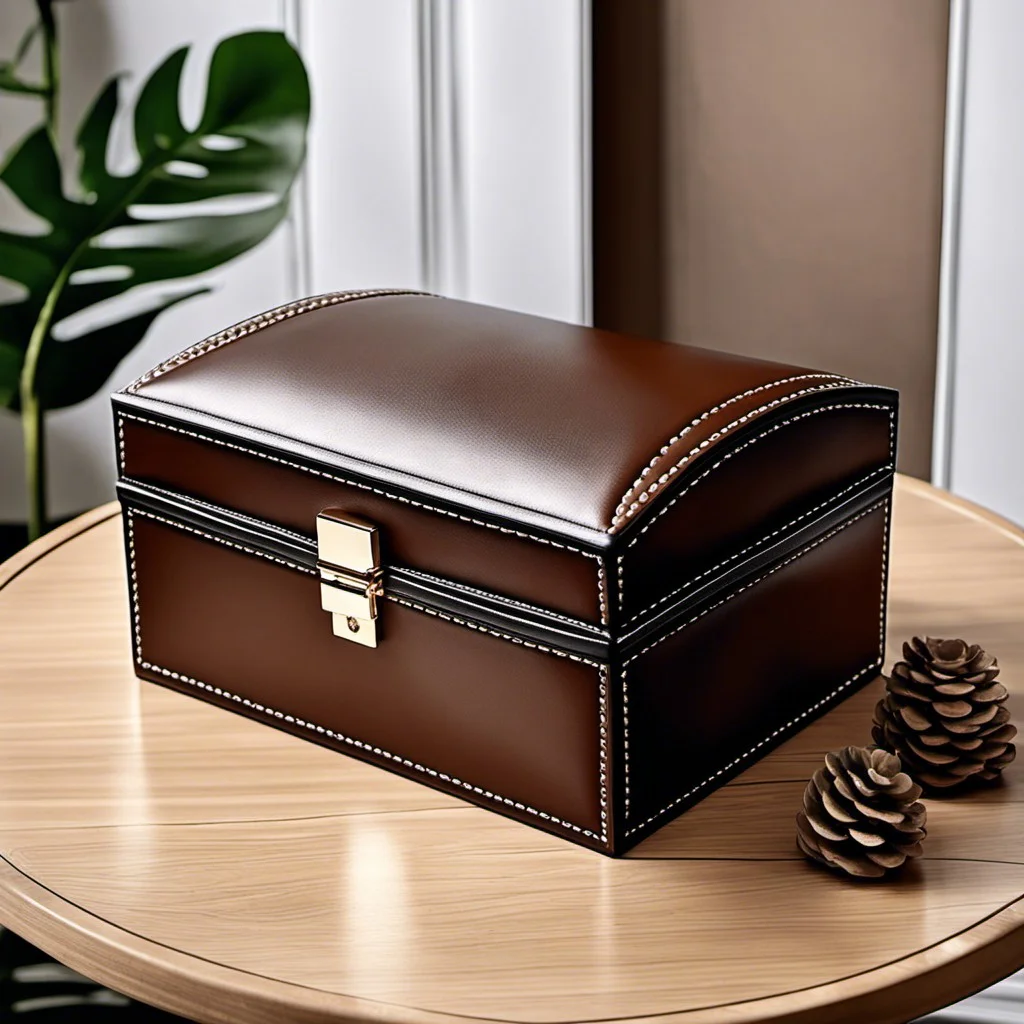
Leather materials bring a luxurious and sophisticated touch to any box. Faux alternatives, on the other hand, are animal-friendly and often more affordable, while still offering a similar textured effect.
1. Fit the Material: You’ll first need to measure the box and cut the leather or faux pieces to cover the sides.
2. Adhesive Application: Apply a strong adhesive or fabric glue to affix the material.
3. Smooth Out: Smooth out any wrinkles or air bubbles for a seamless finish.
4. Accessorize: Depending on the desired look, you might consider adding metal studs, antique clasps, or leather straps to enhance the design further.
5. Let it Dry: Let the box dry for a full 24 hours before use to ensure all elements are secure.
Remember, when working with glue and sharp tools for cutting, take necessary precautions to avoid harm. This craft not only enhances a box’s appearance but also adds a tactile element for an overall engaging experience.
Craft Felt Fabric Patterns
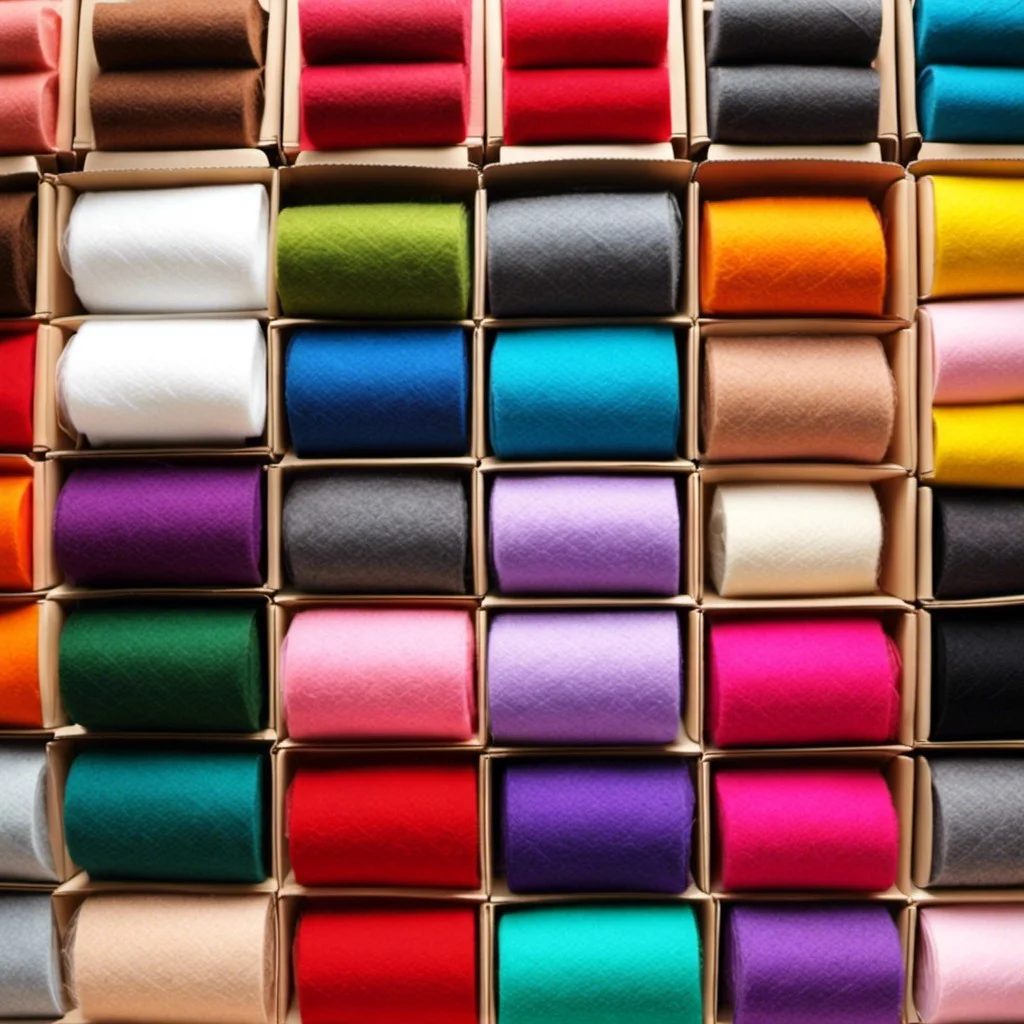
Crafting with felt fabric is an engaging and creative way to spruce up a simple box. You have a wide array of patterns to choose from, from abstract designs to geometric shapes. Start by selecting your color palette, giving thought to the overall look you want to achieve.
1. Cutting out the designs: Use a sharp pair of scissors to cut small pieces of felt in your preferred shapes. These could be triangles, squares, circles, or even animal shapes.
2. Positioning: Play around with the arrangement before you start attaching them. This gives you freedom to experiment until you find a design you love.
3. Securing the patterns: Attach the felt pieces using craft glue, ensuring each piece is firmly in place. Bear in mind, simplicity often brings out elegance. Avoid over-complicating the design.
4. Mixing patterns: Don’t be afraid to mix different patterns. For a more eclectic look, combine floral and geometric designs.
5. Adding detail: Embroider details onto your felt shapes for added texture and depth. This could be as simple as a stitched outline or intricate interior detail.
Remember, the beauty of felt fabric patterns lies in their soft texture and the three dimensional effect they give. Inject personality and style into your box with a well-thought-out felt fabric design.
Read More Like This
 15 Homecoming Decoration Ideas to Elevate Your Celebration
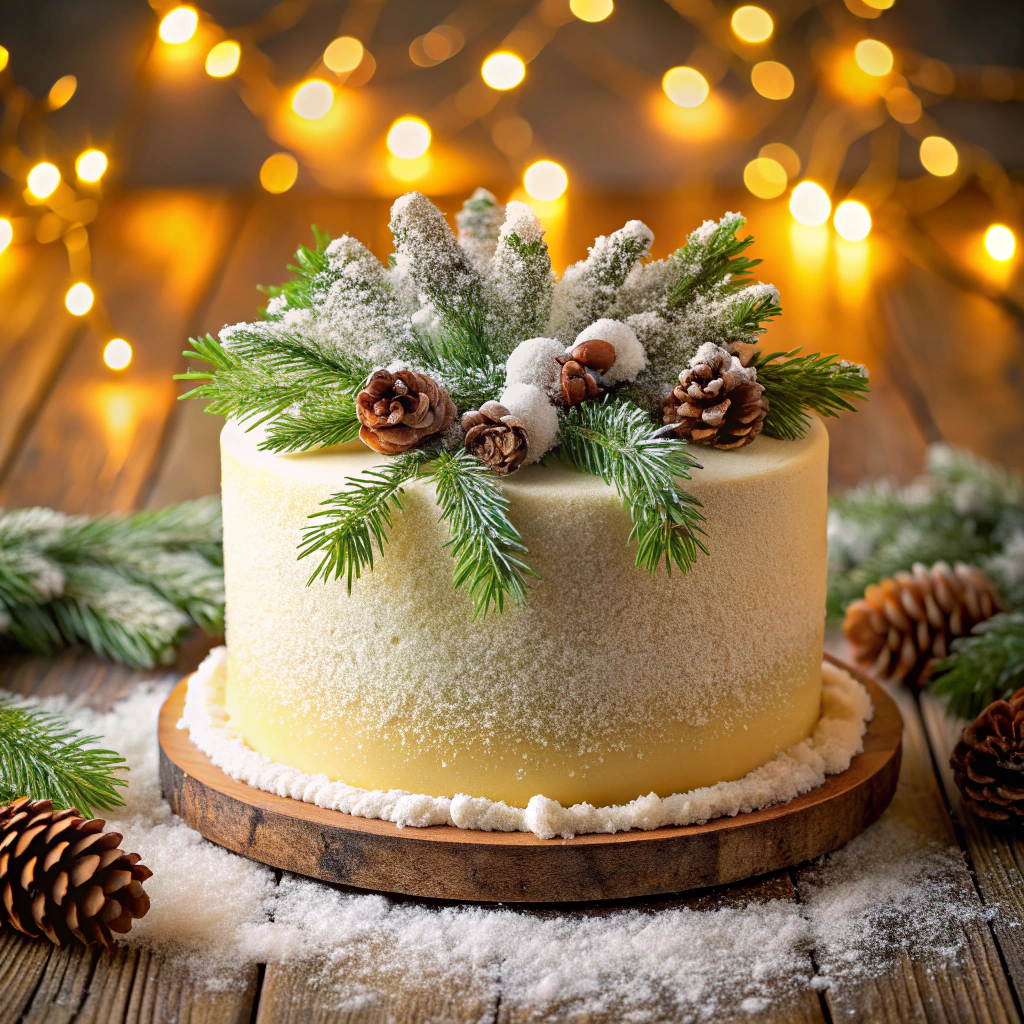 15 Christmas Cake Decorating Ideas to Sweeten Your Holidays
 15 Outdoor Party Tent Decorating Ideas for a Magical Celebration
 15 Ideas for Welcome Home Decorations
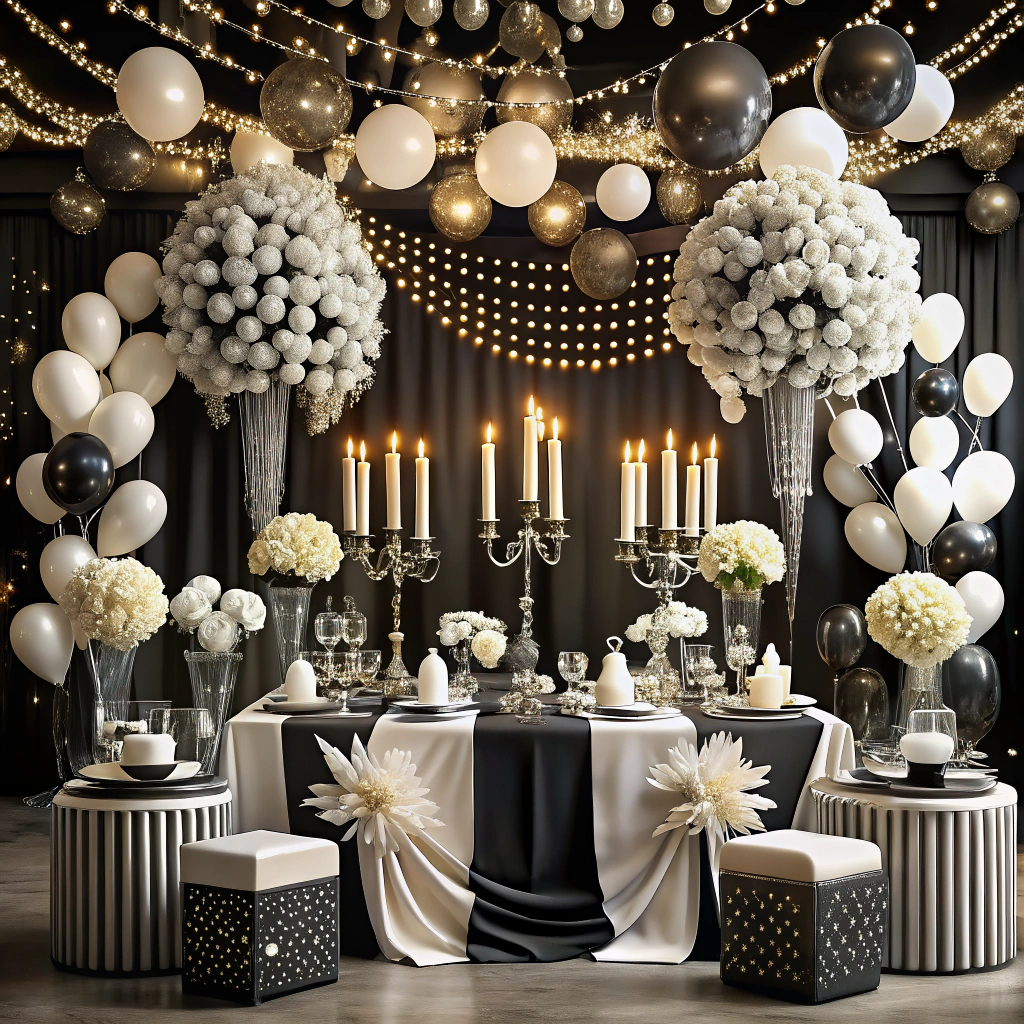
 15 Cheap Table Decoration Ideas to Elevate Any Gathering
Recap: