Last updated on
Learn how to master chalk pastel techniques to create vibrant art with texture and depth.
Key takeaways:
- Use blending techniques for seamless transitions and vibrant colors.
- Layering pastels creates depth and highlights, work from dark to light.
- Create texture with different strokes, sgraffito, and grainy paper.
- Combine chalk pastels with other mediums for creative possibilities.
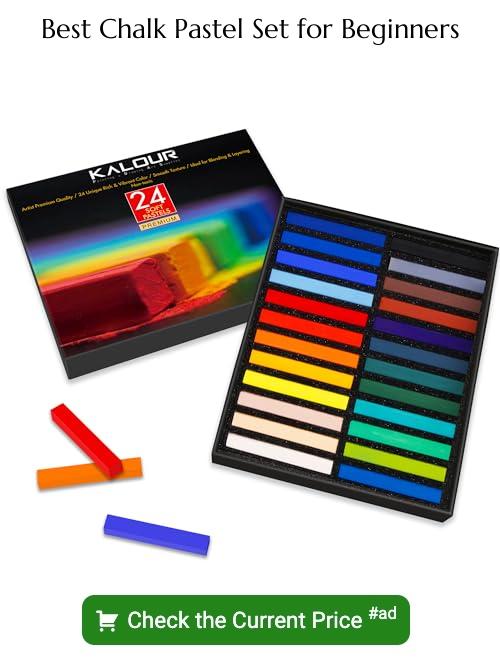
- Start with soft pastels, quality paper, fixative spray, and essential tools.
Blending
To achieve a seamless transition of colors, utilize your fingers, blending stumps, or even a piece of cloth. Gently rub the area where two colors meet to create a gradient effect. For a softer look, a cotton swab can blur lines without removing the vibrancy of your pastel.
When blending with fingers, be mindful that the natural oils in your skin can affect the application, slightly altering the colors. To preserve the integrity of lighter shades, blend dark to light to avoid muddying the hues. For detailed areas, consider using blending stumps, which are more precise. Keep in mind that over-blending can dull your artwork, so blend sparingly to maintain the pastels’ distinct qualities.
Layering
To layer effectively with chalk pastels, consider the color’s opacity and how it will interact with the layers beneath it. Begin with a light touch, gradually increasing pressure to deepen the intensity of color as you stack hues upon one another. Ensure that the base color is stable before adding subsequent layers; this avoids muddling colors.
Remember to work from dark to light to maintain the clarity and brightness of the top colors. Light colors layered over dark can help to create highlights and adjust tones. Utilize the side of the pastel stick for broad strokes and the edge for finer details.
For seamless transitions, carefully overlap your colors where they meet. This technique can create new shades and add depth to your work. Allowing colors to show through slightly can lend a sense of dynamism and movement to your piece.
Creating Texture
Texture breathes life into pastel artwork by adding dimension and sensory depth. Employing different strokes can mimic the object’s real-life feel, from the roughness of tree bark to the softness of clouds.
Short, choppy strokes with the side of the pastel stick create a broken effect, while gentle taps with the edge produce a stippled look. For an impasto effect, apply heavy pressure to deposit a thick layer of pastel, which gives a tactile quality. Sgraffito, or scratching into the pastel layer, reveals underlying colors and can simulate fine details.
A piece of grainy paper can enhance the textured look, allowing the tooth of the paper to show through the pastel for a natural, organic feel. Experiment with household items like mesh, foil, or combs to impress patterns onto the soft pastel layer.
Mixed Media
Incorporating chalk pastels into mixed media art opens a world of creative possibilities. Utilize their vibrant hues to add depth to watercolor works by applying them on top of a dry base.
Pastels seamlessly merge with acrylic paints when used for highlights or to create a soft transition between colors. Consider employing a fixative between layers to prevent smudging and to set pastels before applying wet media.
Experiment with different textures and materials such as fabric or paper collage pieces. The pastels can act as a binding element, bringing cohesiveness to the varied components of your mixed media piece.
Remember, the key is to experiment and enjoy the process; mixed media is all about breaking the rules and discovering new ways to express your artistic vision.
Supplies to Get Started With Chalk Pastels
To dive into the world of chalk pastels, gathering the right materials is essential. Begin with a set of soft pastels; these are ideal for beginners due to their ease of use and the vibrant colors they provide. Go for a variety pack to have a broad range of shades at your disposal.
Invest in quality paper that is designated for pastel work—look for options labeled as ‘pastel paper‘ or ‘mixed-media paper‘ to ensure it has the necessary tooth to hold the pigment.
Consider purchasing a fixative spray to preserve your finished artwork from smudging. A kneaded eraser is also invaluable for lightening colors or creating highlights, while blending stumps or tortillons can be used to smooth transitions and soften edges.
Lastly, have a workspace setup that is easy to clean because working with chalk pastels can get messy. Consider laying down a drop cloth or working on a dedicated art table. With these supplies, you’ll have a solid foundation to explore the versatility of chalk pastels.
Read More Like This
 15 Funny Graduation Cap Ideas to Make Your Big Day Unforgettable
 15 Unique DIY Christmas Decorations Ideas for a Festive Home
 15 Creative Science Fair Board Ideas to Amaze Your Audience
 15 Handmade Envelope Decoration Ideas for Creative Gifting
 10 DIY Gifts for the Whiskey Lover in Your Life
Recap: