Last updated on
Indeed, chalk markers work exceptionally well on glass, providing bright and easily erasable writing or designs.
Key takeaways:
- Chalk markers work exceptionally well on glass surfaces.
- Chalk markers adhere quickly and resist smudging.
- They offer transparency and versatility for various glass items.
- Some chalk markers are weather-resistant for outdoor use.
- Choose high-quality markers explicitly designed for non-porous surfaces.
Compatibility of Chalk Markers With Glass Surfaces
Chalk markers are well-suited for use on glass due to their smooth, non-porous surface, which allows the liquid chalk to sit on top without being absorbed. This characteristic ensures that the vibrant colors of the markers remain intense and visible.
Here are some insights into how they function together:
- Adhesion: The liquid chalk dries quickly on glass, creating a firm hold that resists smudging but can still be cleaned off easily.
- Transparency: Depending on the color and type of the marker, the resulting artwork or text can either stand out boldly against light passing through the glass or offer a translucent effect.
- Versatility: These markers work equally well on mirrors, windows, and other glass items, offering a wide range of decorative and functional possibilities.
- Weather Resistance: Some chalk markers are designed to be water-resistant, making them suitable for outdoor glass surfaces, although they might require a more rigorous cleaning method to remove.
Understanding these properties helps in maximizing the effectiveness of chalk markers for creative or practical use on any glass surface.
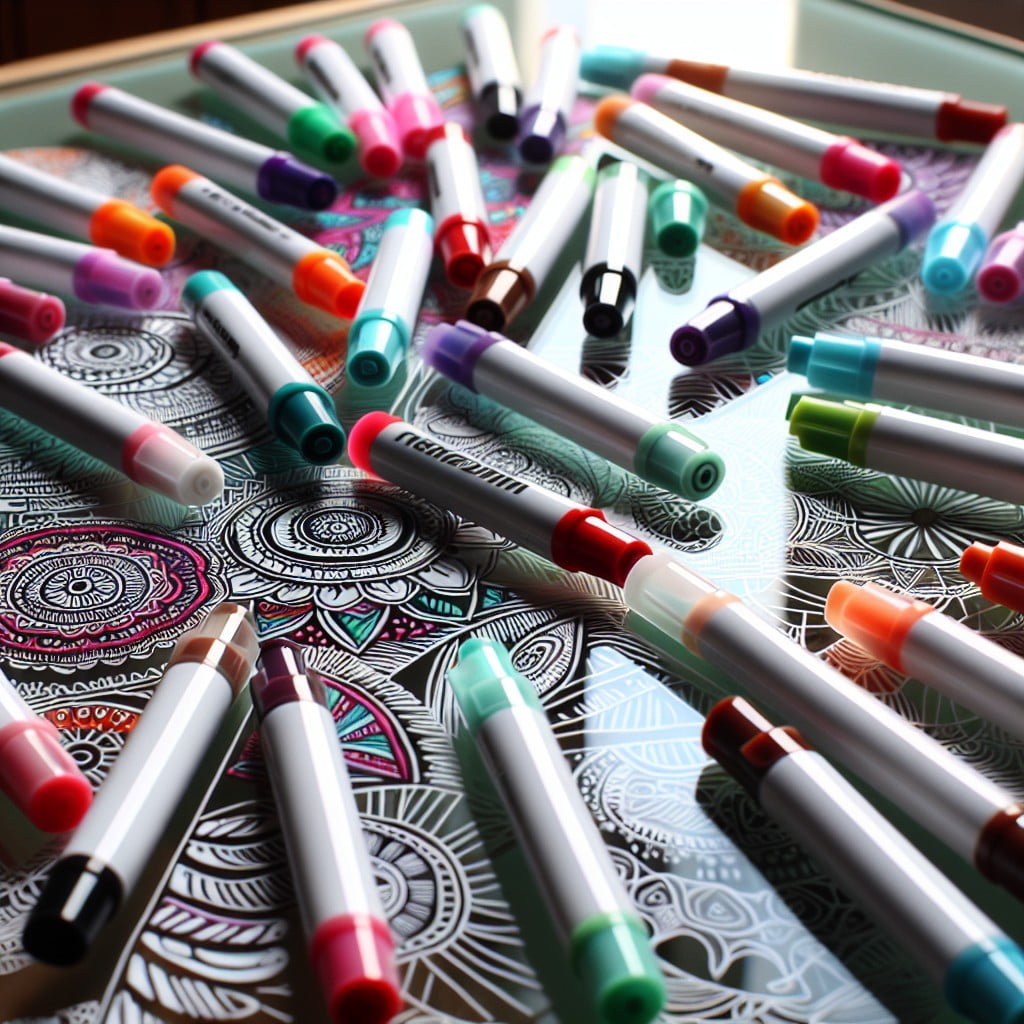
Types of Chalk Markers Suitable for Glass
When selecting chalk markers for glass, opt for liquid chalk markers as they deliver vibrant colors and smooth lines. Seek out water-based versions for easier cleanup.
They come in a variety of tip sizes — fine tips are ideal for detailed work, while broad tips suit larger designs. Ensure that the markers are labeled as non-toxic, especially if used around children.
For best results, choose markers that are explicitly designed for non-porous surfaces, as these will adhere better to glass without causing damage. Markers with reversible tips offer versatility, allowing for both precision and bold strokes.
Remember, high-quality markers tend to provide better pigmentation and durability for your glass projects.
Preparing the Glass Surface for Chalk Markers
To ensure your artwork or message remains vivid and adheres properly, start with a clean glass surface.
Remove dust, oil, or any residue by wiping the glass with a microfiber cloth dampened with a mixture of water and vinegar or a streak-free glass cleaner.
Dry the surface thoroughly with a fresh cloth to prevent dilution of the chalk marker ink.
For an extra measure of cleanliness, rubbing alcohol can be used to wipe down the glass, which not only cleans but also helps the markers’ ink to stick better.
Before drawing, make sure the surface is completely dry and free of lint to avoid any disruption in the chalk marker lines.
If applying chalk markers to a window exposed to the outside elements, ensure the surface is room temperature to prevent condensation, which could affect the ink’s performance.
Step-by-Step Guide On How to Draw On Glass With Chalk Markers
Begin by ensuring that the glass surface is clean and dry to prevent any interference with the chalk marker’s adhesion.
Shake the chalk marker well to mix the pigment and the liquid inside, which can separate when the marker is not in use.
Prime the marker on a separate surface by pressing the tip down until the ink flows freely. This step also helps to get a consistent line when you start drawing on the glass.
Apply the marker to the glass surface using even pressure. For intricate designs, you might want to sketch your design with a non-permanent marker first, then trace over it with the chalk marker.
Allow the ink to dry for a few seconds before touching the design to avoid smudging.
Use a damp cloth to erase any errors or excess marks immediately, as the longer the chalk marker ink sets, the harder it will be to remove.
Layer your colors by letting the first color dry completely before applying a new one on top to prevent blending, unless blending is part of your desired effect.
Enjoy the bright, bold colors that chalk markers provide, which stand out clearly against the transparency of the glass.
Techniques for Preventing Smudging and Ghosting
Ensuring your chalk marker designs remain pristine on glass calls for a few preventative measures. Begin by selecting high-quality, water-resistant markers to reduce the likelihood of smudging when touched. Apply your design to a completely dry surface, as any moisture can cause smearing.
Allow each layer of ink to dry thoroughly before adding another; this not only keeps your lines crisp but also prevents colors from bleeding into one another. If layering is part of your design, give each color ample time to set. Using a fine tip marker for detailed work can also significantly lower the risk of unintentional smears.
To combat ghosting — the faint outline left by markers after erasing — periodically clean the glass thoroughly with a glass cleaner or a mix of vinegar and water. For stubborn ghosting, a magic eraser can be gently used to remove residual ink, ensuring the glass returns to its clear, transparent state. It’s also beneficial to regularly switch up your designs to prevent the same pattern from leaving a permanent shadow.
How to Correct Mistakes When Using Chalk Markers On Glass
Erasing errors made with chalk markers on glass is straightforward, thanks to the non-porous nature of the surface. For minor mistakes, a damp cloth or paper towel should suffice in wiping away the unwanted marks. You can dip the cloth in a mixture of water and vinegar for a more thorough removal, if necessary.
For more stubborn remnants, using a glass cleaner or isopropyl alcohol can effectively dissolve the residue. Simply spray the cleaner onto the glass, letting it sit for a moment before wiping clean.
When correcting mistakes, be gentle to avoid scratching the glass. Also, consider using Q-tips or a fine-tipped, wet brush for precision when erasing smaller details without disturbing the surrounding areas. Remember to dry the area before rewriting to prevent the marker ink from running.
If planning to make adjustments or corrections frequently, opt for erasable liquid chalk markers, which are designed for temporary work and easier removal.
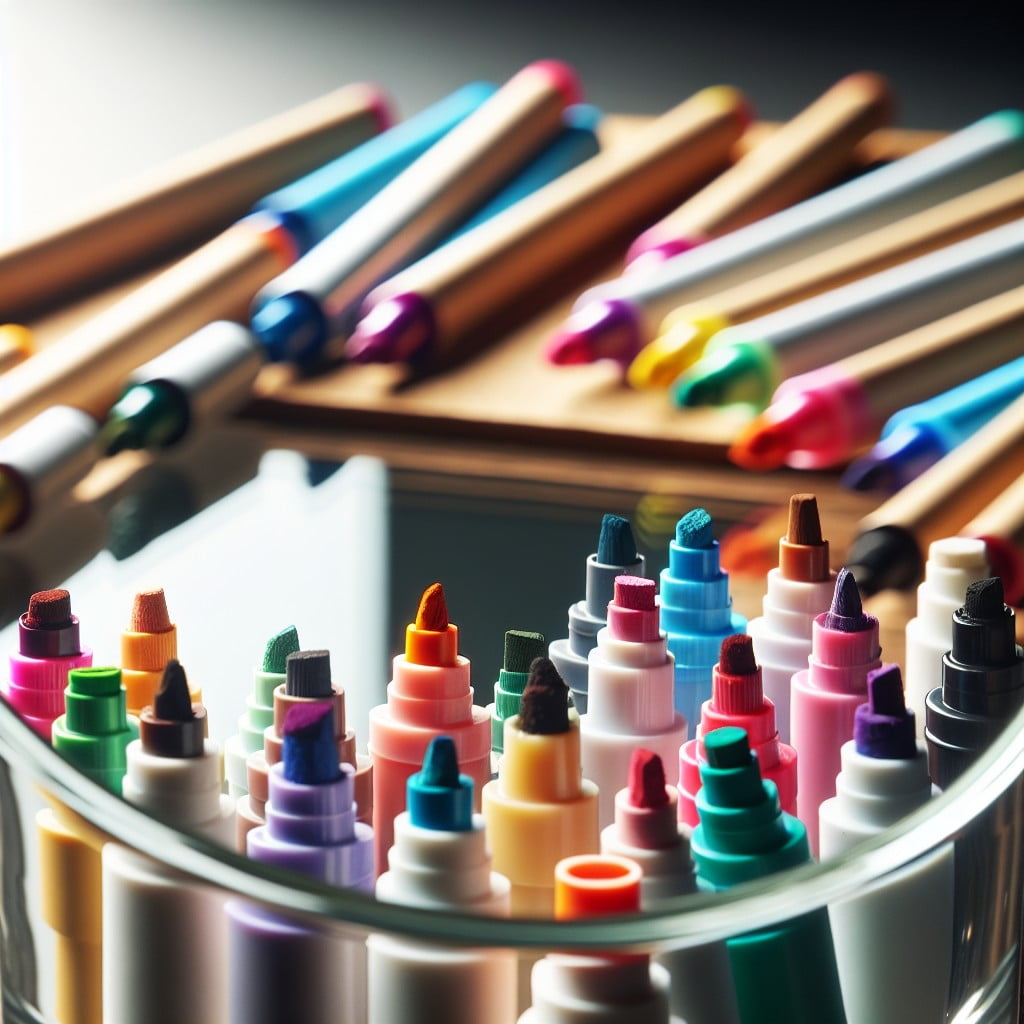
Recommendations for the Best Chalk Markers for Glass
When selecting chalk markers for glass, choose those that offer vibrant colors, excellent opacity, and smooth application. Liquid chalk markers are often the best option because they provide a solid, crisp line that can be seen clearly against the translucent backdrop.
Opt for markers with reversible tips which allow for both fine and broad strokes, catering to detailed artwork and bold writing alike. Markers should be water-based, non-toxic, and easy to wipe off with a damp cloth, ensuring they are safe for use in environments like kitchens and classrooms.
Some top brand recommendations include:
- VersaChalk, known for their bright, long-lasting colors and dust-free use
- U Brands, which provides markers with great fluidity and an array of tip sizes
- Chalkola, appreciated for their high-quality, wet-erase markers that work well on non-porous surfaces
Before making a purchase, check for customer reviews to ensure the markers perform well on glass and don’t leave permanent stains or ghosting.
Best Way To Seal Chalk Marker On Glass
Ensuring that your chalk marker designs remain intact on glass surfaces requires a sealing process. The method involves using a clear sealant, which can come in spray or brush-on forms designed for use on glass. Choose a product that offers a non-yellowing finish to maintain the original color vibrancy of your art.
To get started, make sure your chalk marker design is completely dry. Apply the sealant in a well-ventilated area, holding the can at the recommended distance if using a spray, or using a soft brush if you prefer a brush-on type. Apply the sealant in thin, even coats to avoid dripping or uneven texture. Allowing sufficient drying time between coats is crucial.
Always test your selected sealant on a small, inconspicuous area of the glass first to ensure that it dries clear and doesn’t react negatively with the chalk markers. Keep in mind that sealing might alter the ease of future removal, making your artwork more permanent. If a temporary design is desired, consider skipping the sealing process and simply handle the glass with care.
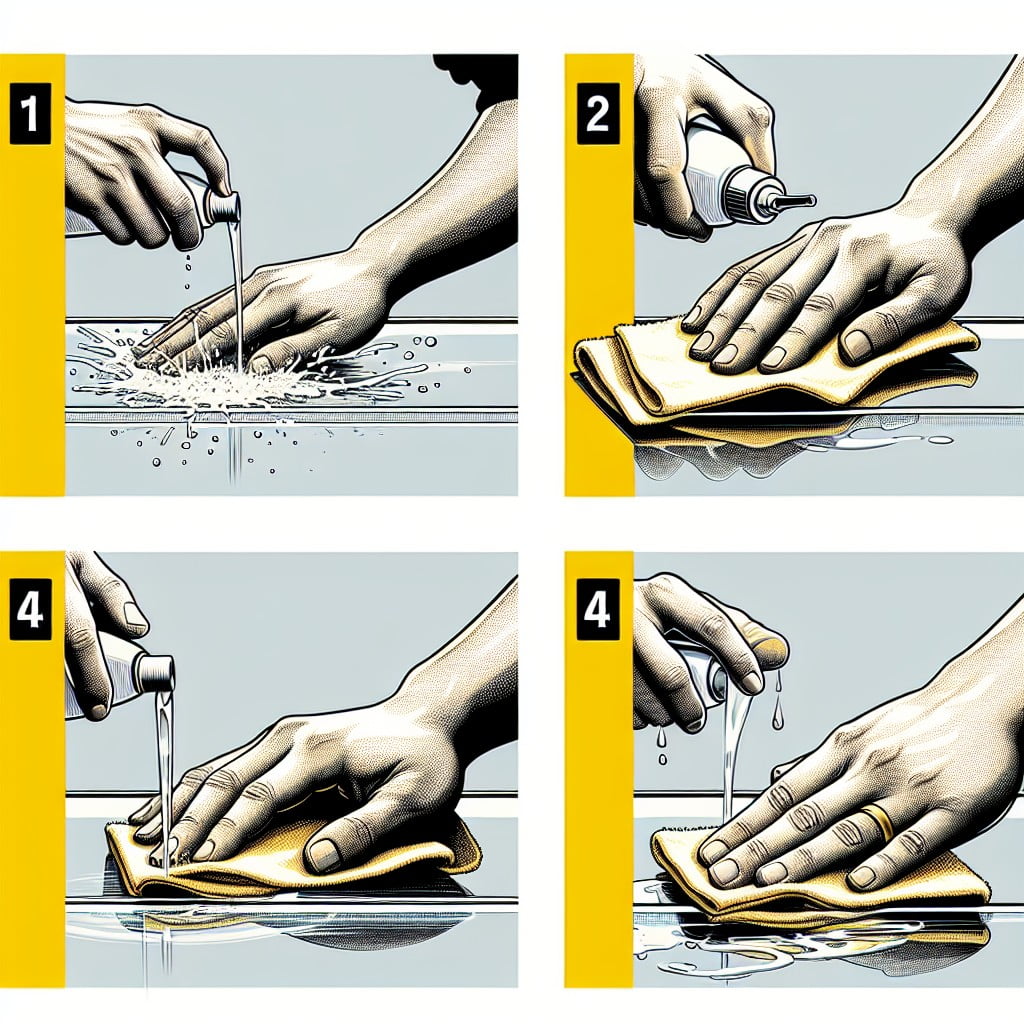
How To Clean Chalk Marker Off Glass Surfaces
Removing chalk marker residue from glass is straightforward with the right materials and methods. For effective cleaning:
1. Wipe with a Dry Cloth: Begin by using a dry microfiber cloth to erase the markings. This initial step might remove dust and some of the lighter marks.
2. Use a Damp Cloth: If the dry cloth isn’t sufficient, slightly dampen the cloth with water and gently rub the glass surface. Most chalk markers are water-soluble, making them relatively easy to remove with just water.
3. Apply Glass Cleaner: For stubborn remnants, spray a small amount of glass cleaner onto the surface. Let it sit for a moment to loosen the ink, then wipe it off with a clean, dry cloth.
4. Rubbing Alcohol for Residue: If any ghosting occurs, where faint traces of the marker remain, use rubbing alcohol on a cotton ball or pad. Rub gently over the ghosted area until it disappears.
5. Rinse with Water: After using chemicals, it’s a good practice to rinse the area with water and give it a final wipe with a fresh cloth to avoid any cleaner residue.
Always clean in a circular motion to minimize streaking and ensure an even, clear finish. If you are planning to redraw on the glass, ensure the surface is completely dry to avoid any interference with the adhesion of the chalk markers.
Longevity of Chalk Marker Designs On Glass
While chalk markers can provide a vibrant and temporary display on glass, factors such as exposure to elements, the quality of the marker, and the surface type contribute to the duration of the artwork. Typically, designs remain vivid until deliberately erased.
- Indoor displays away from direct sunlight retain their color and resist fading longer than those exposed to UV rays.
- High-quality, non-toxic markers with dense pigments have greater staying power.
- Glass cleanliness is crucial; oils and residues could cause the ink to repel, shortening the design’s lifespan.
- Humidity can affect the adhesion of chalk markers; drier environments help the design stay intact.
- Sealing the design can extend its life; consider using a sealant spray if a permanent design is desired.
Regular maintenance, such as gentle dusting, can keep designs looking fresh, but avoid heavy cleaning agents which may remove the artwork. To update or change your display, a simple wipe with a damp cloth will allow you to start anew.
Safety Precautions When Using Chalk Markers On Glass
While creating art on glass with chalk markers is generally safe, taking a few precautions can ensure both your safety and the integrity of your work:
Ventilation: Work in a well-ventilated area, as some markers may emit fumes that can cause discomfort or health issues if inhaled in large quantities over time.
Surface Check: Before use, ensure the glass surface is free from cracks or chips to prevent further damage or potential breakage while applying pressure during drawing.
Appropriate Cleaners: Use a proper glass cleaner or a mild soapy solution to prepare the surface, avoiding harsh chemicals that could react negatively with the markers or weaken the glass.
Protective Gear: Consider wearing gloves to prevent the transfer of natural oils from your hands to the glass, which can affect the adhesion of the chalk markers.
Secure the Glass: If you’re working on a loose piece of glass, secure it to prevent movement, which could lead to breakage or injury.
Cap and Store Safely: Always cap markers after use to prevent them from drying out and store them horizontally to ensure even ink flow for future use.
By adhering to these pointers, you can create beautiful, vibrant designs on glass safely and maintain the longevity of your chalk markers.
FAQ
Are chalk markers permanent on glass?
No, chalk markers are not permanent on glass, they are erasable and wash off easily.
How do you seal chalk marker on glass?
To seal chalk marker on glass, apply a clear acrylic spray for a glossy finish, a matte acrylic spray for a subdued effect, or use a water or oil-based polyurethane for an overall clear coating.
How do you get chalk marker off glass?
To remove chalk marker from glass, apply Windex on the stained surface, let it sit for five minutes, then gently wipe away the residue.
Do chalk markers work on car windows?
Yes, chalk markers do work on car windows, and they can be easily wiped clean with a damp paper towel.
Can chalk markers be used safely on tempered glass?
Yes, chalk markers can be safely used on tempered glass without causing any damage.
What is the best method to achieve optimal visibility when using chalk markers on glass?
For optimal visibility when using chalk markers on glass, choose bold, contrasting colors and ensure ample lighting on the glass surface.
Are there chalk markers specifically designed for use on glass or all surfaces are equally suitable?
Yes, there are chalk markers specifically designed for use on glass, as not all surfaces equally support the adhesion and visibility of the marker pigment.
Read More Like This
 15 Unique DIY Christmas Decorations Ideas for a Festive Home
 15 Creative Science Fair Board Ideas to Amaze Your Audience
 15 Handmade Envelope Decoration Ideas for Creative Gifting
 10 DIY Gifts for the Whiskey Lover in Your Life
 15 Creative Ideas for DIY Outdoor Birthday Party Decorations
Recap: