Last updated on
Chalk paint does not typically require a primer, as it is designed to adhere well to a variety of surfaces with its built-in primer-like properties.
Key takeaways:
- Chalk paint usually doesn’t need a primer.
- Primer enhances adhesion and uniformity of chalk paint.
- Use primer on varnished surfaces or for stain blocking.
- Primer may not be necessary for clean, non-glossy surfaces.
- Consider the specific needs of your project when deciding on primer.
Characteristics of Chalk Paint
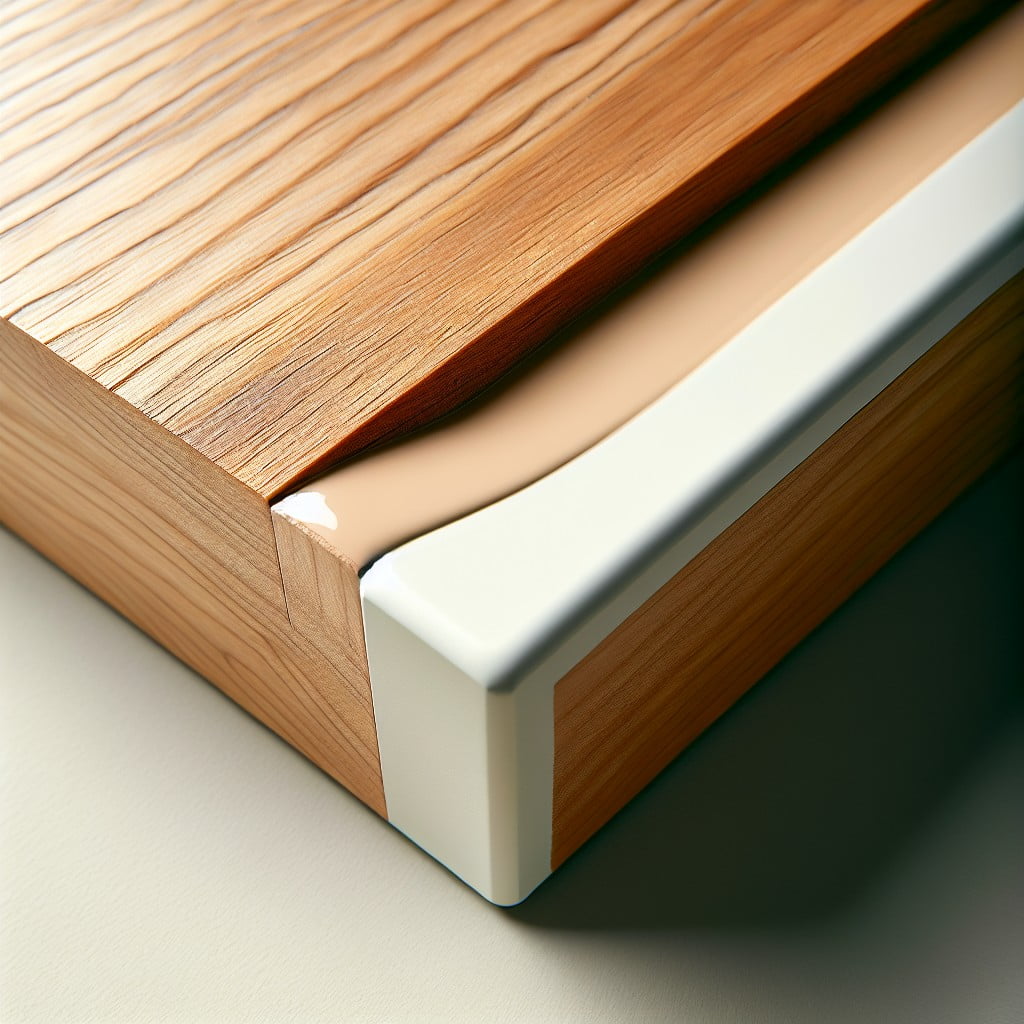
Chalk paint is celebrated for its matte finish, lending a velvety, vintage look to furniture and other items.
Its thick consistency allows for easy coverage, often requiring fewer coats than traditional paints.
This unique medium adheres well to a variety of surfaces without the need for intensive preparation, making it a favorite for upcycling projects.
Quick-drying traits expedite crafting, while the porous nature of the dry paint makes it ideal for creating distressed or antique effects when sanded.
In addition, the water-based formula ensures easy clean-up, enhancing its appeal for DIY enthusiasts.
Preparatory Steps Before Using Chalk Paint
Before diving into your chalk paint project, a little preparation goes a long way to ensure a smooth application and a lasting finish. Start by cleaning the surface with a mild detergent to remove dirt, oils, and residues. If you’re painting over a glossy or non-porous surface, scuffing it with fine-grit sandpaper can help the paint adhere better. Remember to wipe away dust from sanding with a damp cloth and allow the surface to dry completely. Fix any imperfections, such as holes or cracks, with a suitable filler and sand smooth once dry. These initial steps create an optimal base for the chalk paint to grip onto, paving the way for your creative transformation to unfold seamlessly.
Primer: Purpose and Effects On Chalk Paint
A primer serves as a preparatory coating, enhancing the adhesion of chalk paint to the surface it’s applied on. Its role is crucial in providing a uniform base that can significantly improve the overall appearance of the finished paint job. By applying primer, one ensures that the chalk paint’s matte finish is consistent and free from unexpected absorption variations, especially on porous substrates like raw wood or drywall.
Additionally, it can block stains and wood tannins which might otherwise bleed through the chalk paint and mar the look of the piece. Primer also aids in reducing the number of chalk paint coats needed for full coverage. The right primer can even enable chalk paint to adhere to non-porous surfaces, such as metal or glass, broadening the range of potential projects.
In summary, a primer strategically optimizes the surface for the unique properties of chalk paint, maximizing adhesion, ensuring even coverage, and promoting long-term durability. Therefore, if the goal is a refined and enduring finish, considering a primer might be a step worth taking.
When to Use Primer With Chalk Paint
Determining whether to apply primer before laying down chalk paint hinges on the condition of the surface you’re working with. If the surface is varnished or glossy, a primer can help to dull it down and create a better adhesive base for the chalk paint. For pieces that are heavily stained or have significant bleeding, primer serves as a barrier, preventing discoloration from permeating the final coat of paint.
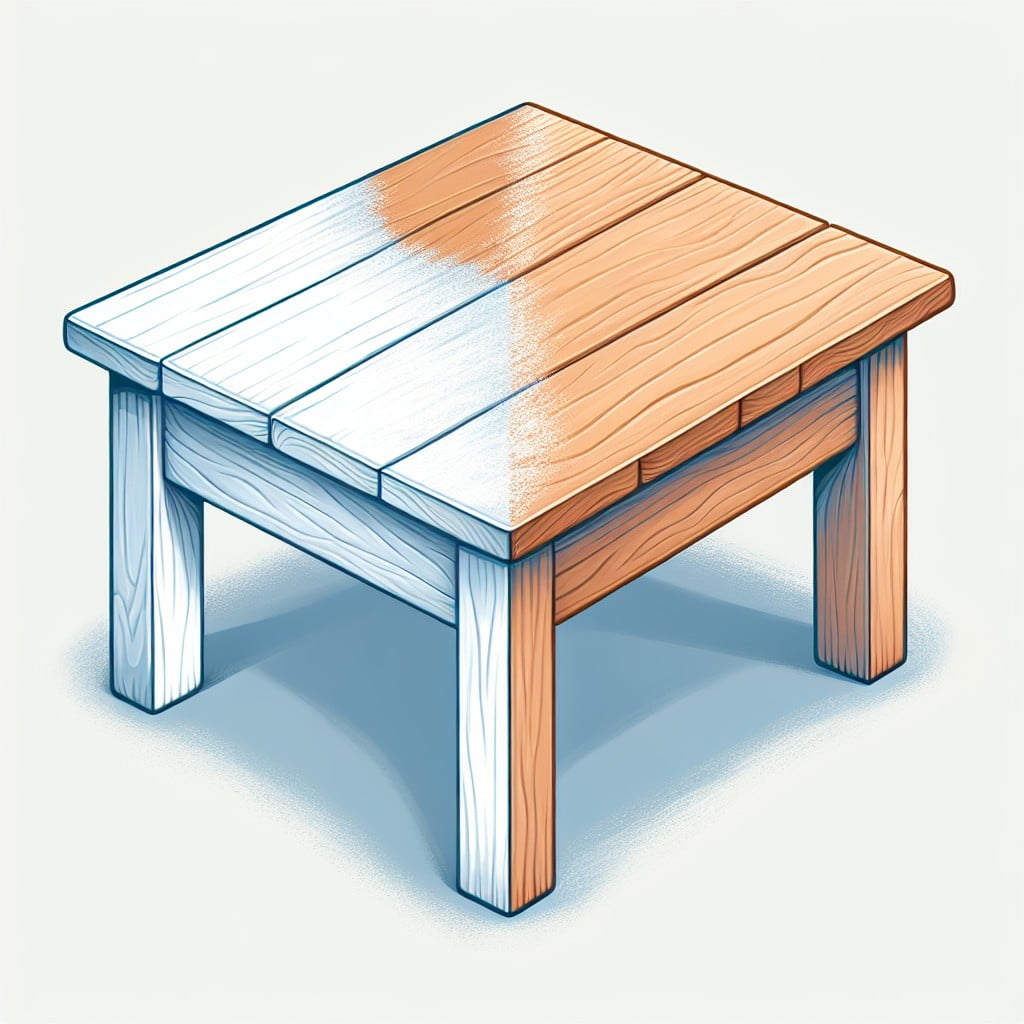
On bare wood, primer is less critical but might still be beneficial, especially if the wood is very porous and would soak up the first coat of paint, requiring additional coats for even coverage. For previously painted surfaces where the existing paint is in good condition and the colors aren’t drastically different, you might skip the primer step without significant impact on the outcome.
In summary, use primer to:
- Enhance adhesion on slick surfaces.
- Block stains and wood tannin bleed-through.
- Ensure uniform opacity and coverage on porous surfaces.
- Provide a first defense layer on surfaces that will see high traffic or usage.
Consider the specific needs of your project to decide if using primer is the step that will secure a long-lasting and aesthetically pleasing finish.
Situations Requiring Primer
Certain situations call for a layer of primer before the chalk paint is applied to ensure the best outcome. For instance, when working with surfaces previously stained with grease or oils, a primer will prevent these substances from seeping through and compromising the final appearance. On unfinished wood, a primer can help to block tannins that might otherwise bleed through and discolor the paint.
Likewise, if you’re aiming to paint over a slick or glossy finish, a primer provides the necessary adhesion, reducing the risk of the chalk paint peeling off later. For those planning to apply a light color of chalk paint, a layer of primer can also serve as a base to prevent dark or vibrant previous colors from showing through, which might otherwise necessitate multiple coats.
In environments that experience a lot of wear and tear, such as kitchens or children’s furniture, a primer enhances the durability of the chalk paint, ensuring your handiwork stands the test of time. Always opt for a primer that specifically states compatibility with chalk paint to secure the best adherence and long-term resilience.
Circumstances Where Primer May Not Be Necessary
In certain cases, you may skip the step of applying primer before proceeding with chalk paint. These instances typically involve surfaces that are clean, free of glossy finishes, and don’t have significant stains or damage. Here’s what to consider when you might bypass primer:
- Non-Glossy Surfaces: Chalk paint adheres well to matte and non-glossy surfaces, ensuring good coverage without the need for an additional primer layer.
- New Furniture Pieces: New or unfinished furniture often does not require a primer as the surface has not been treated or exposed to contaminants.
- Minor Repairs Needed: For surfaces with minimal blemishes or imperfections, minor sanding may suffice, eliminating the need for priming.
- Testing a Small Area: If unsure, apply chalk paint to a discreet section of the piece. If the paint adheres well and covers evenly, you may decide to continue without a primer.
- Light-Colored Projects: When painting over a surface in a lighter shade, the risk of the original color showing through is minimal, which may negate the need for a primer layer.
Remember, every project is unique. Use your judgment and consider the specifics of your item and desired finish to decide if a primer is necessary.
How Primer Influences Durability of Chalk Paint Finish
Applying primer before chalk paint can enhance the longevity of your finished surface in several ways:
- Adhesion: Primer provides a better grip for the chalk paint, reducing the chances of peeling and flaking over time.
- Sealant: It seals porous surfaces, leading to a reduced absorption of chalk paint and better coverage with fewer coats required.
- Protection: Primer acts as a barrier against stains and wood tannins, which can bleed through and discolor the paint over time.
- Smooth Finish: It can help to create a smooth base, resulting in a more uniform and polished final appearance of the chalk paint.
Types of Primers Suitable for Chalk Paint
Selecting the right primer for your chalk paint project is key to ensuring a long-lasting and visually appealing finish. Water-based primers work best due to their quick drying time and low odor. These primers are suitable for most surfaces and are easy to clean up.
Oil-based primers are an option for surfaces with significant stains or where there’s a risk of bleed-through, providing a solid barrier and preventing discoloration.
Shellac-based primers offer a solution for particularly tricky surfaces, delivering a high-adhesion layer that seals porous surfaces and blocks stubborn stains effectively.
Always consider the specific needs of your project and the surface you’re working on to determine the most fitting primer. Remember, a correctly chosen primer will enhance the chalk paint’s performance and finish.
Application Techniques for Primer Before Chalk Paint
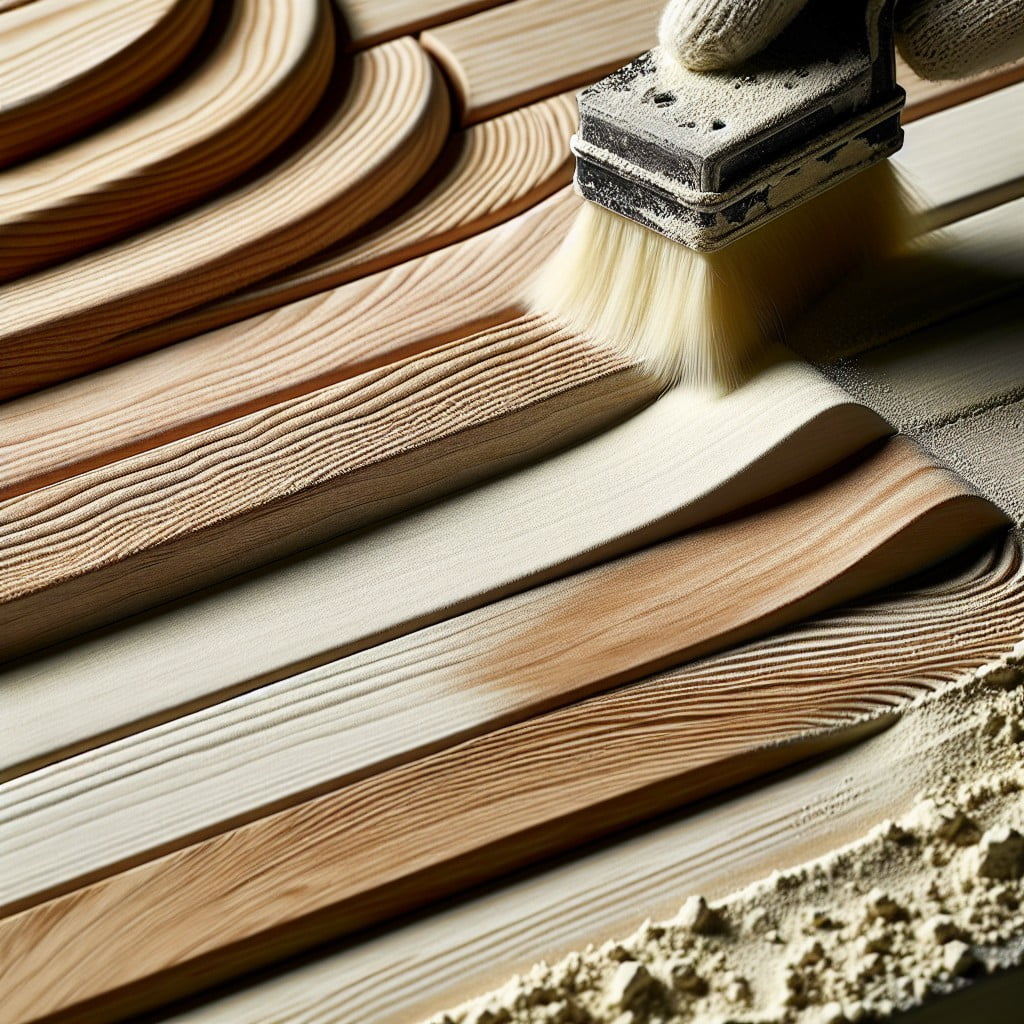
For optimal primer application before chalk painting, begin with a clean, dry surface. Sand any glossy finishes to create a texture that helps the primer to adhere more effectively.
Apply a thin, even layer of primer with a brush, roller, or sprayer, working in sections and using smooth, consistent strokes that overlap slightly. Allow the primer to dry completely, following the manufacturer’s recommended drying time, before lightly sanding to achieve a smooth base for your chalk paint.
Remember to remove all sanding dust with a tack cloth or damp rag to avoid imperfections in the final painted finish.
Troubleshooting Common Issues Without Primer
Issues can arise when chalk paint is applied without a primer. To resolve these, consider the following:
1. Tannin Bleed-Through: If you notice discoloration, apply a stain-blocking primer to the affected areas and repaint.
2. Uneven Finish: Should the paint appear patchy, lightly sand the surface and apply an additional coat of chalk paint for uniformity.
3. Poor Adhesion: If the paint is peeling, lightly sand the surface to improve adherence, clean off the dust, and repaint the area.
4. Grainy Texture: Sand the rough areas with fine-grit sandpaper, wipe clean, and apply a thin coat of paint.
For best results, address any problems as soon as they appear, ensuring a smooth, lasting finish.
Tips for Achieving a Professional Finish With or Without Primer
To achieve a professional finish when using chalk paint, consider the following points:
- Surface Preparation: Ensure your surface is clean, dry, and smooth. Remove any dust or grime with a damp cloth and, if necessary, lightly sand the surface for better paint adhesion.
- Consistent Application: Use a high-quality brush or roller to apply the paint in even strokes. Work in small sections, spreading the paint uniformly to avoid drips or uneven layers.
- Sanding Between Coats: For an ultra-smooth finish, lightly sand the surface with fine-grit sandpaper between coats. This removes any brush strokes or imperfections and provides a better base for subsequent layers.
- Layering Techniques: Consider using thin coats. Multiple thin layers can produce a more durable and professional finish than a single thick layer.
- Distressing: If a distressed look is desired, focus on the natural wear points and use light, uneven brush strokes, varying the pressure to achieve an authentic aged appearance.
- Top Coat: Protect your finished piece with a suitable sealing coat such as wax or a water-based polyurethane. Apply with care to avoid brush marks and maintain the integrity of the chalk paint’s matte finish.
Remember to allow sufficient drying time between each step to ensure each layer adheres well and to prevent any unwanted texture or color mixing.
Maintenance and Care for Chalk Painted Surfaces
Keeping your chalk-painted surfaces looking fresh and vibrant over time is straightforward with the right care. Regular dusting with a soft cloth can help maintain the appearance and prevent buildup of debris. For cleaning, use a gentle, non-abrasive cleaner and avoid harsh chemicals that can strip the paint. If the surface becomes marked or stained, a quick spot cleaning with a damp cloth and mild soap should suffice.
To protect your chalk paint finish and enhance its durability, consider applying a wax or sealant. This should be done after the paint has completely dried. Apply the wax in thin layers, using a brush or cloth, and allow it to cure as per the product instructions. Reapply wax every few months, or as needed, depending on how much wear the surface receives.
In case of scratches or unwanted marks, you can lightly sand the area and apply a new coat of chalk paint for a seamless fix. Remember, chalk paint is forgiving and touch-ups blend in easily without the need for repainting the entire piece.
Be mindful of the objects placed on chalk-painted surfaces; use coasters under beverages and felt pads under decorative items to prevent rings and scratches. With minimal effort, your chalk-painted furniture and décor can remain as charming as the day you finished the project.
FAQ
Do you need to use primer before chalk paint?
While priming is not generally required before applying chalk paint, it is recommended for surfaces with high tannins like cedar, redwood, mahogany and fir, or knotty woods for optimal adhesion and defects coverage.
Can you just paint with chalk paint?
Absolutely, with chalk paint, even without professional experience, one can dive directly into painting furniture without the necessity of sanding or priming first.
What chalk paint doesn t need primer?
Both the Annie Sloan chalk paint and the Rust-Oleum chalk paint do not require a primer before application.
Does chalk paint need to be sealed?
Yes, chalk paint requires sealing for added durability, especially on heavily used surfaces, to ensure the longevity of the paint and ease of maintenance.
What surfaces are suitable for chalk paint without primer?
Chalk paint can be applied directly onto surfaces such as wood, metal, fabric, and ceramic without the need for primer.
How does the texture of the surface affect the need for primer with chalk paint?
The texture of the surface does impact the need for primer with chalk paint, as smoother surfaces often require a primer for optimal adherence of the paint.
Can specific factors lead to the requirement of a primer even when using chalk paint?
Yes, certain factors like stains, odors or highly glossy surfaces can necessitate the use of a primer even with chalk paint.
Read More Like This
 15 Homecoming Decoration Ideas to Elevate Your Celebration
 15 Christmas Cake Decorating Ideas to Sweeten Your Holidays
 15 Outdoor Party Tent Decorating Ideas for a Magical Celebration
 15 Ideas for Welcome Home Decorations
 15 Cheap Table Decoration Ideas to Elevate Any Gathering
Recap: