Last updated on
Dive into the world of DIY and creativity as this guide provides a comprehensive, step-by-step run-down on effectively distressing chalk paint to add that perfect vintage touch to your furniture.
Key takeaways:
- Choose the right chalk paint color to achieve desired effect
- Thoroughly clean and prep the furniture before painting
- Apply the base coat evenly and let it dry completely
- Select and distress specific areas for a natural look
- Use wax or polyurethane to seal and protect the distressed paint
Materials You’ll Need
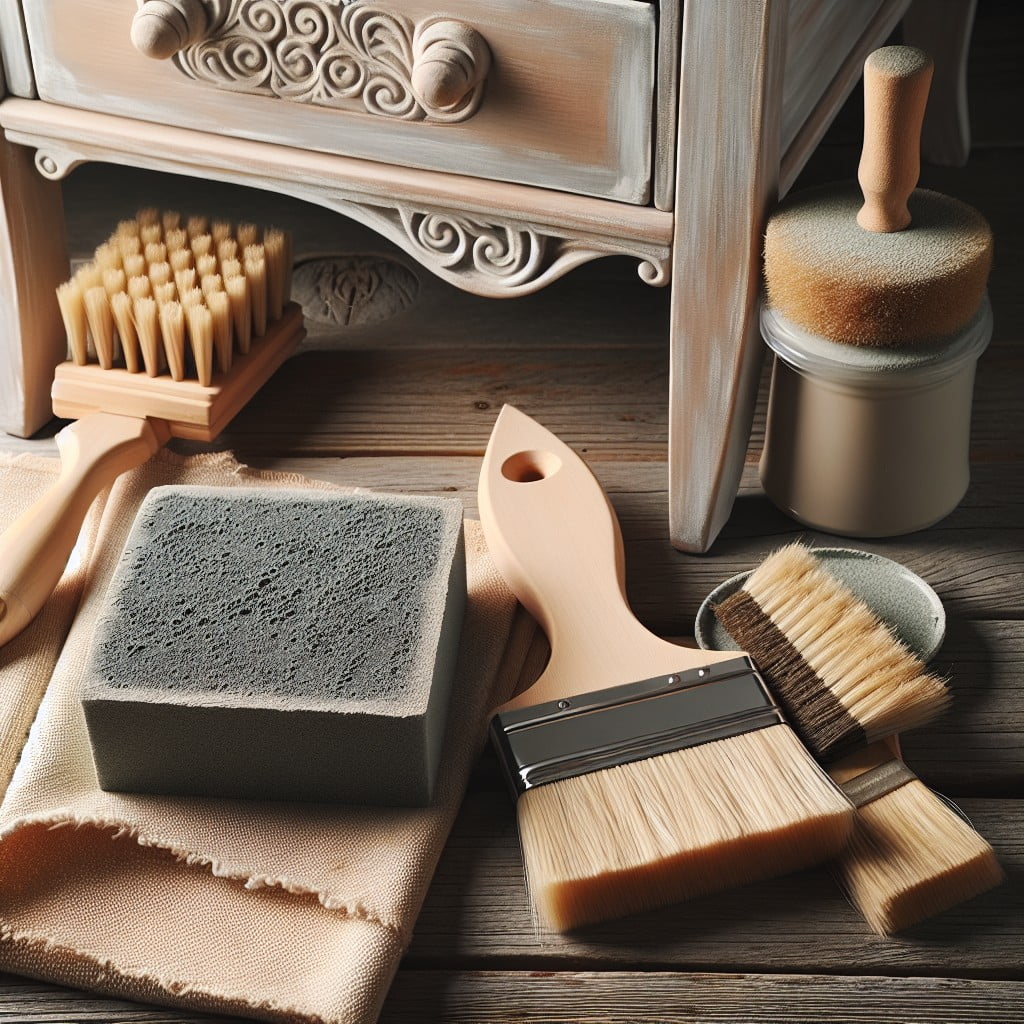
To begin the distressing process, gather these essential materials:
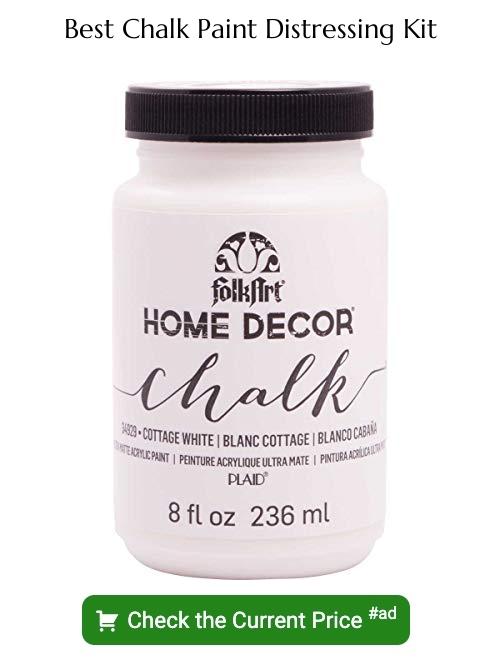
- Chalk paint in your desired color
- Fine-grit sandpaper or a sanding block, ideally 220-grit or higher
- A clean, lint-free cloth for wiping away dust
- Paintbrushes or a roller depending on the piece’s size and your comfort level
- A clean water source for wet distressing, if applicable
- Clear furniture wax to seal and protect your work
- Optional: a second chalk paint color for layered distressing effects
Having these items at hand will facilitate a smooth and efficient workflow, allowing you to focus on achieving that perfectly distressed look.
Choosing Your Chalk Paint Color
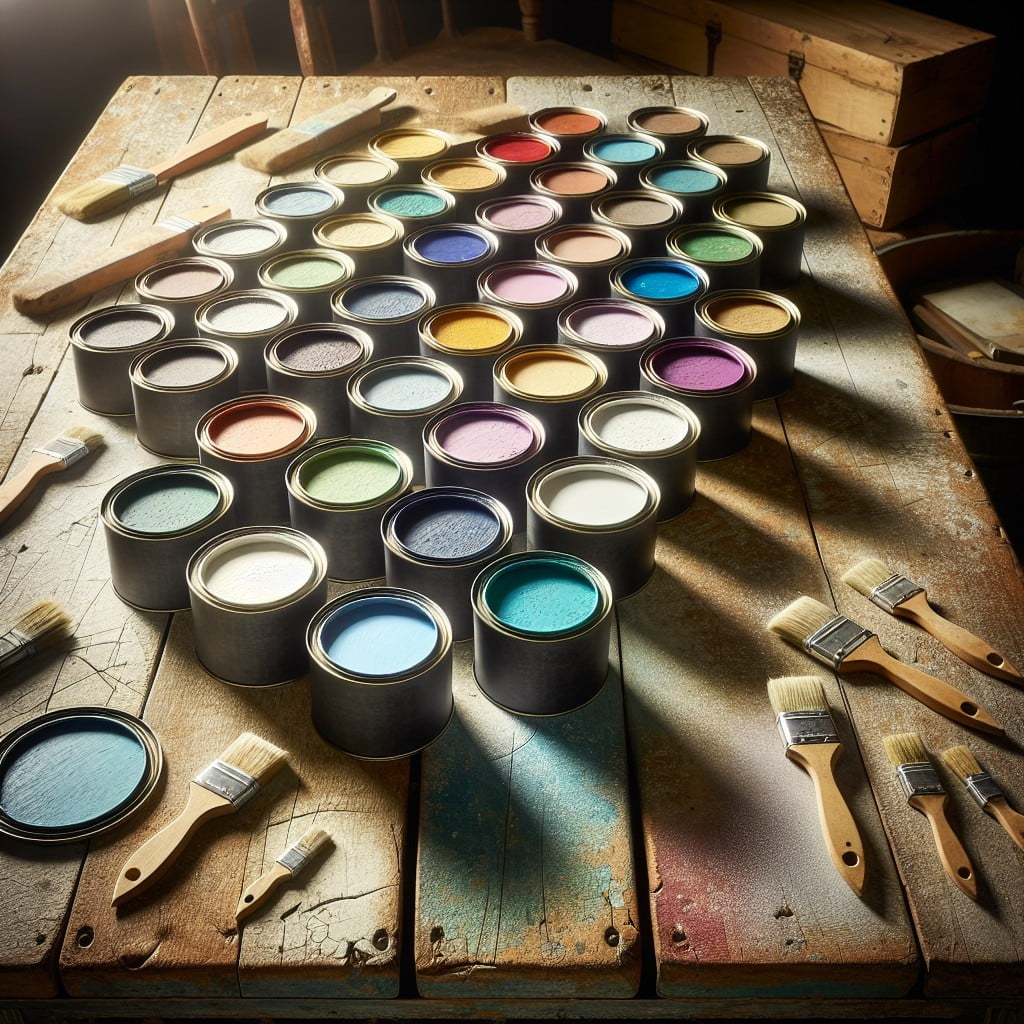
Selecting the right shade for your project can significantly impact the final distressed look.
– Consider the overall color scheme of the room where the furniture will be placed to ensure a harmonious fit.
– For a more pronounced distressed effect, choose contrasting colors between the base coat and topcoat. A darker base with a lighter topcoat makes the distressed areas pop.
– Lighter colors tend to showcase the distressed technique in a more subtle, shabby-chic manner.
– Think about the era and style of the furniture piece. Traditional colors like deep blues or greens fit well with classic styles, while modern pieces can handle bold and bright hues.
– Test your chosen color on a small, inconspicuous area of the furniture to check how it looks when sanded or combined with wax.
– Don’t forget to examine your paint swatches in different lighting conditions, as this can significantly affect the appearance of the color.
Prepping the Furniture Piece
Before diving into the painting process, it’s crucial to prepare your furniture for the best possible outcome. Start by thoroughly cleaning the piece to remove dirt, grease, and lingering dust. A mild cleaning solution and a damp cloth will usually do the trick. Once clean, allow the piece to dry completely.
If the surface is glossy or has a previous coat of paint or varnish, a light sanding will help create a better surface for the chalk paint to adhere to. You don’t need to remove all the previous finish, just roughen it up a bit. After sanding, wipe the piece down with a tack cloth to eliminate any residual sawdust.
In some instances, particularly with older furniture, you might encounter repairs that need to be made. Take this time to glue any loose joints, fill cracks with wood filler, and replace any missing hardware.
Once the furniture piece is clean, dry, and repaired, it’s ready for the transformative process of painting and distressing. Remember, time spent on prep work ensures a smoother painting experience and a more durable finish.
Applying the Base Coat
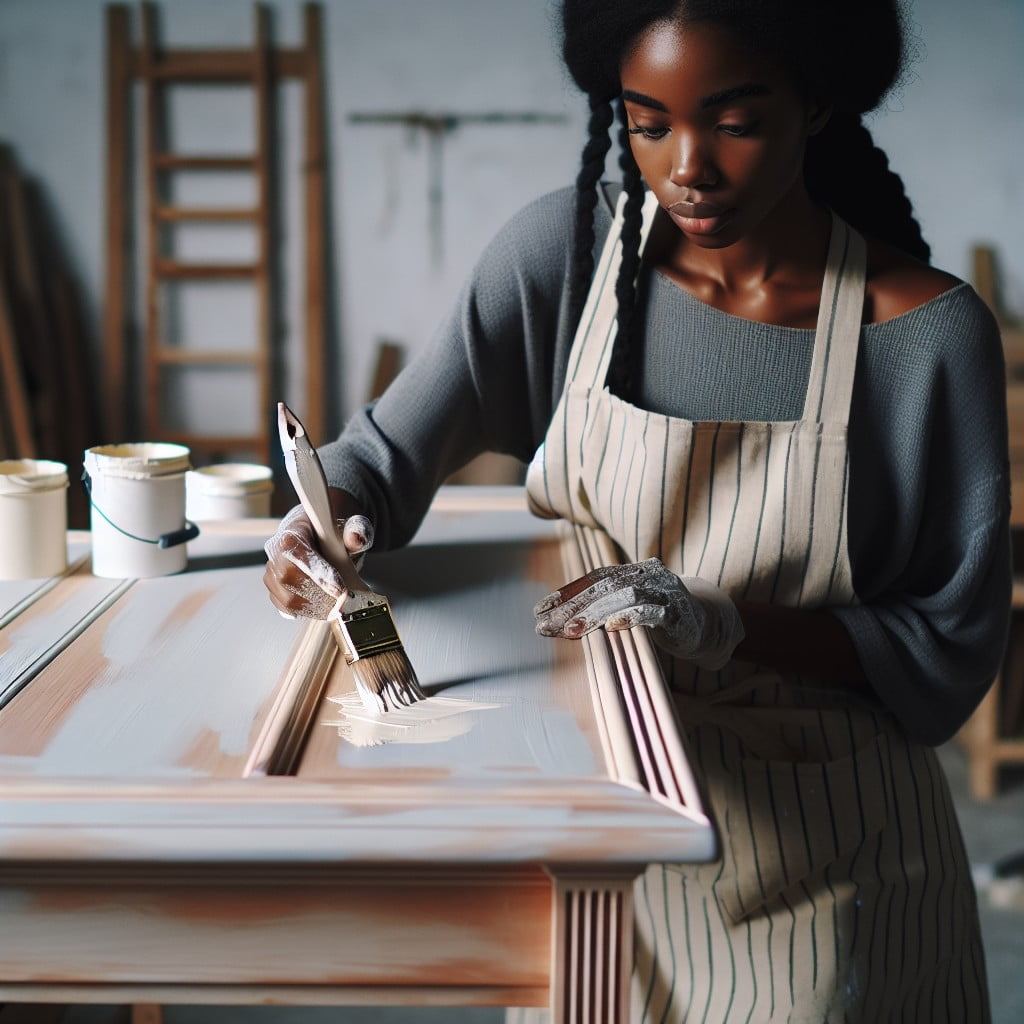
Begin by ensuring your furniture piece is clean and free of dust or debris. Any contaminants on the surface may hinder the adhesion of the chalk paint. Once cleaned, there’s usually no need to prime due to the paint’s excellent adherence properties. However, if the original surface is particularly glossy or slippery, a light sanding can promote better grip.
Stir your chosen chalk paint thoroughly before use to ensure color consistency. Use a high-quality brush or roller to apply an even coat. Don’t worry about brush marks — they can contribute to the overall distressed look. Avoid applying too thick a layer; multiple thin coats are preferable to a single thick one. This also helps avoid drips and runs.
Allow the base coat to dry completely, following the manufacturer’s recommended drying times. This could range from a few hours to overnight. A well-applied base coat provides a solid foundation for the subsequent distressing process, ensuring your efforts result in a beautifully aged piece, replete with vintage charm.
Selecting Areas to Distress
When selecting spots to distress on your furniture piece, consider the natural wear and tear that would occur over time.
- Focus on edges, corners, handles, and around keyholes as these areas typically show signs of age first.
- Think about where hands would frequently touch, causing paint to wear off. Drawer fronts and the tops of chair backs are prime candidates.
- Reflect on the piece’s era and styling; an older, ornate piece may have areas more authentically distressed than a minimalist modern item.
- Avoid uniformity, since natural wear occurs sporadically. Aim for randomness in the pattern of your distressing.
- Remember less is often more. You can always add more distressed areas, but it’s difficult to reverse the process if you overdo it.
- Evaluate your work frequently from various distances to ensure a balanced and realistic distressed look.
Distress By Sanding Technique
For a convincingly worn look, focus on edges, corners, and areas where natural wear would occur over time. Begin with a medium-grit sandpaper, such as 120-grit, to gently remove the top layer of paint. Proceed with a lighter touch, as chalk paint sands off easily, which could lead to more distressing than desired if you apply too much pressure.
If preferred, graduate to a finer grit, such as 220, for a smoother finish. Always sand in the direction of the wood grain to avoid unnatural scratch marks. Remember to wipe down the surface with a damp cloth afterward to remove any dust before moving on to the next step.
Wet Distress Technique
The wet distress technique allows for more control and a subtler distressed look. This method involves using a damp cloth or sponge to remove the chalk paint from the areas you have chosen to distress. Once your base coat is dry, lightly dip your cloth or sponge in water, wring out the excess, and gently rub it over the paint.
Here are some key points to remember:
- Work in small sections to keep the effect consistent.
- Focus on edges, corners, and typical wear spots for a natural distressed appearance.
- The amount of pressure you apply will affect the level of distress; use a light touch for a faintly worn look or more force for a heavily distressed finish.
- Keep your cloth clean by rinsing frequently to avoid smudging.
- Stop and check your progress intermittently to ensure you don’t over-distress the piece.
Being gentle is important, as applying too much water or pressure can remove too much paint and compromise the vintage effect you’re aiming for.
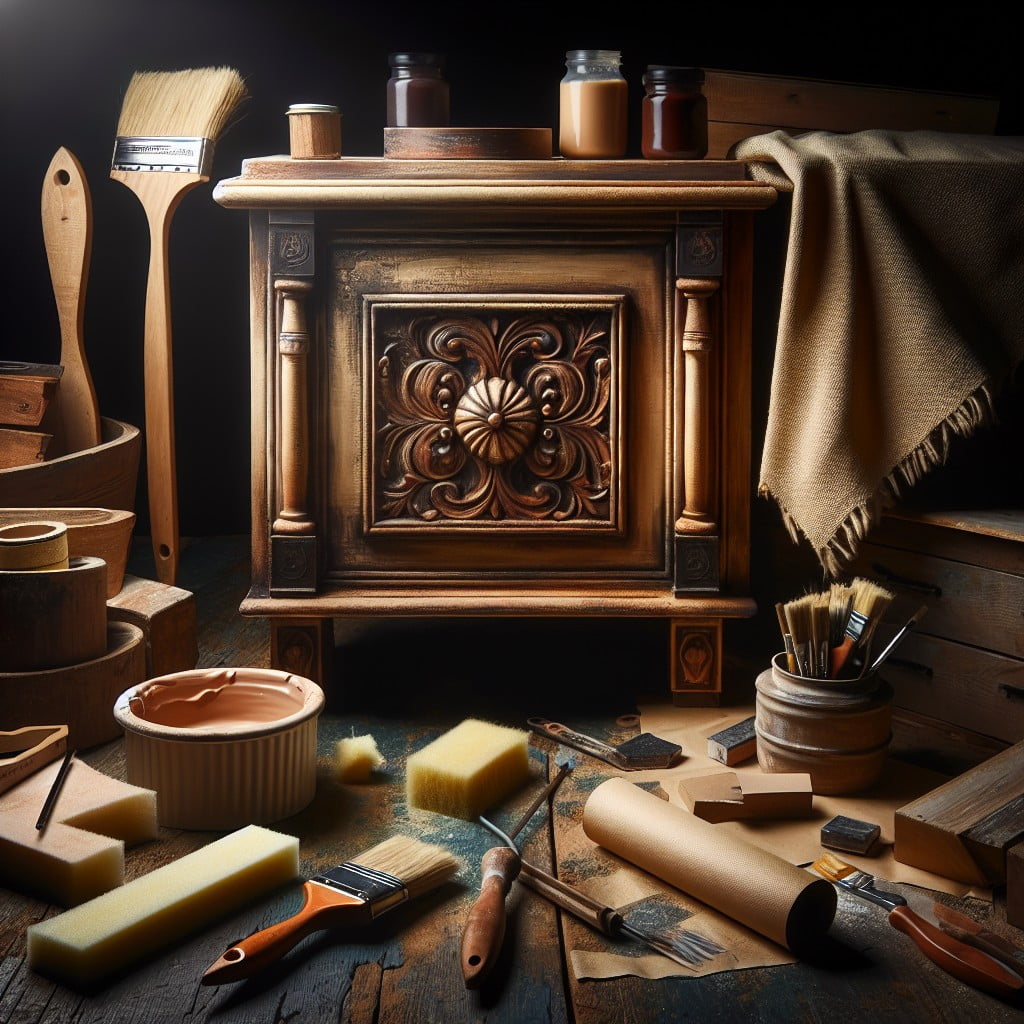
Adding a Second Color for Layers
Introducing a secondary hue creates depth and visual interest. Apply a thin layer, allowing some of the base color to peek through. This method mimics natural wear over time, suggesting years of use and exposure.
Balance is key; too much could overpower the piece, too little might go unnoticed. Consider areas that would naturally show wear like edges, corners, and raised details—these spots are ideal for highlighting with your contrasting color.
Once satisfied with the application, lightly sand for a smooth transition between shades, enhancing the weathered look. This layered technique offers an authentic aged appearance, giving your furniture character and a unique story.
Using Wax to Distress Chalk Paint
Harness the transformative power of wax to create a timeworn effect on your chalk-painted furniture. With both clear and dark wax at your disposal, you can artfully accentuate the piece’s inherent character.
- Apply clear wax first to ensure the dark wax can be manipulated easily.
- Work in small sections, using a brush or cloth to apply dark wax over the areas you want to appear aged.
- Focus on corners, edges, and crevices where wear and tear naturally occur.
- Remove excess wax with a clean cloth, softening the distressed effect to your preference.
- Experiment with the amount of dark wax to achieve your desired level of distressing, as the intensity varies with application.
- Allow the wax to cure for a stronger protective seal on your now-beautifully antiqued piece.
By manipulating wax in the distressing process, you control the final patina, adding an extra layer of depth to your chalk paint endeavor.
Sealing the Distressed Chalk Paint
After achieving the perfect distressed look with chalk paint, it’s crucial to protect your furniture piece from wear and tear. Sealing it will also enrich the colors and add depth to your freshly distressed areas. This can be done using various sealants, like wax or a water-based polyurethane.
When using wax, apply a thin layer with a wax brush or cloth, gently working it into the surface. Ensure it gets into the nooks and crannies, as this will enhance the distressed features. Buff to a subtle sheen after it dries, for a timeless, classic look.
If you opt for polyurethane, aim for a product designed for use over chalk paint. Apply with a brush or foam applicator in thin, even coats. Remember to lightly sand with fine-grit sandpaper between coats to ensure a smooth finish.
Regardless of the sealer chosen, always test it on an inconspicuous area first. This will show you the final appearance and allow for adjustments before applying it to the entire piece. Proper sealing will not only safeguard your furniture but ensure the distressed charm lasts for years to come.
Maintenance of Distressed Chalk Paint Furniture
To ensure your distressed chalk paint furniture retains its charm over time, routine care is paramount. To start, clean surfaces with a soft cloth or sponge and gentle, non-abrasive cleaners to avoid wearing down the finish. Dust regularly to prevent buildup that can scratch and deteriorate the paint.
If the wax was applied as a sealant, it may need to be reapplied periodically to maintain protection—usually once every six months to a year, depending on usage. For high-traffic pieces, a matte-finish polyurethane can offer a tougher layer of protection without compromising the distressed look.
Be mindful of where the furniture is placed. Avoid direct sunlight, which can fade the paint over time, and keep the furniture away from extreme temperatures and humidity, which can cause the wood to expand and contract—potentially cracking the paint.
Minor touch-ups are easier with chalk paint, due to its forgiving nature. Keep leftover paint for quick fixes of chips or scratches, making sure to lightly distress the touched-up areas to blend seamlessly with the existing finish.
Regular upkeep not only enhances appearance but also extends the life of your distressed furniture, allowing it to offer a timeless aesthetic for years to come.
FAQ
How do you make chalk paint look worn?
To give chalk paint a worn look, gently sand the surface area, particularly the edges, corners and high spots, using medium to fine grit sandpaper or a sanding block, and repeat as necessary to suggest natural aging.
How long to let chalk paint dry before distressing?
Chalk paint typically should be allowed to dry for about 15-20 minutes before starting the distressing process.
What grit sandpaper do you use to distress chalk paint?
For distressing chalk paint, a 220 grit sandpaper is commonly used to lightly rub the edges and reveal the underlying color.
Can you use a wet rag to distress chalk paint?
Yes, a wet rag can be used to distress chalk paint by gently rubbing it on the surface where a worn look is desired.
What type of sealant is best to use after distressing chalk paint?
For optimal protection and enhanced durability after distressing chalk paint, a clear wax sealant is the recommended choice.
Is it necessary to apply a wax coating after distressing chalk paint?
Yes, applying a wax coating after distressing chalk paint is necessary to seal the paint and add a sheen to the surface.
Read More Like This
 15 Funny Graduation Cap Ideas to Make Your Big Day Unforgettable
 15 Unique DIY Christmas Decorations Ideas for a Festive Home
 15 Creative Science Fair Board Ideas to Amaze Your Audience
 15 Handmade Envelope Decoration Ideas for Creative Gifting
 10 DIY Gifts for the Whiskey Lover in Your Life
Recap: