Last updated on
Mastering the art of grouting uneven mosaic tile enhances your home’s aesthetics, because a well-executed finish can turn a simple space into an extraordinary design showcase.
Grouting uneven mosaic tiles can seem like a daunting task, but with the right tools and a patient approach, you can create a beautiful, durable finish that will last for years.
The key lies in using proper techniques, like choosing the right type of grout, mixing it correctly, applying in small sections, and using a special technique to fill in gaps that accommodate for the unevenness.
This comprehensive guide will walk you through each step, sharing top tips and professional insights for the best outcome.
Brace yourself for a beautifully grouted mosaic tile surface when you follow these detailed strategies.
Key takeaways:
- Use the right grout type for uneven mosaic tiles.
- Prepare the workspace and tiles before grouting.
- Choose the appropriate grout color and mix it correctly.
- Have the necessary tools and equipment for grouting.
- Avoid common mistakes like rushing the drying process and skipping sealing.
Understanding Uneven Mosaic Tile Grouting: Key Concepts

Grouting uneven mosaic tiles can seem daunting, but it’s just about understanding the process and applying a few crucial points.
Uneven tiles, characterised by varying heights and uneven surfaces, require a slightly different technique.
Certain grout types work better due to increased flexibility and adherence.
Using sanded grout can help to fill larger gaps but, the sand particles might scratch the tile surface, so be watchful.
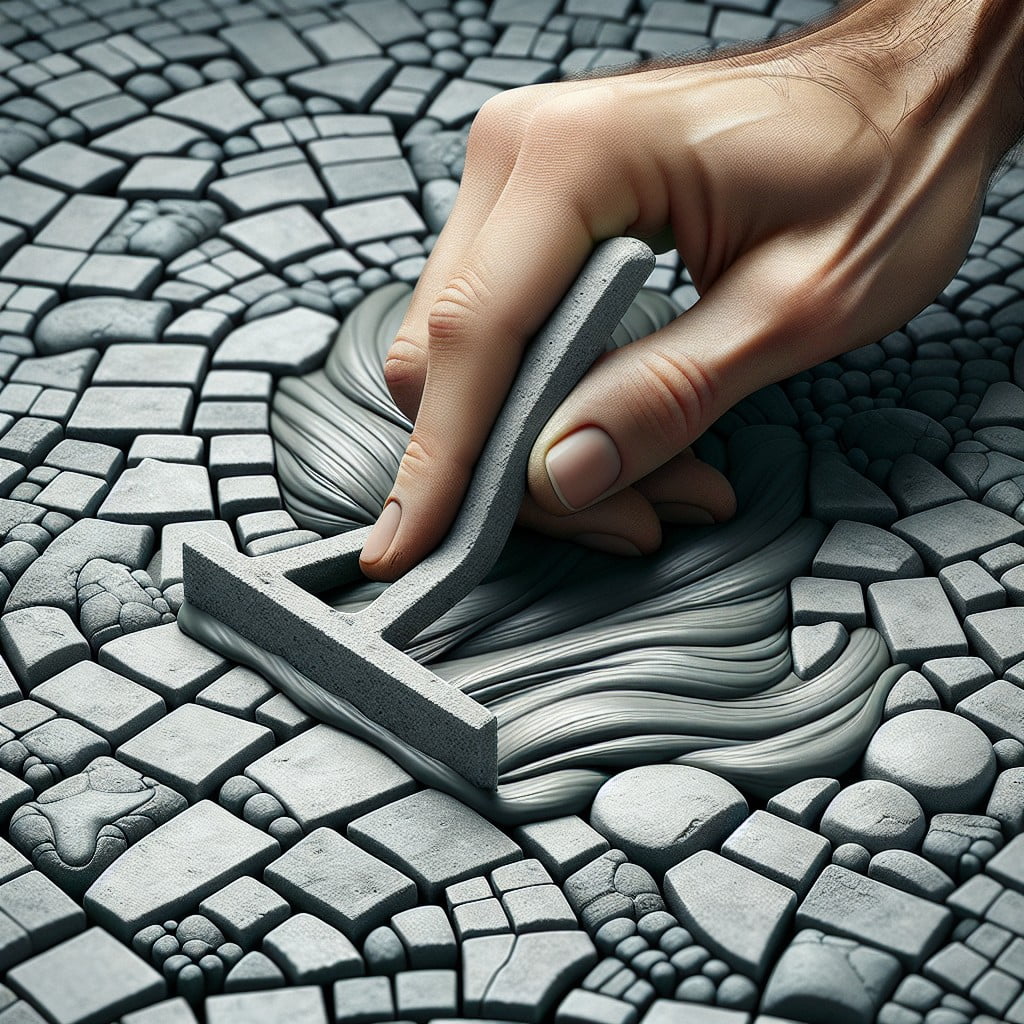
The key aspect is ensuring even filling of all gaps irrespective of tile height differences: the grout must seep into the deepest corners to provide a seamless look.
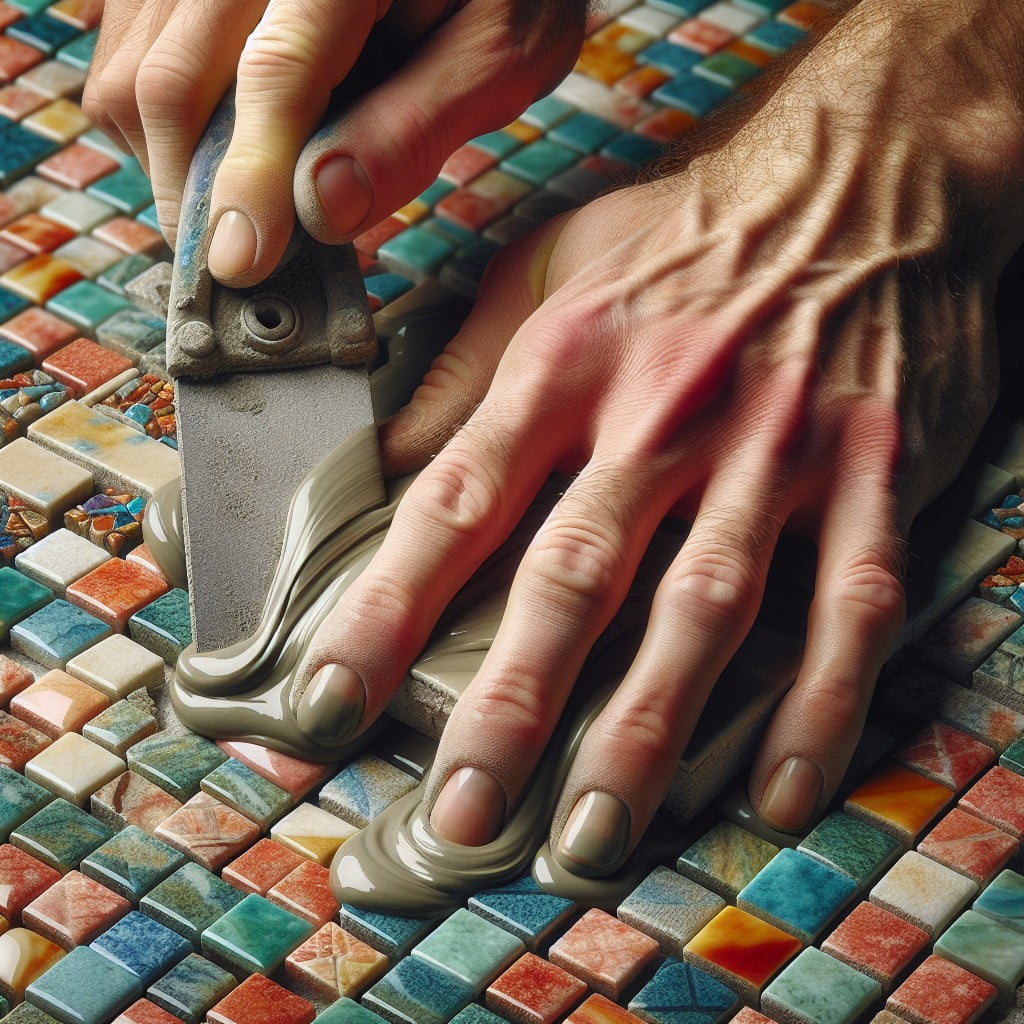
The application method plays as crucial a role as selection and preparation; using a grout float at a 45-degree angle will force the grout into the gaps, even in uneven surfaces.
Lastly, mindful removal of the excess grout is pivotal for a professional look.
Choosing the Right Grout for Mosaic Tiles: Considerations
Three main types of grout – sanded, unsanded, and epoxy – are available for different uses. On one hand, sanded grout is the go-to choice for larger grout lines because its gritty texture prevents shrinkage and cracking. On the other hand, unsanded grout, with a smoother finish, is better suited for smaller grout lines and delicate tiles that may be scratched by the sand particles.
Then there is epoxy grout, a water-resistant, durable choice ideal for harsh or high-traffic areas. Yet, it’s far less forgiving during application and requires more clean-up and care to prevent leftover haze.
It’s crucial to consider the grout color when dealing with mosaic tiles. Neutral grays and whites let the mosaic’s pattern shine, while contrasting or vibrant grout colors can make a bold statement.
Remember, each grout type has its specific mixing instructions, typically detailed on the packaging. It’s vital to mix grout accurately to achieve the proper consistency and strength. A poorly mixed grout may weaken the bonding of the tiles, leading to cracks or seepage over time.
Preparation Tips for Grouting Uneven Mosaic Tiles

Ready your workspace by laying a protective cover on the floor to catch any falling grout. Ensure your tiles are firmly fixed and adhesive is fully dried.
Clean surfaces to be grouted, removing dirt, dust, or adhesive remnants. Protective gear, including gloves and eye protection, is vital to ensure safety throughout the process.
Maintain a clear, dry, and well-ventilated space to work for a comfortable and effective grouting experience. Since mosaic tiles can be more sensitive, soak them in water before grouting to make clean up easier.
Measure the spaces between tiles carefully to account for unevenness so you can adequately estimate the amount of grout you’ll need. Remember, successful preparation sets the stage for the smooth execution of grouting your uneven mosaic tiles.
Tile Grouting Materials & Equipment Required for Uneven Mosaic Tiles
Prime considerations for grouting materials involve durability, longevity, and aesthetics. For grouting uneven mosaic tiles, choose a non-sanded grout, ideal due to its fine texture. Opt for a color that complements your tiles, providing balanced visual cohesion.
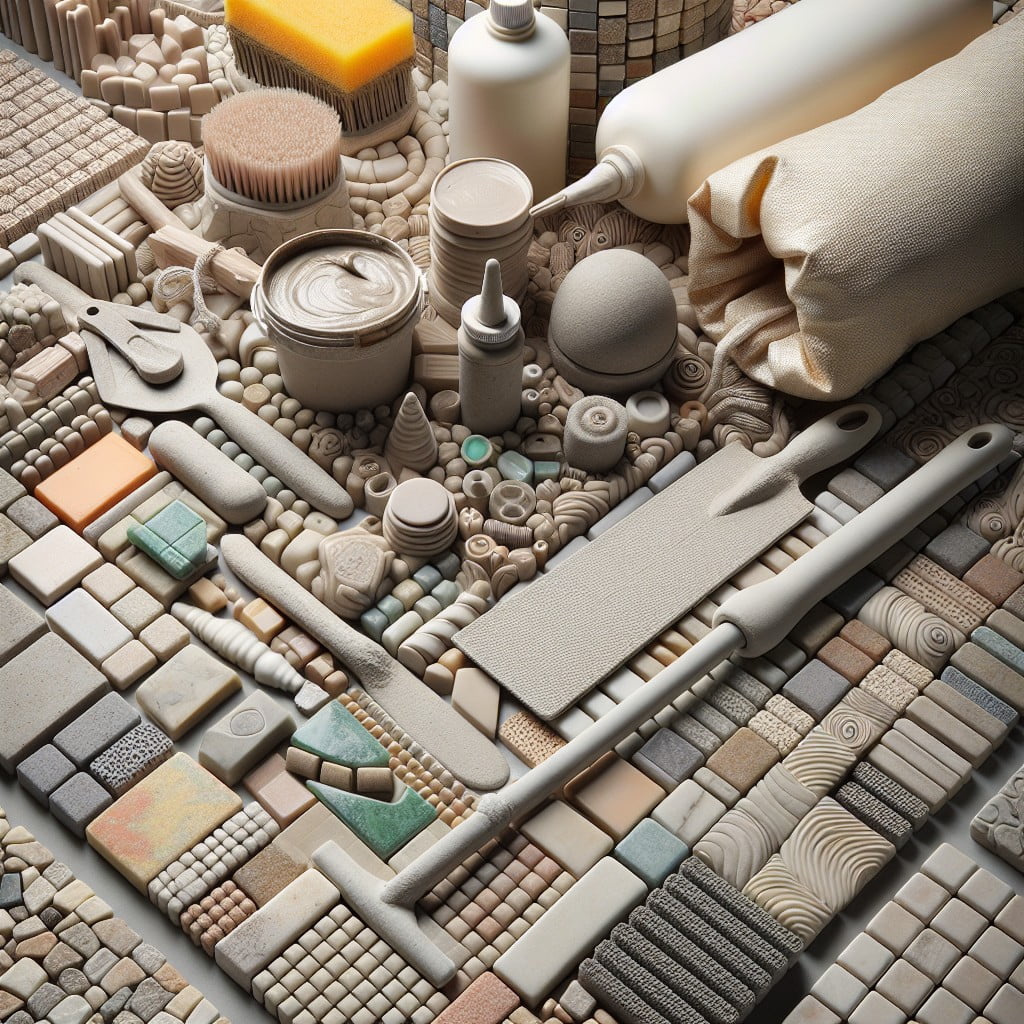
Essential tools include:
- Buckets: Utilize dual buckets for the mixing process; one for grout mixing, the other for clean water.
- Mixing Paddle: Attach to a drill to ensure thorough, consistent grout mixture.
- Grout Float: This rubber tool effectively spreads grout across the mosaic surface, filling the spaces between tiles.
- Grout Sponge: Employ this rounded-corner sponge for the removal of excess grout from the tile surface.
- Grout Sealer: Crucial to prevent staining and protect the grout’s color over time.
- Protective Equipment: Safety glasses and gloves are a smart defense against potential grout exposure to sensitive body areas.
Lastly, patience is a crucial part of your toolkit. Uneven mosaic tiles require extra attention during the grouting process.
Mosaic Tile Grouting: Tips to Avoid Common Mistakes
To ensure a flawless finish with your mosaic tiles, avoiding common mistakes is key:
1. Not Wetting the Tile: Dry tiles may draw moisture out of the grout which can lead to weak spots or cracks. Pre-wetting ensures sufficient hydration.
2. Inappropriate Grout to Water Ratio: Follow the manufacturer’s guidelines strictly. Too much water can cause grout shrinkage and too little can result in incomplete hardening.
3. Skipping Sealing: Mosaic tiles, especially glass, can be stained by darker grouts. To prevent this, sealing the tiles prior to grouting is recommended.
4. Rushing Grout Drying: It’s crucial to let the grout dry for the recommended amount of time before proceeding with cleaning. Rushing can damage the grout’s integrity.
5. Neglecting Cleaning: After grouting, ensure all excess grout is wiped away from the tile surface to prevent a hazy finish.
Remember, patience and precision are the hallmarks of a successful tiling project!
FAQ
How do you grout an uneven backsplash?
To grout an uneven backsplash, use a grout float to apply grout onto the tiles and make multiple passes over the surface to ensure all gaps are filled, compared to a usual single-pass approach in grouting regular tiles.
What consistency should grout be for mosaic?
The optimal consistency for grout in mosaics is similar to that of toothpaste, achieved by cautiously adding water a little at a time.
What type of grout is best for uneven mosaic tiles?
For uneven mosaic tiles, flexible, sanded grout is considered the most effective due to its ability to withstand movement and fill large gaps.
How do you apply grout on mosaic tile with varying thickness?
To apply grout on mosaic tile with varying thickness, spread the grout using a rubber float, ensure it gets into all the crevices, then use a damp sponge to clean excess grout and create a smooth finish.
How do you clean grout from mosaic tiles without damaging the finish?
To cleanse grout from mosaic tiles without damaging the finish, use a soft brush and a mix of warm water and mild detergent, gently scrubbing the grout and avoiding the tile surface.
Read More Like This
 15 Funny Graduation Cap Ideas to Make Your Big Day Unforgettable
 15 Unique DIY Christmas Decorations Ideas for a Festive Home
 15 Creative Science Fair Board Ideas to Amaze Your Audience
 15 Handmade Envelope Decoration Ideas for Creative Gifting
 10 DIY Gifts for the Whiskey Lover in Your Life
Recap: