Last updated on
Discover the simple steps to successfully hang a pendant light with a chain, transforming your room’s ambiance with this elegant lighting solution.
Are you looking to add a touch of elegance and sophistication to your home decor? A pendant light with a chain can do just that! Not only does it provide ample lighting, but it also adds a stylish element to any room. However, hanging a pendant light with a chain may seem like an intimidating task for those who are not familiar with electrical work.
But fear not, because in this article, we will provide you with step-by-step instructions on how to hang a pendant light with ease and safety. So grab your tools and let’s get started on illuminating your space in style!
Key takeaways:
- Choose a pendant light that complements your decor
- Gather tools like wire strippers, screwdriver, pliers, voltage tester, and tape measure
- Turn off electricity and double-check for current using a voltage tester
- Install a ceiling hook to secure the pendant light
- Thread the electrical wires, connect components, attach pendant to chain, and secure the light bulb
Choose the Pendant Light
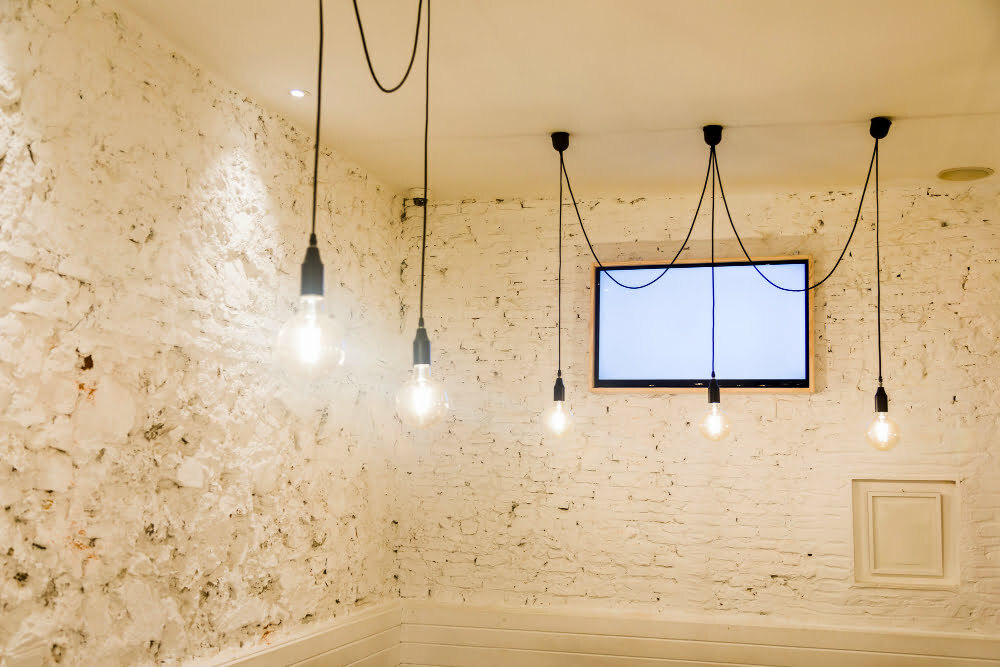
When it comes to choosing a pendant light, there are several factors to consider. First and foremost, you want to select a style that complements your existing decor.
Pendant lights come in various shapes, sizes, and designs ranging from modern and sleek to vintage-inspired or rustic.
Consider the size of the room where you plan on installing the pendant light as well. A larger room may require a bigger fixture with more bulbs for adequate lighting while smaller rooms can benefit from smaller fixtures.
Think about how much illumination you need in your space. Some pendant lights provide direct lighting while others offer ambient or diffused lighting options.
Lastly but most importantly is safety; ensure that any electrical components used are certified by relevant authorities such as UL (Underwriters Laboratories) before purchasing them.
Gather Required Tools
You’ll need a few basic items that you may already have at home or can easily purchase from a hardware store. These include:
- Wire strippers
- Screwdriver (flathead and Phillips)
- Pliers
- Voltage tester
- Tape measure
Make sure you have all of these tools on hand before starting the installation process, as they will make hanging your pendant light much easier and safer.
Turn Off Electricity
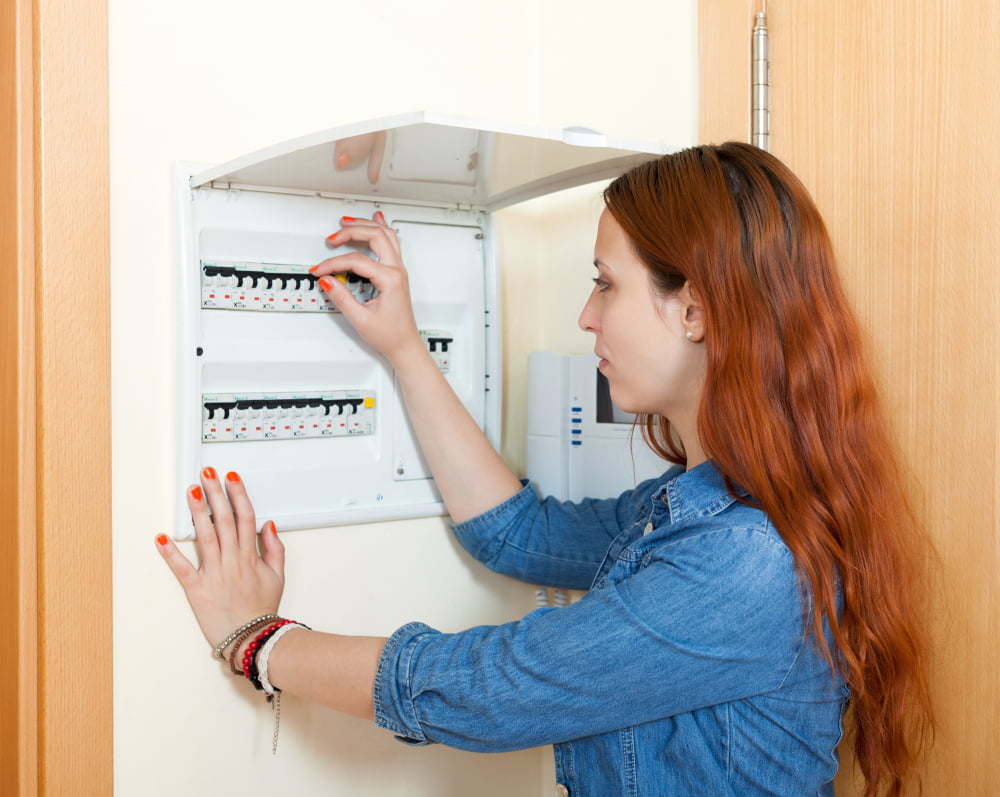
This step ensures your safety and prevents any potential accidents from occurring. To do this, locate your home’s circuit breaker box and switch off the power supply to that particular room or area.
Once you have turned off the electricity, use a voltage tester to double-check that there is no current running through any wires before proceeding with hanging your pendant light. Safety should always come first when dealing with electrical work.
Install Ceiling Hook
The ceiling hook is what will hold the weight of your pendant light and ensure that it stays securely in place.
To begin, locate the center point of where you want to hang your pendant light and mark it with a pencil. Then, using an electronic stud finder or by tapping on the ceiling until you hear a solid sound (indicating there is wood behind), find two adjacent joists that are closest to this center point.
Next, measure out equal distances from each side of these joists and mark them with another pencil line intersecting at the center point previously marked.
Using an electric drill fitted with a small pilot bit (1/8 inch), drill holes through both marks made earlier into each joist above until they reach all way through into open air below.
Adjust Chain Length
The chain should be long enough to hang at your desired height but not too long that it becomes a safety hazard or looks awkward. To adjust the length of your pendant light’s chain, use pliers to remove any excess links until you reach your desired length.
Make sure that both sides of the chains are even before proceeding with wiring and attaching.
Adjusting chain lengths can be tricky if you’re not familiar with working with metal chains, so take extra care when using pliers or wire cutters as they can easily slip and cause injury.
Thread Electrical Wires
Begin by threading one end of the wire through the pendant light’s mounting bracket and then through each link in your chain. Make sure that you leave enough wire at both ends to connect them later.
Next, strip about ½ inch of insulation from each end of your electrical wires using a wire stripper tool or a pair of pliers. Then twist together each corresponding color-coded wire (black with black, white with white) and secure them tightly with a plastic connector cap.
Once all connections are made securely, tuck any excess wiring into the ceiling box and attach your pendant light fixture onto its mounting bracket using screws provided in its package.
Connect Wiring Components
First, strip about 1/2 inch of insulation from each wire end using a wire stripper. Then, twist together the exposed ends of each corresponding colored wire: black to black (hot), white to white (neutral), and green or bare copper to green or bare copper (ground).
Secure each connection with a wire nut by twisting it clockwise until tight.
Once all connections are made, tuck them neatly into the ceiling box and attach any provided cover plate over them. Gently push up on your pendant light fixture so that its mounting bracket slides onto your ceiling hook.
Attach Pendant to Chain
First, locate the loop at the top of your pendant light and thread one end of a quick link through it. Then, take one end of your chain and thread it through that same quick link before closing it securely with pliers.
Next, repeat this process on the other side by threading another quick link onto that same chain and then attaching both ends to either side of your pendant light fixture. Make sure everything is tightened properly so that there are no loose connections.
Give everything a gentle tug just to make sure all components are secure before turning on electricity again for testing purposes.
Secure Light Bulb
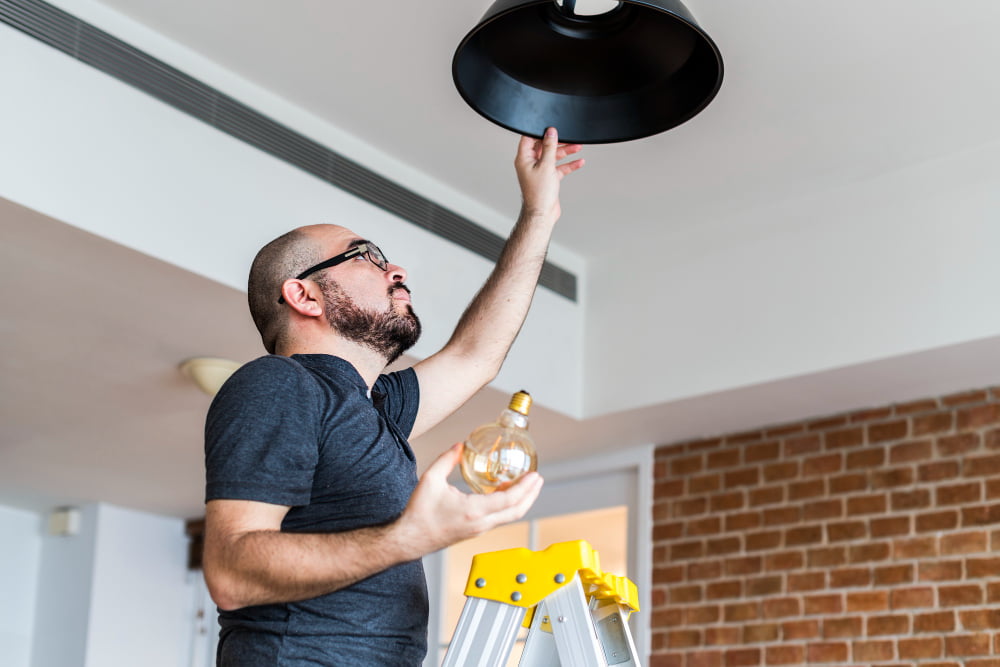
First, make sure that your hands are dry and free of any moisture or oils before handling a light bulb. Then, gently screw in the light bulb into its socket until it is snugly fit.
Next, check if there is any wobbling or looseness in your pendant fixture after installing a new lightbulb. If so, tighten all screws and connections again until everything feels stable.
Test and Enjoy
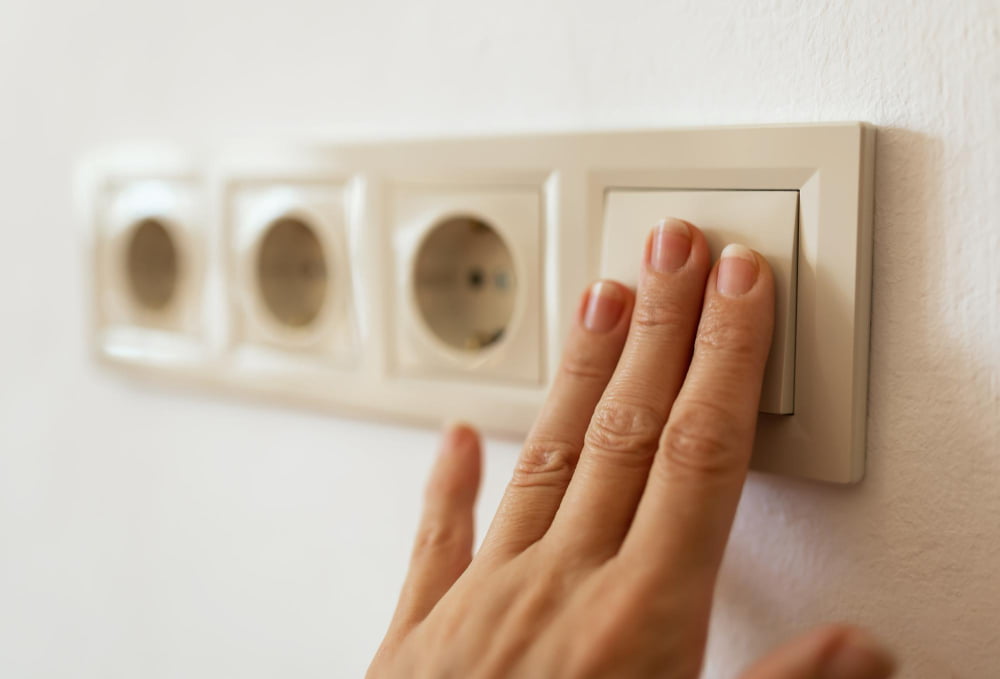
Turn on the electricity and switch on the light to ensure that everything is working correctly. If there are any issues, turn off the power immediately and double-check all connections.
Assuming everything is in order, take a step back and admire your handiwork! A well-placed pendant light can completely transform a room’s ambiance by providing both functional lighting as well as an aesthetic focal point.
Experiment with different bulb types or dimmer switches to adjust brightness levels according to your preferences. With proper care and maintenance, this beautiful addition will provide years of enjoyment for you and your family.
Hanging a pendant light with a chain may seem daunting at first glance but following these simple steps can make it an easy DIY project for anyone looking to add some style into their home decor while also improving functionality through better lighting options.
Read More Like This
 15 Funny Graduation Cap Ideas to Make Your Big Day Unforgettable
 15 Unique DIY Christmas Decorations Ideas for a Festive Home
 15 Creative Science Fair Board Ideas to Amaze Your Audience
 15 Handmade Envelope Decoration Ideas for Creative Gifting
 10 DIY Gifts for the Whiskey Lover in Your Life
Recap: