Last updated on
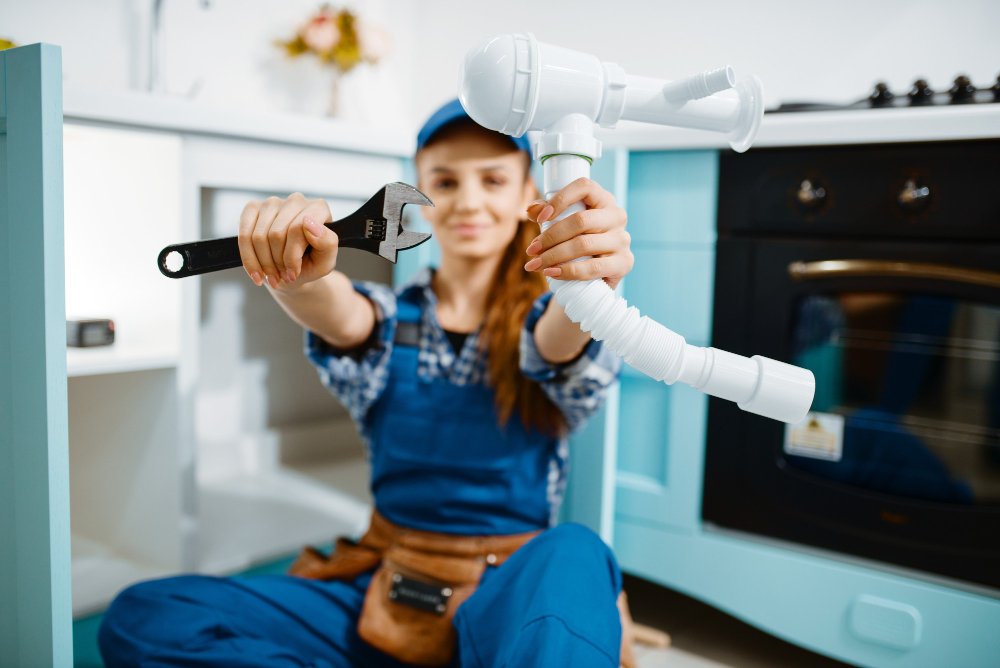
Welcome, DIY enthusiast! Tackling old installations around your house may seem daunting, but don’t be daunted! With the right tools, a can-do attitude, and our helpful guide, you’ll be restoring your home to its former glory in no time at all. Ready to roll up your sleeves? Let’s get started!
Assessment and Planning

Assessment and planning are crucial steps before starting any repair work on old installations. Homeowners from all over Australia’s City of Light are advised by Perth’s pipe relining experts to do this because it ensures safety, efficiency, and long-lasting results.
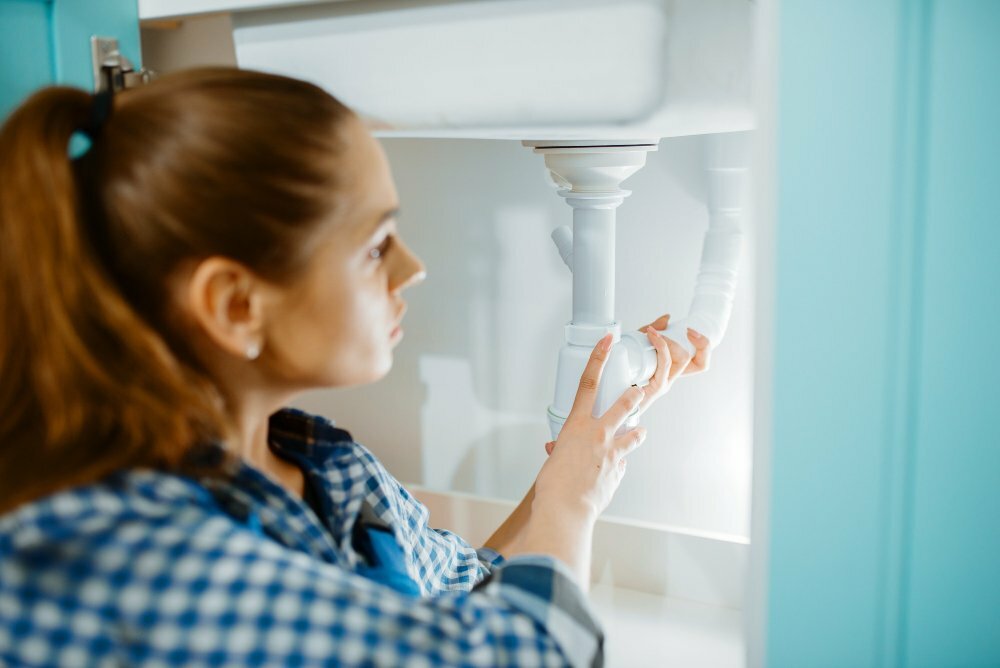
Assessing involves examining the installation, understanding its current condition, and identifying the exact issue. This step helps you avoid any surprises during the repair process.
Planning, on the other hand, involves deciding on the necessary tools, materials, techniques, and safety measures needed for the repair. It ensures you are well-prepared before you begin, reducing the risk of unnecessary interruptions and potential damage.
Together, assessment and planning can transform a potentially overwhelming repair task into a manageable, efficient, and even enjoyable DIY project.
Safety First
No matter what you’re fixing up, safety should always be a main consideration. Here are some precautions to take:
- Wear protective equipment
- Use the right tools
- Turn off power and water sources
- Work in a well-ventilated area
- Ladder safety
- Beware of asbestos and lead paint
- Follow the manufacturer’s instructions
- Keep work areas clean
- Have a first-aid kit
- Know your limits
- Communicate with others
- Take breaks
Adherence to safety precautions is paramount when repairing old installations. This practice mitigates risks, such as electrical shocks, falls, or exposure to harmful substances. Moreover, it ensures the longevity of your repairs, safeguarding your home and its value in the long run.
Use Compatible Materials

Compatibility matters because mismatched materials can lead to rapid degradation and poor performance, and incompatibility can even cause structural damage. For example, using a modern, alkaline cement mortar to repair a historic brick wall can cause the softer, historic bricks to deteriorate.
Therefore, selecting materials that match the physical properties, appearance, and composition of the original materials is critical to preserving the longevity and integrity of old installations. Using compatible materials also maintains the aesthetic appeal of your home, keeping it consistent and true to its original design.
Consider Future Maintenance and Upgrades
When repairing old installations, it’s essential to anticipate future maintenance and upgrades. Why? Well, this foresight ensures your repairs are not only durable but also adaptable to potential changes and advancements. It aids in the seamless integration of new technologies or systems, saving you time, effort, and money in the long run.
Additionally, planning for future maintenance during repair work minimizes disruption and improves the functionality of your home. It’s about creating a balance between preserving the charm of the old and preparing for the new. So, always keep an eye on the future when restoring the past!
And there you have it! By following these guidelines, you can confidently tackle your home repair projects. Remember, the key is preparation, safety, using compatible materials, and thinking ahead. Good luck and enjoy the process of restoring the charm and functionality of your home!
Read More Like This
15 Things Every Home Entertainer Should Keep on Hand Spring Decorating Ideas: Refreshing Your Home for the Season
 The Perfect Lighting for Your Home
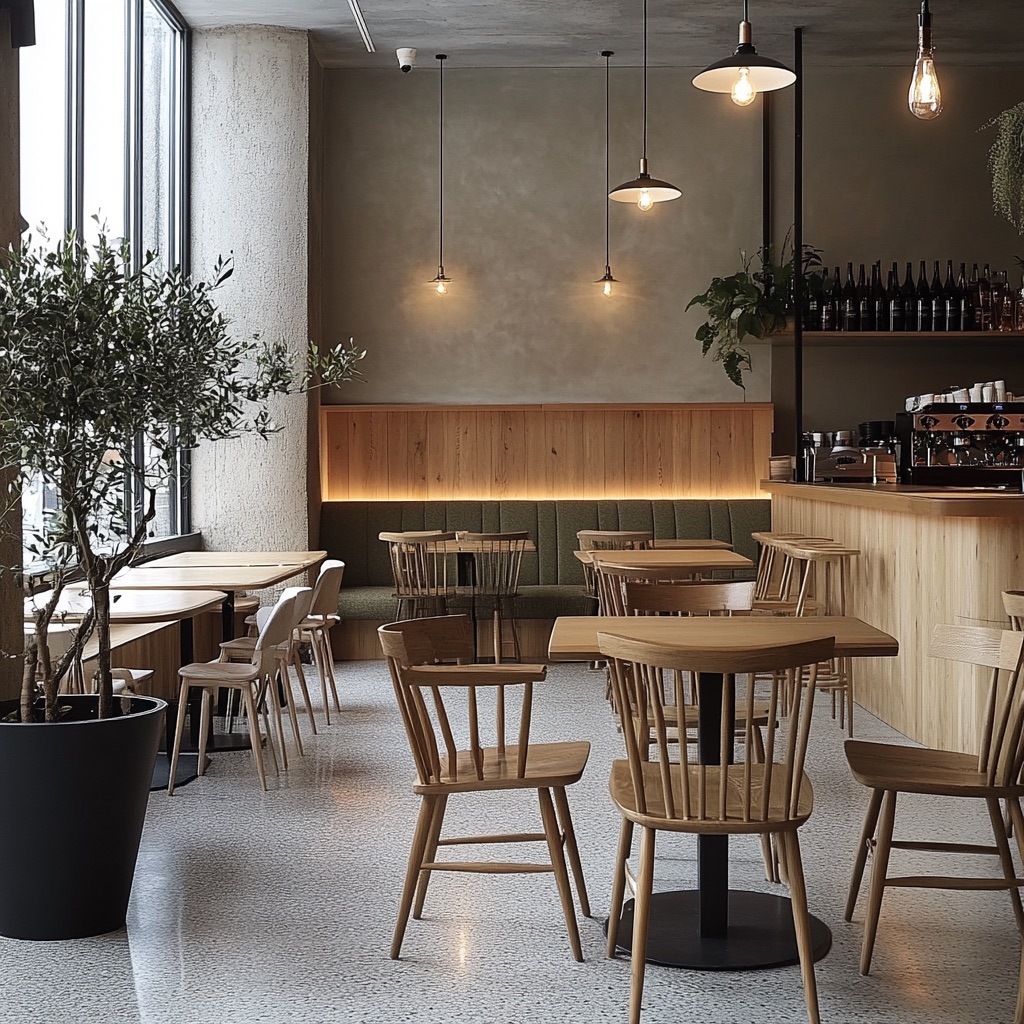 Using More Sustainable Materials in Your Diner: 7 Ideas That Still Look Great
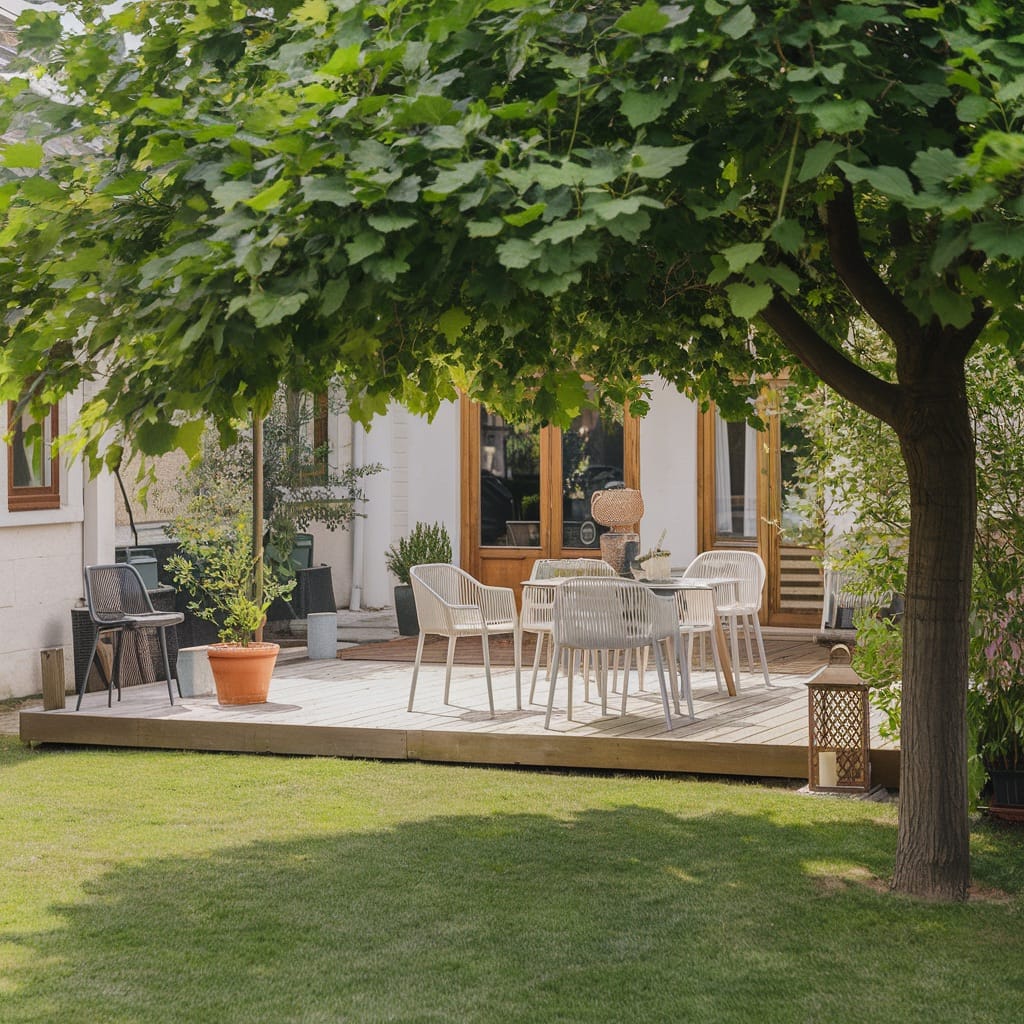 10 Practical Ideas to Beat the Heat: Creating Shade in Your Outdoor Space this Summer
Recap: