Last updated on
Learn to preserve your chalk paint designs with this comprehensive guide, offering step by step instructions to perfect the art of sealing chalk paint.
Key takeaways:
- Sealing chalk paint enhances durability and protects against damage.
- Options for sealing chalk paint include wax, acrylic sealers, polyurethane, and polycrylic.
- Sealing should be done after the paint has fully dried, typically after 24 hours.
- Proper surface preparation is essential before sealing, including cleaning and sanding if necessary.
- Maintenance of sealed chalk paint surfaces is important for longevity and appearance.
Importance of Sealing Chalk Paint
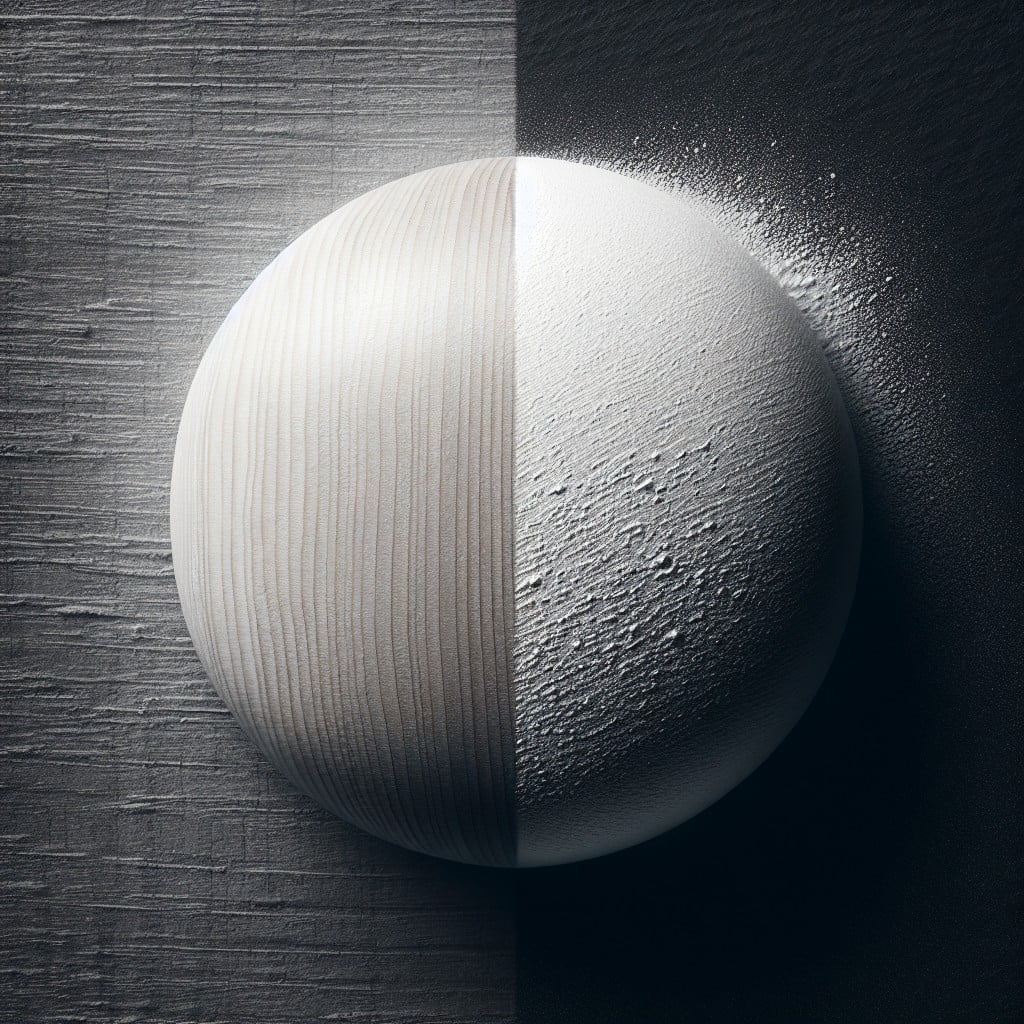
Sealing chalk paint is crucial for a range of reasons. It enhances durability, protecting against fingerprints, stains, and wear over time. Without a proper seal, the matte finish of chalk paint can easily absorb oils and other substances, leading to discoloration and damage.
Additionally, sealing simplifies maintenance, allowing for easy cleaning without harming the painted surface. It also provides aesthetic versatility; depending on the sealant you choose, you can achieve a range of sheens from satin to high gloss, tailoring the finish to your desired look.
Moreover, in outdoor settings, a sealant is imperative to protect your piece from the elements, ensuring your hard work stands up to sun and moisture exposure.
Available Sealing Options for Chalk Paint
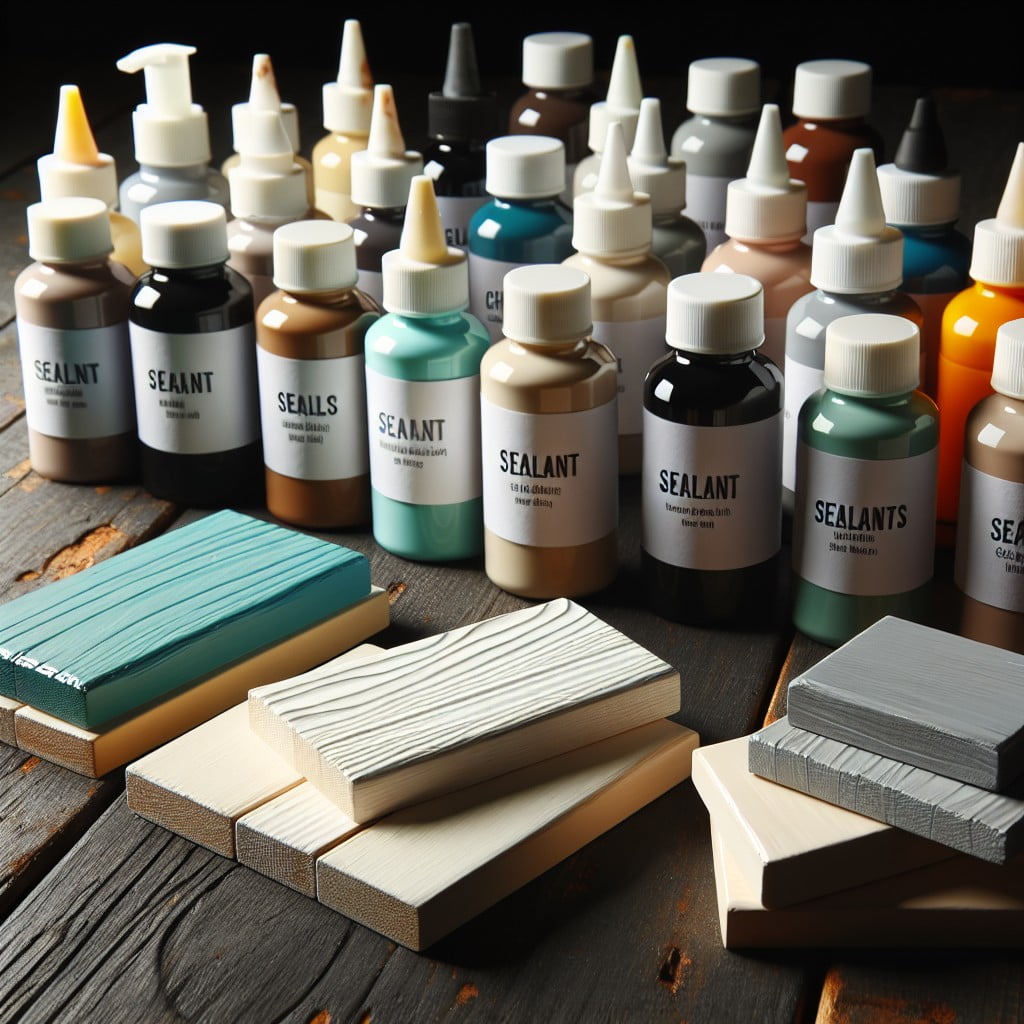
When it comes to protecting your chalk painted surfaces, you have a few reliable protectants to choose from. Each option offers unique benefits, so consider the end-use of your piece when deciding.
Wax is a traditional choice, known for enhancing color depth and providing a velvety smooth finish. It’s best for low-traffic items, as it requires reapplication over time.
Acrylic sealers offer a clear, durable coating. They are adaptable, coming in different sheens, and suitable for high-use surfaces. They also tend to dry quickly.
Polyurethane is a heavy-duty sealer that provides a strong barrier against wear and tear. Available in water-based or oil-based varieties, it’s ideal for pieces that will get a lot of handling.
Polycrylic differs from polyurethane. It’s water-based, less toxic, and less likely to yellow over time, which is a huge advantage for lighter paint colors.
Remember to consider the piece’s function, your desired finish, and the product’s durability to make the best choice for your project.
When to Seal Chalk Paint
Sealing chalk paint is a critical next step after the paint has fully dried. Typically, you should wait for about 24 hours to ensure that the paint has cured adequately, providing a stable base for the sealant. The precise time may vary depending on the climate and the thickness of paint application.
It’s also important to consider the intended use of the painted item. For high traffic surfaces such as tabletops, kitchen cabinets, or flooring, it’s recommended to seal the paint as soon as it’s dry to the touch. This provides a protective layer against wear and tear.
In contrast, if the painted object is a decorative piece that won’t be handled frequently, you might opt to leave it unsealed for a matte, chalky appearance. However, even decorative items should be sealed if they will be exposed to grease, dust, or moisture.
Remember, before applying sealant, test the paint’s durability by lightly brushing your hand over the surface. If paint comes off on your hand or shows signs of wear, it needs more time to dry. Once the paint is fully dry and passes this test, you’re ready to move on to the sealing stage for long-lasting protection and an enhanced finish.
Preparing the Surface Before Sealing
To ensure a flawless finish, start with a clean canvas. Remove any dust or debris with a soft cloth, and for any stubborn spots, a gentle cleaning solution is key.
Wait for the surface to dry completely. Next, assess the smoothness of your paint job. If you find any bumps or brush strokes, a light sanding with fine-grit sandpaper can make all the difference. Wipe away the resulting dust, and you’re ready to move on to the sealing process, with the perfect base to work from.
Using Wax to Seal Chalk Paint
Wax is a popular choice for those seeking a soft, vintage finish on chalk-painted surfaces. It enhances the paint’s matte quality while providing a layer of protection. For best results, apply wax with a clean, lint-free cloth or a waxing brush, working it into the surface in a circular motion. The key is to cover the entire piece with a thin, even layer, allowing it to slightly penetrate the porous paint.
Once applied, let the wax sit for a few minutes before buffing with a clean cloth. This step gives the piece a smooth sheen and helps work the wax more deeply into the chalk paint. Remember, patience is essential – wax takes time to cure fully, often up to several weeks.
Reapplication is necessary over time, especially on frequently used items like tables and chairs. However, the benefit of using wax is the ability to easily repair scratches or marks by simply re-waxing the affected area.
Bear in mind that wax-treated surfaces should not be exposed to heat or harsh cleaners, as these can break down the wax layer. Instead, stick to gentle cleaning with a damp cloth for upkeep.
Step By Step Guide to Using Wax
Begin by ensuring your chalk-painted surface is clean, dry, and free from dust. A gentle wipe with a soft cloth can be used to remove any debris.
Choose a clear soft wax designed for use with chalk paint. Remember that a little goes a long way—avoid using too much wax, which can create a sticky finish.
Apply the wax with a waxing brush or a clean, lint-free cloth. Work in small sections, using circular motions to push the wax into the paint. This method ensures the wax penetrates the porous surface.
Once you’ve covered a section, use a clean cloth to wipe away excess wax. It’s crucial to do this before the wax starts to set, which can take as little as 10 minutes.
Continue this process until the entire piece is waxed. Ensure even coverage to avoid uneven sheen and texture.
After the initial application, allow the wax to dry. Drying time can vary based on the product and environment but generally ranges from a few minutes to an hour.
For additional protection, apply a second thin layer of wax following the same method as the first. Two coats can provide extra durability.
Once the second coat is applied and has had time to dry, buff the surface with a clean, dry cloth. Vigorous buffing produces a higher sheen, while a gentle buff results in a matte finish.
During the first week after application, handle the piece carefully as the wax continues to harden and cure. Full curing can take up to 30 days.
Using Lacquer to Seal Chalk Paint
Lacquer offers a durable and hard-wearing finish, ideal for chalk-painted items that will see a lot of use. This sealant provides a more resistant barrier against knocks and moisture compared to wax. Before application, ensure that your chalk painted surface is clean, dry, and free of any wax or oil.
When applying lacquer:
- Use a flat bristled brush or a lacquer-specific sprayer to apply thin coats.
- Begin with a thin base coat to prevent drips and runs. Let it dry completely following the manufacturer’s instructions.
- Lightly sand between coats with fine-grit sandpaper to ensure a smooth finish.
- Apply subsequent coats, typically 2 to 3, allowing adequate drying time between each.
Remember, lacquer dries quickly, which helps expedite the finishing process but also means working efficiently is crucial to avoid visible brush strokes. Additionally, consider proper ventilation as lacquer can release strong fumes during application.
Step By Step Guide to Using Lacquer
Ensure the chalk-painted surface is clean, dry, and free from wax or oil. Any imperfections should be sanded smooth before application. Stir the lacquer thoroughly to mix any settled contents. This helps maintain a consistent finish. Test the lacquer on a hidden section of your project to ensure compatibility and satisfaction with the appearance.
Apply the first coat of lacquer using a high-quality synthetic brush or a sprayer for a more even finish. Brush on evenly, following the grain of the wood if applicable, to avoid streaks. Allow it to dry as indicated by the product’s instructions—usually a couple of hours.
Once dry, lightly sand the surface with fine-grit sandpaper (around 220 grit) to achieve a smooth base for the subsequent coat. Remove all sanding dust with a tack cloth or a damp rag.
Apply the second coat of lacquer, applying it as evenly as the first, ensuring to cover any areas missed previously. Two coats are typically sufficient, but a third may be required for high-traffic surfaces or to achieve a specific sheen.
Let the final coat dry completely, which may take up to 24 hours depending on the environmental conditions. Avoid using or placing anything on the surface until the lacquer has fully cured, as specified by the product’s guidelines.
Durability: Wax Vs. Lacquer
When determining the longevity of your chalk paint finish, the choice between wax and lacquer is crucial.
Wax provides a soft, subtle sheen and can offer a rich depth of color. It’s ideal for low-traffic areas and items that don’t require heavy-duty use. However, waxed surfaces may need reapplication over time as the finish can wear, especially on frequently touched areas.
Lacquer, on the other hand, imparts a stronger, more resilient finish. It’s resistant to water and common household chemicals, making it suitable for kitchen cabinets, tabletops, and other high-use surfaces. The initial effort pays off with a lacquer sealant, as it tends to last longer without the need for touch-ups.
Both finishes alter the paint’s appearance and protection levels, so consider the item’s function and the desired maintenance before making a selection.
Troubleshooting Common Issues When Sealing
If you encounter a streaky finish after applying wax, it’s often due to applying too much product. Buff the surface with a clean, lint-free cloth to remove excess wax and create an even sheen.
For those experiencing brush marks or drips when using lacquer, ensure that the application is done with a light hand and with quick, even strokes to prevent buildup.
Bubbles can appear if either wax or lacquer is applied too vigorously or if the environment is too hot. To fix, gently smooth the surface with a brush or cloth for wax, or sand lightly and reapply another thin coat of lacquer once the surface is completely dry.
In case the sealer isn’t adhering properly, this may be due to grease or residue on the furniture. It’s crucial to clean the surface thoroughly with a mild cleaner and allow it to dry before the sealing process. Always make sure the chalk paint is completely dry before sealing.
Should the sealed surface feel tacky or sticky days after application, this can be a sign of high humidity affecting the curing process. Extend drying time, and if possible, increase airflow or dehumidify the room.
Remember: patience is key. Rushing through the sealing process often leads to unsatisfactory results. Allow ample drying time between coats and before use to ensure a hard-wearing finish.
Maintenance of Sealed Chalk Paint Surfaces
Maintaining your sealed chalk paint surfaces ensures their longevity and keeps them looking fresh. For surfaces sealed with wax, it’s important to occasionally apply a new coat of wax to protect against wear and tear. This typically should be done every 6 to 12 months, depending on use and exposure.
Clean these surfaces gently with a soft cloth dampened with water and mild soap. Abrasive cleaners or scrubbers can strip the wax and damage the paint. If you notice water stains or rings from cups, it may be time to reapply wax to that area.
For lacquer-sealed surfaces, regular dusting with a lint-free cloth helps prevent dirt accumulation. Spills should be wiped up promptly to prevent staining. Non-abrasive cleaners can be used for tougher grime, but always spot test first.
Regardless of the sealant, avoid placing hot items directly on the painted surfaces, as heat can cause the sealant to soften and potentially damage the finish. Coasters and placemats are effective for guarding against heat and scratches.
Regularly check for any chips or peeling. If you find damage, touch up the chalk paint and reseal the area to prevent further issues. By caring for your sealed surfaces, you keep them in prime condition for years to come.
Tips for Achieving a Professional Finish
Start with a clean slate by thoroughly cleaning and sanding your chalk-painted surface to ensure a smooth base for sealing.
Choose the right applicator; for wax, a lint-free cloth or wax brush works best, whereas a synthetic bristle brush or foam roller is ideal for lacquers.
Apply thin, even coats to avoid drips and build-up, which can lead to an uneven finish.
Work in manageable sections, especially when using wax. This allows for more control over the buffing process, ensuring an even sheen.
Allow adequate drying time between coats as per the product instructions. Rushing the process can lead to a tacky feel and impair the protective qualities of the sealant.
Sand lightly between coats with high-grit sandpaper when using lacquer to achieve a flawless, professional finish.
Consider the final sheen you desire; different sealants offer varying levels of glossiness, from matte to high-gloss.
Before the final coat, inspect your work in good lighting to catch any imperfections or missed spots.
Maintain a steady hand and consistent application pressure to eliminate brush strokes and streaks.
Remember, patience is key. Taking your time with each step can significantly enhance the final outcome.
FAQ
What do you seal chalk paint with?
Chalk paint is typically sealed with clear lacquer varnishes, providing a durable, easily painted over, and faster drying finish compared to other alternatives such as waxes.
How long should chalk paint dry before sealing?
Chalk paint should ideally dry for a period of 24 hours before sealing.
What can I use to seal chalk paint instead of wax?
Instead of wax, you can use a polyacrylic varnish, such as Chalk Paint™ Lacquer, to seal chalk paint for enhanced protection.
Is it necessary to sand chalk paint before sealing?
No, it is not necessary to sand chalk paint before sealing.
Can polyurethane be used as a sealant for chalk paint?
Yes, polyurethane can be used as a sealant for chalk paint.
How many layers of sealant are recommended for chalk paint?
Two layers of sealant are typically recommended for chalk paint.
Read More Like This
 15 Funny Graduation Cap Ideas to Make Your Big Day Unforgettable
 15 Unique DIY Christmas Decorations Ideas for a Festive Home
 15 Creative Science Fair Board Ideas to Amaze Your Audience
 15 Handmade Envelope Decoration Ideas for Creative Gifting
 10 DIY Gifts for the Whiskey Lover in Your Life
Recap: