Last updated on
Are you concerned about ongoing leaks in your home? Do you want to know how to fix leaks in your plumbing?
Dealing with a leaking pipe can be an absolute nightmare. It’s a problem that seems very large and confusing on its surface, but knowing the basics of handling it is easy.
That doesn’t mean everything is fine and dandy with your pipe. Without some help, it can tarnish your home or cause significant economic damage.
In this guide, we’ll go over four things you can do to fix leaky pipes yourself. Hopefully, you’ll stop this problem and eliminate future stress from your day.
Turn Off Water Supply Before Starting
When fixing leaky pipes, it is especially important to take this precaution as it prevents further flooding and damage due to water leakage. You should first locate the shutoff valve associated with the leaky pipe.
It will allow you to turn off the water in the pipe and stop the leaking. It is usually located at the entry of your water line, beside the water meter. After finding the shutoff valve, twist it counterclockwise to cut off your water supply.
According to the experts from Service First Plumbing, you need to learn how to locate the shutoff valve, and you should consult a professional to ensure you do it correctly. Make sure to look for an expert that is accessible in your area.
Make sure to open the faucets connected to the leak to drain the pipes. Let the water run until there’s nothing left. Making sure the faucets are empty can help ensure the repairs are easier later.
Once the pipes are drained, dry the leaking area on the pipe. To do this, use a clean cloth or paper towel to absorb water from the hole. Apply pressure to the pipe with a cloth or paper towel and ensure it is completely dry. In doing so, the pipes will not be slippery when you’re going to do the repairs.
Lastly, before you begin any DIY plumbing repairs, ensure you work in a well-lit area. Doing so will help you see the problem clearly and avoid causing further damage. Additionally, inform other household members about the ongoing repair to prevent them from accidentally turning the water back on.
Apply Epoxy Putty for a Temporary Fix
Epoxy putty is a formulated material that you can use to seal holes and cracks in various piping materials. It is important to find the leak’s source and determine where the crack is before applying the epoxy putty.
Make sure to put on gloves before handling epoxy putty. It will protect your hands from harsh chemicals and any irritation that can take place. Do not use bare hands when handling these materials, no matter how well you think you’ll be able to wash your hands.
To use epoxy putty, cut off a chunk and knead it until it gets pliable. Push it around the cracked pipe, making sure to fill in the full surface area of the pipe, and then let it set overnight before using the pipes again. Make sure to form the putty into a plug-like shape to seal the leak completely. Additionally, allow for sufficient time for the epoxy putty to set and harden.
Another tip for using epoxy putty on leaky pipes is to ensure the area is clean. Any dirt or dust will prevent the epoxy putty from adhering to the pipe. After the putty has dried, it’s important to make sure that it forms a tight seal by wrapping duct tape around the area of the pipe where the epoxy putty is covering the crack.
Keep in mind that there are different types of epoxy putties. Use marine-grade epoxy, which is designed to work even in damp conditions.
Furthermore, while this is a great temporary fix, it is not a permanent solution and may have to be replaced. This temporary fix is ideal for smaller leaks, as epoxy putty may become brittle over time. If the leak persists and increases, you should do a more permanent repair as soon as possible.
Clamping Small Leaks
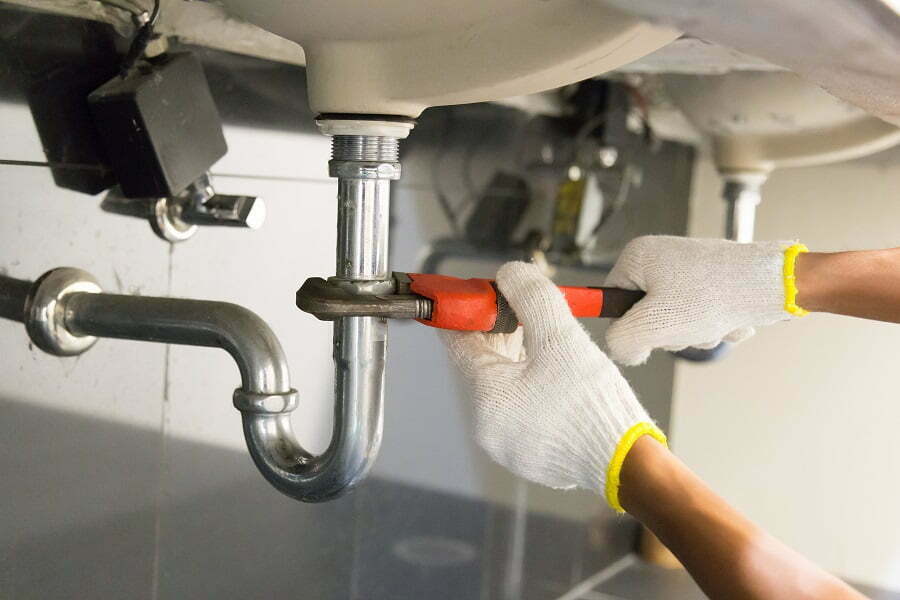
This method involves purchasing a pipe clamp or a C-shaped keying device and placing it over the gap in the pipe. A tool such as a wrench or crescent wrench is then used to tighten the clamp, helping to seal the gap that was allowing the pipe to leak.
Make sure to use the same size pipe clamp when fixing a pipe to ensure a tight seal. If you can’t find a clamp the same size as your pipes, use two or smaller clamps to join the two ends of the leaking pipe and stop the leak. It can be done quickly and is a great temporary solution.
Consider using fixing tape for more complex and technical repairs or extra reinforcement for the smaller clamps. Apply the correct pressure to ensure a tight fit and seal for best results.
Additionally, ensure the clamp material is compatible with the pipe material. This means using a clamp made of the same material as the pipe material. For instance, use copper or brass clamps if you have copper piping. Otherwise, corrosion can set in due to galvanic action over time.
Furthermore, replace old or worn pipes with new ones for a long-term fix. It is important to discuss with a professional the best course of action to prevent further leaks.
Using a Slip Coupling
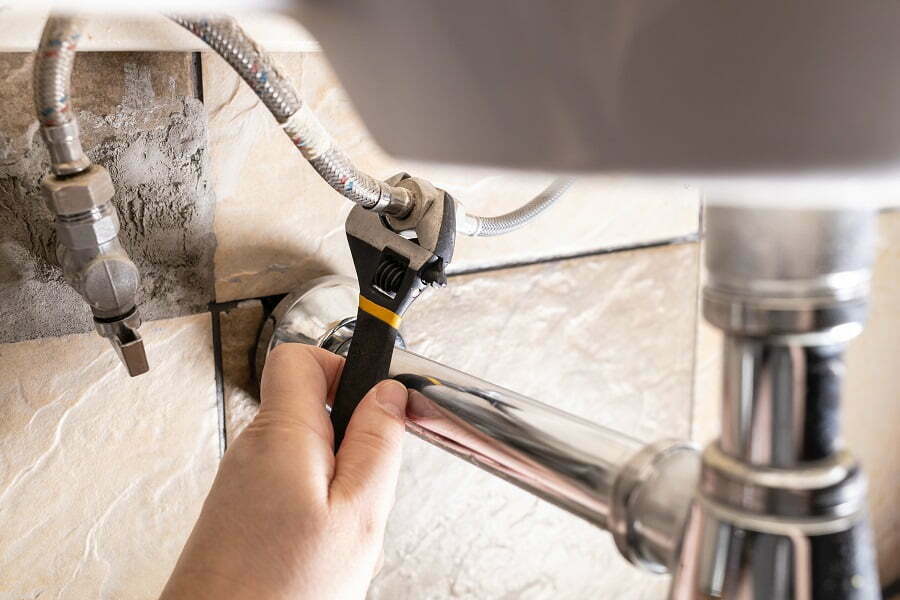
A slip coupling is a U-shaped pipe fitting that allows for a quick and easy connection of two pipes. All you need to do is slide the slip coupling over the two ends and tighten the bolts. The slip coupling will then be the connection between the two pipes, eliminating the need for you to replace the entire length of the pipe.
Slip couplings are also cost-effective as they require no soldering, so even someone with limited DIY experience can do this. Measure the pipe size carefully, as the new coupling should fit snuggly. Then slide the pipe cleaner through the coupling and twist it around to seal the pieces together. Finally, use the pipe wrench to secure them in place.
Slip couplings are available in various sizes and materials, making them a great option for all home repairs. Consult a professional plumber if you need help determining what type of slip coupling to purchase. With the right tools, you can complete this simple repair in just a few minutes.
Pro tip: When installing a slip coupling, mark the insertion depth on the pipes with a pencil or marker. This ensures you slide the coupling in evenly on both sides, providing a balanced and secure connection.
Fix Plumbing Problems Immediately to Prevent Them from Getting Worse
After you’ve done any DIY repair, it’s good practice to regularly check the fixed area for any recurring leakage for a few days. Place a bucket or towel underneath the repaired spot to identify minor leaks.
Following these four tips for fixing a leaky pipe can prevent you from needing to call a plumber to repair any damage. Use as many methods as possible to stop the leak and protect your pipes from further damage. If the issues persist or you’re dealing with significant blockages, consider professional services like drain hydro jetting. Don’t delay taking action; contact a plumber or get the necessary parts to fix the issue yourself.
Read More Like This
15 Things Every Home Entertainer Should Keep on Hand Spring Decorating Ideas: Refreshing Your Home for the Season
 The Perfect Lighting for Your Home
 Using More Sustainable Materials in Your Diner: 7 Ideas That Still Look Great
 10 Practical Ideas to Beat the Heat: Creating Shade in Your Outdoor Space this Summer
Recap: