Last updated on
Because of their timeless charm and versatility, antique metal containers can transform any space into a cozy and aesthetic environment.
I’ve designed unique illustrations for these ideas. I hope you get inspired!
Embracing the charm of antique metal containers isn’t a new concept. It’s a popular trend that countless decor enthusiasts and designers have leveraged to add a touch of vintage magic to spaces.
While the web is laden with numerous known ideas, this article goes beyond convention, unfolding a treasure trove of fresh, unique angles to explore.
Drawing from our in-depth knowledge and insight, we aim to spring surprises, offering ideas that swirl around the less travelled path of creativity.
And for those who cherish the best of what already exists, worry not! A handy compilation of tried-and-tested resources awaits at the end of this article.
Now, let’s uncover the untapped potential of antique metal containers that could spruce up your home in ways you’ve never imagined before.
Antique Metal Container Jewelry Organizer
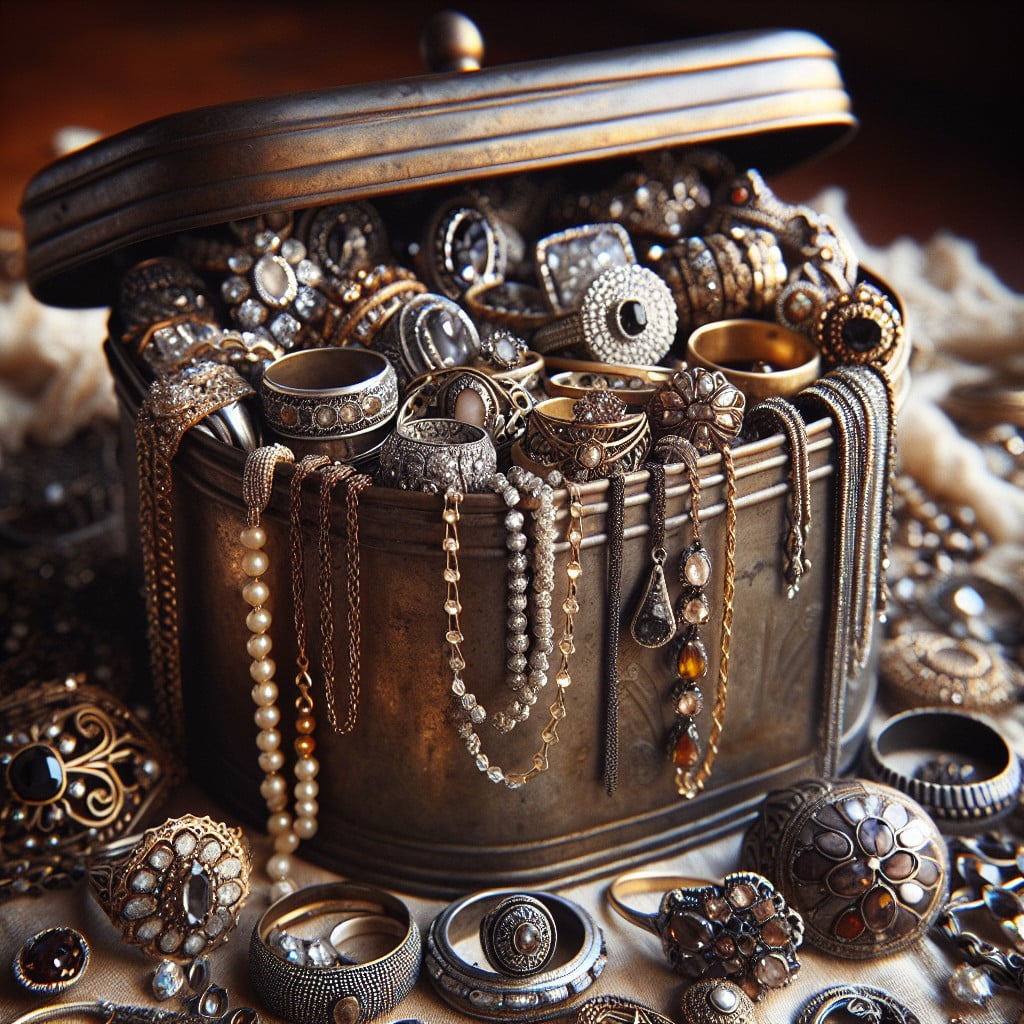
Crafting a jewelry organizer from an antique metal container proves both functional and aesthetically pleasing. Charming and vintage, it adds a dash of elegance to any dressing table.
Ensure to clean and polish the metal container well to let its antique features shine through. Insert a piece of velvet or satin fabric as a base to protect the jewelry.
For earrings and studs, consider adding cushioned bars or foam with small slits. This provides an organized space to store them without the risk of losing any.
Necklaces and bracelets go well in compartmentalized spaces. Alternatively, many containers come with lids. Attaching hooks to these lids creates a perfect hanger for such jewelry.
Finally, small gems or rings could be placed in mini-drawers or dedicated sections. This design keeps them from getting mixed up with other jewelry, ensuring easy access. Choose the design that suits your storage needs and style preferences. Enjoy the process of creating and utilizing this unique, personal accessory organizer.
Use As A Rustic Candle Holder

Creating a warm, calming ambiance with antique metal containers has never been easier. A simple process, begin by cleaning out any dust or debris. Afterward, consider lightly sanding the interior to improve the wax adhesion.
Next, select a wax of your choice – paraffin, beeswax, or soy wax are all excellent and widely available options. Melt the wax according to the package instructions. While waiting for the wax to liquefy, decide on the hue and fragrance to enhance the ambiance. A few drops of dye and some essential oils should suffice.
Once the wax is ready, pour it into the container, leaving substantial space at the top. After that, fix in a pre-tabbed wick, reasonably centered, and let the wax solidify. Immersing the container in lukewarm water can prevent the wax from cracking during solidification.
Handle the candles with care to avoid potential spillage or wax disturbance. Gently ignite the wick when ready for a welcoming ambiance that gives antique metal a modern twist. Finally, always remember to never leave candles unattended in a room.
DIY Ornamental Sculptures
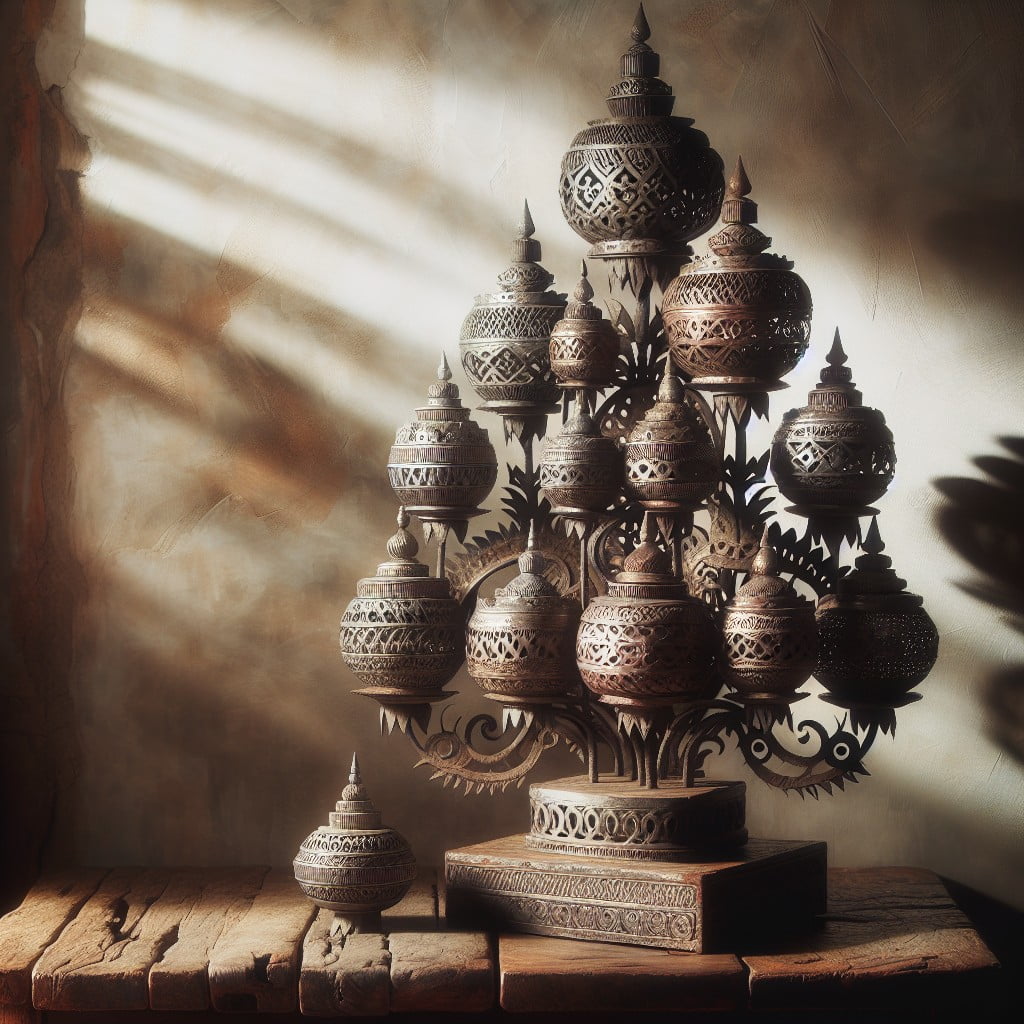
Creating your own ornamental sculptures can provide a whimsical touch to any space, indoor or outdoor. Here’s how to breathe life into your antique metal containers:
1. Choose a container: The best part of this project is that any metal piece could be your canvas ― from classic brass urns to rustic iron ammunition boxes.
2. Concept Mapping: Sketch a design that merges with the container’s patina and texture. It could be anything from abstract shapes to stylized fauna.
3. Gather Materials: Commonly used items include wires, beads, old buttons, glass pieces, or even pieces of colored metal.
4. Start Crafting: Affix your materials onto the container either by welding (for stronger hold) or with a strong adhesive, following your chosen design.
5. Preserve: Once finished, consider spraying your sculpture with a gloss or matte lacquer to prevent further weathering of your piece, especially if it’s going to be an outdoor decoration.
These points should guide you to utilize your antique metal containers in a refreshing way that captures your personal flair. Remember to put on your safety gear before starting your project. Let creativity drive your design while remaining aware of practical and safety considerations.
Antique Tin Can Oil Lamps

To execute this creative idea, begin by thoroughly cleaning out the tin can and letting it dry. Once clean, select a wick – preferably cotton. Thread the wick through a washer that snugly fits it. Now, fill the can about two-thirds with lamp oil or any non-drying oil and let the wick soak for about 20 minutes.
After soaking, pull up the wick through the washer until about a quarter inch is left exposed. To finish, place the washer and the wick into the filled oil can.
Remember, safety first. Ensure you position your newly-made oil lamp on a stable, non-flammable surface. Plus, never leave it unattended when lit.
This process not only gives you a functional item but also an alluring conversation starter for your cozy evenings. The antique aesthetic paired with a homemade touch offers a unique blend of rustic charm for your living room or patio.
Repurposed Tin Can Kitchen Storage
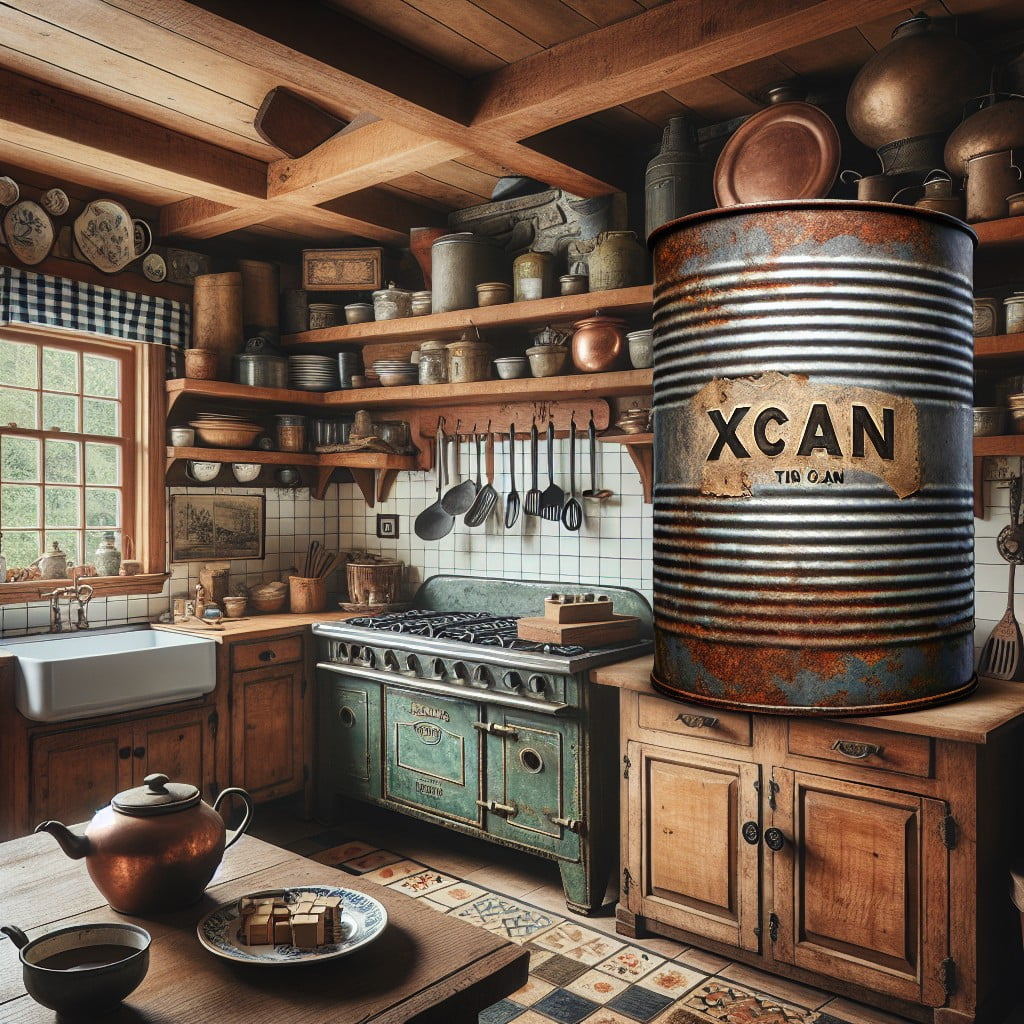
Outfitting your kitchen with repurposed tin cans not only instills a sense of nostalgia but also promotes organization, function, and environmental consciousness. These antique metal containers, often featuring artistic labels or unique textures, make perfect vessels for various kitchen tools and ingredients.
1. Store cooking utensils: Keep spoons, forks, knives, and other utensils conveniently at hand without cluttering the workspace.
2. Ingredient canisters: Clean out old tin cans for storing dry ingredients such as pasta, rice, or beans; consider adding a simple label for a touch of sophistication.
3. Indoor herb garden: Fill containers with soil to nurture fresh herbs right on your kitchen window sill.
4. Magnetized spice rack: Attach small metal trays to the underside of a cupboard or shelf; use magnetized bottomed mini-tins to keep spices easily accessible, yet out of the way.
5. Decorative flower pot: Add a touch of natural beauty to your kitchen by using an antique painting tin container as a flower pot, ideal for small indoor plants.
With creativity, antique metal containers can easily be transformed into efficient, and aesthetically pleasing kitchen storage solutions, adding a sense of style and personality without compromising practicality.
Impromptu Sewing Kit Container
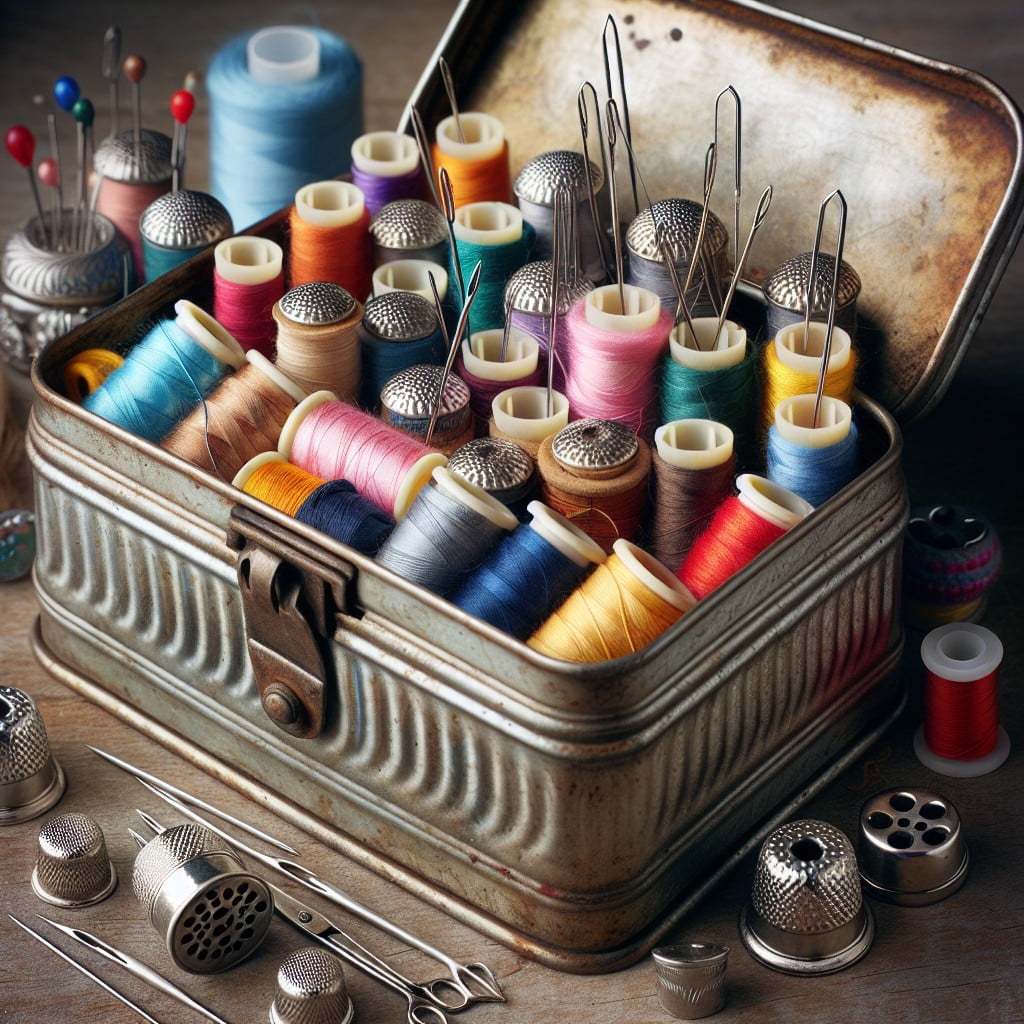
To get started, look for an old cookie tin or coffee canister. Their sturdy material ensures pins and needles stay secure and their depth provides ample space.
Line the base and sides with soft fabric, creating a pin cushion effect. If the chosen metallic container comes with a transparent lid, even better! It allows a clear view of the contents, saving you rummaging time.
Items you can store don’t only limit to thread spools, needles, thimbles, and tape measurers. Why not consider keeping a pair of small scissors or a seam ripper? Tackle buttons, zippers, and the unruly bobbin thread also find a happy home here, avoiding entanglements.
Given their durable nature, these containers when dropped don’t spill over their contents causing a hairy mess. Besides functioning utility, they also add a dash of charm, becoming conversation starters in your craft room. Always aim for double duty – utility with aesthetics.
Galvanized Tin Makeup Holder
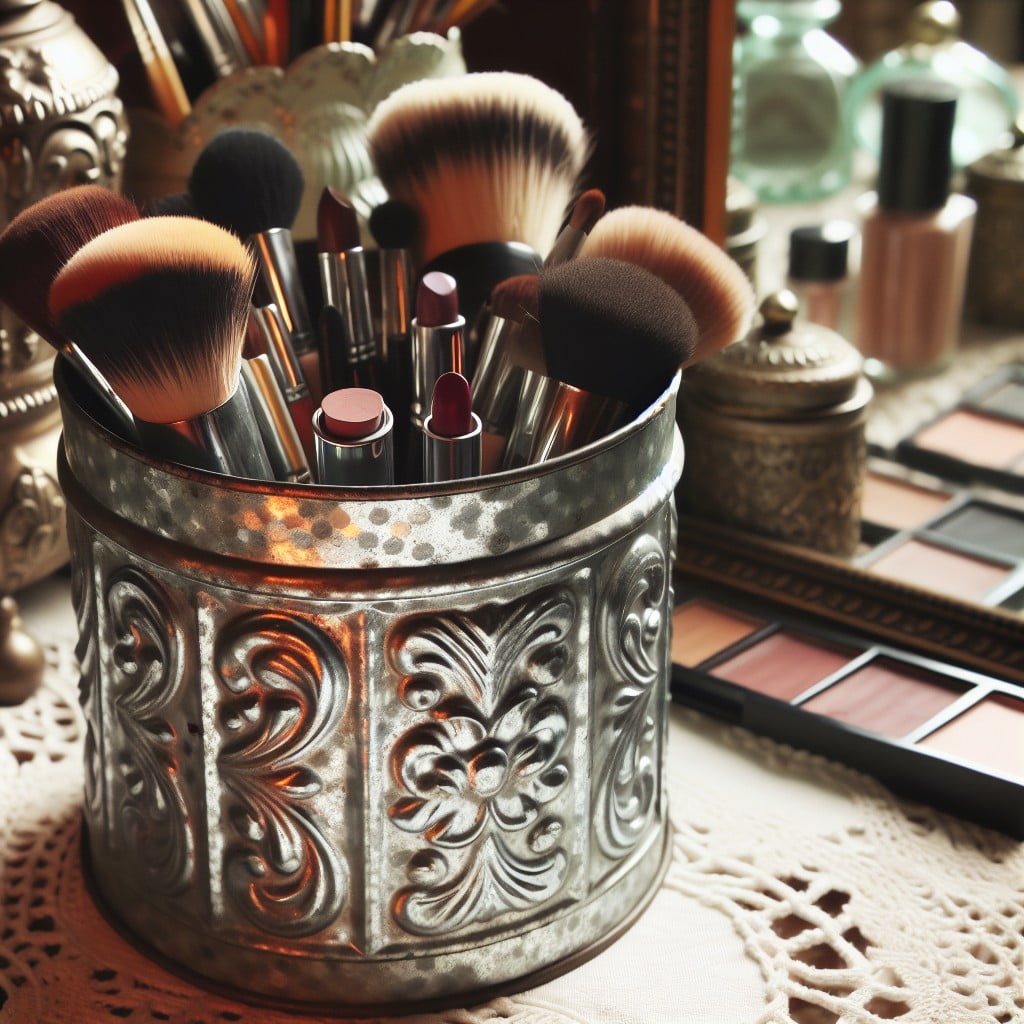
Transforming this weathered essential into a functional accent piece is a breeze with a bit of creativity. Ideal for holding lipstick, mascara, and other beauty tools, its rustic charm adds a dash of shabby chic to your vanity.
Here’s a rundown of key points to successfully repurpose your galvanized tin:
- Interior Dividers: Including dividers allows a neat arrangement of makeup products, making them easily accessible.
- Varying Heights: Customize compartments to fit every type of makeup; deep sections for long brushes and shallow slots for smaller items like tweezers and nail clippers.
- Surface Protection: Attach a fabric or felt bottom to prevent table scratches while offering extra stability.
- Add Personal Touches: Decorate with strips of lace or fabric for a feminine look, or keep it minimal for an edgy, industrial look.
Remember, the tin’s worn patina only adds to its appeal, making it a unique addition to your makeup routine.
Quirky Stationery Holder
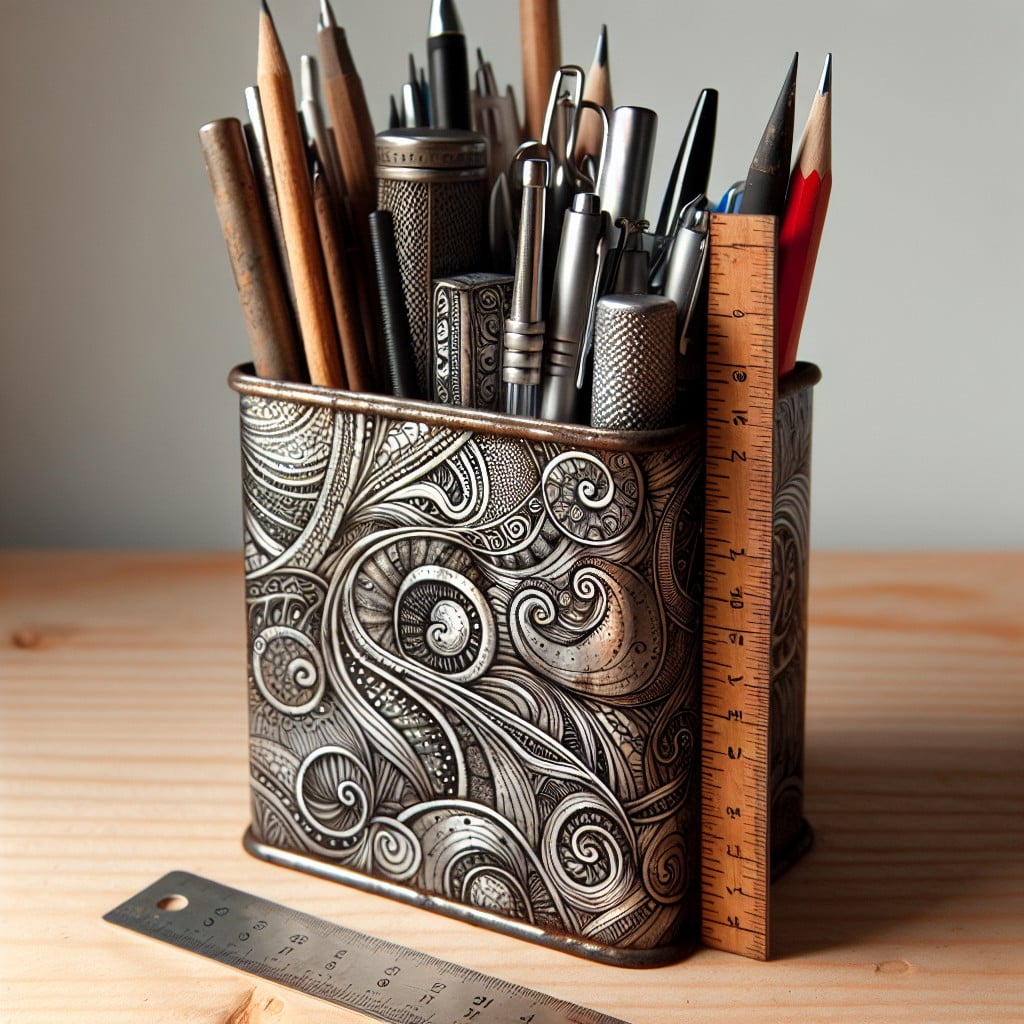
To create a charming twist to a regular office space, consider utilizing an antique metal container as a stylish stationery holder. These vintage pieces exude a unique personality and are sturdy enough to keep everything from pens, pencils, to small tools in order.
Adapting an old rusty can into a novel holder adds a dash of retro to your desk. Step up the aesthetic appeal by painting it with pastel hues or stenciling a motif onto the surface. Opting not to paint the container allows the natural rustic character to shine.
For added convenience and organization, consider using small magnetic strips or hot glue to create compartments. This helps sort markers from pencil crayons, or paperclips from staples. To protect your tabletop, add felt or rubber padding to the bottom of your antique metal holder, preserving both the container and your desk’s finish.
Decorating and utilization are at the heart of this concept – preserving the antique’s integrity while adding a touch of personal style.
Unique Tin Can Utensil Holder
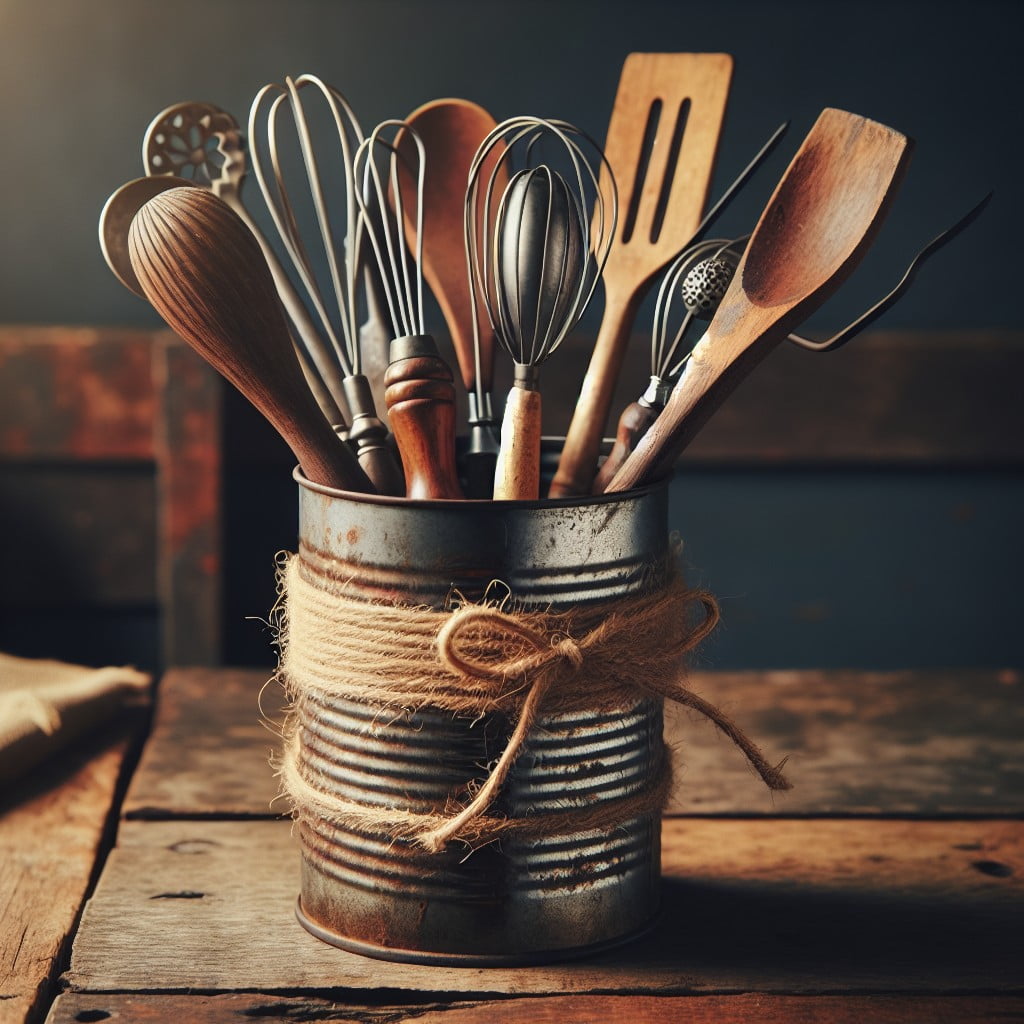
The charm of this functional piece is its simplicity. Start by selecting a few of your favorite antique tins—vary sizes and shapes to add interest.
Next, incorporate a handle. An old belt, piece of rope, or leather strap enlighten with rural charisma, perfect for lugging around the kitchen.
Line the cans with fabric or food-grade liners, if necessary, to protect your utensils. Remember, you can also mount your holder on a wall or inside a cabinet to save counter space.
Embrace the aged patina, let it tell a story, that’s where the beauty of antiquity lies. However, if it doesn’t match your decor, you can always add a fresh coat of paint. Try chalk paint for a matte finish or metallic for a more polished look. Use stencils or easy free-hand designs to beautify—no need to strive for perfection, minor imperfections grant rustic authenticity.
This creative, one-of-a-kind utensil holder not only makes a decorative statement but also embodies the principle of recycling and reusing. It’s an incredible opportunity to exhibit vintage charm in your kitchen, while holding everything from spoons and spatulas to whisks and tongs.
Remember the essence here is to enjoy the process and make it your own, craft a piece that’s loved in your kitchen not just for its functional benefits but also for its sentimental and aesthetic value.
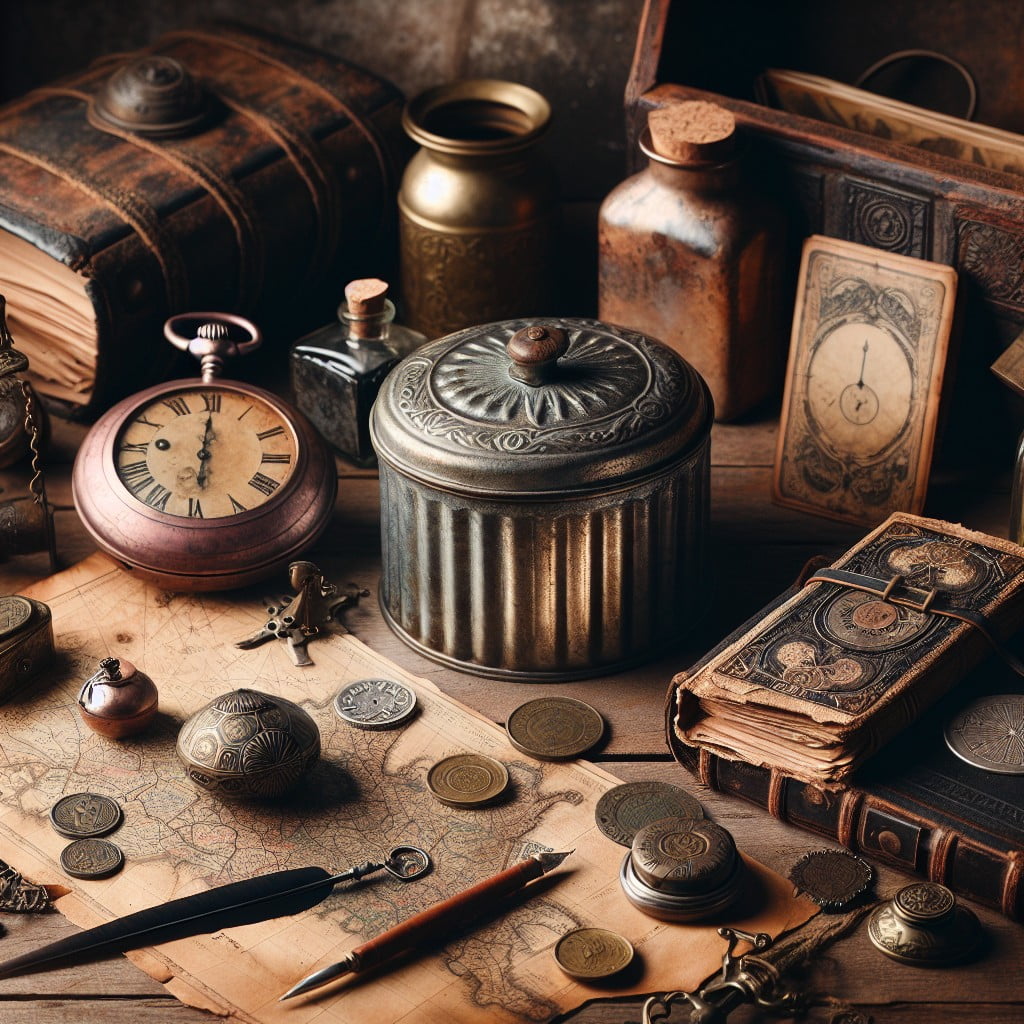
Keepsake Container For Treasure Box

Breathing new life into an antique metal container can be as easy as converting it into a keepsake box. These sturdy vessels are ideal for storing treasured items like photos, jewelry, or trinkets.
The aesthetic appeal of vintage tins adds an additional layer of sentimentality, making them great gift options. Your treasures are safe here – the metal casing typically shields it from humidity and dust.
A tip: if your antique container has vibrant, engaging designs, feel free to allow them to remain visible for added charm. Otherwise, consider lining the inside with soft fabric or velvet to protect fragile valuables.
Personalized labels or decorative tags can be a crowning touch, making classifying your contents both an art form and organizational tool.
Unique Antique Planter Pots
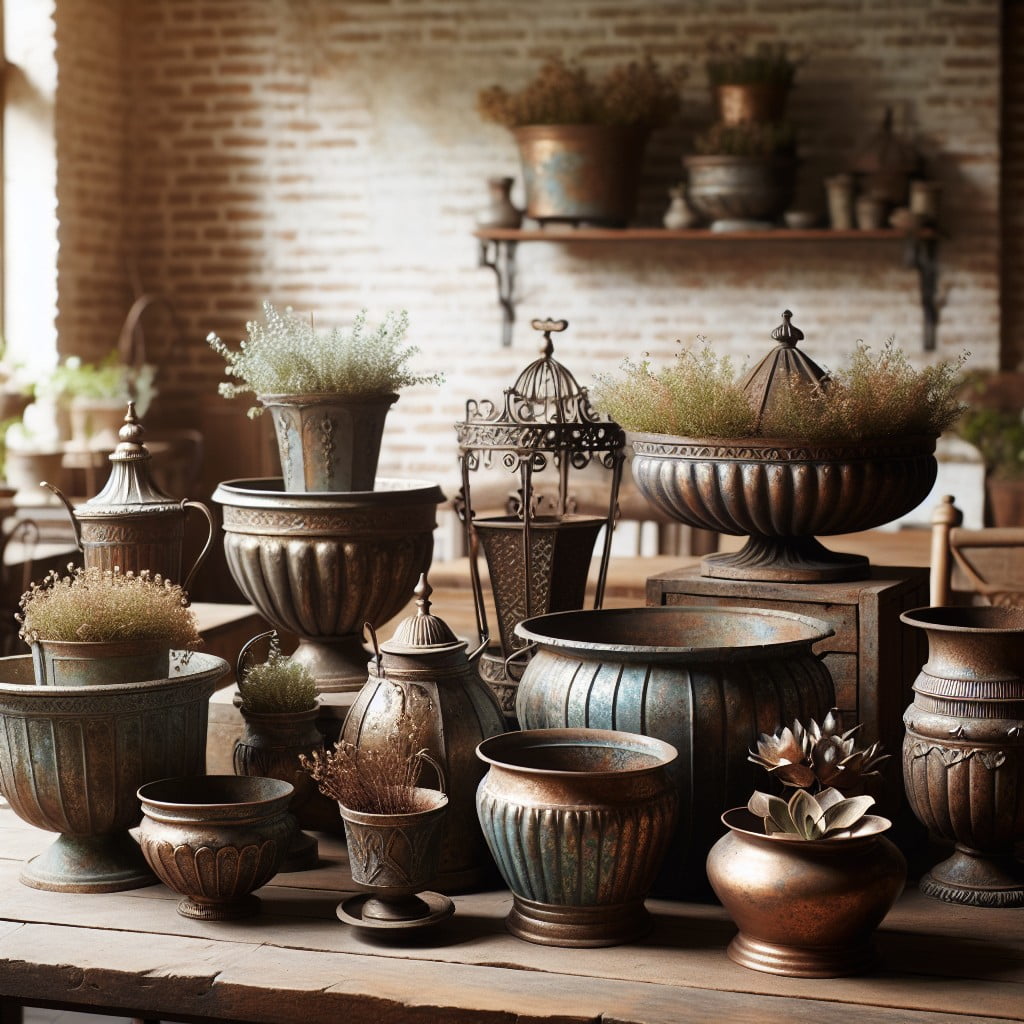
Breathing new life into your original piece is as simple as transforming it into a vibrant habitat for succulents, ferns, and other houseplants. These containers offer a vintage appeal and the dull, weathered patina of the metal provides a striking contrast to the fresh green plants.
Please keep in mind the following when creating your one-of-a-kind planters:
- Preparation: Ensure drain holes are present in the bottom or add a few. This prevents water from sitting at the bottom and protects your plants’ roots from rot.
- Diversity: Don’t limit yourself to one type of plant. Mixing it up, using a variety of shapes, textures, and color spectrums adds aesthetic interest.
- Layering: Remember to layer your planting material. Start with rocks for drainage, followed by soil, and then top with your chosen plants.
- Weather Resistance: Contrary to chemical potting trays, metal containers provide natural weather resistance. This makes them a fantastic option for outdoor use.
This innovative use not only brings a pop of nature into your living space but also provides a unique conversation starter for your guests.
DIY Vintage Metal Cooler
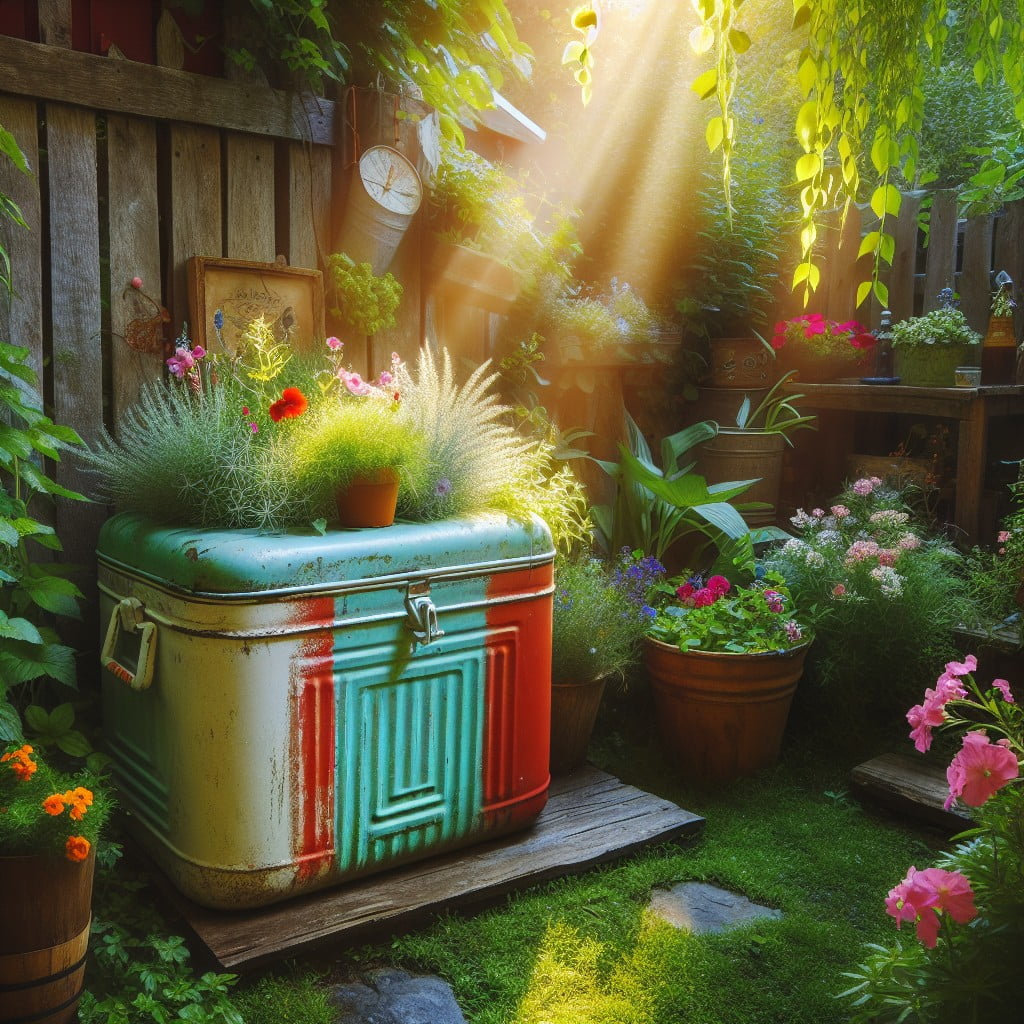
Transforming a vintage metal container into a cooler keeps beverages chilled at your next party while adding a touch of retro elegance. Follow these easy steps to prepare a unique and functional piece:
1. Select a Suitable Container: An old metal milk can or a galvanized metal tub, the more distressed, the better. Ensure it doesn’t have any holes and is large enough to hold a variety of drinks.
2. Clean Thoroughly: Wash the container inside and out with warm soapy water, and dry it completely.
3. Fit the Liner: Measure the interior dimensions of the container precisely. Purchase a plastic tub or bin with matching or slightly smaller dimensions to act as a liner, ensuring a watertight seal.
4. Apply Protective Coating: Protect the exterior of the container from water damage by applying a clear varnish or a waterproof spray, allowing sufficient drying time.
5. Assemble the Cooler: Place the liner inside the container. For keeping drinks cool on hot days, fill your cooler with ice and then add your bottled or canned beverages.
6. Customizations: Consider adding a bottle opener or painting the cooler in funky hues to match the party theme. Remember, it’s about expressing your personality while maintaining utility.
This DIY project not only aids recycling but also adds a nostalgic charm to your gatherings, setting it apart from ordinary coolers.
Rustic Cake Stands Out Of Old Tins
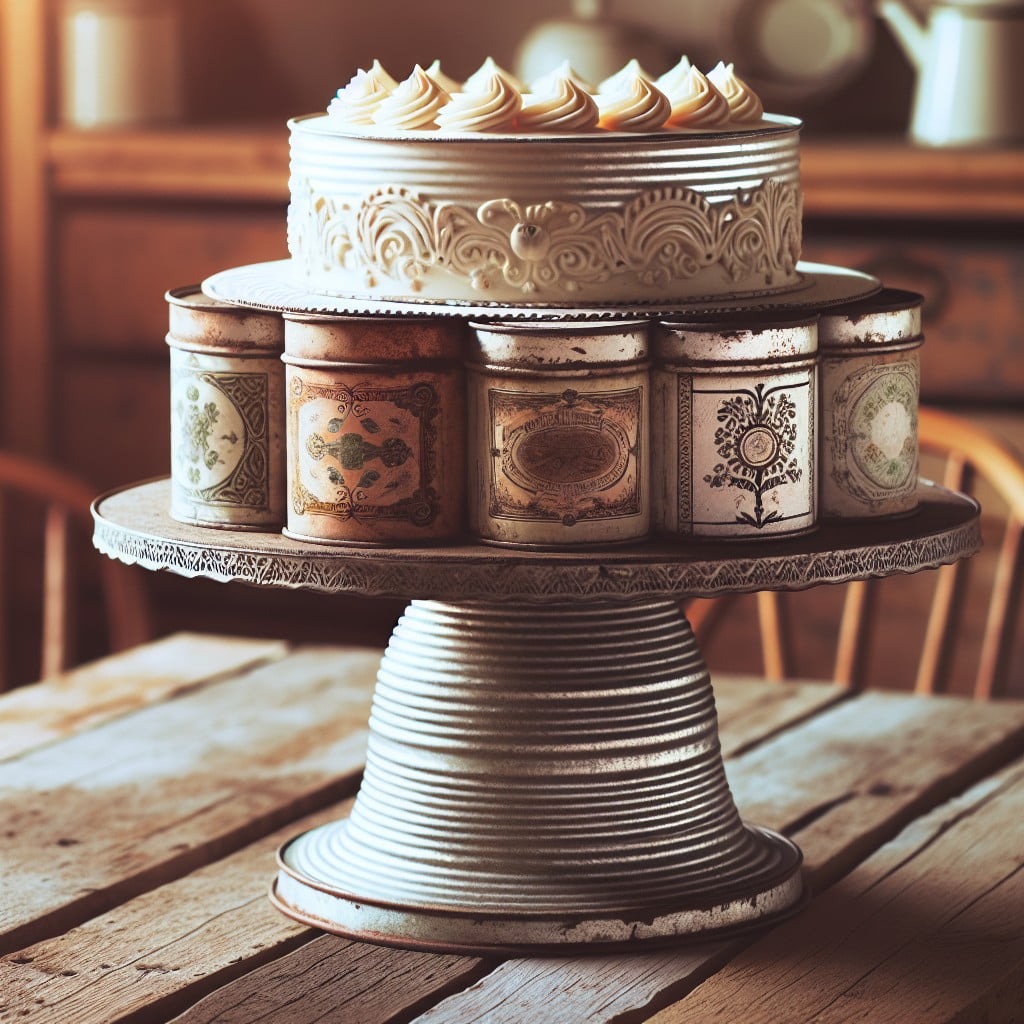
Creating your own cake stand from an old tin is an innovative and stylish way to give your baked creations a stunning platform. The technique is simple yet effective, lending a touch of rustic charm to your tablescape.
You would need an old tin, sturdy plate, and a strong adhesive suited for metal.
- 1. Prep your tin by cleaning it thoroughly and letting it dry. This ensures the adhesive adheres well.
- 2. Apply adhesive to the base of the plate and center it on the tin. It’s best to use a plate lighter in weight for balance.
- 3. Let the adhesive dry as indicated on the package.
- 4. Now your cake stand is ready! Place your delicious cake on top and admire your handiwork.
Remember, you can personalize your stand. Consider painting the tin, or applying decorative elements or even incorporating multiple tiers by stacking smaller tins and plates.
The idea is to recreate new purposes for antique items lying around your home, and this is one simple, yet fantastic, example of that.
Floating Shelves Using Metal Containers

With the right technique, those worn-out containers can be transformed into striking, space-saving shelves. Ideal for showcasing collectibles, these shelves offer functional display space, adding industrial flair to any room.
1. Select and Clean Containers: Choose antique metal containers in various sizes. Clean them to ensure they’re free from dirt or rust.
2. Mounting Equipment: Invest in sturdy brackets, both for aesthetic value and strength to carry the container’s weight.
3. Position Selection: The versatility of floating shelves allows for placement almost anywhere – above a desk, beside a doorway, or even in a narrow corridor. Space them judiciously for maximum impact.
4. Secure: Mount the containers, making sure they are firmly attached. Use an upright position for taller objects and gallery inspired horizontal placement for wider exhibits.
5. Decorate: Stick to a cohesive theme, like vintage pieces, prized novels, or a collection of succulents to complete your new charming display.
With a little creativity and manual work, your antique metal containers gain a new purpose, contributing a uniquely vintage touch to home decor.
Old Metal Tin Coin Bank
The vintage charm of an old metal tin can easily be converted into a coin bank, adding a touch of nostalgia to money saving habits. This practical crafting project only needs a sharp tool for creating a coin slot.
Choose a tin with a removable lid to access savings without having to smash your unique bank.
Here are steps to follow:
- Ensure the tin is clean and dry. Select any iconic, visually appealing antique metal container.
- Use a marker to position the coin slot near the top of the tin. Make sure it’s wide enough to accommodate larger coins.
- Carefully cut out the slot using a sharp tool or utility knife. Wear gloves to prevent accidents.
- Smooth out the slot edges with sandpaper to prevent cuts during use.
- Your tin coin bank is ready!
Remember, preservation of the tin’s original patina can add to its antique appeal. To mix practicality with beauty, this is a sure way to incorporate vintage elements into everyday life.
Antique Metal Container As Soap Dispenser
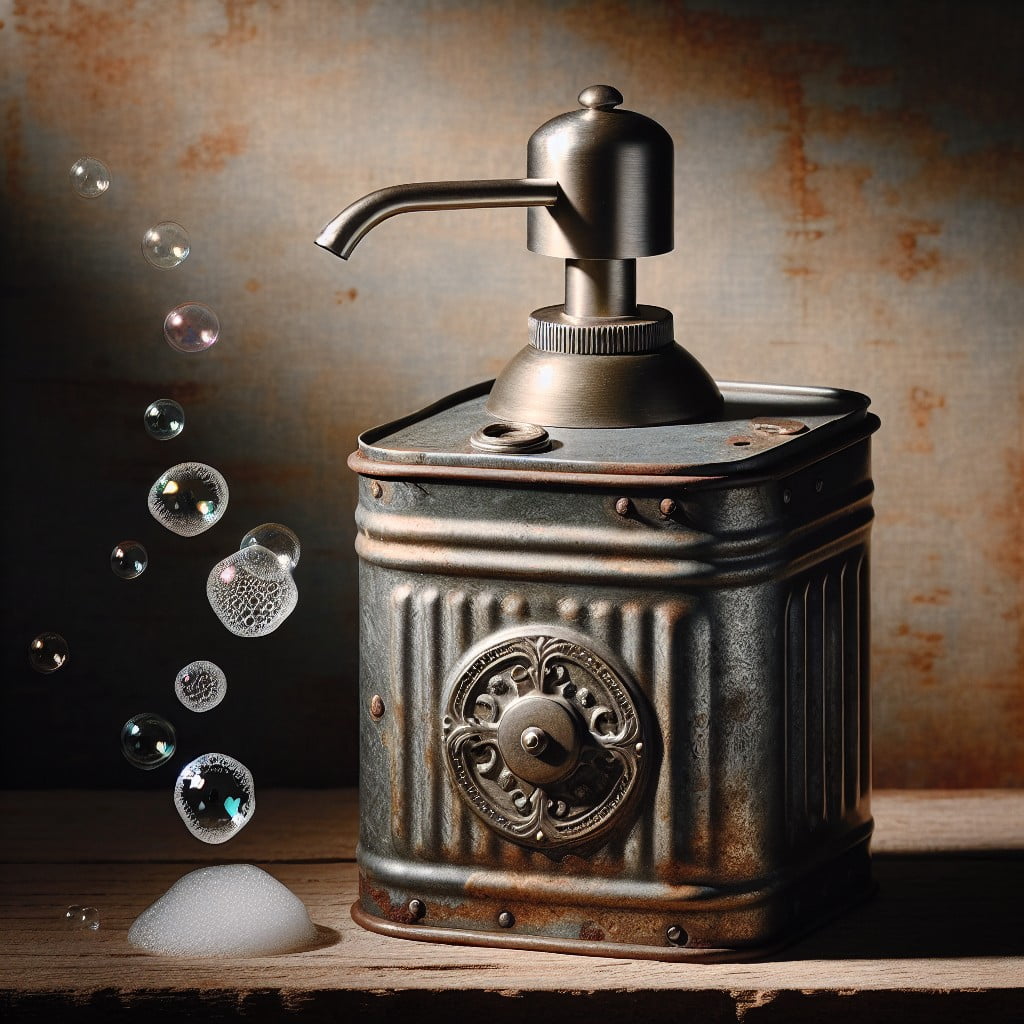
Utilizing an old metal container for a soap dispenser preserves the arresting charm of a bygone era while maintaining practical use in the modern home. Here’s a quick way to achieve this:
1. Clean the inside of the container thoroughly, ensuring all possible residues are removed.
2. With a drill, create a small hole on the lid suitable for the pump dispenser straw. Smooth out any sharp edges.
3. Attach a soap dispenser pump into the hole, securing it in place. If necessary, use glue for extra stability.
4. Fill the metal container with soap.
This concept is not only cost-effective but also environmentally-friendly, as it repurposes an item, reducing waste. Furthermore, it adds a customized, personalized touch to one’s bathroom decor that mass-produced items simply cannot match.
Silverware Organizer Using Vintage Tin
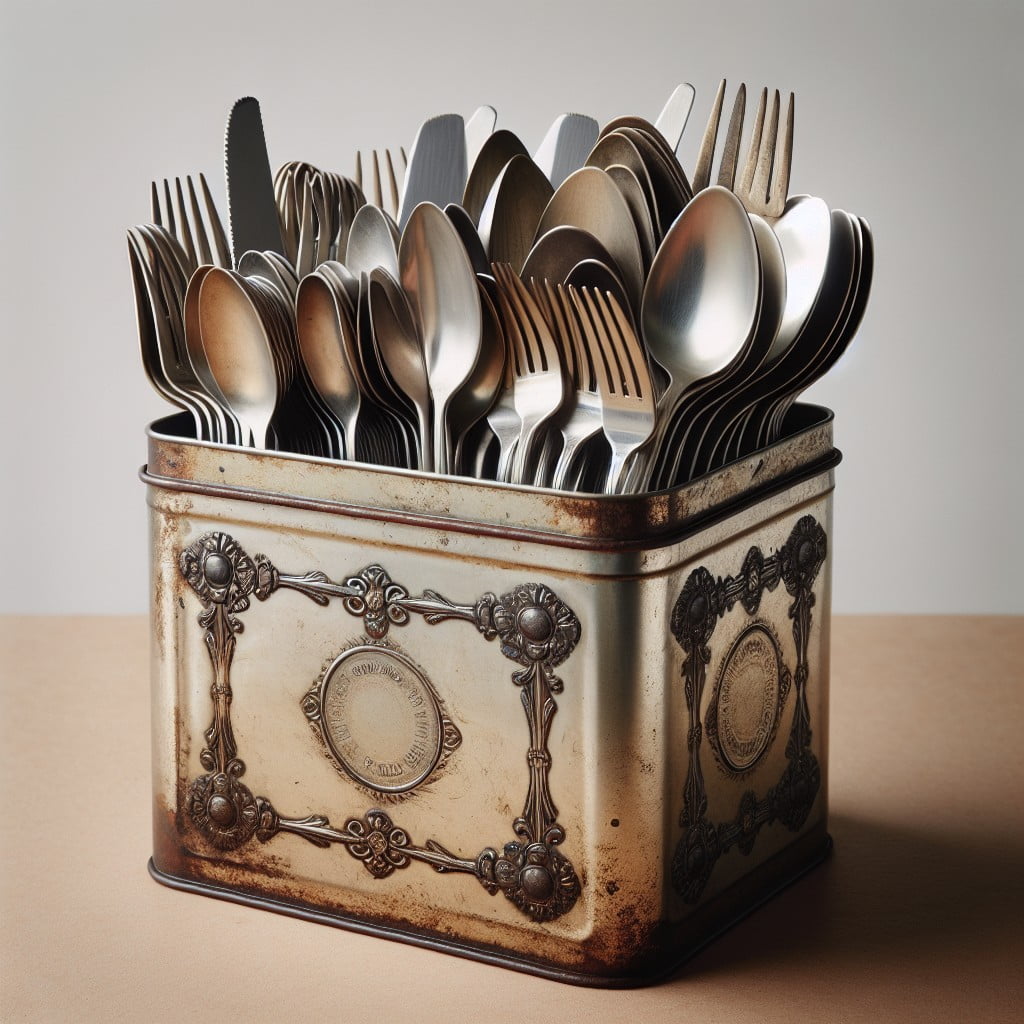
Bringing a sense of character to kitchen storage, sourcing a vintage tin suitable in dimension can be the first step. Here, look for tins that are long and wide enough to fit your cutlery. With a classic design or embossed detail, they’ll add an instantly intriguing element to the kitchen counter.
Next, consider adding separations within the tin to categorize the silverware. This can be done by using small wooden or plastic dividers, offering slots for forks, knives, spoons, and other necessary tools.
Remember to line the bottom of the container with a soft material like felt to prevent the metal from scratching your silverware. This practical yet wayyy aesthetic solution ensures style meets functionality in the heart of your home – the kitchen. It’s not just about storage, but also presenting a touch of historical charm every time you set the table.
DIY BBQ Grill With Galvanized Bucket
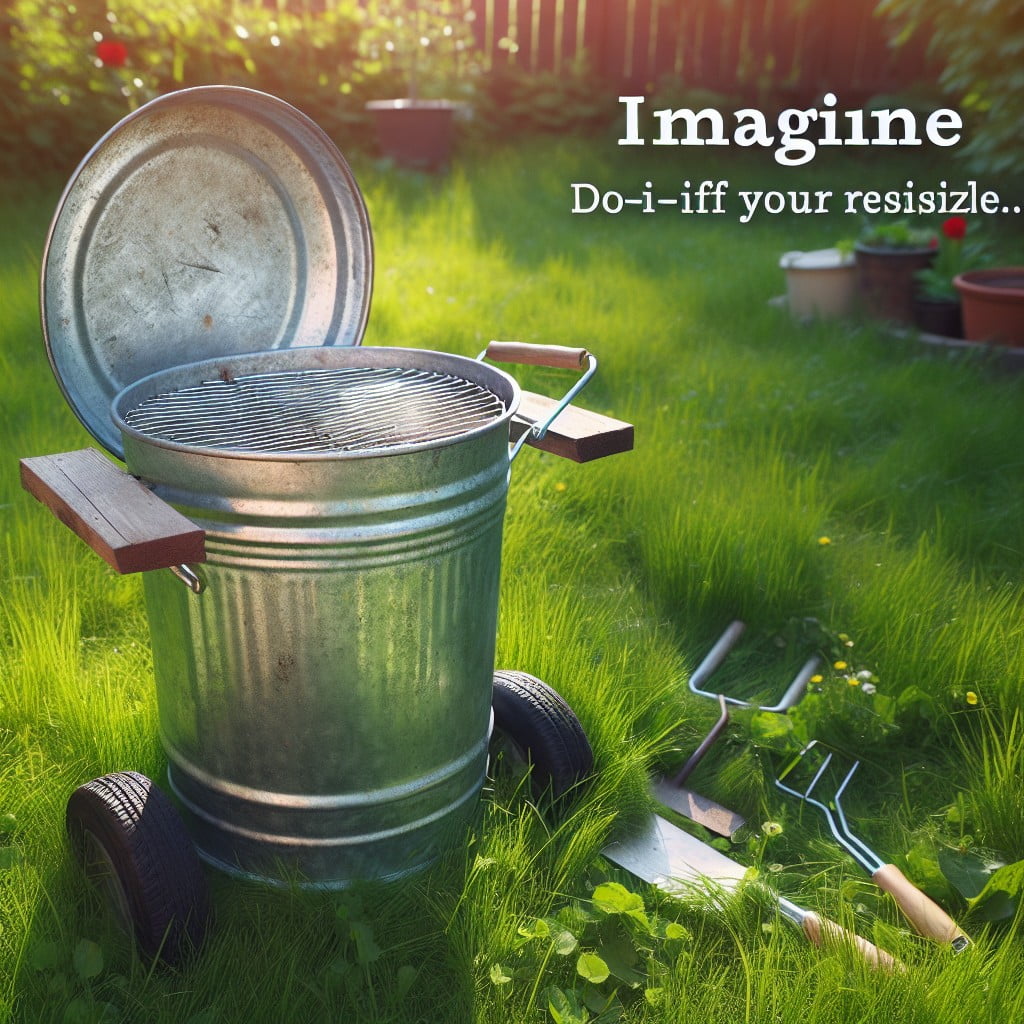
Unleashing your ingenuity, a galvanized bucket can transform into a functional DIY BBQ grill. This innovation serves dual purposes – a testament to your creativity and a handy tool for outdoor cooking adventures.
Material-wise, you’ll need a galvanized bucket, steel mesh, charcoal, and a sturdy grille. These commonly found items lay the foundation of your homemade barbecue setup.
Start by making sure the bucket and grille fit each other. The grille should rest on top comfortably, providing a surface for your BBQ delights. Next, position the steel mesh inside the bucket, two-thirds from the top, to hold the charcoal.
Once the setup is securely assembled, you’re ready to fire it up. Put a layer of charcoal on the steel mesh, light it, and wait for it to compete with the sun. Patience is key here – give the charcoal time to properly heat up before placing food on the grille.
Safety always comes first. Always remember to handle the bucket with heat-resistant gloves, and watch out for potential hazards. Your DIY BBQ grill is a showcase of creativity, yes, but it’s also a tool that needs careful handling for a safe and memorable cookout.
Herb Reserve With Old Olive Cans
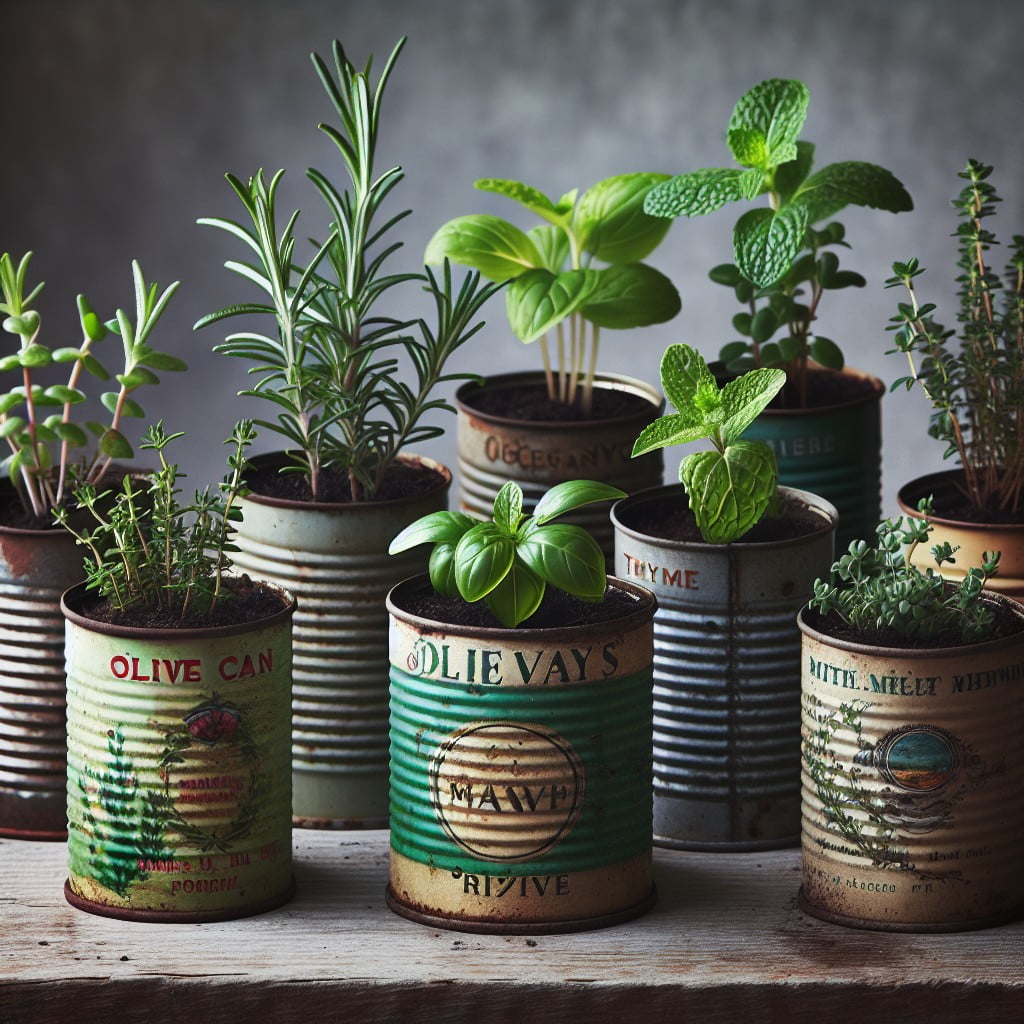
Transforming an array of old olive cans into a stunning herb reserve not only pays homage to rustic aesthetics but also supports sustainable living. Follow these easy steps:
1. Carefully Clean: Always rinse out cans thoroughly before use. This not only prevents lingering smells but also ensures the safety of your plants.
2. Drainage Holes: Remember to punch holes in the bottom for drainage. Overwatering herbs can lead to root rot.
3. Add Pebbles: Fill the base of the cans with small pebbles. This aids in drainage, and helps the plant roots grip onto something solid.
4. Planting: Add your potting mix and plant your chosen herbs. Ideal varieties for these small spaces include chives, oregano, thyme, or basil.
5. Positioning: Place these in an area with ample sunlight – a sunny windowsill is a perfect location.
6. Enjoy: Witness your herbs thrive in their new homes, adding aesthetic charm to your kitchen while providing fresh, home-grown flavor for your meals.
This elegant, green-friendly project brings together functionality and vintage appeal, perfectly illustrating the charm of repurposed antique metal containers.
Metal Bucket Outdoor Lantern
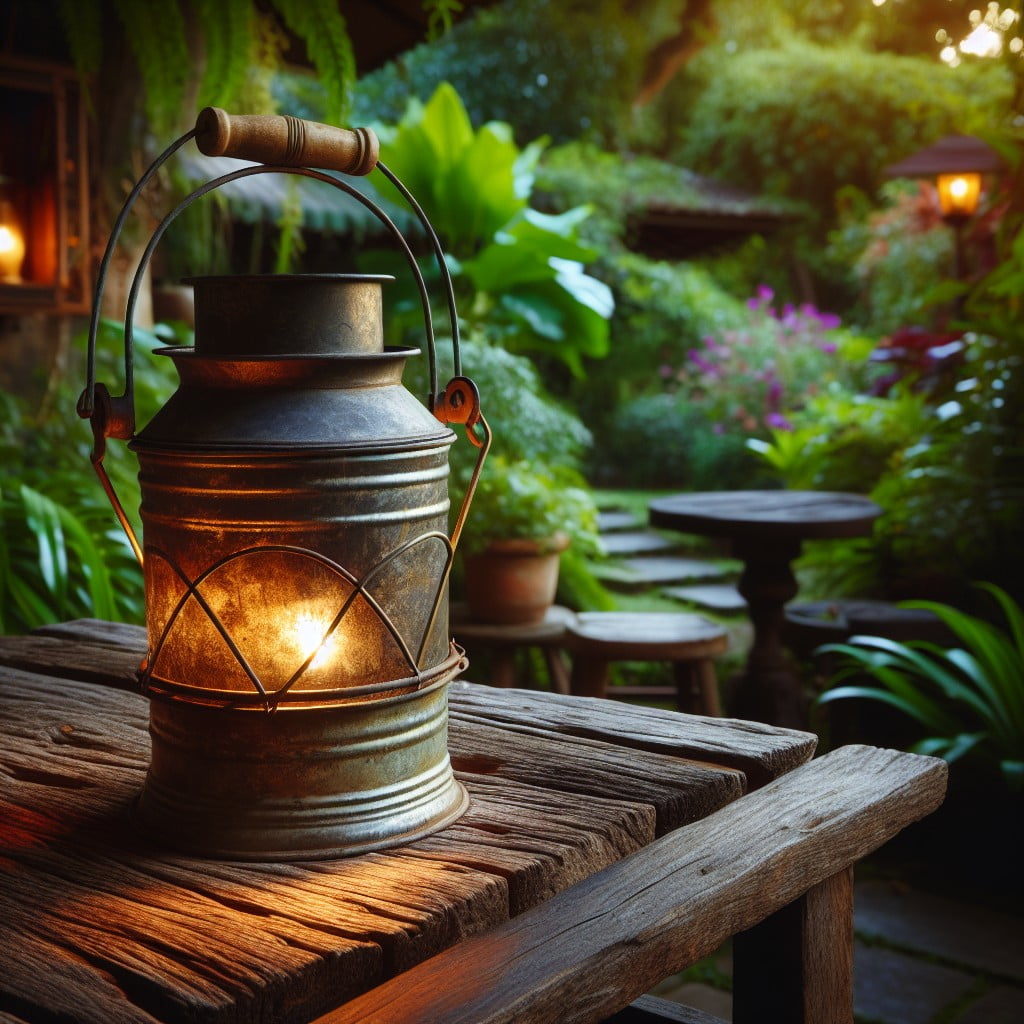
Old metal buckets can receive a new lease of life as stylish outdoor lanterns, bringing a warm, rustic charm to your patio or garden. Here are some quick steps to transform these antique containers.
Firstly, select a metal bucket of appropriate size. Make sure it is free of rust and wipe it clean.
Secondly, draw a dotted line around the upper part of the bucket approximately five inches from the top, then drill small holes along this line for ventilation. Use larger holes for a more dramatic lighting effect.
Next, you’ll need a wire hanger and an old grill grate to hold the candle. Attach the hanger on the inner sides of the bucket to hold the grill grate securely. Ensure the grate fits snugly within the bucket.
Finally, place a candle or an LED light (for a safer option) on the grate inside the bucket. The transformation is complete! Your DIY outdoor lantern will provide a cozy and inviting atmosphere for nighttime parties or quiet evenings spent outdoors.
Remember, make sure the bucket is adequately ventilated and never leave the lit lantern unattended to avoid unpleasant incidents.
Ideas Elsewhere
- https://www.pineconecottageretreat.com/vintage-metal-containers/
- https://www.craftidly.com/upcycle-vintage-tins/
- https://lorabloomquist.com/creative-ideas-for-galvanized-buckets-and-vintage-containers/
- https://www.countyroad407.com/how-i-use-my-5-favorite-vintage-galvanized-containers-for-flowers/
- https://shiplapandshells.com/vintage-and-antique-garden-decor-ideas/
- https://shiplapandshells.com/how-to-display-seasonal-flowers-in-vintage-containers/
Read More Like This
 15 Creative Ribbon Decoration Ideas You’ll Love
 15 Ingenious Pool Noodle Decoration Ideas
 15 Creative Ideas for Wedding Car Decoration
 15 Simple Balloon Decoration Ideas
 15 Indian Corn Decoration Ideas for a Festive Home
Recap: