Last updated on
Exploring bowl decoration ideas is a surprisingly versatile endeavor because these everyday objects present numerous ways to revamp your interior aesthetics, whether you’re aiming for a minimalist or a bohemian vibe.
I thoroughly enjoyed creating these 20 Simple & Creative Bowl Decoration Ideas to beautify your space, and, as the proud author and designer, I hope they inspire you and bring as much fun to your home decorating as they did to my creative process.
Decorating with bowls is an art that can transform your home into a vibrant and unique space. From fruit bowls to centerpiece bowls, these versatile pieces can be styled in countless ways to add a touch of elegance to any room.
Whether you’re looking for a way to showcase your favorite trinkets or need a solution for your dining table centerpiece, this article has got you covered. Delve into the world of bowl decoration ideas, where you’ll find a multitude of creative and easy-to-implement suggestions.
With this comprehensive guide, you’ll have all the inspiration you need to turn ordinary bowls into extraordinary decor pieces.
Mosaic Glass Bowl
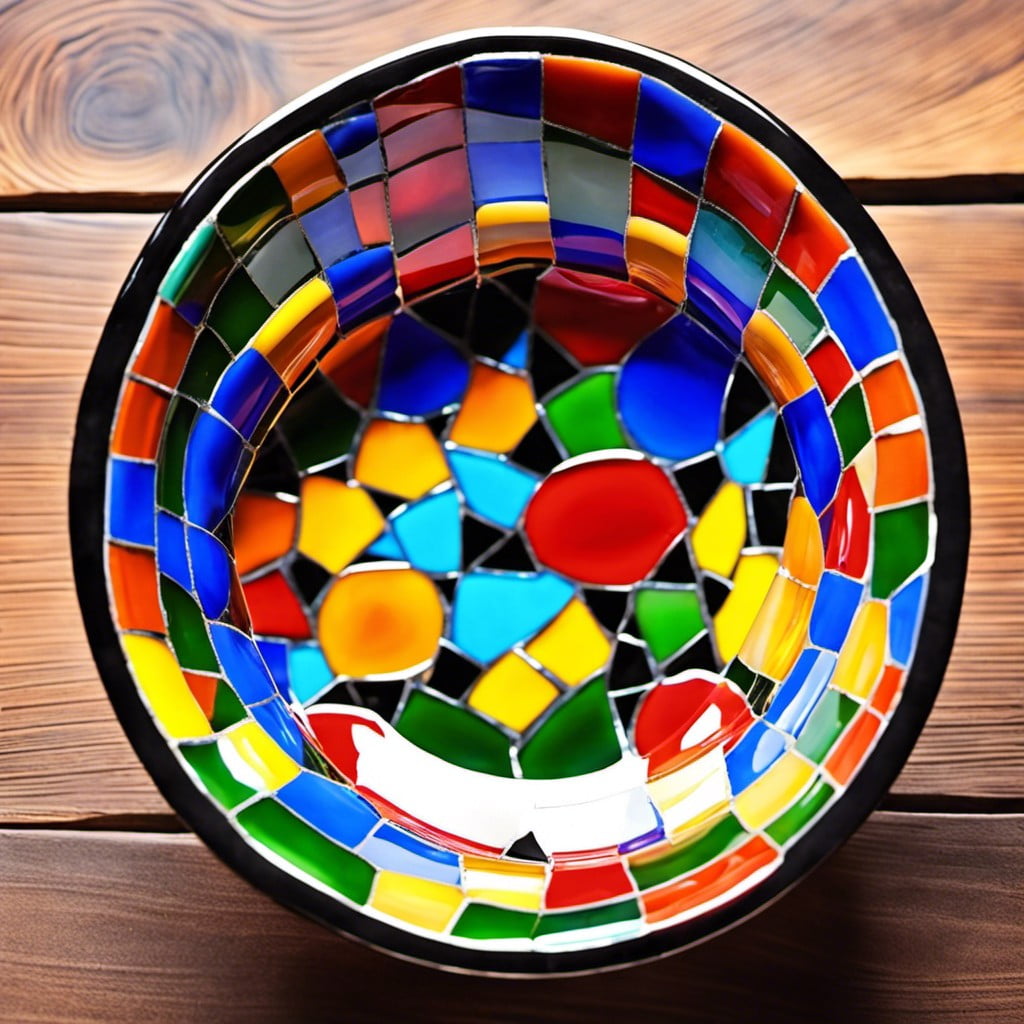
Diving straight into the heart of our first decor element, the creation process is a work of patience and creativity. Assembled from tiny pieces of colored glass, or broken pieces of your old glassware, these bowls serve as radiant centerpieces when catch light.
There are few points worth noting:
- Use a simple flat glass bowl as a base.
- Cautiously organize the shards in a dynamic or radiating pattern to achieve your aesthetic.
- Adhere each piece with a transparent, strong glue ensuring gaps are left for grouting.
- Grout seals in the arrangement and provides a contrasting or matching backdrop.
- After drying, polish the surface for a smooth finish and gleaming look.
Just remember to take time in the arrangement process. Like a puzzle, each piece should find its perfect spot, crafting a complex yet harmonious image. You can play around with colors and shapes to suit your style and environment, resulting in a unique, eye-catching decorative bowl.
Painted Ceramic Bowl
This technique enables you to bring a personal and artistic touch to an otherwise plain ceramic bowl. Choose acrylic paint for the best results as it is highly durable and comes in a myriad of vibrant colors. Before you start, ensure the bowl is clean and dust-free to facilitate proper adhesion.
1. Sketch your design: Use a pencil to gently draw your design onto your bowl. It could be anything from intricate patterns to abstract shapes.
2. Choose your colors: Opt for bright stand-out colors or calming earthy tones depending on the room’s decorative scheme where you plan to place your bowl.
3. Apply paint: Start filling in the lines with your chosen paint colors. A small-sized brush can help with precision.
4. Add layers: Depending on the opacity you desire, you might need to apply multiple paint layers. Let each layer dry before starting the next.
5. Protect your work: Once you’re happy with the painted design and it’s fully dry, seal the patterns using a clear acrylic spray to protect against chipping and wear.
Remember to unleash your creativity and have fun throughout the process!
Decoupage Flower Bowl
Using printed or patterned paper, one can make a dramatic transformation to an ordinary bowl. Choose designs with florals for a feminine, classic touch, or go bold with geometric shapes.
The process involves cutting or tearing your chosen paper into pieces, then adhering them to the bowl with decoupage medium such as Mod Podge. Use a brush to apply an even coat of Mod Podge over the paper, not forgetting to cover the bowl’s edges and inside.
Several layers are usually applied, leaving each to dry thoroughly for a polished finish. For durability and protection, a final layer of clear varnish can be added. The result is a uniquely artistic piece that brings life to any home decor setup.
Glitter Covered Bowl
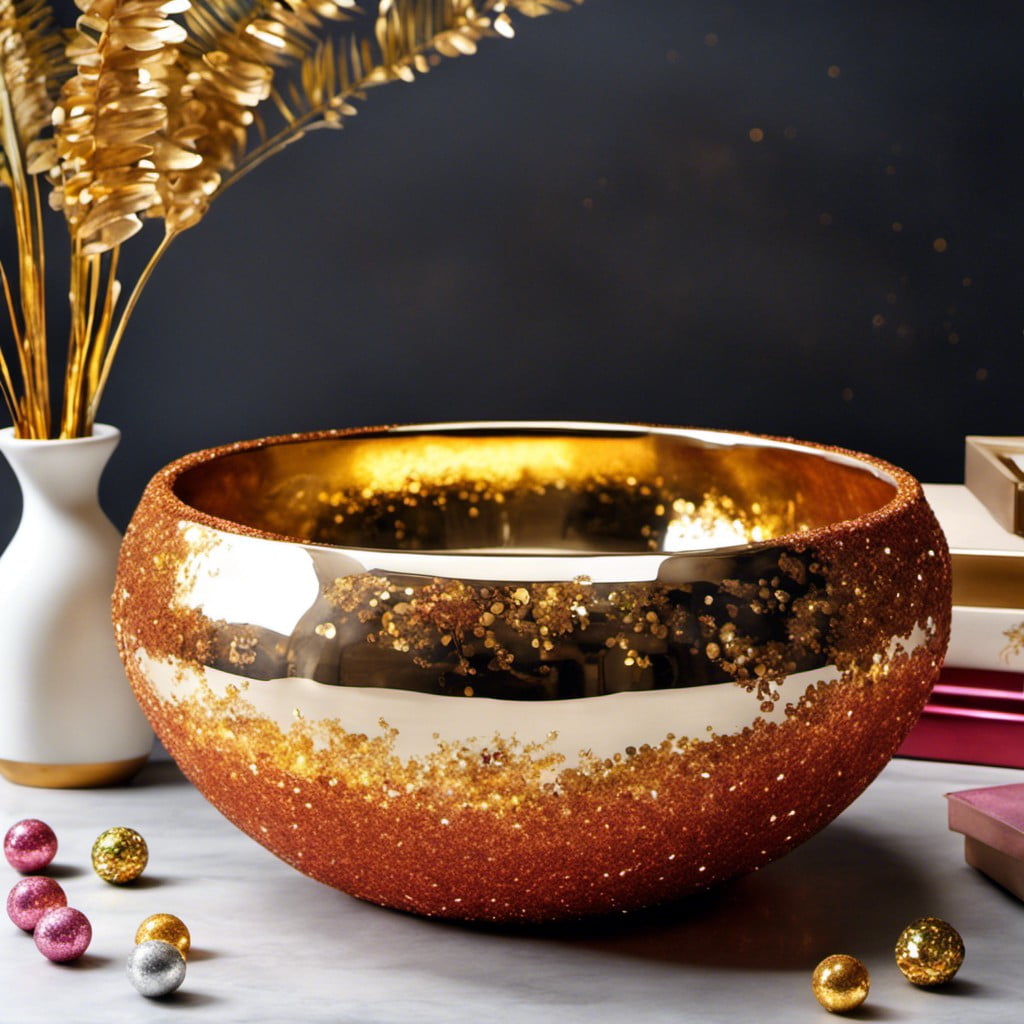
Creating a glitter-covered bowl brings a sparkling dynamism to any room. Here’s a simple guide to get started:
1. Select a Clear Glue: It serves as a strong adhesive for the glitter particles. A gluing gel ensures minimal mess while providing an even coating.
2. Choose the Glitter: Decide between fine or chunky glitter. Each type casts a different shimmer effect to the bowl.
3. Apply Adhesive: Using a sponge or a brush spreads the glue evenly, leaving no spot untouched. It determines how well the glitter adheres.
4. Sprinkle Glitter: The process should be gradual, ensuring complete coverage of the bowl’s surface area. It can be done over a large sheet of paper to catch any excess.
5. Dry Completely: The bowl should remain untouched until fully dry, which prevents the glitter from smearing or bunching.
6. Seal the Glitter: Applying a clear sealant over the dried glitter ensures it stays intact, preserving the bowl’s sparkle long-term.
Caution: The glitter-covered bowl is for decorative purposes only as the glitter and glue are not typically food safe.
Gold Leaf Bowl
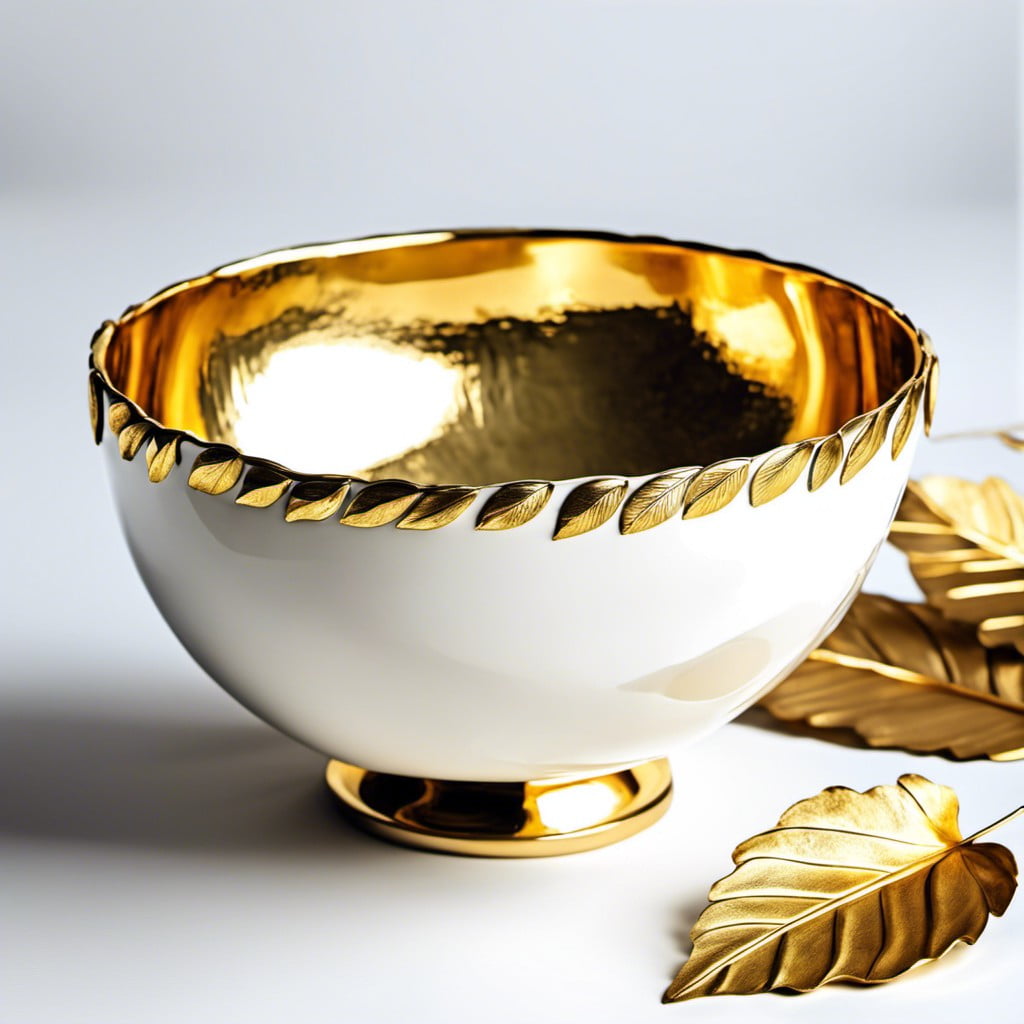
Embellishing a dish with gold leaf is an elegant way to create a stunning, eye-catching decoration piece.
The first step involves thoroughly cleaning the bowl to be used.
Apply a thin layer of specialized adhesive before gently laying down sheets of gold leaf.
Keep in mind, this delicate material may tear easily, so handle it with care.
Once covered, allow the adhesive to dry as per manufacturer instructions.
Apply a sealer to protect the gold leaf, giving the bowl a polished and lasting finish.
This method can be used on both the inside and outside of the bowl, depending on personal preference.
Remember, gold leaf can be a bit messy to work with, so a neat work area and protective clothing are advisable.
Don’t be too concerned about perfect coverage, the beauty of this project lies in its imperfect elegance, making each piece unique.
Fabric Wrapped Bowl
Proceeding with the fabric wrapped bowl, you’ll need to select a fabric that complements your decor style. The fabric can be patterned or plain depending on the aesthetic you’re aiming for.
Begin by cutting the fabric into strips if you’re aiming for a textured, rustic look or leave as a single piece for a smoother finish.
Here, a ceramic, glass, or wooden bowl will do. Apply a layer of mod podge or fabric glue on the bowl surface and carefully place your fabric on it. For a layered look, place the strips in a criss-cross pattern. Ensure any wrinkles or air bubbles are smoothed out as you go.
Let it dry overnight. Once dry, apply a final coat of mod podge or varnish to seal it and add an extra layer of protection. This decor works well to hold non-food items, and delivers a unique and charming touch to any room.
Remember, you can always switch things up by using different fabrics to match seasons or your changing decor themes.
String Art Bowl
Creating a string art bowl requires patience, but the end result can be a mesmerizing piece of home decor. It all starts with an inflatable balloon as a mold, around which you wind your chosen color of string. Polyvinyl glue is applied throughout the process for a sturdy outcome.
Method:
- Inflate a balloon and position it base-side-up in a bowl for stability.
- Dip your string in polyvinyl glue and begin wrapping it around the balloon in an intricate pattern.
- Allow the structure to dry overnight.
- Lastly, burst the balloon to reveal your lightweight, resilient string art bowl.
A variety of effects can be achieved depending on the thickness and color of your string. Try mixing multiple shades for a more dynamic look! Remember, the more layers of string, the sturdier your design will be. It’s a time-consuming process, but the payoff of having a unique, self-made piece of home decor is worth it.
Natural Seashell Bowl
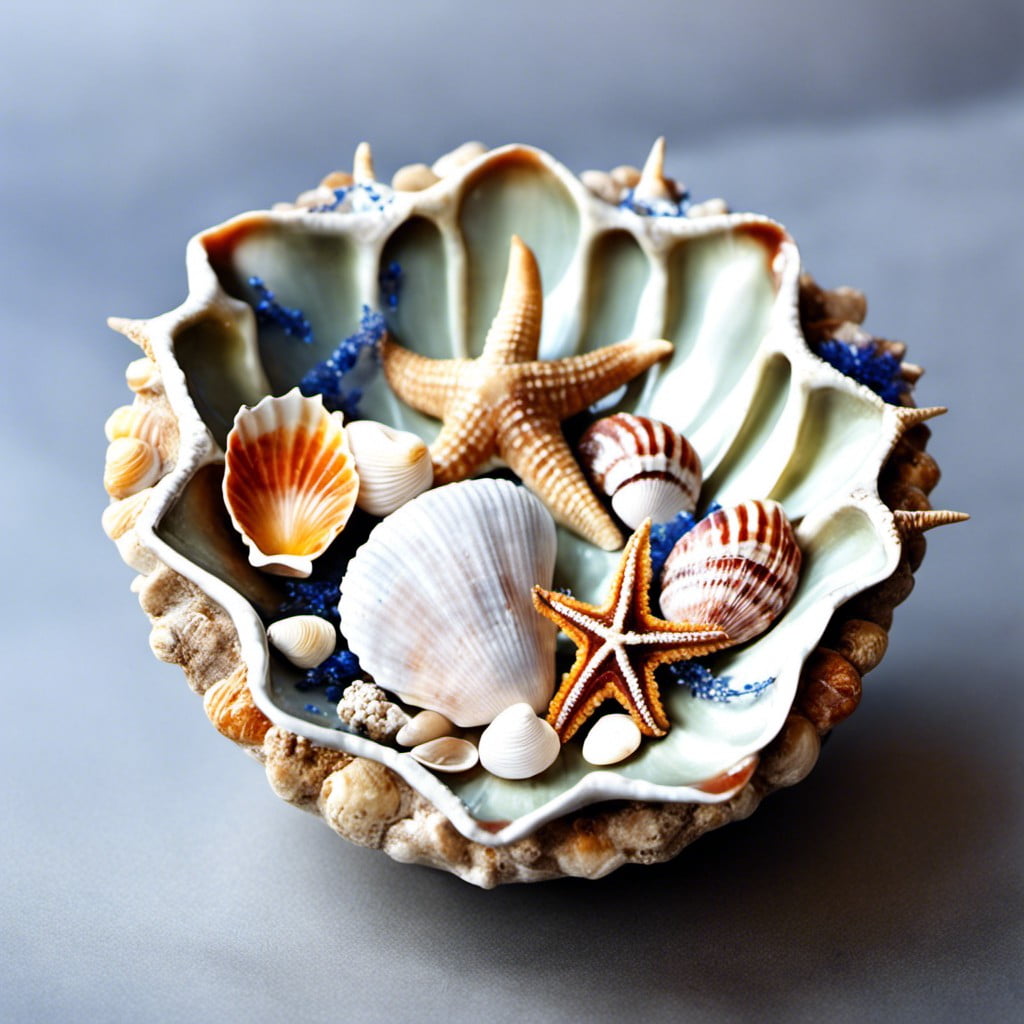
Transforming a simple bowl into a coastal inspired piece is easier than you might think. All it takes is a collection of seashells, which can be sourced from a beach outing or purchased from a craft store. The size, color, and variety of the shells you use can greatly influence the aesthetic of the final product.
Here are the steps to create your own natural seashell bowl:
- Ensure the bowl is clean and dry. This will allow the adhesive to properly bond with the bowl’s surface.
- Apply a strong adhesive, such as a hot glue gun, to the seashell. Position each shell onto the bowl’s surface, ensuring a strong bond. Depending on your design vision, you can either place the shells randomly for a more organic feel, or stick to a specified pattern.
- Let the adhesive cure for the instructed time. This is typically 24 hours, but refer to the specifics mentioned on the adhesive packaging.
- Finish your bowl with a coat of clear gloss sealant. This step is optional but will add a polished look to your bowl and help ensure the longevity of the adhesive bonds.
- Let the sealant dry completely before using the bowl.
Remember, this decoration is not dishwasher safe, hence manual cleaning is suggested. Also, as shell edges can be sharp, avoid usage as a food-serving bowl. Enjoy your homemade seaside decor!
Stencil Patterned Bowl
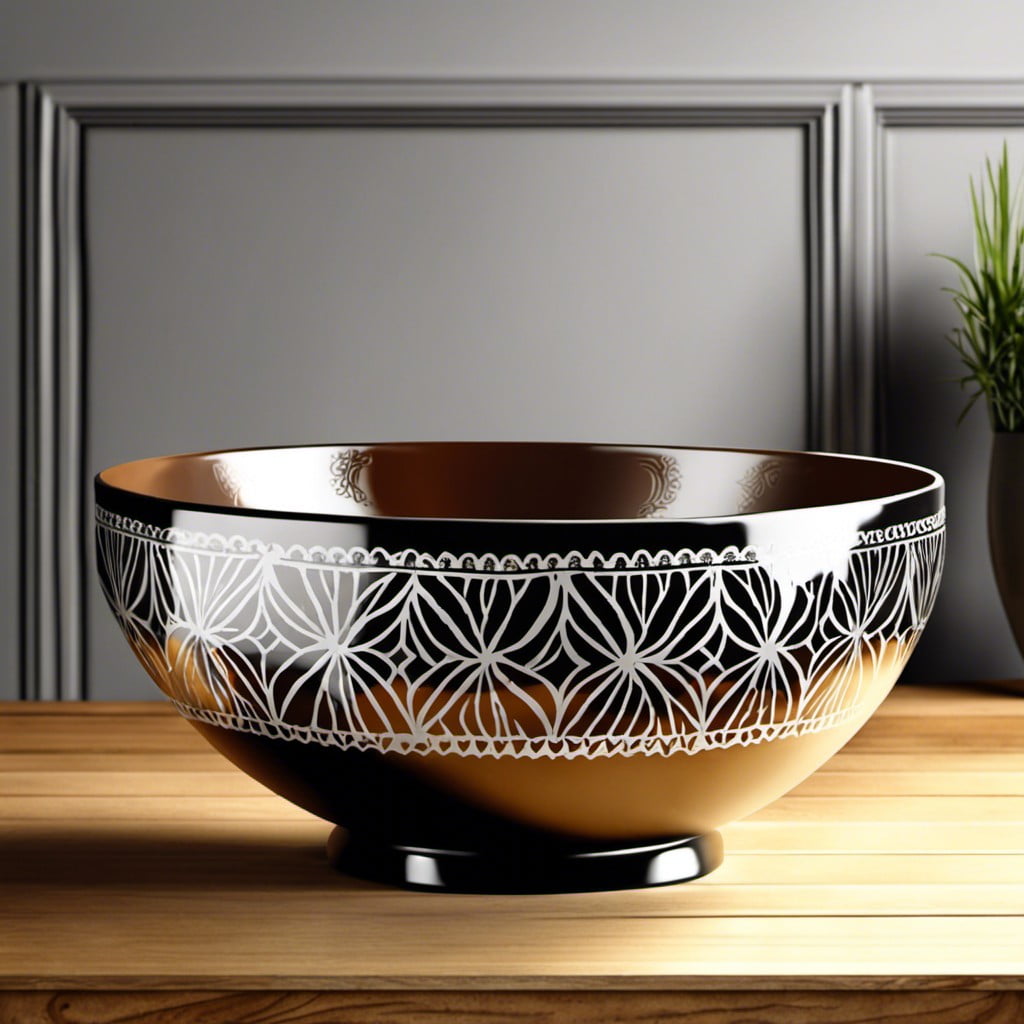
Firstly, select a stencil design that suits your aesthetic. Many craft stores offer a wide variety of designs. Plastic stencils are generally easiest to work with as they’re sturdy and reusable.
Make sure your bowl is clean before you start. Position your stencil on the desired spot and secure it with painter’s tape.
For the paint, acrylic paints are recommended for their quick drying features. Use a stencil brush to gently dab the paint onto your stencil. Make sure to dab away excess paint before starting to ensure clean, crisp lines.
After the paint dries, remove the tape and stencil carefully. This method allows detailed designs on your bowl, resonating your aesthetic feel, and adding a customized flair to its appearance. Allow the painted bowl to sit for 24 hours before using.
For more durability, consider sealing your stenciled design with a clear protective enamel spray. This will preserve your design and offer extra protection.
Remember to clean your stencil immediately after use for preservation. With this method, you can create a cohesive set of bowls or just one show-stopper piece.
Chalkboard Paint Bowl
This DIY masterpiece provides endless opportunity for personalization! By using the much-loved chalkboard paint, your bowl can transform into an interactive piece of art or a functional message board.
Here are four key steps to create your own:
- 1. Clean your bowl thoroughly, ensuring a dirt-free surface for optimum paint adhesion.
- 2. Apply a coat of primer which will create the perfect canvas, enabling the chalkboard paint to adhere better.
- 3. After the primer dries, proceed with the chalkboard paint. Two coats usually guarantees desired opacity, but allow each to dry before applying the next.
- 4. The final step is “seasoning” by lightly rubbing a layer of chalk across the bowl’s surface.
Always remember the paint needs time to cure before you start drawing on it, usually about 24 hours. This chalkboard paint bowl brings a welcome whimsy to any room decor, allowing you to change its look with a simple piece of chalk.
Events-themed Bowl
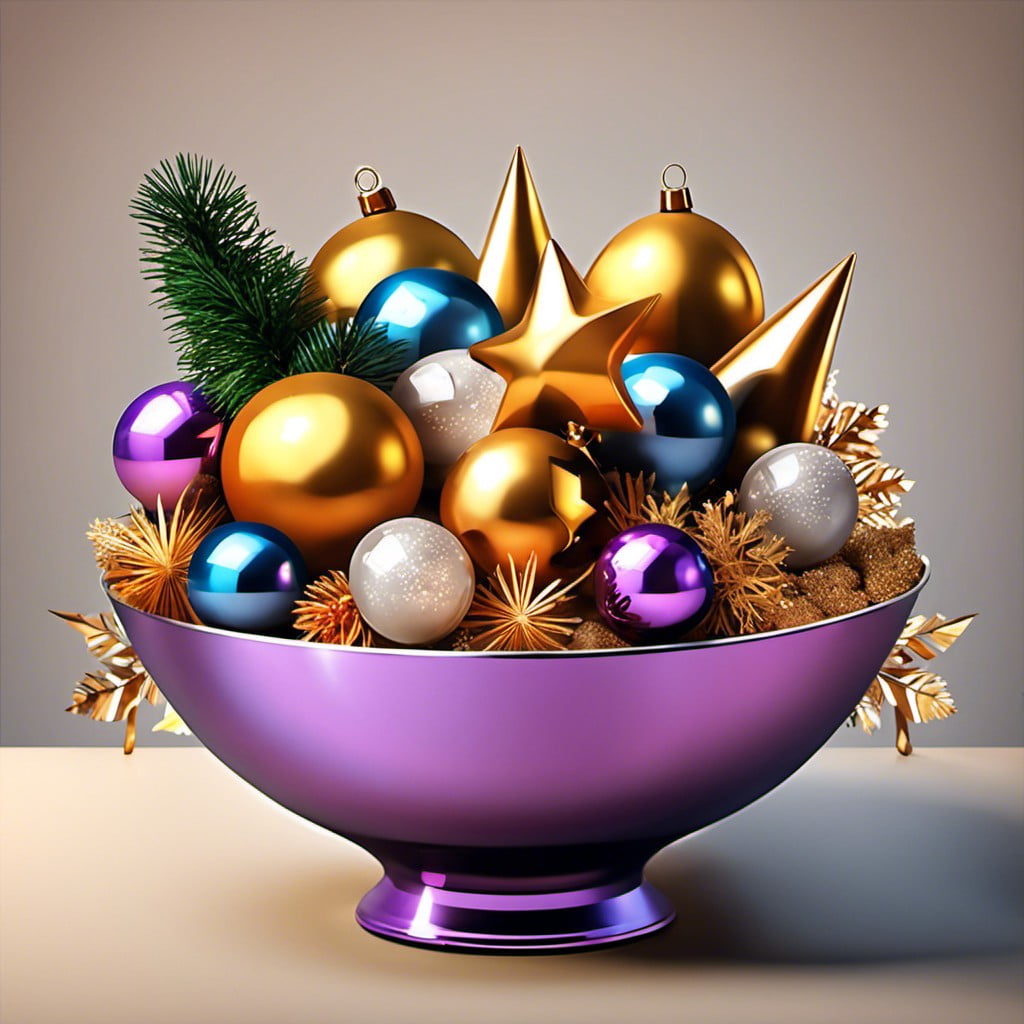
Branching away from the commonplace, the events-themed approach gives a personal touch and relevance to your decor. From birthdays, weddings to holidays like Christmas or Halloween, the customization options are endless.
Firstly, focus on the event’s specific colors or motifs. For instance, red and green for Christmas or pastels for Easter. Placing these boldly on the exterior provides an immediate visual connection to the event.
Secondly, consider adding symbols or iconic designs that further cement the event’s theme. For Halloween, think pumpkins or witches, whereas for a wedding, a monogram or date could be included.
Remember, to make an effortlessly chic bowl, keep it tastefully simple. Overcrowding can distract from the beauty of the bowl itself.
Special occasions apart, consider bowls themed on seasons or sports events. These make for an interesting conversation piece and bring about a novel change from typical home decor.
Above all, let your creativity flow. An events-themed bowl echoes your personal tastes and the joy of celebrating life’s special moments.
Photo Collage Bowl
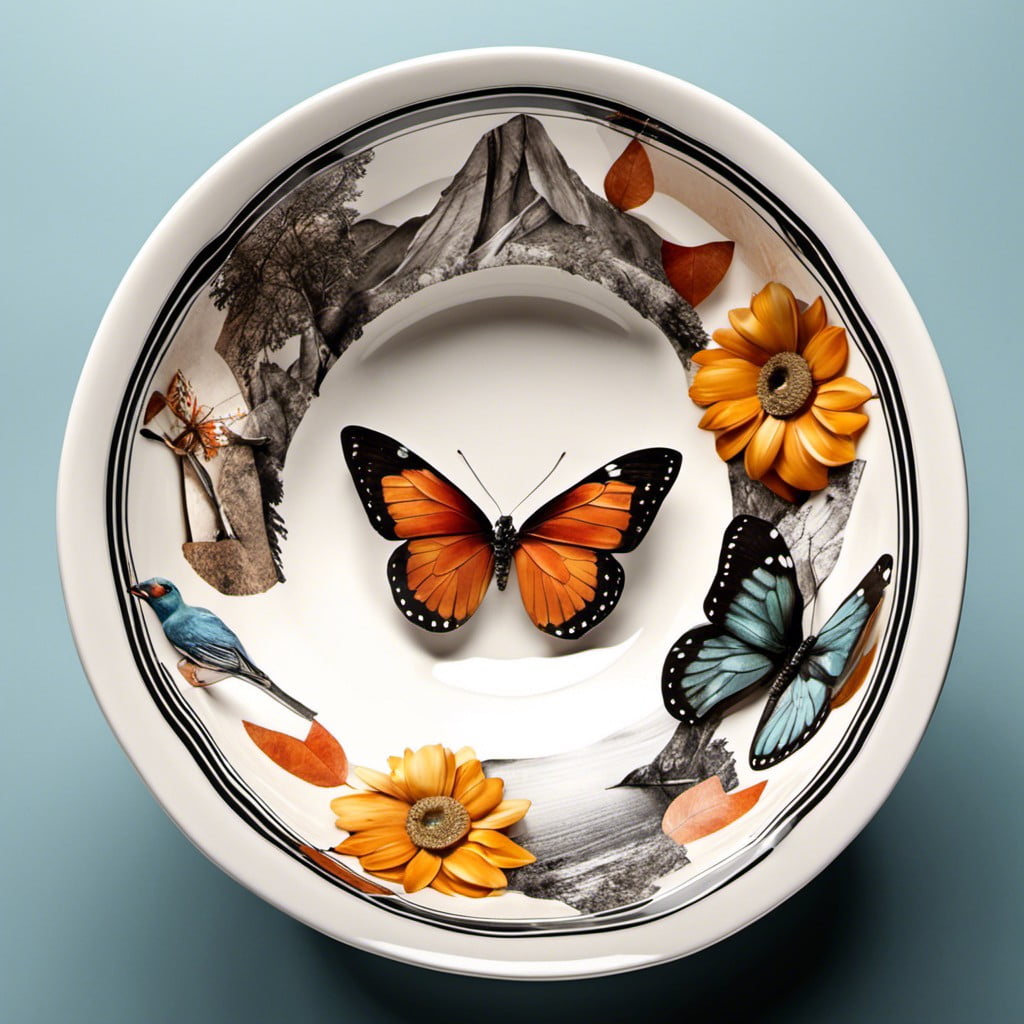
To successfully create this decorative piece, you’ll need a clear glass bowl, printed photos of choice, and decoupage glue. With these supplies handy, follow these steps:
- Trim your preferred images to fit the interior of your bowl.
- Apply a thin layer of decoupage glue to the back of each photo and adhere it to the inside of the bowl.
- For a layered effect, overlap the images.
- Once the inside of the bowl is covered, apply another layer of decoupage glue over the photos.
- Allow the bowl to dry gradually for around 24 hours.
The final product unveils a personalized piece of decor, and every glance at it unveils a trove of cherished memories. Remember, the bowl is not to be used for food storage, it is purely decorative!
Origami Paper Bowl

Redefining the conventional, the origami technique provides an astoundingly simple yet creative approach. The appeal lies in the art of using paper, a basic medium, turned into a visually delightful piece.
Aside from being cost-effective, this option allows for a broad selection of colors, patterns, and sizes. It all starts with choosing your desired paper and folding it in incremental, geometric sequences to form a bowl shape.
As it comes together, the design aesthetics depend on your choice of paper. The one proviso – avoid using these for liquid or overly heavy items due to paper’s delicate nature.
One might use it to hold items such as keys, jewelry, or as a centerpiece holding artificial decor. Endless creativity can be unleashed with this DIY project.
You may use double-sided color papers for a contrasting visual effect or even use metallic paper for a more chic look. Whether minimalist or ornate, every style has its paper match in the realm of origami.
Striped Yarn Bowl
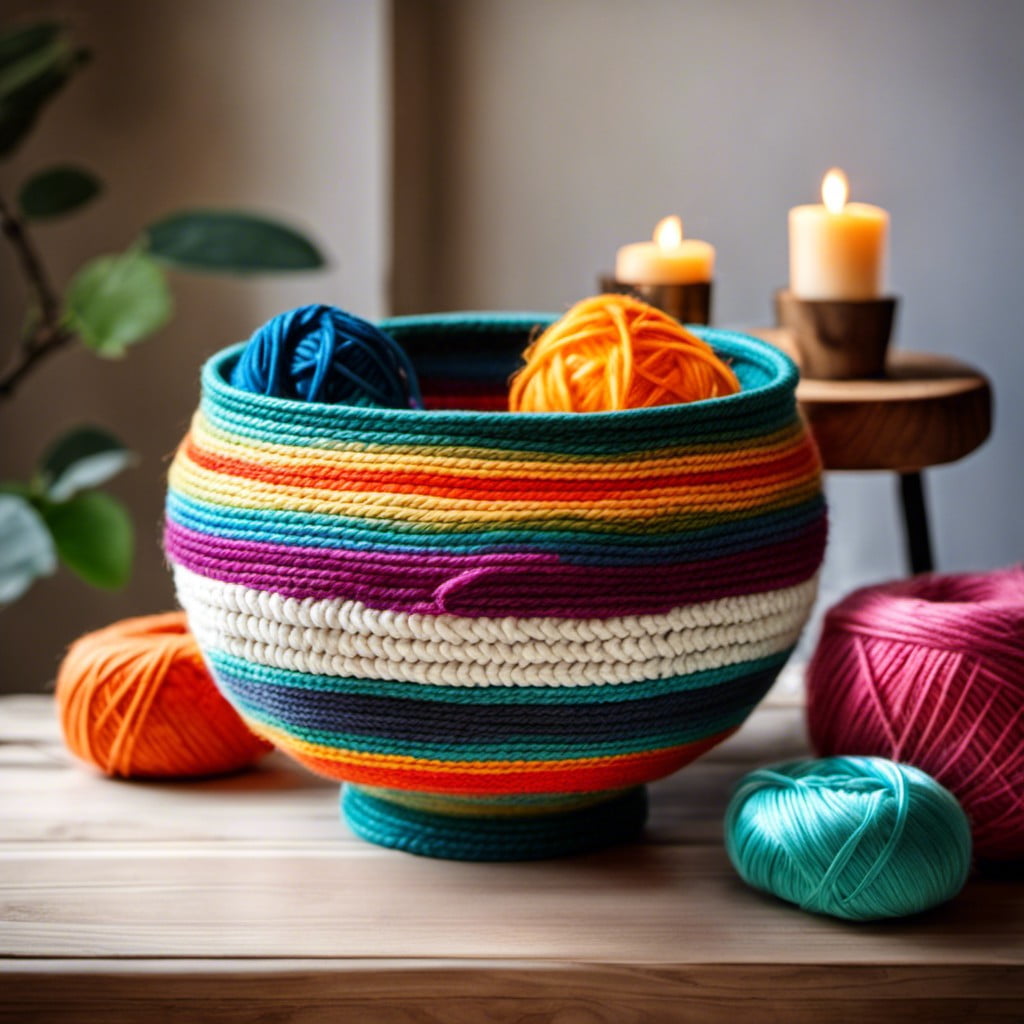
Building on the captivating nature of the striped yarn bowl design, let’s delve a little deeper into its creation. To begin, you’ll need a bowl for the base, various colors of yarn, and glue.
1. Glue Application: Apply an even layer to the outside of the bowl to provide a secure grip for your yarn.
2. Yarn Wrapping: Start at the bottom, adhering one color of yarn. Wind it round, ensuring no gaps. Switch colors at intervals to achieve the striped effect.
3. Drying Time: Allow it to dry completely. This could take a few hours, but it ensures the yarn stays put.
4. Sealing Glue: Apply a coat of glue on top of the yarn to seal your design.
Remember, patience during the process allows for a more refined product. The end result? A charming, textured bowl that’s both functional and chic.
Lace Imprinted Bowl
Delicate and alluring, this design is inspired by the intricate detail of lace fabrics. Here’s a simplified guide to creating your own:
1. Materials: A plain ceramic or glass bowl, lace, and ceramic or glass paint.
2. Process: Begin by securing your chosen lace onto the bowl, ensuring the pattern is continuous and covers the area you wish to print.
3. Apply a thin even layer of paint over the lace. Be sure to dab the paint into the small details of the lace pattern.
4. After a few minutes, gently peel away the lace to reveal your design imprinted in paint on the bowl.
5. Set the paint according to its directions, usually by letting it dry or through a baked process.
With these steps, you can transpose the intricate beauty of lace onto your functional home décor, adding a touch of elegance to any room. Remember, the color, style of lace, and shape of the bowl offer endless possibilities to make this unique design truly your own.
Bejeweled Bowl
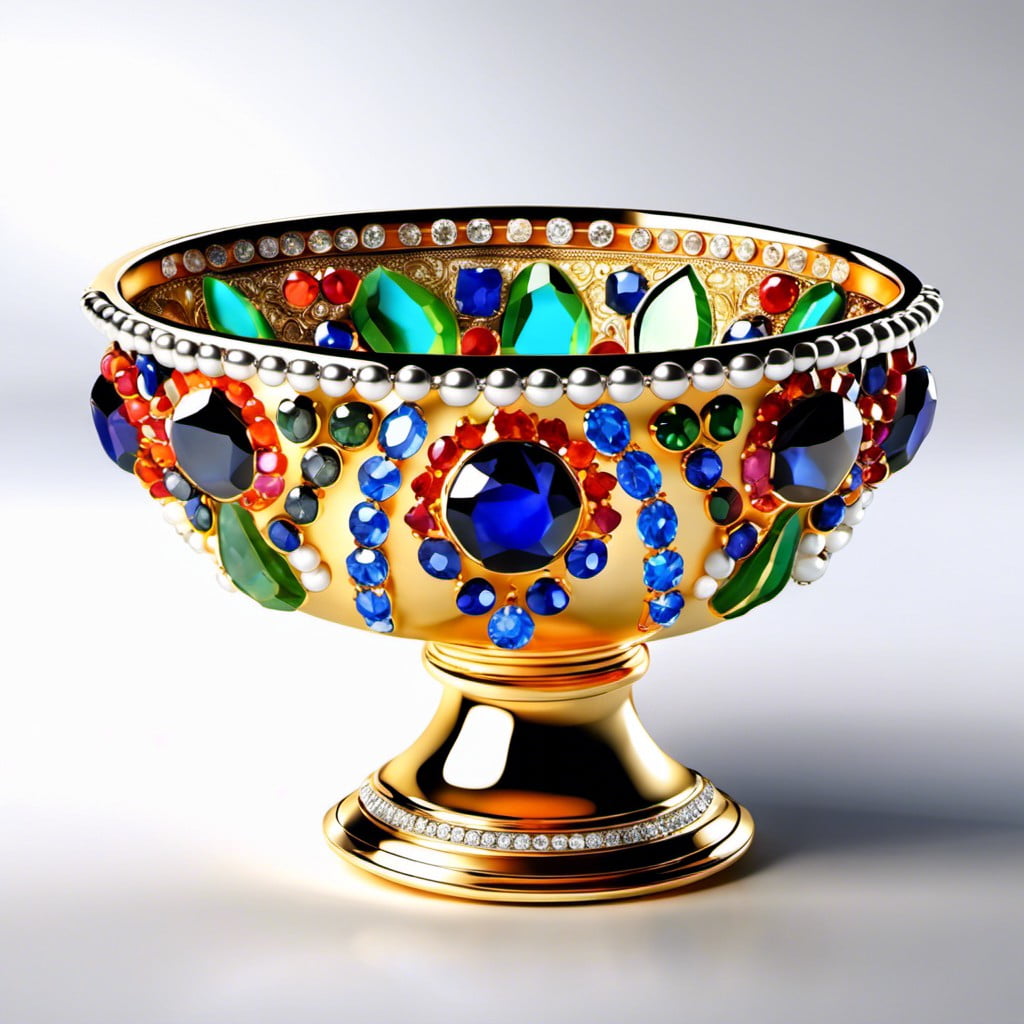
Rich in sparkle and style, a bejeweled bowl brings a touch of glam to any room. Here’s how to go about it.
- Begin by selecting a bowl fit for your project, keeping in mind the style, shape and size.
- Choose jewels according to your preferred color scheme and design. Flat-back or adhesive-backed jewels are ideal for this project as they are easy to stick directly onto the bowl.
- Sketch a design and start adhering the jewels to the bowl. Abstract designs work brilliantly for a more modern feel, while a geometric or symmetrical pattern can give a more classic look.
- For a more cohesive visual, stick to a set color palette for your jewels. This can help your design feel balanced and stylish.
- Do remember to let the jewels fully dry before using your bejeweled bowl.
With these pointers, create a dazzling decorative piece that can be just as enjoyable to look at as it is to make. Make sure to check adhesives for drying times and clean any excess glue for the best results.
Felt Layered Bowl
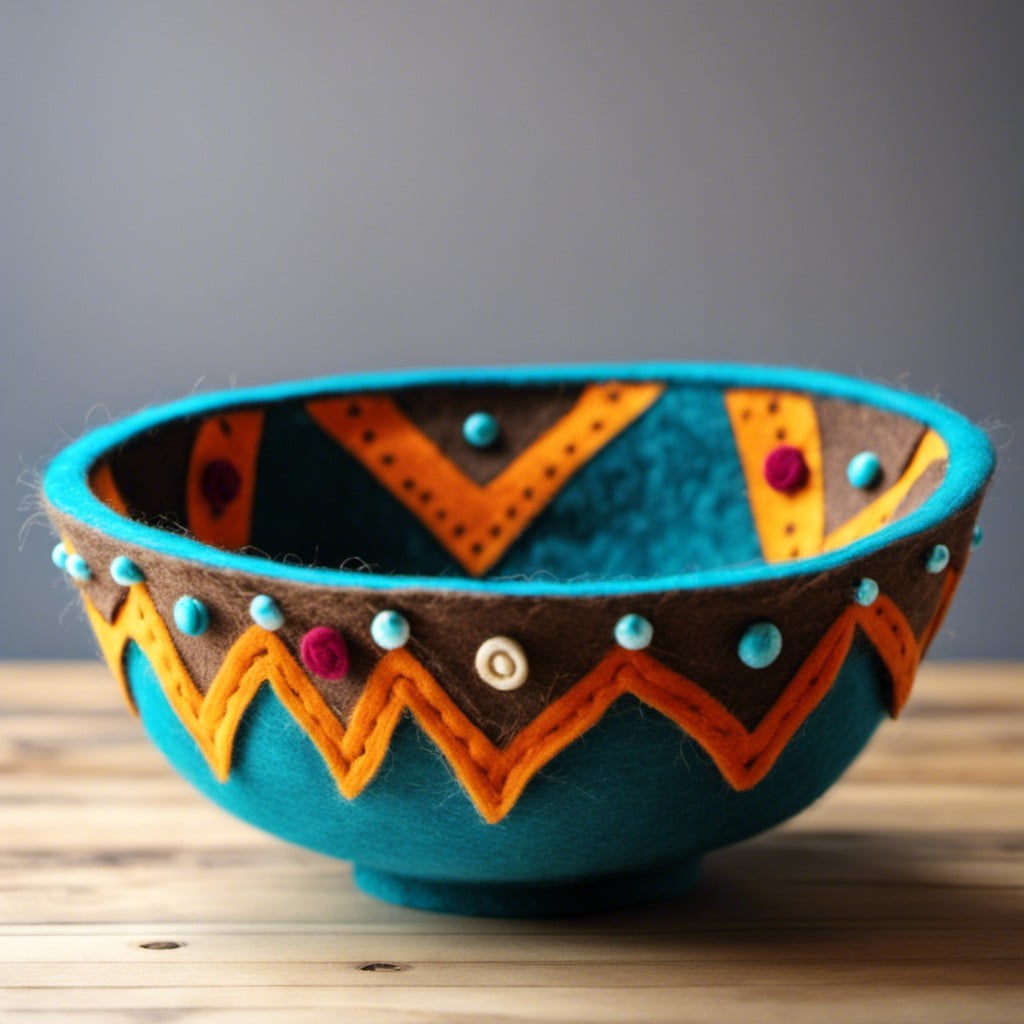
Diving into the creative process, consider using different colors and types of felt to bring depth and texture. Ensure you have your materials ready: a bowl of your choice, varying shades of felt, and strong adhesive.
Begin with cutting the felt into random shapes or follow a pattern if you prefer a more predictable result. Arrange the cut shapes around your bowl in a way you find aesthetically pleasing. Once you are satisfied with your design, start gluing the pieces down, layer by layer.
Always remember to let the adhesive dry fully after each layer before adding the next. This creates a firm base for subsequent layers and enhances the overall durability. Remember, it’s the textures, depth, and colors that make felt layered bowls unique— no two bowls will look the same.
This decor piece can be hand-washed gently if necessary, adding practicality to its list of perks. Don’t hesitate to experiment with designs. From a centerpiece to a handy catch-all, felt layered bowls are versatile and a great addition to any space.
Charcoal Drawing Bowl
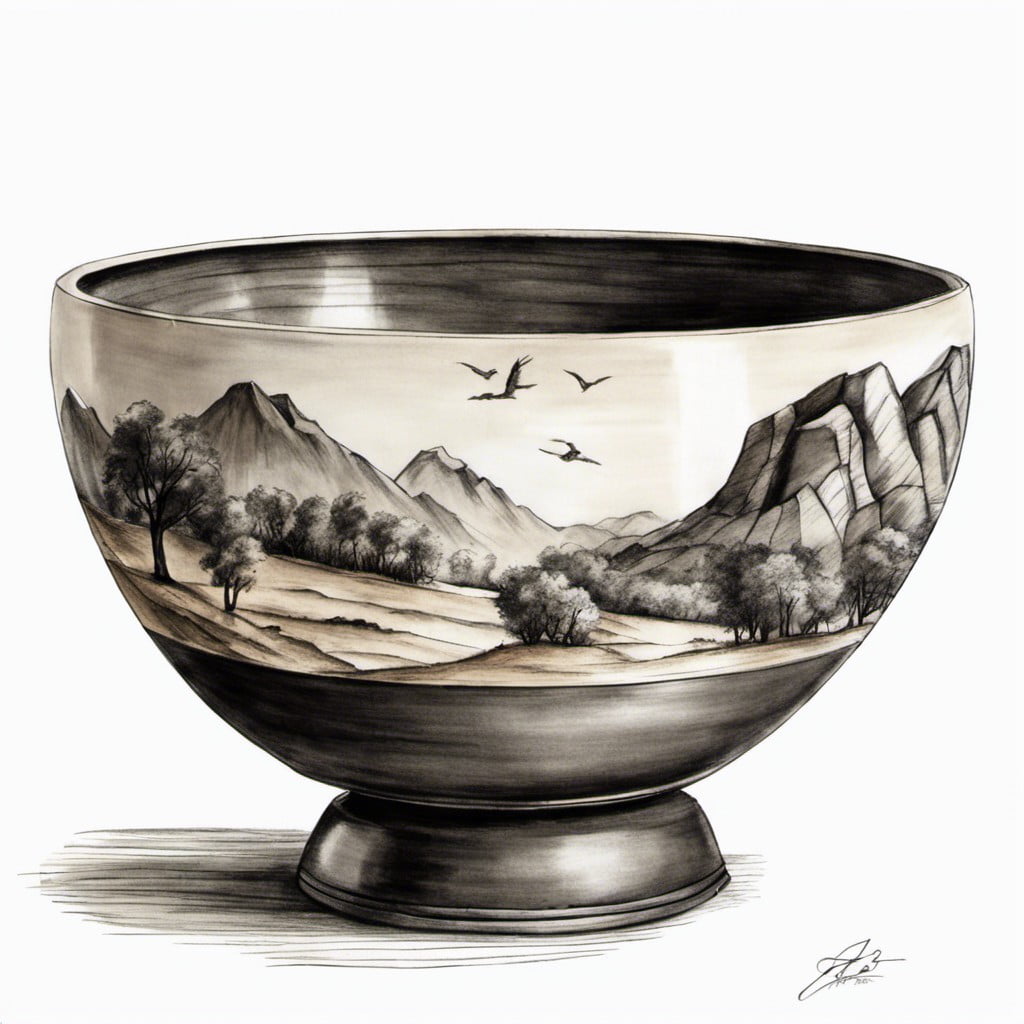
Using charcoal to create impressive designs on bowls is a remarkably easy way to transform a plain dish into a piece of art. Opt for either charcoal sticks or pencils depending on your comfort level. Make sure to lightly sketch your design first to minimize errors.
Sharp edges, bold lines and grayscale gradations can all be achieved with charcoal giving a high-contrast, dramatic effect.
Once your design is sketched, it’s time to refine it, accentuating the darker areas and adding detail where necessary. Ensure to smudge less to maintain cleanliness of the bowl surface. After the artistry is complete, you’ll need to seal it with a clear sealant to make your design long-lasting and the bowl usable.
Bear in mind the delicate nature of charcoal art. This decorative style isn’t recommended for bowls intended for frequent, heavy-duty use. It’s best suited for decorative purposes, like housing potpourri or as a centerpiece.
Finally, remember that practice is key in mastering charcoal drawing. The more you sketch and design, the more comfortable you’ll become, leading to even more magnificent creations!
Abstract Acrylic Painted Bowl
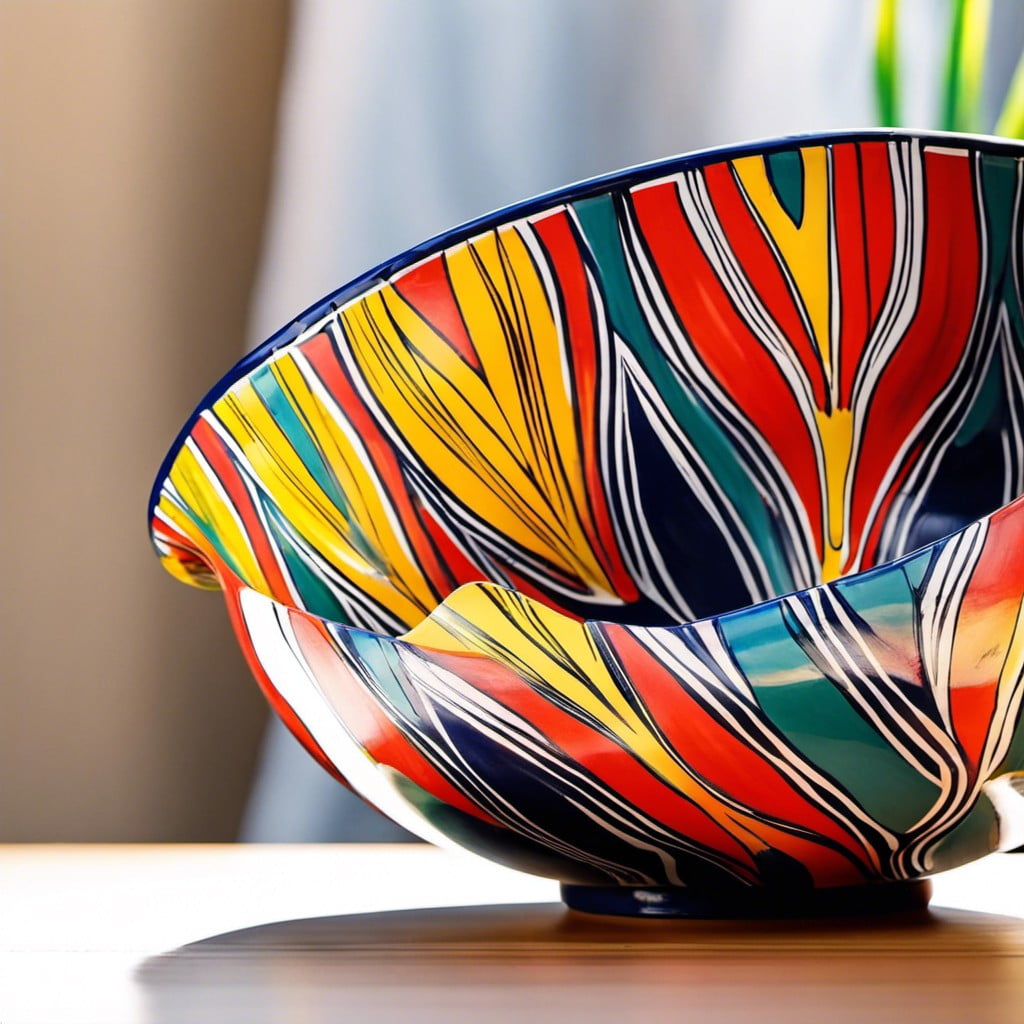
In transforming a plain bowl into an aesthetically pleasing piece through abstract acrylic painting, there’s an element of both creativity and individuality involved.
To start, gather necessary materials, which include an acrylic paint set, paint brushes of different sizes, and an acrylic sealant to finish the artwork. Ensure to choose a bowl that withstands the paint and isn’t used for food.
Sketch a design on the bowl or freestyle it according to your preference. Remember, the beauty of abstract art lies in its absence of a definite plan or pattern. Wash the bowl thoroughly to remove any dust or oil that could hinder the paint from sticking properly.
Dab a brush into the paint color of your choice and freely spread it over the bowl. Explore different brush strokes and colors. Allow each layer to dry before adding another to avoid unwanted mixing of colors.
Lastly, apply the acrylic sealant, it serves as the protective layer, preserving the art from chipping or fading. Allow the sealant to dry for a full 24 hours or as recommended on the product label.
The result is a bowl with a unique abstract acrylic design, embodying your artistic personality. Enjoy the process and the final piece.
Bowl With 3D Printed Design

Capturing the modern aesthetic of the 21st century, this idea capitalizes on recent technological advances. With access to a 3D printer, customization options are almost infinite.
1. Material Choices: A range of materials can be used to print your bowl, depending on the desired outcome. Plastic is most common, but metals and ceramics can also be used.
2. Design Flexibility: 3D printing allows you to create any form or pattern you can imagine. From geometric patterns to intricate floral designs or even your initials.
3. Unique Creations: Each print can be changed, tweaked, or entirely redesigned, ensuring your decor is always fresh and unique. No two prints need to be the same.
4. Efficiency: Production time depends on the complexity and size of your design. However, once started, the process needs minimal supervision.
Remember to use compatible printing materials and settings to ensure the finished bowl is safe and durable. It’s artistry, connectivity, and technology intertwining to produce a beautiful functional piece.
Read More Like This
 15 Homecoming Decoration Ideas to Elevate Your Celebration
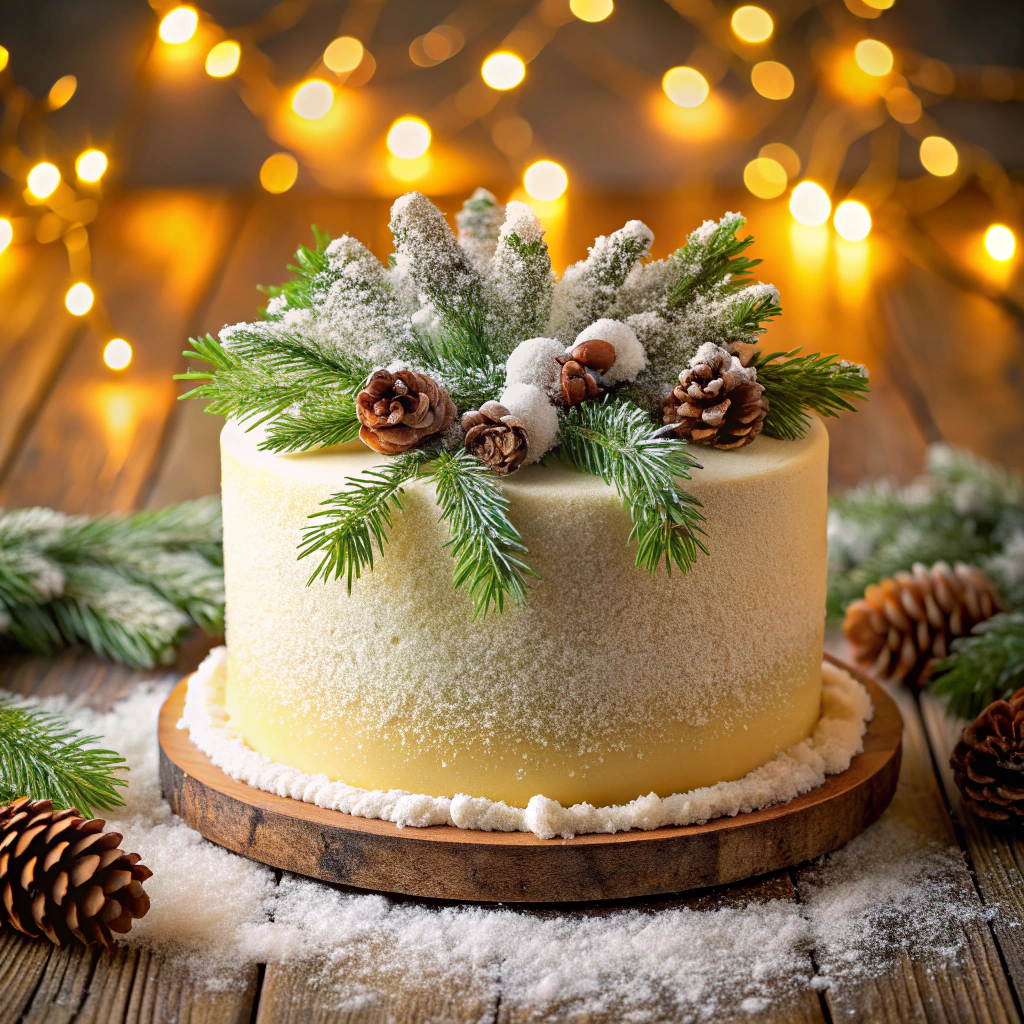 15 Christmas Cake Decorating Ideas to Sweeten Your Holidays
 15 Outdoor Party Tent Decorating Ideas for a Magical Celebration
 15 Ideas for Welcome Home Decorations
 15 Cheap Table Decoration Ideas to Elevate Any Gathering
Recap: