Last updated on
Drawing on a chalkboard becomes a creative adventure because this article contains a wealth of exciting ideas to inspire your inner artist.
I am thrilled to share the 20 Innovative Chalkboard Drawing Ideas that I personally crafted and I genuinely hope they inspire you as much as they did me during conception, creating an enjoyable experience.
Chalkboard drawings add a unique touch to any space, be it a kitchen, office, or children’s room. Not only are they practical for jotting down notes or reminders, but they also serve as a creative outlet for both adults and children alike.
From simple doodles to elaborate scenery, the possibilities are endless. This article will provide you with a plethora of chalkboard drawing ideas, suitable for all skill levels. Whether you’re seeking inspiration for a whimsical kitchen menu, a motivational quote for your home office, or a fun educational tool for your child’s room, you’ll find it all here.
So, grab your chalk and let’s get drawing!
Classroom Alphabet

Embarking on this creative adventure, let’s start with an easy yet functional chalkboard drawing idea, one that combines education with artistry.
A. Draw Initials: Simple initials can be the first step in this journey. Begin by drawing large, block capital letters.
B. Add Lowercase: Beneath each capital letter, add its corresponding lowercase counterpart. It’s a playful way to compare and contrast letter shapes.
C. Explore Fonts: Try varying fonts and letter styles, adding a dash of creative flair to the alphabetic sequence.
D. Incorporate Colors: Inject some excitement by using different colored chalk for each letter. Let your palette run wild!
E. Design Patterns: Within each letter, doodle patterns or textures to further enhance the visual appeal. Stripes, polka dots, waves or even spirals can inject personality into each character.
Remember, perfection isn’t the aim here, it’s all about adding your unique twist to the plain alphabet!
Solar System Model
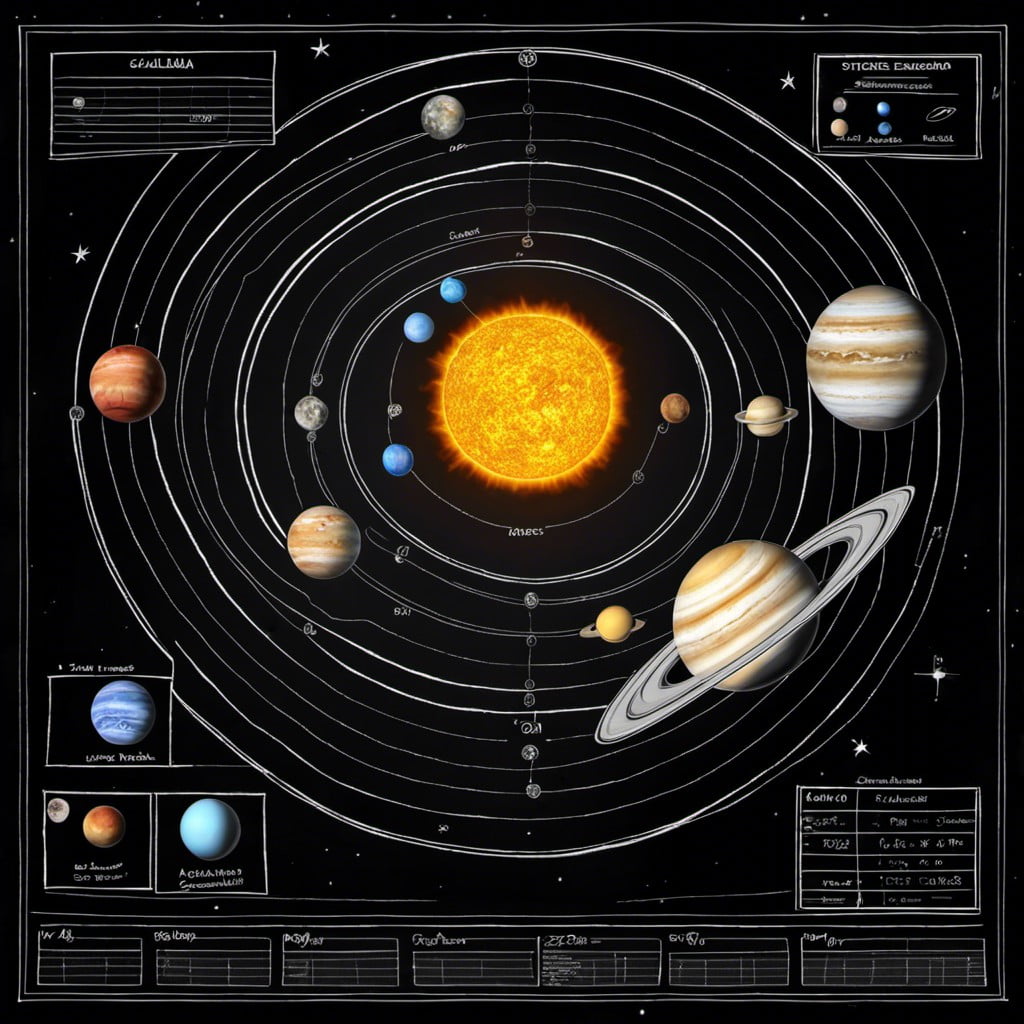
Creating a model of our solar system on the chalkboard allows for both creativity and educational benefits. The best way to start is with the Sun at the center, followed by the eight planets in their proper sequence: Mercury, Venus, Earth, Mars, Jupiter, Saturn, Uranus, and Neptune.
Remember, each planet should be drawn to scale to reflect its actual size. For instance, Jupiter, the largest, should appear much bigger than Mercury, the smallest planet. Also, adding color to each can make the diagram visually striking – Like using red chalk for Mars, the “Red Planet.”
Incorporating the asteroid belt between Mars and Jupiter, or rings around Saturn, will add a more authentic touch to the model. To make it more informative, label each planet and include key details like their unique features and number of moons.
Engage your viewer by throwing in some trivia or fun facts. You can also add in the dwarf planets, comets, and meteors to make your chalkboard solar system complete. Considering the vastness of the actual solar system, you will need to adjust everything to fit onto your chalkboard but keep proportions consistent. The aim here is to form a visually appealing and accurate representation.
Remember it’s not just chalk and board, it’s your canvas to bring space right into your room!
Historical Timeline
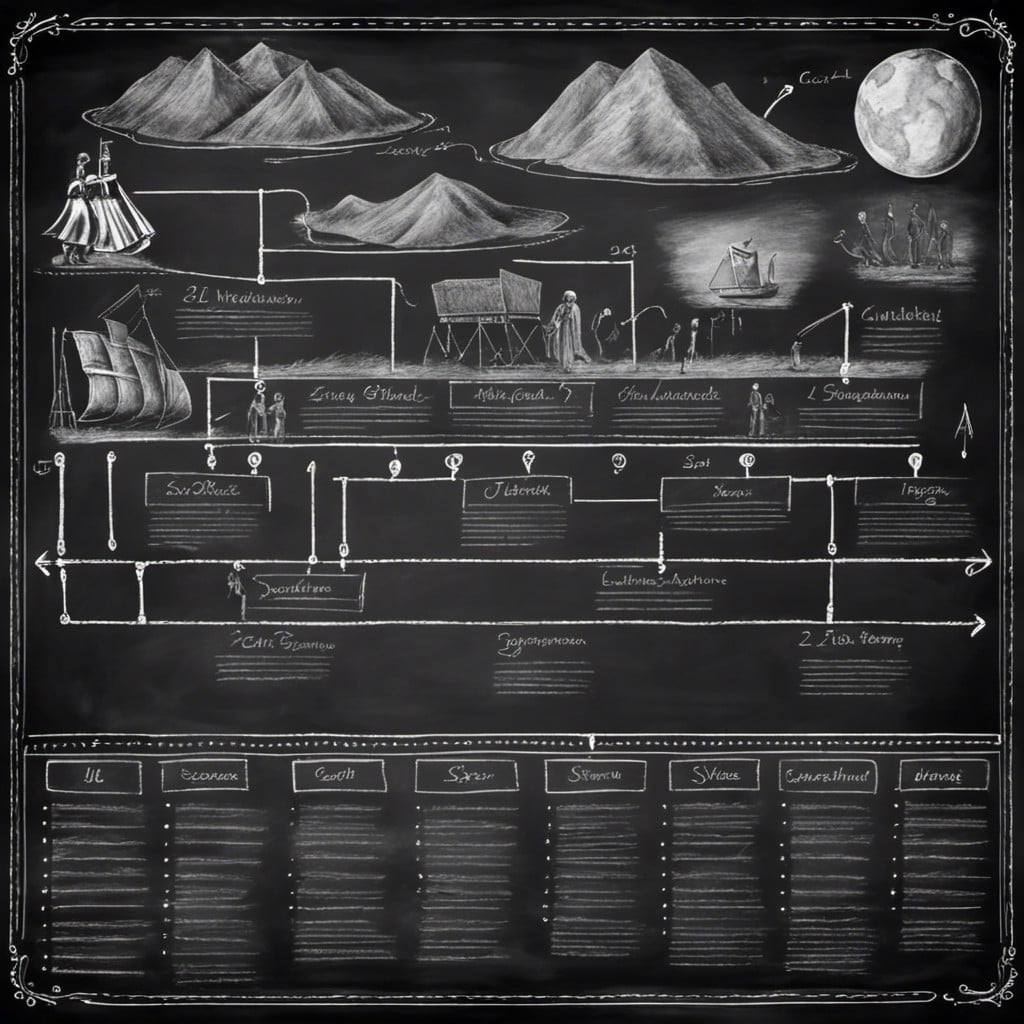
Creating a historical timeline on your chalkboard can transform learning into a fun, hands-on experience. Instead of simply reading about events, visualize them.
1. Choosing an Era – Begin with selecting a time period. It could range from the dinosaur age to the world wars, or even the timeline of a specific person like Albert Einstein.
2. Important Events – Identify key incidents that took place during this era. Symbols or small drawings can depict these events, making them easily recognizable.
3. Chronological Order – Document these events chronologically. Strategically lay them out across your chalkboard with dates or time indications for easy comprehension.
4. Color Coding – Use different colors to highlight different events or periods. This will not only make the timeline visually appealing but also simplify understanding the transitions between different periods.
5. Labels – Ensure every event depicted is labeled with a short description to provide quick information.
Remember, accuracy is key when illustrating a historical timeline. Encourage curiosity as viewers journey confidently through time, pausing at moments of interest.
Underwater Scene
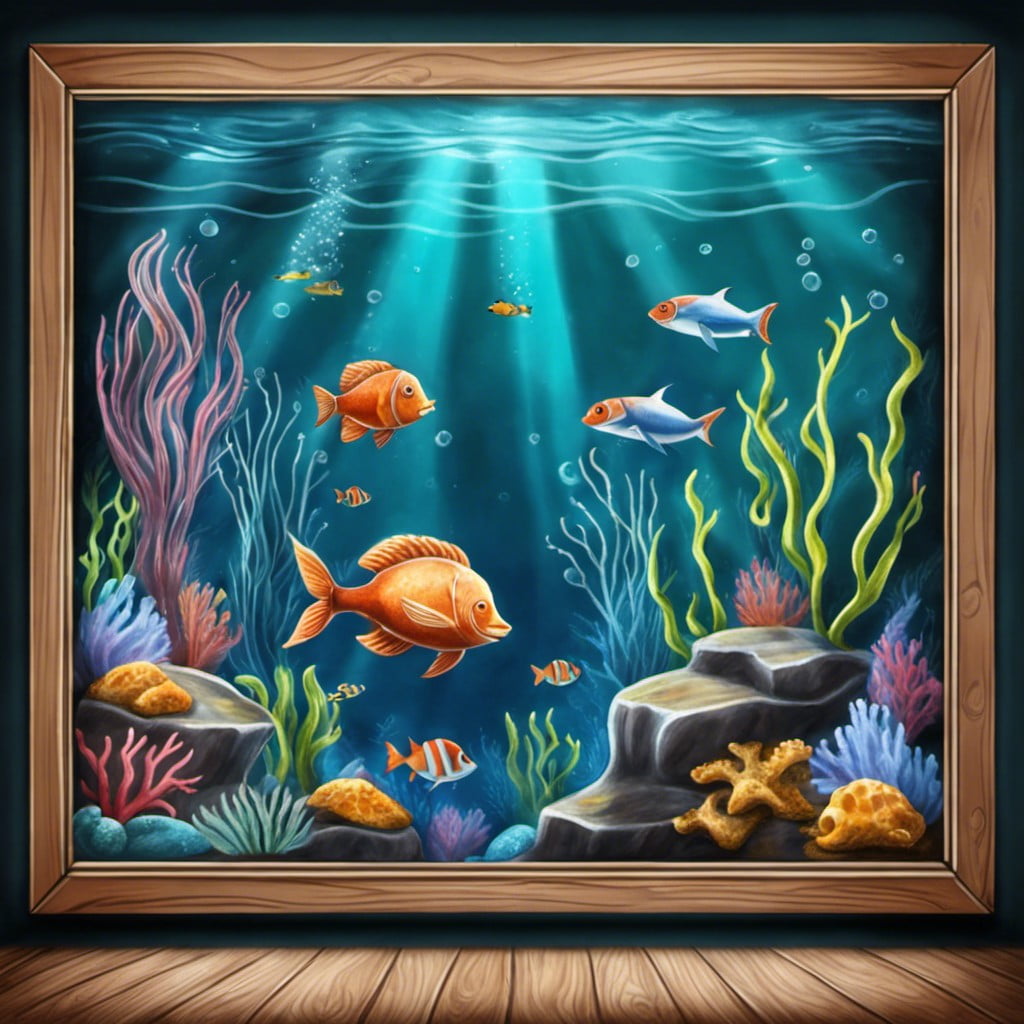
Creating an underwater scene on a chalkboard offers an opportunity to integrate artistic creativity with knowledge of marine life. Start with the ocean floor at the bottom, sketching rocky surfaces, coral reefs, and seaweed. Design an array of marine animals like fish, turtles, octopus, and sharks. Do not forget smaller details like bubbles and scattered seashells.
In the middle section, think about the marine creatures that usually dwell there, not just fish, but squids, starfish, or dolphins. Craft the water surface at the top, showcasing the sun’s rays penetrating down. To make it more lively, include a ship on the surface or a diver exploring beneath.
Remember, the color scheme is essential. A variety of blues and greens suggests the natural hues of the ocean. Use whites and yellows to emphasize the sunlight. Enhancing your chalkboard ocean scene with these elements brings it closer to a vibrant, living underwater landscape.
Favorite Book Cover
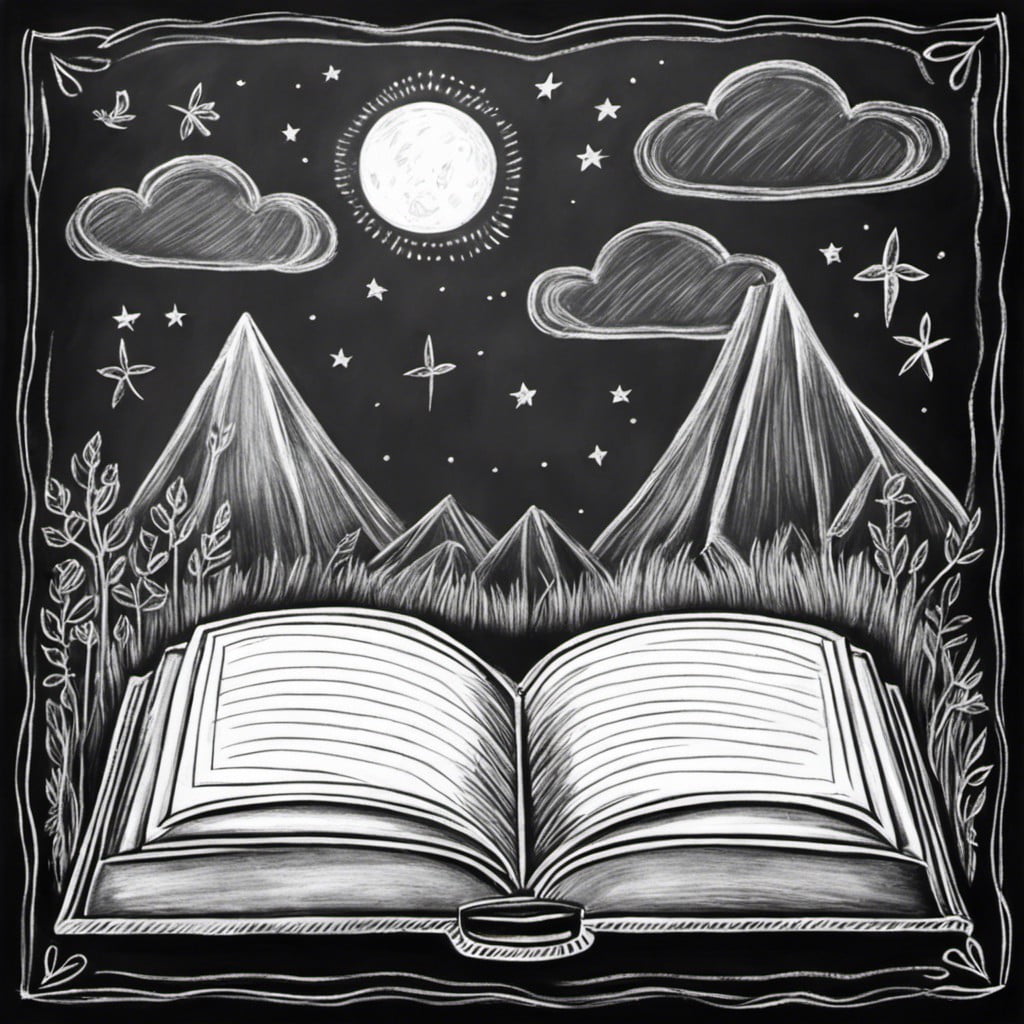
Delve into your artistic side by recreating a beloved story’s façade. What images first come to mind when remembering treasured tales? Characters, vibrant scenes, or perhaps an iconic single item representative of the whole story, such as the golden snitch from Harry Potter or Sherlock Holmes’ deerstalker hat.
1. First, choose your focus. It could be a character, an event, or an item from the narrative.
2. Next, create a sketch. This draft doesn’t need to replicate every detail but should capture the essence of what you want to portray. A chalkboard generally isn’t the place for photorealism, so keep your drawing basic.
3. Begin applying your lines, caringly yet firmly, following the sketch. Fill in larger areas first, leaving finer ones for last. Remember, chalk is forgiving. You can easily erase any mistakes made during the process.
4. Add depth. Use shading techniques to give your drawing a three-dimensional feel. Blending? Simplicity is the key on a chalkboard.
5. Incorporate the title and possibly the author’s name into your drawing. These could be in the corner subtly, boldly across the top, or even integral to the art.
6. Lastly, add any final touches to make your chalk book cover truly stand out.
Use this project as an opportunity to spark discussions about literature, foster love for books, showcase your favorite novels, and perhaps inspire someone to read something new!
Self-portrait
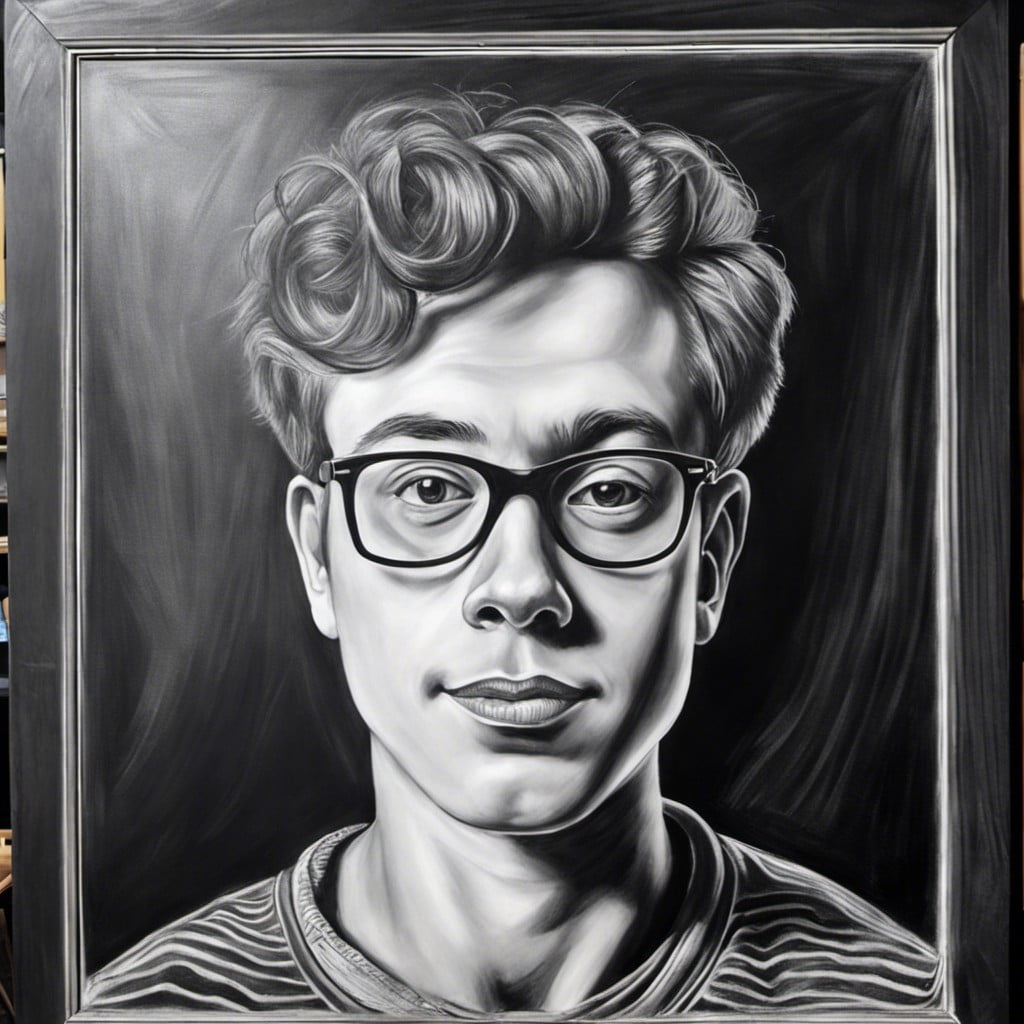
Drawing oneself encourages self-reflection and boosts creativity, serving as a fantastic growth tool for people of all ages. A self-portrait captures not just features, but also emotions and moods.
1. Start with a mirror. Examine your features closely, not missing any details.
2. Capture the eyes. They hold expression and are often called the windows to the soul.
3. Move to the shape of the face. Everyone’s shape is unique, take your time to capture your own.
4. Detail your hair. Try to show its texture and form, instead of worrying about each strand.
5. Stand back periodically. This will give you an overall impression of your work and indicate what needs tweaking.
Transforming a blank chalkboard into your own likeness can be both challenging and rewarding. And remember, the aim is not to create a perfect replica, but to enjoy the process and express yourself.
Calling Birds in the Forest
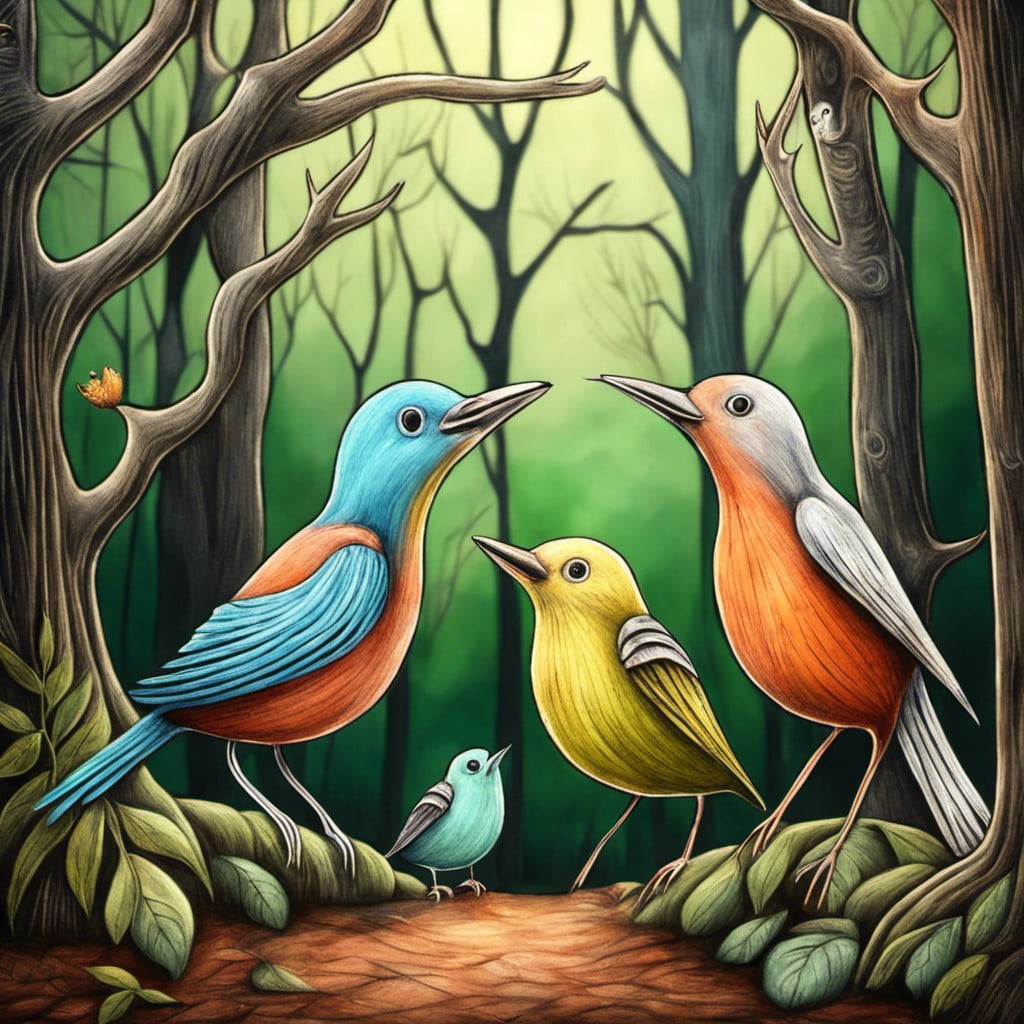
A forest comes alive with drawing different birds calling to each other amidst tree branches. Incorporate a blend of colors, textures, and shapes to bring this scene to life.
1. Use Soft Chalk: To create a fluffy appearance of feathers, soft chalk can be key. It can help create an impressionistic feel.
2. Variety of Birds: Include numerous types of birds – sparrows, robins, owls, or woodpeckers. Each bird has unique patterns and colors lending a visual variety to your drawing.
3. Depth of Field: Draw birds at various distances showing depth in your artwork. Smaller, fainter birds can be depicted far in the background.
4. Use Strokes Wisely: A fluttering bird can be represented with smudged strokes, giving a sense of motion.
5. Emphasize Call: Create a visual portrayal of birdcalls with swirls, lines, or musical notes, promoting activity, and interaction in your forest.
This drawing style taps into the charm of avian life peppering the green expanse of a forest, resulting in an aesthetic representation of nature’s melody.
Weather Cycle Diagram
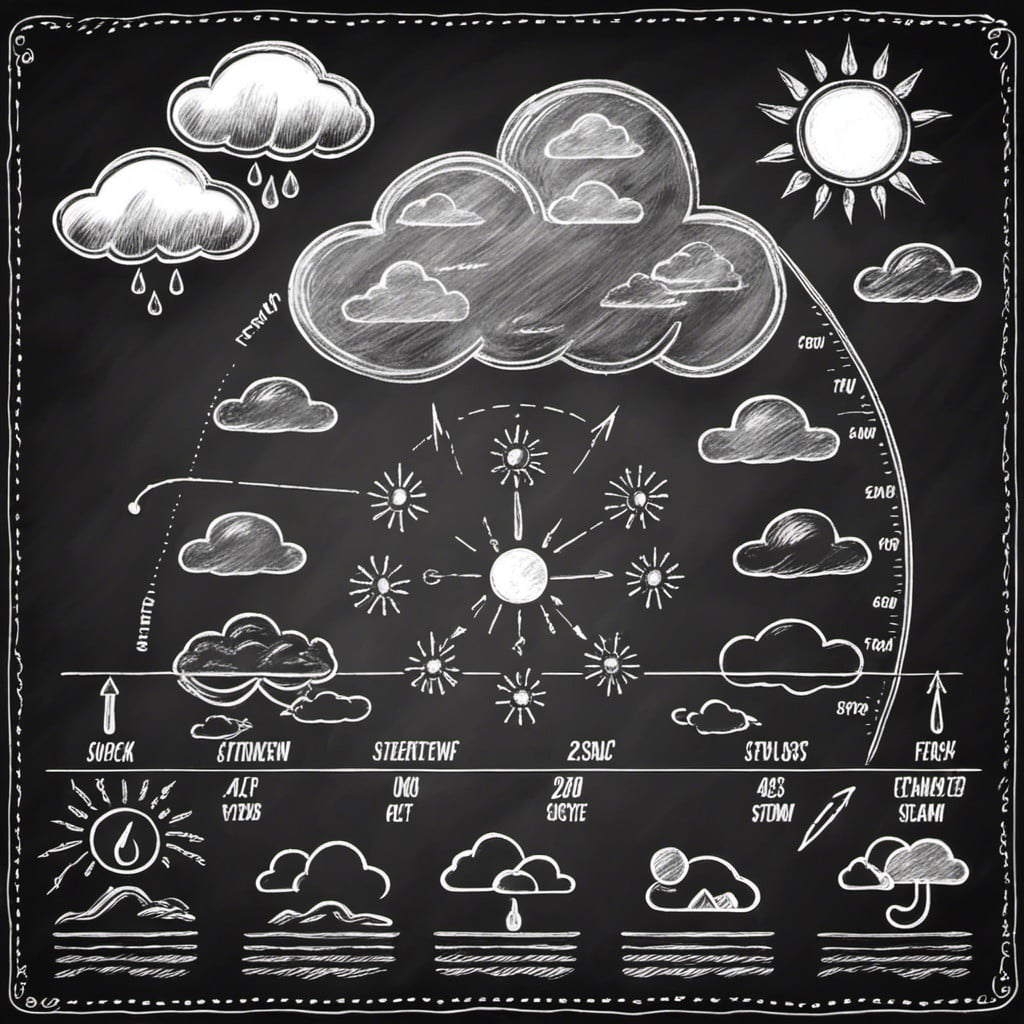
Creating an intriguing weather cycle diagram on your chalkboard has both aesthetic and educational benefits. First, sketch a large circle, representing the Earth. Divide it into four quadrants for the different stages: Evaporation, Condensation, Precipitation, and Collection. Take the following key points into consideration when drawing:
1. Evaporation: Depict this stage by drawing a body of water – a sea or lake – with upward arrows, representing water vapor rising into the air.
2. Condensation: Show clouds formed by the cooled water vapor which turns into water droplets. Use wavy lines to draw an interesting cloud.
3. Precipitation: Here, make raindrops or snowflakes descending from the clouds into ground or water bodies.
4. Collection: Finally, indicate that the rain/snow is collected in bodies of water, completing the cycle.
Use different colors and sizes to differentiate between elements and stages. Small descriptions near each stage could be added for clarity. Enjoy watching your weather cycle diagram unfold, a feast for your eyes and brain.
Famous Landmark Sketch
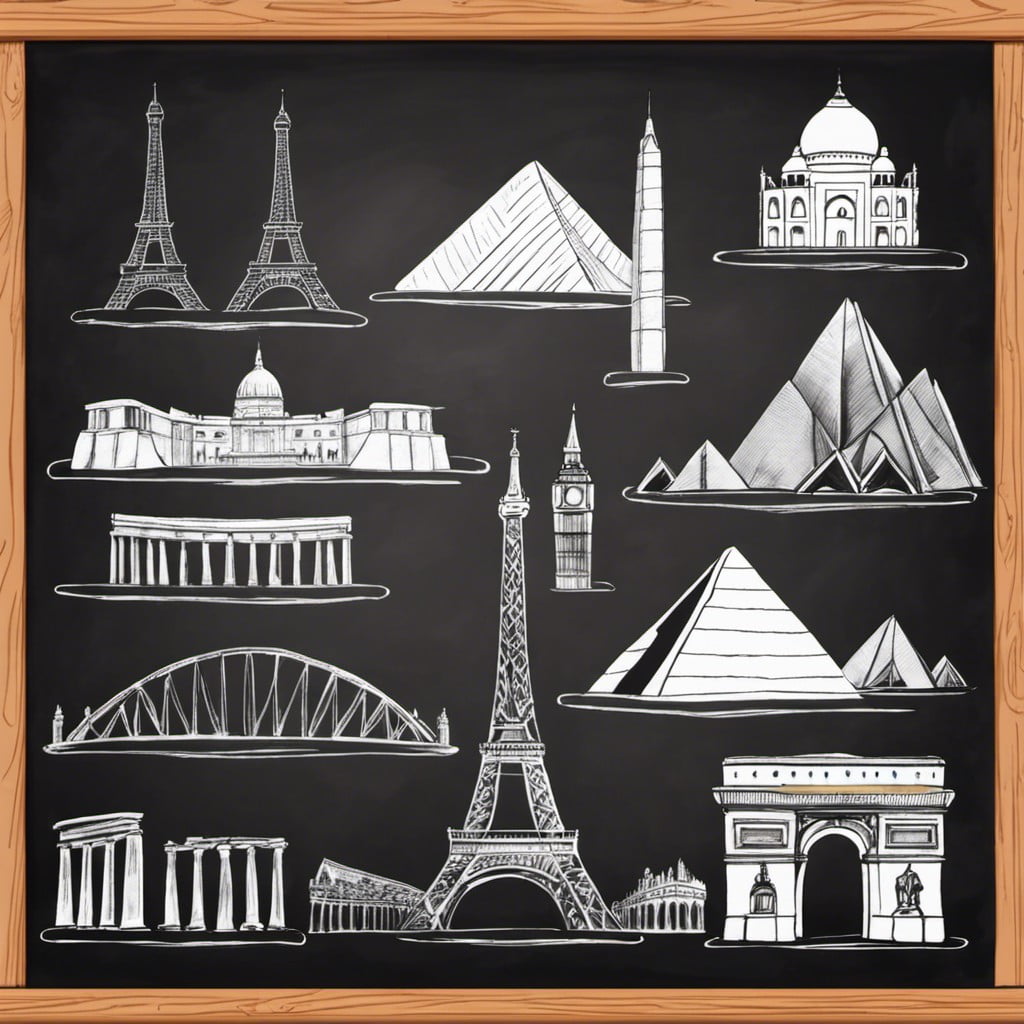
Regardless of artistic talent, bringing a famous landmark to life on your chalkboard is an achievable task. One could start by choosing a well-known structure like the Eiffel Tower or the Great Wall of China. Strive for accuracy but remember, imperfections often add to the charm.
Firstly, gather photos online from different angles. Notice the main features that make the landmark recognizable. Start by sketching a light outline. Don’t dive into details until the general shape is captured.
Secondly, shading and highlighting with different-colored chalks create depth and realism. The white chalk is your friend here, maximum light reflecting areas are best represented with it.
Lastly, chalk sketches erase easily, so don’t be afraid to make adjustments. Experiment and tweak till you’re satisfied with your creation.
Above all, enjoy this creative process and remember to take a step back occasionally, to view your work from a distance – often insights are gained, and balance is achieved this way.
Geometry Shapes
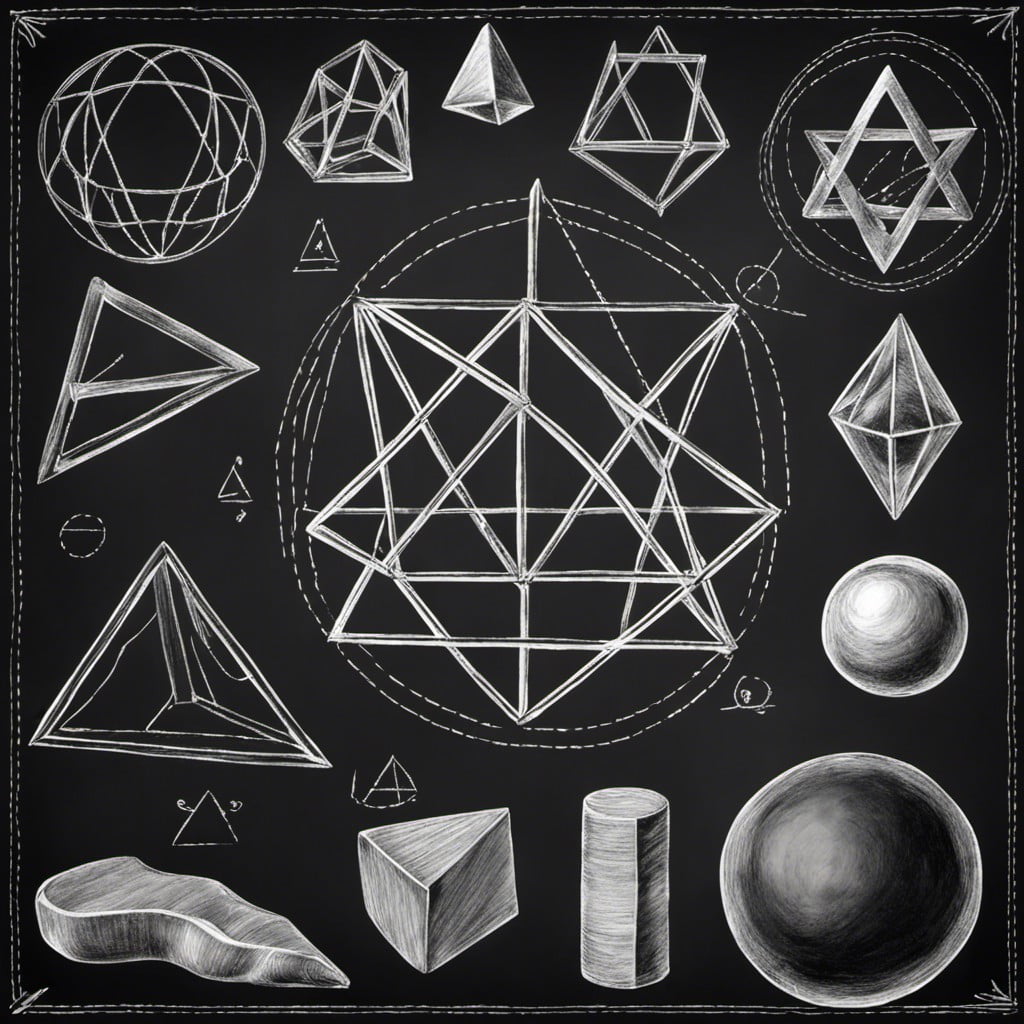
Drawing geometric shapes on the chalkboard can serve as both an engaging activity and a learning opportunity. Start with simpler shapes like squares and circles before delving into more complex figures such as hexagons or parallelograms. This activity sharpens spatial understanding and helps in creating eye-catching geometric art.
1. Try combining different shapes to create distinctive patterns, adding a refreshing dimension to the chalkboard.
2. Use chalks of different colors to highlight the edges and vertices, enhancing the visual understanding of the shapes.
3. Exploring 3D shapes like cubes or pyramids could provide a fresh and exciting challenge.
4. Remember, there’s no hard and fast rule. Be creative, mix-match, or invent new shapes, and have fun while at it.
5. Lastly, try to draw tesselations – shapes fitted together in a pattern without gaps or overlaps for an added level of complexity.
With a few strokes of chalk, your board transitions from basic classroom tool to interactive geometric canvas.
Seasonal Landscapes
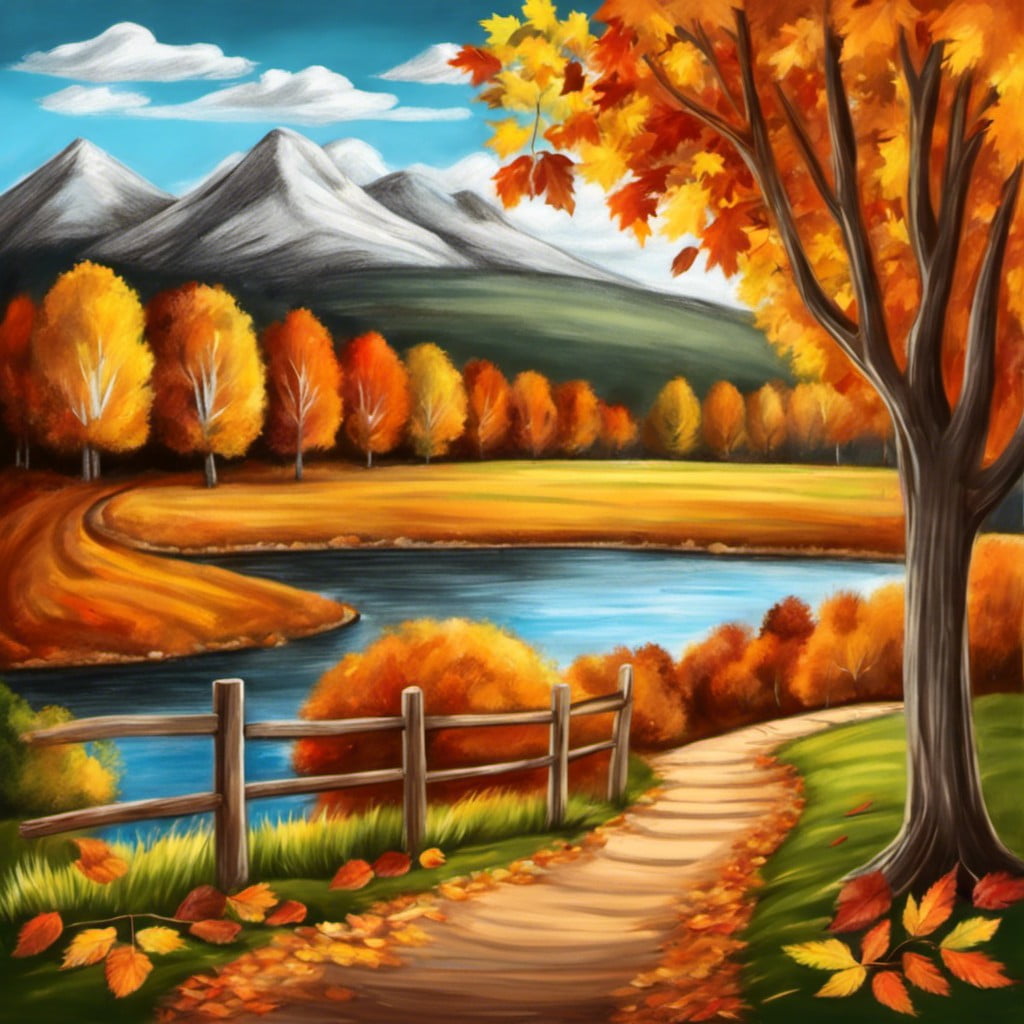
Delight in the rhythm of nature by capturing the essence of each season on your chalkboard. Winter can be represented with a snow-covered landscape, complete with snowflakes and icicles.
Spring might burst forth with blooming flowers and chirping birds, while summer may shine with a vibrant sun, towering palm trees, and a calming beach scene.
Autumn, on the other hand, is all about falling leaves and pumpkins. Pay attention to the colors specific to each season to make your landscapes more realistic.
Music Notes and Instruments
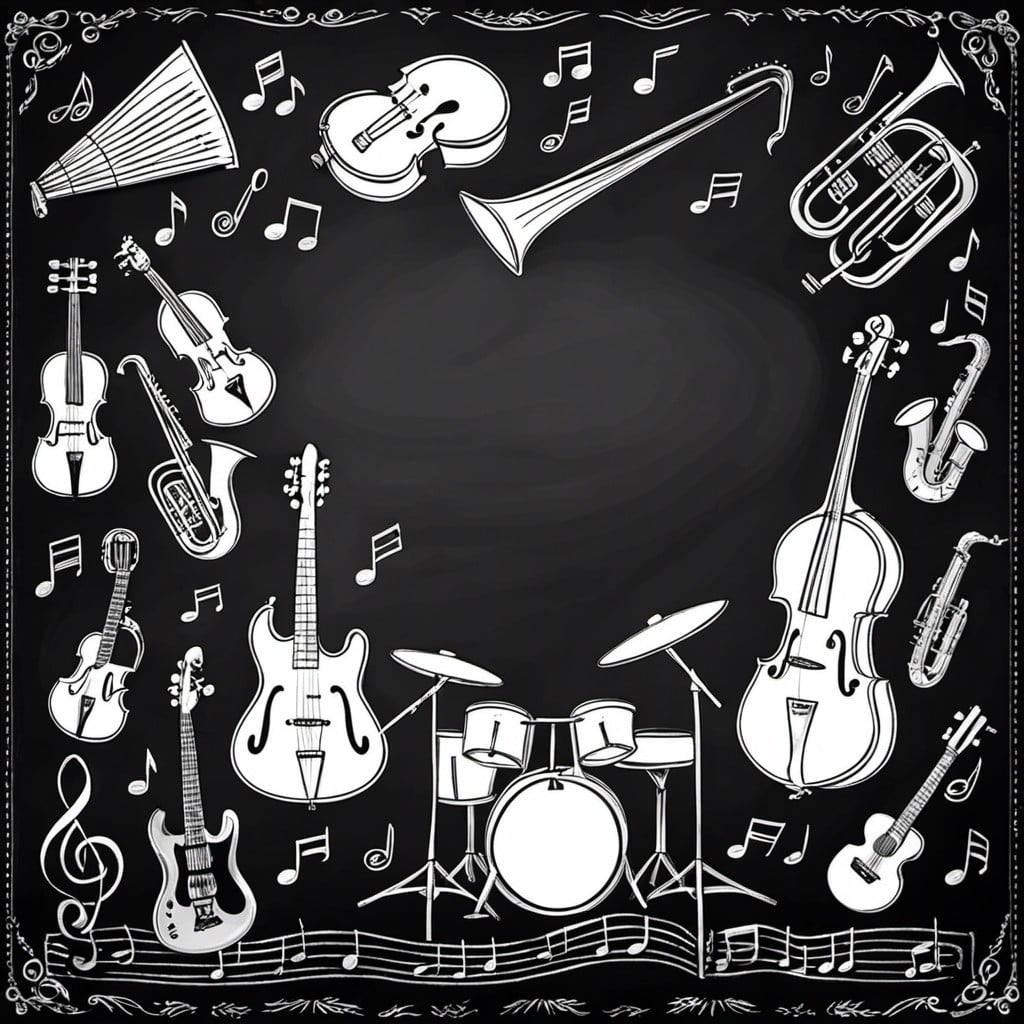
To execute a perfect rendition of music notes and instruments, start by choosing your favorite song. Begin with simple, distinct notes such as the treble clef, base clef, or common notes like a quarter note or an eighth note. Gradually move onto more complex symbols if you feel confident.
Drawing instruments can elevate your chalkboard art to new dimensions. Opt for easy-to-draw instruments like a guitar, violin, or drum. For a realistic portrayal, pay attention to the detail of the strings, keys, or drumstick angles. Remember to measure instrument dimensions carefully to maintain proportion.
For those instilling a love for music in younger audiences, drawing music notes and instruments can be an interactive way to teach rhythm and melody. Pair your drawings with corresponding sounds, turning your chalkboard into an immersive learning tool.
Farm or Zoo Animals
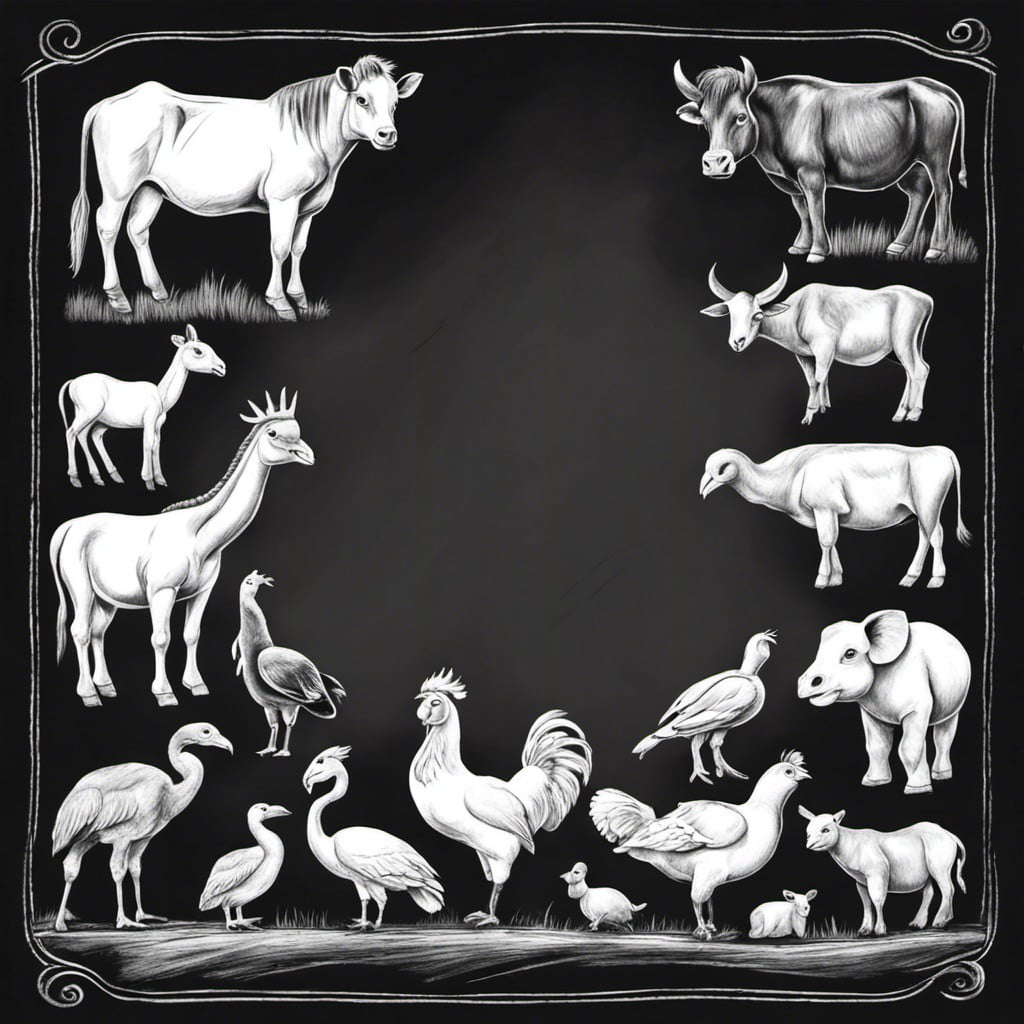
Designing scenes involving farm or zoo animals allows you to introduce a sense of life and excitement to your chalkboard. Figures such as a youthful pig prancing in a mud puddle or a majestic giraffe grazing on treetops can be vivid and captivating.
Here are some points to consider:
- Accuracy: An accurate representation promotes a sense of familiarity. Use simple shapes as building blocks, and focus on key distinguishing features to make your animals recognizable.
- Specific Habitats: Each animal thrives in a specific environment. Drawing these habitats helps to provide context and make your chalkboard more immersive.
- Interaction: Depict these animals interacting with each other or other elements in their environment.
- Scale: Maintain correct proportions to keep your drawing visually balanced.
- Color: Animals come in an array of colors. Even though you are limited by the colors of chalk, try to depict as much of the animal’s true coloration through shades and tones.
- Experiment and Have Fun: Experimenting with styles and perspectives keeps your drawings fresh and interesting. Remember, the goal is to engage your audience, enjoy the process and constantly evolve your drawing skills.
Comic Strip or Storyboard
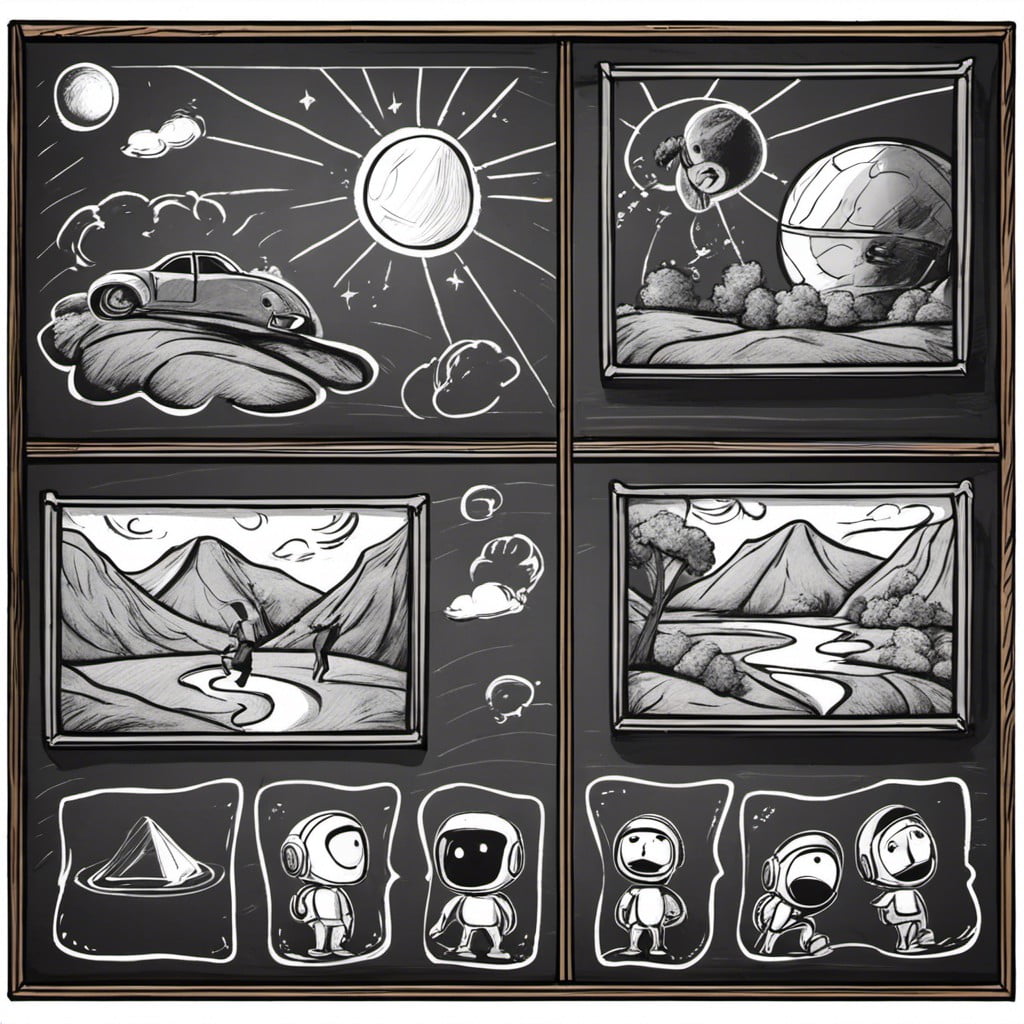
Drawing a comic strip directly on a chalkboard can be a rewarding creative endeavor. One must start with a simple narrative, following the principle of “sequential art.” This term, coined by comics artist Will Eisner, refers to the use of pictures deployed in a specific order for the purpose of storytelling.
Here are a few key points to consider:
- Begin with a clear storyline. This ensures your idea is concise and hold the viewer’s attention.
- Craft engaging characters with unique traits.
- Use speech bubbles to share your character’s thoughts, further enhancing the story.
- Keep your presentation simplistic. Black and white stick figures can often be more effective than complex designs.
- Utilize a series of panels to narrate the progression of events.
- Remember, humor always works well in a comic strip. But feel free to experiment with different tones and moods.
A well-executed storyboard on your chalkboard can be a fun way to entertain and engage, while inspiring your own creativity. Don’t be afraid to erase and revise, it’s all part of the process!
Math Equations As Art
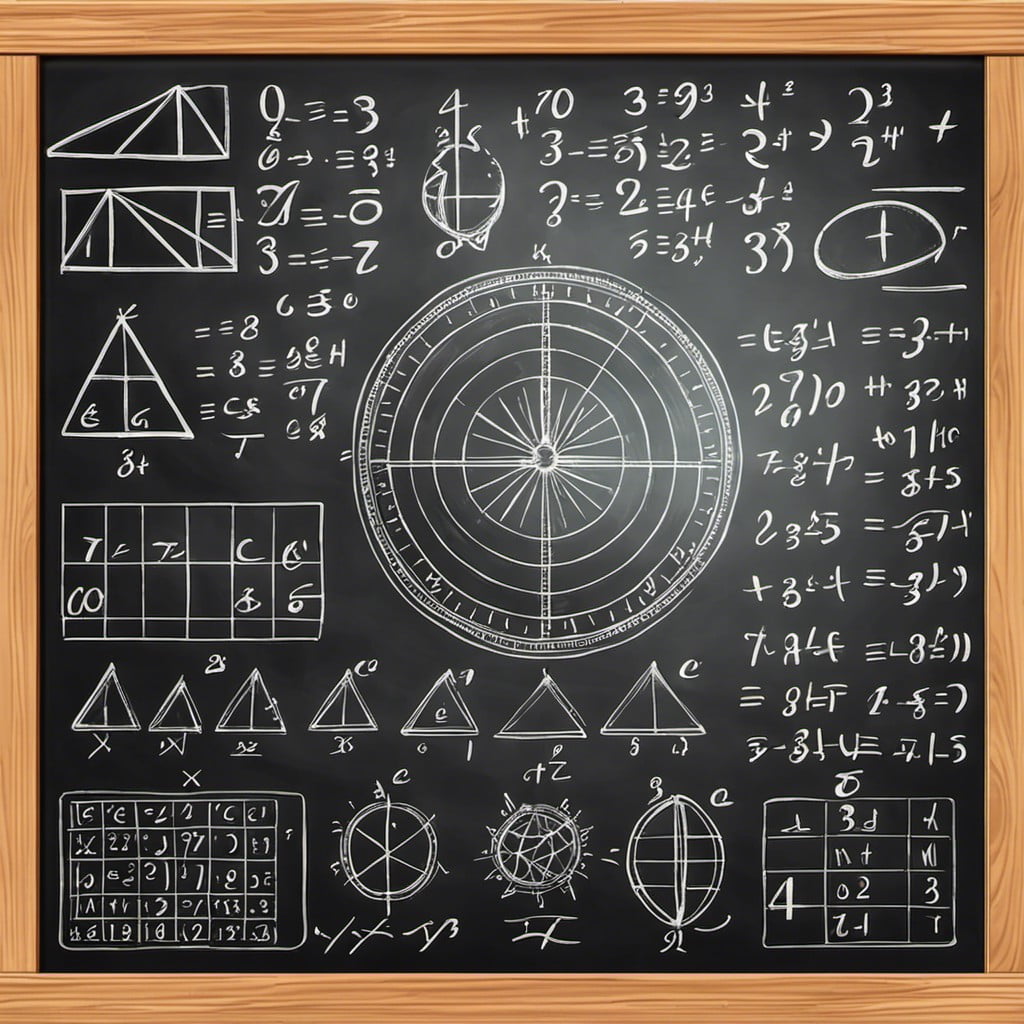
Transforming mathematical equations into fascinating visual art can be both educational and fun. By using different colors for each variable, the chalkboard becomes a display of intertwined rainbows and illuminating parabolas.
1. Focus on some fundamental equations such as simple linear, quadratic, and trigonometric functions.
2. Transform quadratic and cubic equations into artistic curves, and combine various equations for an engaging composition.
3. Employ Pythagorean theorem to illustrate how triangles influence something as simple as a chalkboard masterpiece.
4. Utilize the colorful swoops of sinusoidal waves to craft a unique, mathematically precise seascape.
5. Create an intricate spider web with a series of concentric circles and diameter lines, relying on the formula for the circumference of a circle.
Explore these ideas freely and don’t be afraid to overlap your equations – intersecting lines and curves can add depth and intrigue to your mathematical masterpiece.
Abstract Patterns
Creating abstract patterns on your chalkboard taps into both creativity and spatial thinking. Often a combination of shapes, lines and forms, these designs can be simple or intricate depending on your preference.
1. Start with Basic Geometric Shapes: These can be squares, circles, triangles or any other shape. Combine them to create a pattern or fill the entire board with a single form for an understated effect.
2. Use Different Chalk Colors: Experiment with varying shades of chalk to add depth and contrast to your patterns. This can help achieve a more dynamic look.
3. Embrace Asymmetry: Unlike other art forms, abstract patterns don’t need to follow symmetry. This means you can let your imagination run wild, to create truly unique designs.
4. Incorporate Textures: Experiment with different stroke techniques to create diverse textures. Light, feathery strokes can create a soft look while heavy, bold strokes give off a strong and dramatic feel.
5. Layering: Don’t be afraid to layer shapes or lines. This can create complex and visually interesting pieces. It can also help to bring a sense of dimension to your chalkboard artwork.
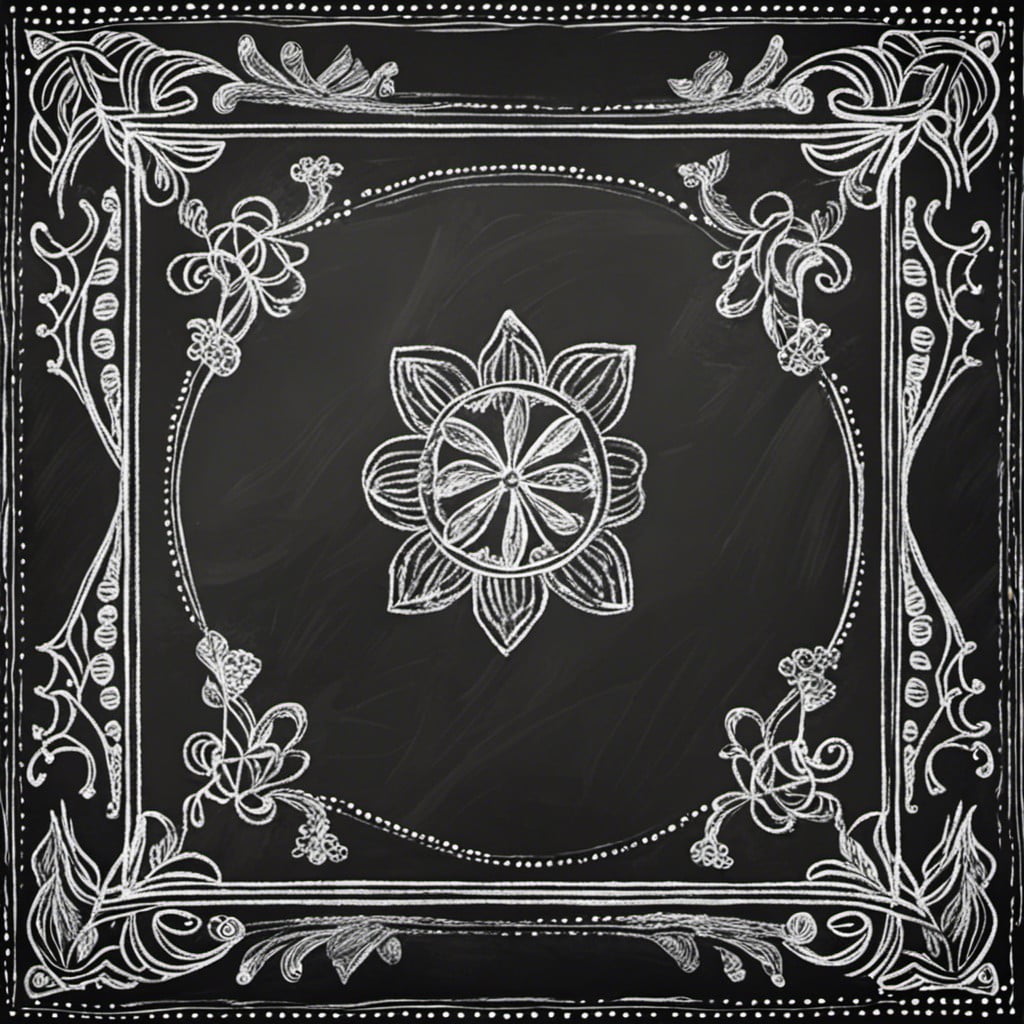
Inspirational Quote With Decorative Border

Taking a favorite motivational phrase and transforming it into a visual art piece can be a captivating process. Start by selecting an uplifting or resonant quote. Once you’ve chosen your words, sketch them lightly on your chalkboard using standard chalk. This provides a template that you can then trace with your specified chalk color.
Remember, the arrangement and style of your text are just as significant as the quote. Experiment with a variety of lettering styles – from sleek and contemporary to quirky and hand-drawn.
Once content with your work, surround your text with a complementary decorative border. The style should mirror the tone of your quote: a delicate floral edge for softer sentiments, or geometric figures for bolder mantras.
Lastly, consider integrating subtle shading techniques to create depth and elevate your design from the surface. A successful chalkboard drawing requires a harmonious blend of text, embellishment, and creativity. It is your arena to showcase both your thoughts and your artistic abilities.
Vegetables and Fruits for a Healthy Diet
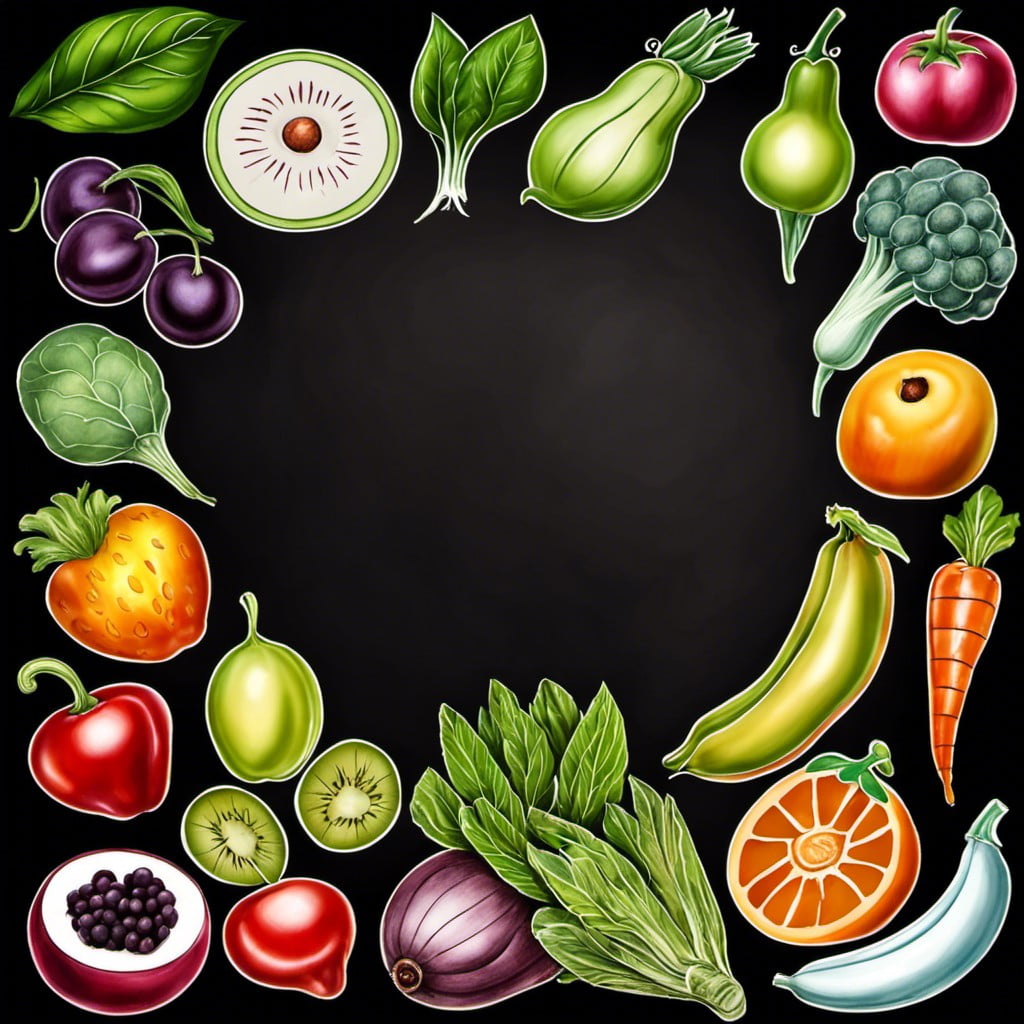
Drawing various fruits and vegetables not only nurtures your artistic side but also acts as a reminder of their importance for a balanced diet. This idea could be as simple as sketching a rainbow of fruits, each color representing a different nutrient essential for the body.
1. Make it interesting by adding faces or costumes to these produce personalities.
2. Aim for a range of colors. Each color often indicates different groups of nutrients. Red tomatoes, orange carrots, and green spinach each have unique health benefits.
3. Use realistic styling or opt for a cartoonish look based on personal preference or intended audience.
4. To add an educative twist, label each vegetable with its most prevalent nutrient, like “Potassium” for bananas.
5. Arrange the produce in interesting ways – maybe in alphabetical order or according to their sizes. Hidden patterns can make looking at the chalkboard a fun puzzle.
This chalkboard drawing can be a wonderful way of reinforcing healthy eating habits, especially for children.
Portraying Different Professions
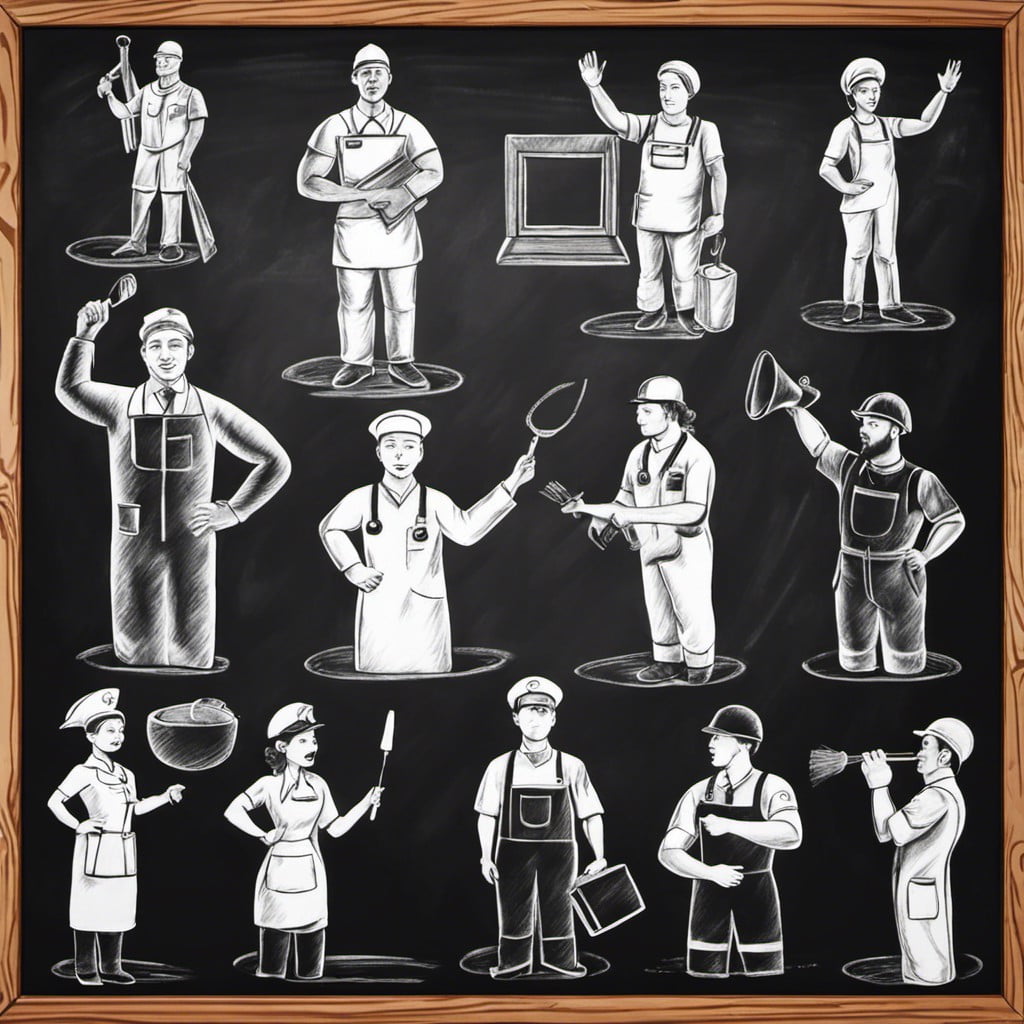
To create an engaging depiction of various professions, start by picking the professions that most appeal or inspire. This could include everything from firefighters and doctors to artists and astronauts. Use literal representations or symbols that are commonly associated with each profession. For an artist, it could be a palette and brush; for a firefighter, a fire truck or helmet.
Ensure accuracy in your portrayal, which aids in comprehension and sets a respectful tone. The details – uniform colors, tools of the trade, and emblems – can greatly enhance your representation.
Consider incorporating fun elements to keep the drawing lively. A doctor could be healing a teddy bear, or an astronaut might be standing on a cartoon moon, surrounded by sparkly drawn stars.
Lastly, remember it’s not just about the visual aspects, but also about sparking conversations. It opens up discussions about various roles in the society, thus making the chalkboard more than just decorative, but a motivational tool as well.
Superhero Characters
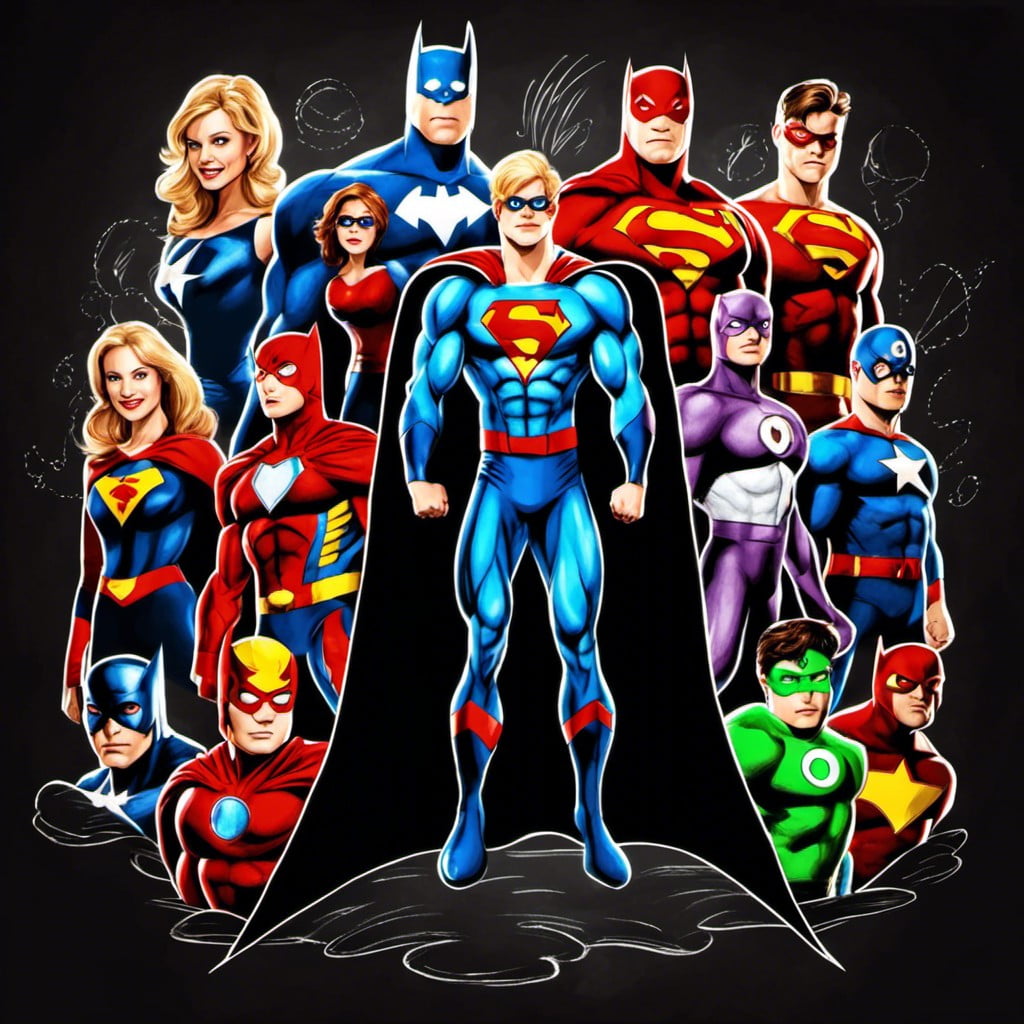
Venturing into the realm of fiction, superheroes offer a dynamic and exciting approach to chalkboard drawings. They stimulate creativity and engage imagination in unprecedented ways. Consider the following points:
1. Choose Your Superhero: Is it Superman soaring high in the sky or Wonder Woman with her Lasso of Truth? You decide.
2. Start with Simple Sketches: Use basic shapes to outline your hero. This will ease the process when adding intricate details later.
3. Character Attributes: Make sure to showcase unique traits of the chosen superheroes – these highlights make them instantly recognizable and add authenticity.
4. Action Poses: Superheroes are often depicted in thrilling action scenes. Practice drawing flying or fighting stances to generate excitement.
5. Use Colors: Some superheroes can be identified just by their vibrant color palette. If permitted by your chalkboard and chalks, inject color into your drawing.
Just remember, the goal isn’t perfection. It’s about expressing creativity and having fun while doing it. Reiteration even in complex poses or characters will boost your chalkboard art skills over time. Enjoy the process, and let your superheroes come to life!
Read More Like This
 15 Creative Science Fair Board Ideas to Amaze Your Audience
 15 Handmade Envelope Decoration Ideas for Creative Gifting
 10 DIY Gifts for the Whiskey Lover in Your Life
 15 Creative Ideas for DIY Outdoor Birthday Party Decorations
 15 Creative Ideas for What to Do With Empty Liquor Bottles
Recap: