Last updated on
Transforming your space into a seaside sanctuary is as easy as embracing beach-themed chalkboard ideas because they blend creativity, convenience and coastal aesthetics effortlessly.
I’ve designed unique illustrations for these ideas. I hope you get inspired!
Diving into the world of home decoration is akin to unveiling a treasure chest of creativity, with nautical inspirations offering some of the most refreshing ideas. This article brings the breeze of the beach into your living space with a focus on beach-themed chalkboard ideas.
While the internet is bathed in a seaside of well-known concepts, we endeavour to add a fresh ripple in this expansive ocean of style. Expect not just a sprinkling of resources to the best ‘shoreline’ chalkboard concepts currently gracing many homes, but anticipate a wave of new unique ideas.
The mission? To offer you fresh angles and innovative inspirations, culminating in a list that could be the treasure map to your next decorating project! Now, let’s set sail and explore together!
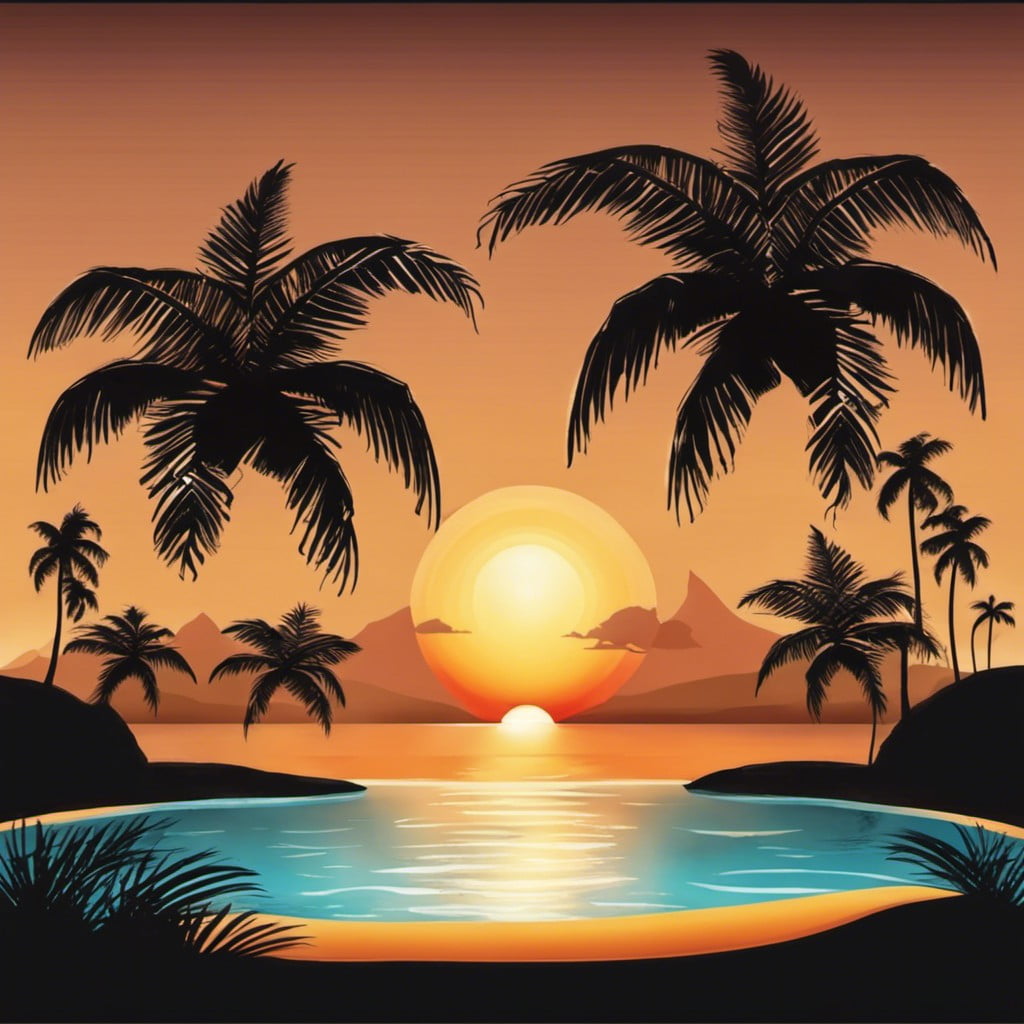
Seaside Sunset

Creating a seaside sunset on your chalkboard brings a subtle blend of warm and cool tones to your artwork. Here’s how:
1. Choose a variety of chalk colors. You’ll need whites, grays, blues, oranges, reds, yellows, and pinks.
2. Begin with a cool blue base for the sky at the top and the sea at the bottom. Use broader strokes for a more natural look.
3. Add deeper blues and grays near the horizon line of the ocean to give it depth.
4. Apply your warmer sunset colors – reds, oranges, and yellows – just above the sea, fanning upwards to blend with the sky.
5. Create a waning sun with your boldest orange and red by the horizon.
6. Highlight the sea with gentle strokes of white and yellow. This mimics the sun’s reflection on the water.
7. Use layered, soft strokes to add texture, making your sky look like a believable sunset.
8. Don’t forget the final touch. Contrast, using white chalk to sketch silhouettes of birds or a ship in the distance.
These simple steps will leave you with a breathtaking seaside sunset that brings the serenity of the beach to any space.
Hibiscus Flower
Representing tropical climates, the hibiscus flower can be a perfect addition to beach-inspired chalk art.
First, choose your chalk colors – popular choices include red, pink, yellow, or white for the petals, and green for the leaves.
Start by drawing the outline of five petals, then shade them in.
Add a stamen at the center, usually made with yellow or brown.
Tiny streaks radiating from the stamen can mimic the flower’s pollen.
For the final touch, sketch in three to five pointed leaves along the stem.
This bright, instantly recognizable design will evoke a holiday spirit, helping to reinforce your beach theme.
Crab Drawing
Switch it up from simple, predictable designs and unleash your creativity with a lively crab drawing. It’s brighter than you’d expect and it wonderfully offsets the monotone of the usual chalkboard marker.
Here’s how:
- 1. Begin with chalk lines to outline a basic oval for the crab’s body and smaller ovals for the pincers.
- 2. Add details such as legs and eyes, keeping the chalk lines simple and rounded to capture the creature’s essence.
- 3. Using an eraser, clean up extra marks, shaping your masterpiece into a convincing crustacean.
- 4. For more color, consider using colored chalk or pastels to layer on some red, similar to a crab you’d see at the beach. This will add a delightful pop on your chalkboard.
- 5. Don’t forget to have fun with it. Add a cute, whimsical element like a hat or a pair of sunglasses to your crab. This will bring personality to your piece, making it eye-catching and unique.
Be fearless with your designs and try new things. Even if you’re not an artist, it’s about expressing your love for the beach. The important thing is that it brings you joy and evokes that endless summer feeling.
Starfish and Seashells
Diving into this whimsical concept, you’ll discover a whole new world of creativity. Drawing starfish and seashells on your beach-themed chalkboard not only brings a sense of the deep sea but also adds a touch of elegance.
1. Simplicity: Start with basic shapes, like five-pointed star for the starfish and oval for the seashell. These are easy, even for beginners.
2. Texture: To capture the intricate texture of these sea creatures, use light shading, crosshatching, or rough lines.
3. Color: Opt for hues like white or beige to stay true to nature. However, there’s no harm in adding pops of color for a vibrant look.
4. Dimension: A little shading at appropriate places can lend a 3D effect, making your starfish and seashells come to life.
5. Variety: Experiment with different types of seashells such as conchs, scallops, or even a nautilus.
Remember, the aim is to evoke feelings of happiness and memories spent on sandy beaches, so let your drawing reflect that joy. Happy chalking!
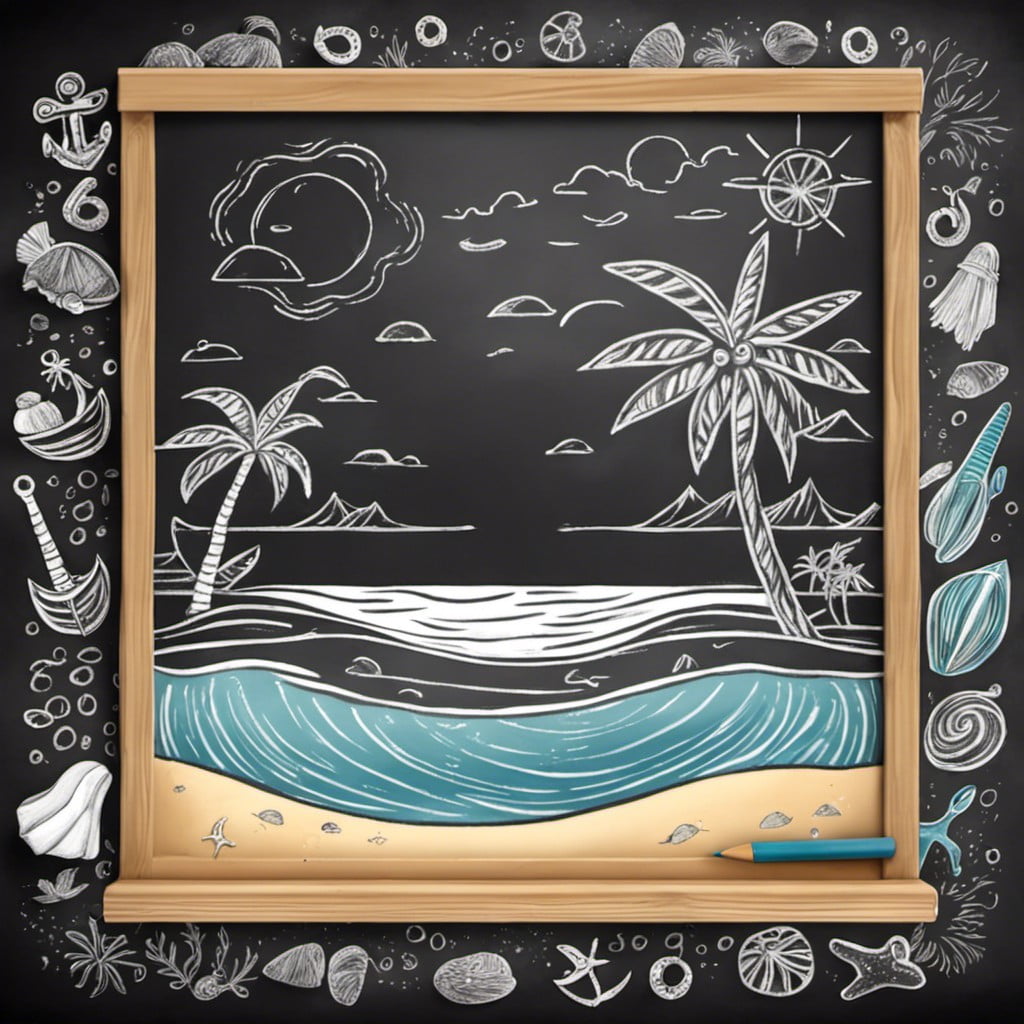
Palm Tree Silhouette
Drawing a palm tree silhouette on your chalkboard adds a dash of tropical charm to your space. This design is simple enough for beginners and quickly creates a beach-themed mood.
1. Choose two shades of green: Start by selecting a lighter and a darker shade of green chalk. The lighter colour will be used for the trunk of the palm tree and the darker hue for its leaves.
2. Sketch the trunk: Draw a slightly curved vertical line to form the trunk of your palm tree. With the lighter green chalk, give it a rounded look on the top, skinnier at the bottom to add realism.
3. Add the leaves: The leaves are what make a palm tree unique. For this, take the darker green chalk and start drawing curved lines like extended “Y”s, all springing from the top of the trunk. About seven to eight lines should suffice.
4. Fill in the Leaves: Fill out the “Y” shape to form each frond. Draw in smaller diagonal lines along the original curved lines to represent the leaflets.
5. Outline for shadow effect: Lastly, use a darker shade of chalk to outline the tree, creating a silhouette-like effect, and voilà, you have your palm tree!
Remember that the beauty of chalkboard art is in its impermanence. Mistakes can be erased and drawings can evolve over time, bringing a refreshing new beach scene into your home whenever you wish.
Message in a Bottle
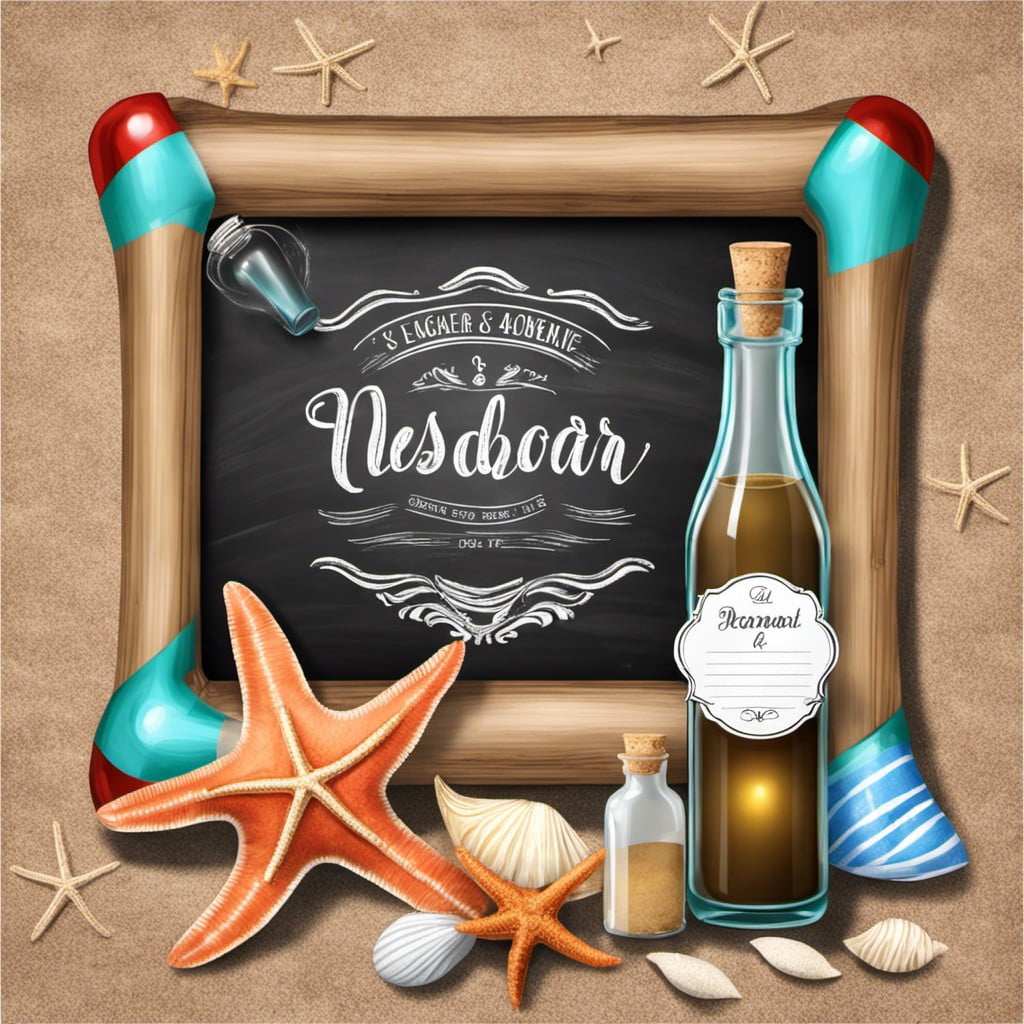
For an adventurous touch, the message in a bottle concept is a fun one to incorporate into your beach-themed chalkboard. The iconic imagery of a corked bottle adrift at sea brings with it both a sense of mystery and wonder.
1. Materials: Start with some chalk or chalk markers in radiant shades of white and blue to capture the waviness of the ‘Sea’.
2. Draw a Bottle: Sketch a typical bottle with rounded edges and a narrow neck. The real trick here is to make sure the bottle looks transparent.
3. Incorporating Message: In the bottle, inscribe a note. This could be a favorite quote, a grocery list, or a to-do list.
4. Sea Imagery: Add a few wave-like curves around the bottle invoking the essence of the sea.
5. Fine Details: For an extra nautical touch, consider adding a tiny ship or a far-off island in the background of your message.
This chalk drawing design can add a whimsical touch to any part of your home! With a little creativity and patience, you can transport any room into an ocean-themed paradise.
Treasure Map
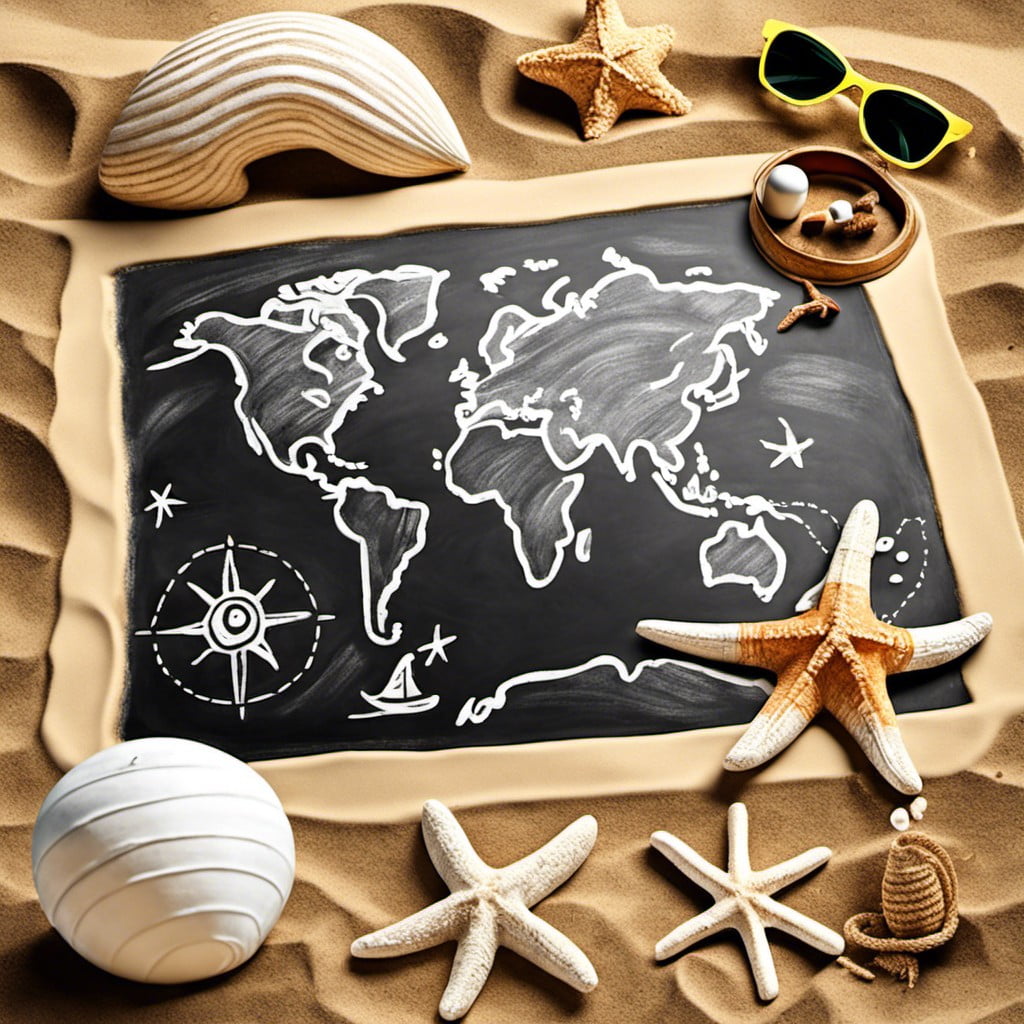
For a dash of adventure and childlike fun, nothing quite beats the charm of a treasure map on your beach-themed chalkboard. Here’s how you can go about creating one:
1. Begin with the basic outline of an island, add uneven shores to make it more realistic.
2. Use simple strokes to draw topographical features such as mountains, forests, and rivers.
3. Sketch in an X at a specific location to represent the hidden treasure.
4. Draw a dotted line from one edge of the map to the X, giving an illusion of a path.
5. Incorporate aged parchment effect by edging and shading with brown chalk.
6. Optional details could be an old wooden ship, shark-infested waters, or a compass for added flair.
A captivating treasure map on your beach-themed chalkboard could become an intriguing conversation starter at home and certainly exhibit your creative prowess.
Beachy Quotes
Incorporating beach-inspired phrases or quotes to your chalkboard design can add a dash of fun, making the atmosphere lively and full of character.
An enduring favorite, “Life’s a Beach, Enjoy the Waves“, welcomes guests with both whimsy and wisdom.
You may also choose lighter, more playful expressions such as “Sandy Toes and Sunkissed Nose” or “Happiness Comes in Waves“.
These phrases, written in vibrant chalk colors, embody the spirit of the beach, fostering feelings of relaxation and joy.
For a more profound or inspirational tone, consider quotes like “The Ocean Stirs the Heart, Inspires the Imagination and Brings Eternal Joy to the Soul“.
Remember, your chosen quote can be as simple or as sophisticated as you want, so long as it reflects your personal style and love for the beach.
Ocean Waves Sketch
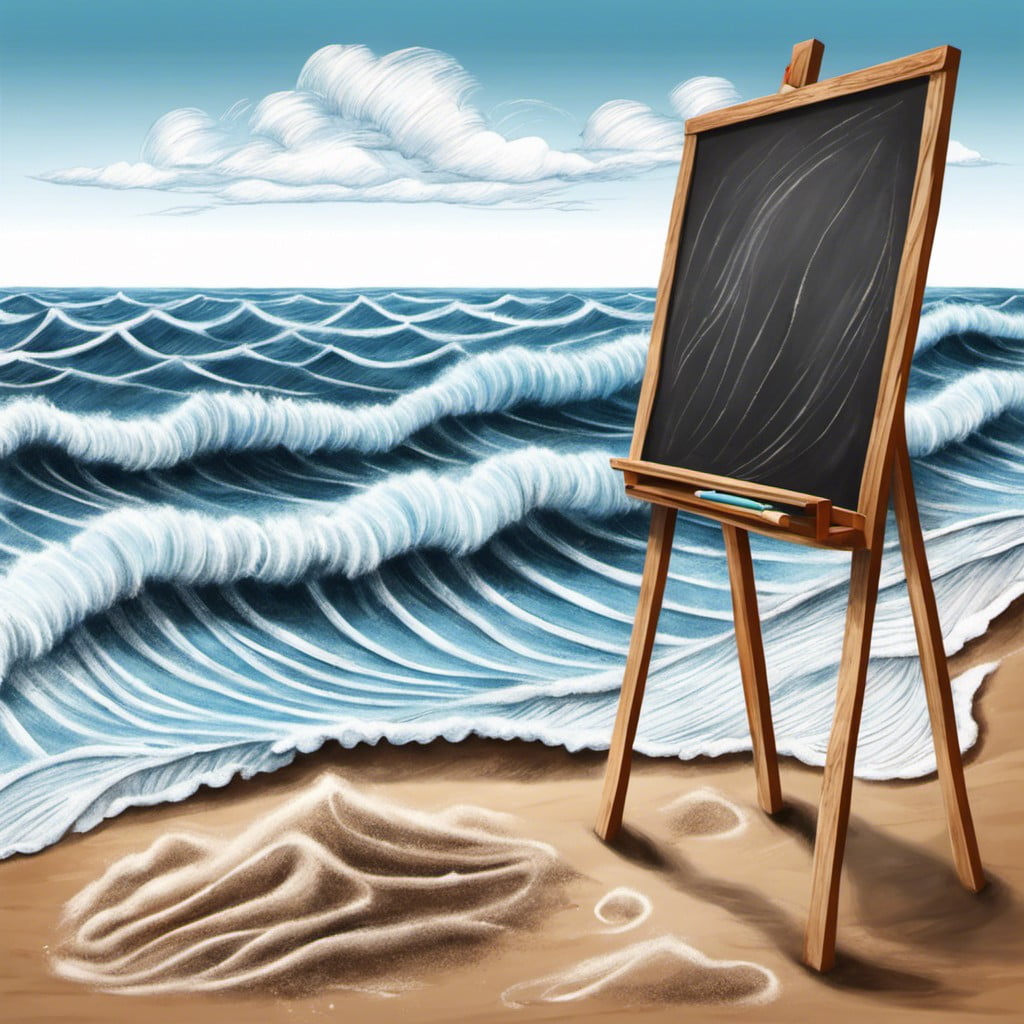
Creating an ocean waves sketch brings the true serenity of the beach right onto your chalkboard. The project can be as simple or as detailed as you want it to be. Here are a few things to consider:
1. Understand Wave Anatomy: Before launching into your sketch, it’s beneficial to know basic wave anatomy. Look into concepts like crest, trough, and wavelength.
2. Consider Perspective: Decide whether your display of waves will be a side view, aerial, or 3-dimensional. This will drastically affect your drawing technique and the final result.
3. Incorporate Motion: Sketch lightly at first to outline the rolling motion of the waves. This serves to guide the intensity of your chalk strokes later on.
4. Use Different Shades: To make your waves look more realistic, use different shades of blue and white. The dark areas will denote the depth of the sea, while the lighter areas will show the foam and froth of a wave. Add a bit of green for a true ocean feel.
5. Add Flair: Once you’re happy with your waves, consider adding some extra elements, such as dolphins, surfers, or a setting sun.
Remember, the beach is a tranquil place, and your sketch should seek to channel that tranquillity. However, the most important thing is to have fun and let your creativity flow, just like the waves!
Chalkboard Bucket List
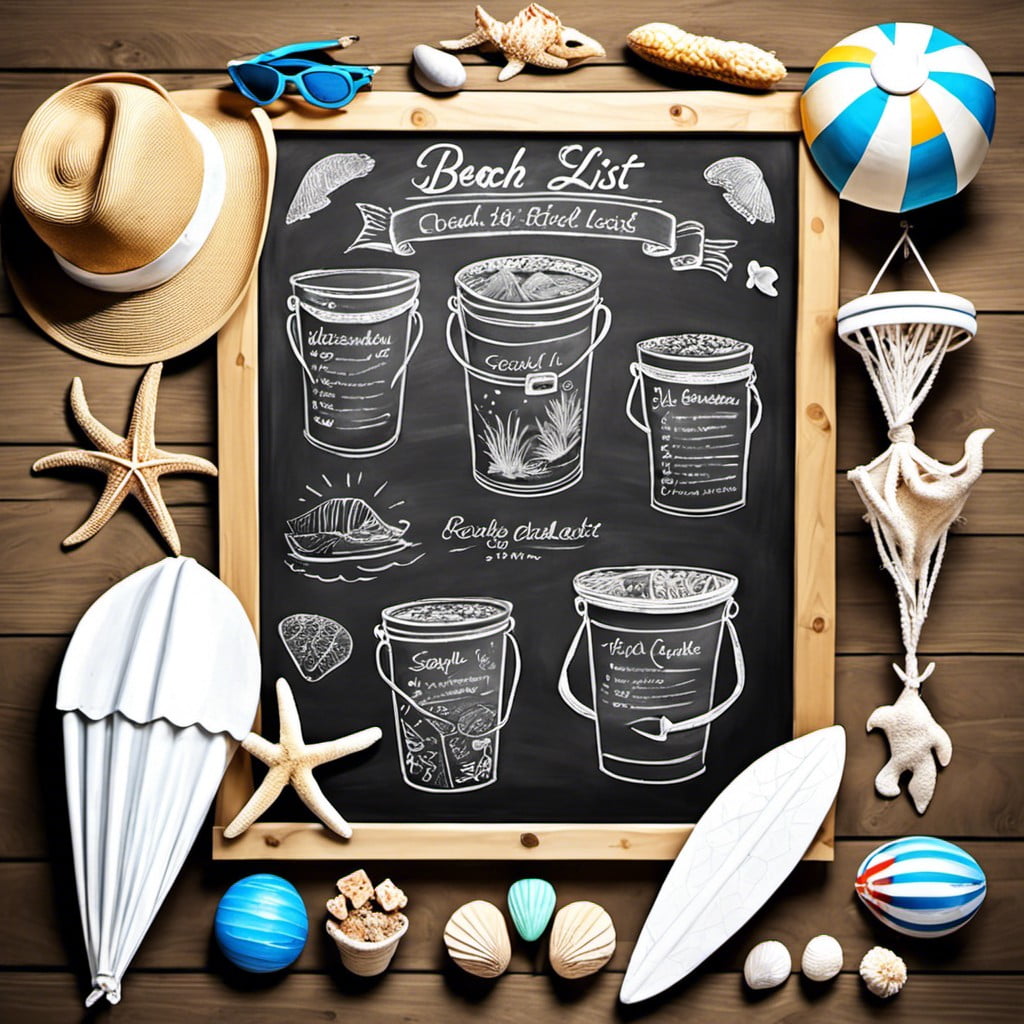
Casting an eye towards the future, a chalkboard bucket list is a creative addition to any beach themed space. For this project, divide your chalkboard into sections, each labelled with an exciting beach activity you wish to experience.
You might include things like “SCUBA dive,” “build a sandcastle,” or “watch a sunset on the beach.”
For an extra touch of authenticity, treat each box like a tiny grain of sand – just waiting to be part of a grand, seaside adventure.
To keep your illustration vibrant, use shades of blue, beige, and yellow chalk. This not only adds a burst of color, but it also echoes the hues of a sun-kissed shoreline.
Remember, your bucket list is meant to inspire, so feel free to include even the most adventurous of oceanic endeavors.
Sea Turtle Design
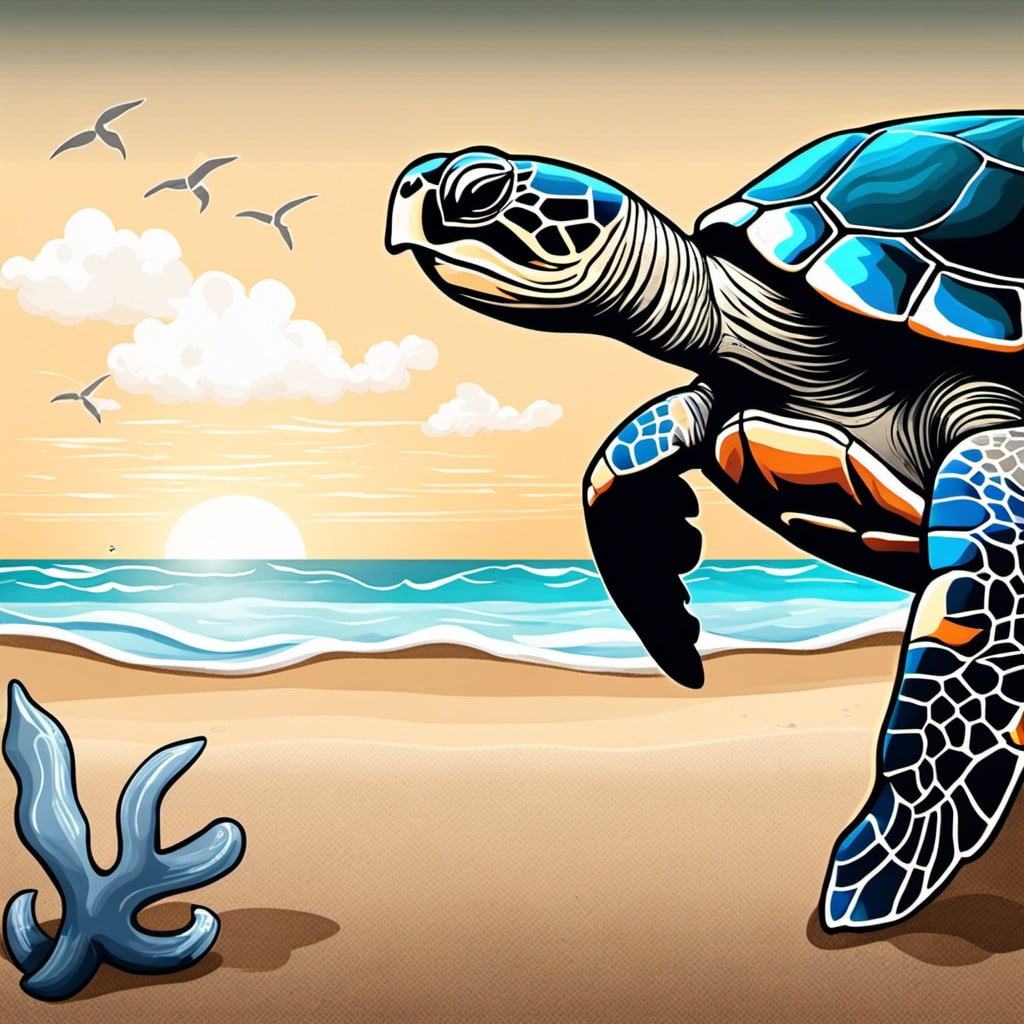
Creating a sea turtle on your beach-themed chalkboard adds a touch of nature and tranquility to the ambiance. To achieve this design, adhere to the following steps:
1. Draw the basic shape: Start by sketching a simple oval for the sea turtle’s body. Add a smaller semi-circle at the front for its head and four oblong shapes on the sides for its flippers.
2. Add the details: Using your white chalk, draw a pattern of hexagons on the shell of the turtle, mimicking the natural scales in real sea turtles. Don’t forget the turtle’s face features!
3. Shade and highlight: For a 3D effect, add some shading to the flippers and undersides of the turtle. Use lighter strokes of chalk for highlighting the top of the turtle and its shell scales.
4. Background: Keeping the theme consistent, draw a soft, wavy line to represent sea water around the turtle. Lightly shade under the waves to imitate the ocean floor.
5. Clean edges: With a damp cloth, clean up anything that extends out of the lines. You can also use this technique to soften the colors or create a gradient effect.
Remember, creativity knows no bounds. Feel free to add personal touches, such as baby turtles or seaweed around the adult turtle. Do not be afraid to experiment with different hues of blue and green to make your sea turtle come alive!
Tropical Drink Doodle
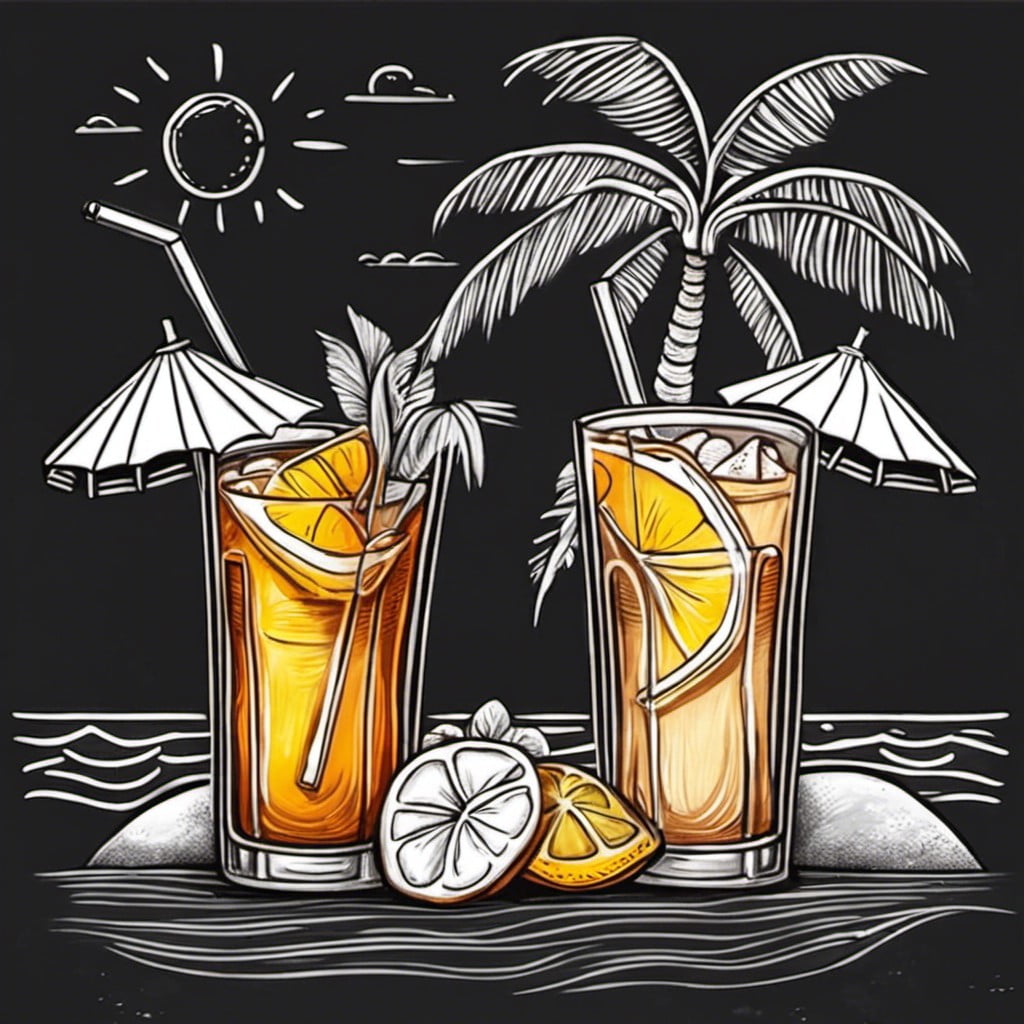
Crafting a refreshing representation of a tropical drink is a delightful way to invoke island vibes. Using a pop of color for the fruit garnishment against the black canvas will make the image stand out.
Draw attention to the little details such as the texture of the pineapple or the umbrella’s pattern, and the glass’s contours. Try reproducing the spiral of a straw or the droplets on the glass exterior.
To give it a personal touch, you could add a name tag to the tropical drink, as if it’s ready to be served at a beach-side bar. Remember, the ultimate goal is to make it as vivid and enticing as a real icy-cool Mocktail sitting on the sandy beach on a sun-soaked afternoon.
Have fun doodling!
Nautical Knots
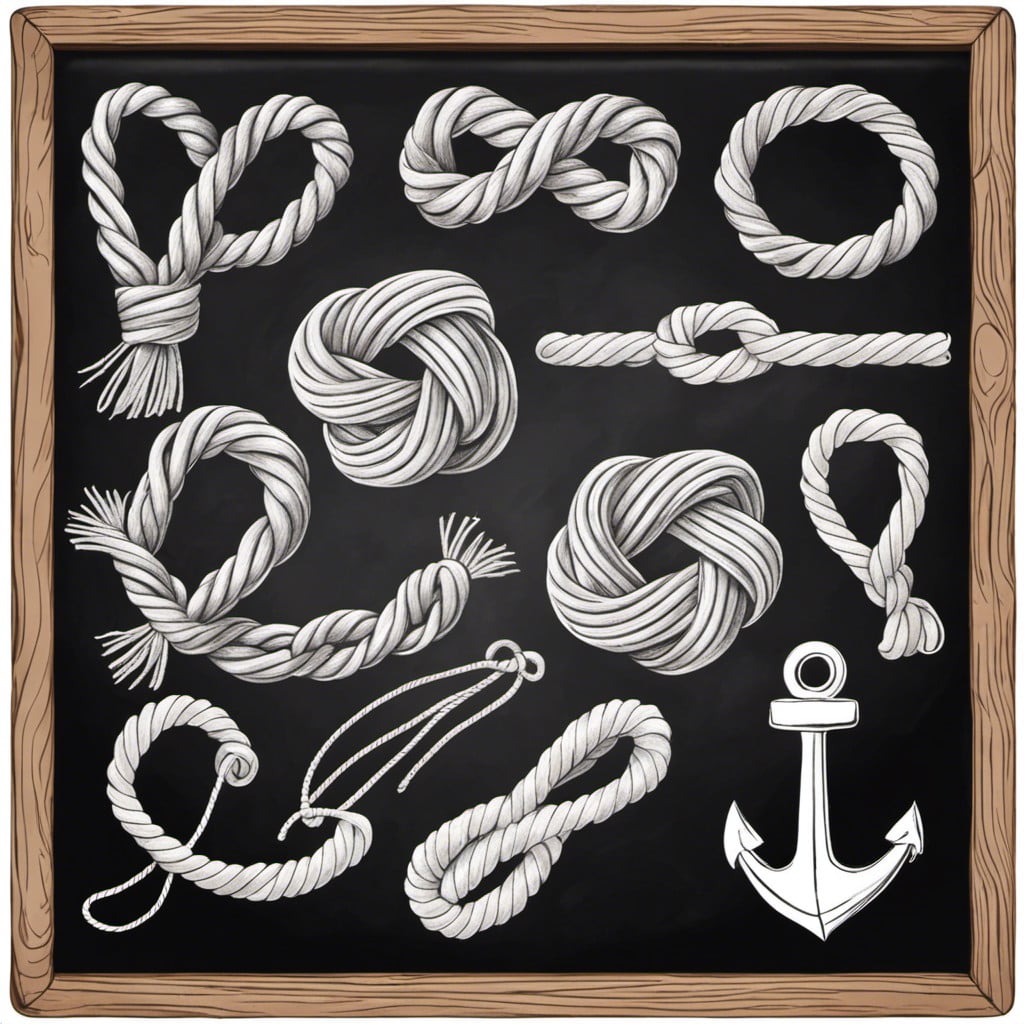
Understanding the basics of nautical knots can add authenticity to your beach-themed chalkboard. Dive into the world of maritime tradition with these well-known knots.
1. Bowline: Known as the ‘king of knots’, it’s used to form a fixed loop at the end of a rope.
2. Figure Eight: An easy and quick stopper knot to prevent ropes from slipping out of the blockade.
3. Reef Knot: Used to tie two ropes together; also known as a square knot.
4. Sheet Bend: Ideal for joining two ropes of different sizes.
5. Monkey’s Fist: This decorative knot looks like a small woven ball.
Try recreating them on your chalkboard. Use simple lines to portray these complex knots. Remember, a light hand and loose style give a relaxed beach feel. Play around with different shapes and dimensions to bring the nautical atmosphere to life. Consider labeling each knot, offering a small tutorial for your guests. Your chalkboard art will not only entertain but also inform.
Beach Themed Counting Activities
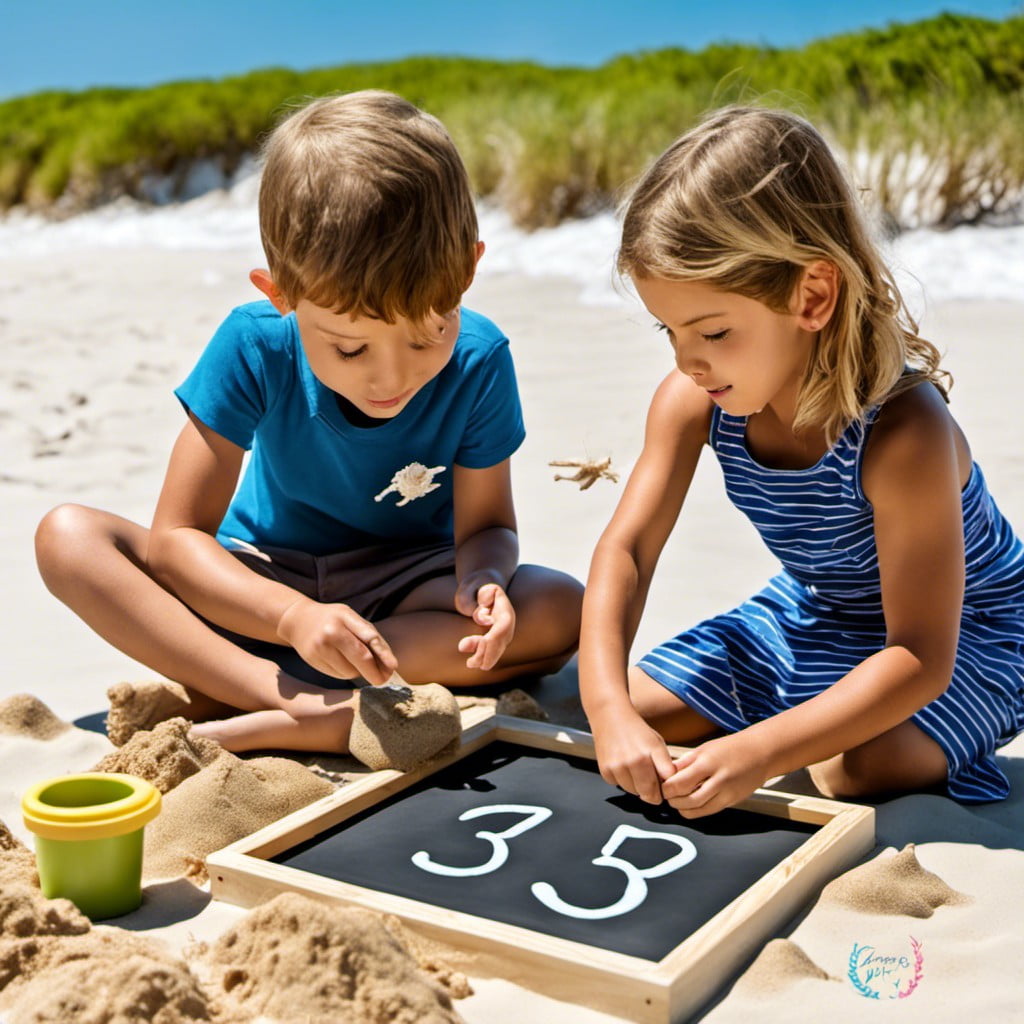
While the beach may be synonymous with relaxation, it can also become a fun-filled learning arena. Here’s how:
1. Create a sea creature counting game: Draw sea creatures like fish, starfish, or crabs in groups of varying numbers. Each group should have a space below it to chalk in the correct number of creatures.
2. Sandcastle building challenge: Sketch several sandcastles of diverse sizes, and designate each with a numeral which represents the castle’s height in layers.
3. Seashell counting collage: Arrange sets of seashells and let the little ones count them. Each set can represent a different number.
Incorporating education into your chalkboard art will not only engage the kids, but it will also foster their number recognition and early math skills. Keep the illustrations colorful and simple to maintain their interest.
Surfboard Drawings
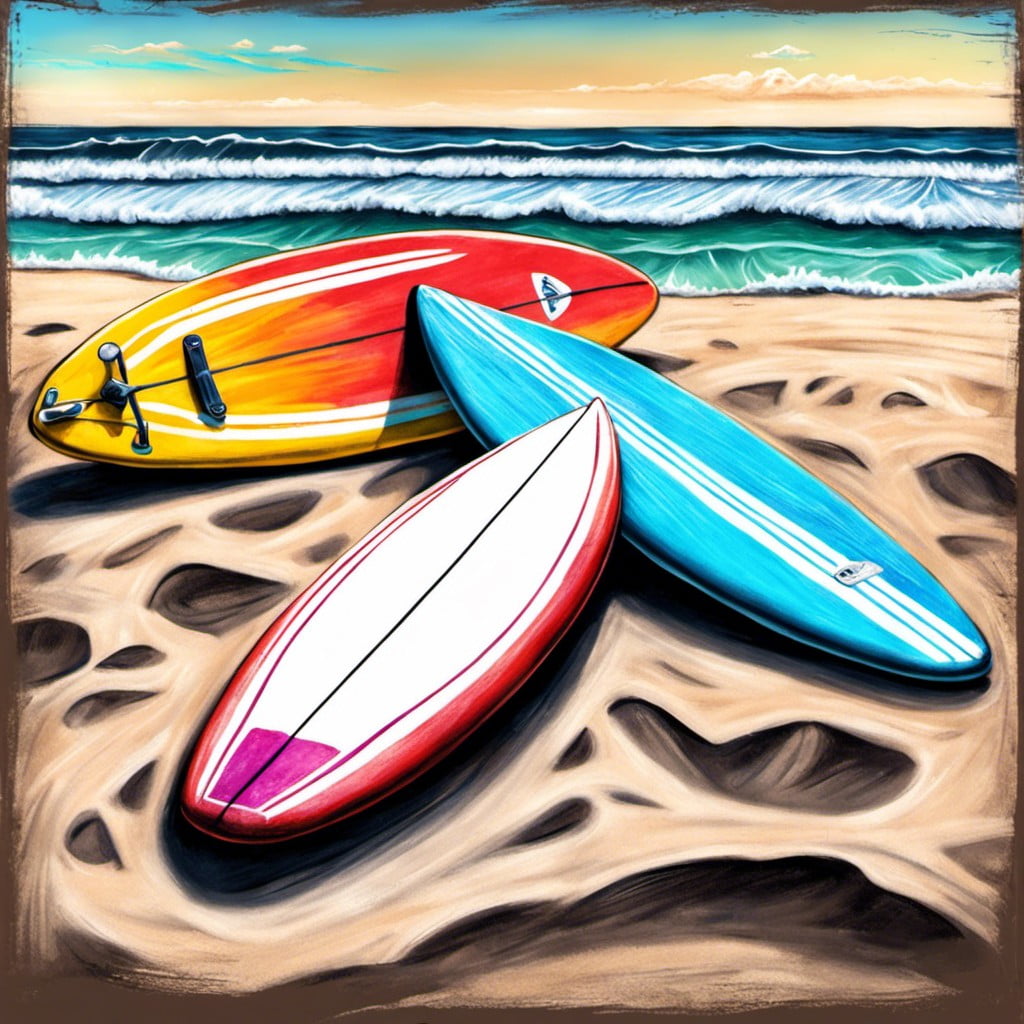
Drawing your own surfboards on the chalkboard is both entertaining and gives a genuine beach vibe. Start by sketching the outline of the board. It can either be a long or short surfboard depending upon your preference.
Adding designs is the next part which really brings out the creativity. You can opt for simple linear designs or go for intricate floral or geometric shapes. Bright chalk colors like yellow, blue, or pink exemplify the beach vibe.
The best part of this design is the flexibility it offers. You can frequently alter it, giving a fresh look to your chalkboard everytime. Plus, if you’re a hardcore surf enthusiast, feel free to write down popular surf jargon to make it even more personalized and fun.
Chalkboard Mermaid
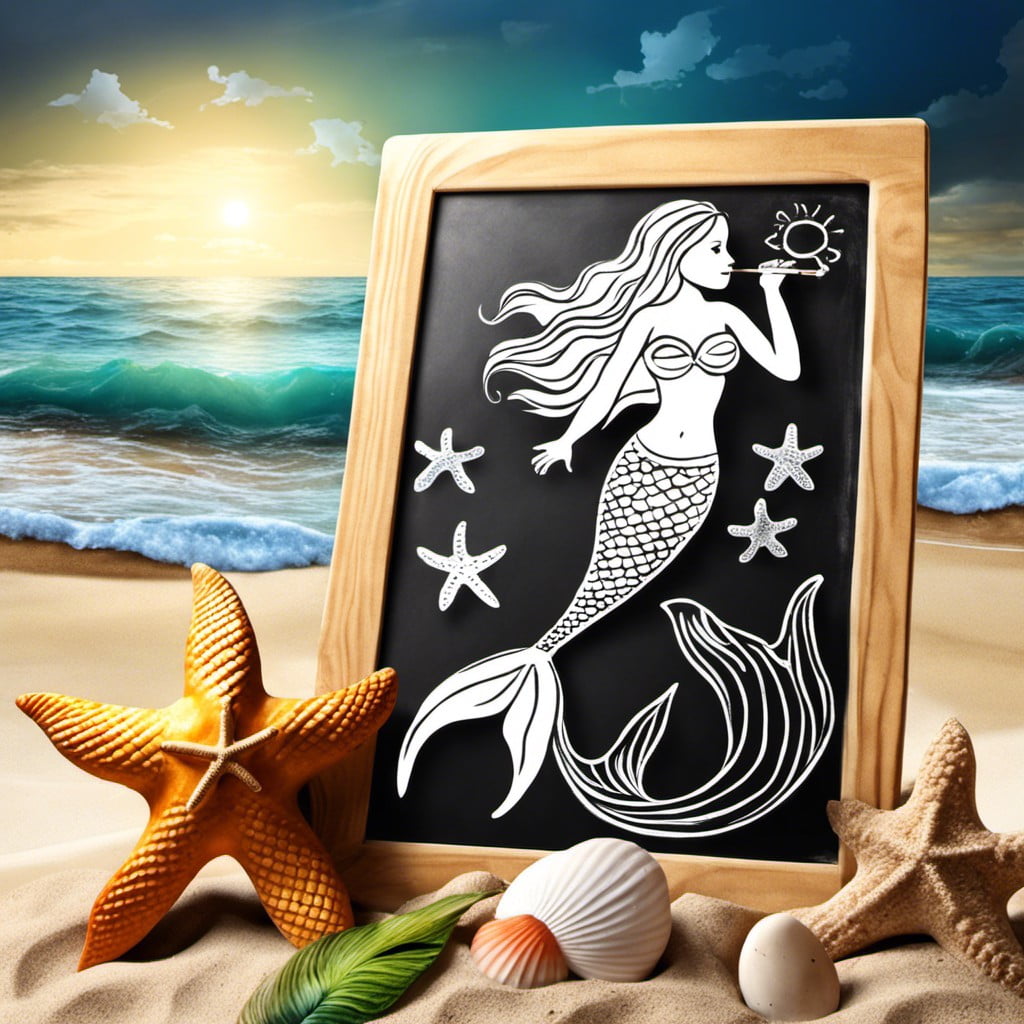
Bringing a sense of ethereal beauty to your beach themed chalkboard, a mermaid sketch can truly be a sight to behold. Here are some key points to enhance your design:
- Focus on the Tail: Create a vibrant tail, as it holds the mystique of mermaids. Consider using a blend of greens and blues for that sea-like appeal.
- Feature the Hair: Give due attention to the mermaid’s flowing hair. You can add small shells or even starfish in it.
- Include Emotions: Make her more appealing by drawing her in action – perhaps singing or playing with a sea creature.
- Micro Detailing: Add some scales or patterns on the tail for a realistic touch.
- Use Colors Wisely: A chalkboard restricts you to white but fear not, as this shortage can be used to give a vintage touch to your mermaid.
Remember, the beauty of chalk art lies in its imperfection. Happy chalking!
Lighthouse Scene
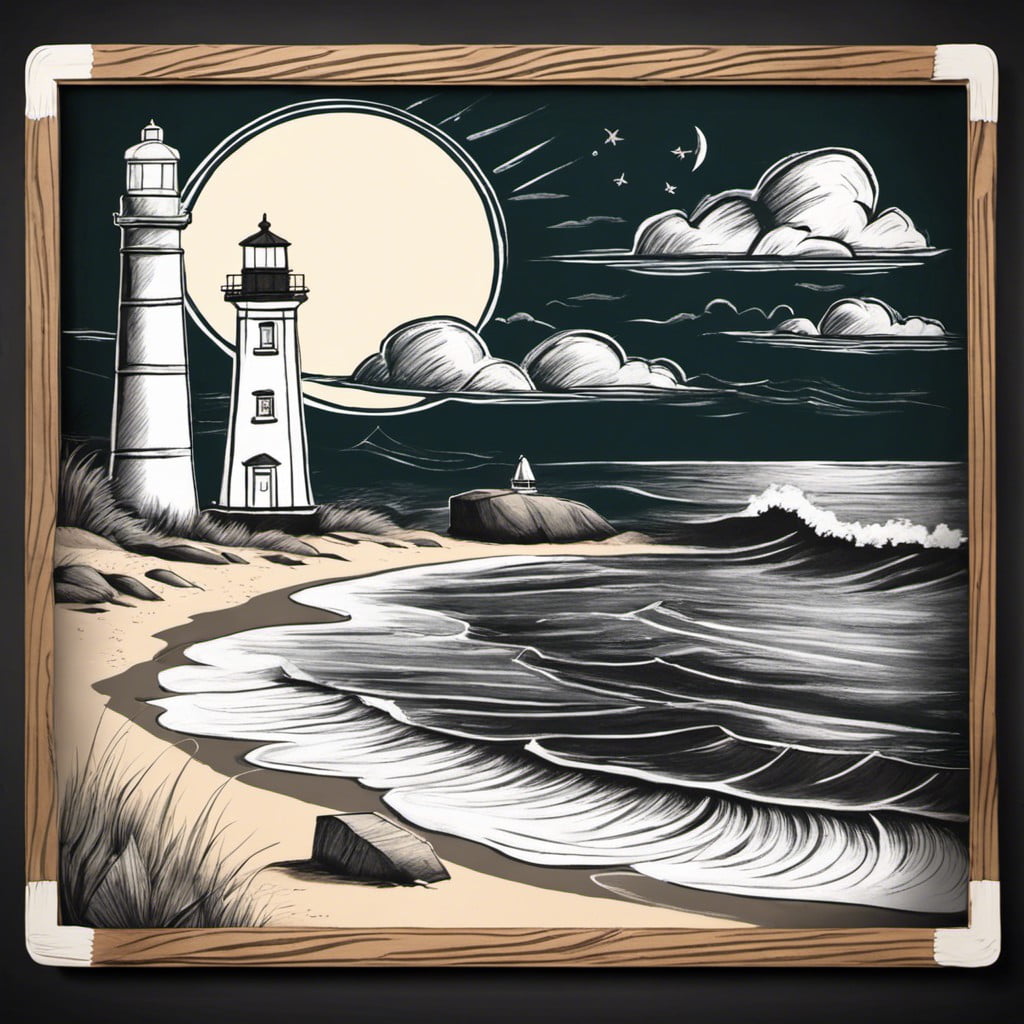
In capturing a lighthouse scene on your chalkboard, the main idea is to evoke the idyllic serenity of coastal life. Use a combination of simple shapes and lines to craft a picturesque moment of pure tranquility.
Start with a bold, vertical pillar for the lighthouse, which is the main element, and crown it with a small dome to illustrate the light source. Add contrasting horizontal lines to the lighthouse for definition and depth. Adjacent to the lighthouse, a series of wavy, horizontal lines can represent the vast ocean.
Include a few smaller doodles such as gulls in the distant sky or a small boat navigating the sea to add layers and movement to the scenery. Dotting the canvas with beach dunes or tiny cottages can also create an eloquent narrative of coastal living.
Color choice can play a huge role as well. Light blues, grays, and white capture the essence of a breezy seaside ambiance. Don’t forget to play around with shadowing techniques for a more dramatic effect.
Remember, like all chalk art, the magic lies in embracing imperfections and loving the spontaneous creativity that flows. Aesthetics come second to the joy and personal expression found in the process, giving each lighthouse scene its unique touch.
Shark Fin Scribble
Diving into this chalkboard project involves creating a playful yet simple depiction of a shark’s most iconic feature – the fin. A triangular tracing right at the water’s surface sets the stage. Mistakenly believed to be a symbol of fear, the shark fin allows kids to embrace a fun element of beach culture while engaging in a creative undertaking.
To initiate, select a piece of chalk best suited for your chalkboard:
- Opt for a light blue or gray shade, simulating the authentic color of a shark.
- Draft your shark fin starting with a simple triangular shape above water. Remember, perfection isn’t necessary; art is about expression and imagination.
- Add dimension and depth with a darker shade along one side of the fin, signifying the shadow of the submerged body.
- Amplify the aquatic ambiance by sketching water waves around the fin with a different shade of blue.
- Lastly, a few carefully placed chalk bubbles complete the underwater illusion.
Creating a Shark Fin Scribble contributes to a child-friendly beach-themed atmosphere, sparks recreational learning, and creatively celebrate the diverse sea-life element of the beach.
Chalk Seagulls in Flight
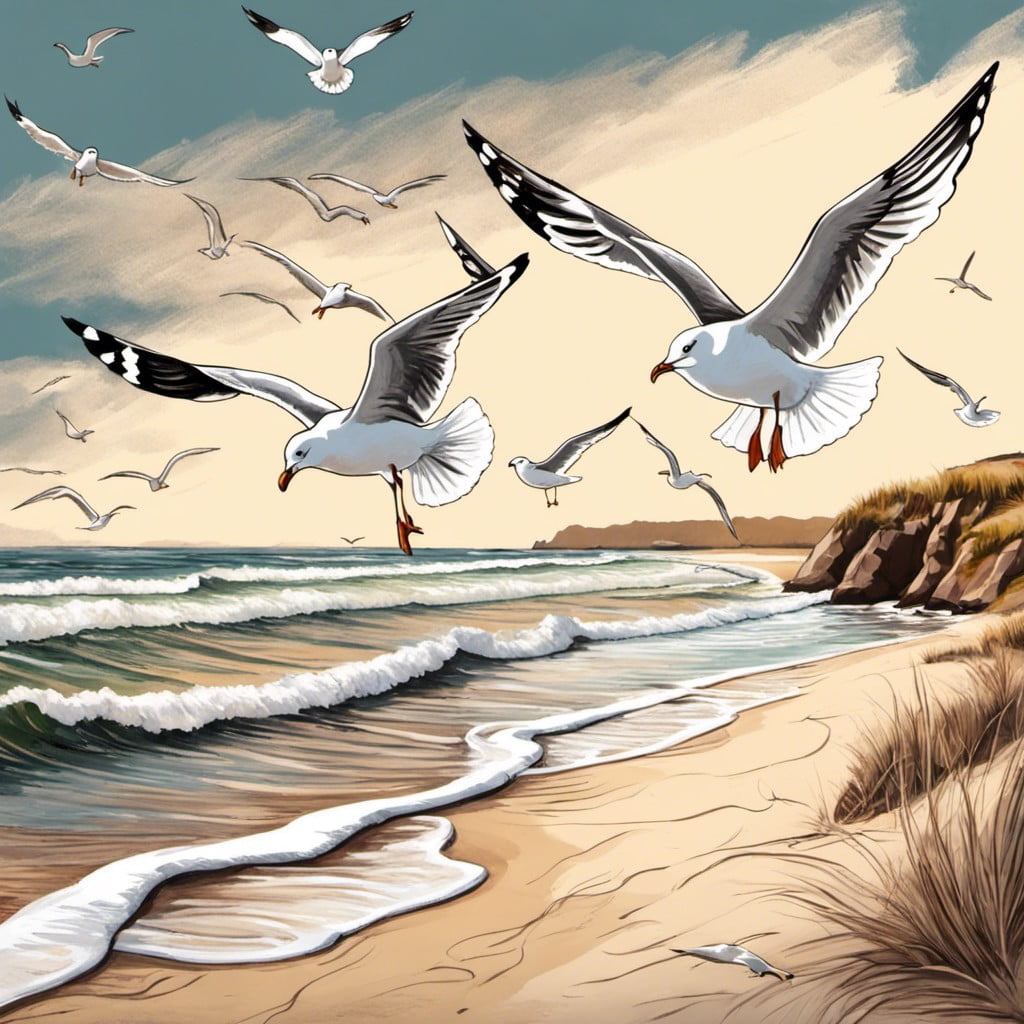
Creating airborne avians with chalk might seem intimidating, but it’s simpler than you think. An easy-to-follow guide will make your chalk seagulls soar on the board.
1. Start by sketching basic shapes. Think of their bodies as rounded triangles and their wings as extended, curved lines.
2. Draw a smaller circle for the head, ensuring it’s in proportion with the body. Add a sharp beak and a dot for the eye.
3. Fine-tune your draft. Remember, wings are typically larger than the body and should sport feathers.
4. Shade parts of the bird for a 3D effect. This shading can represent the color variation on their wings.
5. Give your birds a place to soar. The sky is a series of wavy horizontal lines that grow lighter as they ascend.
6. Don’t forget to add a few thin, white lines to depict the familiar ‘M’ shape of flying gulls in the distance.
The beauty of chalk art is that it can be as detailed or simplistic as you’d like. Use this guide to create a lifelike flock, or experiment to put your own spin on these beachy birds.
Drawing of a Beach Chair and Umbrella
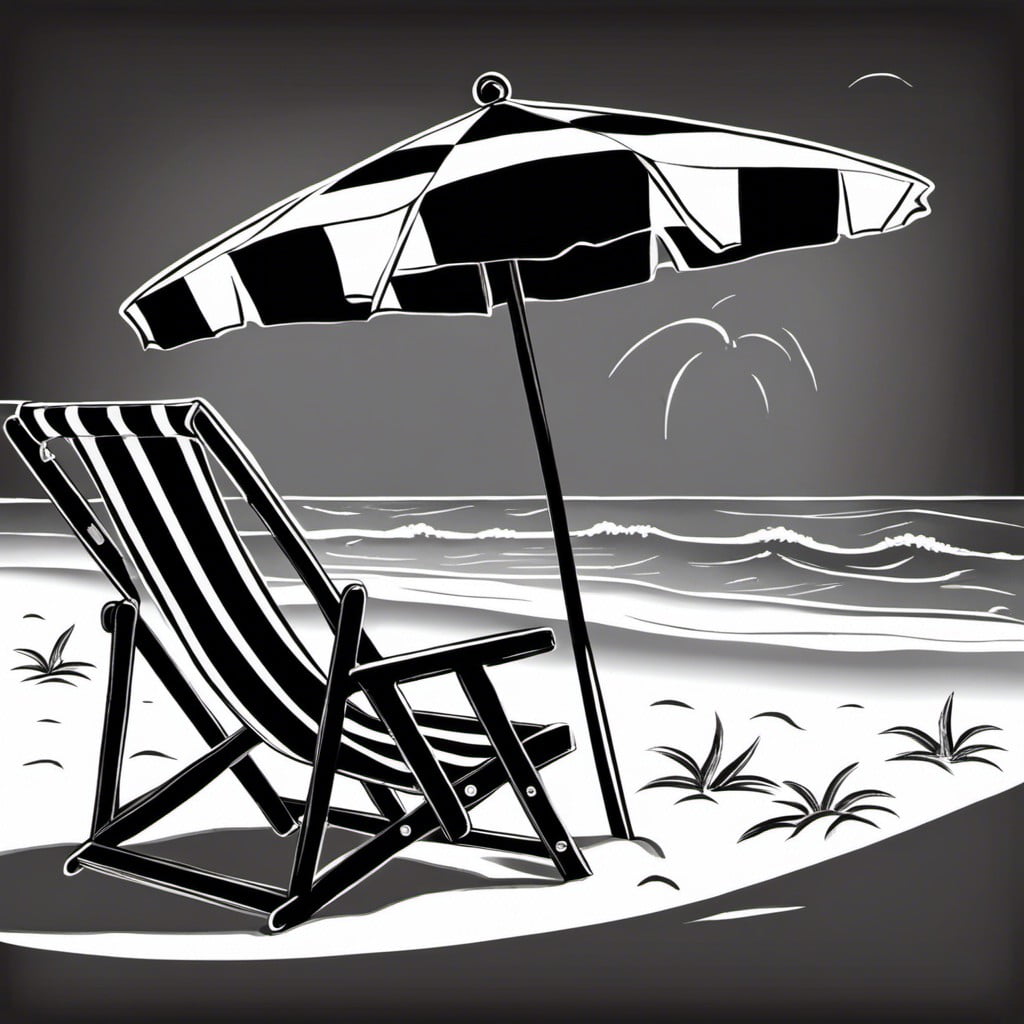
Start by sketching the main elements using simple lines. The beach chair can be broken down into rectangles and the umbrella into a half-circle. Keep in mind the perspective – the chair needs to appear smaller under the umbrella.
Then, refine the shapes by adding details such as the fabric of the chair and umbrella ribs.
For a more realistic look, use light and shade. Assume an imaginary light source and add darker shades where less light hits. Lastly, adding a little shadow beneath these objects anchors them to their location.
Bring in the beach vibe through colors. Use different shades of blues to represent the sea and sky. Yellow and orange tones would deliver a sense of warm sunshine. For the beach chair and umbrella, you could use a mix of pastels, keeping in line with the soft tones found in coastal settings. Enhance the scene with some hints of gold and aqua for a more beachy feel.
Remember, practicing your drawing several times will improve your skills, boosting your confidence in drawing more complex scenes in the future. This design is versatile and can be used for many beach-themed occasions, such as parties and summertime sales events.
Ideas Elsewhere
- https://www.completely-coastal.com/2019/01/chalkboardart-prints-coastal-beach.html
- https://countrydesignstyle.com/chalkboard-shape/
- https://www.shutterstock.com/search/chalkboard-beach
- https://www.makingitinthemountains.com/10-minute-decorating-easy-summer-chalkboard-art/
- https://www.primitivesbykathy.com/products/collection/chalk-art/
- https://thismakesthat.com/summer-chalkboard/
Read More Like This
 15 Funny Graduation Cap Ideas to Make Your Big Day Unforgettable
 15 Unique DIY Christmas Decorations Ideas for a Festive Home
 15 Creative Science Fair Board Ideas to Amaze Your Audience
 15 Handmade Envelope Decoration Ideas for Creative Gifting
 10 DIY Gifts for the Whiskey Lover in Your Life
Recap: