Last updated on
Unlock your creativity with simple and fun chalk art by exploring a medley of easy things to draw that transform plain pavement into a vibrant canvas.
Key takeaways:
- Chalk art materials: Chalk, surface, erasers, measuring tools, blending tools, protective gear.
- Choosing the right chalk: Soft pastel for vibrant colors, sidewalk chalk for outdoor art, dustless and non-toxic options available.
- Preparing the surface: Clean and dry, sweep away debris, lightly wet for smoother drawings.
- Simple geometric shapes: Circles, squares, and triangles for patterns and abstract art.
- Drawing with chalk stencils: Precise shapes and patterns, multi-color effect, create consistent results.
Materials Needed for Chalk Art
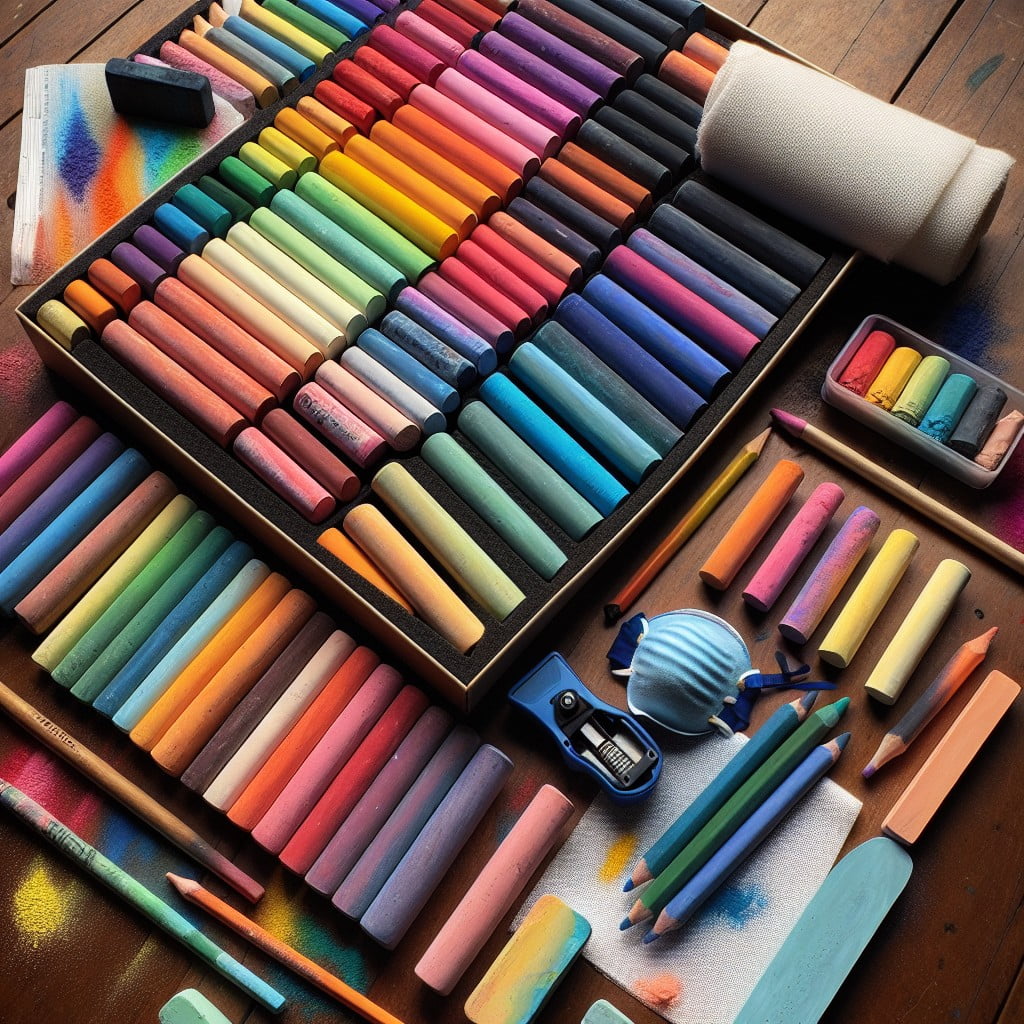
To begin your chalk art journey, gather a few key items:
- Chalk: Sidewalk chalk typically comes in a variety of colors and is thicker for a better grip. For more detailed work, chalk pastels can also be used.
Surface: A sidewalk, driveway, or a chalkboard are ideal surfaces. Ensure it’s clean and dry to enhance chalk adhesion.
Erasers: A standard blackboard eraser or a damp cloth can be used to correct mistakes or wipe the slate clean.
Measuring Tools: For precise shapes or patterns, a ruler or a tape measure can be handy.
Blending Tools: Your fingers, a piece of fabric, or professional blending stumps can smooth out shades and create gradients.
Protective Gear: If you’re drawing on rough surfaces, consider knee pads to stay comfortable, and don’t forget sunscreen for outdoor art sessions.
With these materials at hand, you’re equipped to turn the pavement into a canvas.
Choosing the Right Chalk for Drawing
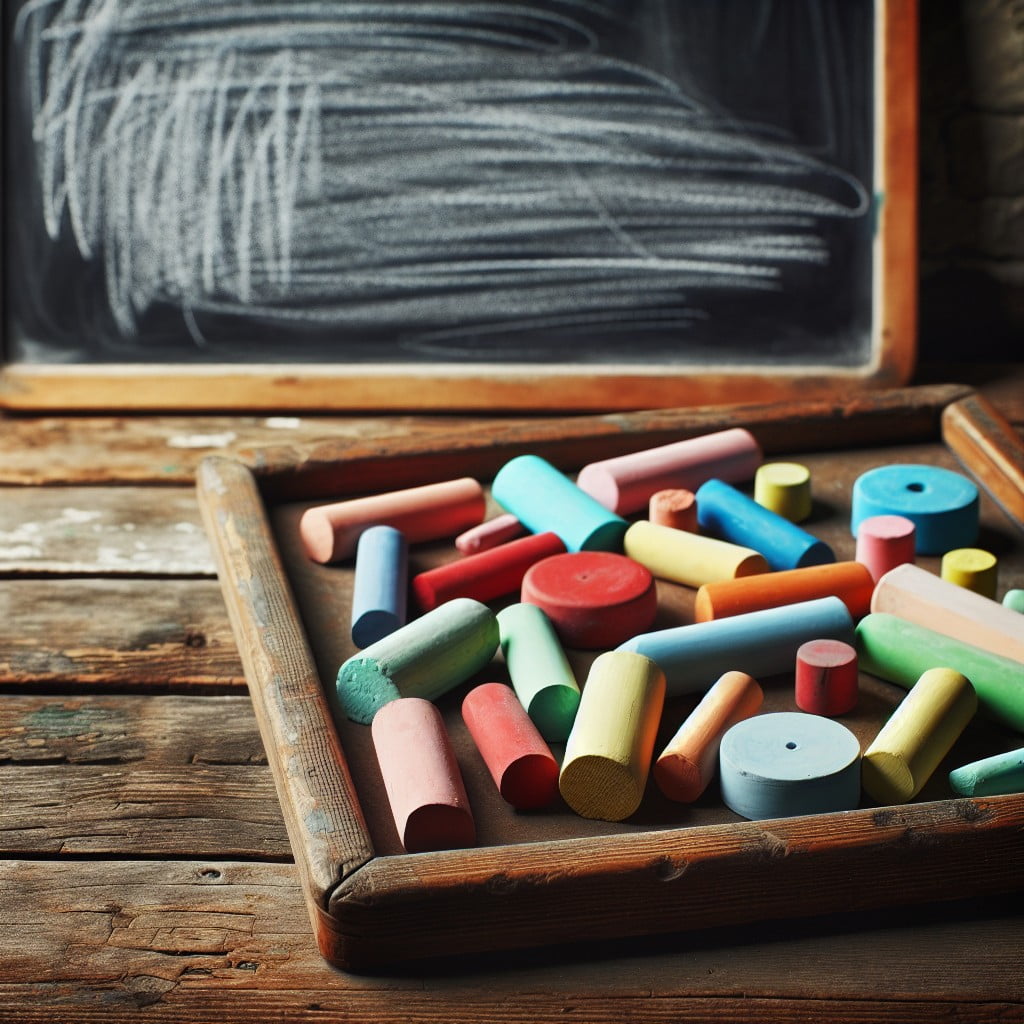
Select from soft pastel chalks for vibrant colors and a smooth finish, while harder, calcium carbonate-based options may be better for detailed work.
Sidewalk chalk, typically larger and more robust, is perfect for outdoor pavement art, offering a range of bright colors.
For those seeking eco-friendliness, numerous brands offer dustless and non-toxic variants that are safer for children and the environment.
Always consider the surface you’ll be working on; rough textures may require harder chalk to withstand abrasion, whereas smoother surfaces allow for delicate pastels to shine.
Remember to keep a variety of colors to bring your drawings to life.
Preparing the Surface for Chalk Drawing
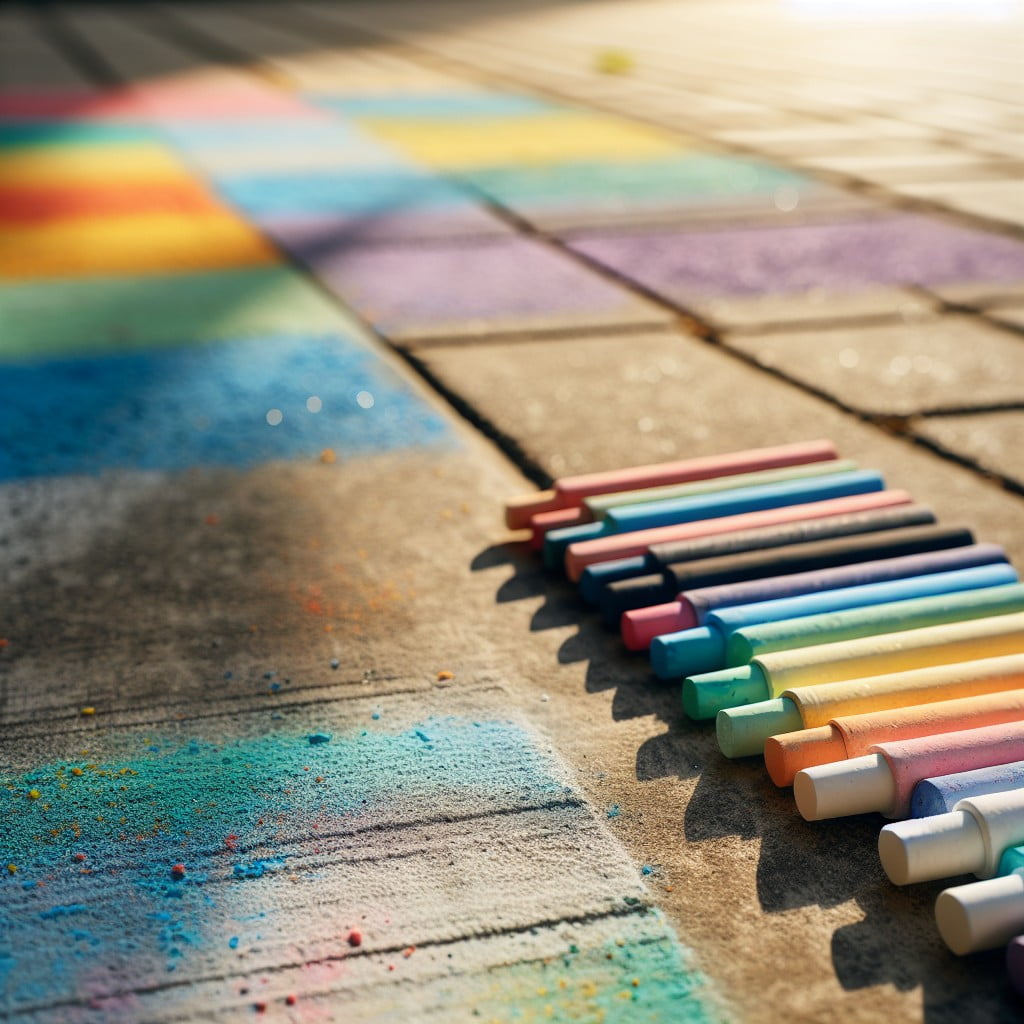
Before diving into your chalk artwork, ensure the drawing surface is clean and dry to help the chalk grip effectively.
Sweep away debris and dirt from sidewalks, driveways, or blacktops. If you encounter stubborn stains or spills, use water and a scrub brush to clean the area, then allow it to dry completely.
For smoother and more vibrant chalk drawings, consider lightly wetting the surface beforehand; this can sometimes help chalk colors appear brighter and provide a smoother drawing experience.
If you’re working with a chalkboard, wipe it down with a damp cloth to remove old chalk dust and reduce smudging.
Always check for cracks and uneven spots that might disrupt your design and adjust your drawing location accordingly.
Remember, a well-prepared surface maximizes the longevity and impact of your chalk masterpiece.
Simple Geometric Shapes
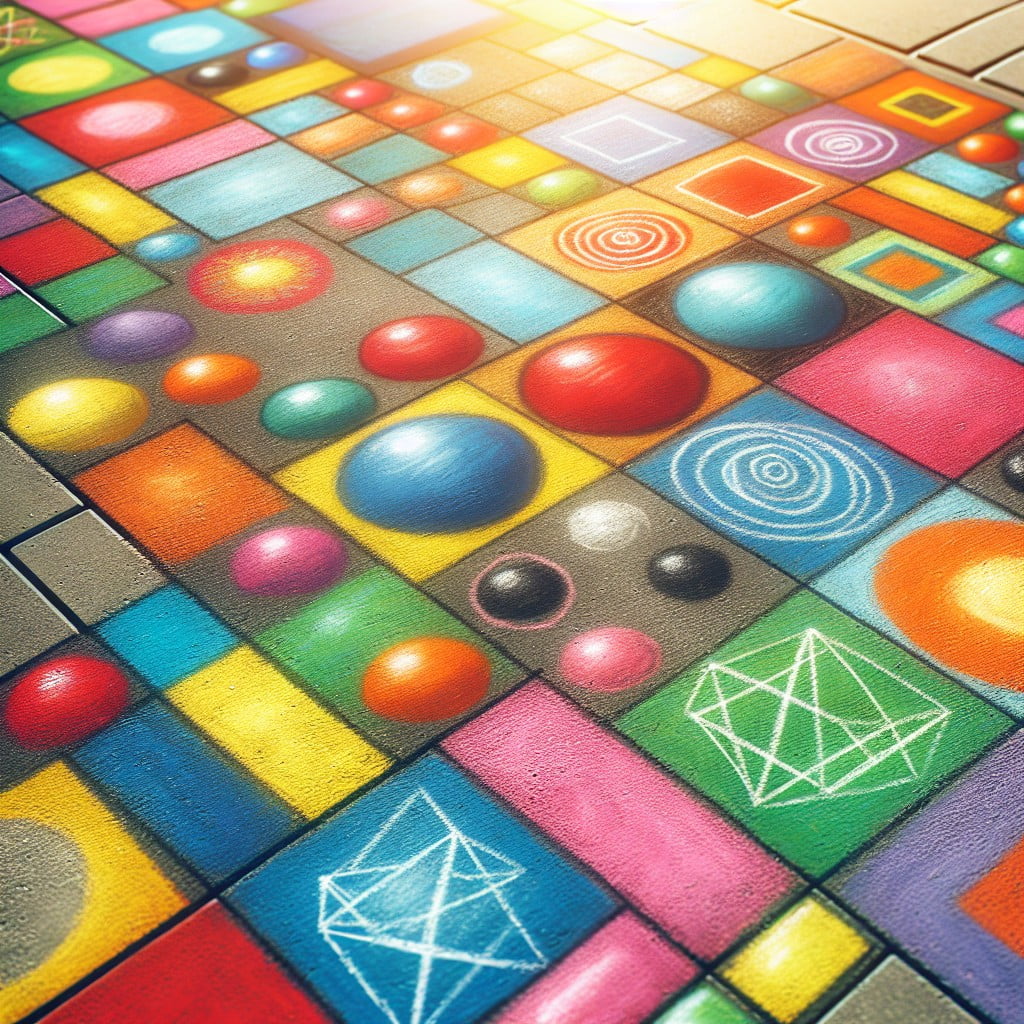
Kickstart your chalk art journey with the basics by crafting geometric shapes. Circles, squares, and triangles lay the foundation for more complex images.
Begin by creating a crisp square; align your chalk to a straight edge or ruler for perfect lines. For circles, trace around objects like cups or lids to help guide your hand. Triangles offer practice in straight lines converging at a point—a skill useful in many artistic designs.
Experiment with combining these shapes to form patterns or abstract art. You can also explore sizes and scaling by drawing smaller shapes within larger ones, and play with creating 3D effects by shading one side of your shapes.
This practice hones your hand-eye coordination and builds confidence in your artistic abilities. Remember, the simplicity of geometric shapes allows for a focus on technique and precision—valuable skills as you progress in your chalk art endeavors.
Drawing With Chalk Stencils
Stencils serve as a fantastic tool for creating precise shapes and patterns with chalk. To begin, simply place your stencil on the surface where you’d like your image to appear. Opt for a flat, smooth area to ensure the stencil remains stable. Hold the stencil firmly and fill in the design with your chosen chalk colors. Working from the edges towards the center helps to prevent smudging.
For a multi-color effect, try filling different sections of the stencil with various chalk hues before lifting it away to reveal your artwork. To achieve softer edges or a gradient, gently rub the chalk with your finger or a piece of cloth. Always lift the stencil carefully to ensure the chalk doesn’t smear and to keep the design intact. Stencil drawing with chalk is not only fun but also produces consistent and satisfying results, making it a fantastic choice for artists of all skill levels.
Basic Flower Drawings
Start off with a simple daisy; sketch a small circle for the center, then add elongated ovals around it for petals, ensuring they’re spaced out uniformly.
For variety, draw a tulip by creating a U-shape for the base and adding pointed ends at the top for the petals.
Roses can be represented by spiraling lines that begin tight in the center and gradually expand outward to suggest layers of petals.
Experiment with different petal shapes and cluster flowers together for a full garden effect.
Use broad, sweeping motions for larger petals and smaller, shorter strokes for intricate details like veins or the textured center of a sunflower.
Remember, with chalk, mistakes can be easily blended into backgrounds or turned into new elements of your drawings.
Simple Animal Outlines
To create a simple animal outline, choose an animal with a distinctive silhouette, such as a cat, dog, or elephant. Start by sketching the largest shape to define the animal’s body — this might be a circle, oval, or a rounded rectangle. Then, add smaller shapes for the head, ears, and limbs. Refine the outline by connecting the shapes with smooth lines to form the animal’s contour.
Emphasize recognizable features like a long tail for a cat or large ears for an elephant. Avoid intricate details; the goal is to capture the essence of the animal with as few lines as possible. If you’re feeling creative, you can fill in your outlines with patterns or vibrant chalk colors, turning a simple drawing into a playful piece of art.
Remember to step back occasionally to view the drawing from a distance, ensuring the proportions are balanced. This technique can be applied to virtually any animal and is a great way to practice observational drawing skills.
Creating a Starry Sky
To begin, select a dark section of pavement which will serve as the night sky. Sweep the area to ensure your canvas is clean. Use white or light blue chalk to dot the pavement lightly, varying the size of the dots to mimic distant stars. Some dots can be closer together, and others scattered to achieve a natural look.
For a touch of realism, draw several larger stars with a classic cross shape, indicating the twinkling effect. Occasionally, smudge a dot with your finger to give it a glow. If you’re feeling adventurous, incorporate simple constellations by connecting dots with chalk lines, imitating patterns seen in the night sky.
Additionally, add a moon by drawing a circle or crescent and shading it appropriately. A lighter edge can indicate the moon’s glow. For a final flourish, use a piece of chalk sideways to create a milky, diffuse look around some clusters, representing the Milky Way or nebulous gas clouds in the galaxy.
Remember, randomness is key for a believable starry sky – avoid creating patterns that look too uniform or intentional. Encourage viewers to find their own pictures in the stars, just as they might when gazing up on a clear night.
Easy Landscape Chalk Drawings
Embark on a creative adventure by capturing the beauty of landscapes on your sidewalk with just a chalk in hand.
Begin with the horizon line to separate the sky from the land.
Achieve depth by layering your scene—add distant mountains with simple upside-down “V” shapes and rolling hills using wide “U” shapes.
Sketch a basic outline of a tree with a vertical line for the trunk and a cloud-like shape for the foliage.
Fill in the foreground with shapes for flowers or grass.
To create textured effects, smudge the chalk with your fingers.
Experiment with blending different chalk colors to add dimension and vibrancy to your landscape.
Remember, a simple blend of blues and whites can craft stunning skies, while greens and yellows can bring a meadow to life.
With these tools, even the simplest of landscapes can turn into a masterpiece on the pavement.
Fun Chalk Lettering Techniques
Add creativity to your chalk art by experimenting with lettering styles that range from whimsical to bold.
Start with writing simple words or phrases and then embellish them with your personal touch.
Try out bubble letters by outlining your words and filling them in with solid colors or gradients.
If you yearn for a more classic look, practice calligraphy-inspired lettering; give the downstrokes a thicker application to mimic the elegance of traditional calligraphy.
For those looking to infuse a playful vibe, cartoon-style lettering with exaggerated, uneven lines can be particularly eye-catching.
To add depth and dimension, incorporate drop shadows by drawing a parallel line to the right of each letter and shading it in.
Experiment by introducing patterns inside the letters, such as stripes, polka dots, or chevrons, adding texture and visual interest to your word art.
With a little practice and imagination, your chalk lettering can transform a simple message into a vibrant work of art.
Basic Face or Stick Figure
Creating a human likeness with chalk can seem daunting, but beginning with a stick figure is a helpful way to ease into more complex drawings. To start, sketch a simple line for the spine, adding intersecting lines for the arms and legs, ensuring they’re proportionate. Over the spine, draw a circle to represent the head, which you can embellish with dots for eyes, a curve for a smile, and additional lines for hair.
To add depth and character, flesh out the limbs with basic shapes like ovals for the torso and cylinders for arms and legs. Remember, expressions are easily conveyed through small adjustments to the eyes and mouth, so experiment with different shapes to capture various emotions. This simplified figure lays a foundation for endless creativity, allowing you to capture basic human gestures and postures on your chalk canvas.
Drawing Balloons and Bubbles
Capturing the whimsy of balloons and the ephemeral beauty of bubbles brings joy to any chalk drawing.
Start by lightly sketching a circle for the base of your balloon or bubble. For a more dynamic scene, draw ellipses to represent balloons or bubbles in perspective.
To add realism, include highlights by leaving small areas uncolored to simulate light reflections; this gives the effect of shine and transparency. For balloons, sketch a small triangle at the bottom for the knot and add a curved line for the string.
To differentiate between the two, infuse bubbles with subtle swirls to mimic their fluid and delicate nature, while rendering balloons with bolder, more vibrant shades. Use your fingertips to blend and soften the edges or shadows, enhancing the three-dimensional look.
Remember, the simplicity of these subjects allows for improvisation—experiment with sizes and overlaps to create a sense of depth and playfulness in your artwork.
Chalk Drawing Clean-Up Tips
After enjoying your sidewalk art, it’s time to restore the canvas for your next burst of creativity. Removing chalk drawings is straightforward:
1. Use water: A hose set to a gentle spray is often enough to wash away chalk art. If you’re working on a smaller surface, damp sponges or cloths are effective tools.
2. Try vinegar for stubborn marks: Stubborn chalk residue can be tackled with a mixture of water and vinegar. Combine equal parts in a bucket and apply with a sponge or mop.
3. Sweep first: Before using water, sweep away loose chalk particles. This prevents unnecessary smudging and makes cleaning more manageable.
4. Avoid pressure washing on delicate surfaces: Although pressure washers can be effective, they may damage softer surfaces. Stick to manual methods unless the surface can withstand the pressure.
These tips will help you keep your sidewalk or chalkboard in pristine condition, ready for your next artistic endeavor.
Safety Tips for Chalk Art On Public Sidewalks
Ensure that your chalk art escapades are both enjoyable and secure with these practical guidelines:
- Stay aware of pedestrian traffic to prevent obstructing paths or causing tripping hazards.
- If drawing near roads, position yourself on wide pavements away from the curb to avoid close proximity to vehicles.
- Use bright or reflective clothing to maintain visibility if you’re drawing during dusk or in dimly lit areas.
- To avoid unintended damage, never use chalk on private property without the owner’s consent.
- When drawing on public sidewalks, respect local regulations and obtain any necessary permits.
- Keep a clear boundary around your workspace to inform passersby and minimize disturbances to your artwork.
- Regularly hydrate and apply sunscreen when working outside for extended periods.
- Always clean up after yourself, leaving the sidewalk as you found it, maintaining a positive image for artists.
FAQ
What is easy to draw with chalk?
Easy-to-draw subjects with chalk include Spring and Summer inspired critters such as bees and snails.
Is Chalk Art hard?
Yes, chalk art is challenging due to the careful attention it requires to avoid smudging and the difficulty involved in making corrections.
What are some simple chalk art techniques for beginners?
Some simple chalk art techniques for beginners include: mastering the basics with freehand drawing, learning smudging and blending techniques, practicing gradient coloring, outlining for emphasis, layering to create depth, and lastly, using a wet chalk technique for brighter and more intense colors.
Which supplies are essential for creating chalk art?
Essential supplies for creating chalk art include artist’s chalk, a chalkboard or suitable surface, erasers, a measuring tool, and a sketchbook for planning designs.
How does weather affect outdoor chalk drawings?
Weather significantly affects outdoor chalk drawings as rain can wash them away and sunlight can fade the colors over time.
Read More Like This
 15 Funny Graduation Cap Ideas to Make Your Big Day Unforgettable
 15 Unique DIY Christmas Decorations Ideas for a Festive Home
 15 Creative Science Fair Board Ideas to Amaze Your Audience
 15 Handmade Envelope Decoration Ideas for Creative Gifting
 10 DIY Gifts for the Whiskey Lover in Your Life
Recap: