Last updated on
Discover how to create your own chalkboard photo frames, turning your memories into interactive and customizable displays.
Key takeaways:
- Gather materials: frames, sandpaper, chalkboard paint, brushes, tape, cloth.
- Choose a frame that complements your decor and has a smooth surface.
- Apply chalkboard paint in thin coats for a smooth finish.
- Personalize your frame with stencils, colored chalk, and heartfelt messages.
- Maintain your frame by regularly cleaning with a damp cloth and avoiding abrasive cleaners.
Materials Needed for Chalkboard Photo Frames
To embark on creating a chalkboard photo frame, gather the following essentials:
- Picture frames: Preferably with a smooth, flat surface for best results.
- Sandpaper: Used to smooth the frame’s surface for an even coating.
- Chalkboard paint: Available at craft stores; choose either brush-on or spray.
- Paintbrushes or foam applicators: If using brush-on paint, for a smooth finish.
- Painter’s tape: To protect the glass and frame edges from unwanted paint.
- Drop cloth or newspaper: To shield your workspace from paint spills.
- Chalk: For decorating your chalkboard once it’s dry.
- Clean cloth: To wipe the frame before painting and for chalkboard cleaning.
Decide on water-based or oil-based chalkboard paint depending on the desired cure time and finish. Prepping the materials beforehand ensures a smoother project flow.
Choosing the Right Frame
Select a frame that complements your decor; vintage frames add charm, while sleek modern ones suit a contemporary space.
Opt for solid wood or a sturdy material that can withstand the weight of the chalkboard paint and regular use.
Consider the size of your space and where the frame will hang; smaller frames work well for desks or shelves, while larger ones make a statement on a wall.
Choose a frame with a smooth, flat surface to ensure even application of chalkboard paint.
If glass is present, decide if you’d prefer to paint directly on the glass or remove it and use the backing board.
Ensure the frame you pick has a secure backing to hold the chalkboard in place once completed.
Look out for frames with intricate details if you fancy a more decorative edge that stands out against the bold chalkboard.
Applying Chalkboard Paint
Before diving in, make sure the frame is clean and dry. A gentle wipe-down with a damp cloth followed by a dry one ensures a clean surface for the paint to adhere to.
Opt for a small foam roller or a flat brush to get an even coat over the frame. These tools help you avoid streaks and brush marks.
For a smooth finish, apply multiple thin coats rather than one thick one. Allow each coat to dry thoroughly before applying the next. It usually takes about an hour for the paint to be dry to the touch.
Stick painter’s tape on the inside edge of the frame to protect the glass or remove the glass if possible. This precaution saves time that might otherwise be spent cleaning up stray marks.
Once the final coat is dry, which could take up to 24 hours, prep the surface for chalk by lightly rubbing the side of a piece of chalk over the entire area and then wiping it away with a dry cloth. This step ensures better adhesion of future chalk drawings and writings.
Personalizing the Chalkboard Photo Frame
Add a personal touch to your chalkboard photo frame with handwritten messages or drawings. Here’s how you can customize your frame:
- Use stencils for uniform lettering or shapes.
- Experiment with colored chalk for a pop of color against the black background.
- Incorporate special dates or quotes that resonate with the photo’s moment.
- If gifting, write a heartfelt note around the frame’s edge.
- Draw thematic decorations, such as balloons for a birthday photo or hearts for an anniversary.
- For a more permanent design, use a chalk marker which can be wiped off with a damp cloth if needed.
Remember, the beauty of a chalkboard is its versatility—any creation can be wiped clean, leaving you with a blank canvas for your next inspiration.
Maintenance Tips for Chalkboard Photo Frames
To ensure your chalkboard photo frame remains in good condition, regular maintenance is key.
First, use a soft, damp cloth to wipe the surface clean.
For stubborn chalk marks, a bit of vinegar mixed with water can be effective.
Avoid abrasive cleaners that could damage the chalkboard coating.
Second, if the frame itself is getting scuffed or the edges worn, a light sanding and a fresh coat of paint can restore its appearance.
Last, when not in use, store the chalk in a dry place to prevent it from breaking and store the frame in a location where it won’t be scratched or dented by other items.
Regular care will keep your chalkboard photo frame looking fresh and ready for your next personalized message.
Read More Like This
 15 Epic Nerf Party Ideas
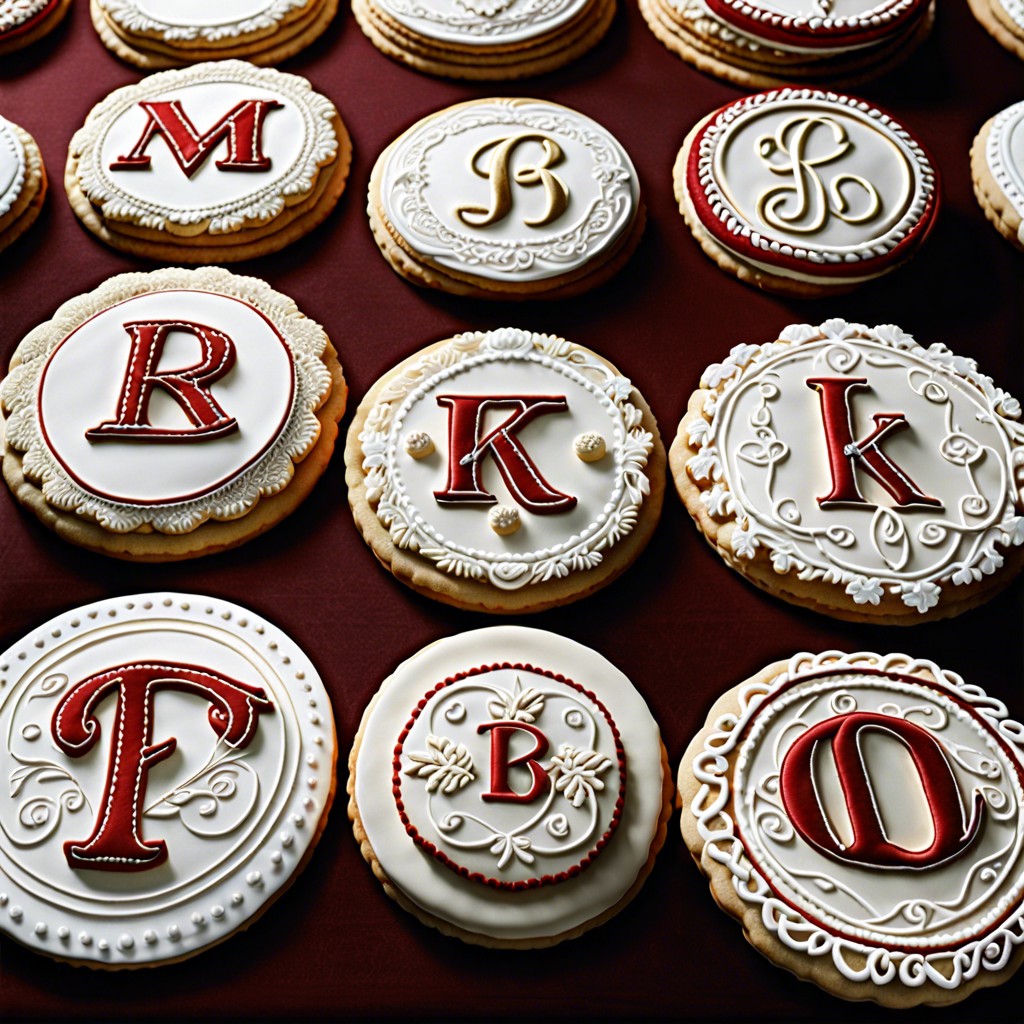 15 Deliciously Creative Cookie Design Ideas
 15 Creative Belly Cast Ideas for Expecting Moms
 15 Creative DIY Birthday Decorations for a Memorable Celebration
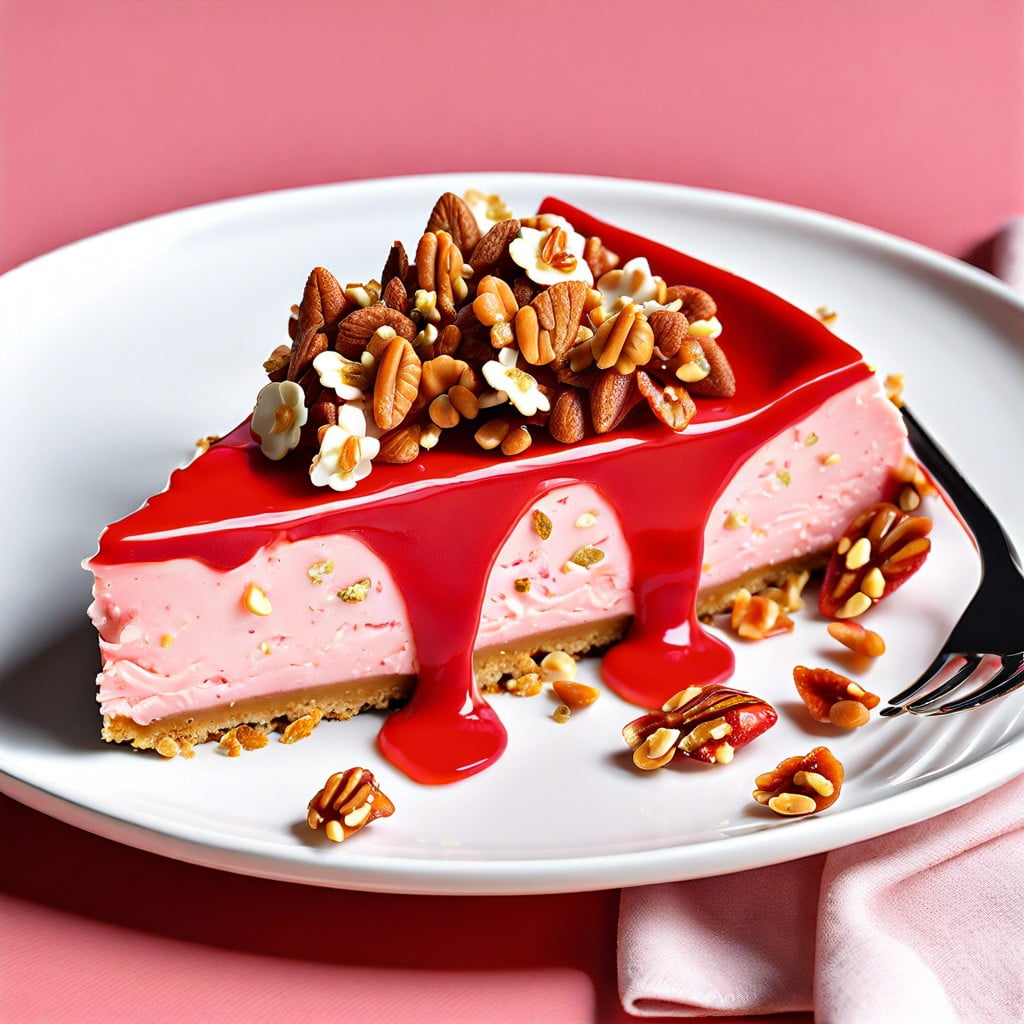 15 Creative Ideas for Strawberry Cheesecake Decoration
Recap: