Last updated on
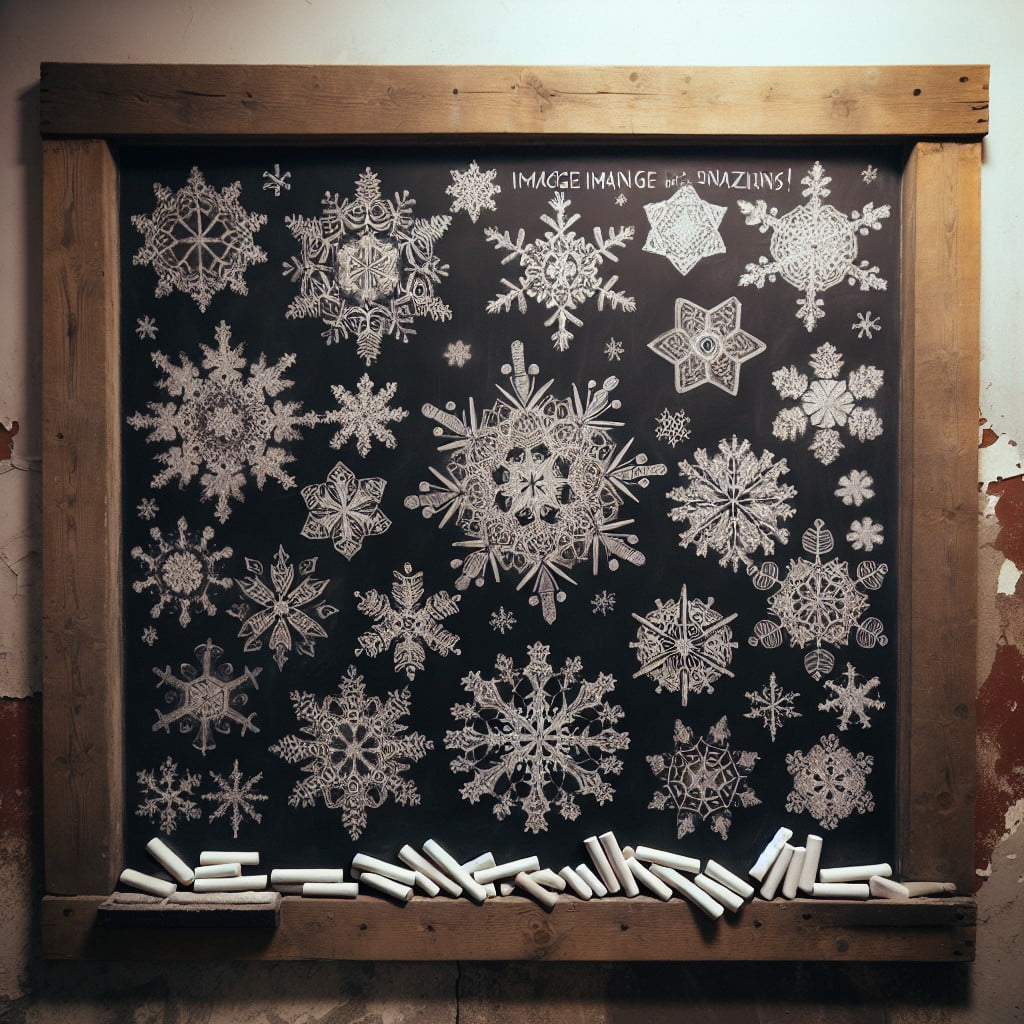
Because each snowflake is unique, exploring various chalkboard snowflake drawing ideas can let your creativity shine during the winter season.
I’ve designed unique illustrations for these ideas. I hope you get inspired!
With the holiday season in full swing, the home’s décor is begging for that festive touch. Taking a popular decorating tool – a chalkboard, and combining it with the beauty of snowflake drawings could just be your next favorite project.
While there is a plethora of known ways to embellish chalkboards with snowflakes, the aim here is to bring something novel and creative to the table. This article endeavours to present refreshing and unique chalkboard snowflake drawing ideas that you might find handy in adding that holiday cheer to your home.
Stay tuned till the end for resourceful links to some of the best existing ideas, perfectly blended with fresh insights for an inspired seasonal décor.
3D Snowflake Chalk Art
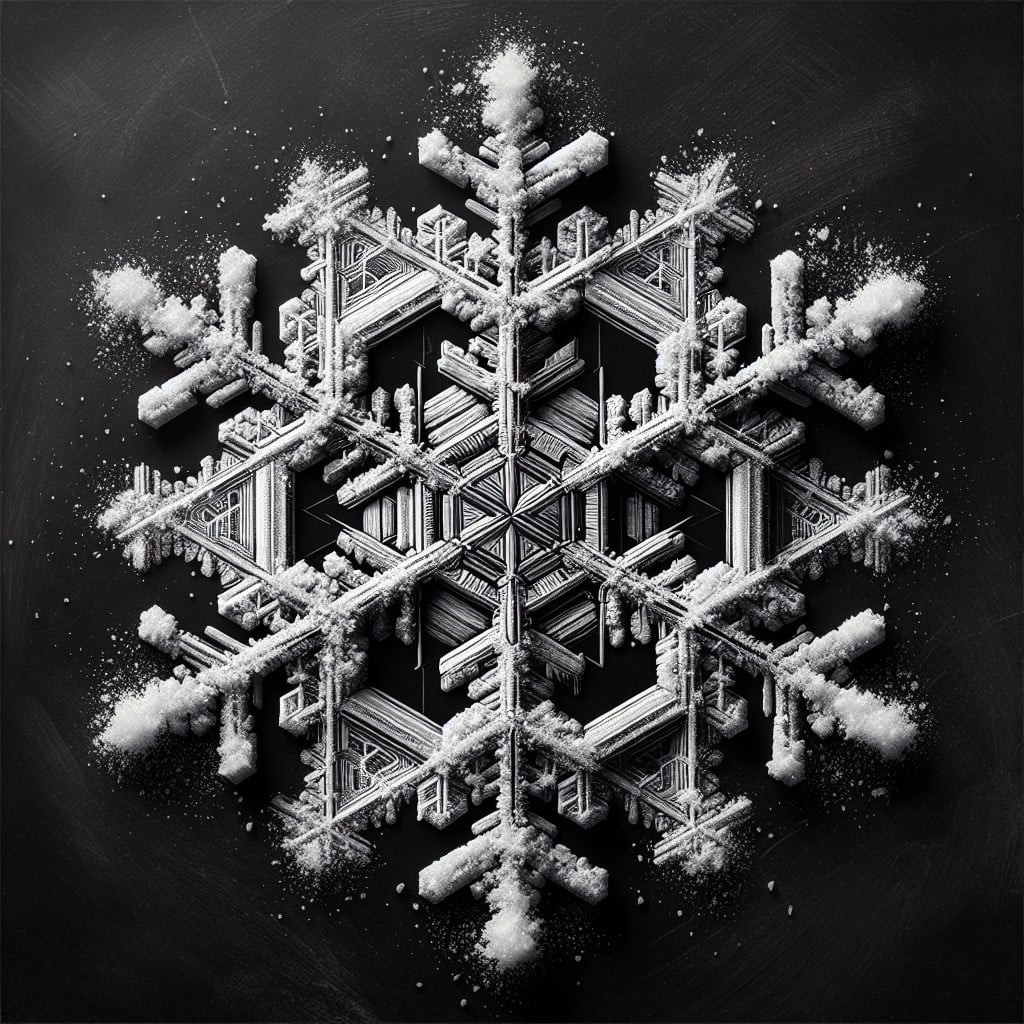
To undertake a venture into 3D snowflake art with chalk, you require white and colored chalk, a good eraser and your creativity. Let’s delve into the steps required to bring this art to life.
1. Begin with a Simple Design: Start with a basic six-pointed snowflake. This will act as the foundation for your 3D effect.
2. Add Dimension: Thicken the lines progressively towards the center, making the corners sharper. This will make the branches appear closer to you than the center.
3. Incorporate Shadows: Shadows play a critical role in bringing out the 3D effect. Use a darker shade of the chalk color next to the thicker side of the snowflake branches.
4. Enhance with Highlights: Use white chalk to apply highlights to the opposite side of the shadow, enhancing the 3D effect.
5. Add Depth: By subtly smudging the shadows and highlights, you can create depth and make your snowflake pop.
6. Repeat: Practice makes perfect. Play with size, colors, and snowflake patterns until the desired effect is achieved.
Remember, it’s the contrast between the shadows, highlights, and smudged depth that creates a convincing 3D effect. With time, you will master the art of creating stunning 3D snowflake chalk art right at home.
Snowflake Patterns in Rainbow Chalk
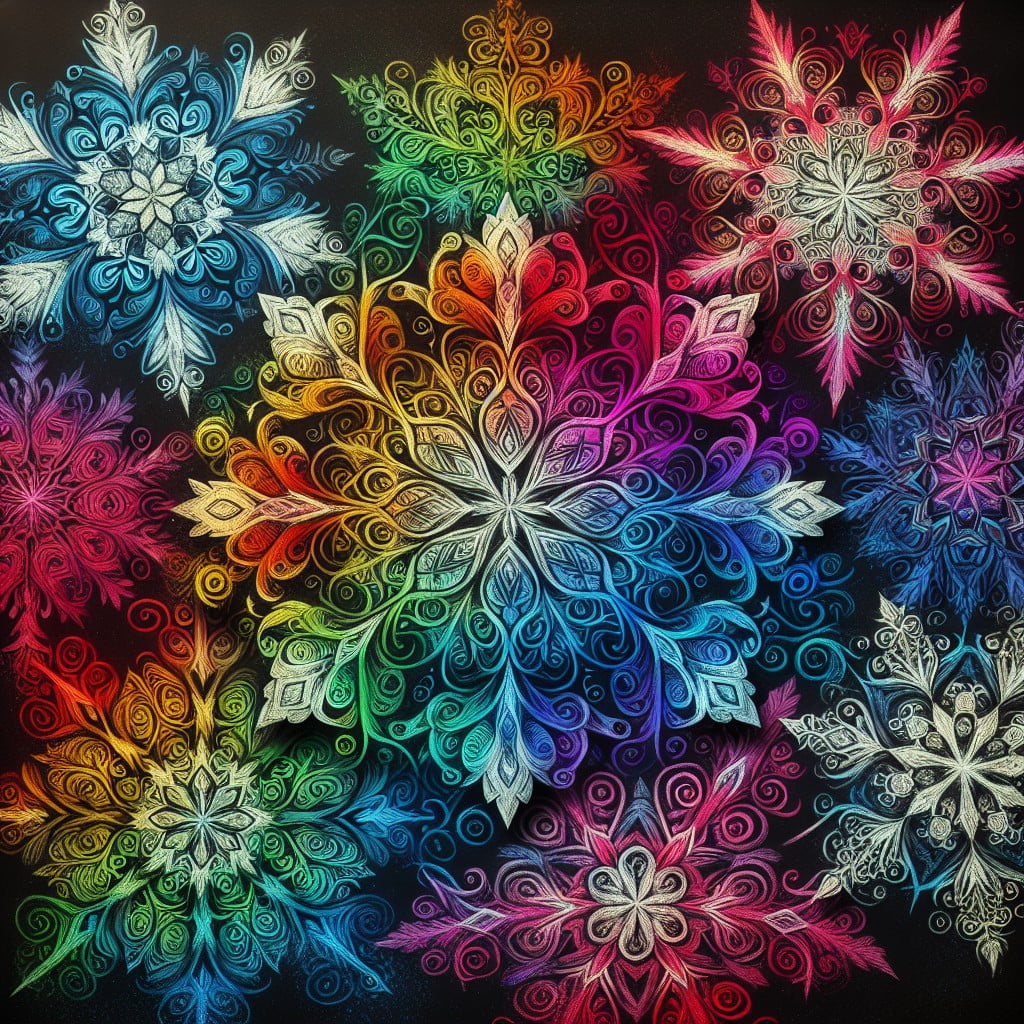
Creating these vibrant designs presents an opportunity to experiment with an array of colors. The first step is to select your color palette; a spectrum of bold, bright chalks will yield the most striking results.
Start by drawing a simple, six-pointed snowflake and gradually build upon its structure. Add colorful circles, lines and petal shapes to each arm, paying close attention to maintaining symmetry. Experiment with subtly blending colors for a dynamic, gradient effect.
Remember, no two snowflakes are the same, so let your creativity guide you in crafting unique, rainbow-dusted patterns. Remember to shake the chalk occasionally to keep the lines crisp. Protect your design with a light coat of hairspray to ensure its longevity.
Drawing Geometric Snowflakes
Using geometry for snowflake designs can add a unique twist to your chalkboard art. Here’s how to go about it step-by-step:
1. Start off by drawing a straight line to serve as your central axis.
2. Draw three intersecting lines (making 60-degree angles with each other) over this axis to create a hexagonal shape.
3. Use each line as a snowflake branch where you can add smaller lines, forming intricate details.
4. For symmetry, replicate the pattern on one branch across the remaining five.
5. Smaller hexagons or other geometric shapes can be drawn at intersections for added depth.
6. Lastly, varying the thickness of your chalk can help to give a softer or bold touch to your snowflake design.
Remember, practice makes perfect — don’t worry if your initial designs don’t turn out as expected. Experimentation is key, so feel free to blend different patterns until you create a geometric snowflake design to your liking.
Creating Life-size Snowflake Chalk Murals
While crafting these impressive murals, size plays a significant part. Ensure you use a large, clear space, like a huge chalkboard or a section of your driveway.
Start by sketching an outline of the snowflake. Emphasize the symmetry of the design, with each arm of the snowflake identical. Utilize various chalk sizes. A wider piece helps to fill in large areas, while thinner chalk works best for finer details.
Remember, life-size doesn’t mean lose the intricacy. You’re merely enlarging your snowflake, not simplifying it.
Lastly, stand back periodically to admire your work and ensure your snowflake maintains proportional balance.
Chalk Calligraphy With Snowflake Designs
Calligraphy blends the beauty of written words with artistic design. When paired with snowflake motifs, it creates a captivating winter-themed chalk art piece.
1. Select the right tools: Chalk markers give you precision, ideal for calligraphy and fine snowflake designs. A white marker contrasts well with the blackboard, while colored ones add a festive touch.
2. Master basic calligraphy strokes: The essence lies in the thick downstrokes and thin upstrokes. Practice these to master the technique.
3. Choose a word or phrase: Pick a winter-themed word or quote. ‘Snow’, ‘Winter Wonder’, or ‘Let it Snow’ are charming options.
4. Sketch lightly first: Draw your word or phrase lightly with chalk. Center it on the board. Add snowflakes around, varying sizes for visual interest.
5. Fill in with chalk marker: Trace your drawing with a chalk marker, refining as you go. Thicken the downstrokes and add decorative swirls to create a snowflake texture to letters.
6. Add snowflake details: Draw intricate designs within each snowflake using the fine tip of your chalk marker.
Remember, practice is key. Each creation will see improvement in letter shapes and snowflake designs.
Glow-in-the-dark Snowflake Chalk Art
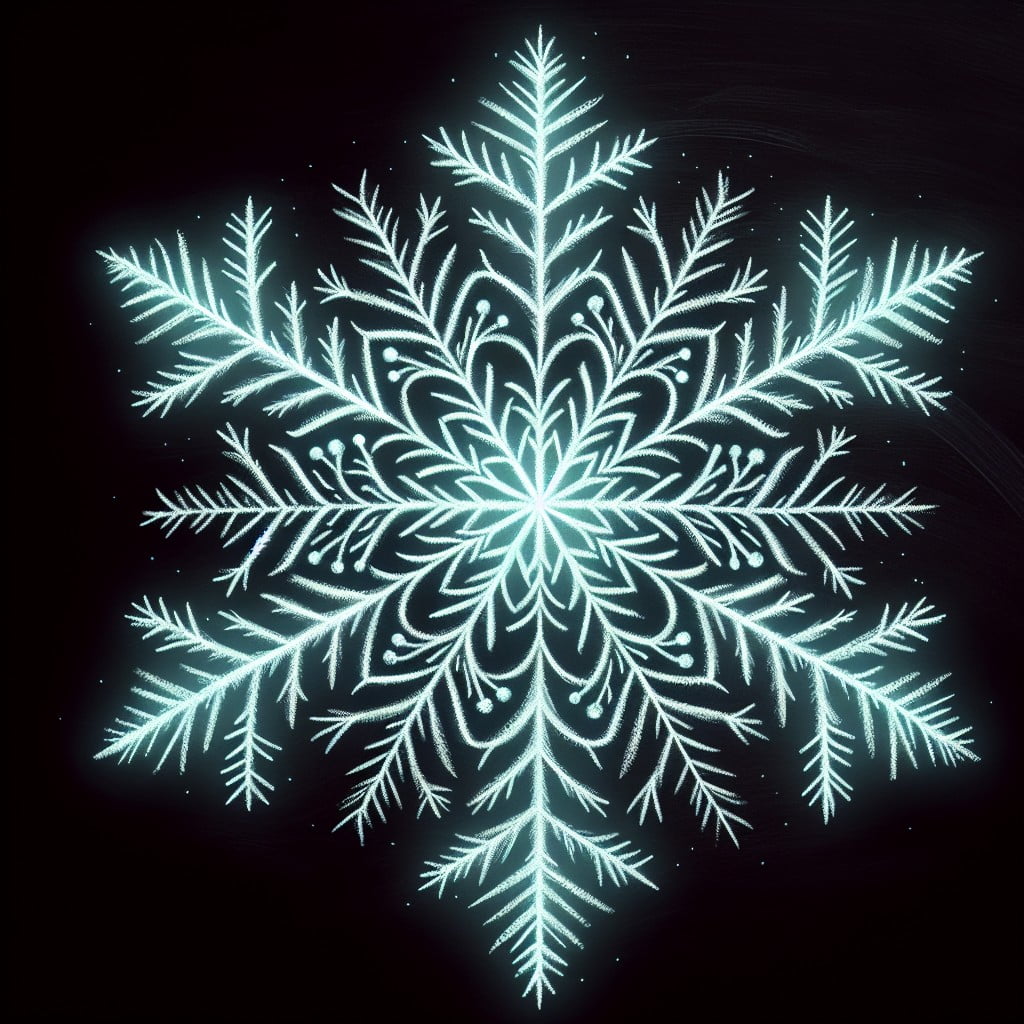
To create this type of chalk art, you’ll need glow-in-the-dark chalk, which typically comes in a variety of colors.
To start, sketch out your snowflake design during the day making sure each line has symmetry.
Press harder with the chalk to ensure there’s an adequate amount of chalk on the drawing – this is crucial for making your snowflakes glow brightly once darkness falls.
After sunset, your art will come alive. This unique method brings an element of surprise and some nighttime fun.
The children may enjoy seeing their daytime artwork transform under the night sky.
It’s also a great way to add a festive feel to evening gatherings.
Finally, as the chalk is easy to clean, you can create new designs every night!
Simply wash away with water and the chalkboard is ready for your next winter masterpiece.
Chalk Snowflake Templates for Beginners
Taking your first steps into chalk art doesn’t need to be intimidating. Having a guide or template handy can be of great help. With a basic snowflake design, it’s simpler than you might think.
1. Choose a template: Select a design that you find appealing and not too complex. Simple online searches yield many options – six-pointed classics, whimsical spirals, or geometric patterns.
2. Trace lightly: Use your chalk to lightly sketch the design onto the chalkboard. Be gentle; it’s easier to correct or trace over.
3. Fill in: Once the sketch is complete, use your chalk to fill in and enhance the snowflake’s lines. Remember, variation in line thickness adds interest!
4. Erase and Correct: Don’t worry about small errors, erase and correct until you’re satisfied.
5. Keep Practicing: Regular practice will lead to steadier lines and greater confidence. Don’t give up – it’s worth it!
Using a template is a fantastic way to dip your toes into the world of chalk art snowflakes. Enjoy each stroke and watch as your chalkboard transforms into a winter wonderland!
Frosty the Snowman With Chalk Snowflakes
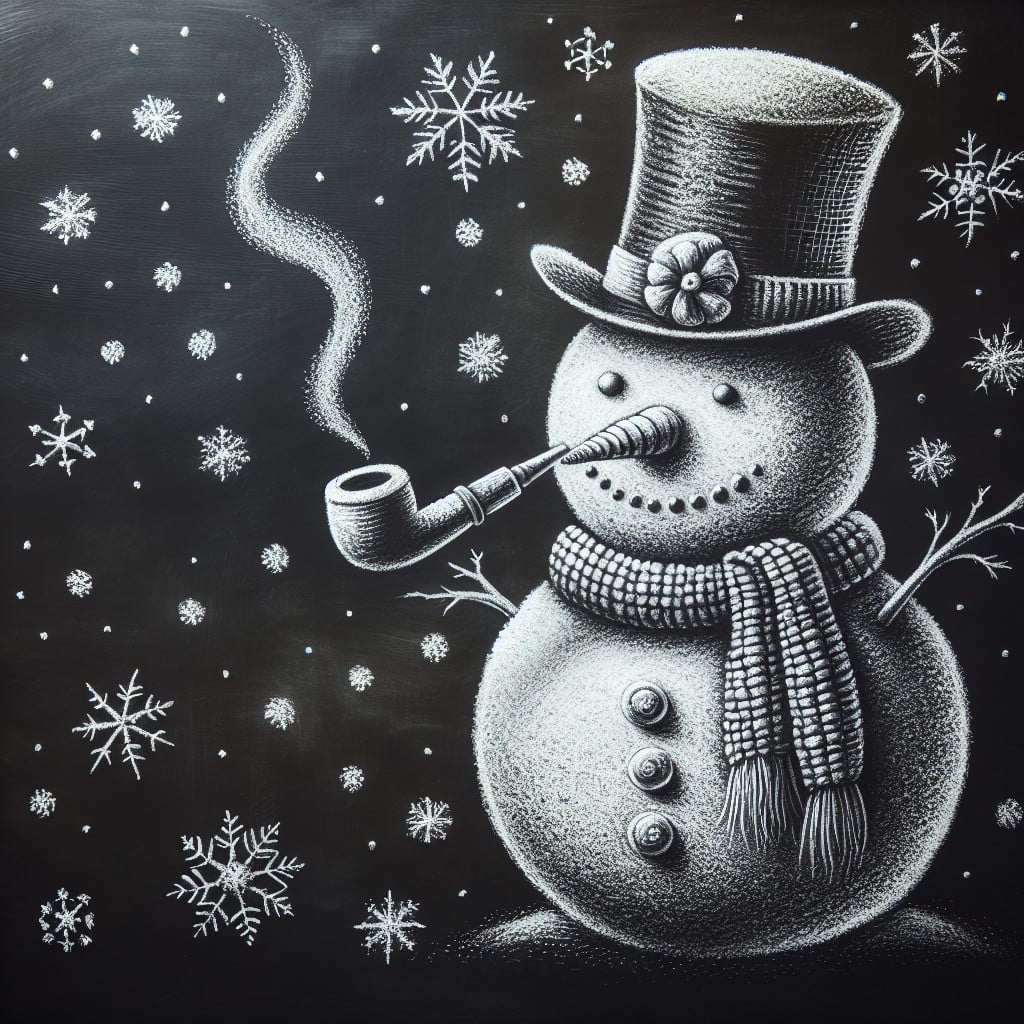
A fun and festive project, the timeless Frosty, surrounded by intricate snowflakes, makes for a delightful chalkboard accent during the winter holidays.
Here’s how you achieve it:
- 1. Sketch the outline of Frosty first, remember, it doesn’t need to be perfect!
- 2. Fill Frosty in with white chalk, adding a hat and scarf for colorful accents.
- 3. Now let’s focus on the snowflakes, decide their placement around Frosty.
- 4. Draw a small dot for the center of your snowflake, then create lines extending outwards.
- 5. Use geometric and symmetric patterns to add complexity to each snowflake.
- 6. Smudge or blur the chalk lightly for a frosty effect.
- 7. Consider adding twinkling stars or other festive elements to your design for extra charm.
Remember, chalk art is easily adjustable. Experiment with designs until you get the effect you desire. Happy chalking!
Snowflake Chalk Art Stencils
Utilizing stencils simplifies the process and helps produce stunning designs. Ideal for beginners, it allows you to recreate intricate patterns multiple times over. Here’s a basic guide:
1. Choose the stencil: Select based on complexity and desired aesthetics. Many are available online, some free, others at a nominal price.
2. Lay the stencil on chosen surface: Secure it in place with masking tape to avoid movement.
3. Trace the stencil: Hold the chalk at a diagonal angle for smooth lines. Follow the stencil’s grooves.
4. Remove and repeat: Once a design is complete, remove the stencil carefully. Repeat the process as needed across the chalkboard.
5. Fill or decorate the design: You can embellish the stenciled design with added details or color it, depending on the desired look.
Remember, stenciling requires a bit of patience and a steady hand. The result – a beautiful piece of art, demonstrating your creativity with ease.
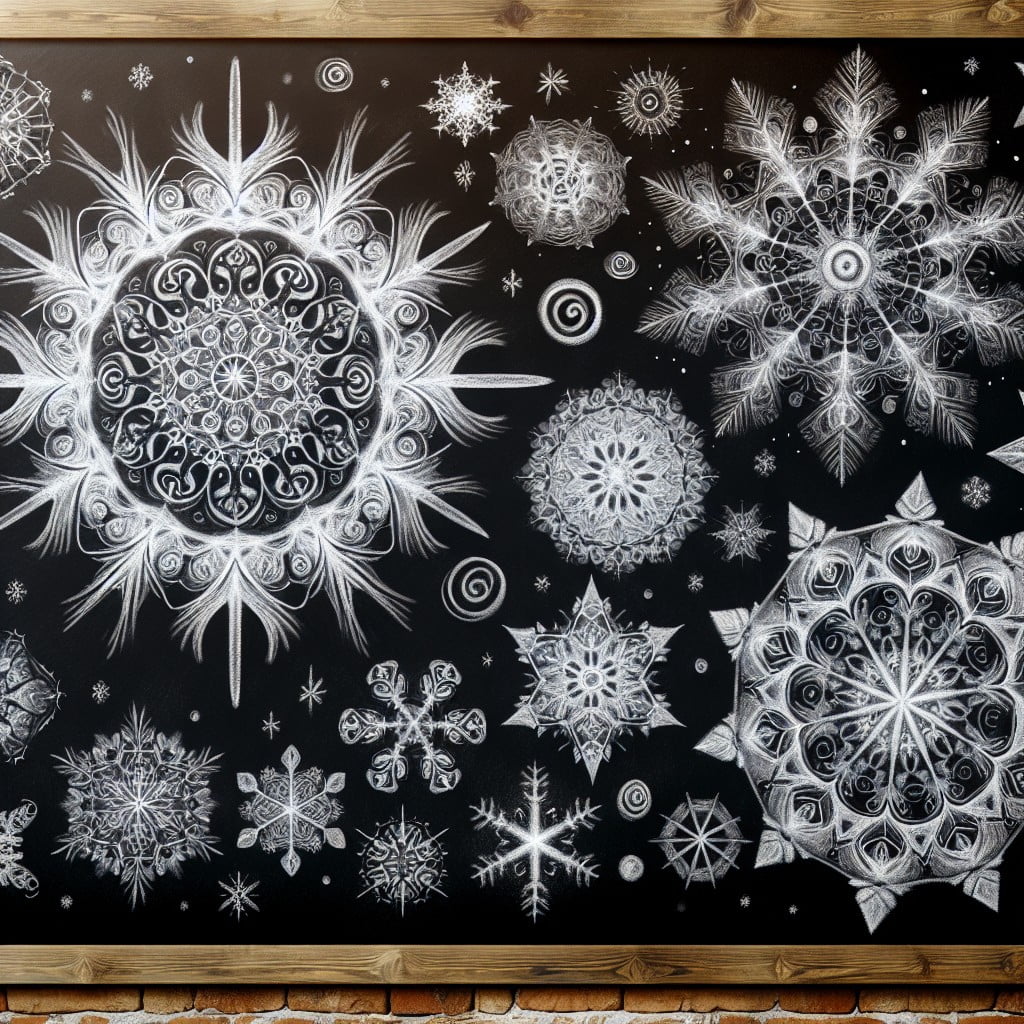
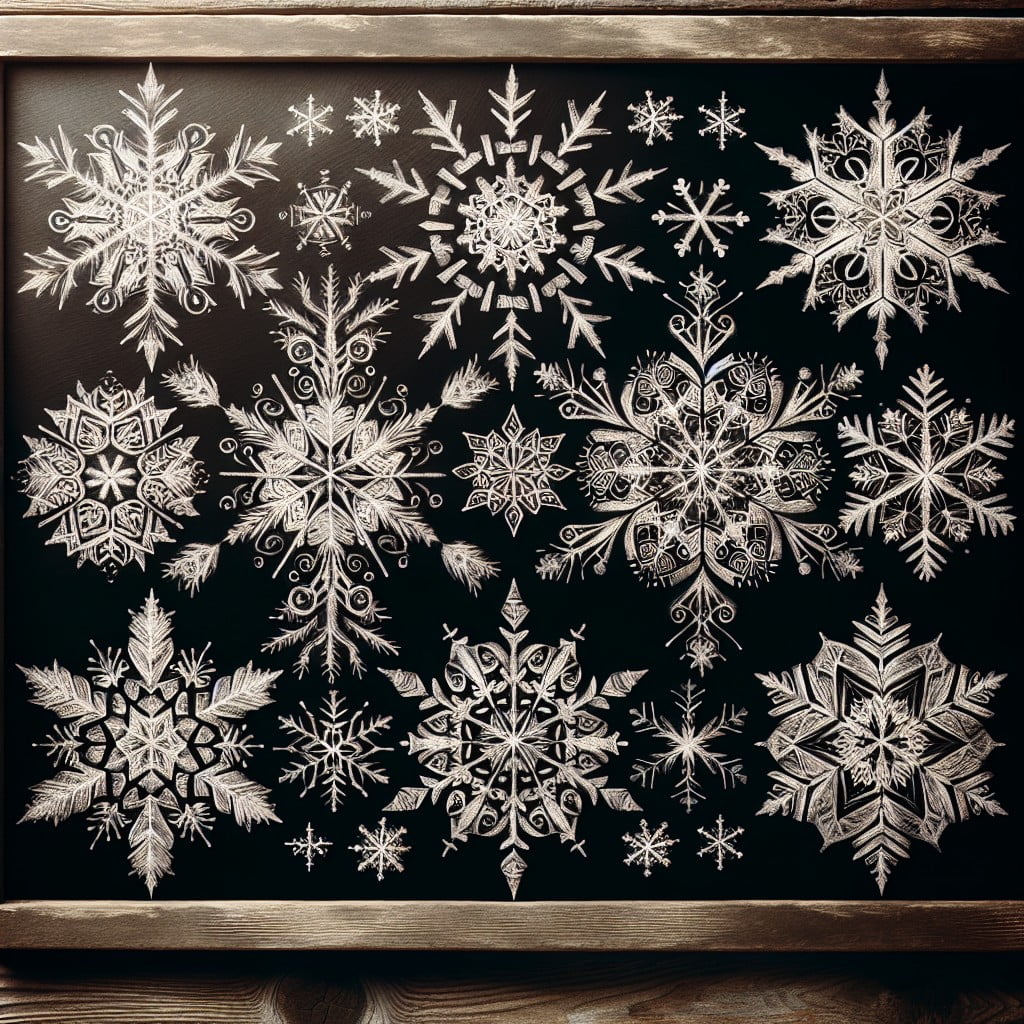
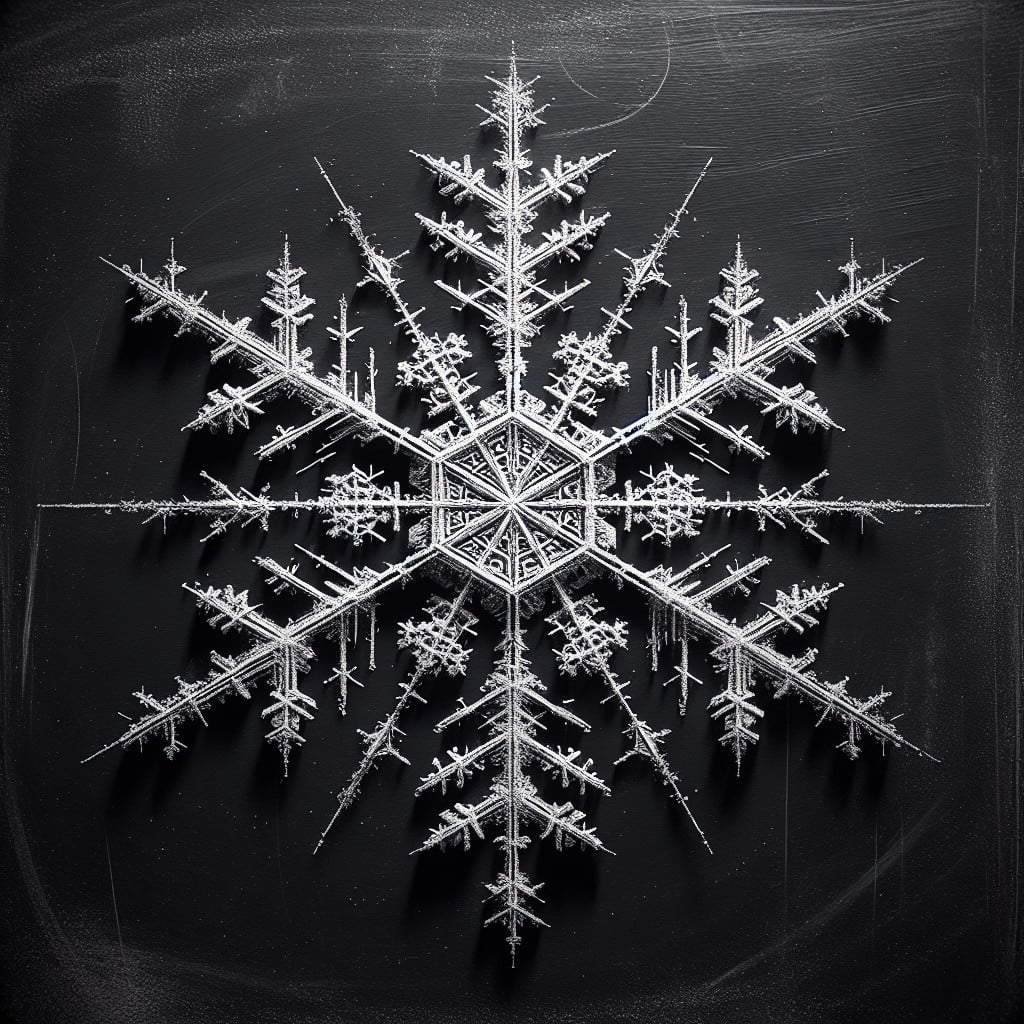
Snowflake Chalk Drawings With Much Detail
Achieving intricacy in your snowflake designs can really elevate your chalkboard art. Here’s how to create detailed snowflakes:
1. Keep symmetry in mind: All snowflakes have six sides. Start with a simple six-pointed shape and build around it for precision.
2. Use finer chalk: A thin piece of chalk can help with detailing. If standard chalk is all you have, whittle it down to a point to create fine lines.
3. Incorporate different designs: Don’t stick to a singular pattern for the entire snowflake. Try mixing up straight lines, chevrons, or swirls within each arm of the snowflake.
4. Start simple: Begin with the core design and slowly add finer details.
5. Fill it up: Fill each arm with as much design as possible to make it appear fully embellished.
6. Patience is key: Slow, careful strokes result in cleaner designs, taking time on each stroke will pay off.
With these points in mind, your chalk snowflakes can look strikingly complex and beautifully crafted!
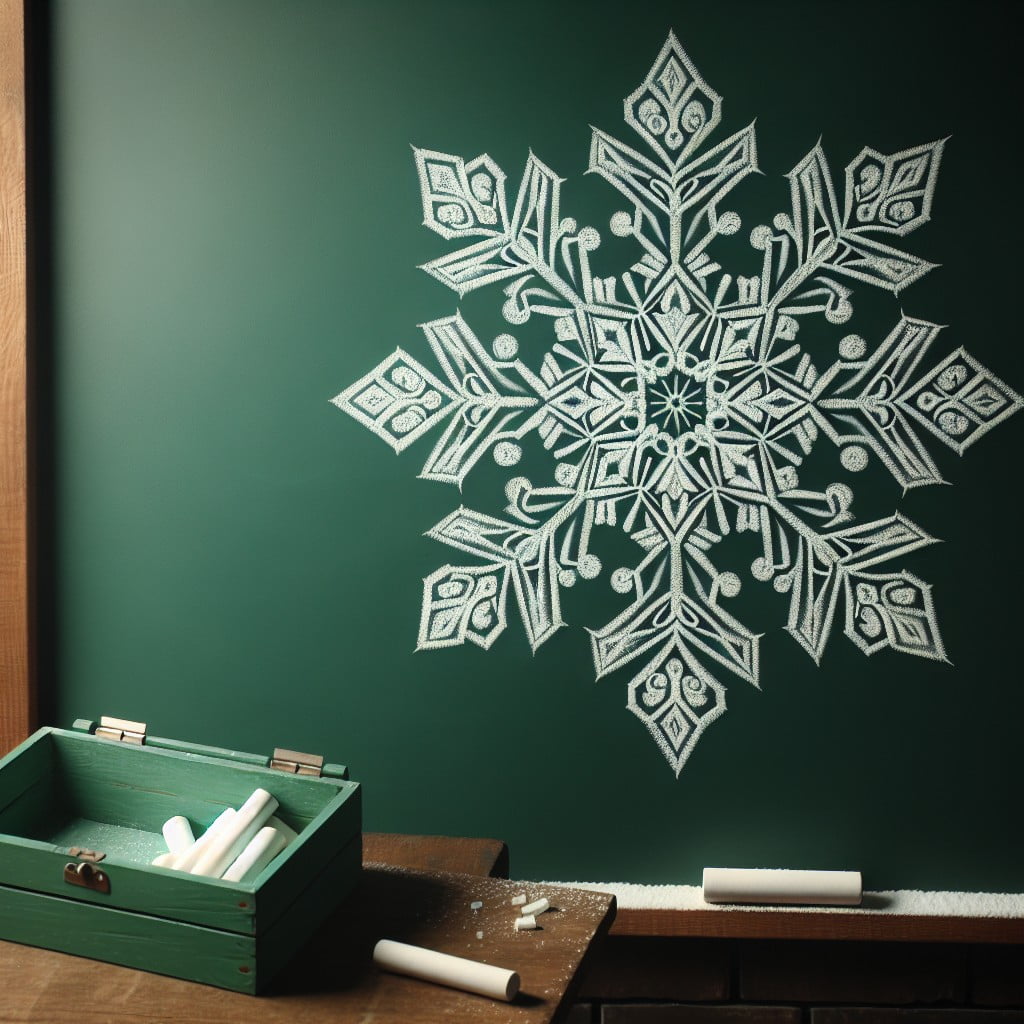
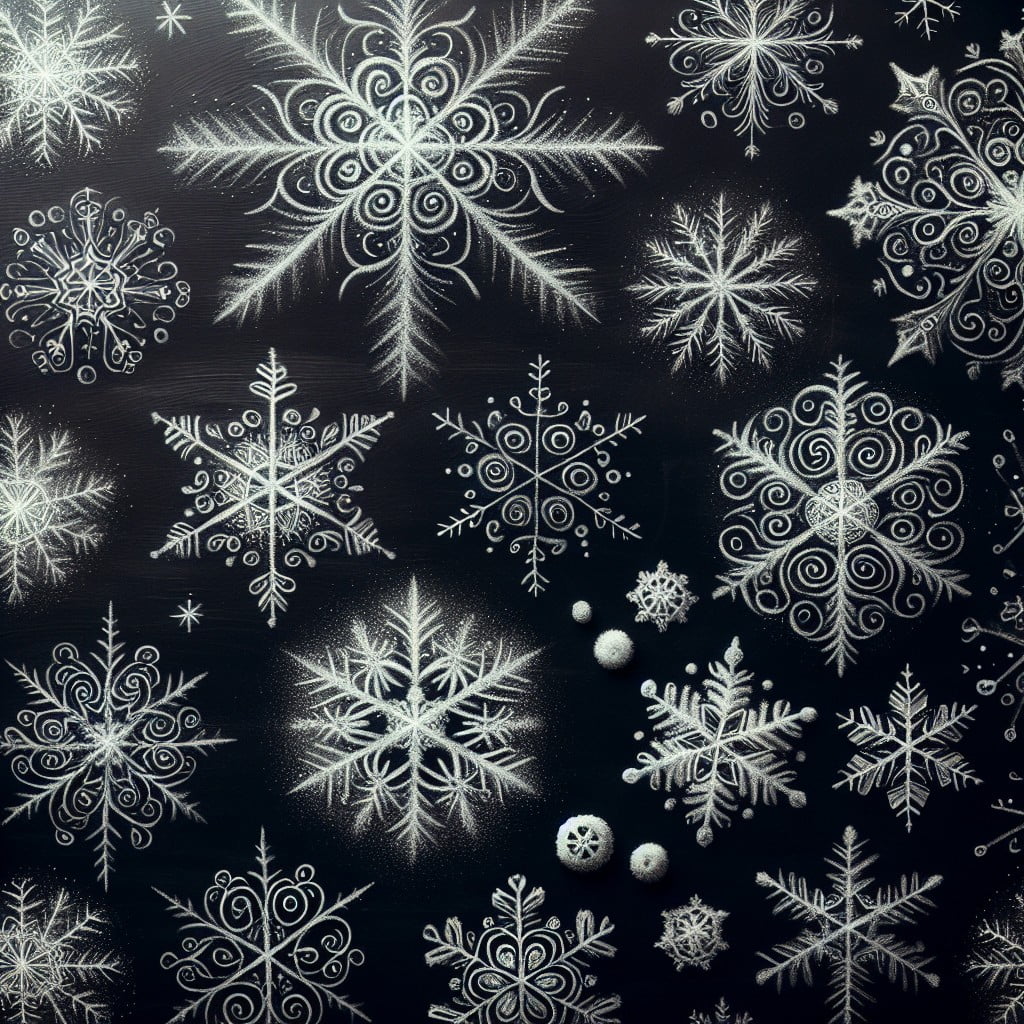
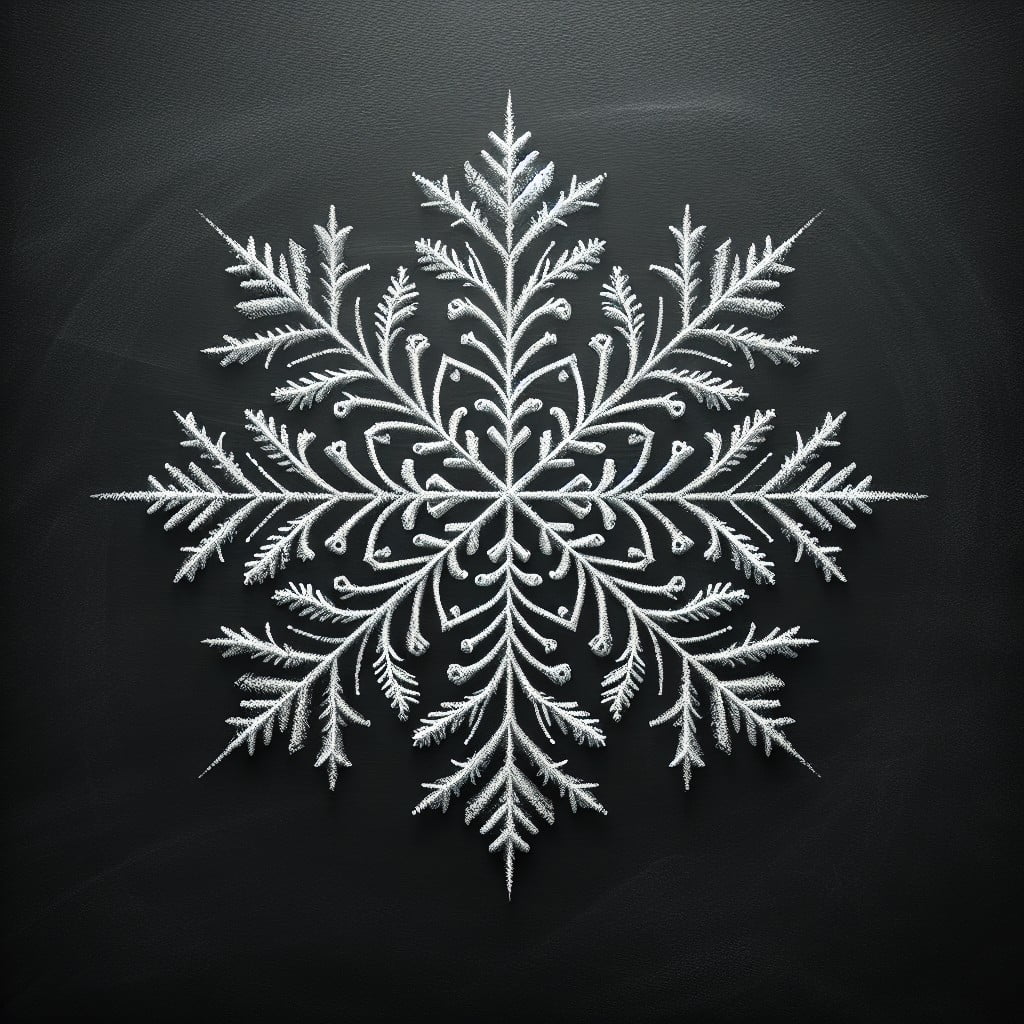
Drawing Ornate Snowflakes On Chalkboard
The elegance of ornate snowflakes can truly add a special touch to your chalkboard art. Let’s break down the process to help you achieve this intricate look.
1. Start with a small circle: The center of the snowflake does not need to be elaborate. A small circle acts as a guide for your radiating patterns.
2. Symmetry is key: Divide your circle into six equal segments to maintain symmetry, a crucial aspect of snowflakes.
3. Embrace delicate designs: Intricacy adds to the ornate look. Use thin lines and incorporate detailed patterns such as paisleys, swirls, and tiny leaves.
4. Layer patterns: Drawing different patterns on each radian brings more depth to your design. From scallops to tiny teardrops, the options are endless.
5. Add dots for sparkle: Dots scattered around your ornate snowflake can mimic the shimmering quality of a real snowflake.
6. Fine-tune with a damp rag: If some parts of the designs look too bold, use a barely damp rag to thin the chalk and refine the lines.
The goal is to create an array of unique, yet symmetrical patterns within the snowflake that will make your chalkboard artwork stand out.
Snowflake Chalk Art With Winter Landscapes
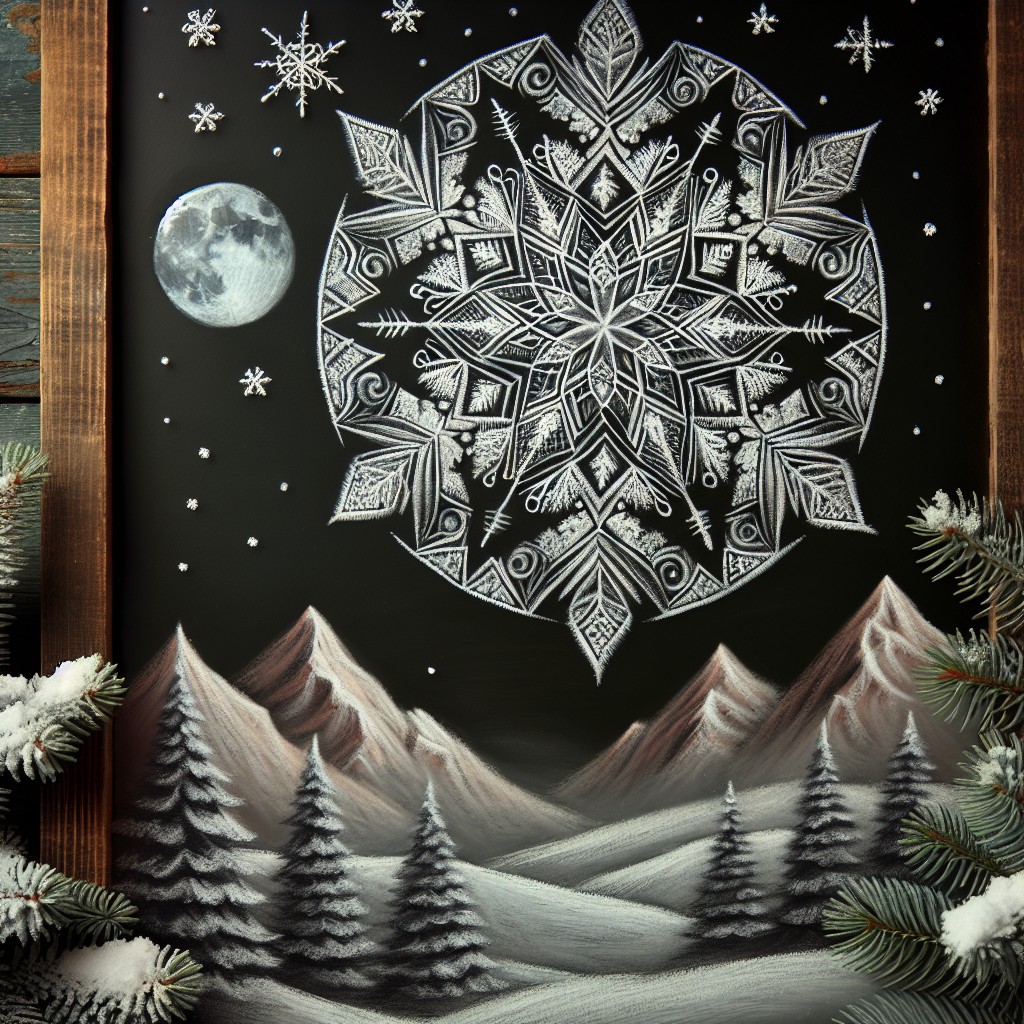
Drawing winter landscapes alongside your snowflake art is a unique way to bring a seasonal touch to your chalk creations. Instead of limiting your designs to standalone snowflakes, adding a serene winter backdrop can bring a fresh dimension to your chalkboard.
1. Choose Your Scene: Start by selecting a winter scene – it could be a pine forest, rustic cabin or a snowy cityscape.
2. Background First: Begin with the larger background elements like trees or buildings, filling in details later. This breaks down the overwhelming task of creating a whole landscape.
3. Scale Your Snowflakes: Add snowflakes throughout the scene. Different sizes will create a layered effect, making the scene dynamic. A variety of designs can boost visual interest.
4. Add Shadows: Put a bit of gray or black chalk under your objects to lend depth and realism to your winter landscape.
Remember, it’s chalk – any mistakes are temporary. Feel free to experiment and have fun with it! It’s all about creating a whimsical, festive piece of art that captures the winter season.
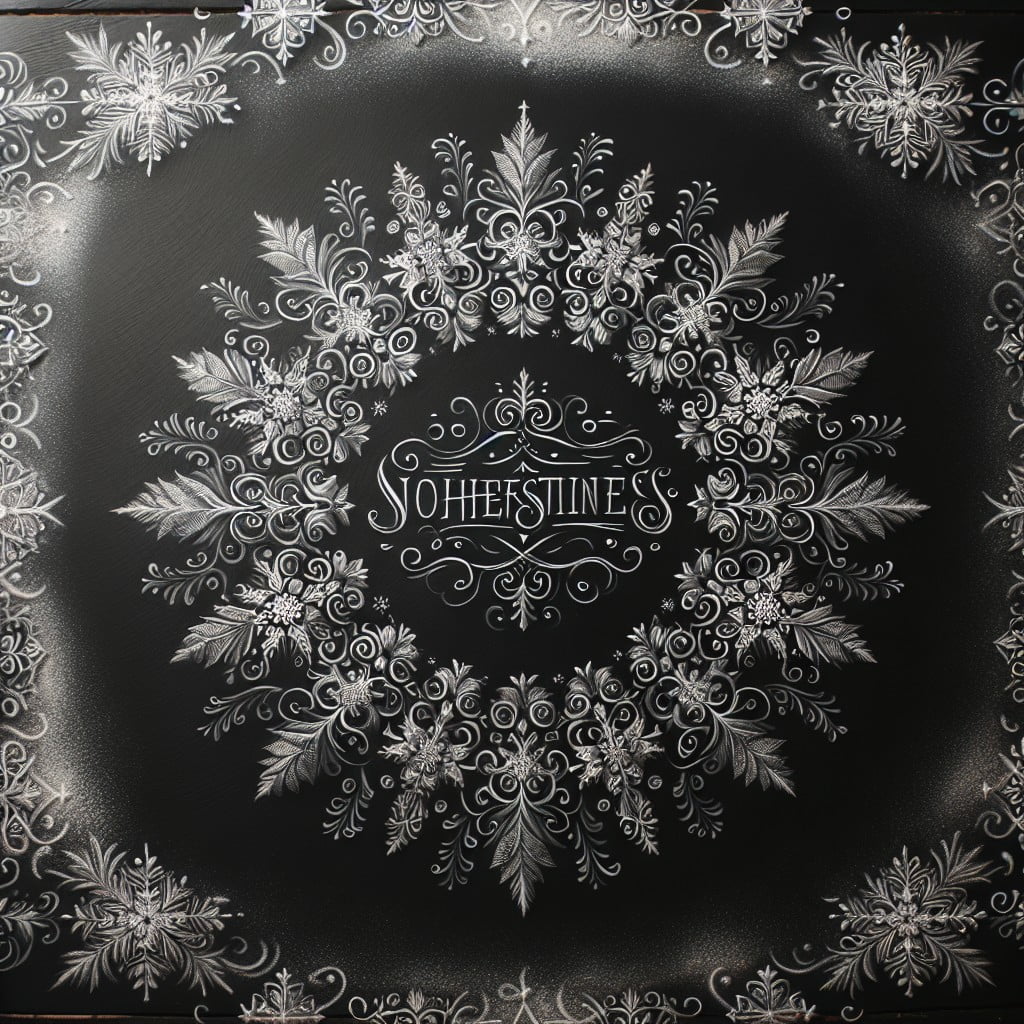
How to Create Chalk Typography With Snowflakes
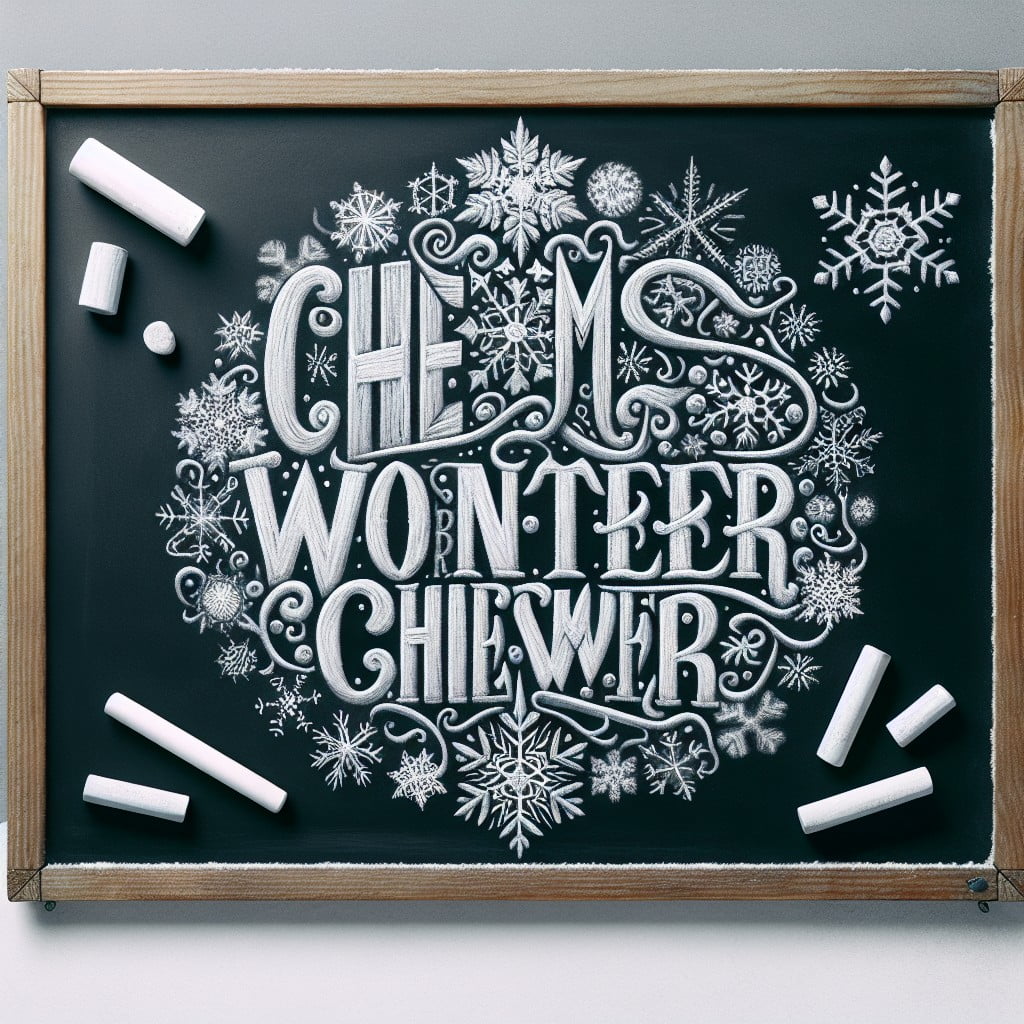
Delighting in the winter season, incorporating unique artistic elements such as snowflakes into your chalk typography will give your designs a festive touch.
Let’s dive into the creative process:
1. Choose Your Words: Decide what phrase or single word you’d like to present. The word ‘Snow’, for example, will relate directly to your snowflake designs.
2. Font Style: Opt for a robust, wider font which gives you ample space to incorporate your snowflake designs into the letters themselves.
3. Draw Guidelines: Sketch faint lines to maintain proportion and uniformity in your letters.
4. Drafting: Start by outlining your letters with a piece of white chalk.
5. Snowflake Design: Draw tiny snowflakes on the body of the letters, tracing them out lightly. Remember, no two snowflakes are identical, feel free to experiment with different patterns.
6. Final Touches: Using blue or silver chalk, fill in the snowflakes giving them more visibility and contrast against the white letters.
7. Erase Guidelines: Once satisfied, gently remove the guidelines, taking care not to smudge your art.
8. Protective Layer: A light spray of hair spray will set your chalk typography, making it smudge-resistant.
What an extraordinary way to embrace the chill of winter and create dynamic, seasonal art!
Snowflake Chalk Art With Shading Techniques
Perfecting shading in your chalk snowflake art can transform your piece from simple to spectacular. Here are a few tips to enhance your skills:
- Material Matters: Opt for soft or pastel chalk as they blend more smoothly and offer better shading.
- Gradual Grading: Start with a heavily applied color at the center of the snowflake. Gradually reduce the intensity as you move outwards, this creates a beautiful gradient effect.
- Blend it In: Use your fingertips, cotton, or a chalk smudger to blend your colors without creating harsh lines. Remember to wipe off excess chalk when shifting between lighter and darker shades.
- Mix and Match: Don’t shy away from using different chalk colors to create a multi-dimensional shade effect. This can add depth to your snowflake.
- The Shadow Effect: In addition to shading, add small shadows at the corners of the snowflake design. This will offer a three-dimensional impact, making your drawing more realistic.
Remember, there’s no hard and fast rule when it comes to art. Feel free to experiment and explore to discover your unique snowflake chalk art style.
Chalk Art: Blending Techniques for Snowflakes
Begin blending by choosing two colors for the snowflake, typically a light and a dark shade. The contrast allows the snowflake to take on a three-dimensional appearance. Start by drawing the snowflake outline using the darker shade. Inside this outline, fill in the design with the lighter color. Once you’ve completed that, the blending process begins.
Holding the lighter colored chalk at a 45-degree angle, lightly glide over the darker chalk strokes, merging the colors. Gradually shift the angle and pressure to blend them together smoothly. The key is to make gradual transitions from darker to lighter hues, suggesting depth and dimension.
Don’t be afraid to overlap and merge colors. Chalk is forgiving and can be layered to create varying depths and intensities of color. Familiarize yourself with the strokes your chalk makes; they can be thick, thin, or smudged. This exercise can get messy, so be sure to have a cloth hand to clean your hands.
Expect the unexpected when it comes to chalk blending, as this is all part of the artistic process. Sometimes the best results come from unplanned deviations. Experiment freely to discover the optimal blend techniques for your snowflake design.
Remember, blending chalk for snowflake art is more about technique than perfection. So, enjoy the process and watch your creation come to life!
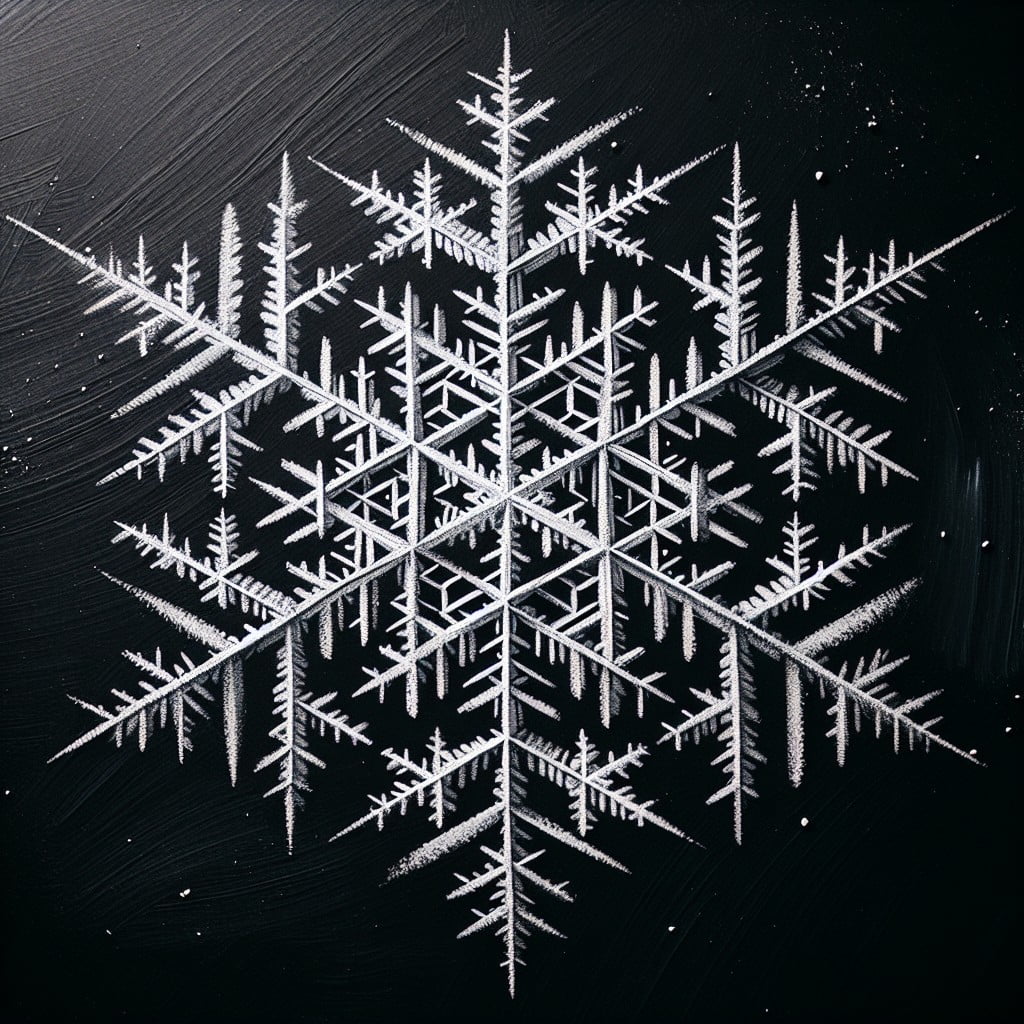
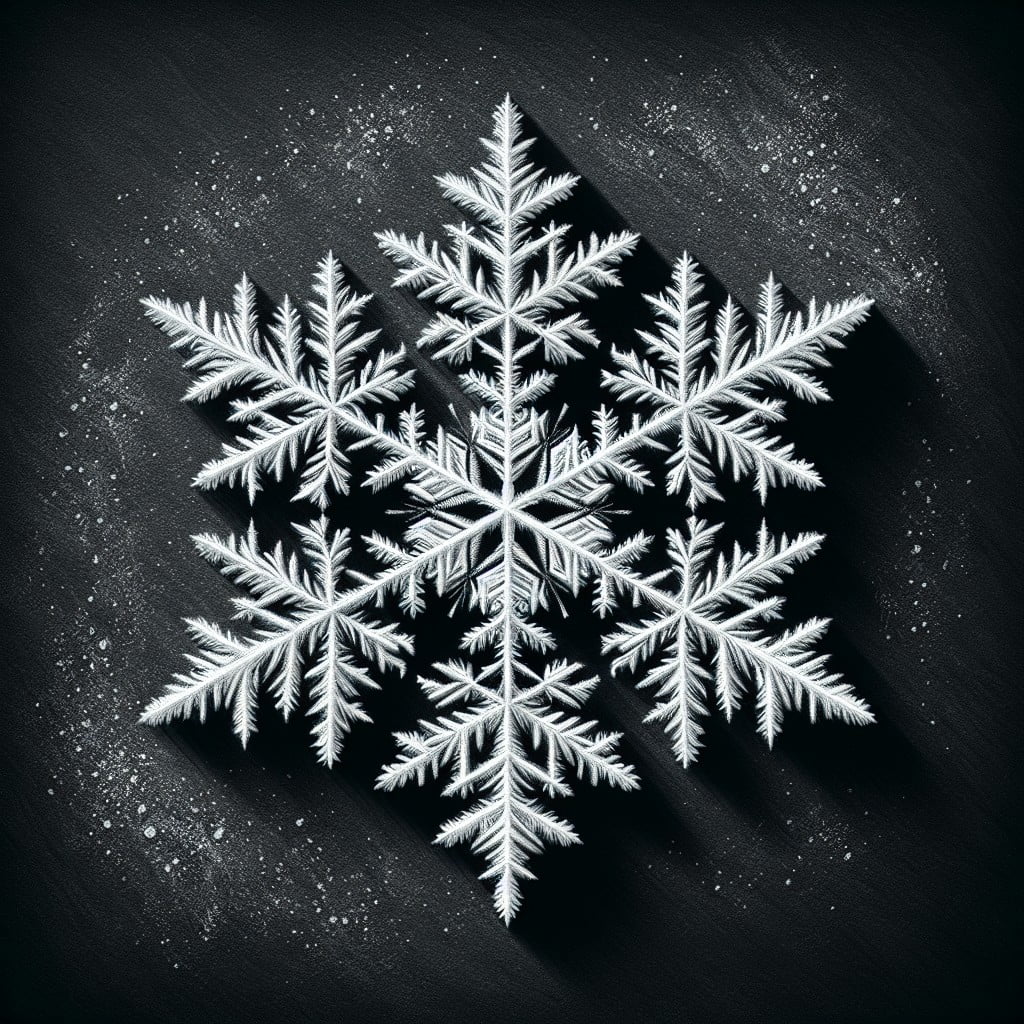
Realistic Snowflake Chalk Drawings
Taking inspiration from close-up photos of snowflakes, you can craft detailed, realistic snowflake drawings.
1. Choose Your Tools: To create fine lines and intricate details, opt for thin, hard chalk or a chalk pencil.
2. Embrace Symmetry: Realism in snowflake designs often lies in symmetry—typically six-fold symmetry. Whatever design you create in one segment, replicate it in the other five.
3. Research Detailed Images: Study high-resolution images of snowflakes. Pay attention to the intricate patterns and shapes within each arm.
4. Start Simple: Begin with basic geometric shapes, then gradually add complex lines and designs. The centre of the snowflake often houses a hexagonal shape. From here, extend linear branches.
5. Layer Your Design: To achieve a three-dimensional effect, layer your designs. You can overlap lines or add dots to the ends of the branches to imitate ice crystals.
6. Refine and Adjust: If perfection is your goal, remember that even nature’s designs aren’t always flawless—slight variations add authenticity. Revisit your designs, sharpening or correcting as needed.
Remember, continuous practice enhances your skills. The advancements with each snowflake will soon become apparent.
Abstract Chalkboard Snowflakes
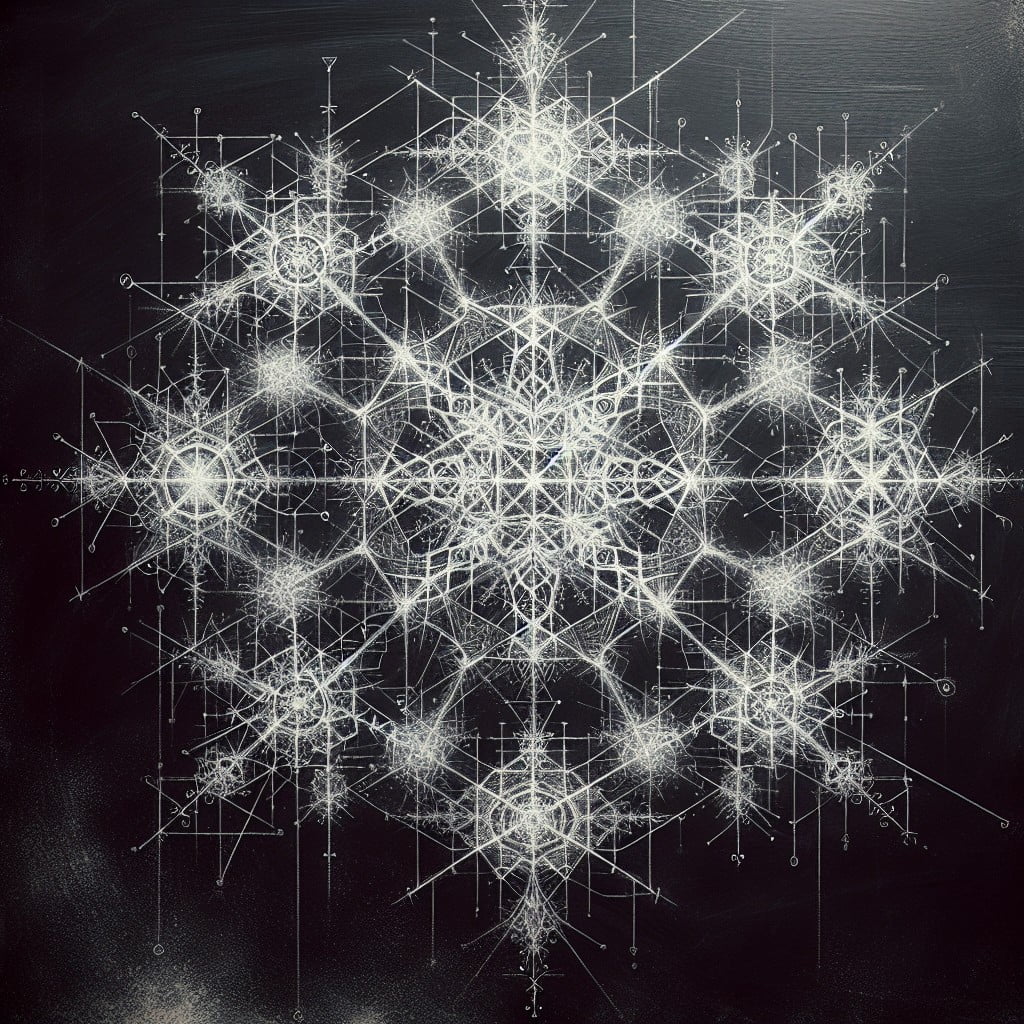
Abstract art offers a unique approach to depicting familiar shapes like snowflakes. By focusing less on realism and more on the fluid, dynamic expression of lines and form, it accentuates the individual characteristics of each snowflake.
1. Selection of Chalk: Choose a variety of chalk sizes and colors to create a range of tones and textures.
2. Shape Experimentation: Let your imagination dictate the snowflake shape. You can combine straight lines, curves, and zigzags to develop an unusual structure.
3. Size Variation: The snowflakes can differ in size. Smaller abstract snowflakes in the background can create depth.
4. Color Fusion: Mingle different colors to give your snowflake a vibrant look. Blend adjacent colors carefully for a gradual transition effect.
5. Layering: To add dimension, use the technique of layering, drawing one shape over another.
6. Emphasis on Lines: Bold and thin lines can coexist to create a dynamic contrast in your abstract snowflake.
Remember, abstract snowflakes need not resemble a traditional snowflake. Allow your creativity to explore the possibilities.
Large-scale Chalk Snowflakes On Pavement
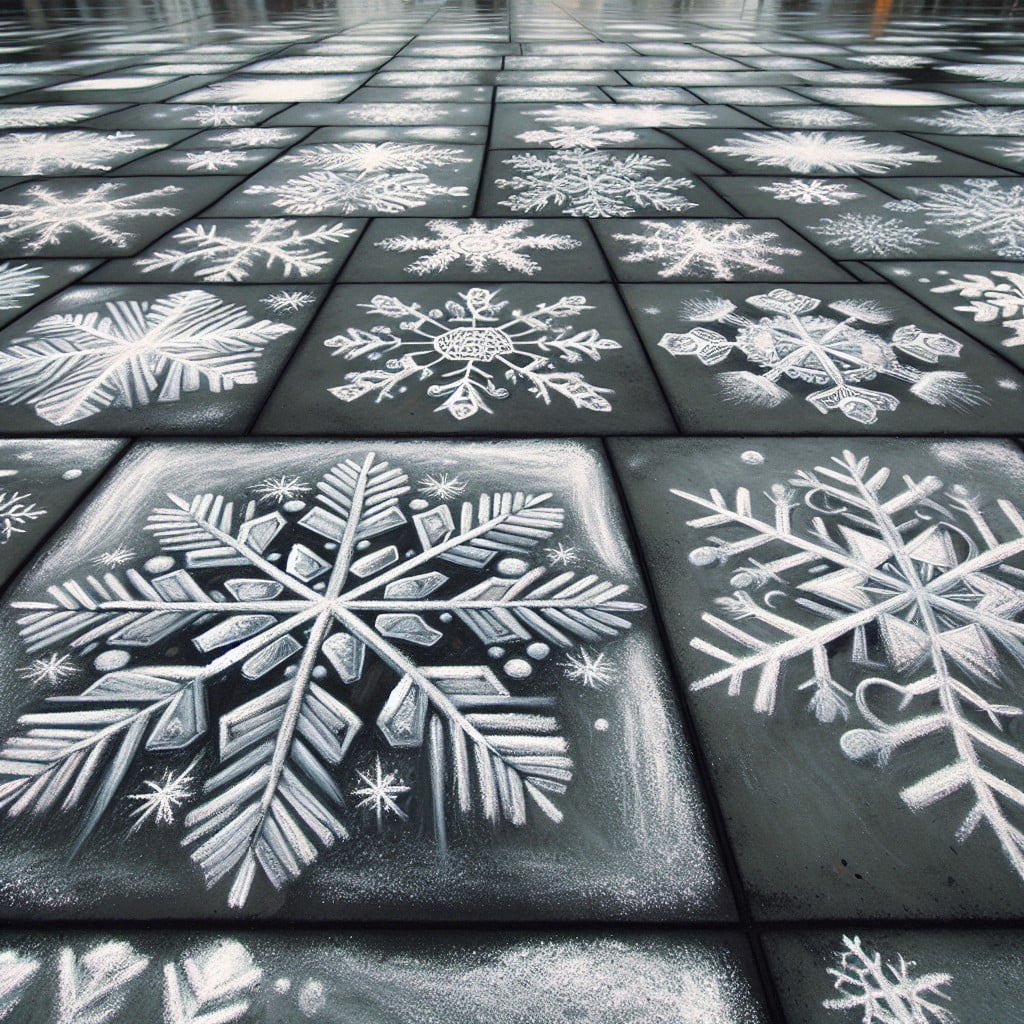
To deploy your creativity on a grand scale, pavement provides the perfect canvas. This approach creates eye-catching and whimsical designs that will capture the attention and admiration of passersby. Easily achievable with large sticks of sidewalk chalk, it’s an opportunity to bring the spirit of winter to your neighborhood, even if snow is in short supply.
1. Select Your Canvas: Choose a spot on your driveway or sidewalk. Ensure the surface is clean for the best drawing conditions.
2. Draw the Snowflake Framework: Use straight lines to sketch out the basic shape of your snowflake. You can utilize a six-arm radial frame as a starting point.
3. Fill Out the Details: Add in intricate patterns or shapes to the arms of your snowflake. Symmetry is often key to achieving a realistic design.
4. Enhance Your Design: Use different colors, add shading, or increase depth to make your snowflake stand out from the sidewalk. You can also outline in a contrasting color for emphasis.
5. Respect Environment: Remember to only use eco-friendly, water-soluble chalk, which can be easily washed off once you’re ready for a new snowflake design or when the season ends.
Experiment and enjoy the process – the pavements are your canvas, snowflakes your inspiration!
Snowflake Wreaths With Chalk
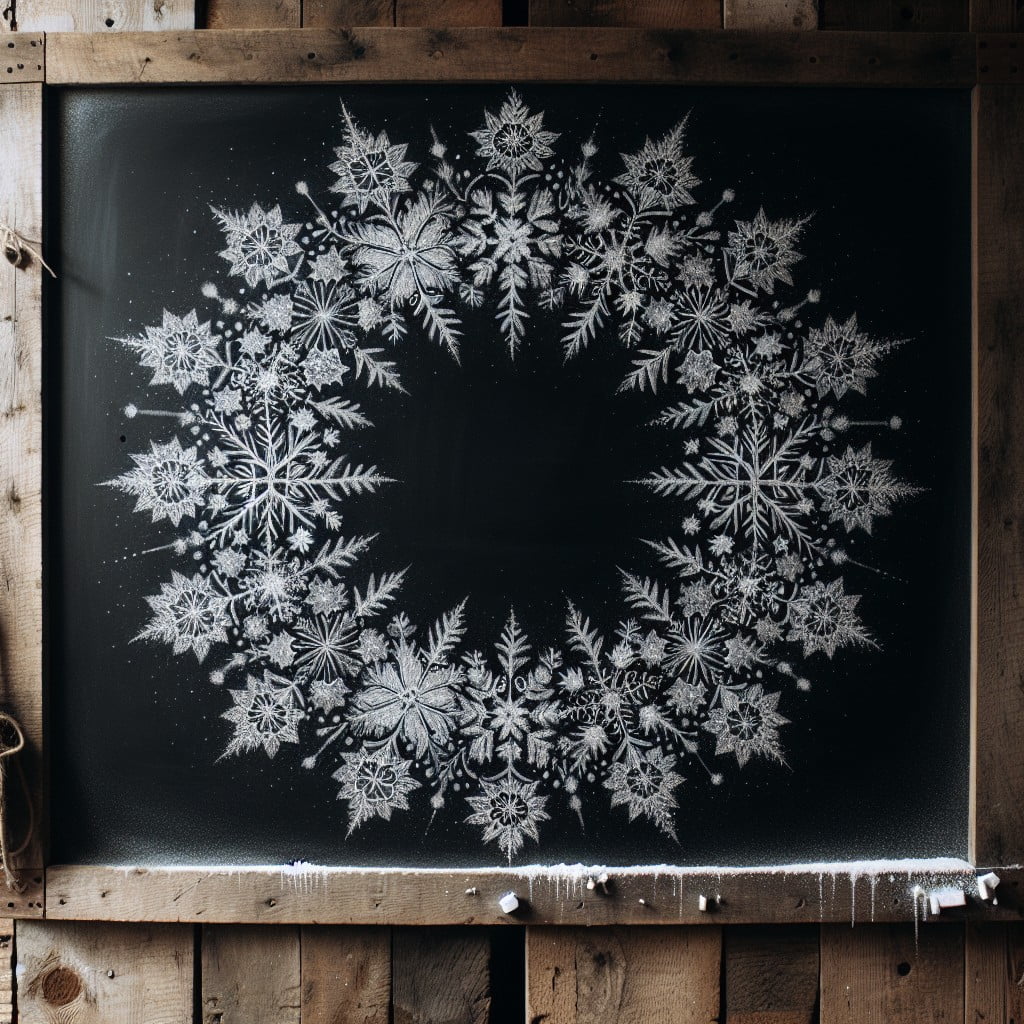
Expanding on the festive appeal of your chalk snowflake art, consider adding a chalk snowflake wreath to your assortment of chalk-art designs. With just a bit of planning, you’ll create a stunning adornment that’s both unique and seasonally appropriate.
Follow these simple points:
- Select a focal point on your chalkboard to serve as the center of your wreath, ensuring it’s prominently positioned.
- Initiate your chalk wreath with a circular guide, the size of which will depend on your preferred scale and the available space.
- Start designing your snowflakes around the circle. Mix and match different snowflake patterns to create a visually engaging composition.
- Keep symmetry in mind and follow through. Make a balance in size, intricacy, and spacing for all the snowflakes for a harmonious design.
- Incorporate chalk colors adhering to a winter palette. White, silver, and light blues are timeless options but feel free to experiment.
- Optionally, embellish with holly berries or ribbon bows, chalk-drawn in festive reds and greens to highlight the holiday spirit.
Remember, the key is to experiment and have fun while crafting this festive piece of winter art! The beauty of chalk art is it allows room for on-the-go adjustment and versatility, making the process of creating your snowflake wreath enjoyable and stress-free.
Snowflake Chalk Art With Christmas Theme
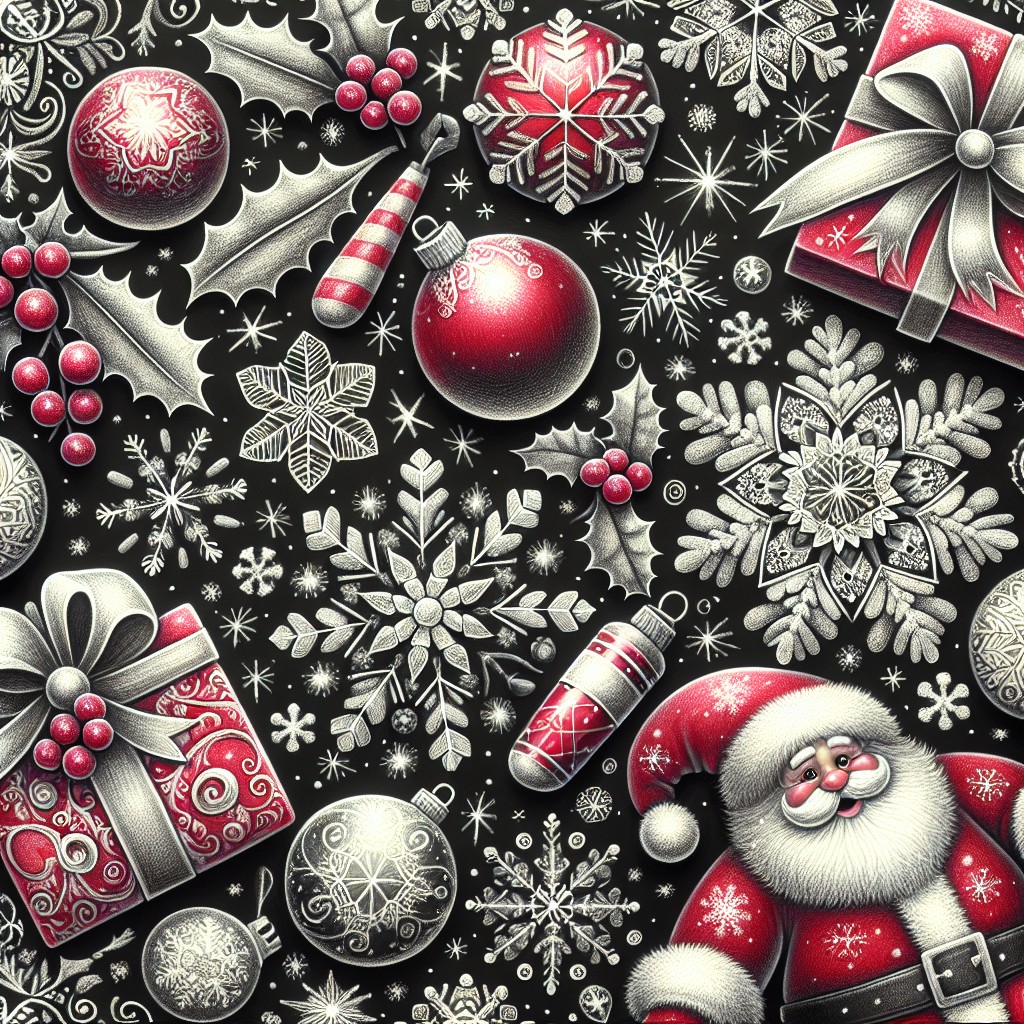
Incorporating the Christmas spirit into your snowflake chalk art is a worthwhile endeavor. Start by drawing traditional snowflake patterns with a white chalk. To accentuate the festive mood, integrate elements such as holly leaves, candy canes, or Christmas tree figures into your design. You can strategically place these within or around the snowflakes for a harmonious blend.
To make it more visually striking, use colored chalks. Greens and reds are typical Christmas colors that would complement the white snowflakes aptly. Alternatively, consider earthy tones or metallic hues for a chic, rustic look.
For a vivid piece, use shades of the same color for shadows and highlights. For instance, pink or maroon can be used to shade and add depth to red elements.
Remember, maintaining symmetry while drawing a snowflake is key, so take your time. Despite the design complexities, there’s no rush; the beauty of chalk art is that it allows for adjustments along the way. Moreover, practice makes perfect—with patience and persistence, your Christmas-themed snowflake chalk art will come together perfectly.
Unleash your creativity, and let your chalkboard reflect the joys of the holiday season.
Ideas Elsewhere
- https://www.marthastewart.com/1523853/simple-snowflake-chalk-art
- https://stock.adobe.com/search/images
- https://www.marthastewart.com/1523877/elegant-snowflake-chalk-art
- https://blog.workman.com/chalk-snowflakes
- https://yourbesthomeschool.com/snowflakes-chalk-art-tutorial/
Read More Like This
 15 Unique DIY Christmas Decorations Ideas for a Festive Home
 15 Creative Science Fair Board Ideas to Amaze Your Audience
 15 Handmade Envelope Decoration Ideas for Creative Gifting
 10 DIY Gifts for the Whiskey Lover in Your Life
 15 Creative Ideas for DIY Outdoor Birthday Party Decorations
Recap: