Last updated on
Converting your coat closet to a pantry can maximize your kitchen storage space, because in our article, we outline an uncomplicated step-by-step process that caters to even the most inexperienced DIYer.
Key takeaways:
- Assess closet size, proximity to kitchen, condition, lighting, and temperature.
- Clear out the closet and clean it thoroughly.
- Measure closet dimensions and consider shelving options.
- Choose durable, adjustable shelving that fits the space.
- Install shelves, organize pantry items, and maximize storage with additional solutions.
Assessing Coat Closet for Pantry Conversion
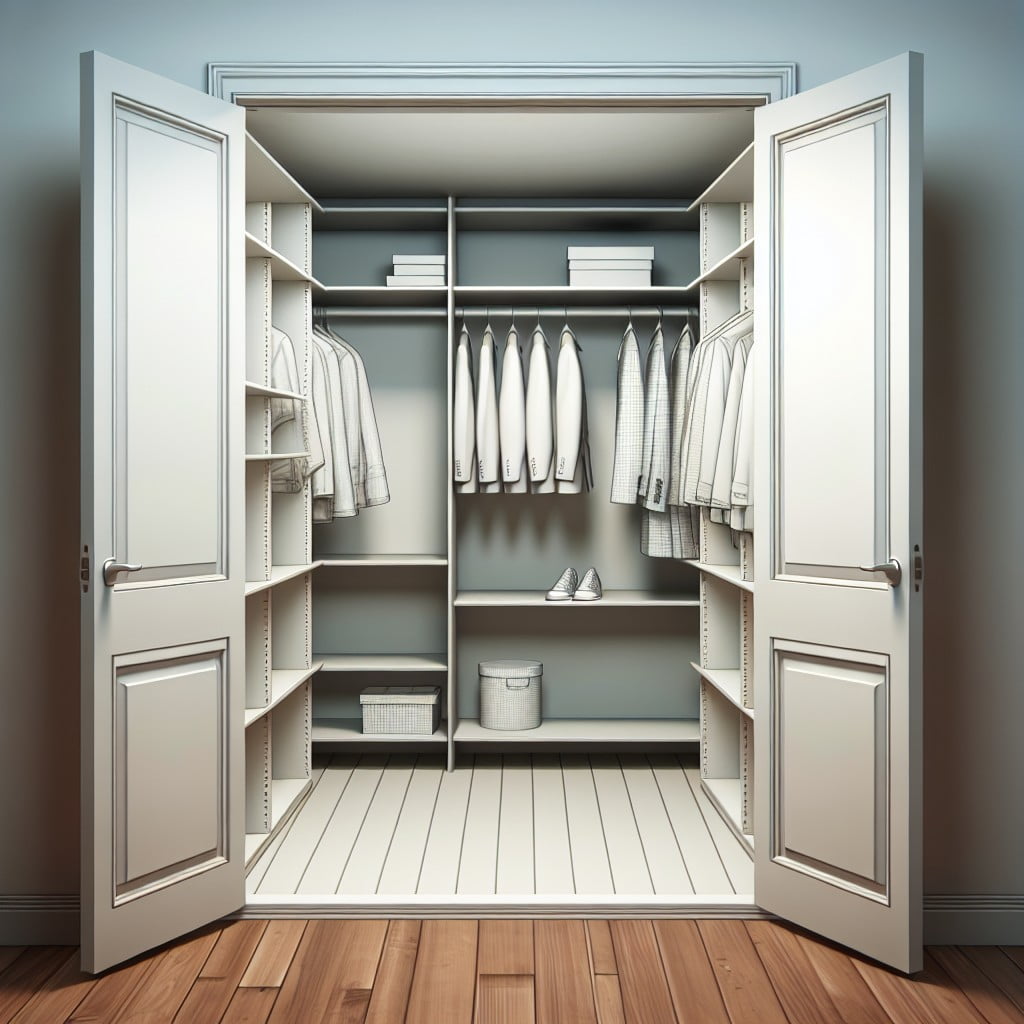
Before embarking on the transformation of a coat closet into a pantry, carefully evaluate the space to ensure it’s suited to your storage needs. Consider the following:
1. Size and Layout: Is the closet large enough to store food items and kitchen appliances? Take note of the height, width, and depth. An overly narrow or shallow closet may limit storage possibilities.
2. Proximity to Kitchen: For convenience, the closet should be near your cooking and food preparation area. The farther it is, the less practical it will be as a pantry.
3. Current Condition: Examine the closet for any signs of moisture or pests, as both could harm food items. Address these issues before installing pantry items.
4. Lighting: Pantries require good visibility. If the closet lacks lighting, contemplate adding battery-operated lights or having an electrician install a permanent fixture.
5. Temperature Control: Food longevity is affected by temperature. Ensure the closet doesn’t suffer from extreme temperature changes that could spoil food.
6. Door Type: Sliding or folding doors save space, while traditional hinged doors may offer more interior storage options, like hanging organizers.
By scrutinizing these elements, you’ll be prepared to plan a well-functioning pantry that complements your kitchen’s workflow.
Clearing Out the Closet

Before embarking on any structural changes, empty the closet completely to create a blank canvas for your new pantry. Sort through coats and accessories, deciding what to keep, donate, or discard. This decluttering stage is crucial, as it not only frees up space but also allows you to envision the potential of the area.
Once cleared, give the interior a thorough cleaning from top to bottom, including dusting corners and wiping down walls. Finally, take this opportunity to patch up any holes or scuffs, ensuring the space is pristine and ready for its transformation.
Measuring Closet Dimensions
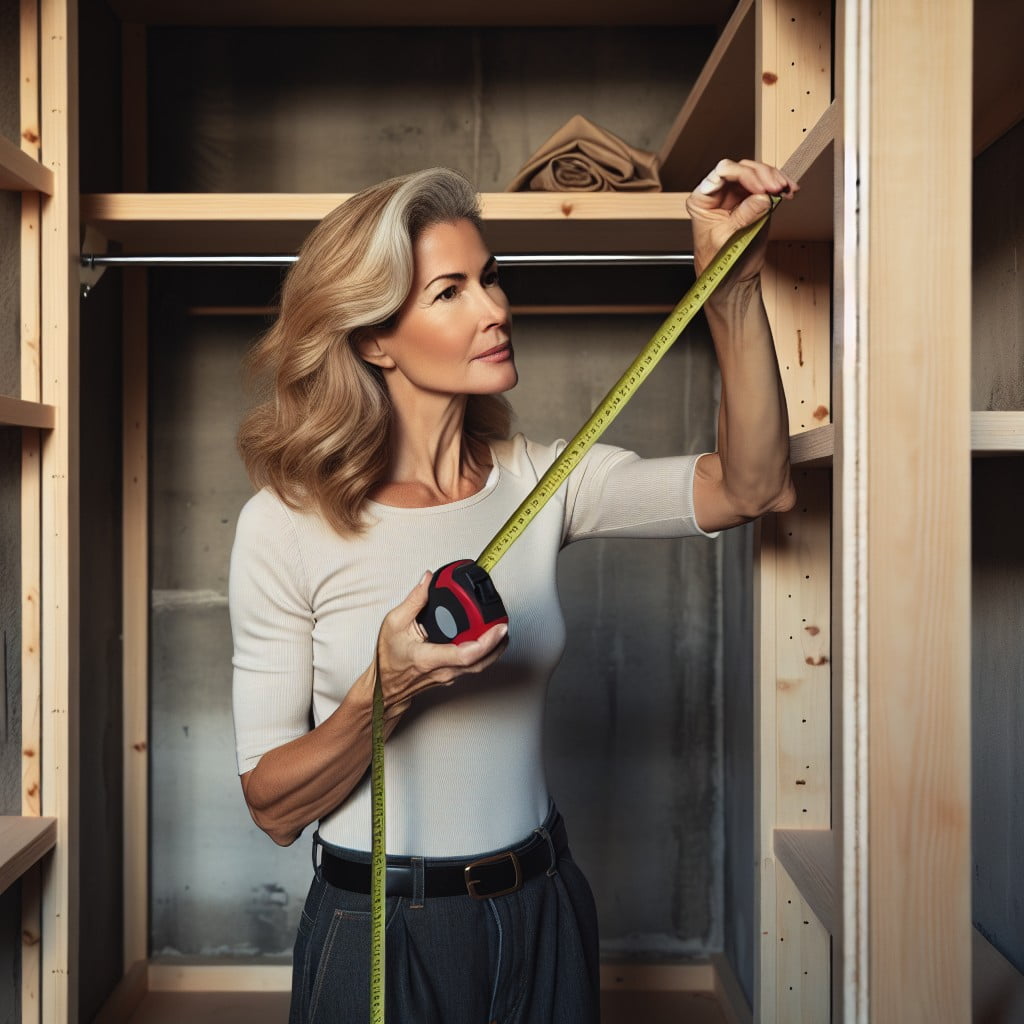
Start by grabbing a tape measure to capture the height, width, and depth of the space, ensuring accuracy down to the nearest inch to accommodate shelving units snugly into the area.
Note the position of any existing fixtures, like light switches or outlets, that will influence the shelving design and placement.
If the closet has a deep recess or awkward corner, consider the potential of pull-out shelves or lazy Susans to maximize accessibility.
Remember to assess door clearance as well: if installing deeper shelves, ensure the door can still close easily without hitting items stored on the door’s back.
Lastly, consider the space’s height and the feasibility of adding stacked shelves or bins to utilize the vertical area effectively.
These measurements will guide the shelving options and layout to transform the space into a functional pantry.
Choosing the Right Shelving

Select shelving that accommodates various item sizes, from bulk cereal boxes to small spice jars. Adjustable shelves offer flexibility, as you can modify them to fit changing storage needs over time.
Durable materials, like solid wood or metal, ensure long-term use and can bear the weight of heavier goods. Ventilated wire options promote air circulation, preventing dampness and mold in your pantry.
If opting for a freestanding unit, ensure it fits snugly and maximizes the closet’s height. For custom-built shelves, utilize corners and dead space effectively.
Consider pull-out baskets or drawers for easy access to items at the back. Lastly, choose a color or finish that complements the interior of your home for a seamless look.
Installing Pantry Shelving
Before starting the installation, ensure you have all the necessary tools and hardware. For wooden shelves, heavy-duty brackets are key to support the weight of stocked pantry items. If you opt for wire shelving, wall clips and caps are essential for stability.
When installing, use a level to guarantee straight, evenly placed shelves that will prevent items from tipping. Space shelves strategically, leaving enough room between each to accommodate various item heights. Don’t shy away from adjustable mounting systems which allow for flexibility as your storage needs change over time.
For a polished look, consider painting or staining wooden shelves to match your home’s aesthetic. With careful installation, your shelving will provide a sturdy foundation for your new pantry.
Organizing Pantry Items By Category
After installing your pantry shelving, it’s time to strategically place your pantry items. Group similar items together to streamline meal prep and inventory checks.
Consider sorting goods into categories such as baking ingredients, canned goods, breakfast items, snacks, and beverages.
Place frequently used items at eye level for easy access, while bulk or seldom-used products can be stored higher up.
Utilize baskets for small packets and jars to keep them organized and prevent them from getting lost behind larger items.
Designating a specific area for each category not only simplifies finding what you need but also helps in identifying what needs restocking at a glance.
Maximizing Space With Additional Storage
To best utilize every inch of your new pantry, consider introducing storage solutions that complement your shelving, such as over-the-door racks for extra room. Baskets and bins can elegantly conceal less frequently used items while drawer inserts streamline organization for small packets and seasonings. Pull-out drawers also make accessing the deeper recesses of shelves a breeze.
For those with a surplus of spices, a mounted spice rack ensures flavors are at your fingertips without taking up valuable shelf space. Remember, vertical dividers work wonders for organizing baking sheets and cutting boards, turning awkward spaces into tidy, accessible storage.
Installing Stackable Canned Goods Organizer
Stackable canned goods organizers are a game-changer for keeping your pantry tidy and maximizing vertical space. Choose units that fit comfortably within the shelf dimensions, ensuring they won’t impede the closet door closure. Opt for organizers with a sloped design to automatically roll the next can to the front for easy access.
These stackable systems typically don’t require tools, as they snap together with ease, making assembly a breeze.
For heavy cans, select a sturdy option to avoid sagging shelves. Some models are adjustable, allowing you to customize the spacing based on can sizes. Remember to place heavier items on lower shelves to maintain stability.
By effectively using these organizers, you’ll streamline the search for ingredients, making meal preparation more efficient.
Customizing With Decal for Pantry Door
Add a personal touch and visual appeal by applying a decorative decal to the pantry door. Whether you prefer sleek, modern lettering or whimsical motifs, the right design can complement your home’s decor and make your new pantry standout.
Consider frosted vinyl for a touch of elegance or chalkboard decals for a practical, fun way to write shopping lists and meal plans. Easy to apply and remove, decals let you update the look of your pantry without commitment.
When selecting, measure the door to ensure proper fit, and choose a theme that suits both your taste and the room’s overall design.
Using Labels for Easy Identification
Clear, consistent labeling helps you quickly locate items in your new pantry. Consider these points for an effective labeling system:
- Use a labeling machine or pre-made labels for a neat, uniform look.
- For bulk storage, opt for clear containers with labels specifying contents and expiration dates.
- Group similar items together and label shelves as an extra guide.
- For items not in their original packaging, include cooking instructions on the label.
- Utilize erasable labels for items that change frequently.
- Select labels that are moisture-resistant to ensure longevity in a variety of environments.
This straightforward approach to labeling will streamline your pantry experience, making meal prep and inventory checks a breeze.
Maintaining Pantry Organization
Consistent upkeep is the cornerstone of any well-organized pantry. Here are some practical tips to keep your new pantry tidy:
- Schedule regular audits weekly or bi-weekly to check for expired items and restock essentials.
- After grocery shopping, place newer items at the back to ensure older products are used first.
- Group similar items together, such as baking supplies or snack foods, which simplifies locating what you need.
- Use clear containers for bulk items like flour, sugar, and grains. This not only keeps pests out but also allows you to see when supplies are low.
- Implement a first-in, first-out (FIFO) system to maintain the freshness of your pantry goods.
- Take advantage of door racks for extra storage and easier access to frequently used items.
- Keep a running inventory list attached to the inside of the pantry door; this aids in grocery planning and prevents overbuying.
By following these strategies, your pantry will remain a model of efficiency and organization.
FAQ
How much does it cost to convert closet to pantry?
The average cost to convert a closet into a pantry ranges from $300 to $2,000, accounting for the costs of materials like shelving and storage containers, and potentially labor costs if a professional installer is engaged.
Can a pantry be a closet?
Indeed, a pantry can be a closet, specially designed to store food and other household items.
How can I improve my closet pantry?
Improving your closet pantry can be effectively accomplished by converting your shelves into pull-out drawers, organized by item type for cohesive storage, and even considering a stylish paint job on the cabinets.
What are the optimum dimensions for a pantry converted from a closet?
The optimum dimensions for a pantry converted from a closet are a width of at least 28 to 30 inches, and a depth of 24 inches.
How do you efficiently organize a pantry within a closet space?
To efficiently organize a pantry within a closet space, you should categorize your items, use clear storage containers for visibility, use all available space by implementing tiered shelves, door racks, and drawer organizers, and ensure that all items are easily accessible.
What essential items and materials are required for a closet-to-pantry modification process?
Essential items for a closet-to-pantry modification process include shelves or racks, possible pull-out drawers, lighting fixtures, pantry organizers, labels, paint, and necessary tools for installation.
Read More Like This
 15 Funny Graduation Cap Ideas to Make Your Big Day Unforgettable
 15 Unique DIY Christmas Decorations Ideas for a Festive Home
 15 Creative Science Fair Board Ideas to Amaze Your Audience
 15 Handmade Envelope Decoration Ideas for Creative Gifting
 10 DIY Gifts for the Whiskey Lover in Your Life
Recap: