Last updated on
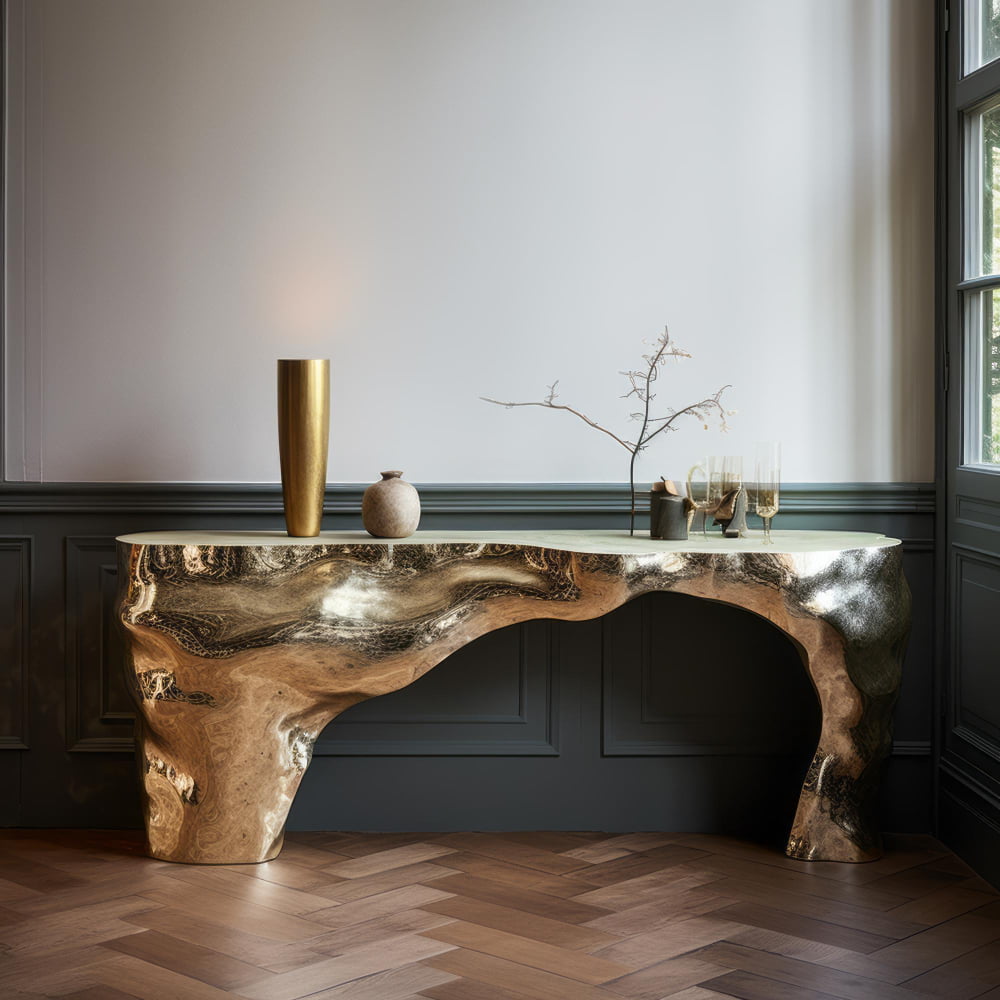
Have you ever seen a gold leaf dining table? They’re stunning. They look elegant and divine when they’re designed right. They’re definitely a focal point, that’s for sure. It’s not necessarily easy to do, but it’s a good project if you have time.
Below, we’ll give you a simple guide to creating a gold leaf dining table.
Gathering Your Materials
You’ll need to gather all the materials for your gold leafing project. That includes:
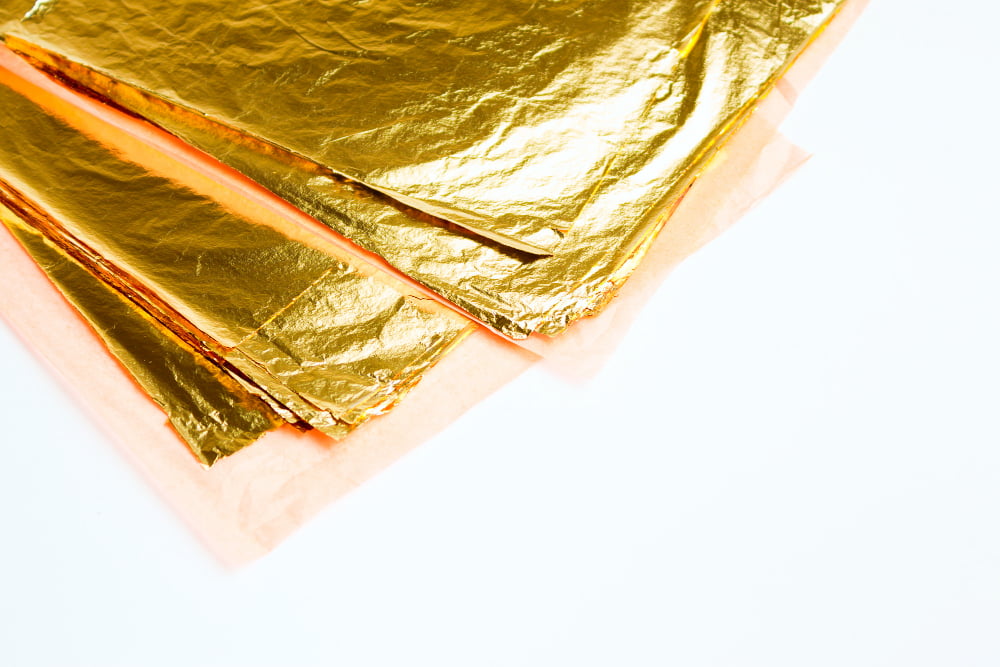
- Gold leaf sheets (high quality)
- Adhesive size (gold leaf glue)
- A soft brush for applying the gold leaf
- A sealant to protect the finished surface
- Fine-grit sandpaper
- A clean, soft cloth
- Finishing touches like silver candlesticks and plates
The materials you pick will create a flawless finish, so try not to scrimp.
Preparing the Surface
The next step is preparing your dining table’s surface. If your table has a previous finish or paint, remove it with sandpaper. It’ll create a smooth and even surface. After sanding, wipe down the table with a damp cloth. That’ll remove any particles that will ruin the aesthetic. This step also ensures that the adhesive and gold leaf will adhere properly.
Applying the Adhesive Size
Adhesive size is a special glue used in gold leafing. Apply a thin, even coat of adhesive size to the area of the table you want to gild. Thin is in bold because the thick adhesive will look gloopy and horrible.
You can’t go super wrong if you follow the manufacturer’s instructions regarding the amount and drying time. As a rule of thumb, the adhesive should be tacky but not wet when applying the gold leaf. This tackiness is crucial for the gold leaf to adhere effectively.
Laying Down the Gold Leaf
Carefully lay the gold leaf sheets onto the adhesive-coated table. We’ve put it carefully in bold because this part might drive you crazy. You do have to be really careful. Gold leaf is super thin and delicate. It’s annoyingly thin if anything, but it’s what makes it beautiful.
You can use a dry, soft brush to smooth the gold leaf onto the surface and into any crevices or edges. Don’t worry about small gaps or overlaps; they contribute to the charm. Avoid big gaps, though.
Sealing the Gold Leaf
After applying the gold leaf and getting the coverage you want, it’s essential to seal the surface to protect the delicate gold leaf. You’ll soon notice wear and tear if you don’t.
Use a clear sealant and follow the manufacturer’s instructions for application and drying times. And whatever you do, ensure you get the correct type of sealant. Don’t apply too much. Use it sparingly to prevent build-ups of sealant.
The Finishing Touches
Once the sealant has dried (completely, wet sealant will put you back to square one), you might want to add finishing touches to personalise your. That could be distressed edges for a vintage look or using a glaze to enhance the gold’s shine. But don’t worry, we’d say that’s for advanced DIYers, and even our suggestions now might be too advanced.
Creating a gold-leaf dining table isn’t for the faint-hearted. You should probably watch a YouTube video alongside it – unless you have a natural talent for DIY and design. But most of us are not Picasso.
Still, with these simple steps, you can transform an ordinary piece of furniture into a stunning focal point for your dining room. And it definitely will be a focal point. It’s not every day you walk into a home with a gold leaf dining table.
Read More Like This
 Creating an Allergy-Friendly Home for Pet Owners
15 Things Every Home Entertainer Should Keep on Hand
 Spring Decorating Ideas: Refreshing Your Home for the Season
 The Perfect Lighting for Your Home
 Using More Sustainable Materials in Your Diner: 7 Ideas That Still Look Great
Recap: