Last updated on
Here’s a step-by-step guide on how to build a wire mesh fence on your property. Read on!
A wire mesh fence can be used to secure your property and keep animals and children from wandering away.
It’s a reliable, aesthetically pleasing option that can be installed on a weekend. In this article, we’ll provide a step-by-step guide to completing the task.
What’s a Wire Mesh Fence?
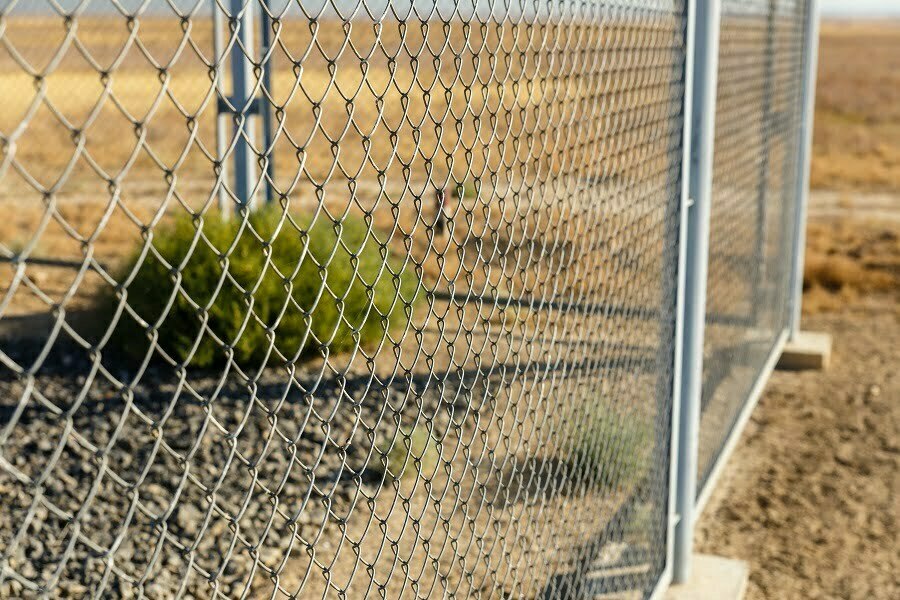
These are typically made out of galvanized welded steel or aluminum, which makes them strong and long-lasting. They come in various sizes, colors, and styles and can be used to enclose gardens, yards, or any other outdoor area.
Depending on the purpose of your project, you can choose such options as chain link fencing or woven wire fencing.
Buy the Necessary Materials
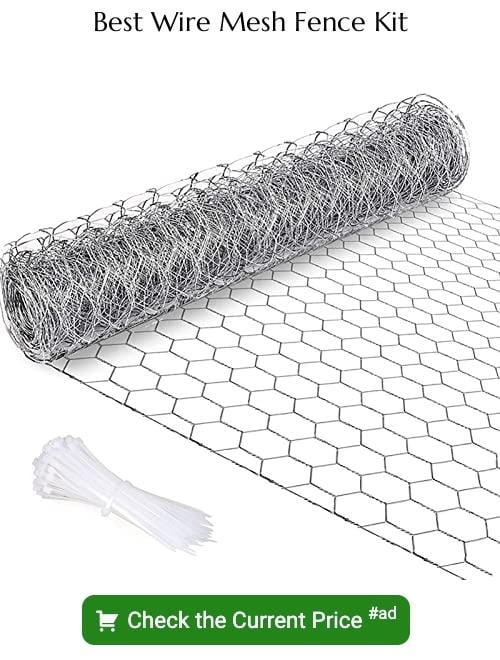
First, you’ll need to acquire the posts that will hold up your fence. These are usually made from steel or aluminum. You’ll also want to pick up some concrete mix and gravel to ensure your posts stay securely in place after installation. Make sure that all of the posts have predrilled holes so that you can easily attach the wire mesh fencing material.
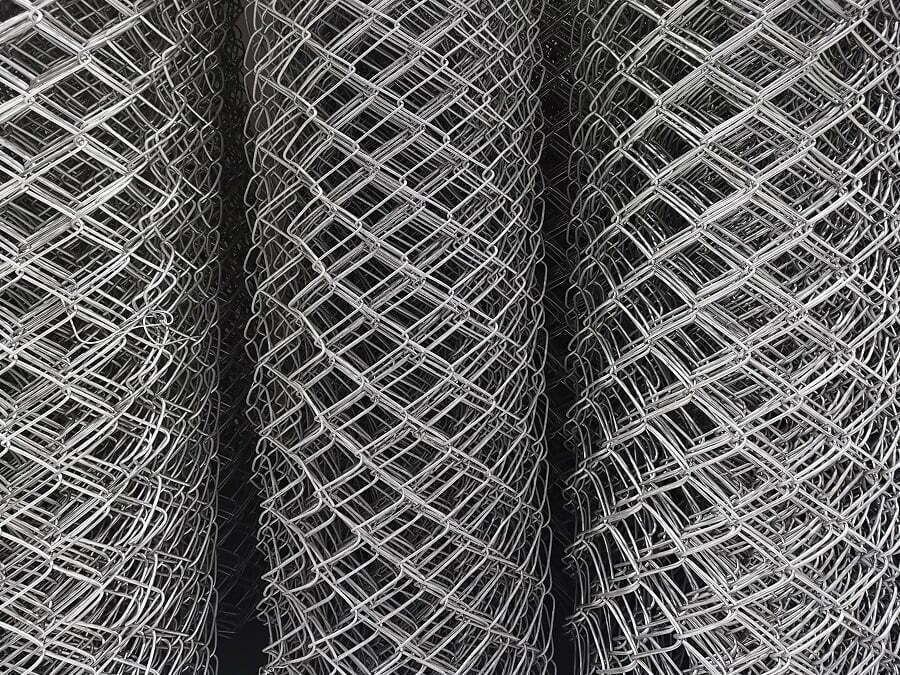
Buying galvanized heavy-duty wire mesh fencing is recommended because it won’t rust over time. This type of material also provides additional security from potential intruders.
According to Universal Wire Cloth Co, people need wire mesh products, including welded and ornamental wire mesh. Folks want to view product specifications and request quotes and sample kits before buying.
Have the Right Equipment Ready
This can drastically reduce the amount of time you spend on the job. The most important tools you’ll need are fencing pliers. They can be used to pull and tighten wires as well as cut them if needed. You’ll also need post-hole diggers or augers for installation holes. Plus you’ll require a hammer drill with a masonry bit if you’re using metal posts.
Should you be utilizing wood stakes you’ll also need screws or nails. Finally, buy some protective gloves and eyewear before getting started.
Prepare the Fencing Area
Before you begin, it’s important to have permission from the landowner or (if you’re building on public property) the local authorities. Next, measure out the area where you want the fence to go so that you know what size materials you need. Also, take into account any objects such as poles or trees that’ll be used as supports for your structure.
If your fence is being built on a slope, make sure the top of it is level with the ground. Finally, you’ll need to dig holes in order to keep your fence secure.
Install the Posts and Attach the Mesh Panels
Install the posts in their designated holes. It’s important that they’re positioned correctly so they can support the entire weight of the fence. They also need to provide adequate stability from gusts of wind or other elements.
Once securely set into place, use concrete mix around each post for extra strength and security. Allow 24 hours for drying before moving on to attach the mesh panels.
Clamp the flat metal strips along both sides of each panel at one end before clamping it onto an adjacent post (at that same end) with screws or bolts. Repeat the process at the other end of each panel. This will leave you with a sturdy frame to attach your mesh panels.
Cut the Wire Mesh
Mark off where each cut in the material should go and use clamps or weights to keep it in place before cutting. Keep all components secure before beginning or you may end up damaging the material. Use wire cutters to snip the wire mesh and separate it.
Wear gloves and goggles because the sharp edges can be dangerous to handle. The mesh should be secured with ties/fasteners and you should test the fence stability before finishing.
Add Accessories
Tension bands, finials, and other decorative elements that add a unique touch to any outdoor fencing project. They can help create a custom look for your fence that will set it apart from all others in your neighborhood.
Post caps can help keep moisture out of the posts, protecting them against weather damage and rot. Post wraps have the same benefits, and they come in many different styles – including wood, vinyl, and metal accents.
Hopefully, the process is now a little clearer for you. Should you have any further questions, consult a professional or ask them to do it for you. Thanks to these tips you’ll soon have a fence that’s fit for purpose and that can serve your needs for many years to come.
Read More Like This
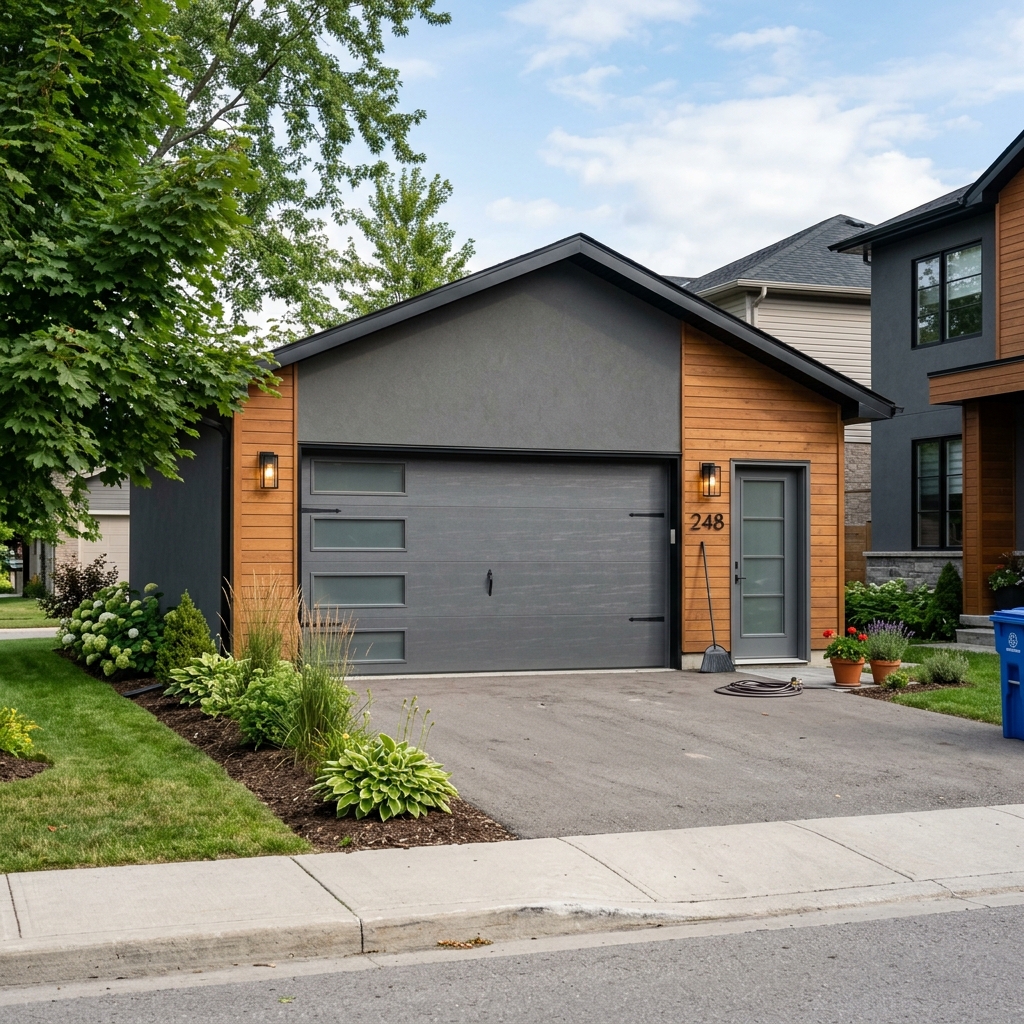 How to Choose the Right Commercial and Residential Garage Doors in Florida
 Beyond the Kitchen: How Workwear Jackets Inspire Creative Expression
 The Rise of At-Home Hosting and Why It’s Shaping Modern Social Culture
 The Subtle Art of Renovating Character Homes
 Creating an Allergy-Friendly Home for Pet Owners
Recap: