Last updated on
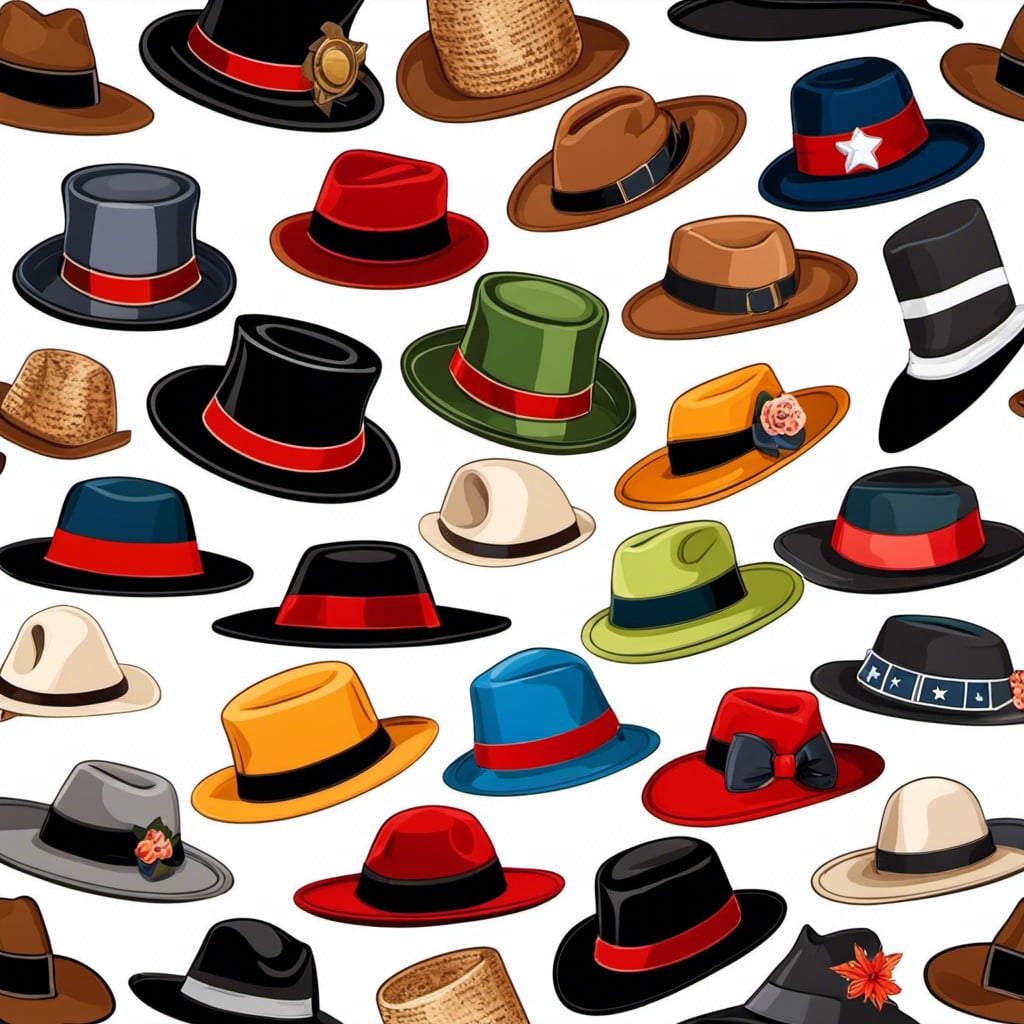
Explore these imaginative and original hat decoration ideas because they are certain to turn your dull headwear into a captivating fashion statement.
I am extremely proud to have penned and illustrated this “20 Innovative Hat Decorations Ideas” article and I genuinely hope that you will find inspiration from my unique creations and enjoy them as much as I did while crafting them.
Decorating a hat can transform a simple accessory into a unique fashion statement. Whether it’s a sun hat, a baseball cap, or a winter beanie, a touch of creativity can add personality and flair.
This article will guide you through a variety of hat decorating ideas, from simple additions like ribbons and flowers, to more intricate designs involving paint or embroidery.
Keep reading to discover detailed instructions, tips, and tricks that will help you create a hat that’s truly one-of-a-kind.
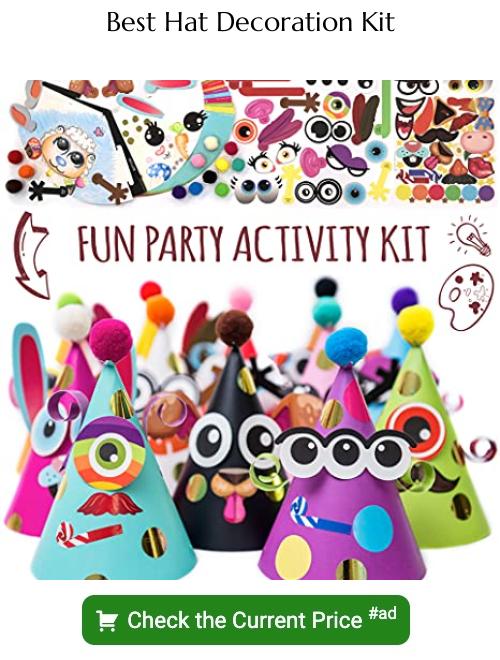
Glitter Patterns
Incorporating glitter into your hat design infuses it with a festive sparkle and draws attention. Start with a thin layer of craft glue; choose a pattern or go for a freestyle. Be frugal with your lines, since the smaller the application, the more pronounced the end effect.
Using a different color palette can create contrast, or stick to a monochromatic scheme for a uniform look. Once you’ve settled on your design, simply sprinkle your glitter over the perfectly-adhered glue and shake off any excess. It’s crucial to allow for ample drying time, ideally overnight, to ensure the glitter sets and doesn’t come off easily.
The next step is to seal the glitter, this can be done with a light spritz of hairspray or clear spray sealant. Voila! You now have a glitzy hat that screams fun.
Attached Feathers
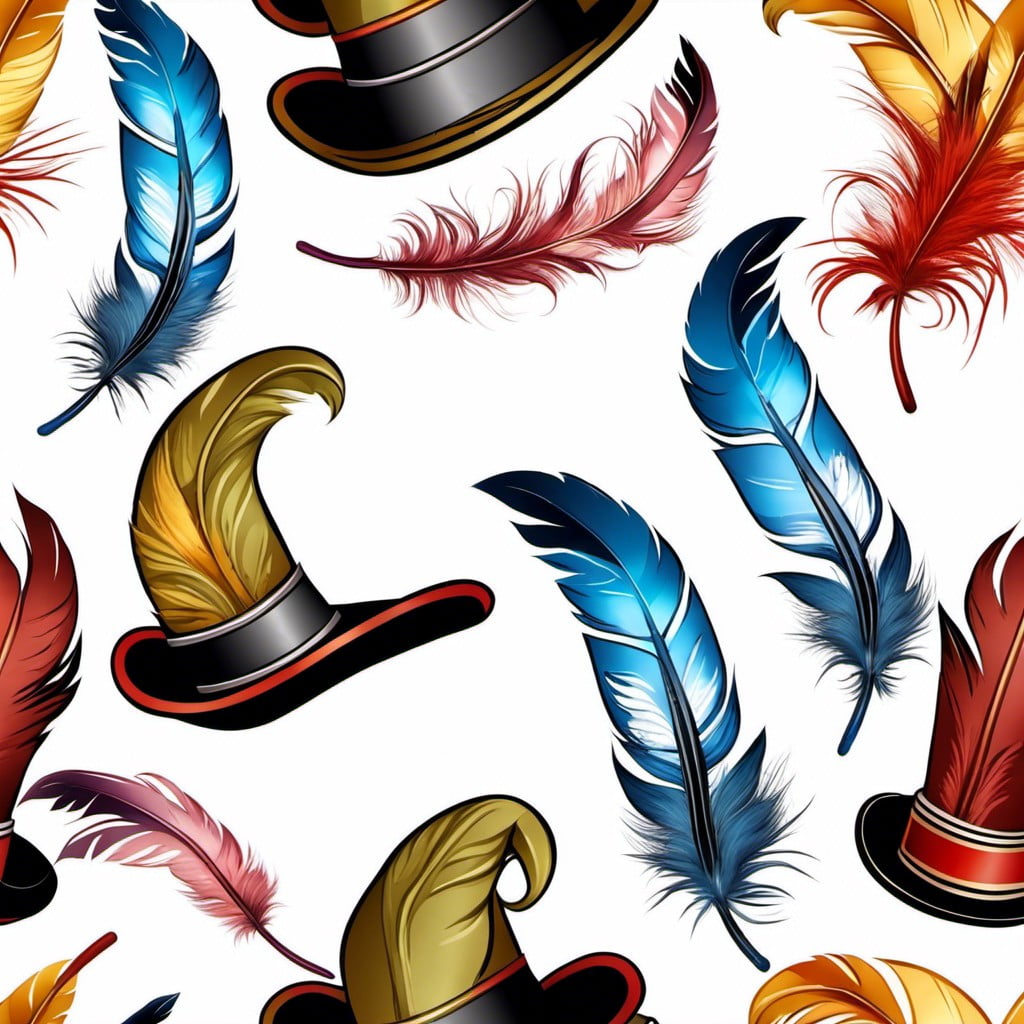
Adding nature’s beauty in the form of feathers can dramatically change a hat’s overall look. Ensure you select high-quality, well-preserved feathers for long-lasting effect.
From elegant peacock feathers to fluffy ostrich plumes or subtle pheasant feathers – your choices are plenty.
Arrange them tastefully either sticking up behind the band or gracefully falling over the brim, secured firmly by using strong adhesive or stitching them in place.
Consider their color in relation to your hat, you may want a harmonious shade or a bold contrast.
Be mindful of the feather’s size and positioning for a comfortable wear.
Sewn Patches
With a plethora of designs, shapes, and colors available, patches provide a quick and creative way to personalize your hat. They can be sewn directly onto the fabric, making them a durable adornment option.
To start, choose a patch that resonates with your personality or represents something you enjoy. Next, position it on a desired spot on your hat, perhaps the front panel, the side, or even the brim. Once you’ve decided on the placement, using thick thread and a sturdy needle will ensure your patch doesn’t waver. Opt for thread in the same color as the patch border for a seamless appearance.
Remember, if sewing isn’t your strong suit, don’t fret! Many patches come with adhesive backings, which simply require a hot iron to secure.
This method of decoration gives a nod to the vibrant world of street fashion. So let your creativity soar by adding a patch or two to your favorite headgear.
Hand-painted Designs
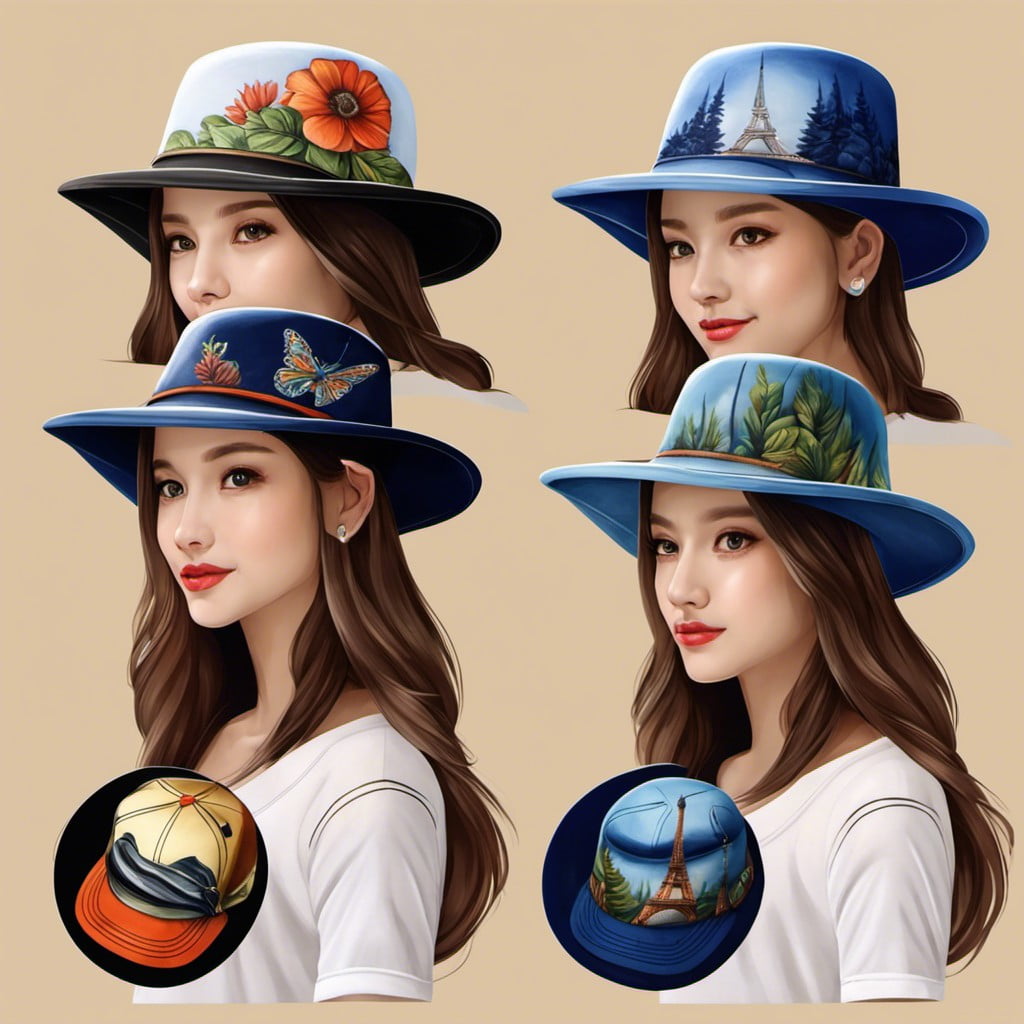
Grab a brush and set your creative spirit free with this fun and personal approach! Regardless of artistic skills, anyone can paint a hat.
1. Select the right paints: Non-washable, fabric-appropriate hues promise longevity and vibrancy.
2. Sketch first: Lightly draft your design with a pencil before bringing it to life with colors.
3. Implement layers: Create depth and texture by employing multiple layers of paint.
4. Experiment with techniques: From stippling to hatching, different methods yield distinct visual effects.
5. Seal the design: To preserve the artwork, apply clear acrylic sealer post-painting.
Remember, mistakes can act as an unexpected dash of originality, adding charm to your hat!
Bead Embroidery
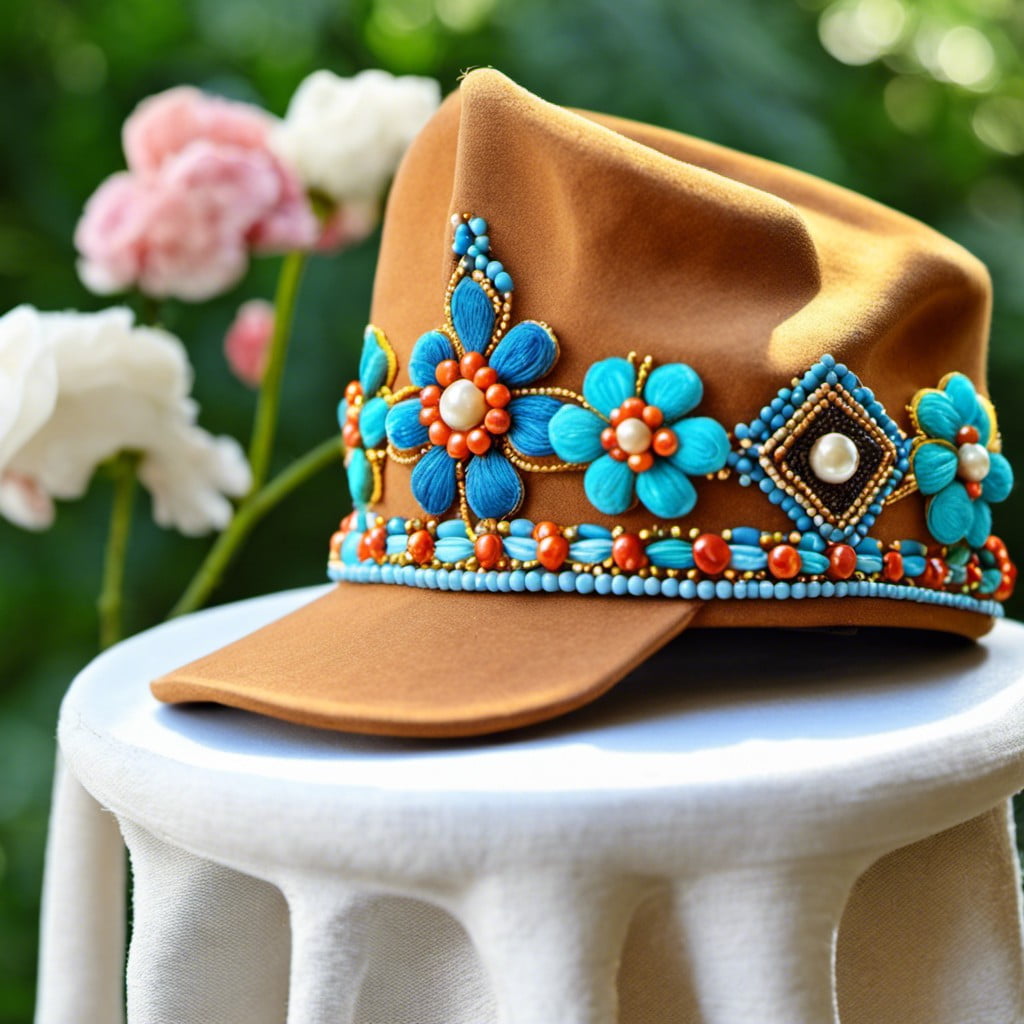
Embellishing a hat with intricate beadwork is an age-old craft that exudes both elegance and personality. Here are some pointers for this type of adornment:
1. Design: Consider creating a motif or pattern to follow. It enhances clarity of your design and keeps you organized.
2. Beads: Opt for glass or plastic beads. Available in a variety of colors and shapes, they provide endless possibilities for personalization.
3. Materials: You’ll need a beading needle, strong thread, and your chosen beads. You may also want an embroidery hoop to keep your fabric taut while you work.
4. Technique: Start with an outline and then fill it in, or try a more freeform approach. Whichever method you choose, ensure to secure the thread after each bead to keep them from sliding or popping off.
5. Patience: Beading requires time and precision. Remember, it’s not a race – take your time to place each bead correctly and you’ll be rewarded with an exceptional final product.
Lace Trim
Adding to the sophistication of your hat is simple with the assistance of lace trim. In a variety of styles, sizes and colors, it’s a versatile tool to amplify the chic factor.
1. Partially Wrap: Partially wrapping the brim highlights certain portions and creates a lacy peek-a-boo effect.
2. Full Wrap: A full wrap can provide a Victorian or Steampunk aesthetic, truly transforming the entire hat.
3. Edge Fringe: Utilize lace trim as an edging on the brim for a delicate, romantic touch.
4. Crown Band: Wrapping the crown creates a vintage, feminine feel. Select a trim that augments your hat’s personality.
5. Combine Trims: Don’t be afraid to juxtapose heavy and light laces, or even color contrast, for dynamic texture and depth.
Whichever way you use it, lace has the ability to bring a dash of elegance and finesse. While choosing the trim, take note of the hat’s existing design details to ensure compatibility. Keep the lace secure using a fabric glue or needle and thread for an enduring impact.
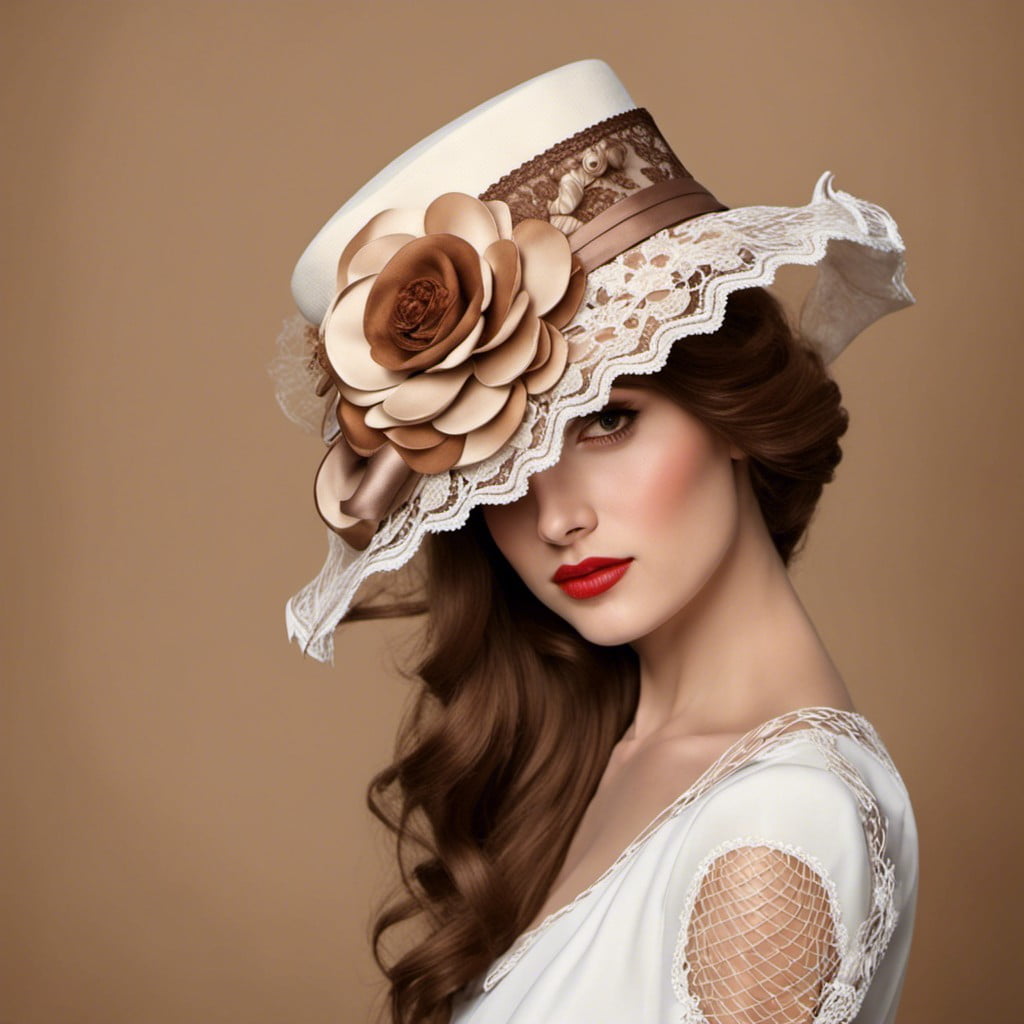
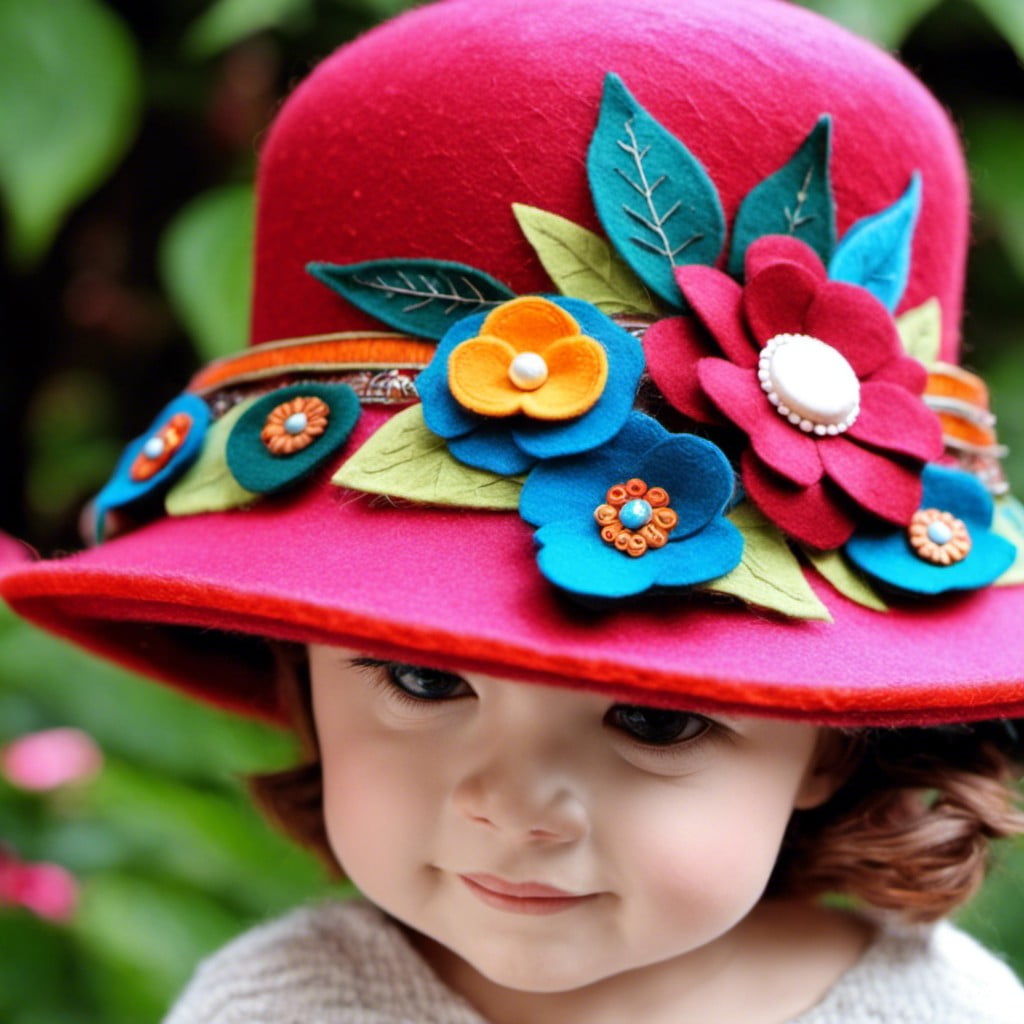
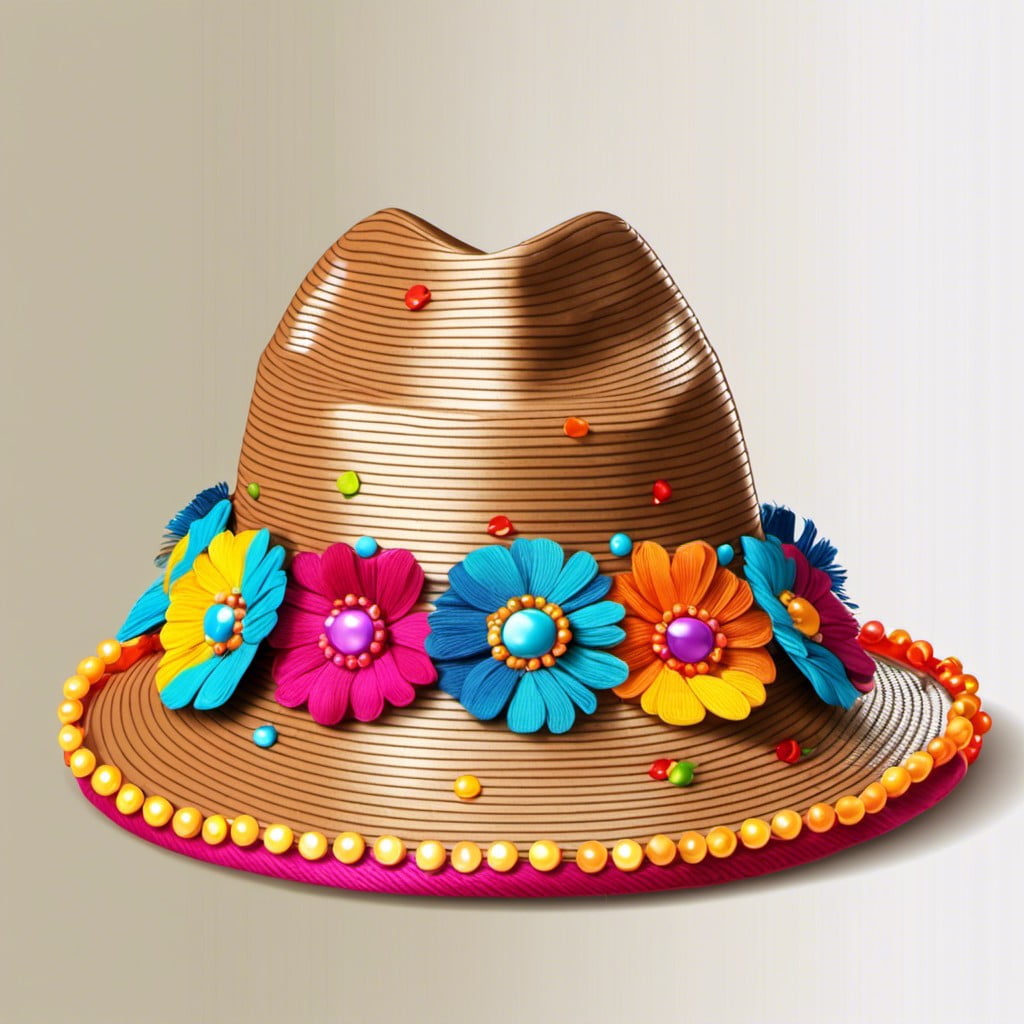
Fabric Flowers

Choosing the right style and colour for your fabric flowers can bring a refreshing element to your hat. You can either buy premade ones or craft your own from silk or cotton fabric.
To add flowers, just apply a dollop of fabric glue on the hat and press the flower onto it. More than one can be added for a cascading effect or just a single one for a more minimalistic look.
Positioning at the brim, crown or right on the band, can dramatically alter the look. Remember to complement the colour of your flowers with your hat for an aesthetically pleasing look. You can also mix sizes and types to add more visual interest.
Happily, most fabric flowers are weather-resistant, ensuring the longevity of your design.
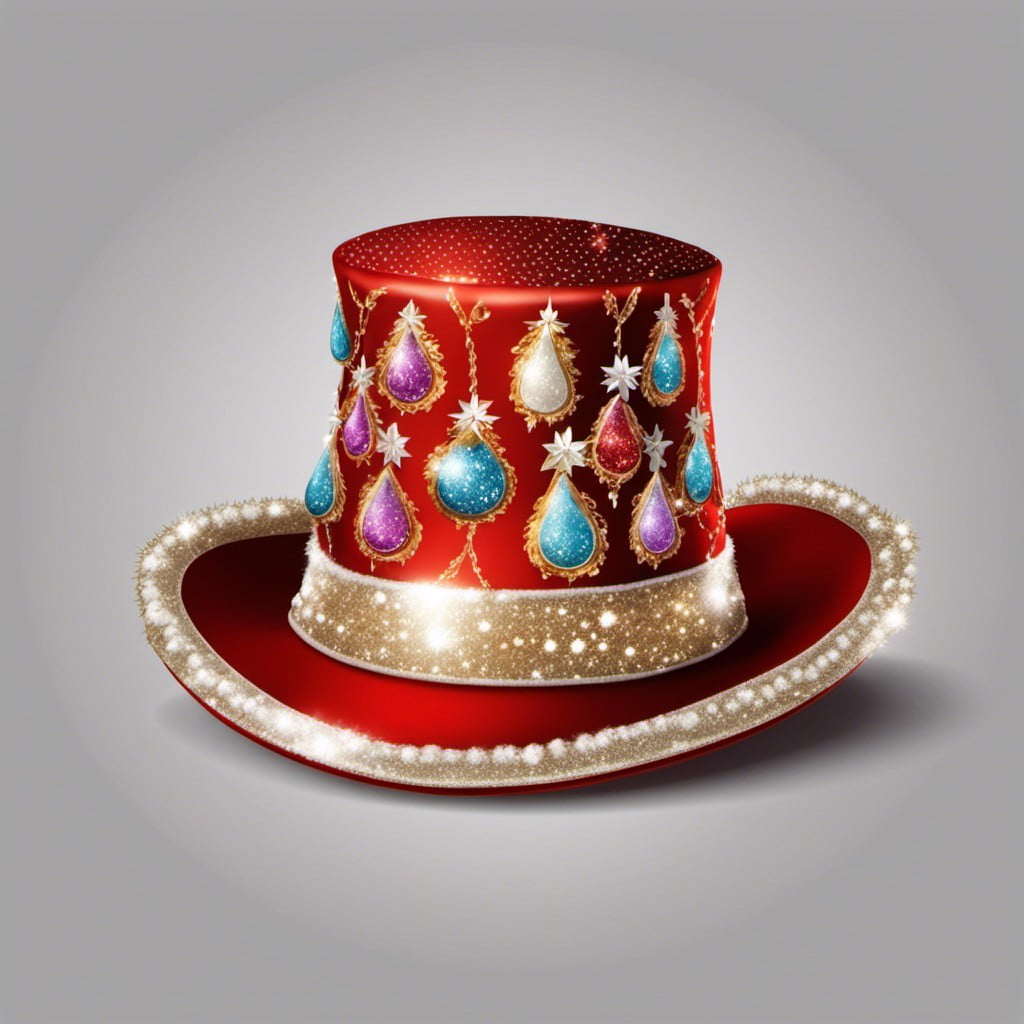
Rhinestone Studs
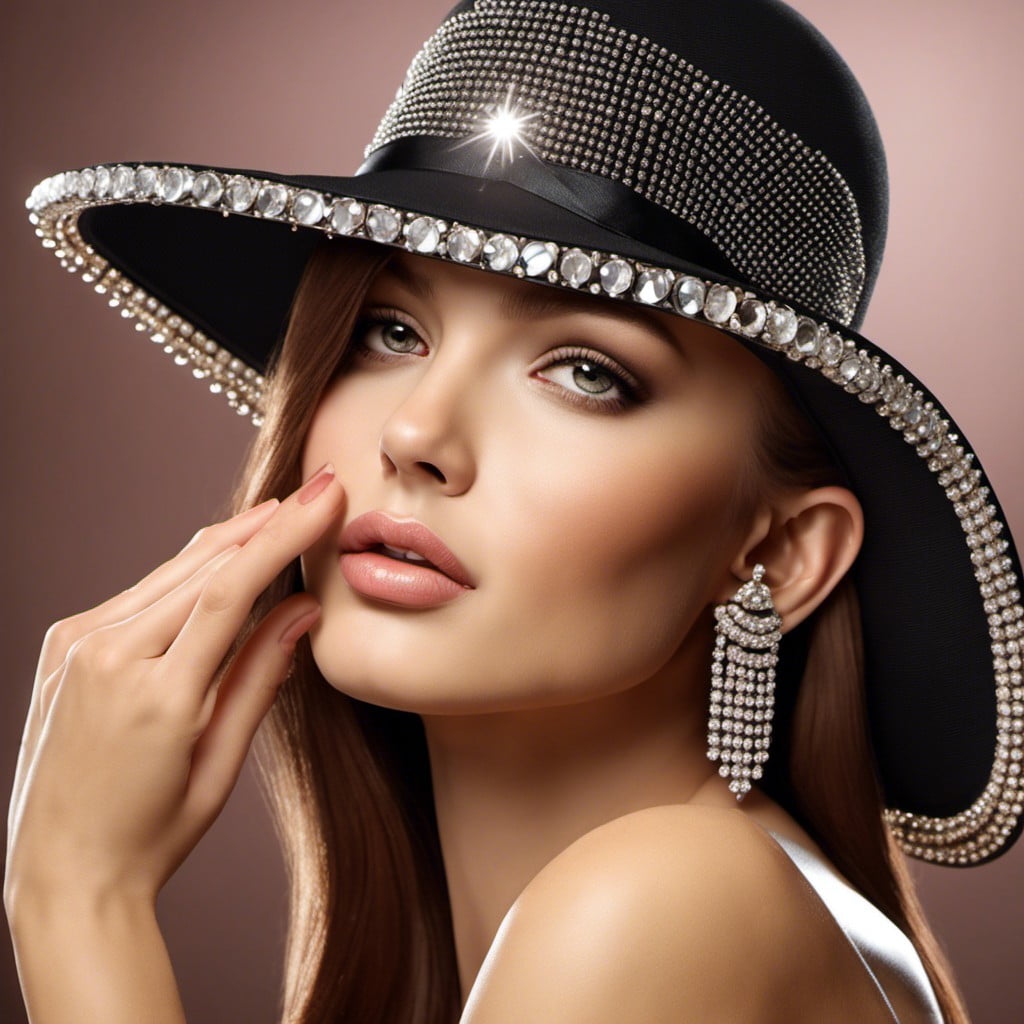
Opting for rhinestones can inject a dash of chic sparkle into your hat. The glitz of the studs captures light, readily creating an eye-catching piece.
There are two common methods to attach them. One is by using specialized glue that’s suitable for fabric. This is the quickest method and allows for precise placement.
Keep in mind, rhinestones come in various shapes and sizes, giving you limitless possibilities to create striking designs.
Another favorable method is to sew the studs into the fabric for a more secure attachment, especially for hats that see heavy use.
Remember, less is more with rhinestones; you can achieve elegant results with minimal studding.
It’s easier to add more later if desired, instead of removing excess.
Themed Stickers
From whimsical to sophisticated, stickers serve as perfect instantaneous elements for hat decorations. Layout imaginations on the hat can be wide and varied. For a children’s theme, consider vibrant animations, cool superheroes, or playful animals.
Dive into a nautical or beach theme with shells, anchors, or tropical fish.
Stickers can be placed categorically or arranged randomly around the brim. A vertical arrangement on the hat’s crown can provide an edgy look. With the availability of weather and water-resistant stickers, outdoor use will not restrain these creative ideas.
One layering technique to consider: apply the stickers first, then follow up with other decorative elements. This approach allows other items to complement the sticker theme seamlessly. Meanwhile, stick-on jewels or beads can be combined with themed stickers for added dimension and sparkle.
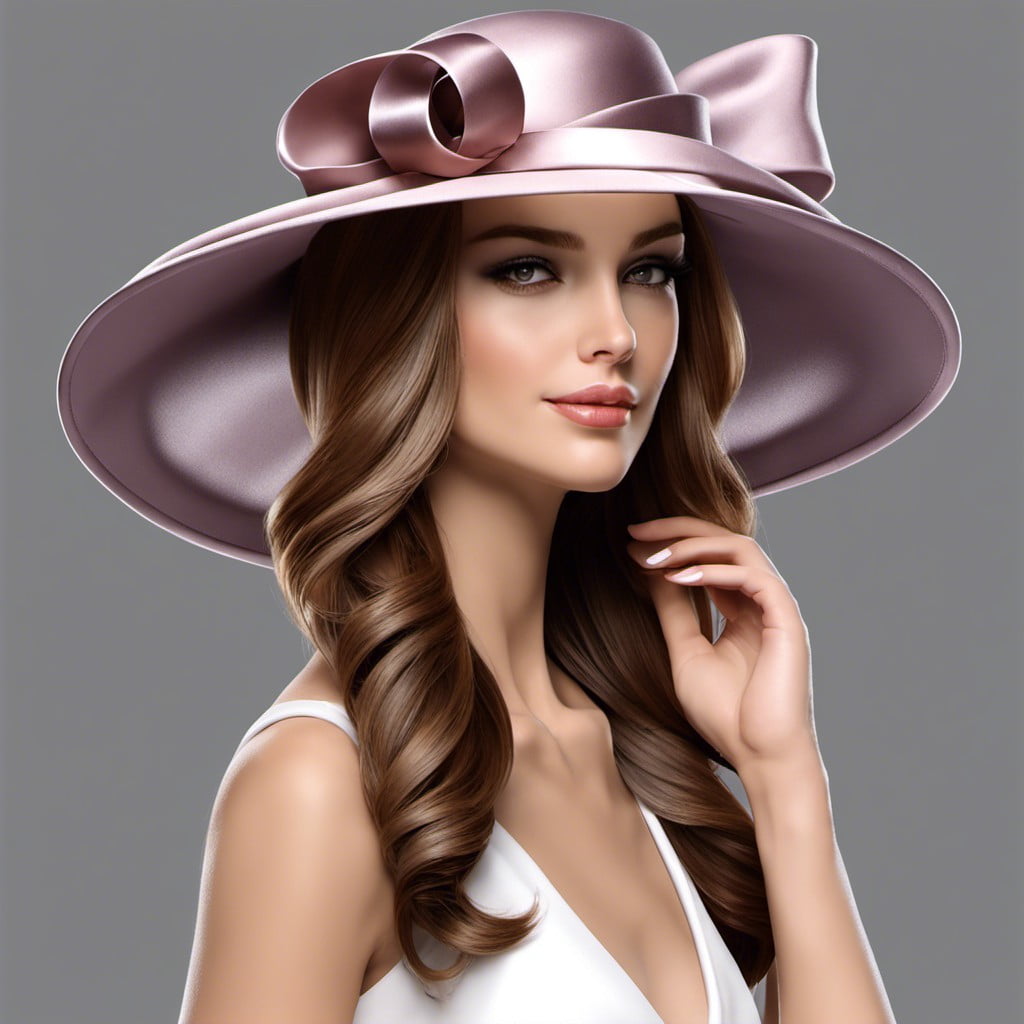
Ribbon Bow
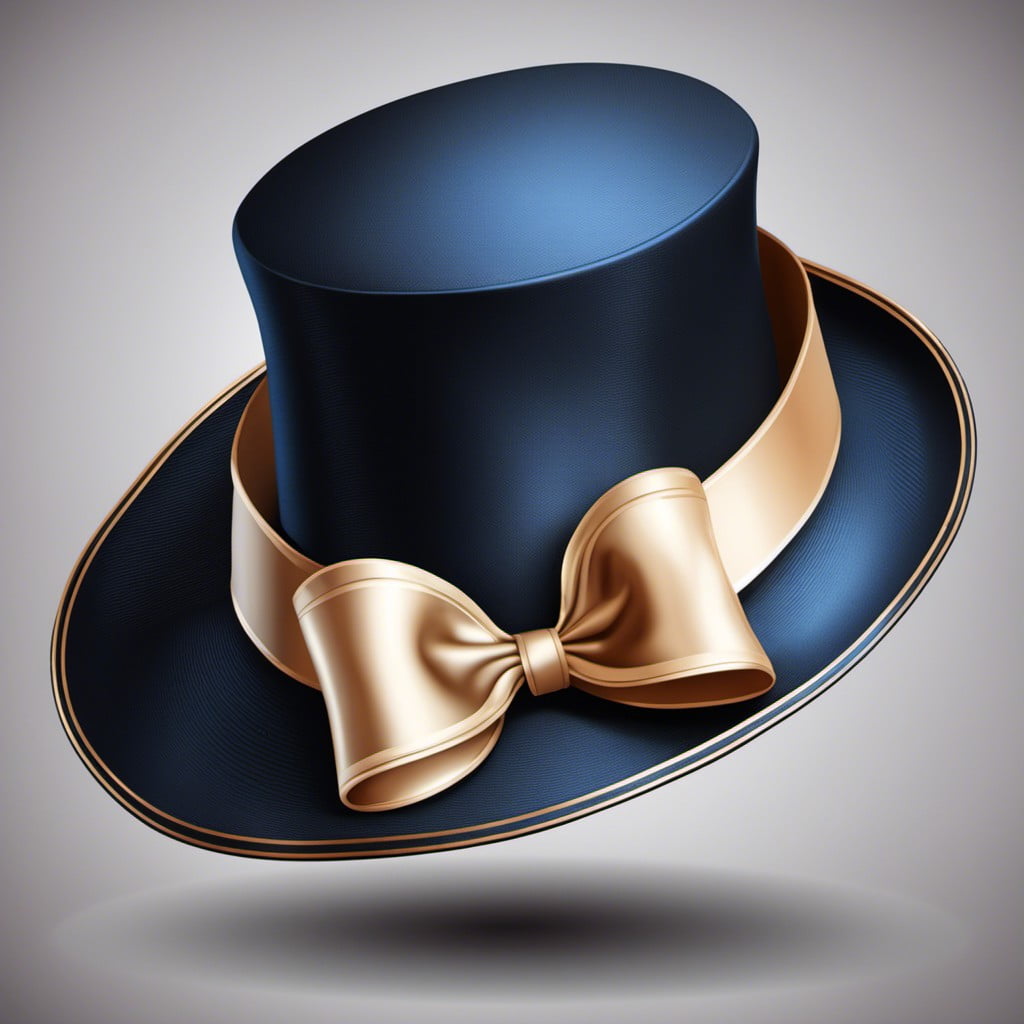
Transforming an ordinary hat into a fashionable piece can be as simple as adding a ribbon bow. Picking the right ribbon, of satin or organza, is essential. The wider the ribbon, the grander the bow will look. As for color, it’s ideal to either compliment or contrast the hue of the hat.
Creating the bow itself needs careful attention. Start by tying a basic knot in the center of a length of ribbon, leaving long tails on either end. Tie a loop on both sides of the knot to create the bow. You can pin or sew the bow to the hat. Experiment with placement, either on the side of the hat or at the back. To secure the bow, use needle and thread matching the ribbon.
For a creative twist, consider layering ribbons of varying widths or colors. This adds depth and drama to the hat. Remember, knowing when to stop is key – the goal is not to overpower the hat with the ribbon bow, but to complement and enhance it. This elegant addition can drastically uplift the aesthetic of your hat, making it a chic accessory.
Sequin Appliques
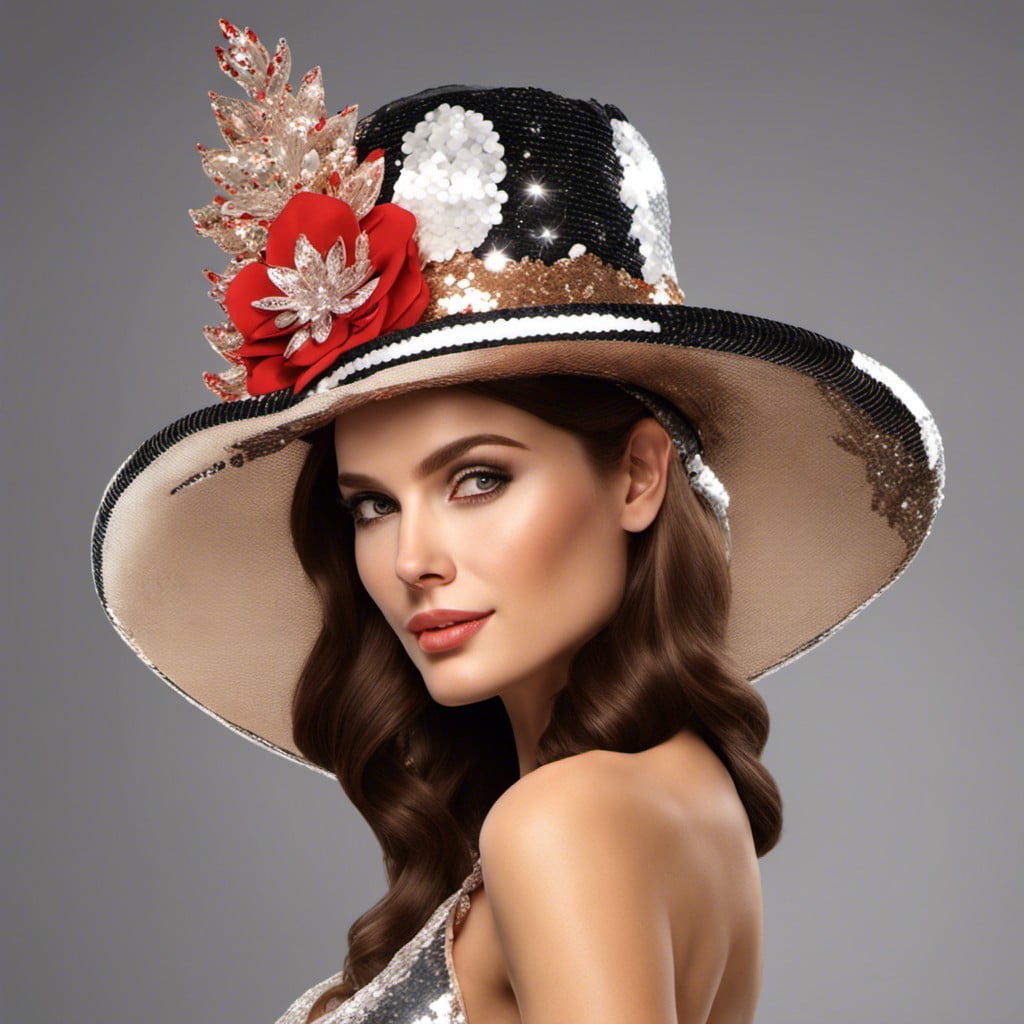
When choosing your design, consider the hat’s color and style for the maximum impact. Variety is key, as sequins come in different shapes, sizes, and colors.
The process involves the careful placement of each piece before using fabric glue or needle and thread to secure them. For a subtle shine, opt for smaller sequins scattered sporadically. On the contrary, to make a bold statement, large sequin appliques arranged in a specific design works wonders.
Remember to allow enough drying time before wearing it. Rest assured, a sequin appliqué hat brings a sparkle wherever you go.
Button Clusters
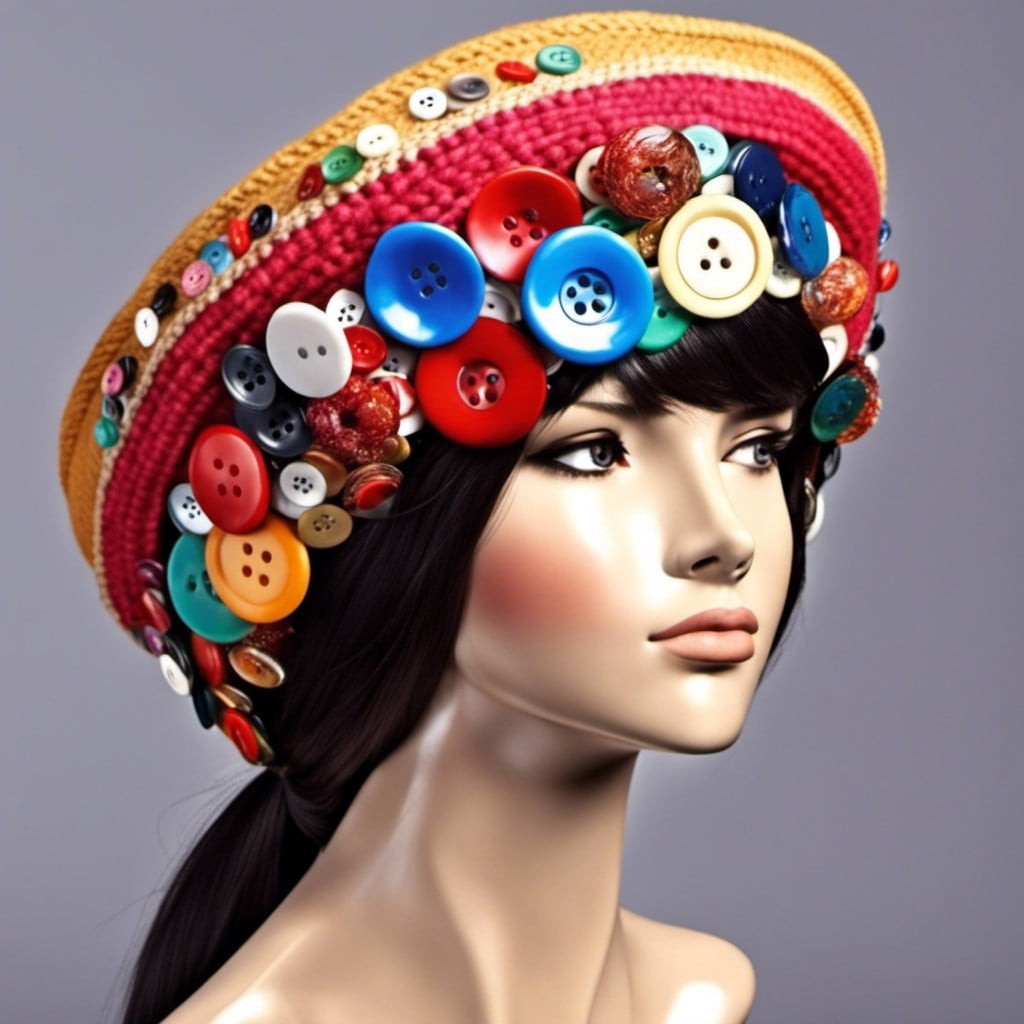
Clusters offer a unique way to utilize buttons of various sizes, colors, and designs. Start by gathering buttons that match or complement the color scheme of the hat – these could be vintage finds, colorful plastics, or ornate metal pieces.
Choose a place on the hat for the cluster, remembering that positioning can change the look of your hat. A cluster towards the side gives an asymmetric look, while positioning in the middle creates a well-balanced focal point.
For application, plan out the cluster on a flat surface before you start sewing, ensuring there’s a mix of sizes and colors. Start with larger buttons, sewing them directly onto the hat, then fill in gaps with smaller buttons.
A button cluster can be a subtle touch or a grand statement depending on the chosen buttons and placement. This technique allows creativity and a personal touch since no two button clusters will ever be the same.
Satin Wrapped Brim
Satin, known for its shiny and luxurious feel, offers a great way to upscale any hat. To start off with this idea, all you need is a strip of satin fabric or ribbon matching the color of your hat or providing a contrasting look.
Begin by wrapping it around the brim, ensuring a snug fit. This can be secured in place using fabric glue or a few stitches here and there. You might take it up a notch by adding a bow, rose, or buckle for added sophistication.
This technique helps create a refined look while also offering an extra layer of protection for the brim of your hat. It’s an easy yet effective method of personalizing any headgear.
Now, your hat isn’t just functional, it’s fabulously fashionable!
Charm Dangles
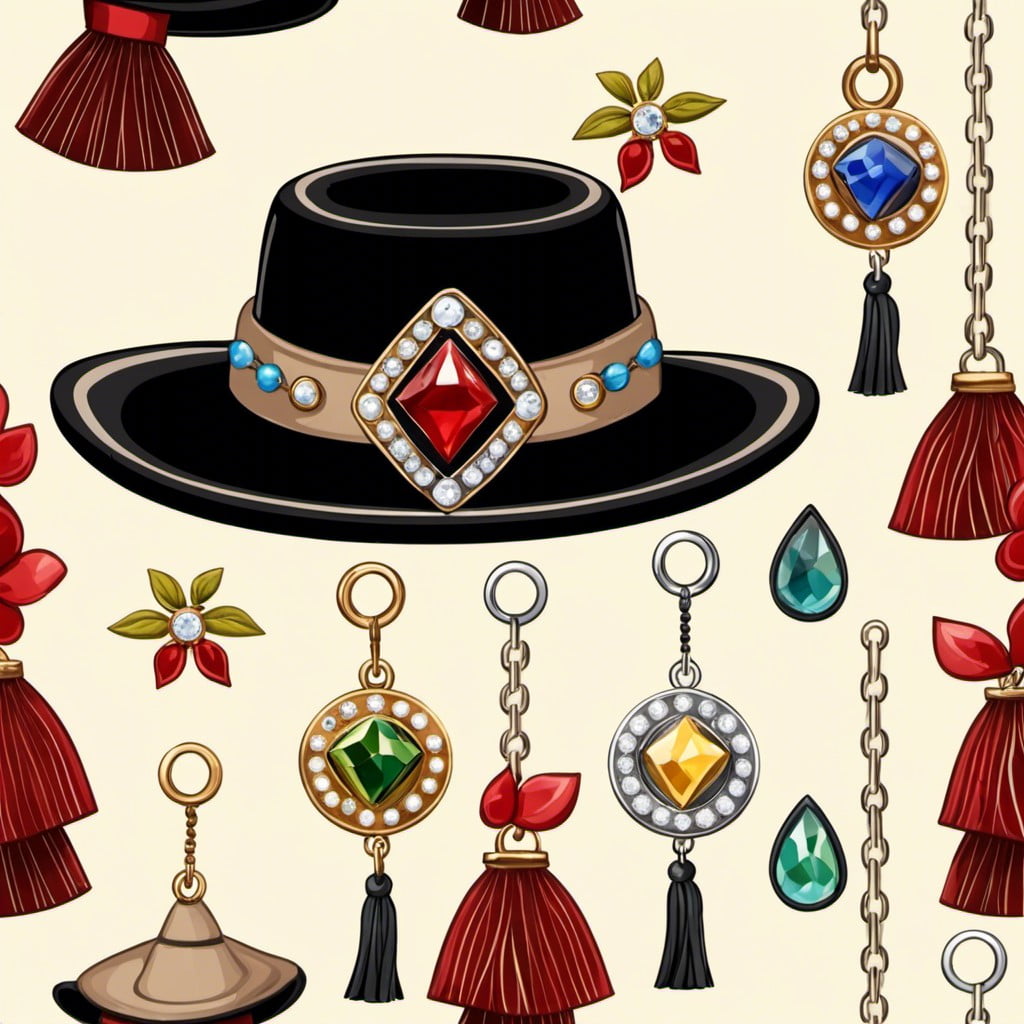
Using miniature trinkets and jewelry parts, you can create standout details on your hat’s brim or base. Opt for small metallic pieces which are lightweight and aesthetically appealing like charm dangles. These are versatile embellishments available in numerous shapes, styles, and materials.
You might choose whimsical designs such as animals, stars, or flowers, or go for more classic shapes like hearts or circles. Simply hook them onto a hat using jump rings or tie them directly to hat ribbon or fabric. Ensure they’re securely attached for sturdiness and durability.
This distinctive adornment adds a personal touch, showing your unique style every time you wear the hat.
Brooch Pin
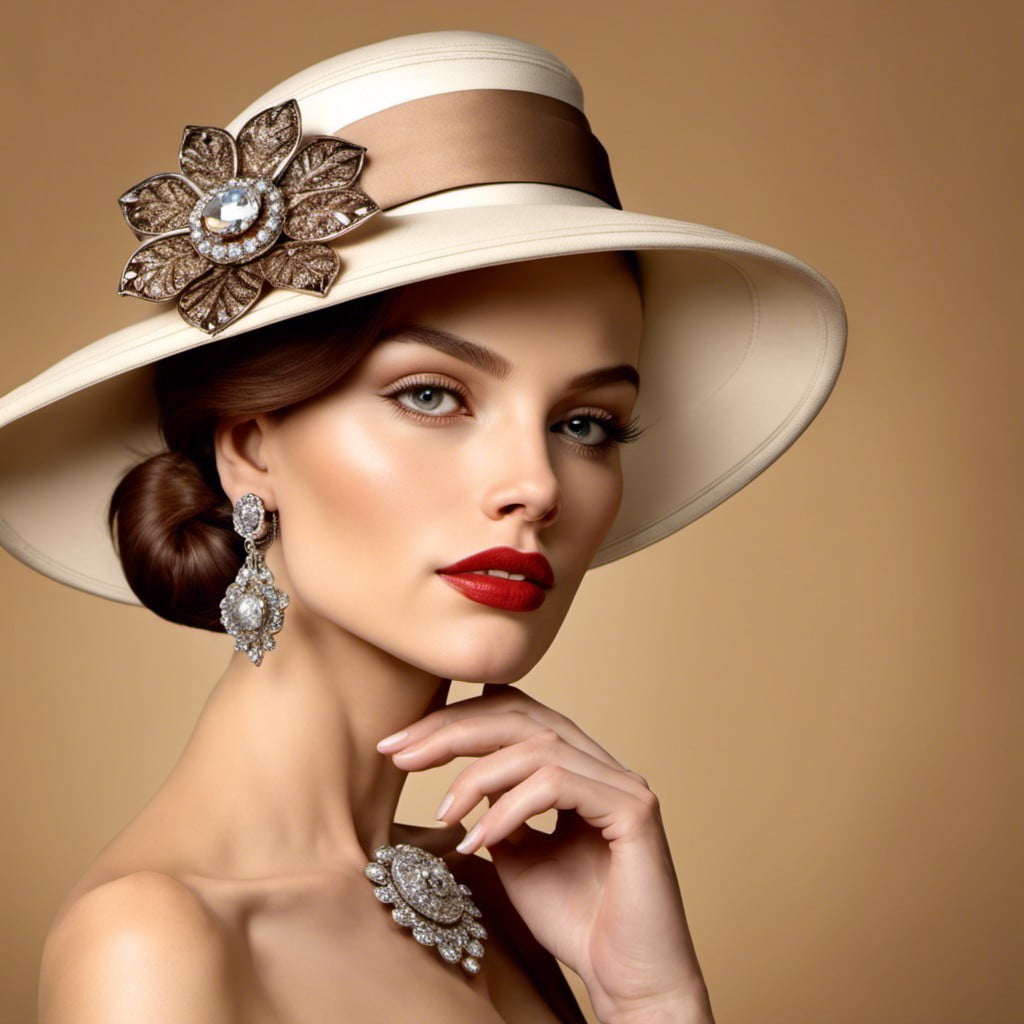
A brooch pin can add an element of vintage charm. Choose one that complements the style of your hat or one that stands out as a statement piece.
Pin it securely onto the band, not too close to the edges, to prevent any damage. An alternative positioning could be the brim of the hat for a unique spin.
Ensure to orient the brooch properly, a well-placed brooch can alter the appearance of your hat dramatically. A floral classic pin offers a dash of elegance, while a vivid, colorful one introduces a fun, playful vibe.
Mixing and matching brooches, depending on the occasion, can bring new life to your hat each time it’s worn.
Glued Seashells
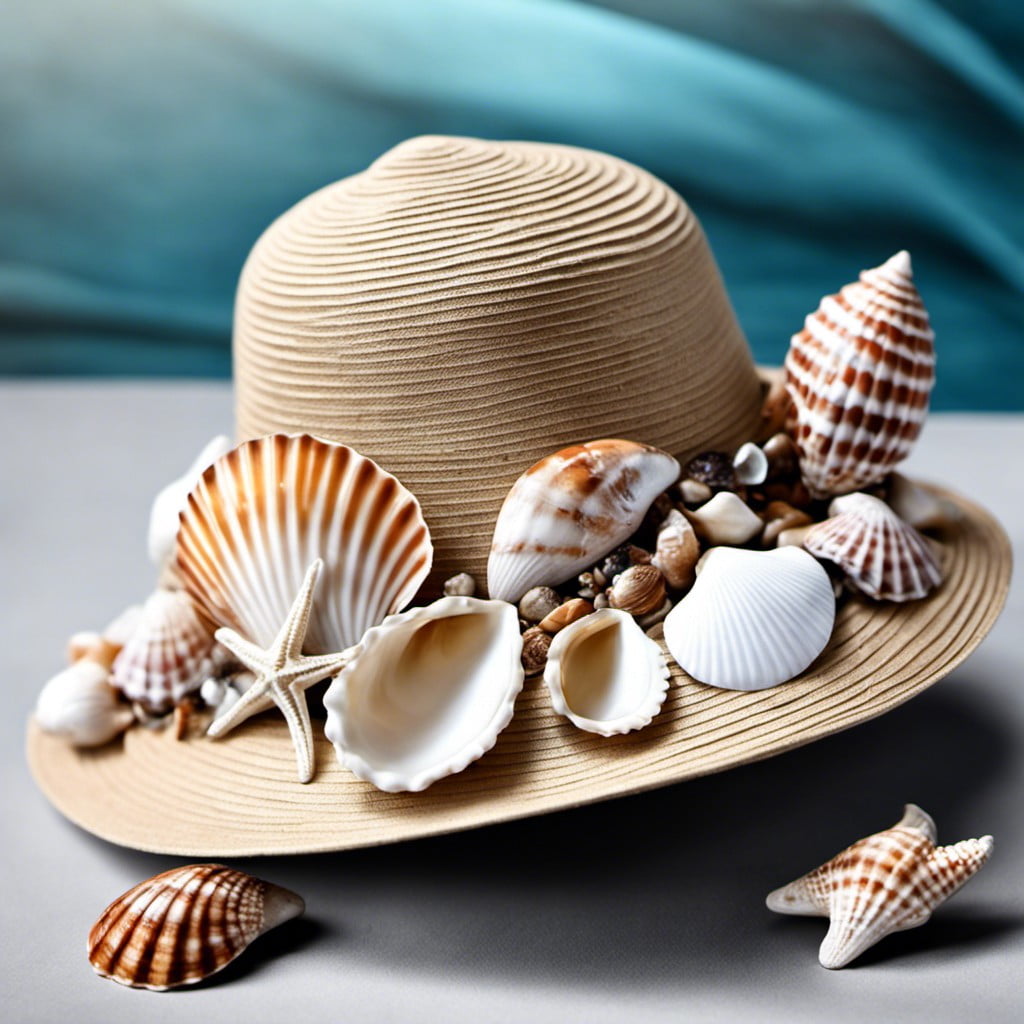
Selecting a variety of seashells offers an opportunity to incorporate a beachy, natural vibe to your hat. From tiny conch shells to colorful sea glass, the choices are expansive.
To start with, ensure all shells are clean and dry.
It’s vital to plan your shell placement before applying glue. This step will help create a balanced, eye-catching design.
Next, a hot glue gun is recommended due to its strong bonding ability and quick drying time. Apply a generous amount of glue on each shell’s back, then press it onto the desired hat location.
Remember to work in small sections to prevent the glue from hardening before shell placement. It would be best to use smaller shells for the hat brim and larger ones for the crown for better weight distribution and visual harmony.
Always employ your best judgment and creativity in this process.
Safety tip: Beware of the hot glue gun’s heated tip to avoid burns, and be patient by allowing the shells to dry fully before wearing or storing your newly decorated hat.
Yarn Pom-poms
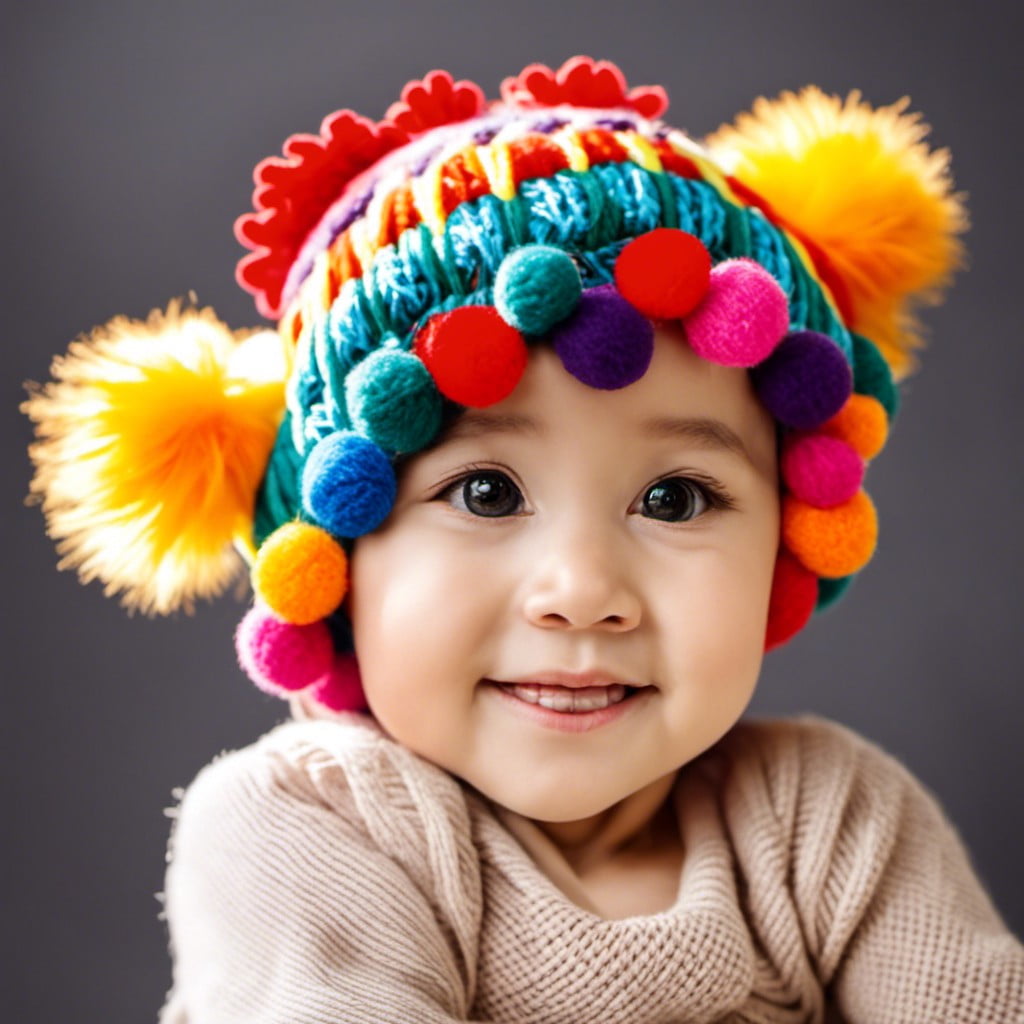
Creating pom-poms from yarn brings a fun, whimsical touch to your hat. Depending on the color and size, they can add a pop of vibrancy or a subtle accent.
Begin by wrapping your selected yarn around a piece of cardboard or your fingers. The more turns, the denser your pom-pom becomes. Use scissors to cut the yarn off one end, then carefully slide out the cardboard or your fingers. Secure the middle tightly with a piece of yarn, then fluff out the ends to create the pom-pom shape.
You can then sew these handmade adornments onto your hat, either singularly, in a line like a ridge, or as a cluster on one side. You can also choose to make them detachable for versatility, attaching them via a tied loop or a safety pin. This allows you to interchange pom-poms of different colors and sizes depending on your mood or outfit for the day.
Moreover, yarn pom-poms are a cost-effective and easily accessible way to spruce up your hat.
Custom Embroidery
Delving into the realm of unique and personal flair, custom embroidery offers a plethora of design options. This versatile method can be used to incorporate symbols, words or complex patterns on your hat. Portraying a favorite quote or a simple monogram can capture your personality perfectly.
Skill levels can range from beginner to advanced, with a myriad of stitch types like the basic running stitch or intricate French knot. For those less confident with a needle, consider using iron-on embroidered patches, offering similar aesthetics with less effort. Remember, it’s all about creativity and making your hat unmistakably yours.
Felt Appliques
Begin with a wide assortment of colored felt sheets, sharp scissors, and strong fabric glue. Drafting out the shapes on paper first can assist in ensuring precision, especially during more intricate designs.
Nature-inspired figures, like butterflies, leaves or snowflakes, make wonderful patterns. Add further dimension to your design by layering pieces of felt on top of each other.
Consider texture and contrast – mixing soft, fluffy felt with smooth, finished felt offsets the materials nicely. Don’t shy away from creating off-beat or niche designs; uniquely personal appliques can transform a hat into wearable art.
When sticking the appliques on your hat, remember to place them gently, ensuring they are flush against the material to prevent any parts peeling off.
Keep in mind, it’s better to have excess glue wiped off than insufficient amounts causing your design to falter. Be fearless and inventive: the sky’s the limit with felt appliques!
Tassel Fringe
Incorporating tassel fringe embellishments adds texture and visual interest.
1. Select the fringe: Choose from a variety of materials and colors to match your hat.
2. Placement: Typically, tassel fringes are attached to the brim or on the top as a single, decorative element.
3. Attachment: Use a durable fabric adhesive or sew directly onto the hat.
4. Layering: Experiment with layering different lengths or tones of tassel fringes for an eclectic look.
5. Care: Tassel fringes may need extra care, consider this before use in outdoor or active circumstances. Remember to always check the cleaning instructions to avoid damaging your creation.
Read More Like This
 15 Funny Graduation Cap Ideas to Make Your Big Day Unforgettable
 15 Unique DIY Christmas Decorations Ideas for a Festive Home
 15 Creative Science Fair Board Ideas to Amaze Your Audience
 15 Handmade Envelope Decoration Ideas for Creative Gifting
 10 DIY Gifts for the Whiskey Lover in Your Life
Recap: