Last updated on
Screw anchors for tile are essential because they provide the strength and stability that can dictate the longevity and durability of your installations.
If you’re dealing with attaching fixtures to tile, it can be a nerve-wracking process: tiles can crack or chip, which can leave you with problematic repairs. That’s where tile anchors come in. These reliable metal devices are designed to provide a sturdy point of support for screws without causing damage to the tile surface.
We’re diving into a straightforward guide that covers every step you’ll need to correctly screw anchors into tile. So, whether you’re hanging a mirror in the restroom, mounting a soap dish, or completing another tile-based project, these step-by-step instructions have you covered. Stick with us. You’ll see the details needed to successfully secure fixtures to tile through anchored screws.
Key takeaways:
- Select the right type of tile screw anchors for your project
- Understand the process of drilling into tiles and follow safety precautions
- Have the necessary tools, including a power drill, masonry drill bits, and safety gear
- Properly place the screw anchors in tiles for maximum support and aesthetic appeal
- Follow best practices for inserting screws into tiles, including pre-drilling holes and using slow speeds
Selecting the Type of Tile Screw Anchors
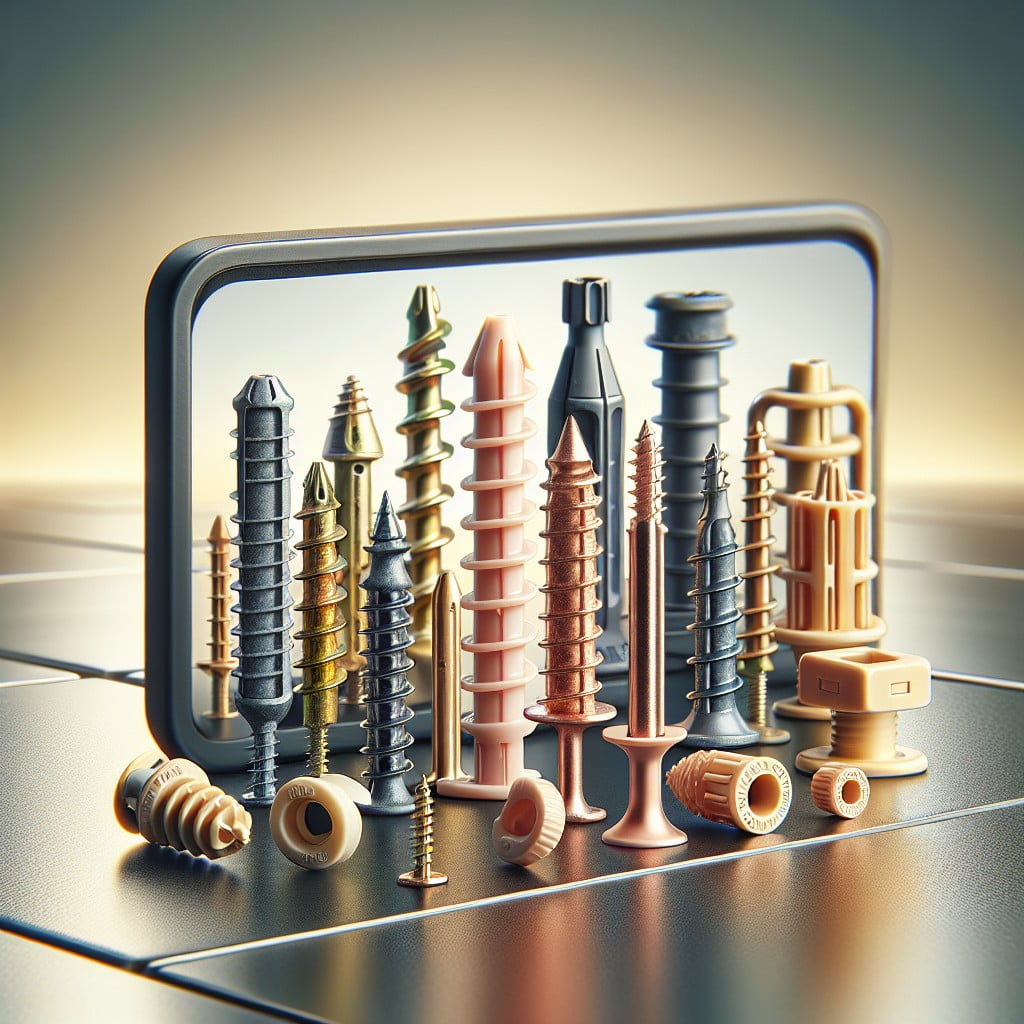
Several factors come into play when choosing the appropriate tile screw anchor. Firstly, consider the type and thickness of the tile. Some anchors are better suited for porcelain, while others work best with ceramic or stone tiles. Additionally, heavier tiles often require more robust anchors.
Secondly, the load the screw will bear is vital. For light items like pictures or towel bars, plastic anchors may suffice. However, for heftier objects such as shelves or cabinets, a metal anchor would be more suitable.
Thirdly, consider whether the tile is in a damp area, like a bathroom or kitchen. In this case, stainless steel anchors should be selected for their resistance to corrosion.
Lastly, the anchor’s size should match that of the screw. Use the manufacturer’s guidelines to ensure compatibility. Understanding these factors will help you select the optimal screw anchor for your tile.
Understanding the Process of Drilling Into Tiles

Drilling into tiles requires precision and the right technique to prevent damages. Following are a few foundational concepts to make the process efficient and successful:
1. Materials: Tiles are usually made of ceramic, porcelain, or stone. Each type demands a different level of care and certain drill bits to align with its hardness and breakability.
2. Safety: Eye and hand protection are a must when drilling to protect from potential flying tile fragments and dust.
3. Lubrication: Using water helps reduce tile surface heat that drilling may cause. It also prolongs the lifespan of your diamond drill bit.
4. Speed: A low drill speed is crucial. High speeds generate heat that can crack or damage tiles.
5. Pressure: Maintaining a steady, gentle pressure ensures the drill bit works effectively without causing tile cracks.
Remembering these points, you can navigate this process smoothly and efficiently, minimizing potential damages. Next, we’ll move on to discussing the necessary tools for this task.
Tools Required for Installing Tile Screw Anchors
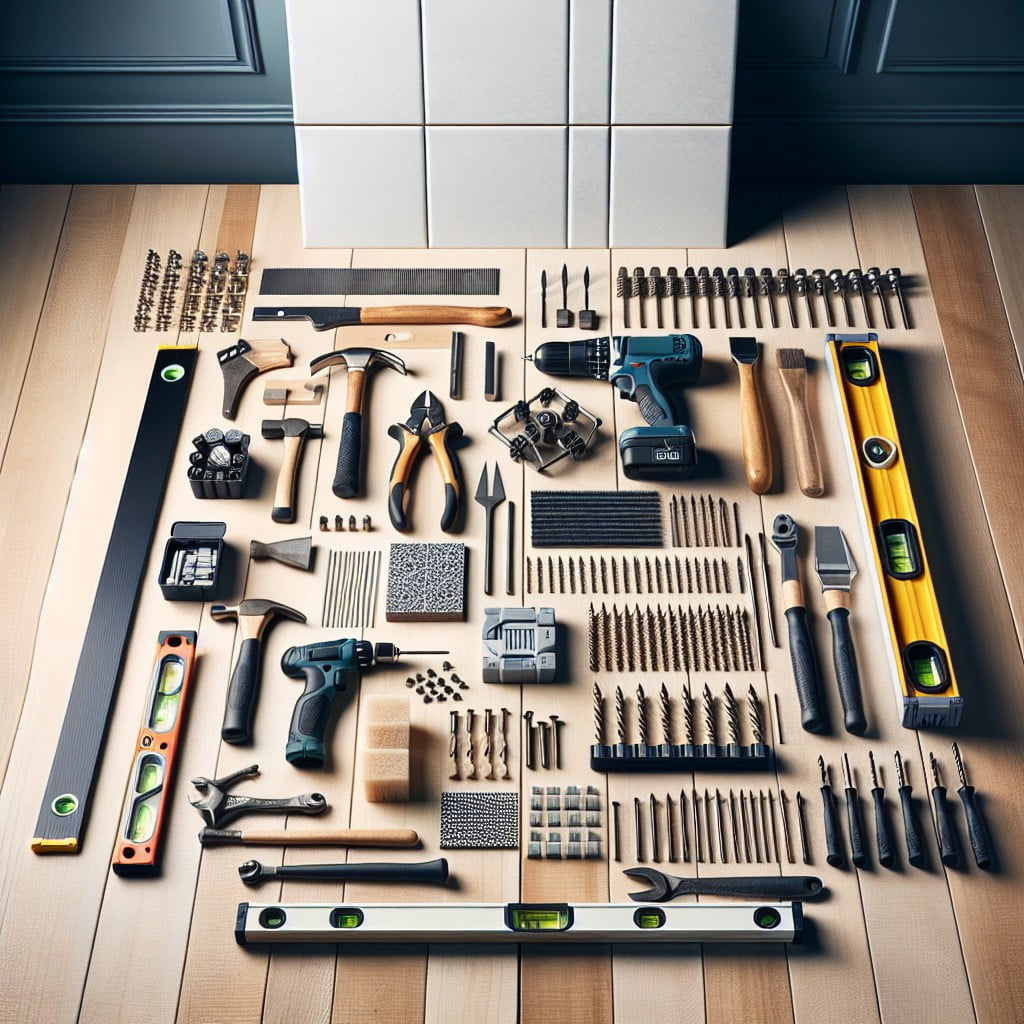
Stocking up on the right tools will ensure smooth installation. Crucial to this process are the following:
- 1. A power drill. An essential item in your toolkit, ensuring precise and efficient drilling into the tile.
- 2. Masonry drill bits. Choose carbide-tipped masonry drill bits that are designed for drilling into hard materials like tiles.
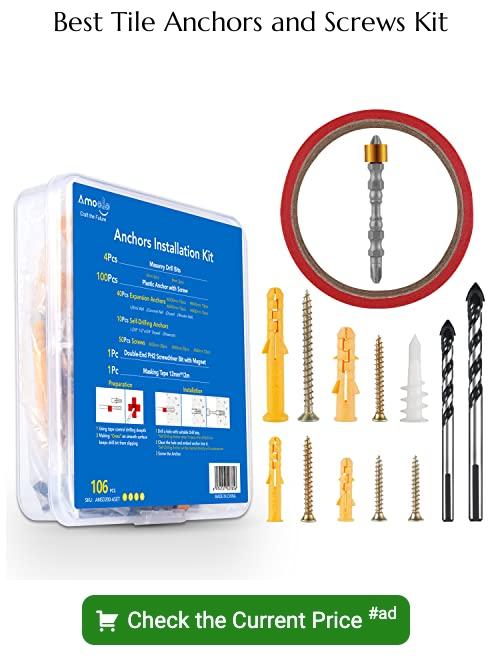
- 3. Screw anchors. Select the appropriate size and type based on the weight capacity you need.
- 4. Safety gear. Include gloves to protect your hands, safety goggles to shield your eyes from dust, and ear protection if working for extended periods.
- 5. A pencil and tape measure. Essential for marking the exact spots where you intend to install the anchors.
Equip yourself adequately before you begin the job. The right tools will not only make your work easier but will also prevent potential mishaps or damage to the tile. Furthermore, they tend to increase the overall effectiveness and longevity of your installation.
Correct Placement of Screw Anchors in Tiles

Placement of your anchors is of utmost importance to prevent tile damage and maintain aesthetic. Here are some key considerations:
1. Place anchors away from tile edges: The minimal distance prevents the chances of tile cracking.
2. Plan your layout: Make sure to have a pre-planned layout for your tiles, followed by marking where anchors will go. This helps avoid errors and time-consuming adjustments later.
3. Avoid high-stress areas: Anchors should not be directly under heavy items to minimize stress.
4. Use a level: To ensure vertical placement, use a good level.
5. Consistency: Try to keep a consistent distance between anchors for symmetry and to evenly distribute weight.
6. Installation height: If possible, avoid installing anchors too high to reach comfortably which might result in improper installation.
Remember, if the entire project seems overwhelming, professional help is always available for such delicate tasks.
Best Practices for Inserting Screws Into Tiles
Care and precision are essential when inserting screws into tiles. Follow these practices to prevent damage and ensure a firm mount:
1. Pre-drill the holes: Start by creating pilot holes using a small drill bit. This preliminary step lowers the risk of the tile cracking.
2. Use a slow speed: Operating your drill on a slow speed setting allows for greater control and reduces the chance of slipping that may scratch or crack the tile.
3. Apply constant, light pressure: Instead of forcing the drill, apply a steady but gentle pressure. This safe practice reduces strain on the tile.
4. Keep tools perpendicular: Holding your drill at a 90-degree angle to the tile surface ensures the screw goes straight into the tile, providing a more secure anchor.
5. Re-check the tile after drilling: After you’ve inserted the screw, examine the area around the hole for any signs of damage or cracking. Minor issues can often be corrected before they become bigger problems.
Remember: tiles are hard yet brittle, so patience and care are key.
Choosing the Right Drill Bit for Tile Screw Installation
Selecting an appropriate drill bit is crucial for an effective tile screw installation. Consider these essential points:
1. Material Specific: Tiling materials vary, thus requiring different types of drill bits. Ceramic tiles demand spade-shaped carbide-tipped masonry bits. For porcelain tiles, diamond-tipped bits are preferable.
2. Size Compatibility: The diameter of the drill bit must correlate with the screw anchor size. A general rule of thumb is to use a bit that’s 1/16th inch smaller than the anchor.
3. Speed and Pressure: Correct drill speed and pressure circumvent tile damage. Slow speeds paired with moderate pressure are recommended.
4. Water for Cooling: Drilling generates heat which might crack the tile. Using water to keep the bit cool avoids such incidents.
Remember, your drill bit choice directly impacts not only the success of your screw anchor installation but also the longevity and aesthetic appeal of your tiles.
Final Checks and Adjustment for Installed Tile Screw Anchors
After the installation process, it’s important to make some final checks and adjustments to ensure secure fixture. If you notice any loosely fitted anchors, tighten them slightly; it’s a delicate process so be cautious not to overtighten, which can cause tile damage.
Verify that the screws sit flush with the anchor; unevenness might result in unstable mountings. Utilize a level to ensure screw anchors are in line and straight; improper alignment could affect the integrity of your hangings.
Inspect your tile for any cracks or chips that might have occurred during installation. If there’s damage, consider professional repair or replacement to maintain the aesthetic and functional integrity of your tiled surface. Remember, the goal is to mount your items securely without harming the surface beauty of your tiles.
FAQ
Can you drill screws into tile?
Yes, screws can be drilled into tile by using a carbide bit for ceramic tile and a diamond-tipped bit for glass and porcelain.
Can you use wall anchors in tile?
Yes, you can use wall anchors in tile, although it’s typically necessary when you cannot catch a stud with each mounting screw.
What kind of drill bit is best for drilling into tile?
A carbide-tipped masonry drill bit is best for drilling into tile.
Can you install a towel rack on tile using screws and anchors?
Yes, a towel rack can be installed on tile using screws and anchors with the appropriate tools and steps.
What precautions should be taken when screwing anchors into ceramic tiles?
When screwing anchors into ceramic tiles, it’s crucial to mark your drilling spots carefully, employ a ceramic-specific drill bit, proceed slowly to prevent cracking the tile, and use a wall anchor that’s appropriate for the tile’s weight-bearing capacity.
Read More Like This
 15 Funny Graduation Cap Ideas to Make Your Big Day Unforgettable
 15 Unique DIY Christmas Decorations Ideas for a Festive Home
 15 Creative Science Fair Board Ideas to Amaze Your Audience
 15 Handmade Envelope Decoration Ideas for Creative Gifting
 10 DIY Gifts for the Whiskey Lover in Your Life
Recap: