Last updated on
Here are some simple steps you can take to securely fix a spice rack to a tiled wall. Read on!
What about those tricky spaces in your kitchen where you want easy access to your favorite spices? You know, those hard-to-reach areas where you’re constantly digging through cluttered cabinets or drawers. That’s where a spice rack comes in handy.
But how do you attach it securely to tile without damaging the surface? Don’t worry, I’ve got you covered! In this blog post, I’ll share my top tips for attaching a spice rack to tile so that you can have easy access to all of your favorite herbs and spices while keeping your kitchen organized and stylish.
So grab your tools and let’s get started!
Key takeaways:
- Choose the right spice rack based on your needs and available space.
- Prepare the tile surface by cleaning it thoroughly and marking where you want to mount the spice rack.
- Mark drill points accurately and use a drill bit designed for tiles to prevent cracking.
- Install wall anchors to provide extra support and prevent damage to the tiles.
- Attach the spice rack using silicone adhesive or screws, press firmly, and allow proper adhesion time before use.
Choosing the Right Spice Rack
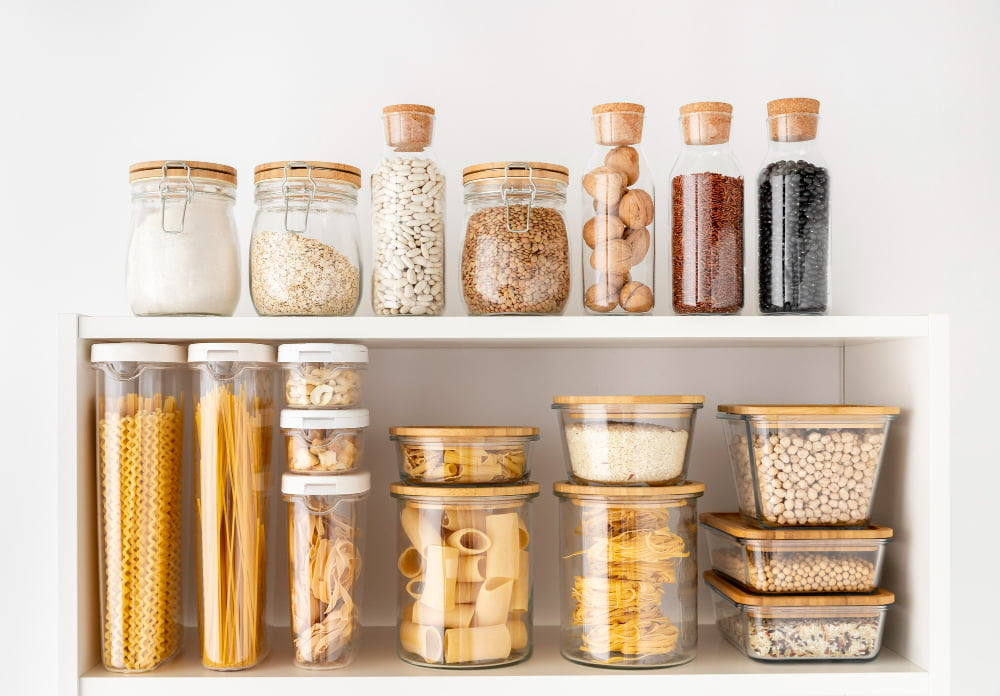
Many different types of spice racks are available on the market, from wall-mounted options to countertop models. Consider how much counter or wall space you have available and what type of spices you use most often.
If you have limited counter space, a wall-mounted option may be best for keeping your spices organized and easily accessible without taking up valuable workspace. On the other hand, if you prefer having all of your spices within arm’s reach while cooking, a countertop model may be more suitable.
When choosing a spice rack for tile installation specifically, look for ones with strong adhesive backing or mounting hardware designed specifically for tiles. This will ensure that it stays securely in place without damaging your tile surface.
Preparing the Tile Surface
Before we dive into the nitty-gritty of attaching a spice rack to tile, it’s important to prepare the surface properly. This will ensure that your spice rack is securely attached and won’t fall off over time.
Firstly, you’ll want to clean the area where you plan on attaching your spice rack. Use a mild detergent and warm water solution to remove any dirt or grime from the tiles. Once cleaned, dry thoroughly with a clean cloth.
Next up is determining where exactly on your tile surface you want your spice rack mounted. Take some time here as this decision can impact how easy it will be for you when cooking in future – so choose wisely!
Once decided upon, use painter’s tape or masking tape (or even washi tape) to mark out an outline of where each bracket should go before drilling holes into tiles directly; this way there are no mistakes made during installation process which could lead damage being caused by incorrect placement later down the line.
By taking these steps beforehand and preparing accordingly ,you’re setting yourself up for success when installing your new kitchen accessory!
Marking Drill Points
The first step is marking drill points. This will ensure that your spice rack is securely attached and won’t fall off over time.
To begin, measure the distance between each mounting hole on the back of your spice rack and mark those measurements onto a piece of painter’s tape. Then, use a level to make sure that these marks are straight and even.
Next, place the painter’s tape onto the area where you want to mount your spice rack on tile. Use a pencil or marker to transfer these markings from the tape onto your tile surface.
It’s important not only for aesthetic reasons but also for safety purposes when drilling into tiles; therefore it’s essential always double-checking before proceeding with any work in order not damaging them.
Once you have marked all your drill points accurately on both sides (the wall side and on top), it’s time now for drilling!
Drilling Into Tile Safely
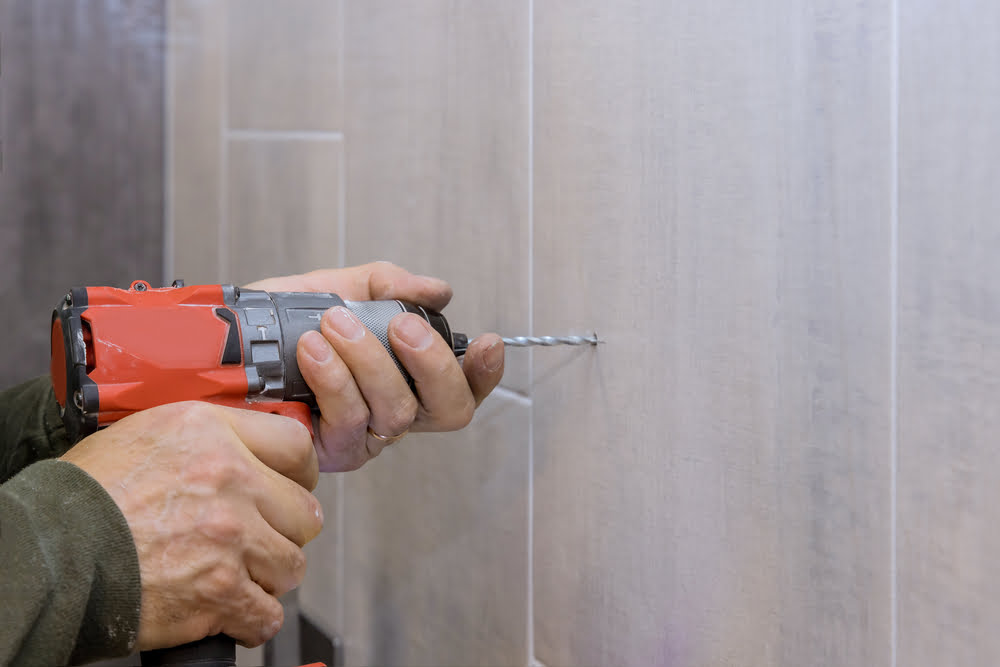
Here’s how to drill into the tile safely:
- Use a drill bit designed for tiles: A regular drill bit may cause the tile to crack or shatter during installation.
- Mark your spot carefully: Measure twice and mark once! Make sure you know exactly where you want your spice rack before starting.
- Start with a small pilot hole: Begin by using a smaller drill bit than what you need for the final hole size, this will help prevent cracking of tiles while making holes in them.
- Go slow and steady: Don’t rush through the process; take your time when drilling into tiles as they are fragile materials that require patience while working on them.
By following these simple steps, you’ll be able to attach your spice rack securely without damaging any of those beautiful kitchen backsplash tiles!
Installing Wall Anchors
Now that you’ve gathered all the necessary tools, it’s time to start attaching your spice rack to the tile. The first step is installing wall anchors.
Wall anchors are essential for securing any type of hardware onto a tiled surface as they provide extra support and prevent damage to your tiles.
To install wall anchors, use a drill bit that matches the size of your anchor and drill into each marked spot on the tile. Be sure not to apply too much pressure or force while drilling as this can cause cracks in your tiles.
Once you have drilled holes for each anchor, gently tap them into place with a hammer until they sit flush against the surface of the tile. Make sure they’re secure by giving them a gentle tug – if they move at all, then you’ll need larger or different types of wall anchors.
With sturdy wall anchors in place, now it’s time to attach brackets or screws onto which you will hang your spice rack securely without damaging either its contents nor ruining those beautiful tiles!
Attaching the Spice Rack
Now that you’ve gathered your tools, it’s time to attach the spice rack to your tile. The first step is to determine where you want the spice rack placed and mark it with a pencil.
Make sure that the area is clean and dry before proceeding.
Next, apply a small amount of silicone adhesive or double-sided mounting tape on each corner of the backside of your spice rack. Be careful not to use too much adhesive as this can cause damage when removing later on.
Once you have applied enough adhesive, carefully place your spice rack onto the marked area on your tile surface. Press firmly for at least 30 seconds so that it adheres properly.
Now comes the hard part – waiting! Allow at least 24 hours for proper adhesion before placing any spices in your new organizer.
With these simple steps, attaching a spice rack securely onto tile has never been easier! Not only will this save space in cluttered cabinets but also add an aesthetic appeal to any kitchen decor without breaking bank accounts or damaging surfaces. So go ahead and give it a try today – happy organizing!
Securing With Screws
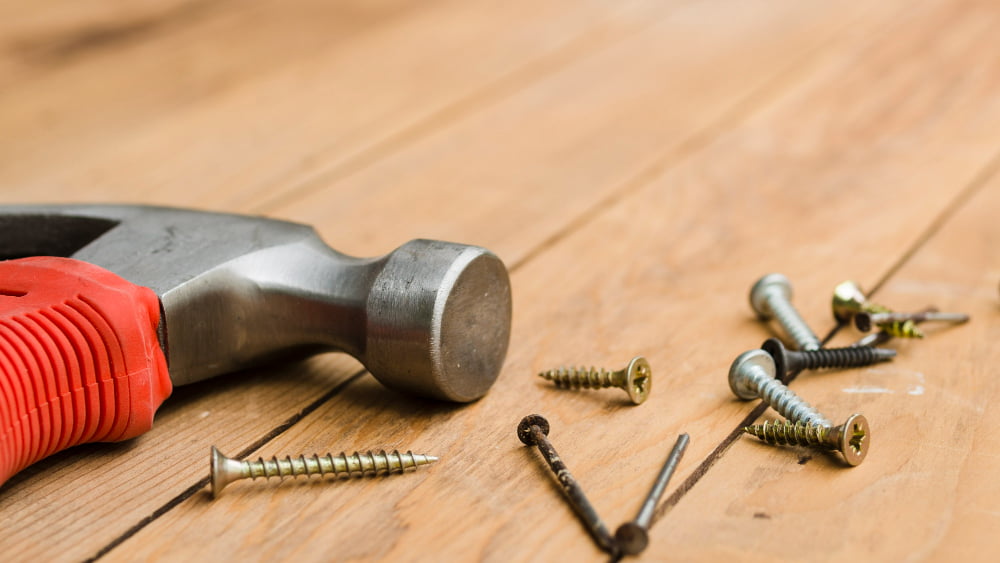
One of the most common ways to attach a spice rack to tile is by using screws. This method requires a bit more effort and precision, but it’s also one of the most secure options.
Here’s how you can do it:
First, determine where you want your spice rack to be placed on the tile surface. Use a pencil or marker to mark where each screw will go.
Next, use an electric drill with a masonry bit that matches the size of your screws (usually 1/8 inch) and carefully drill holes into each marked spot on the tile.
Then insert plastic anchors into each hole until they are flush with the surface of your tiles.
Align your spice rack over these anchors and use stainless steel screws (to avoid rusting) through pre-drilled holes in its backplate or brackets for mounting onto those plastic anchors securely.
Remember not to overtighten as this could crack or damage delicate tiles!
By following these steps carefully, you’ll have successfully attached your new spice rack without damaging any precious tiles! Now all that’s left is filling up those jars with all sorts of delicious spices – from cinnamon sticks for baking apple pies during fall season; cumin seeds perfect for making Indian curries; oregano leaves ideal seasoning Italian dishes like pizza & pasta sauces…the possibilities are endless!
Read More Like This
 15 Funny Graduation Cap Ideas to Make Your Big Day Unforgettable
 15 Unique DIY Christmas Decorations Ideas for a Festive Home
 15 Creative Science Fair Board Ideas to Amaze Your Audience
 15 Handmade Envelope Decoration Ideas for Creative Gifting
 10 DIY Gifts for the Whiskey Lover in Your Life
Recap: