Last updated on
Gardening within tires, because of its ingenuity, sustainability, and aesthetic value, holds untapped potential for turning dull spaces into vibrant niches.
I’m proud to share the article and unique designs on 20 Innovative Upcycled Tire Garden Ideas that I have personally crafted and I sincerely hope you’ll find it as inspiring and fun to dive into as much as I enjoyed creating them.
Transforming old tires into decorative garden pieces is an innovative way to recycle while adding a unique touch to your outdoor space. From vibrant planters to charming mini ponds, tires can be repurposed into a variety of eye-catching and functional garden features.
This article will guide you through a selection of creative ideas, providing step-by-step instructions to help you turn those discarded tires into garden treasures.
Whether you’re a seasoned gardener or a DIY enthusiast, you’ll find a project that suits your style and skill level, complete with tips on materials, preparation, and maintenance.
So, get ready to roll up your sleeves and give those old tires a new lease on life.
Tire Flower Planters
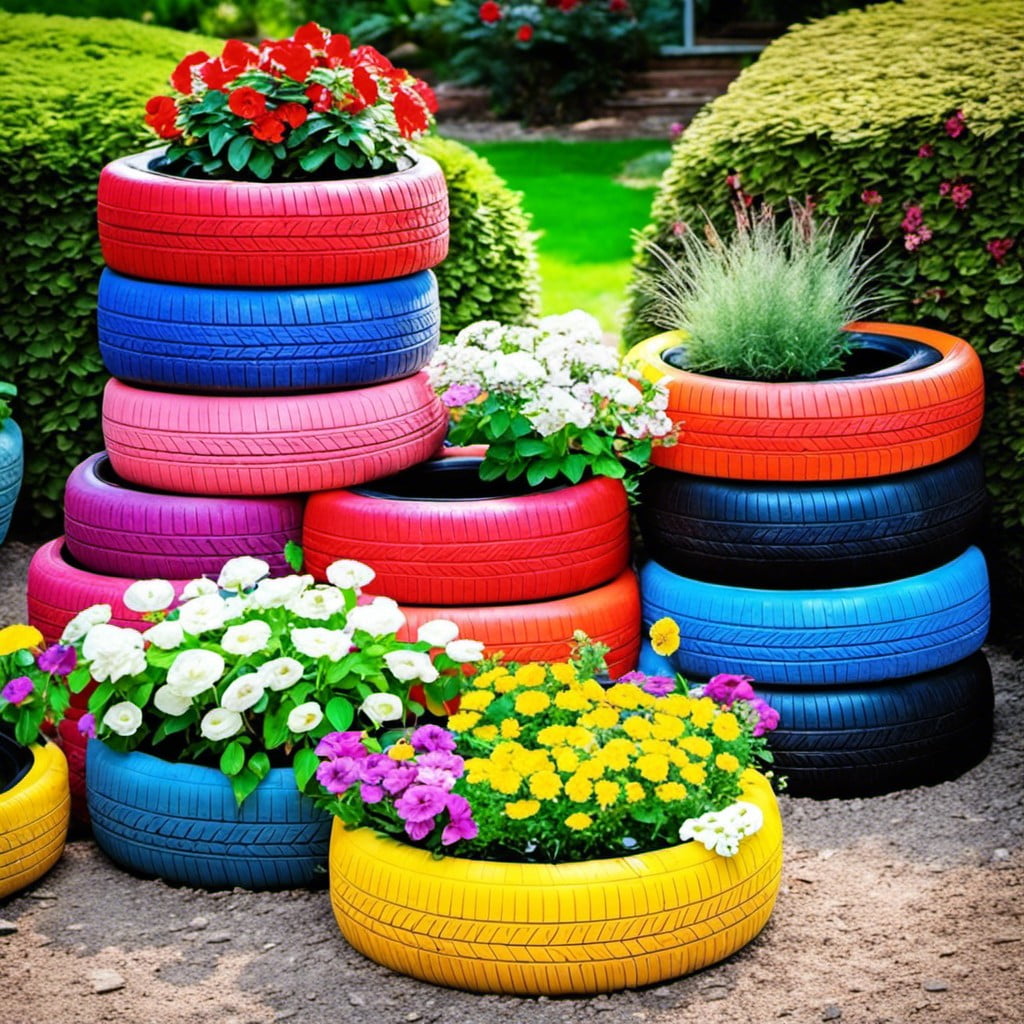
Creating these planters is easy and truly harmonizes with Mother Nature. Begin with picking out a few old tires. Your local auto shop may have some they’re willing to part with.
Choose blooms that complement the setting. Consider the height, color, and maintenance needs of the flowers chosen. Tulips or petunias can look wonderful, but a sunflower, for example, will give a natural pop due to its height and vibrant color.
Next, decide where the tires will sit. They can be nestled amongst natural flowerbeds or placed to become focal points in the lawn. Input from family members can inspire unexpected placements.
Consider painting the tires to either blend with the environment or add a splash of creativity. A gentle pink or blue can evoke a quiet, peaceful charm, or go bold with fiery reds or sunshine yellows to stimulate a lively atmosphere.
Fill the bottom of the tires with gravel for enhanced drainage. Then add topsoil, followed by compost for an ideal growing environment. The magic happens when you plant your flowers. Watch your tire flower planters grow into a beautiful, unique garden addition.
Tiered Tire Garden
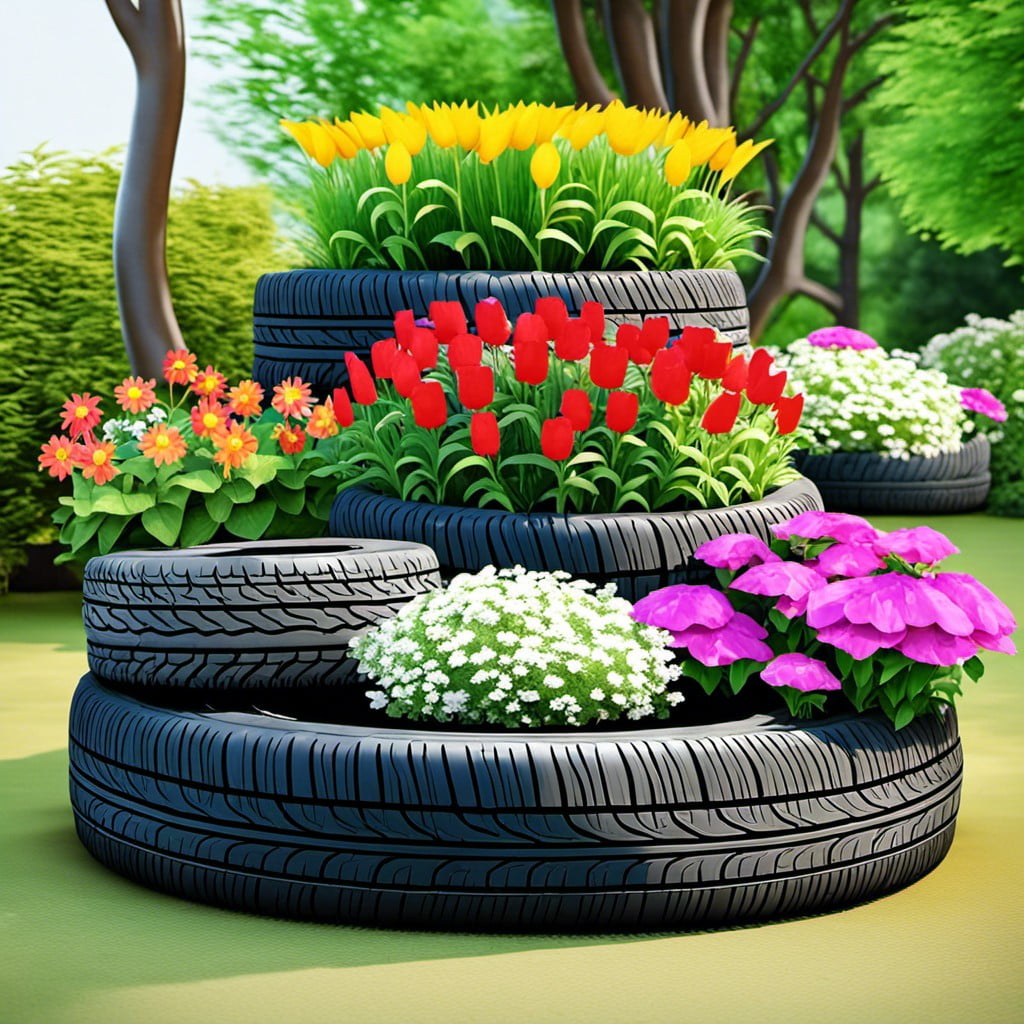
Creating a tiered garden arrangement provides an ingenious utilization of old tires, offering interesting height dynamics. To create this, you’ll need various sizes of tires, stacking them from largest to smallest to create a pyramidal effect.
1. When space is an issue, a vertically tiered structure maximizes your gardening area.
Ensure stability by positioning each layer carefully, nestled into the one underneath.
2. Ensure stability by positioning each layer carefully, nestled into the one underneath.
Choose plants considering the sunlight and watering requirements of each level.
3. Choose plants considering the sunlight and watering requirements of each level.
Consider planting taller fauna on the top layer, gradually moving to lower-growing varieties as you move down.
4. Consider planting taller fauna on the top layer, gradually moving to lower-growing varieties as you move down.
Colorful or patterned paint can individualize and accentuate each tier.
5. Colorful or patterned paint can individualize and accentuate each tier.
Allows for a mix of plants in the same space – herbs, vegetables, or flowers.
6. Allows for a mix of plants in the same space – herbs, vegetables, or flowers.
Remember, even a tiered garden needs good soil, proper drainage, and consistent care to ensure plant health.
Painted Tire Swing
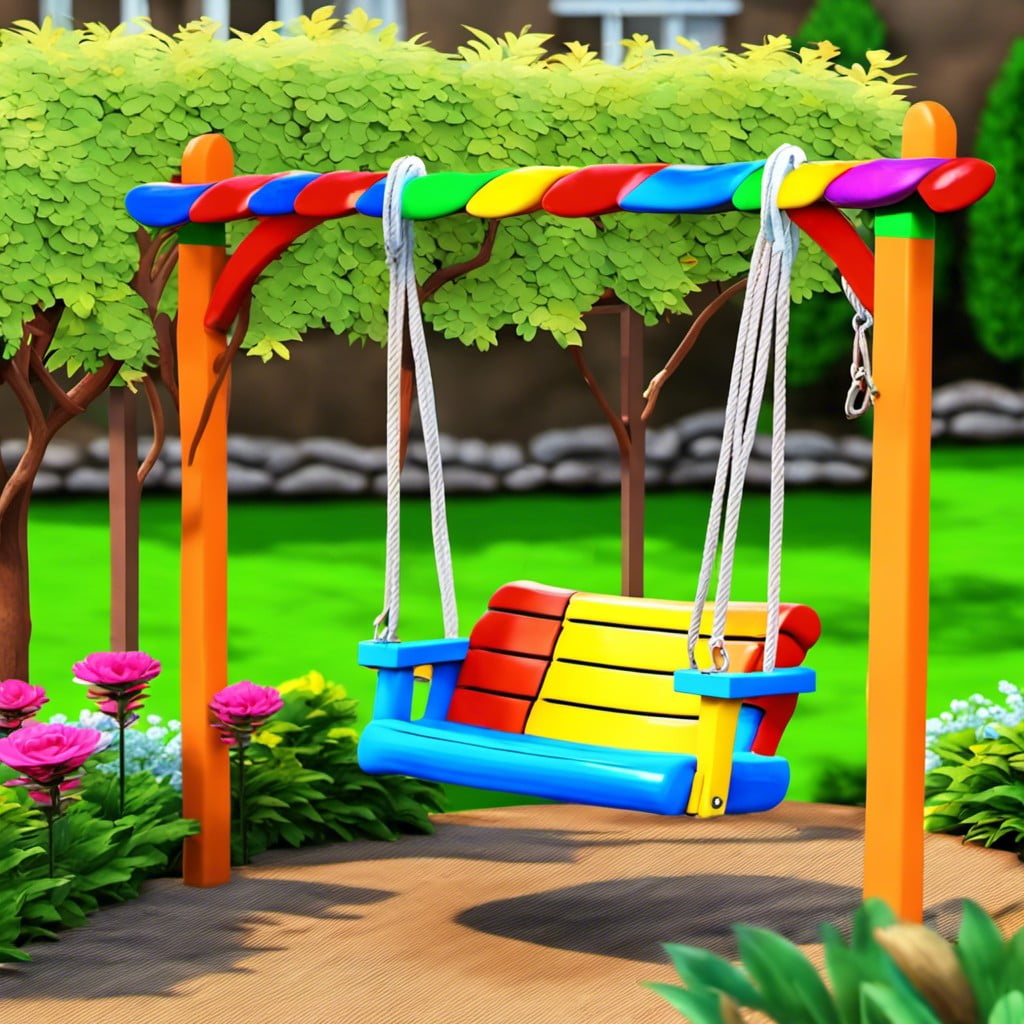
With a little imagination, an old tire can be transformed into a delightful swinging addition to your garden.
Begin by cleaning the tire thoroughly to prepare the surface for painting.
Choose a vibrant, weather-resistant paint that will stand out amongst your greenery.
Apply at least two coats ensuring complete coverage.
Once the paint is dry, using a sturdy rope, securely fasten the tire to a strong branch of a tree.
Remember, safety is important.
The tire should hang low enough for easy access but high enough to allow a gentle swing.
As a finishing touch, consider adding pillows for comfort or even painting a fun design on the tire.
Not only will this swing add a pop of color, it’s also a creative, functional piece transforming your garden into a fun, lively space.
Tire Pond
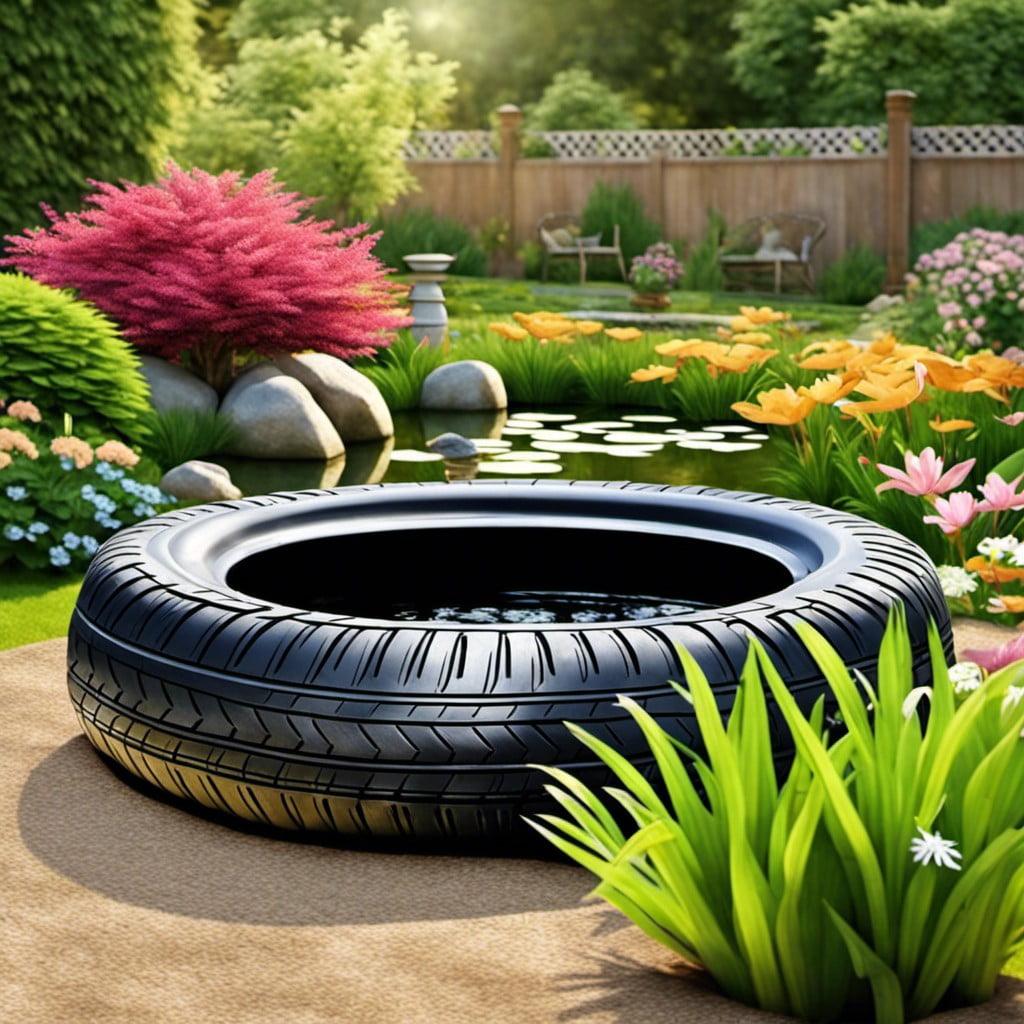
Creating a tire pond gives old tires a new life, transforming them into an oasis for garden wildlife. This easy DIY project serves as a fantastic focal point while contributing to local biodiversity.
1. Choose a suitable tire size to match the available garden space. Larger tires make for more substantial water features.
2. Select an area of the garden that gets both sun and shade to provide excellent conditions for a variety of life. Remember, location is vital when considering the health of potential aquatic inhabitants.
3. Dig a hole to match the circumference and depth of the tire, making sure it’s level.
4. Once the tire is nestled snugly in the hole, a heavy-duty pond liner is essential to stop any soil contaminating the water and provide a more natural look.
5. Fill the liner with enough gravel for stability, then add water. Natural rainwater is best if possible.
6. Plant water-friendly plants such as water lilies or iris around the edges to further attract nature and add aesthetic appeal. Remember, it’s integral for biodiversity.
7. Let nature do the rest. Watch as new life starts to gravitate towards the tire pond.
Following these steps carefully will ensure a healthy, sustainable aquatic habitat. It’s a charming, eco-friendly addition to any garden.
Tire Sandbox Garden
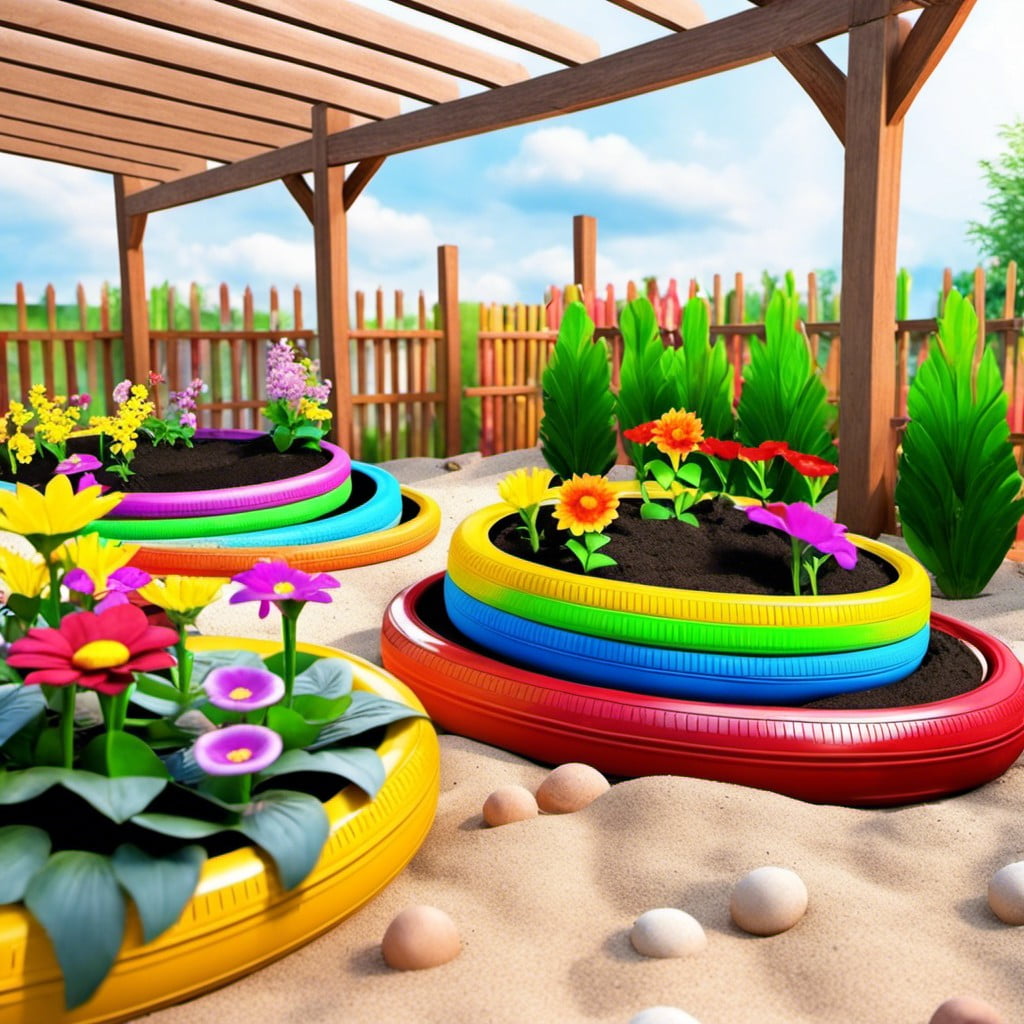
Transforming an old tire into a sandbox garden adds a fun twist to a traditional flowerbed. It’s not only visually intriguing, but also quite practical. Here’s why:
1. Multi-purpose Use: While the inner area of the tire can be filled with sand for children to play, the outer edge can be adorned with vibrant flowers or succulents.
2. Space Efficient: The sandbox garden doesn’t require a large area. It’s an ideal choice for small yard spaces.
3. Repurposing: This concept gives a second life to old tires, making it an eco-friendly choice.
4. Low Maintenance: Due to its compact size, it’s simple to maintain and care for this garden.
5. Cost-Effective: Materials needed for this project are minimal, making it a budget-friendly endeavor.
By adding toys or small garden accessories, a tire sandbox garden can become a cherished play area for children, while still providing aesthetic appeal for the adults.
Tire Totem Pole Garden

A Tire Totem Pole Garden undeniably adds a quirky, vibrant vertical aspect to an otherwise horizontal landscape. It involves stacking several tires, preferably of varying sizes, and filling them with soil or compost to create a totem structure. Planting climbing plants at the base allows the vegetation to grow upward, ultimately covering the tire structure, providing an eye-catching garden centerpiece.
Points to consider when building this vertical garden include:
- Choose Sturdy Tires: Tires are built to last, making them perfect for outdoor projects. Opt for tires in good condition, with no major cuts or punctures.
- Vary the Tire Sizes: Use a combination of large, mid-sized, and smaller tires. This diversity allows for a more visually interesting pole and offers varied planting spaces.
- Safe Paint: If choosing to paint your tires, select non-toxic paint to avoid harm to your plants or local wildlife.
- Climbing Plants: Select plants that grow vertically, such as vine tomatoes, beans, or flowering climbers like clematis and roses.
- Preparation: Tire preparation is essential. Drill holes at the bottom for water drainage, remove any steel belting for safety, and thoroughly clean the tires to remove any residual oils or substances harmful to plants.
- Stabilize your Totem Pole: Consider inserting a wooden or metal pole in the center of your stacked tires for extra stabilization.
With these points, any gardener can bring an added touch of creativity to their garden by constructing a Tire Totem Pole Garden.
Hanging Tire Planters
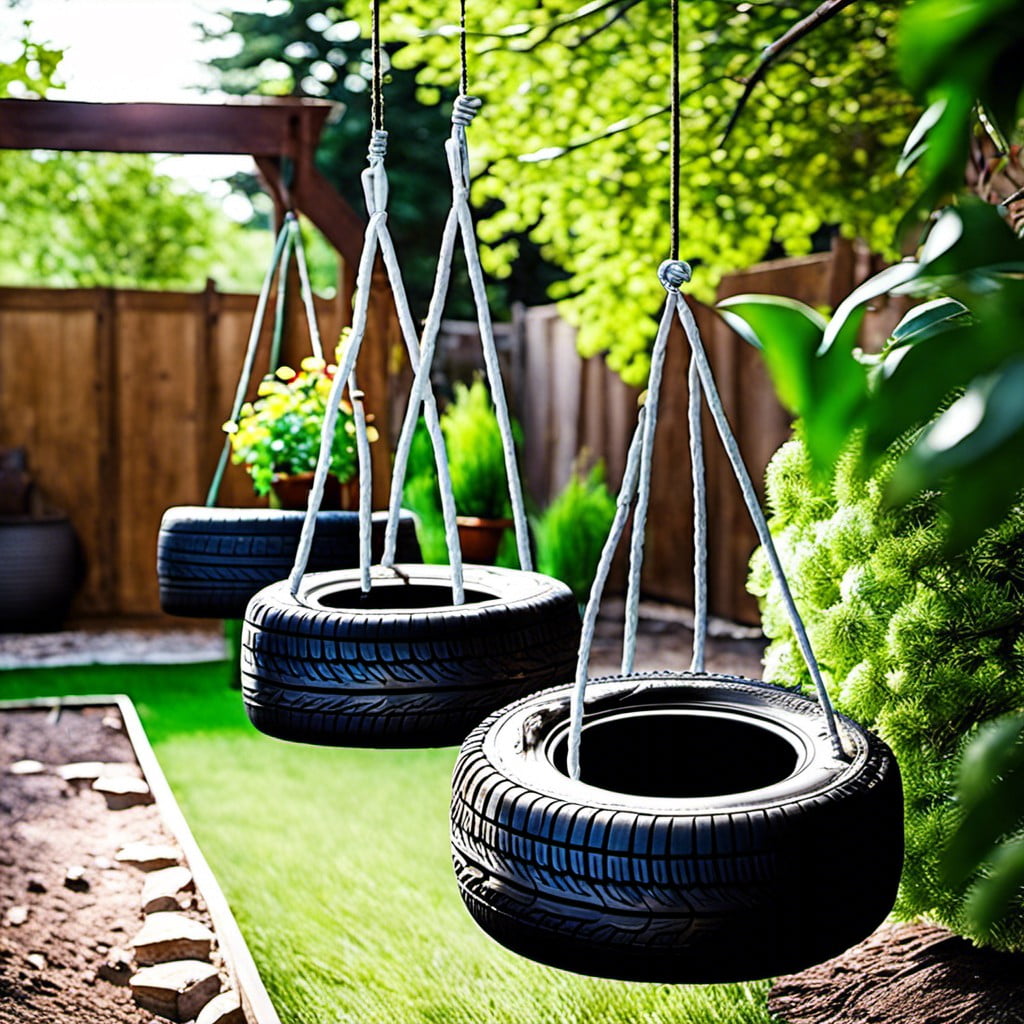
These dynamic accent pieces are truly a sight to behold. Fun to create and customizable according to personal preference, they’ll add an element of quirkiness and charm to your garden.
So, how can you create an engaging hanging planter from an old, unutilized tire?
1. Proper preparation: To start with, the chosen tire should be clean and in reasonable condition.
2. Painting and designing: You can then move on to paint or design the tire with any pattern or color of your choice, using weather-resistant paint to increase its lifespan.
3. Installation: After the paint job, determine its location. Possible spots could be a sturdy tree branch or a reinforced section of a porch or pergola. Make sure to install strong chains suitable for the tire’s weight.
4. Filling: Fill your tire with potting soil and plants. When choosing plants, consider light and water requirements.
5. Maintenance: Take care with watering as tires hold moisture effectively.
Remember, it’s your garden and you’re the artist—be creative and let a hanging tire planter showcase your unique style. It not only revamps your garden space but also helps recycle and reduce waste. It’s sustainability and decor wrapped up in one unusual but fascinating package.
Tire Rock Garden

Creating your own unique rock garden using old tires is an innovative way to blend form and function. Not only will you be recycling the tires, but you will also end up with a stunning focal point for your yard.
1. Size Selection: It’s important to choose a tire size that matches the scale of the garden. A tractor tire, for instance, can house a sizeable rock collection while a regular car tire would suit smaller arrangements.
2. Custom Design: In designing this special garden, you can fill the hollow part of the tire with soil then add the rocks. Experiment with different types of rocks, mixing sizes and colors to create depth and variety.
3. Plant Placement: Consider placing succulents or other rock-loving plants in between the stones. These plants require less water, keeping the rocks the star of the show.
4. Tire Preparation: It’s advisable to paint the outer part of the tire to prevent it from conducting too much heat and hurting your plants. Use vibrant colors to make it an eye-catching garden feature.
5. Proper Location: Evaluation of the right space for this rock garden is crucial. A sunny spot is perfect as it provides enough light for the plants and also highlights the beautiful colors of the rocks.
With these easy steps, you’re on your way to creating a visually stunning and environmentally friendly rock garden. It reflects not just your creative flair, but also your commitment to recycling and green living.
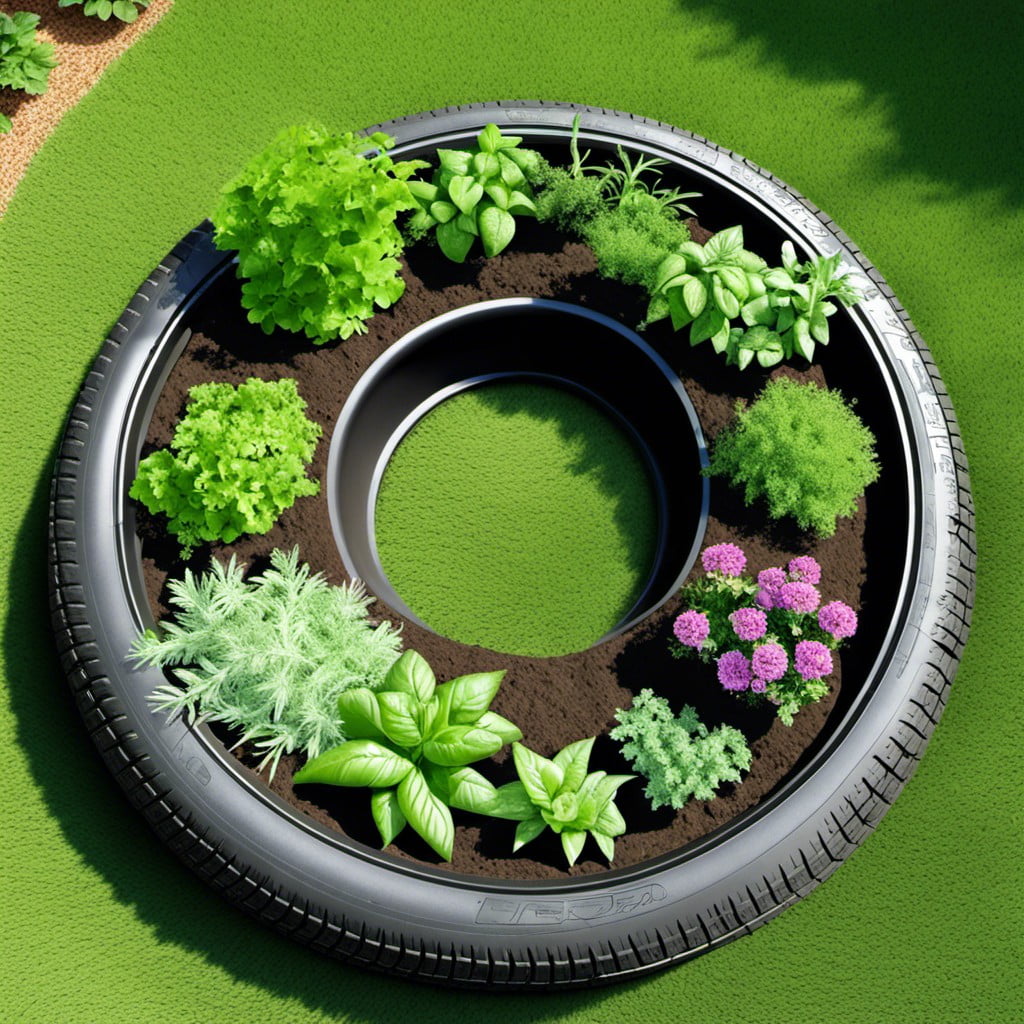
Tire Vegetable Patch
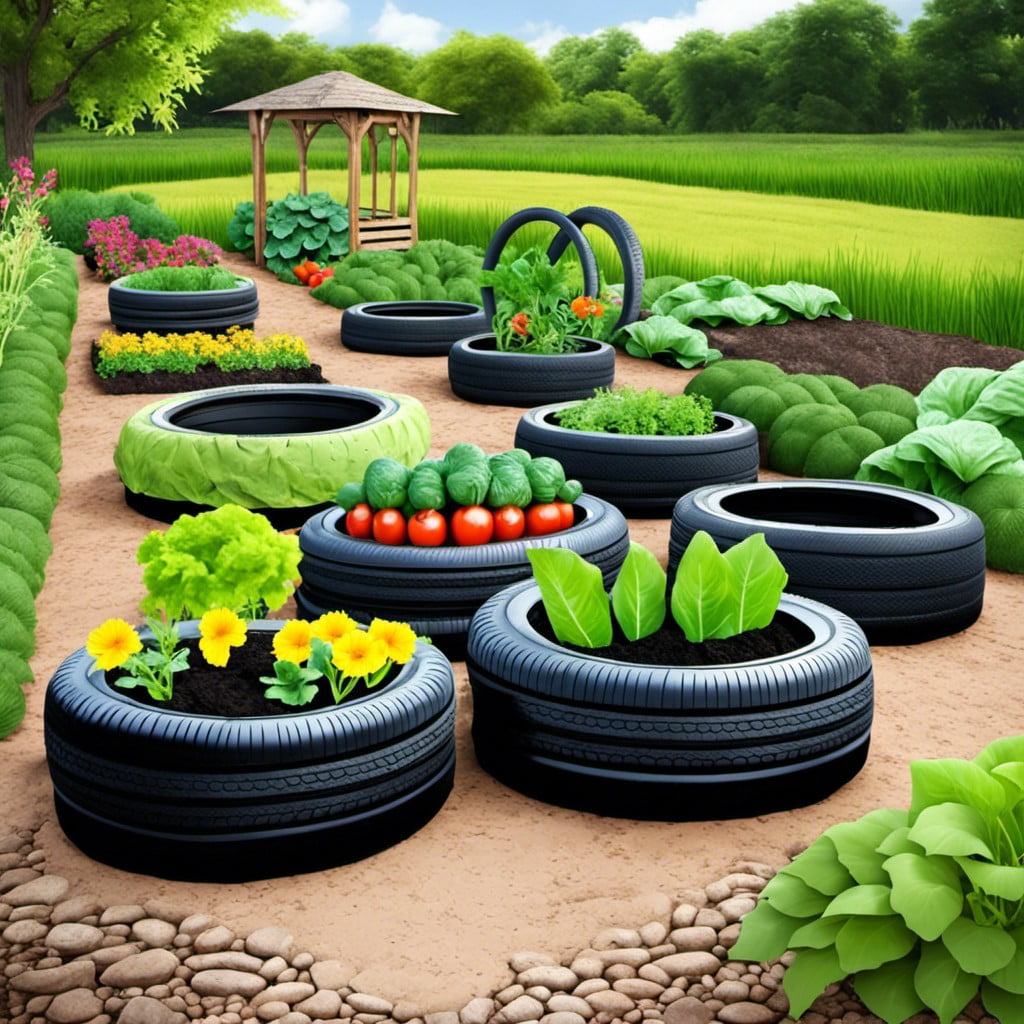
First and foremost, select a tire suitable in size depending on the vegetables you plan to grow. A good initial step is to clean it thoroughly to remove any lingering residues that might hinder plant growth.
Once ready, lay the tire on a flat surface area that receives ample sunlight. It’s beneficial to add some high-quality potting mix combined with organic compost inside the tire to ensure nutrient-rich soil for your plants.
Then, proceed with your planting. For compact vegetables, such as radishes, plant them directly into the soil allowing each enough space to grow. For larger vegetables like tomatoes, consider using one tire per plant. Remember to properly space your tires to allow for growth and access for care.
The superior part of this design is its versatile nature. Whether you want single tires scattered across the garden or prefer bunching them together for a raised tier effect, it’s completely possible. This also provides an added advantage of heat absorption during colder days, making it an excellent option for plants that demand warm soil.
Always remember to offer your tire vegetable patch regular watering and tender care. With these steps, healthy and homegrown veggies are just a growth cycle away.
Tire Bird Bath
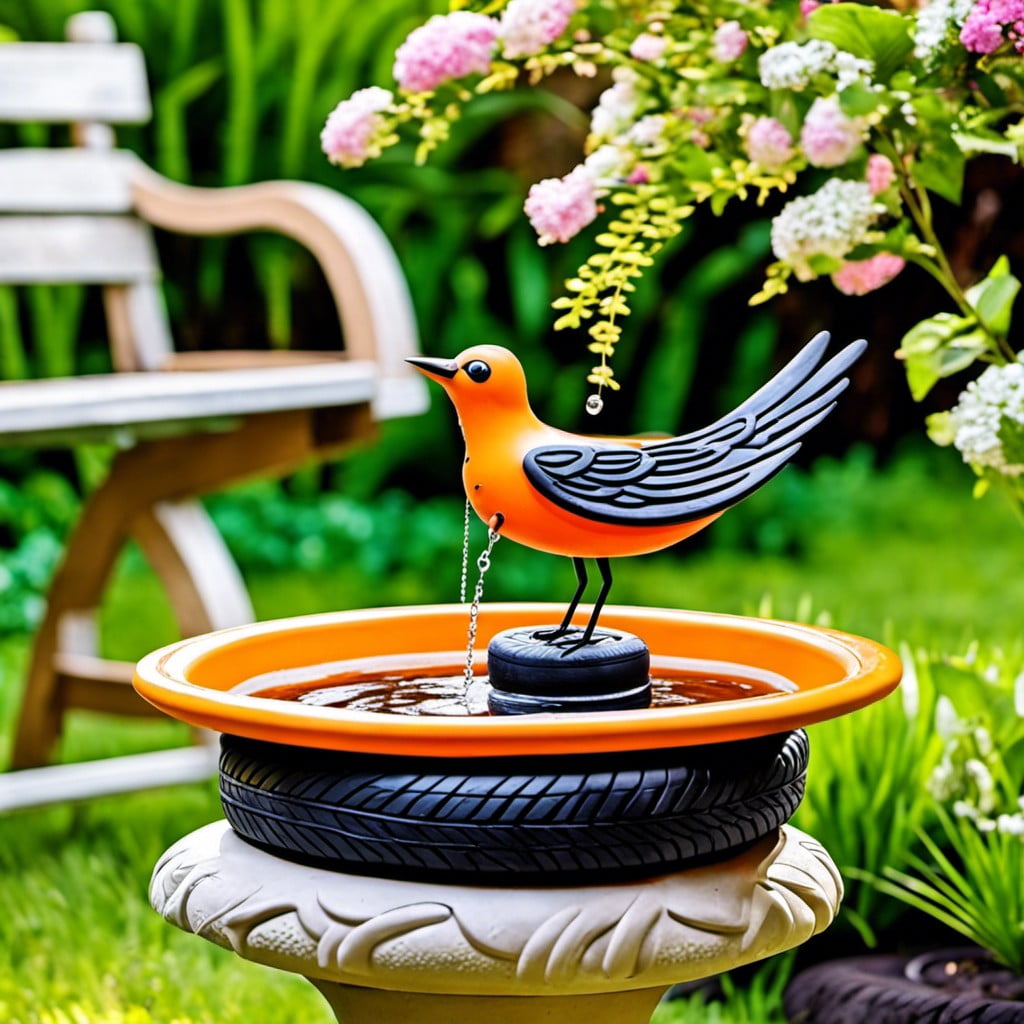
Creating a bird bath using an old tire is one of the most innovative ways to add a unique feature to your garden. The process is straightforward and rewarding.
Begin by finding a stable and flat location, providing birds with easy access and making the bath visually appealing.
Half-bury the tire in the ground to ensure stability. Take skincare to level the tire as it’s essential for holding the water evenly. Use an eco-friendly, vibrant colored paint for visual appeal and to withstand varying weather conditions.
Once the paint is dry, insulate the inside of the tire with a durable plastic liner to hold water.
As a pro-tip, toss in a couple of flat stones into the bath. This will provide the birds with a little platform to perch on while enjoying the bath.
Be sure to regularly clean and refill the bird bath to maintain a healthy environment for our feathery friends.
Remember, material utilization and sustainability are what make this project worthwhile. With some creativity and a spare tire, you’ll create a bird-friendly oasis right in your backyard.
DIY Tire Garden Table

Creating a unique garden table from an old tire can add a touch of charm to your outdoor space. This project involves sturdy and weather-resistant materials, ensuring durability and longevity.
1. Choose an Old Tire: A sturdy, well-structured tire is critical for the base of the table. The tire can be sourced from a local garage.
2. Select the Right Upper Surface: The surface can be made from a custom cut circular glass, wood, or solid stone, depending on the aesthetic preference.
3. Painting the Tire: Use outdoor paint to customize the tire’s look. You can match it with your existing patio furniture or add a pop of color.
4. Attach the Surface: Secure your chosen material to the tire with strong adhesive.
5. Decorative Elements: Add additional decorative touches like lighting or plants to enhance the table’s appeal.
Remember, this project not only repurposes an old tire but can also add a focal point to your garden. Make it personal, let it reflect your style, and have fun with it!
Tire Herb Spiral
First, select a tire of desired size and position it in a sunny location within your garden. Sun is essential for herbs to flourish. Consider something like a tractor tire, which can provide ample space for a variety of herbs.
Next, fill the tire with good quality soil. Make sure the soil is rich and well-draining to support healthy herb growth. You might consider adding a bit of compost or organic matter to enrich the soil further.
Plan your arrangement by grouping similar herbs together. For example, moisture-loving herbs like mint, chives, and parsley can go collectively. Drought-tolerant herbs like thyme, rosemary, and oregano could be another cluster.
Plant your chosen herbs in the spiral pattern. Start from the middle and wind your way out to the edges. This pattern makes use of the vertical space and adds a unique appeal to the garden area.
Regular watering is crucial for young herbs. As they start to flourish, decrease the watering frequency; herbs do well in somewhat dry conditions.
Maintenance involves periodic harvesting to encourage new growth and keep the herbs lush. A quick snip here and there can actually lead to more abundant vegetation.
This project not only brings an appealing visual aesthetic to your garden, but also organic, fresh herbs close to your kitchen.
Tire Succulent Garden
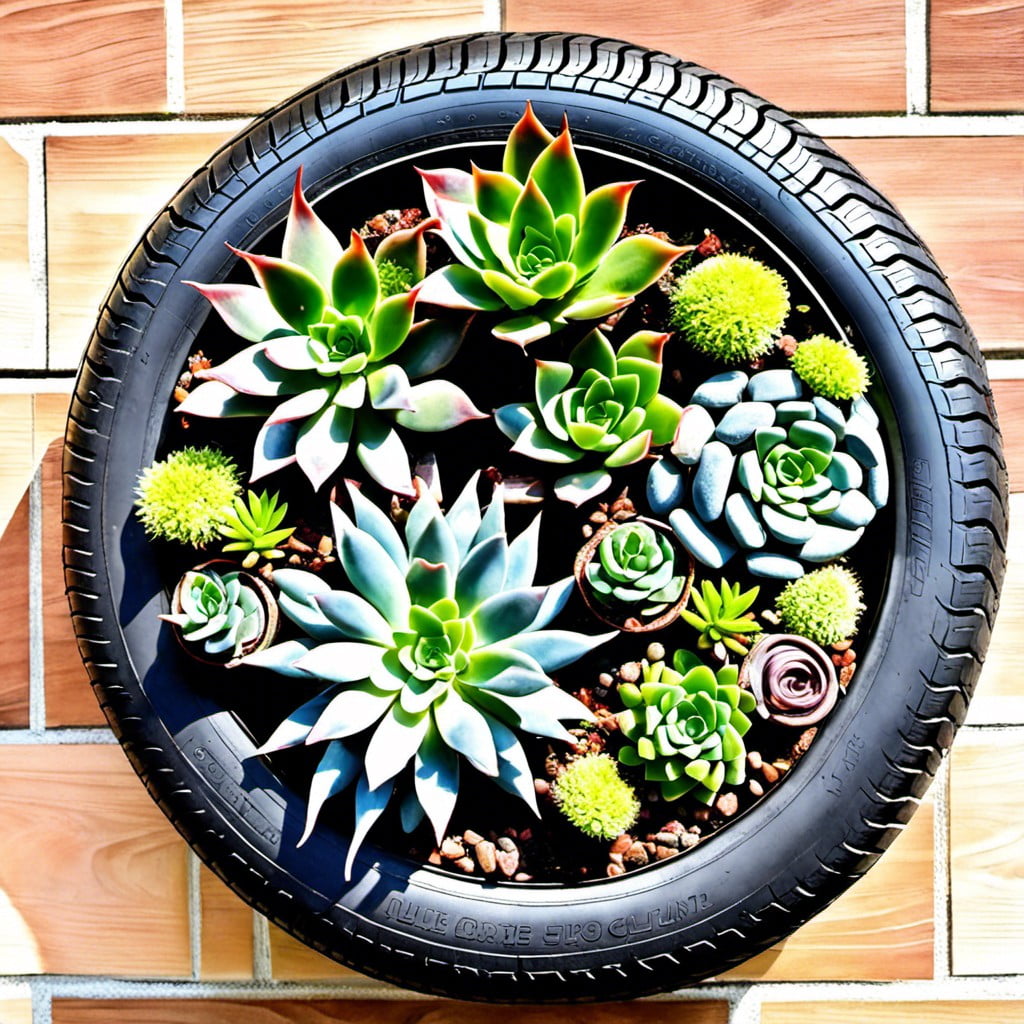
Placing a medley of succulents in an old tire can truly manifest a piece of art in your garden. What sets the succulent garden apart is its low maintenance requirement, coupled with the marvellous visual appeal.
Here are a few steps to kick-start your journey towards a tire succulent garden:
- Choose a tire, either a car or truck tire will work. Ensure it’s clean and free from debris.
- Pick suitable succulents. Seek ones that thrive well in your climate. Consider varied colors and textures to increase visual interest.
- Ready your soil. Combine equal parts potting soil, coarse sand, and pine bark for an ideal environment for the succulents.
- Arrange your succulents. The basic rule here is “thrillers, fillers, and spillers.” Thrillers are tall plants, fillers take up most of the space, and spillers hang over the edges.
- Position the tire in a sunlit area. Most succulents need at least six hours of sunlight daily.
- Regularly check soil moisture levels. Overwatering can easily damage succulents.
Remember, succulent tire garden is a fun project that not only upscales your garden aesthetics but also promotes recycling.
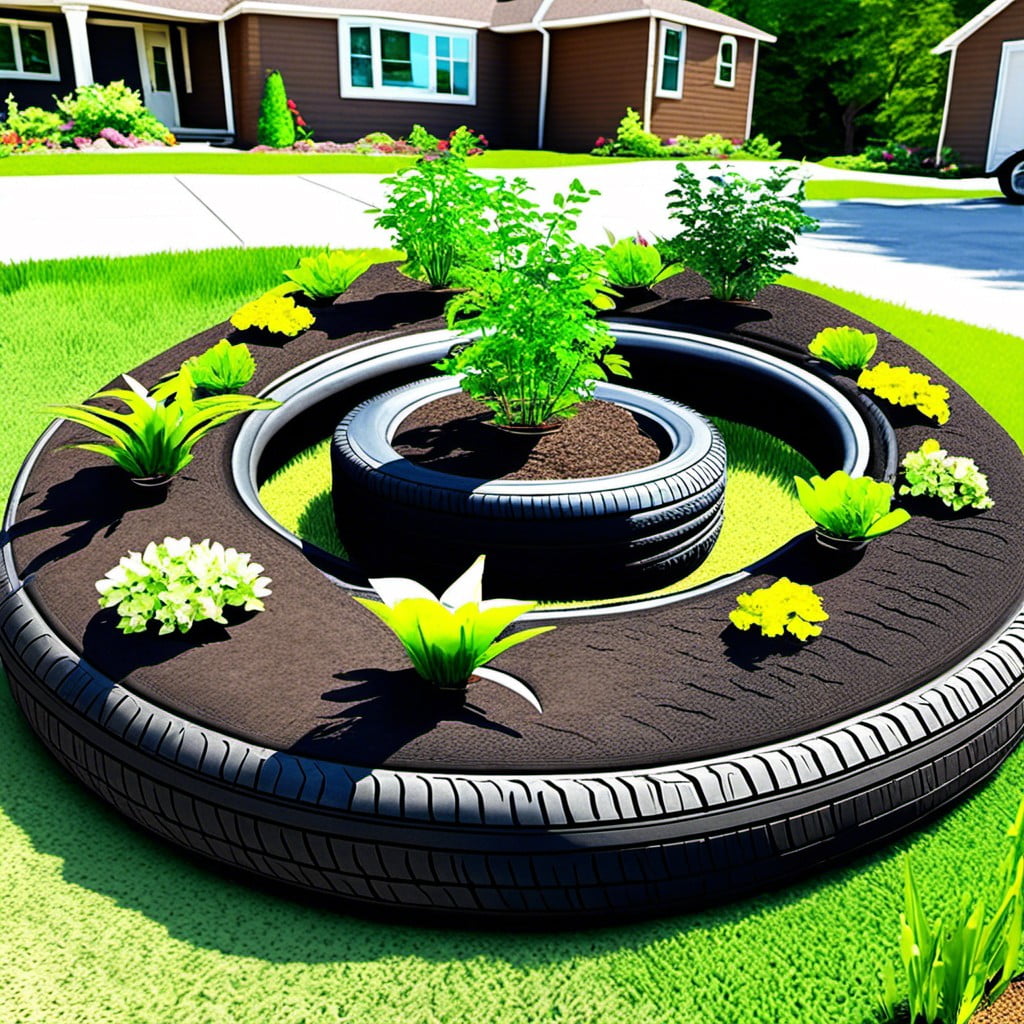
Stacked Tire Garden
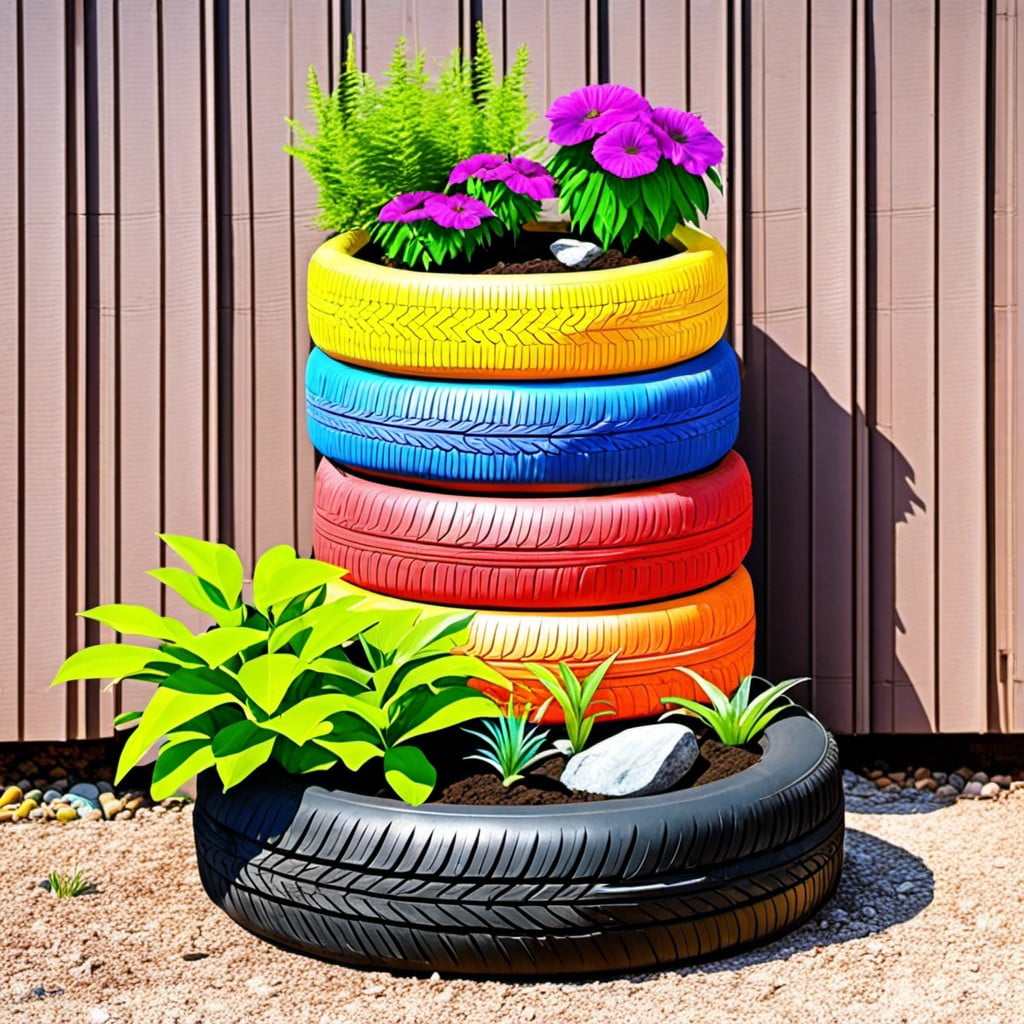
Brightly painted or naturally weathered, stacked tires offer aesthetic appeal and functional design in a garden setting. An efficient way to recycle, this garden style benefits the environment while adding an artistic touch.
1. Material and Paint: Ensure the tires are free from any debris. Use eco-friendly outdoor paint for a pop of color or leave them in their natural state for a rustic look.
2. Stack and Secure: Depending on the space, stack two or three tires. Secure the tires with durable adhesive for stability.
3. Soil and Compost Fill: Fill your tires with a mix of compost and garden soil for ideal plant health. A thickness of 10-12 inches can facilitate the root development of most plants.
4. Plant Selection: Both ornamental plants and edibles thrive well. Consider the sun exposure, moisture, and the eventual size of the plants.
5. Maintenance: Regular watering, proper drainage, and seasonal fertilizing will keep your stack garden flourishing.
Remember, it’s not only about creating a garden but transforming an unused object into a practical, visually pleasing garden element.
Tire Garden Bench
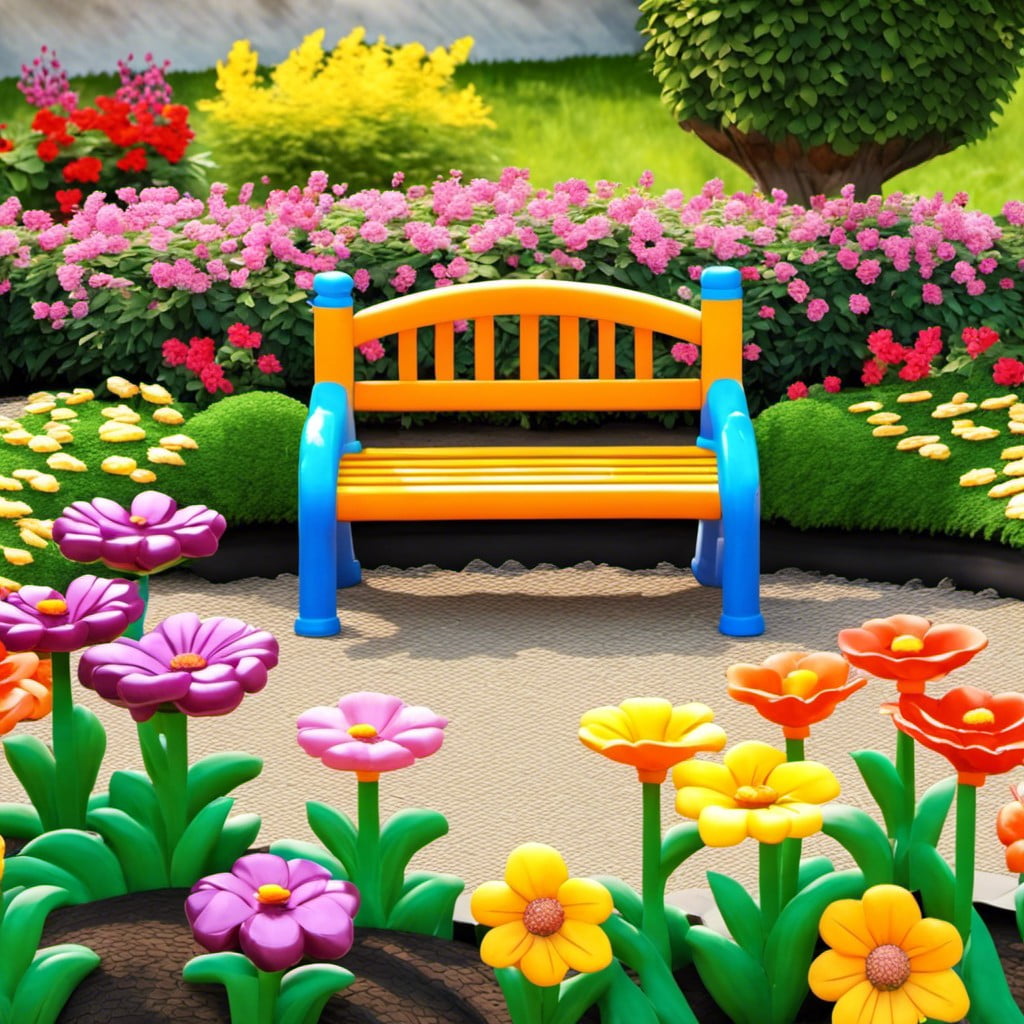
Creating your own garden bench provides not only practical seating arrangement but also adds a unique decorative touch. The utilization of old tires in this process gives it an eco-friendly edge.
1. Preparation: After gathering two or more sturdy tires, cleaning and painting each in a weather-resistant color would be the first step. This can add a pop of personality depending on the color choice.
2. Assembly: Stack the tires to your desired height. This is usually two or three tires. For increased stability, secure with strong adhesive or drill and screw.
3. Seating: To create the bench seat, a thick wooden slab or board cut to size to rest on and cover the stacked tires would suffice.
4. Finishing touches: Applying a cushioning or padding on the bench seat could provide the desired comfort. Covering this using weather-resistant fabric would ensure durability.
Remember, Safety is paramount when DIY-ing the garden bench, hence, using the right equipment to clean, paint and join the tires is important. This unique garden feature will stand the test of time and become a conversation starter for visitors in due course.
Mini Tire Garden Path
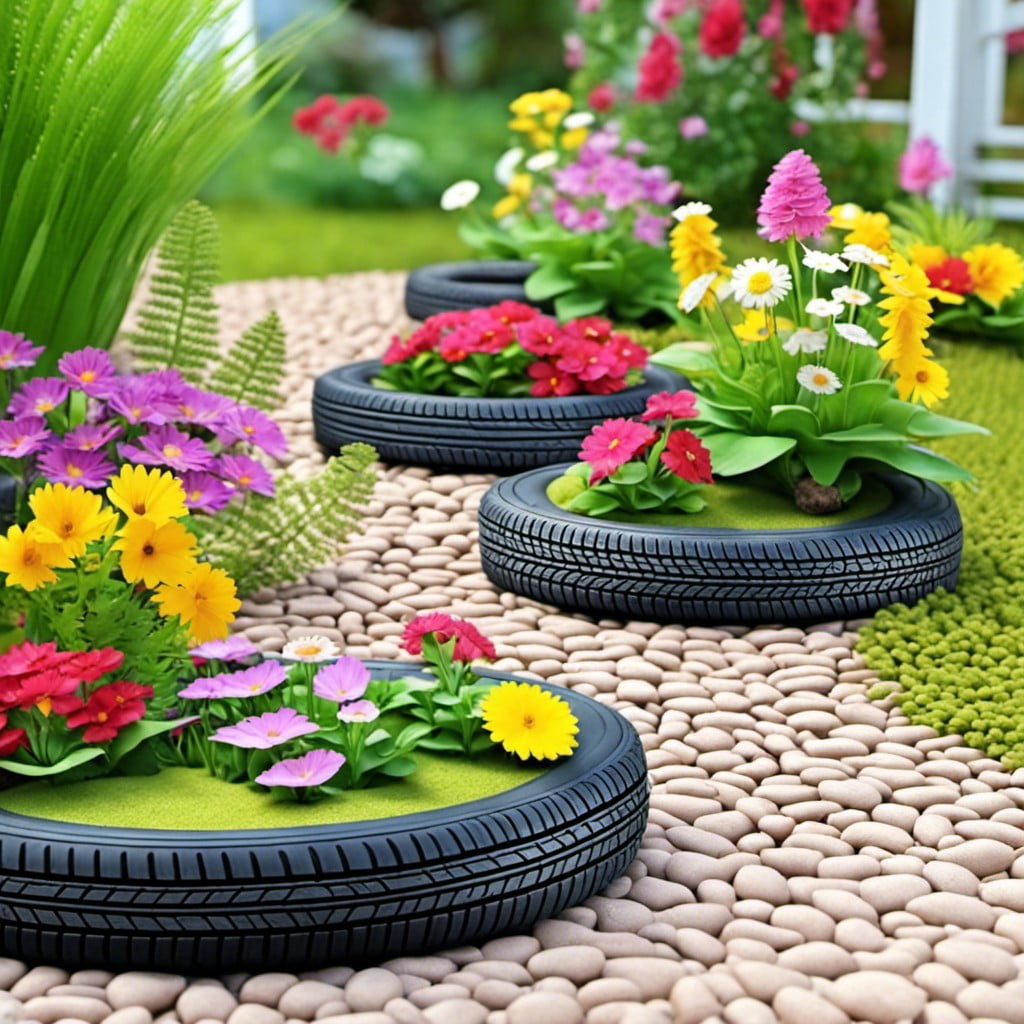
Often, pathways can be decorated with small repurposed tires to add a unique touch to your garden’s appeal. This innovative idea makes maneuvering through your garden an exciting experience. The following points elaborate on how to bring this vision to life.
1. Selection and Repurposing: Choose smaller tires, typically from children’s bicycles or push scooters. Paint them in vibrant colors that resonate with the environment.
2. Placement: Scatter them throughout your garden or arrange them in a line to form a path. The aim is to guide visitors through your beautiful space in a fun and organized manner.
3. Enhancement: You can decide to fill these tires with soil and plant flowers in them or leave them empty; both methods serve their decorative purpose.
4. Maintenance: These pathways require minimal upkeep, occasional repainting and checking for wear or tear should suffice.
Exploring this idea can be quite rewarding as it requires minimal investment but offers a high aesthetic return. It not only recycles but also adds a whimsical touch to what might otherwise be an ordinary garden walkthrough.
Tire Garden Wall
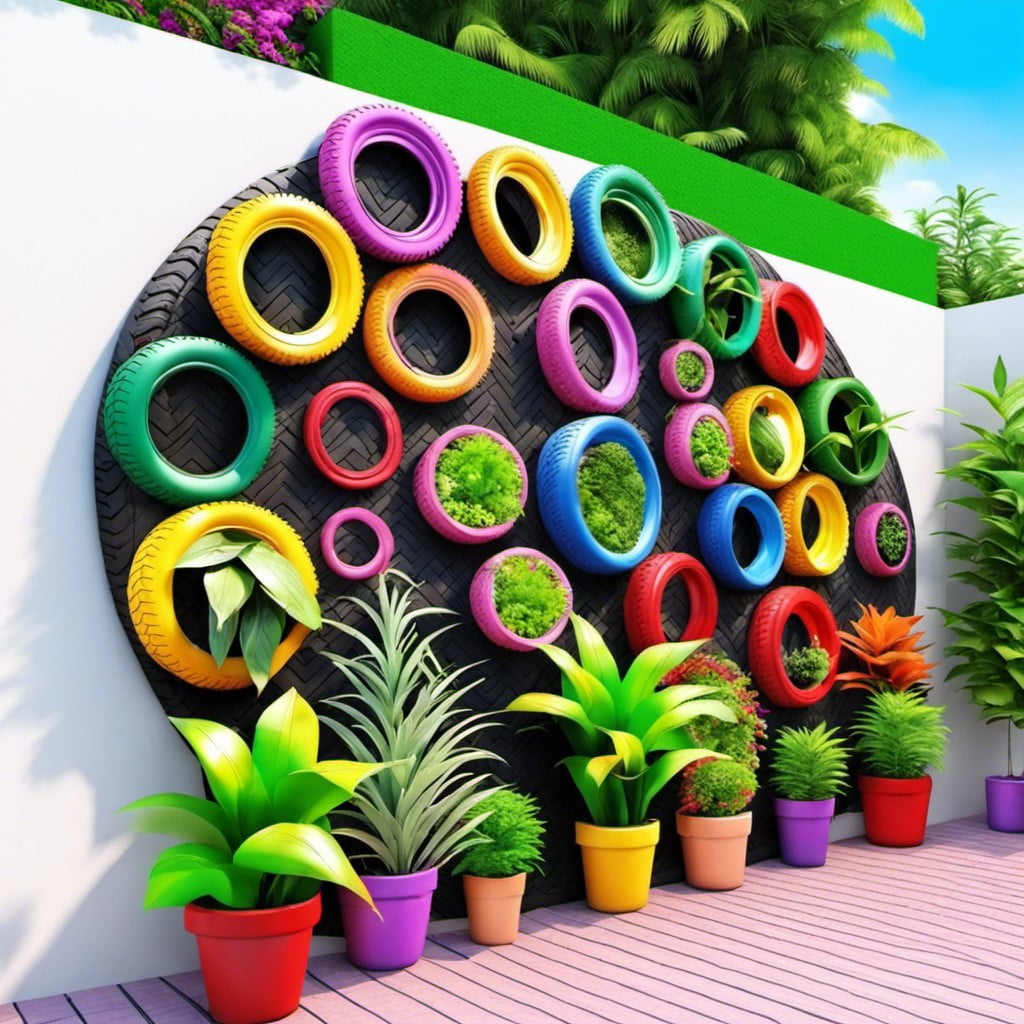
Creating the perfect garden wall doesn’t always require bricks or wood; reused tires can also provide a remarkable alternative. This particular garden wall works as an excellent space separator, showcasing a unique twist to traditional structures.
1. Preparation: Choose good-quality tires and clean them thoroughly. The number of tires you will need depends on the size and height of your desired wall.
2. Design: Lay out your tires and plan your design. As a common practice, remember it’s essential to overlap and offset your tires for stability.
3. Painting: Painting your tires can add an extra layer of personality and pizazz to your garden wall. Choose environmentally friendly paint, which is safe for your plants and soil.
4. Planting: Fill your tires with potting soil or compost and plant your chosen flora—this could be flowers, herbs, or even small shrubs!
5. Maintenance: Despite its sturdy build, a tire garden wall can demonstrate natural wear and tear over time, so periodic maintenance is key to keeping it in pristine condition.
Remember, the practicality of this concept also extends a noteworthy contribution to sustainability, as you’ll be giving new life to an item that is conventionally regarded as waste.
Efficient Space Tire Garden
Making the most out of limited space is a key element in urban gardening. An efficient space tire garden allows you to exploit vertical spaces without sacrificing the diversity of your plants. Here’s how to get started:
- Identify the optimal location: Your space should have ample sunlight. This is paramount for photosynthesis, the process in which plants create energy for their growth.
- Stack your tires: Begin with the largest tire at the bottom and gradually scale down per stack. Three to four tires should suffice to form a raised bed garden.
- Secure your structure: Bolt each tire into place to ensure the stability of your structure. You don’t want your garden toppling over.
- Prepare your tires: Drill some holes for drainage at the bottom of your tires to prevent water logging which can lead to root rot.
- Add soil and compost: Fill each tire up with nutrient-rich soil and compost. This will provide a nourishing environment for your plants.
- Plant your crops: You can now plant a variety of crops from vegetables, herbs, and even flowers to boost the aesthetics of your garden.
Remember to always keep your garden hydrated and exposed to sufficient sunlight for the best results.
Tire Garden Chair
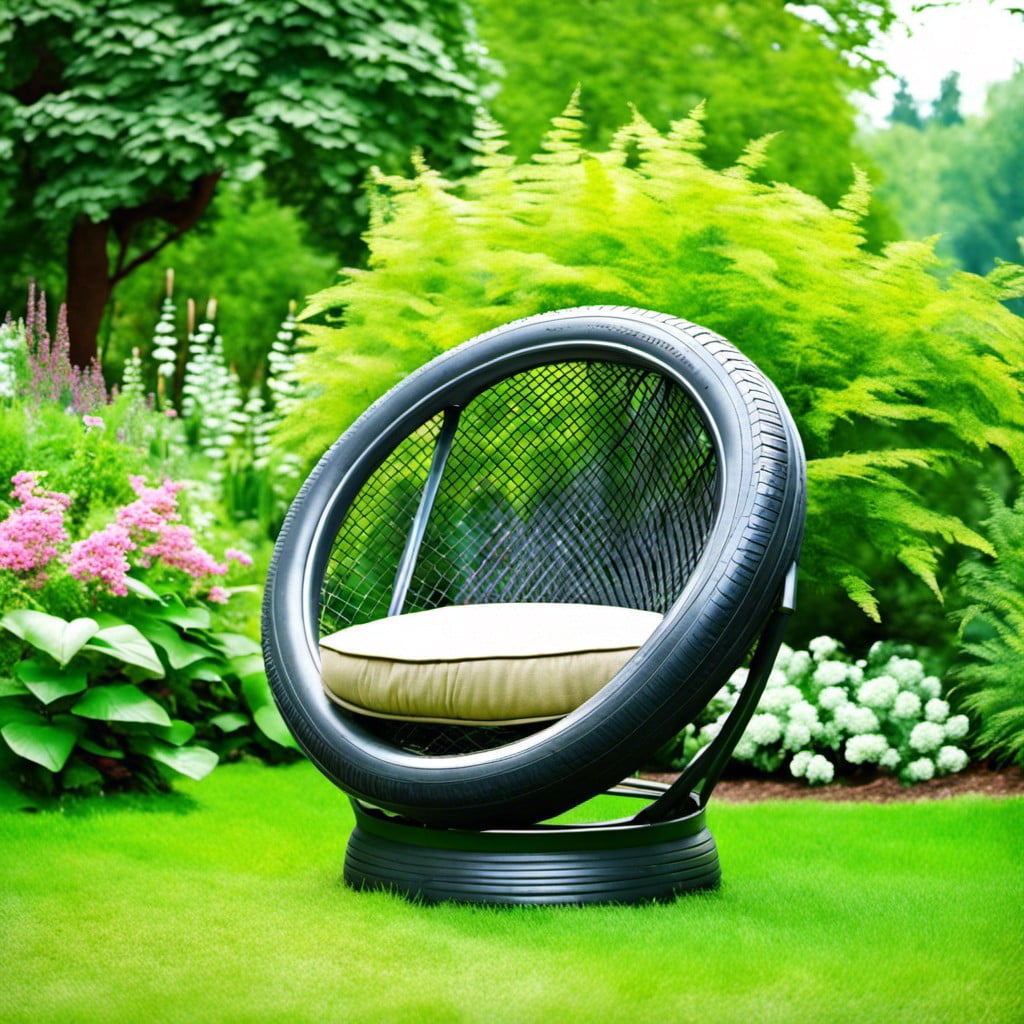
Creating this unique piece requires just a few simple steps. First, choose a sturdy tire and thoroughly clean it.
Next, apply a coat of primer that’s suitable for rubber surfaces. Allow it to dry completely before applying your chosen paint color. The use of vibrant colors can inject a fun and lively vibe into your garden space!
Once painted, secure it to a stable base for safety. The base can be an old stool, an outdated end table, or even a strong wooden circle.
Now, all you need is a comfy cushion that fits well in the tire and voila! You’ve got a functional and aesthetically pleasing garden chair.
Encourage your creative side and try patterns or designs during the painting stage for added appeal. This gardening project is not just economical, but also environmentally friendly, creating a win-win scenario for you and mother nature!
Vertical Tire Garden

Creating a vertical tire garden can efficiently utilize wall or fence space, contributing to an aesthetic and eco-friendly outdoor area. With the tires securely attached to the surface in a vertical succession, this garden opens up a myriad of planting opportunities.
1. Sustainability: Utilizing old tires for gardening purposes promotes recycling and reduces waste.
2. Space Maximization: The vertical arrangement allows for more plants in less space, ideal for urban or small-space settings.
3. Flexibility: This garden accommodates a wide range of plants. From ornamental flowers to salads and herbs, the choice is all yours.
4. Easy Maintenance: The elevated positioning mitigates the need for constant bending and kneeling. Weed control is also more manageable.
5. Cost-Effective: The materials needed are minimal. Apart from old tires, only a sturdy surface, soil, and plants are required.
6. DIY-friendly: Even for novices, assembling a vertical tire garden can be straightforward with a bit of research or tutorial guidance.
Remember to ensure the tires are securely mounted and consider the aesthetic. Choose plants complementing each other visually and prerequisites like sun exposure, and water and soil demands. The result is a visually pleasing, functional tier of greenery contributing positively to your environment.
Read More Like This
 15 Funny Graduation Cap Ideas to Make Your Big Day Unforgettable
 15 Unique DIY Christmas Decorations Ideas for a Festive Home
 15 Creative Science Fair Board Ideas to Amaze Your Audience
 15 Handmade Envelope Decoration Ideas for Creative Gifting
 10 DIY Gifts for the Whiskey Lover in Your Life
Recap: