Last updated on
Decorative envelopes add a personal touch to your letters because their creative designs uniquely express your style and thoughtfulness.
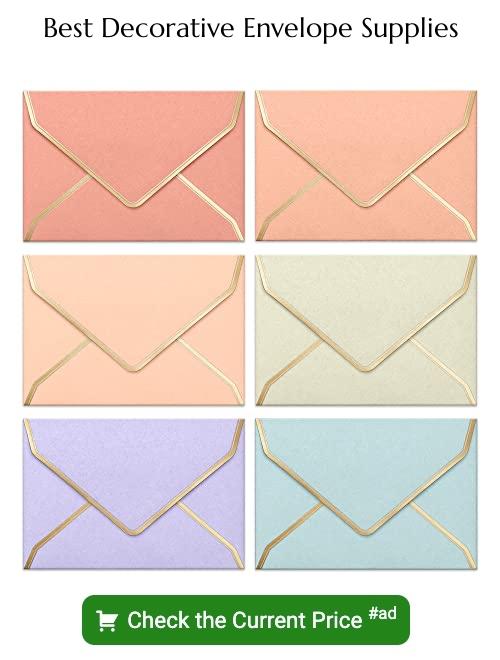
I am thrilled to share these 20 Decorative Envelope Ideas I’ve crafted, and I hope they inspire your creativity and bring as much joy to you as they did to me during creation.
Decorative envelopes can transform a simple note into a special one, or even serve as an impressive piece of art. Whether you’re looking to personalize your wedding invitations or just want to add a unique touch to your holiday cards, there are countless ways to embellish envelopes.
In this article, you’ll discover a variety of creative and stylish ideas for decorating envelopes, from using beautiful calligraphy and custom stamps to incorporating colorful patterns and textures. Not only will these ideas inspire you, but they’ll also provide you with step-by-step instructions to ensure your envelopes stand out.
So, let’s delve into the world of decorative envelopes and explore the endless possibilities.
Calligraphy Addressing
Delving into the artistry of calligraphy, this hand-lettering technique delivers a personal touch. The following key points encapsulate its essence:
1. Understand Basic Strokes: Learn the upwards thin stroke and the downward thick stroke – the fundamentals of calligraphy.
2. Master the Alphabet: Practice each letterform, both uppercase and lowercase. A consistent font choice enhances visual harmony.
3. Ink and Tools: Traditional calligraphy entails a dip pen and ink. For beginners, a basic calligraphy pen will suffice.
4. Address Layout: Start with the recipient’s name, followed by the street address and city, state, and ZIP code. Aligning all text to the right creates a balanced look.
5. Practice and Patience: Craft takes time. Continuous practice develops steadiness and consistent letterforms.
Remember, while precision matters, errors can add a rustic charm, bespeaking the warmth of a handcrafted message.
Ink Stamps
In the world of envelope decoration, ink stamps offer a unique blend of efficiency and charm. Available in hundreds of designs and colours, they capture attention and personalize correspondence. By tapping an inked pad and pressing onto the envelope, crafting becomes simple yet artistic.
While pre-made stamps can feature anything from addresses to decorative elements, custom-made options provide an exclusive touch. These tailored pieces may include family crests, initials, or special motifs, creating a timeless aura for your mail.
Additionally, combining several stamps can generate a layered aesthetic, giving the envelope depth and character. A tip for achieving this is to mix smaller designs around a central, larger stamp. Hence, despite the simplicity, ink stamps offer ample space for creativity and personalization.
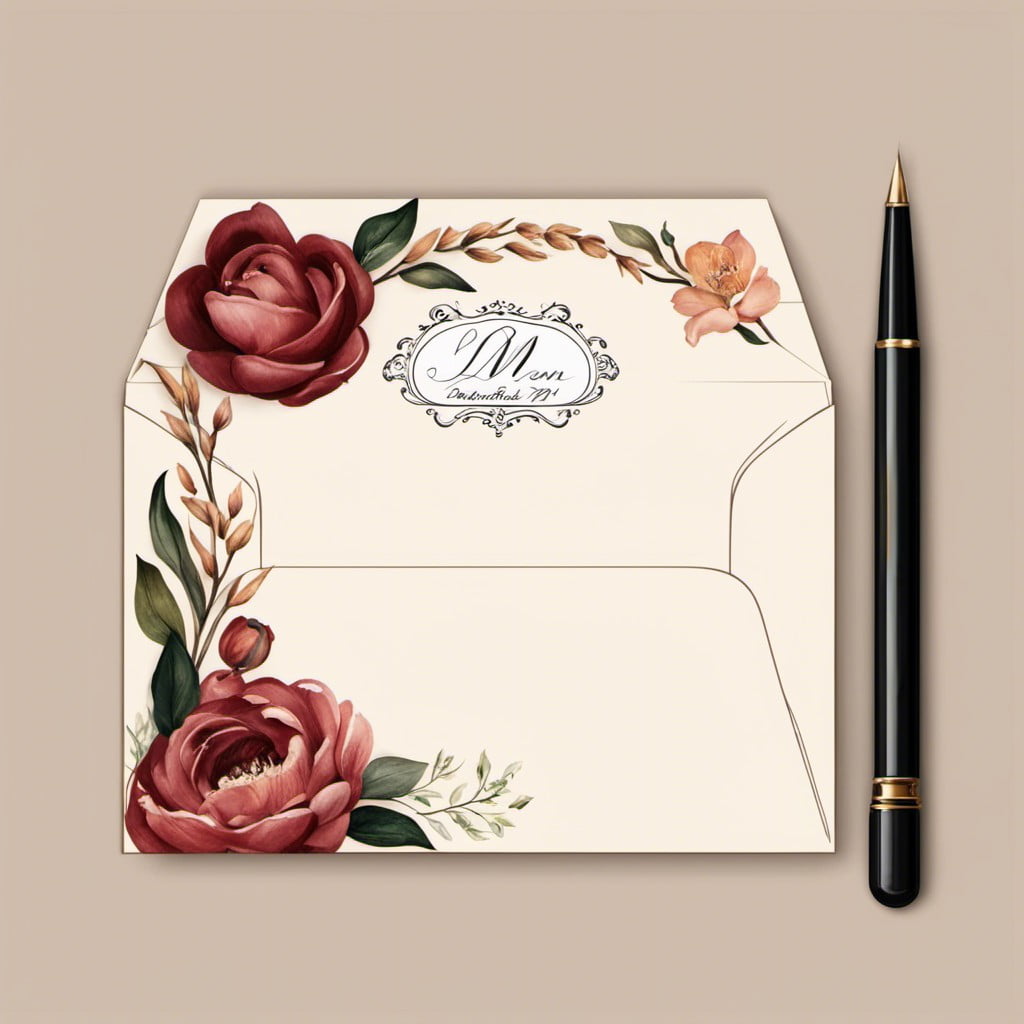
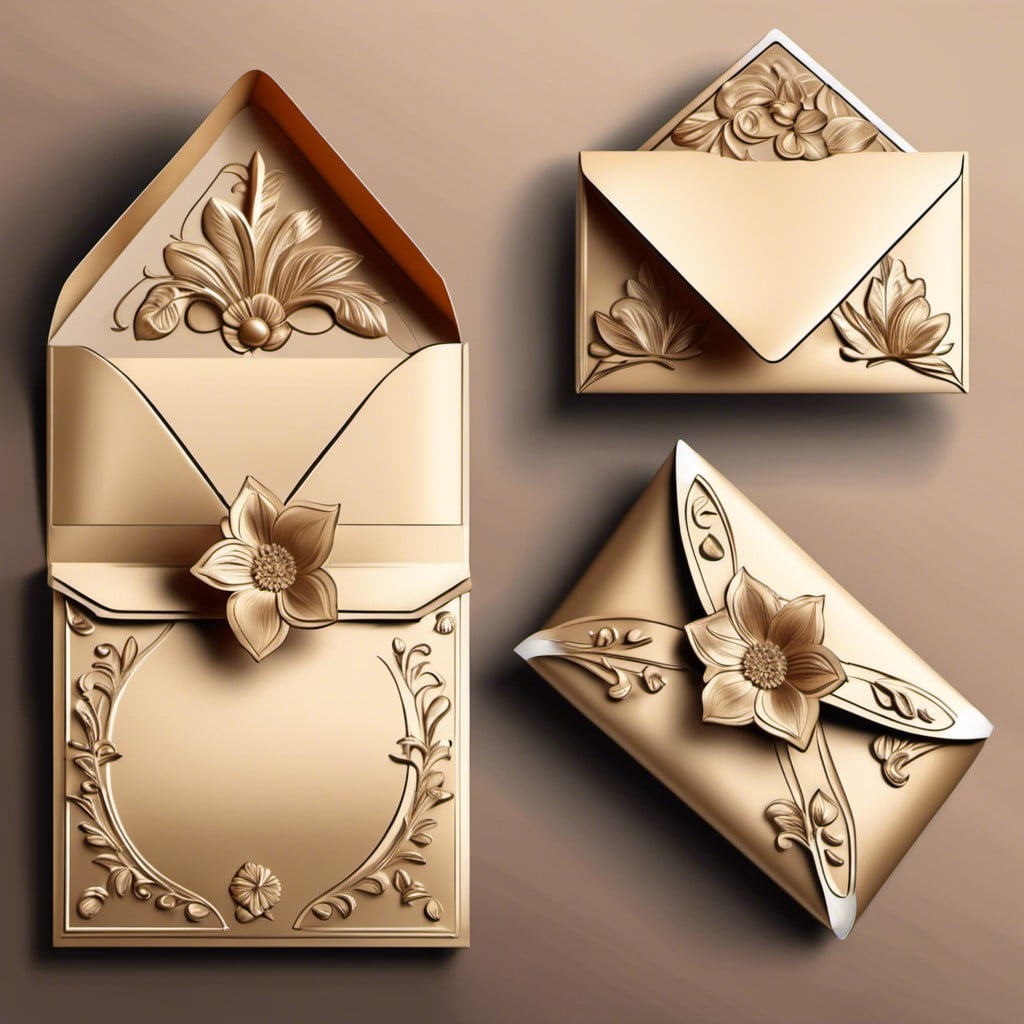
Floral Illustrations
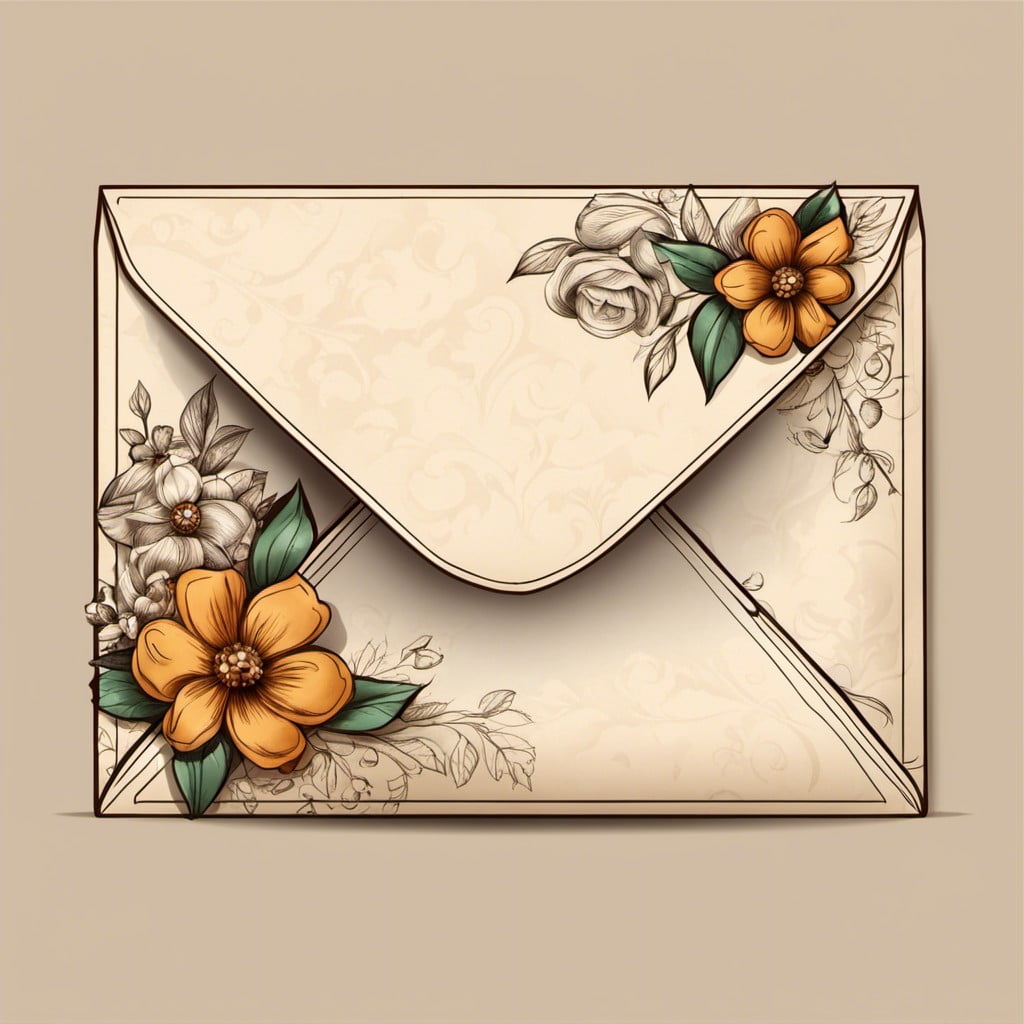
Employing the use of nature, flowers emerge as powerful subjects in envelope decoration. They add a touch of charm and sophistication to your hand-written letters or event invitations. Whether painted, sketched, or created with intricate paper arrangements, flowers breathe life into otherwise plain envelopes.
To execute this style, consider a few principles:
- Paint or sketch on envelopes directly, using watercolors, colored pencils, or markers. Opt for roses, sunflowers, or lavender sprigs. The choice depends on the mood and theme you’re aiming for.
- Paper flower arrangements, when glued onto envelopes, bring an unexpected 3D aesthetic. They employ a mix of colors and shapes for added texture and depth.
- Stenciling could simplify the process. Choose a preferred design, lay the stencil on the envelope, and color inside. This method limits mistakes and ensures uniformity among multiple envelopes.
- Combine floral illustrations with calligraphy or fancy handwriting for an enhanced elegance. The fusion of artful penmanship and floral elements often exudes a classy appeal.
- Less is more. Beware of overcrowding the envelope with too many floral elements. A few strategically placed designs could be more striking.
Embossed Envelopes
Having an extra dimension to your envelopes can create a noticeable tactile difference. Embossing involves creating a raised, three-dimensional design on the envelope’s surface. It can significantly elevate the look of your envelope, giving it a sophisticated and high-quality feel.
Here’s how to create this visual and tangible intrigue:
1. Select a Design: Start by choosing a simple yet unique pattern or design. A monogram, geometric pattern, or basic silhouette works well for beginners.
2. Get an Embossing Tool: Invest in a quality embossing tool, usually a manual or electric embossing machine. These can be found in craft stores or online.
3. Use Embossing Powder: Sprinkle this special powder over your design, then heat it with a blow dryer or heat gun. The powder melts and forms a slightly raised, glossy finish.
4. Play with Color: While clear powder gives a classic embossed look, colored powder lets you match the design with the envelope color.
Remember, less is more when it comes to embossing. Overdoing it might take the elegance away. Practice on scraps before finalizing the envelope!
Origami Envelopes
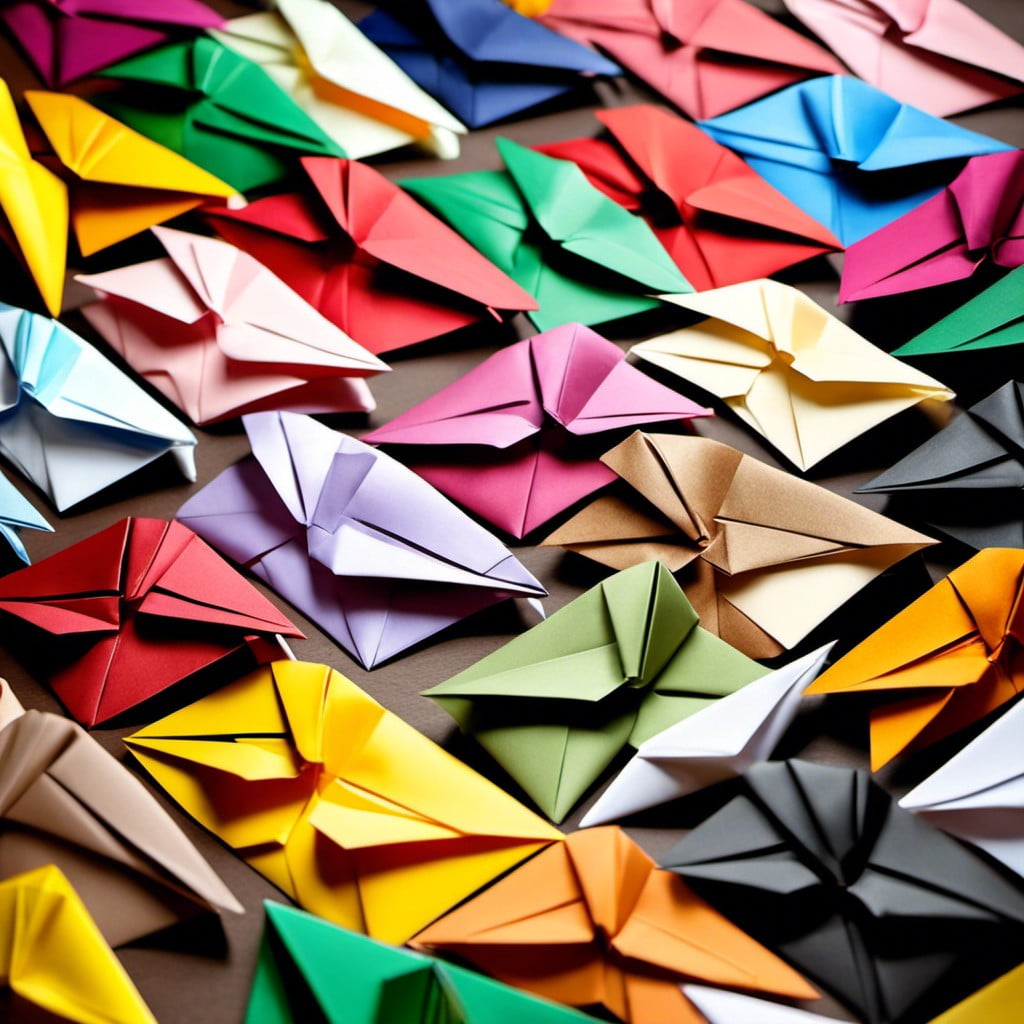
Delving into origami techniques can truly transform your envelopes into intricate works of art. Folding paper may seem complex, but it permits endless possibilities, allowing for a personalized, unforgettable finish.
1. Choose the Right Paper: Lightweight paper works best for ease of folding. Consider the aesthetic of patterned or colored paper.
2. Learn Basic Folds: Origami involves a series of folds. Begin with simple designs before advancing to more complex ones.
3. Use a Bone Folder: This tool comes in handy for precise, sharp creases.
4. Ink Resistant: Ensure any writing on the envelope is resistant to your paper choice and the folding process.
5. Practice: Origami requires patience and practice. Don’t worry if your first few attempts are less than perfect.
With these tips, your mail will instantly become a piece of art, providing a unique experience for the receiver even before they open to read.
Lace Doily Accents
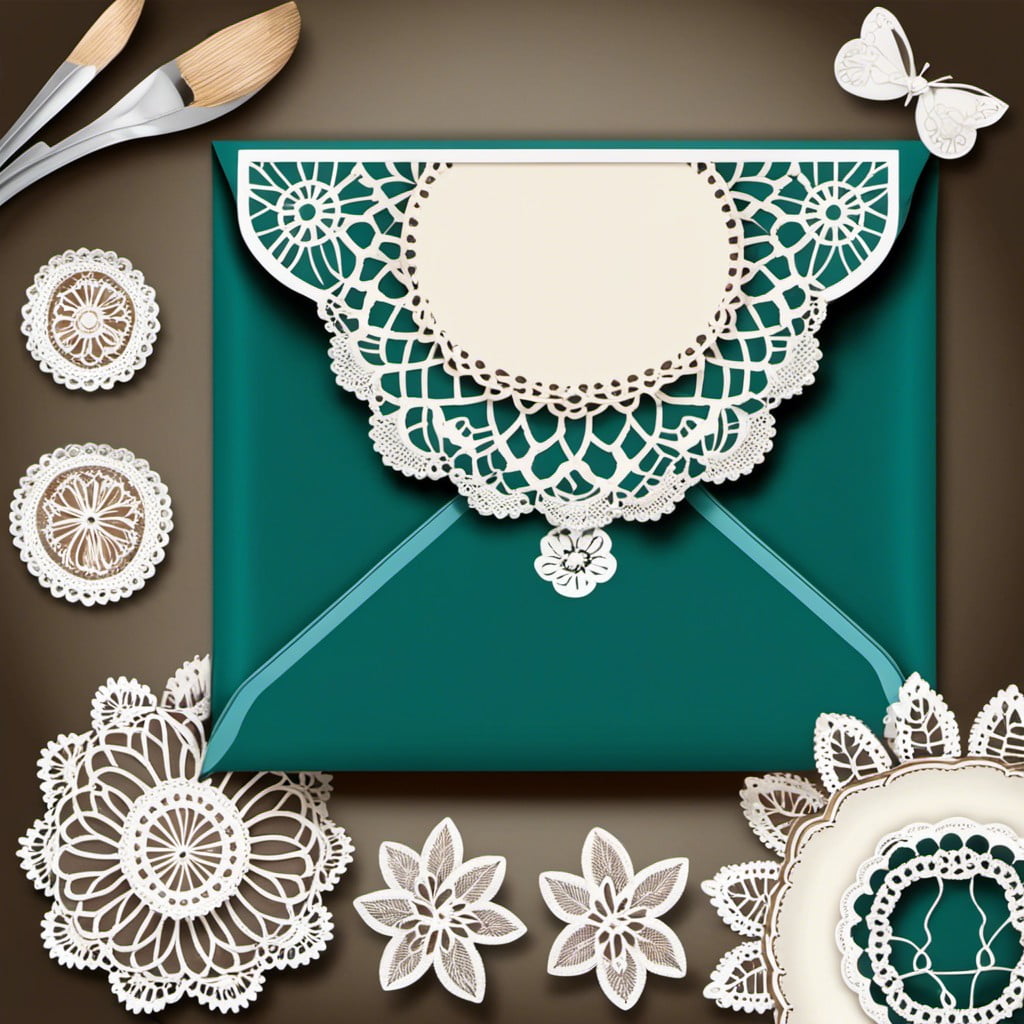
Incorporating Lace Doily Accents gives envelopes a delicate, intricate allure. This approach typically involves using small lace doilies – either real or replicated through stencil work.
1. Consider these quick steps for application: Lightly glue the doily on the envelope, ensuring all the details stick well. Wait for it to dry before writing on it or adding address labels.
2. For an old-fashioned touch, use cream or off-white doilies on pastel-colored envelopes.
3. For a modern twist, contrast colors like a white doily on a bold-colored envelope.
4. Mini doilies can also serve as a seal or as corner details.
5. Stencils prove more efficient when creating multiple envelopes, retaining the lace effect.
Through these pointers, one can grasp how Lace Doily Accents can dramatically enhance envelopes with elegance and quaint charm.
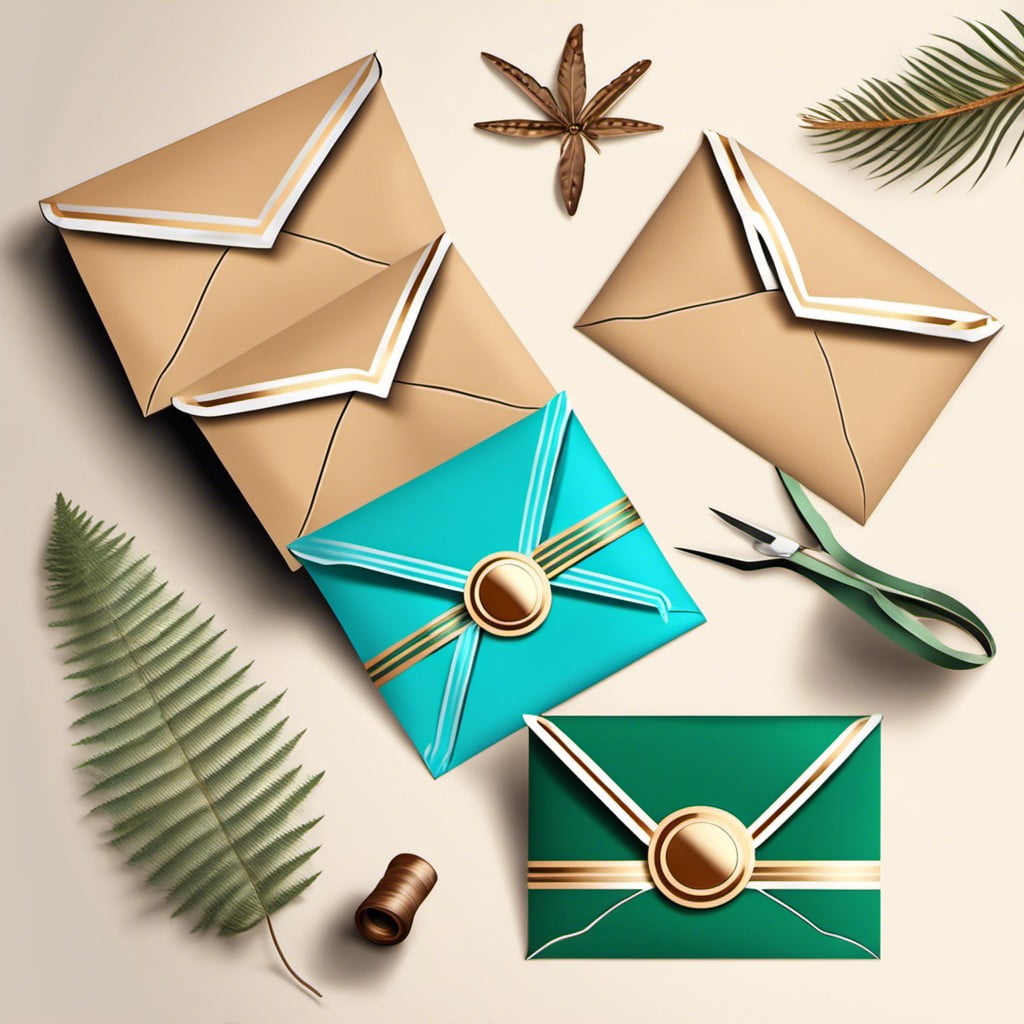
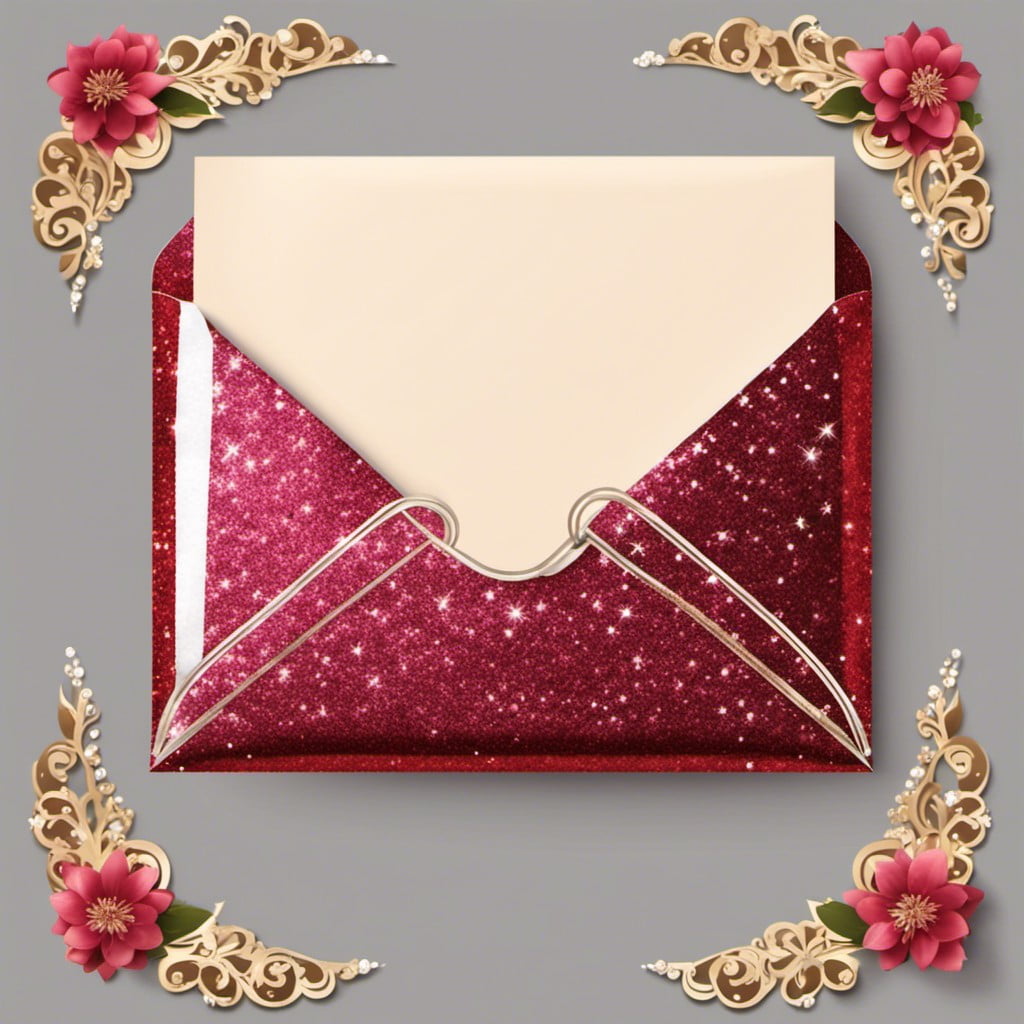
Wax Seal Stamps
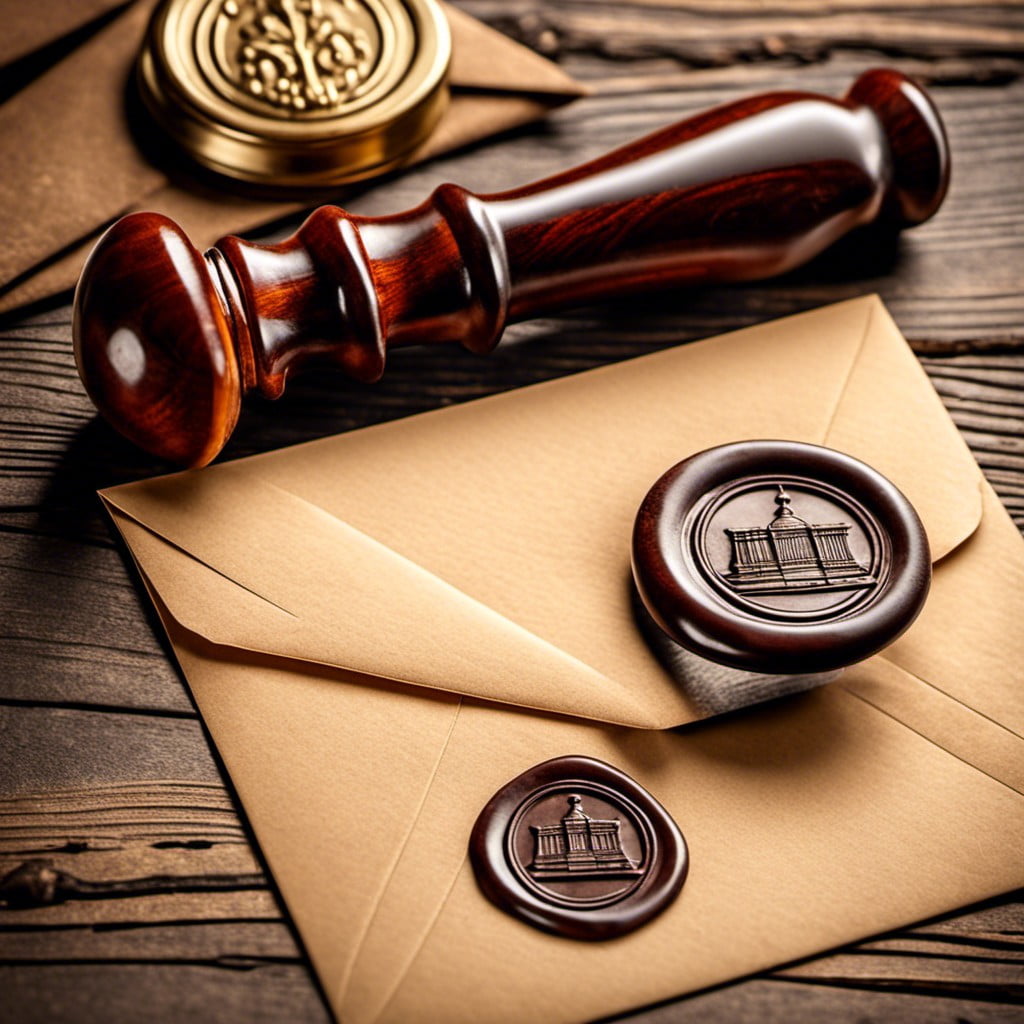
Adding an old-world charm, these tools melt wax onto your envelope, imprinting it with a custom design. The beauty of wax seals is not only in their stunning visual effect but also in the vast array of designs available – from heart shapes to monograms to unique symbols. Plus, they help secure your envelope, protecting the contents within.
Here are some key points to remember when using wax seal stamps.
- Ensure your wax is heated evenly to get a clean imprint.
- The right placement of the seal can change the envelope’s aesthetic, consider positioning it centrally or offset.
- Stamps can be personalized to feature your monogram, a specific design or symbol.
- Be cautious not to smudge the seal while it cools down.
- To protect your wax seal during mailing, consider using an outer envelope or wrapping your envelope in protective cellophane.
This traditional method merges functionality with aesthetic appeal, and adds an extra touch of personal connection.
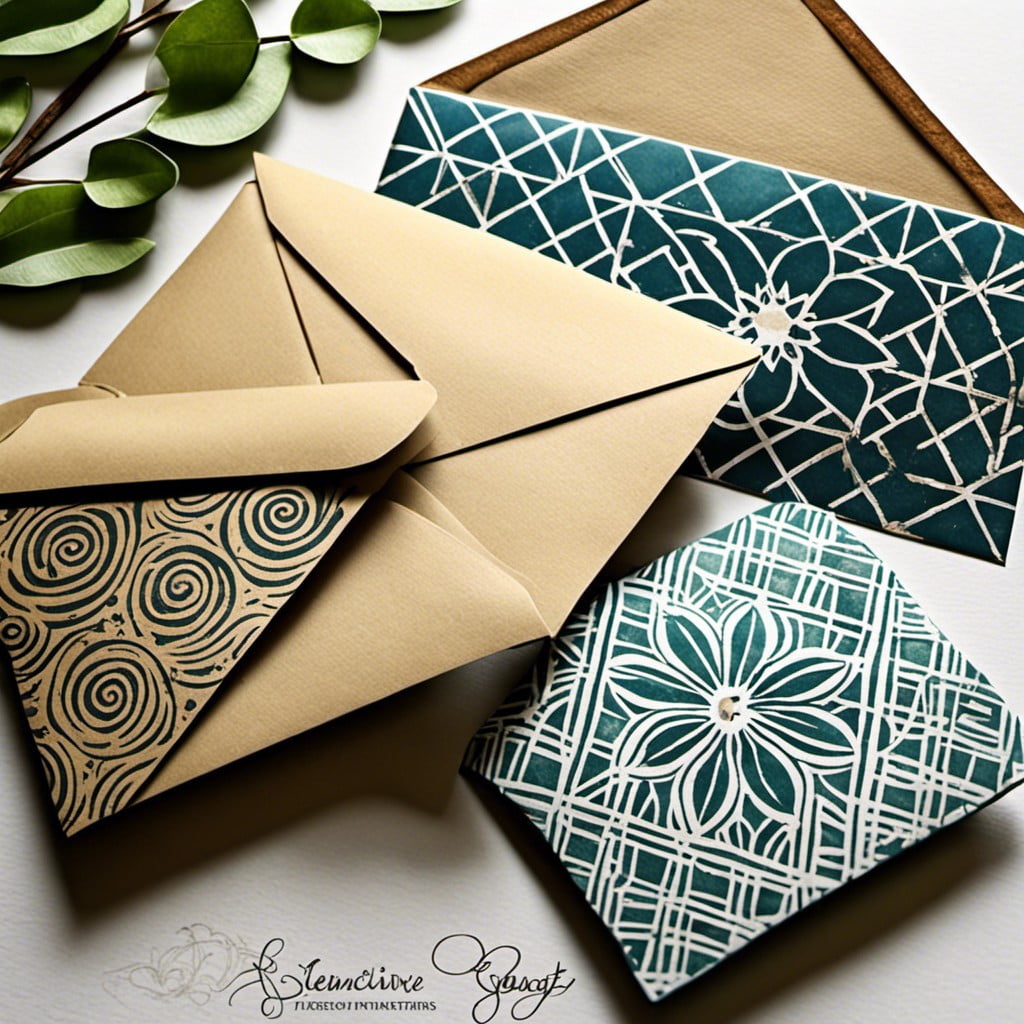
Custom Envelope Liners
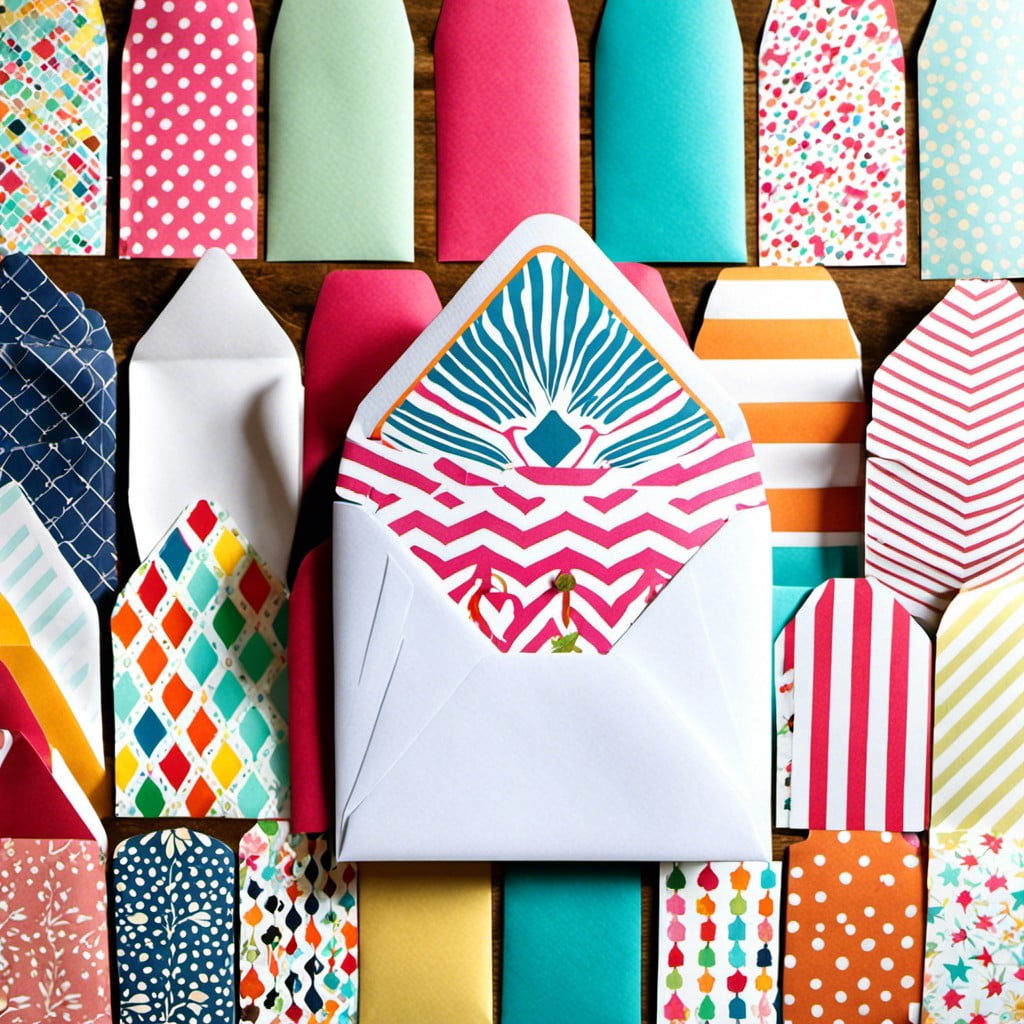
Custom envelope liners can inject personality as well as color into your envelope, elevating it from simple to elegant and memorable in a snap. It’s a chance to incorporate your theme, be it a specific color, pattern, or element associated with a special occasion.
1. Selecting Materials: You could choose from a variety of papers – matte, glossy, textured, or even metallic.
2. Design Aspects: Patterns that complement the envelope and occasion can make a big impact, don’t be afraid to be creative!
3. Sizing: The liner should fit snugly inside the envelope. A trial and error approach works best here.
4. Tools: A bone folder can be helpful to make clean creases, although it’s not mandatory.
5. Easy Fix: Use adhesive to secure the liner to the envelope.
Remember, custom liners are about making a lasting impression. They may be the first thing recipients notice when they open your envelope, so ensure it’s visually appealing!
Metallic Ink Accents
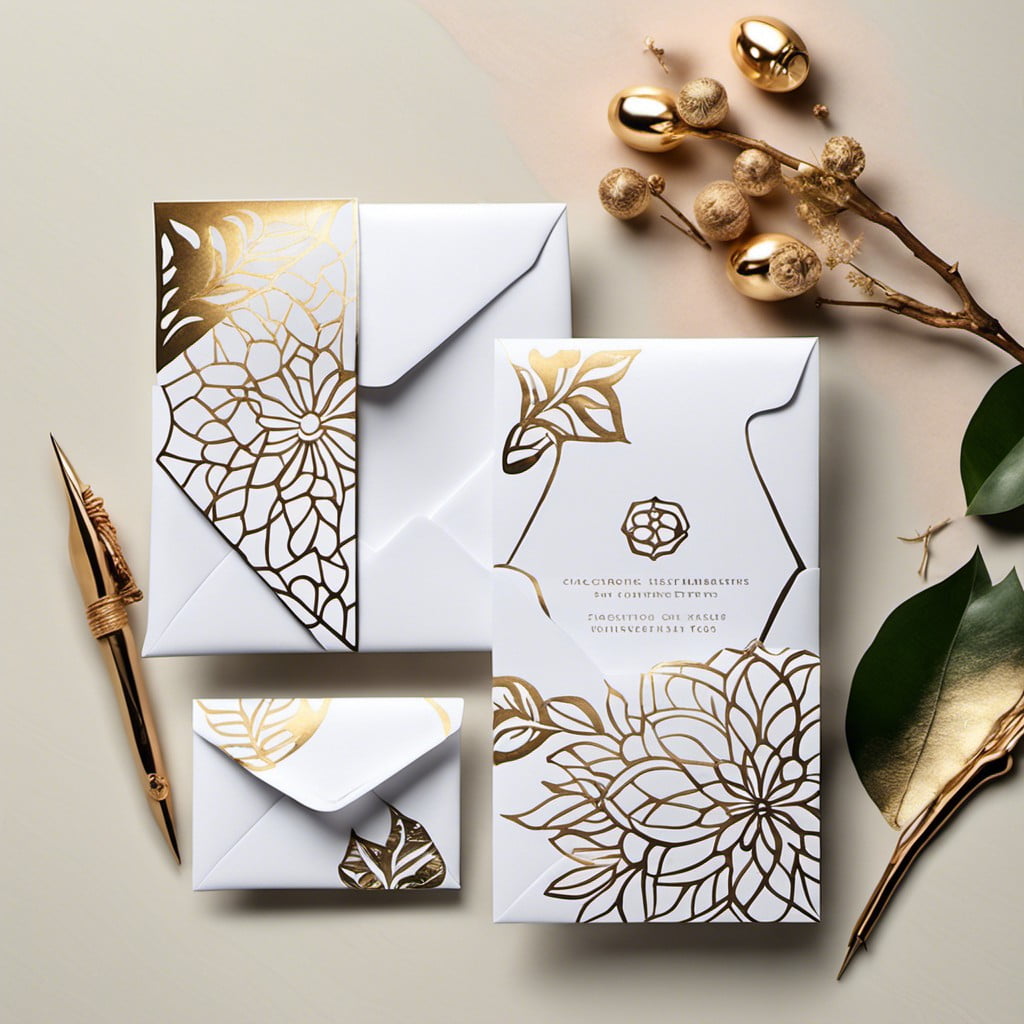
Moving on, exploring the dynamic world of metallic ink is a sure-fire method to transform the ordinary into extraordinary. With a shear-like shine, a simple flourish can give envelopes a regal, expensive look. These accents can be found in a range of hues – gold, silver, copper, and beyond.
Gaining mastery happens through trial and error. Here are a few important aspects:
- Paper type: Opt for a smooth surface, enhancing the reflective aspects of metallic ink.
- Tools: Use a pointed calligraphy pen or a paintbrush for creating free-hand designs.
- Style: Go for thick-shaded lettering, decorative corners or outline the envelope edges.
- Protection: Always let the ink dry completely to avoid smudges. A quick-setting spray might be handy.
No other skill is required than careful application. The result – a glimmering spectacle sure to impress your recipients!
Ribbon & Bow Ties
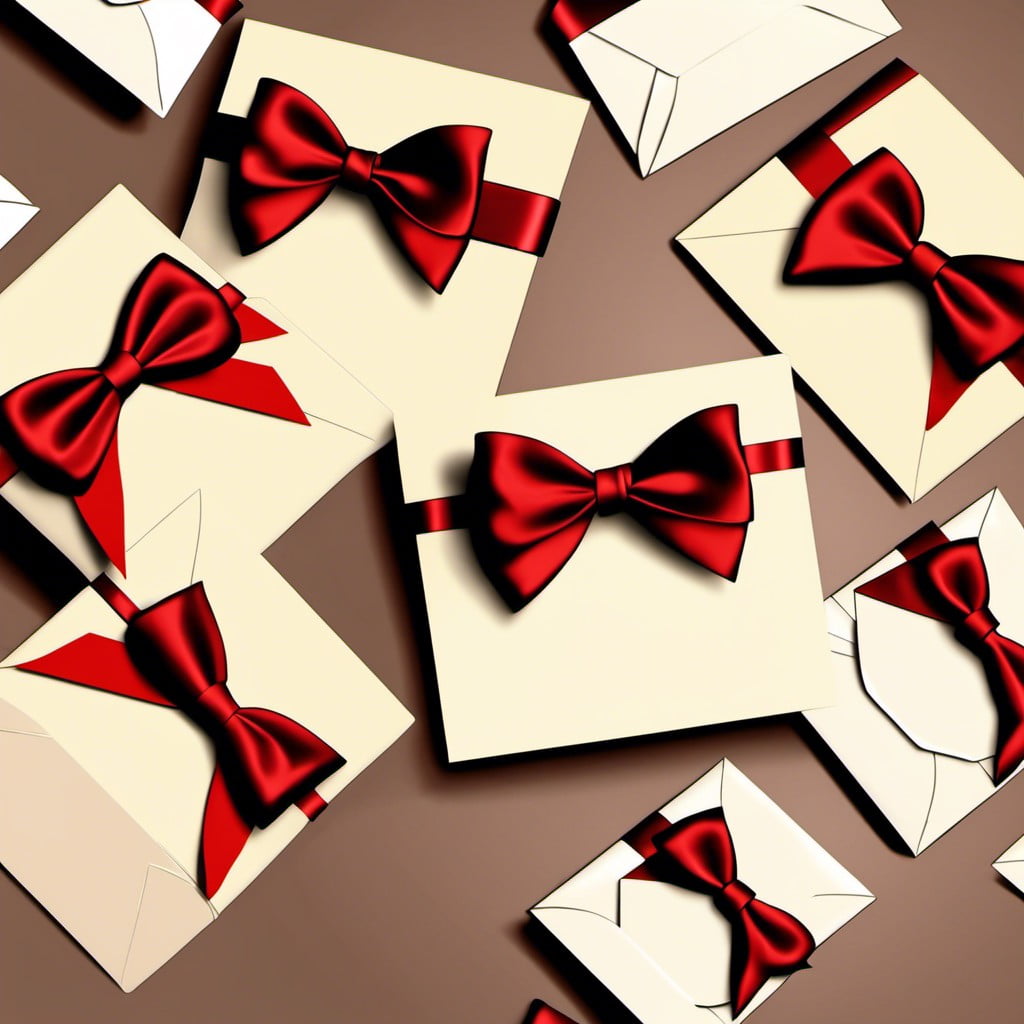
Offering an instant touch of elegance, ribbons and bow ties can transcend your envelope from ordinary to exquisite. A satin ribbon adds a shiny, smooth texture, while a grosgrain ribbon provides a more subtle, ribbed texture. For a vintage feel, consider a lace ribbon.
Color choice also contributes to the overall impression. A bold red ribbon might say “celebration,” while a soft pink one whispers “romance.” Opting for a wider ribbon can make a dramatic statement, while thinner ones lend a delicate touch.
One popular method is to simply tie the ribbon around the envelope like a present, finishing with a classic bow on the front. You could also stretch the ribbon lengthwise from top to bottom, secure it with adhesive, then add a pre-made decorative bow on top. Cut the ribbon ends at an angle, or dovetail them for a professional finish.
Adding such a beautiful element doesn’t just look impressive, it also shows your care and dedication, sending a message that says “This is more than just a letter.”
Stenciled Patterns
Creating a design on your envelopes using a stencil is not only fun but incredibly eye-catching. It’s a beautiful and subtle way to add interest without overwhelming the receiver.
To get started, you’ll need a stencil of your choice, a brush or sponge, and some paint or ink. If you’re feeling extra adventurous, you might decide to use glitter paint for an extra touch of sparkle.
Begin by placing your stencil on the area you’d like to decorate. Hold or tape it firmly in place to avoid slipping. Apply paint or ink in a dabbing motion until the design is well covered. Make sure to avoid pushing paint under the stencil, leading to a smudged effect.
Remember, it’s not necessary to cover the entire area; sometimes, a small design on one corner can have an even more striking impact – less is more. Also, consider using part of your stencil for a more abstract effect. Make it your own and let creativity lead the way.
While a beautiful art piece in itself, this is also a handy trick if you happen to be dealing with slightly old or discolored envelopes – stenciled patterns can easily cover any blemishes and refresh them instantly.
Also, don’t forget to let your masterpiece dry completely before handling it further. The last thing you want is for that marvelous design to smudge!
Practical, creative, and wonderfully flexible, this method opens up a world of endless possibilities, enabling anyone to transform a plain envelope into a work of art within minutes.
Decorative Tape Outlines
Decorative tapes, often referred to as washi tapes, offer vibrant colors, intriguing patterns, and charming themes. They’re perfect to add a creative border around the envelope, or to seal the flap for a surprise burst of design elements.
Easy to use and highly adaptable, these tapes can either edge the entire border or fill only key spots for a dramatic flair. The process doesn’t need to be complicated; a simple strip applied with fluid precision can transform a plain envelope into a piece of art.
If the tape is thick enough, a quick trick can be to fold it over the edge, adding color to both the outside and inside of your envelope. Remember, the aim is not perfection but creativity with a personal touch.
3D Pop-up Details
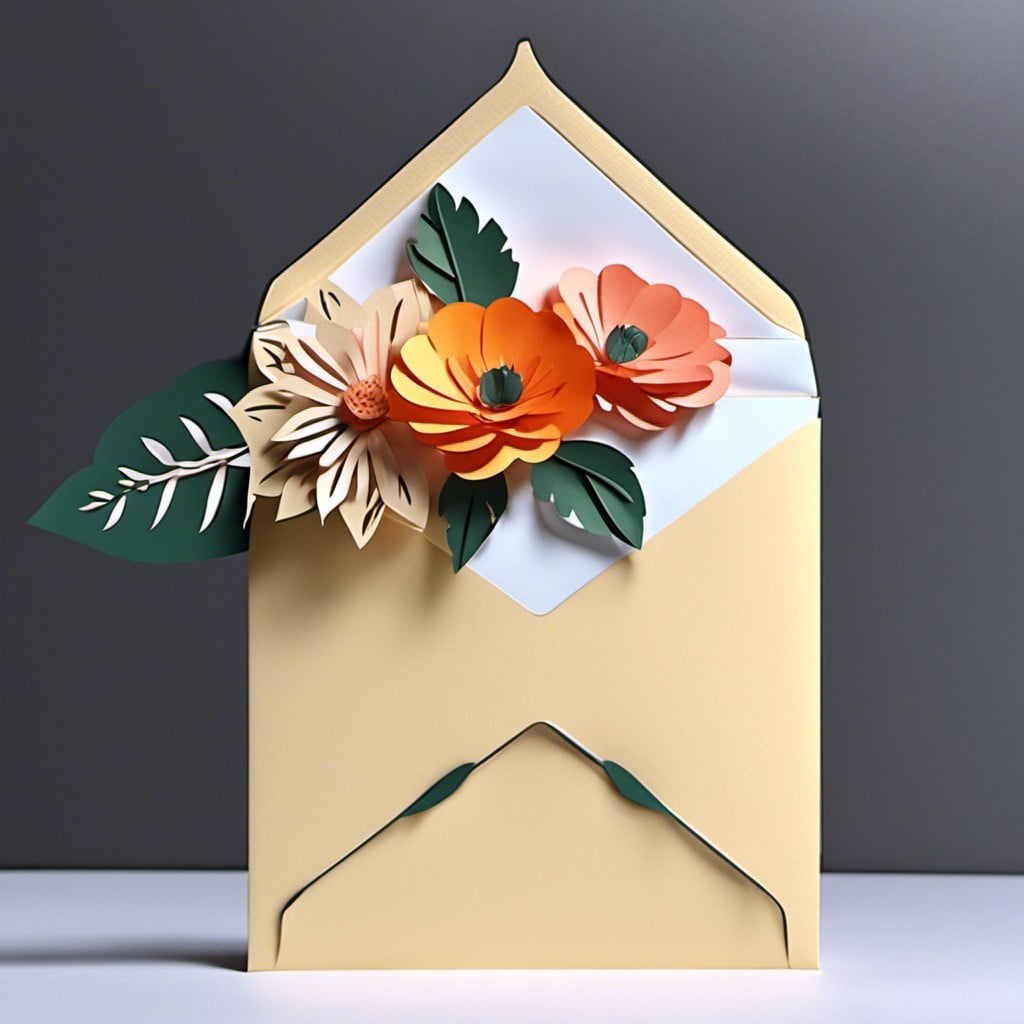
As one of the most innovative methods, the 3D technique can truly amaze and delight the recipient. This technique often involves intricate paper structures that spring up when the envelope is opened, creating a surprising visual treat. These could be anything – a small floral bouquet, a petite bird, or perhaps even the Eiffel Tower.
To create this effect, use thin, semi-rigid paper for the pop-up element, which should be designed taking into consideration the size of the envelope. Fold the lower end of this paper and secure it with adhesive. It’s important to apply the glue carefully so the pop-up design remains intact when the envelope is opened.
Remember patience is key as this process requires time and meticulous attention to detail. With practice, the end result will surely justify the effort, leaving a lasting impression on the recipient.
Personalized Photo Printing
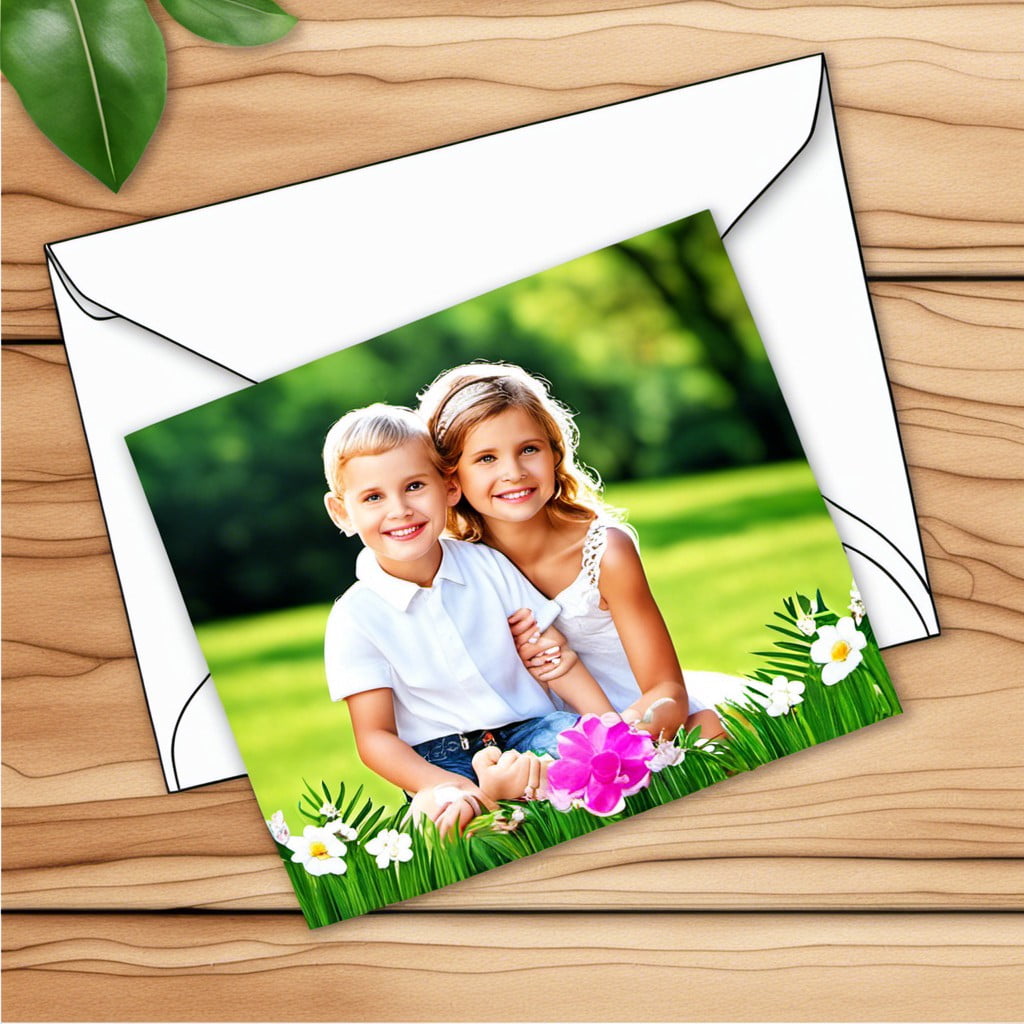
Lending an emotional touch to your envelopes, personalized photo printing is an endearing detail often appreciated by recipients. It could involve the use of personal photographs, relevant images, or even interesting graphics.
1. Great for Events: Showcasing pictures tailored to the occasion (e.g. wedding, birthday, baby shower, etc.) complements the soul of your event in a beautiful manner.
2. Emotional Quotient: Images of cherished moments or familiar faces can evoke a sense of connection and anticipation.
3. Customization: You can choose the scale, color palette, and arrangement of the images to align with the overall theme.
4. Feel-Good Factor: Besides being visually appealing, personalized photo envelopes pass on a warm feeling to recipients.
5. Readily Available Services: Various online and offline service providers offer customizable options for photo-printing on envelopes.
Remember, a great image combined with good quality printing can make your envelopes as memorable as the messages they carry.
Glitter Border Envelopes
Adding a shimmering trim to your envelopes instantly elevates their appeal. Glitter borders are a look-at-me detail, ideal for festive occasions, from birthdays to New Year’s Eve.
1. Use a fine paint brush and glitter-glue to achieve a uniform and precise border. Ensure you wait for the glue to dry completely before handling the envelope.
2. Choose a glitter color that complements or contrasts with the envelope color for a stunning visual effect. A silver border on a black envelope or a gold border on a white envelope can look particularly glamorous.
3. For a more subtle look, a thin border is recommended. However, a wider strip can make a bolder statement.
4. To reduce mess, apply glitter over a sheet of clean paper. After drying, this paper can be folded to pour the excess glitter back into its container.
5. Consider matching the envelope’s glitter border to a detail in the card or invitation inside for a cohesive look.
Remember, less is more. Overdoing it could end up detracting from the message within. A measured approach will ensure that the glitter provides an elegant touch without feeling overbearing.
Stick-on Gemstone Accents
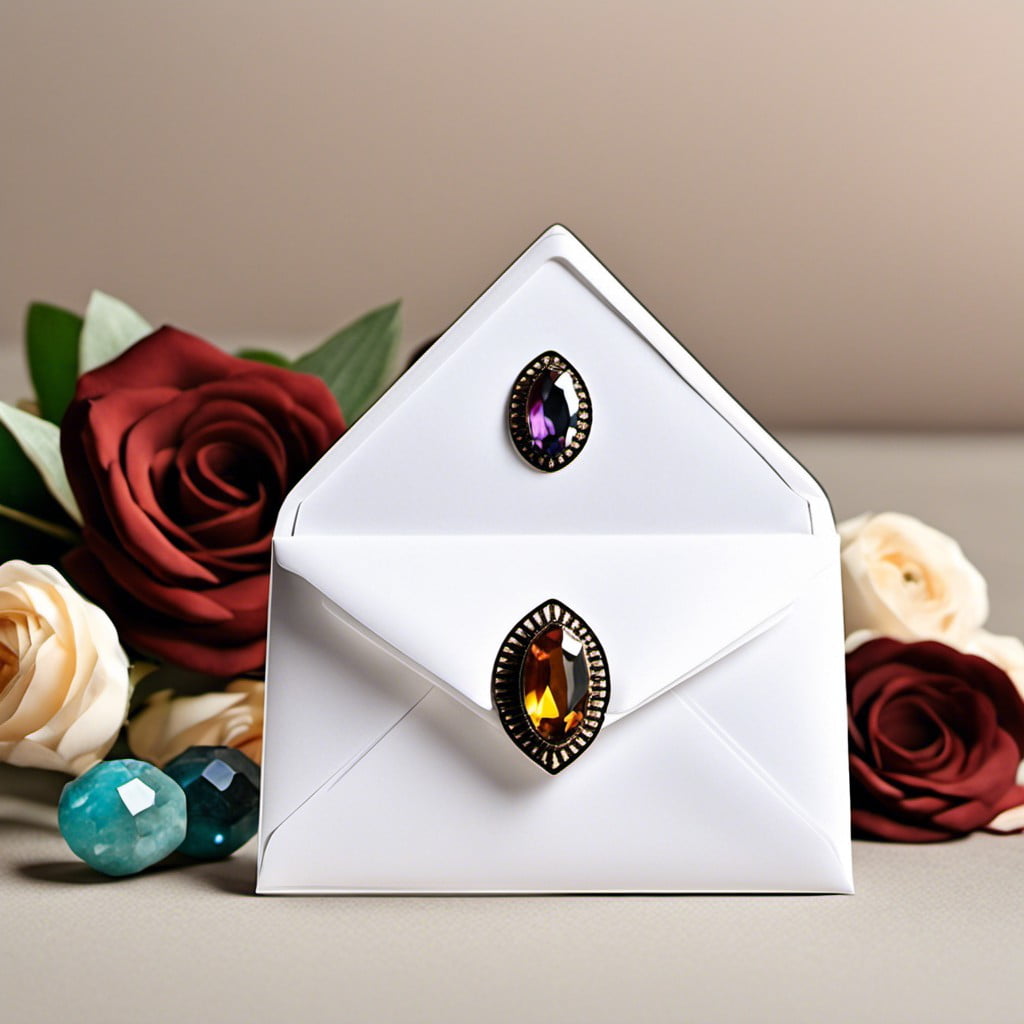
Lending your envelopes a touch of sparkle is simple yet effective with stick-on gemstones. Available in various sizes, shapes and colors, these sticky delights add an instant glamour quotient.
1. Complement your envelope’s color: Choose gemstones that either contrast or blend well with your envelope’s hue.
2. Create Patterns: Arrange these dazzling pieces into heart shapes, stars or initials for a personalized feel.
3. Be Mindful of Thickness: Keep in mind postal regulations which might restrict overly bulky envelopes. Opt for thin gemstones to avoid complications.
4. Combine with other methods: Integrate other decorative elements like ink stamps or ribbon ties to enhance the envelope’s aesthetic.
Remember, it’s all about enticing the receiver to wonder about what’s inside.
Stick-on gemstones are a fantastic opportunity to do just that in a fabulously flashy way.
Feather Attachments
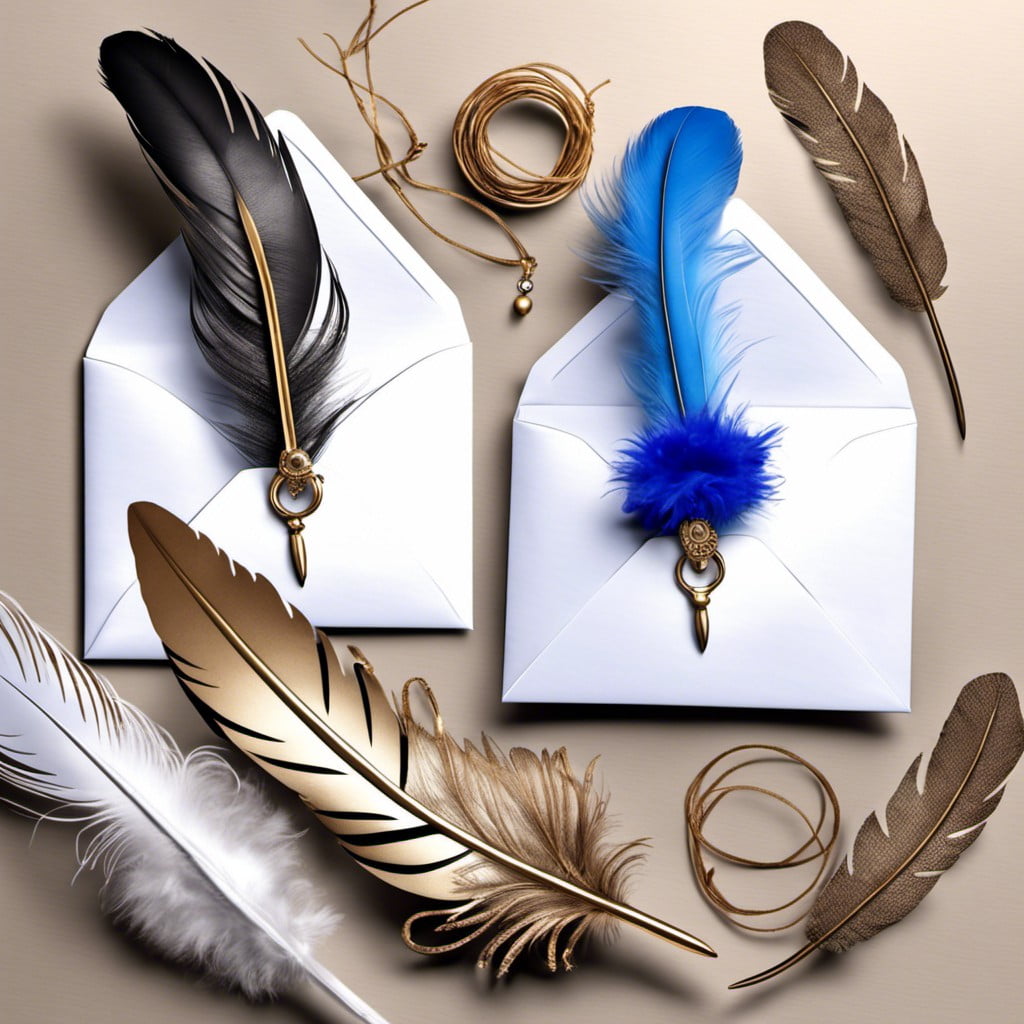
Swooping in from the exotic world of plumage, adding feather attachments to envelopes can instantly elevate their appeal. Natural feathers, brought in a variety of hues and sizes, can be cinched with ribbon or a small metallic clasp that firmly ties them to the upper corner of an envelope.
Alternatively, faux feathers, available in crafts stores, serve as equally captivating accents.
While selecting feathers, think about your event’s color scheme. Peacock feathers are breathtaking with their glittering blues and greens, ideal for a grand event. Subtle dove or swan feathers, on the other hand, offer an essence of elegance perfect for wedding invitations. Goose feathers, with their unique texture, would lend a rustic charm to the correspondence.
To attach the feather, you can use a durable glue or a hot glue gun for a stronger hold. Preferably, position the feather on either the upper left or right corner of the envelope, ensuring it doesn’t interfere with the address. This delicate touch of feather makes each invite feel unique and personal, hinting at the care and creativity you’ve put into every detail. Remember, the key here is balance – too little and the feather won’t be noticed, too much and it could overpower your envelope’s design.
Hand-drawn Doodles
Hand-drawn doodles can add a personal, whimsical touch to your envelopes. Using a fine-tip marker or pen, the possibilities for designs are endless. It could range from simple stars, hearts, swirls, to more complex patterns like florals, mandalas, or even cute creatures.
Here are a few things to keep in mind:
- 1. Match doodle style to the occasion. For instance, consider adding snowflakes for a winter holiday card or flowers for a spring birthday.
- 2. Experiment with colours. While black ink can be striking and elegant, colored markers can bring life and joy to your designs.
- 3. Practice on scrap paper first. This can help you feel more confident and reduce the chance of mistakes on the actual envelope.
- 4. Consider adding a doodle ‘frame’ around the address or your stamp for a touch of playfulness.
- 5. Balance is key. An elaborate doodle could distract from the important information on the envelope, so be sure to keep things harmonious.
Remember, the goal is to enhance the overall appearance of the envelope, not to steal the spotlight.
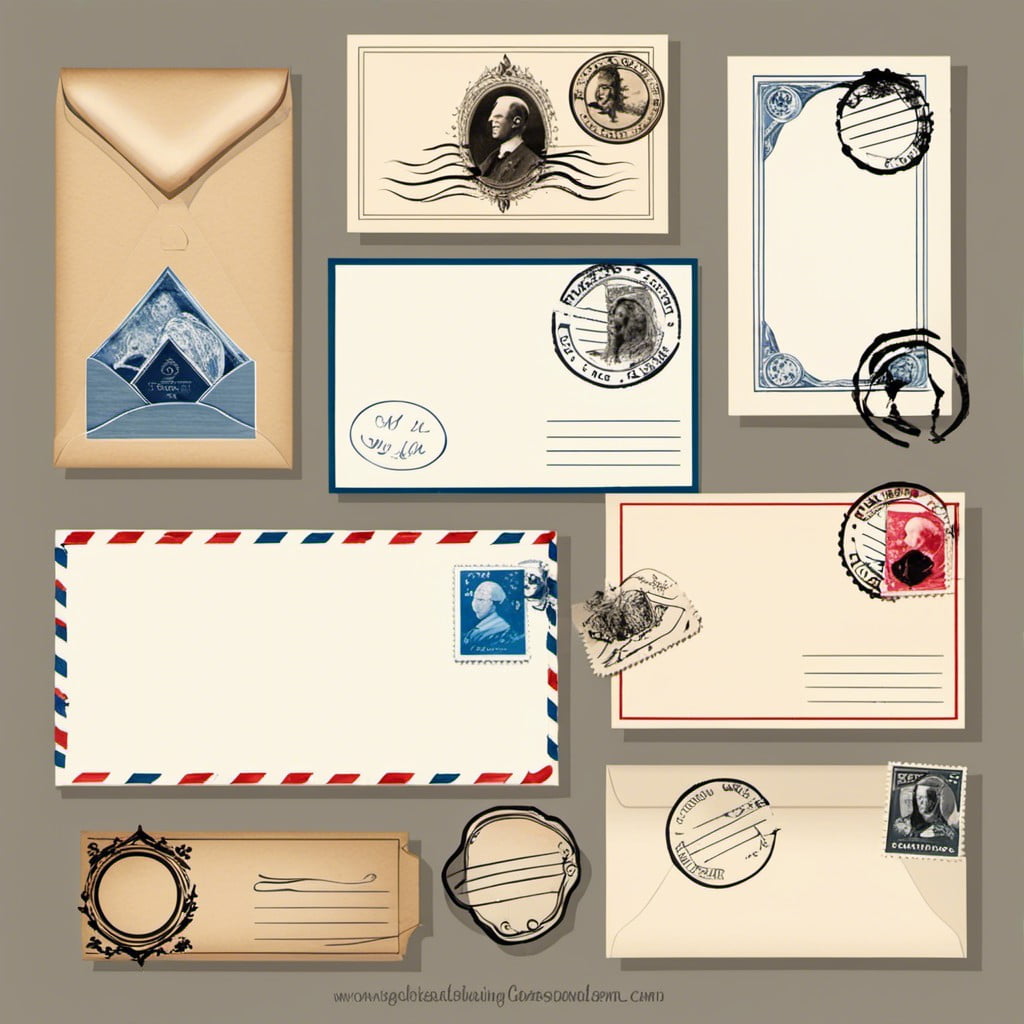
Vintage Postage Stamps
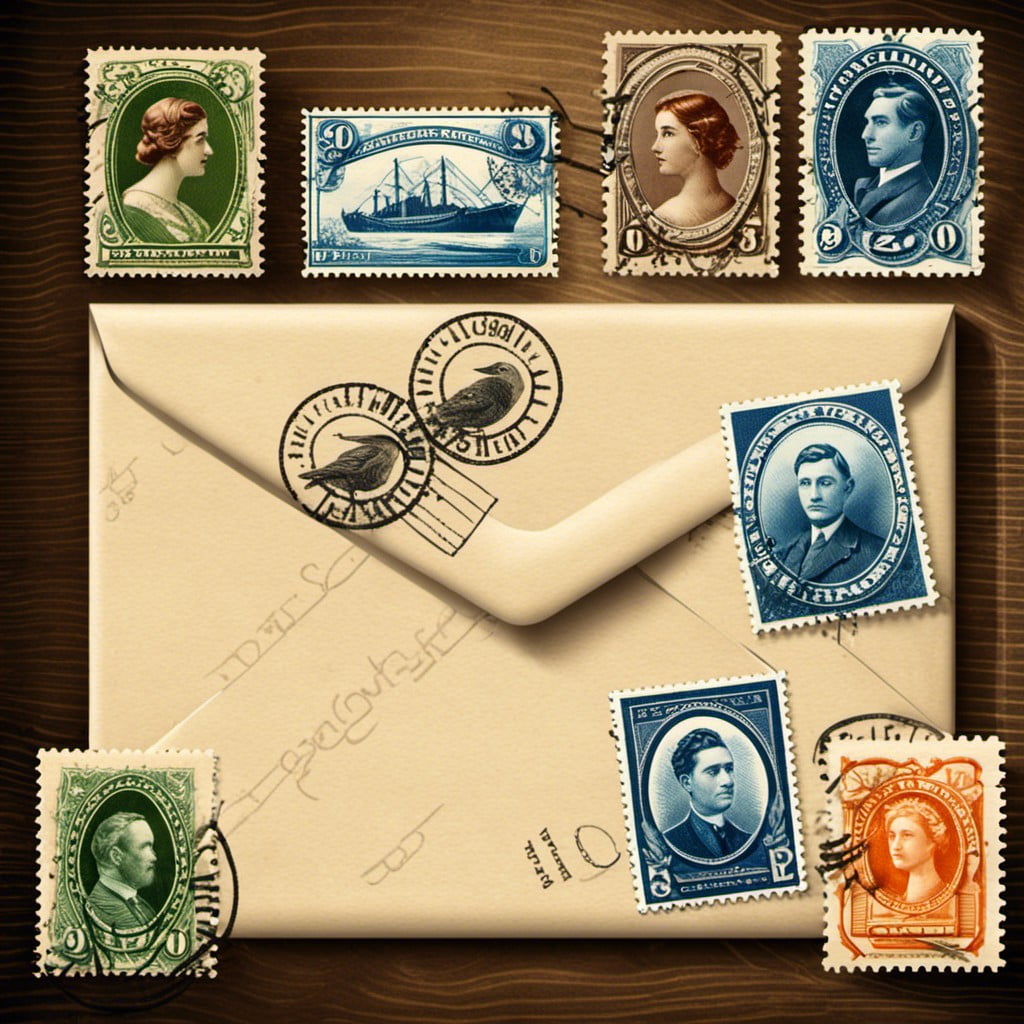
Delving into the world of philately can carry antiquated allure into your projects. These ‘little pieces of history’ function as not only postage but also captivating adornments.
1. Diverse Range: Catering to countless themes, vintage stamps offer an array of designs. There’s certain to be a design that matches your envelope’s aesthetic, whether it’s floral, nautical, or something more abstract.
2. Historical Significance: These little gems give an intriguing glimpse into the past, making your decorations feel rich and engaging.
3. Easy to Apply: An adhesive back makes for easy application. Just moisten and stick onto the envelope.
4. Affordable and Accessible: You can easily purchase them in bulk from antique stores, online platforms, or specialized stamp sellers.
Remember, when selecting stamps, consider their coloration and design. Strive for harmony; select stamps that complement the overall design of the envelope rather than compete with it. Vintage postage stamps offer an easy yet effective way to bring a touch of nostalgia and uniqueness to your envelope decor.
Cut-out Window Designs
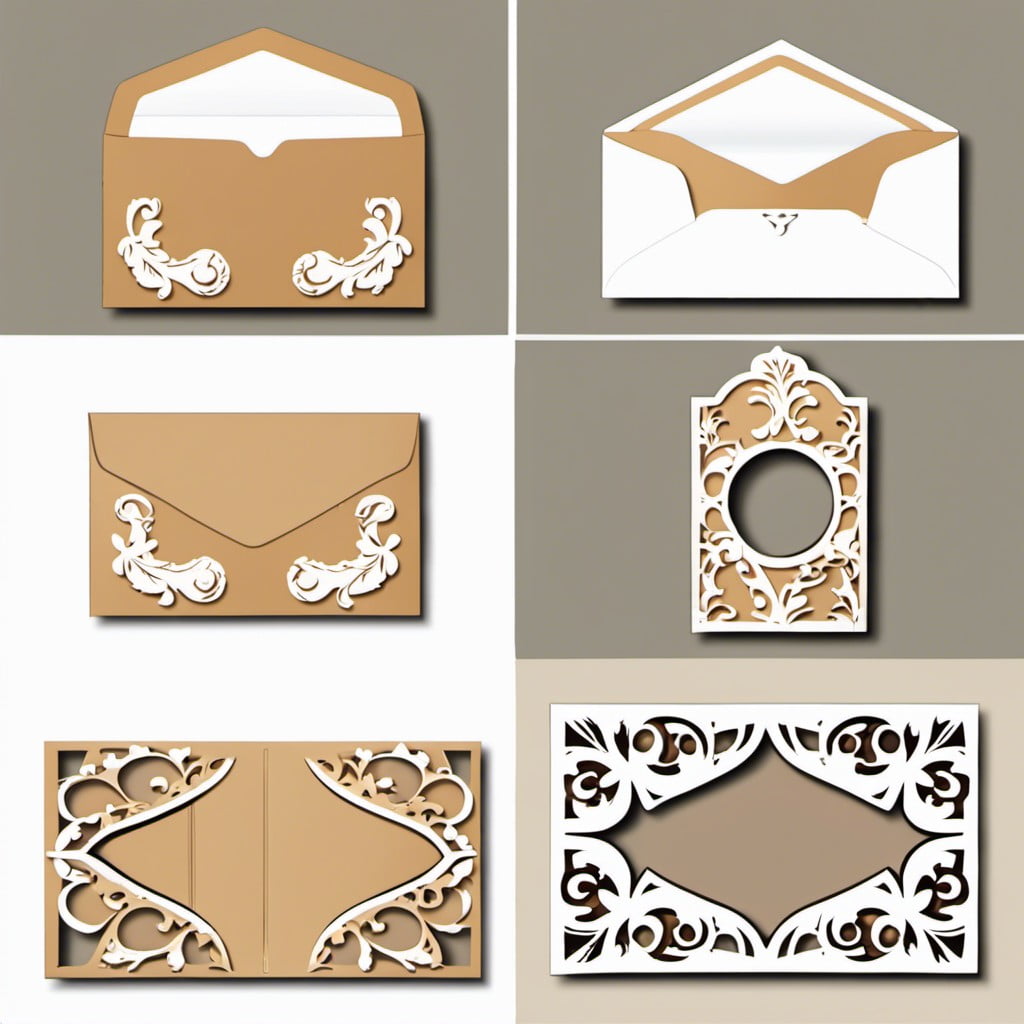
Venturing into the world of cut-out window designs, it’s essential to understand their widespread appeal. They offer not only a sneak peek into the content of the envelope but also add an element of intrigue and elegance.
The key element in this approach is precision. The items you will need include a ruler, a sharp craft knife, and of course, a cutting mat to safeguard your table surface.
Start with a design in mind, sketching it lightly with a pencil. Simple shapes such as circles, hearts, or stars can serve as good starting points for beginners. Position your design appropriately, ensuring it doesn’t interfere with the function of the envelope.
One must bear in mind that the cut-out design works as a frame for the underlying content. Therefore, try to use a liner of contrasting color or pattern to make your design pop. This crucial detail can instantly elevate the look of your envelope.
Moreover, this technique allows room for creativity. You can experiment with different sizes and numbers of cut-outs. Multiple smaller cut-outs or a single, large, intricate one can create drastically different looks.
Lastly, practice is the key to perfect the art of cut-out window designs in envelopes. So, patience and persistence go hand in hand in this decorative journey.
Read More Like This
 15 Funny Graduation Cap Ideas to Make Your Big Day Unforgettable
 15 Unique DIY Christmas Decorations Ideas for a Festive Home
 15 Creative Science Fair Board Ideas to Amaze Your Audience
 15 Handmade Envelope Decoration Ideas for Creative Gifting
 10 DIY Gifts for the Whiskey Lover in Your Life
Recap: