Last updated on
Discover the joy of creating your very own DIY baker’s rack with this simple guide that will transform your kitchen space into an organized and stylish haven.
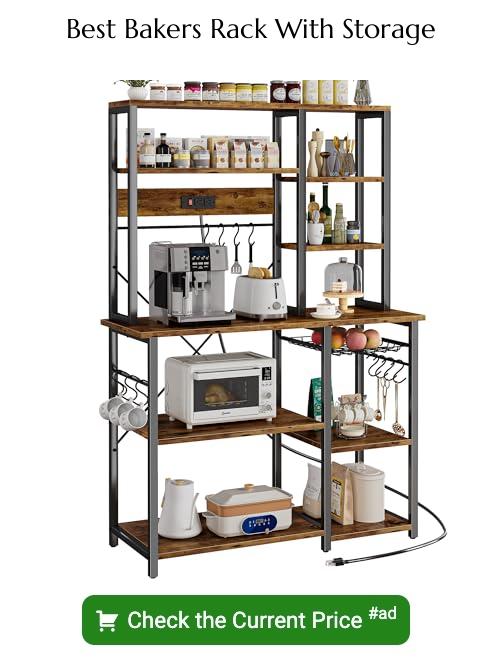
A bakers rack is a versatile piece of furniture that can add both style and functionality to any room in your home. Not only does it provide ample storage space, but it also serves as a decorative accent that can enhance the overall aesthetic of your living space.
However, buying a pre-made bakers rack can be expensive and may not fit perfectly with your personal style. That’s where DIY comes in! In this article, we’ll show you how to create your own custom bakers rack that will not only save you money but also allow you to express your creativity.
So roll up your sleeves and let’s get started on creating the perfect DIY bakers rack for your home!
Selecting a DIY Design
The first step is to determine the purpose of your bakers rack and how you plan on using it. Are you looking for a simple storage solution or do you want something that will also serve as a decorative accent in your home? Once you have determined the primary function of your bakers rack, consider the style and aesthetic that best suits your personal taste.
Some popular designs include traditional wrought iron styles with intricate details, modern minimalist designs with clean lines and geometric shapes, rustic wooden racks with distressed finishes or industrial-inspired metal frames paired with reclaimed wood shelves. You can also find plans online or in magazines that offer step-by-step instructions on building custom-made baker’s racks.
Ultimately, choosing the right design depends on both practicality and aesthetics – so take some time to explore different options before settling on one particular style.
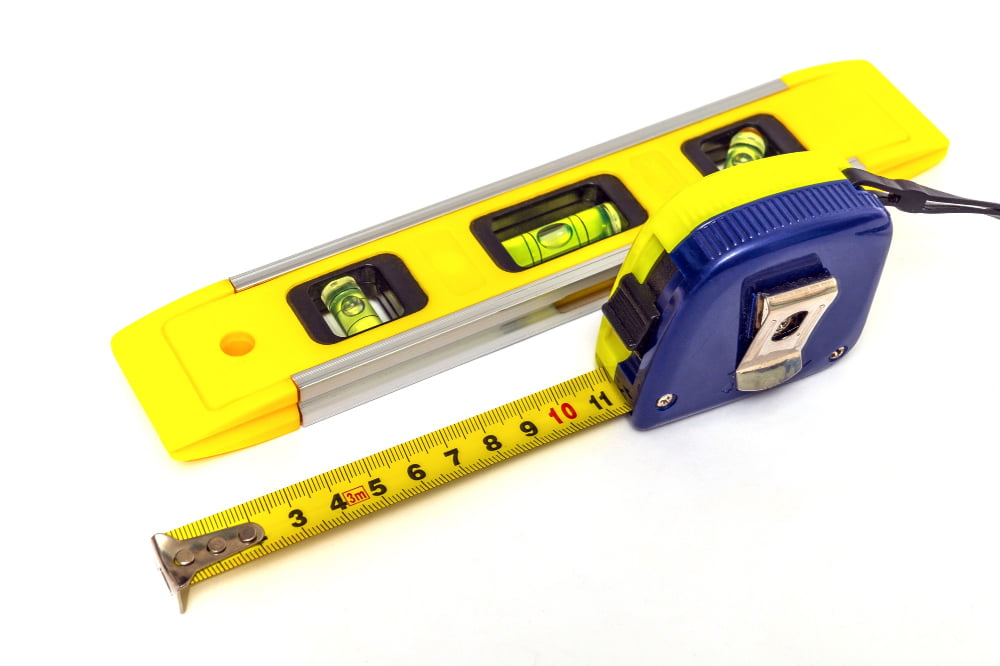
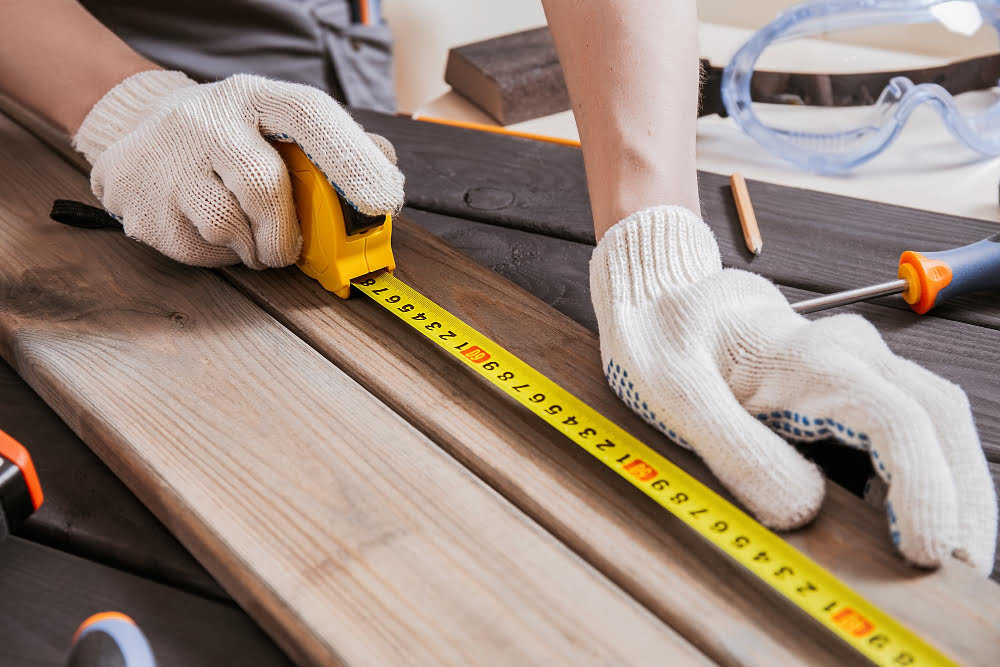
Sizing & Measuring Your Space
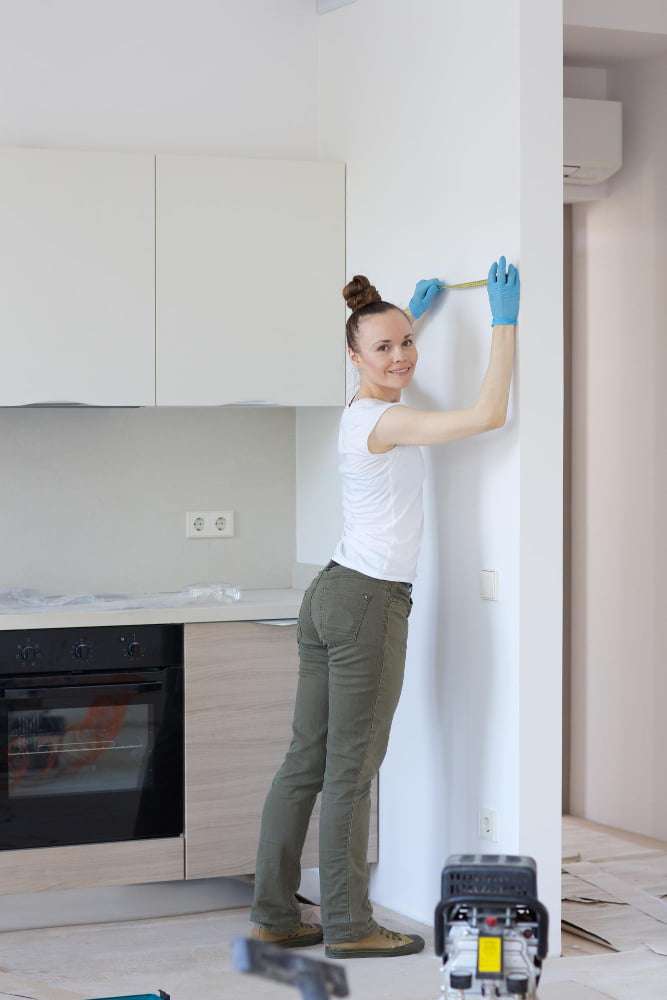
This will ensure that your finished product fits perfectly and doesn’t take up too much or too little space in the room. Start by measuring the height, width, and depth of the area where you want to put your bakers rack.
Make sure to account for any obstacles such as doors or windows that may affect placement.
Once you have these measurements, consider how many shelves and hooks you want on your bakers rack based on what items need storage in this area of your home. If using a pre-made design plan from online resources like Pinterest or Etsy make sure they fit within those dimensions before purchasing materials.
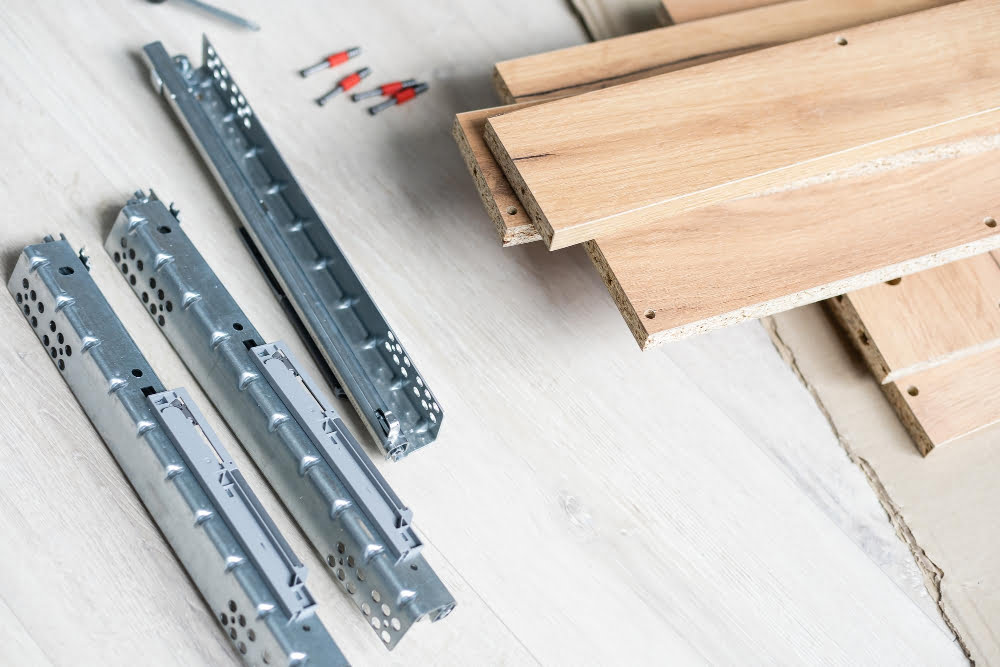
Choosing the Right Materials

First and foremost, you want to make sure that the materials you choose are sturdy and durable enough to hold all of your kitchen essentials without collapsing or breaking. Some popular options include wood, metal, glass or a combination of these materials.
If you’re looking for something more rustic and traditional in style, then wood is an excellent choice. It’s strong enough to support heavy items like pots and pans while also adding warmth and character to any space.
On the other hand, if modern minimalism is more your thing then metal might be what suits best as it provides sleek lines with its industrial look which can add sophistication into any room.
Glass shelves offer an elegant touch but may not be suitable for heavier items such as cast iron cookware so keep this in mind when selecting material combinations.
Walnut Wood and Its Benefits
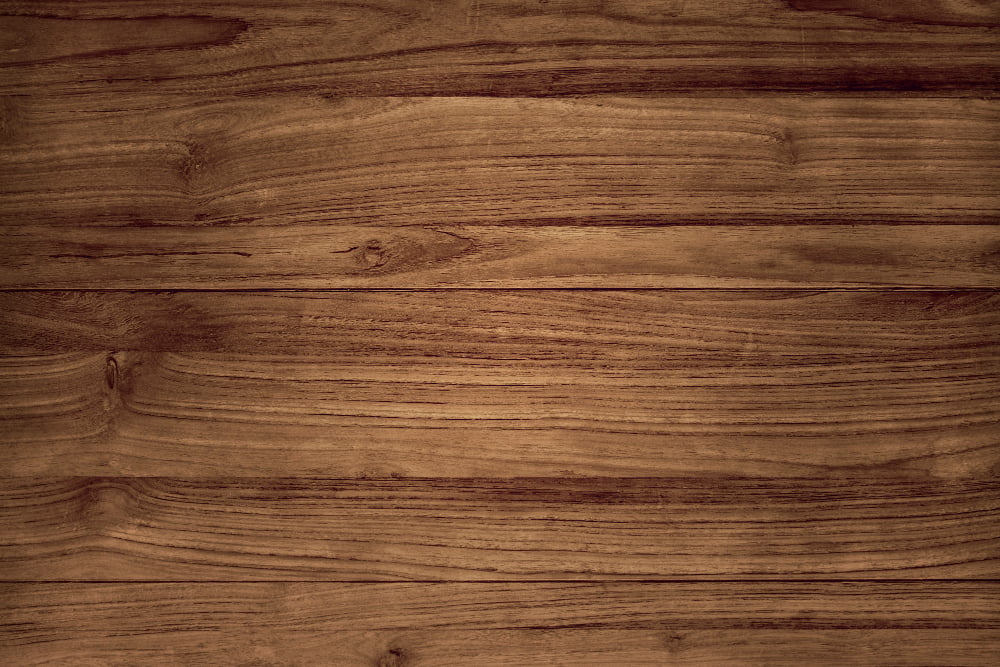
It has a rich brown color with unique grain patterns that add character to any piece of furniture. Walnut wood is also resistant to warping and cracking, making it an ideal material for shelves that will hold heavy kitchen items such as pots and pans.
In addition to its physical properties, walnut wood also offers several health benefits. Studies have shown that the natural oils in walnut wood can help reduce stress levels by promoting relaxation when inhaled or ingested through food prepared on the surface of the rack.
When selecting your materials for your DIY bakers rack project, consider using high-quality walnut lumber from reputable suppliers who source their products sustainably. This ensures not only a beautiful finished product but also supports responsible forestry practices.
Tools & Equipment Needed
Having the right tools on hand will make your project much easier and ensure that everything is assembled correctly.
Some of the essential tools you’ll need include a drill with various bits, a saw (circular or miter), sandpaper, measuring tape, leveler tool or laser leveler tool. You may also need clamps to hold pieces in place while assembling them together.
It’s important to note that some designs may require additional specialized equipment such as welding machines if metal parts are involved. Be sure to review all instructions carefully before beginning any work so that you can determine what specific items are needed for your particular project.
Assembling the Frame
The first step is to assemble the frame of your bakers rack. This will serve as a foundation for all other components of your project.
Begin by laying out all pieces on a flat surface and identifying each part according to its corresponding label or number in the instructions manual. Make sure that you have everything needed before starting assembly.
Next, follow the instructions carefully and use appropriate tools such as screws, bolts, nuts or nails depending on what type of frame you are building. It’s important not to rush this process so take your time with each step ensuring that everything is aligned correctly before moving onto next steps.
Installing Shelves & Hooks
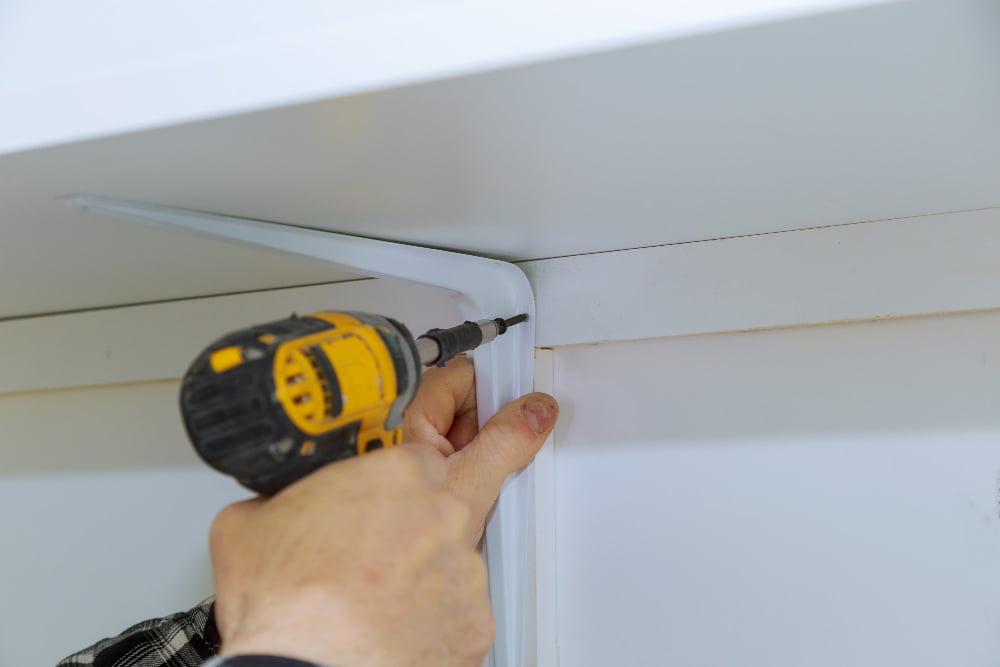
This step is crucial as it will determine how functional and organized your bakers rack will be. Before installing any shelves or hooks, make sure that you have measured the space between each level accurately.
To install shelves, use a drill to create holes on both sides of the frame where you want them placed. Then insert shelf brackets into these holes before placing wooden boards on top of them.
For hanging items such as pots or pans, attach S-hooks onto horizontal bars using pliers for added stability. You can also add additional hooks at different heights along vertical posts for more storage options.
Remember to evenly distribute weight across all levels and avoid overloading one section with too much weight which could cause damage or instability in your bakers rack structure.
Finishing & Painting Tips
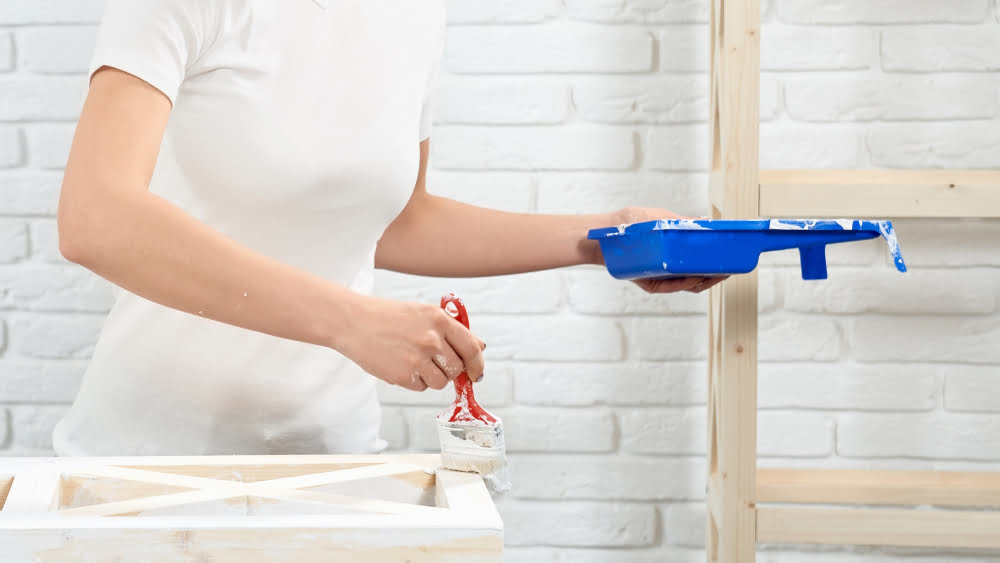
The final step is painting or staining the wood to match your home decor. Before you begin, make sure that all surfaces are clean and free of dust or debris.
When choosing a paint color, consider the overall style of your kitchen and choose a shade that complements it. If you’re unsure about which color to use, try testing out different shades on small areas before committing to one.
If you prefer a natural look for your bakers rack instead of painted finishes, then staining may be an option for you. Staining allows the natural beauty of wood grain patterns and textures to shine through while still providing protection against moisture damage.
Before applying any finish product such as paint or stain onto wooden surfaces ensure they are sanded down properly with fine-grit sandpaper so that there aren’t any rough spots left behind from previous steps in construction process like drilling holes etc., this will help achieve smooth surface texture when finished coating is applied evenly over entire area without leaving brush marks visible after drying period has ended.
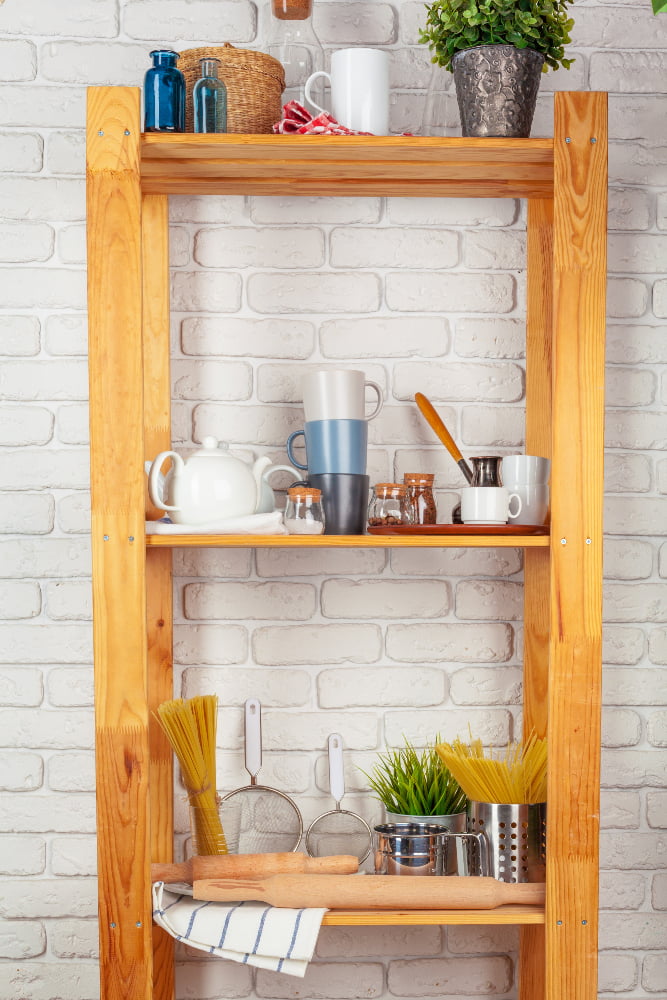
Accessorizing Your Bakers Rack
The right accessories can transform a plain bakers rack into a stunning focal point in your kitchen or dining room. Start by selecting items that complement the overall design of your space and reflect your personal taste.
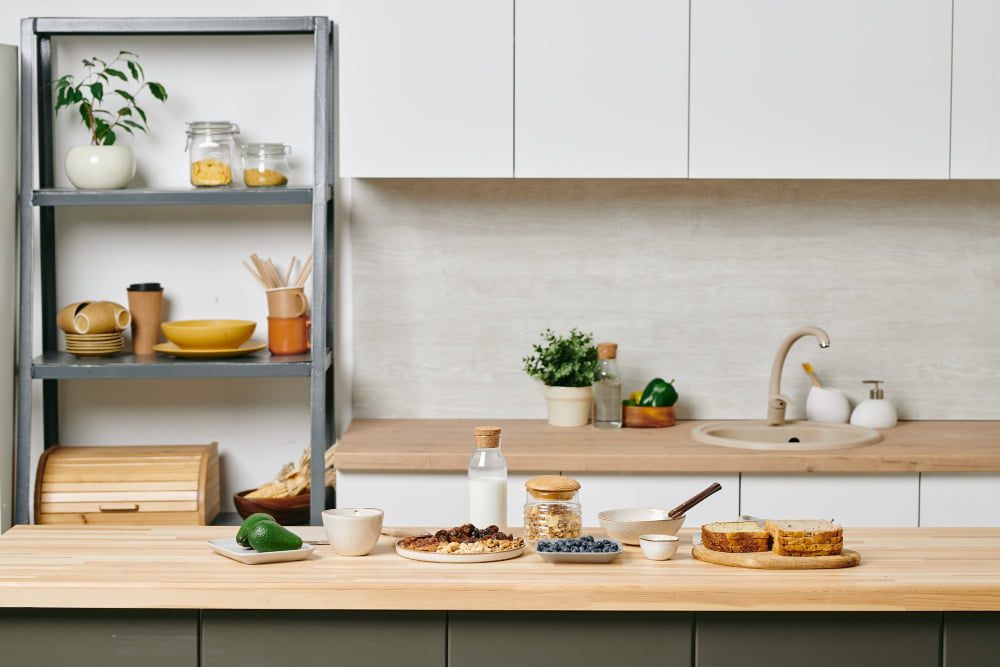
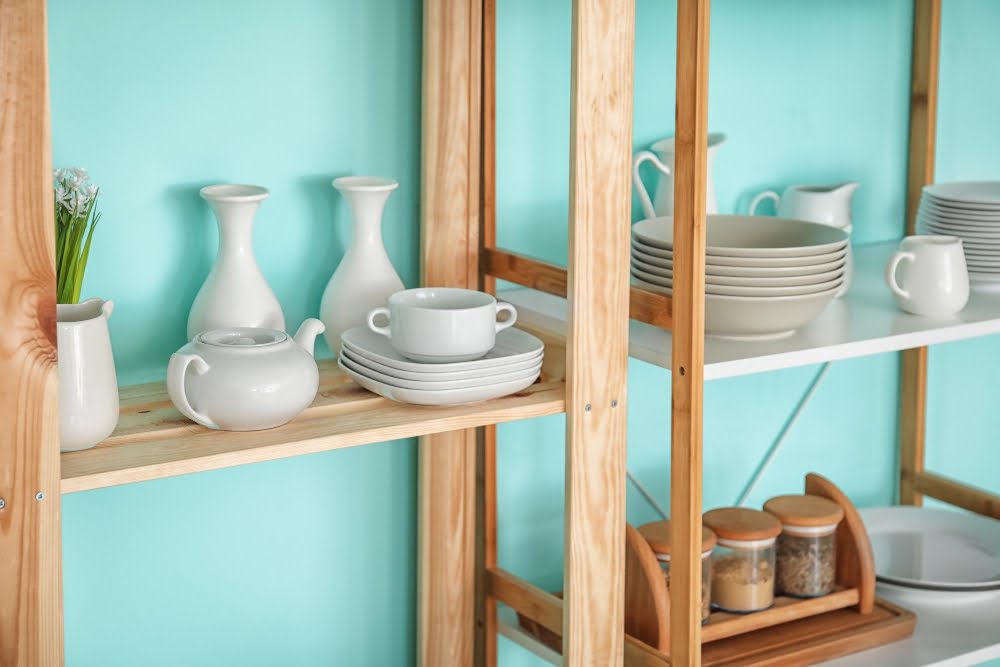
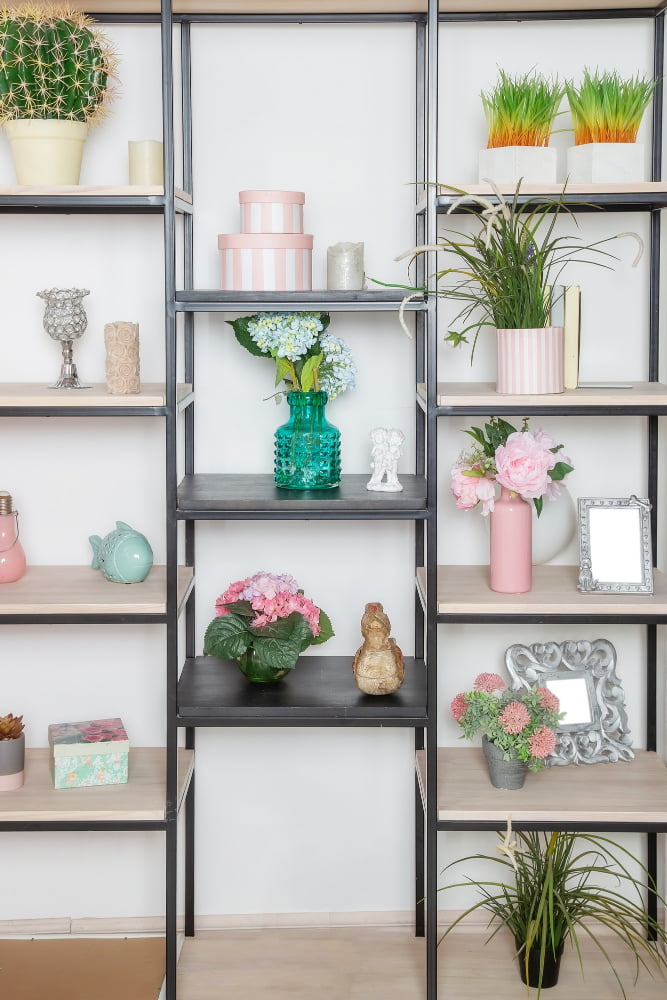
One way to accessorize is by adding plants or fresh flowers for a pop of color and natural beauty. You can also display decorative plates, bowls, or glasses on the shelves for an elegant touch.
Another option is to incorporate functional elements such as hooks for hanging utensils or towels. This not only adds visual interest but also makes it easier to access frequently used items while cooking.
Don’t be afraid to mix textures and materials when accessorizing – consider incorporating woven baskets, metal accents, or even vintage pieces like old cookbooks or antique kitchen tools.
Remember that less is often more when it comes to styling – avoid overcrowding the shelves with too many objects which can make them look cluttered instead of chic.
Styling and Decorating Your Baker’s Rack
Styling and decorating your baker’s rack can be a fun way to showcase your creativity while also making the most of this functional piece of furniture.
One great way to decorate a baker’s rack is by adding plants or flowers. This not only adds color but also brings life into the room.
You can use small potted herbs for an organic touch or opt for larger leafy plants like ferns or snake plants.
Another option is displaying decorative items such as vases, candles, picture frames, and other knick-knacks that complement the overall aesthetic of your space. Be mindful not to overcrowd the shelves; instead, create balance by varying heights and textures.
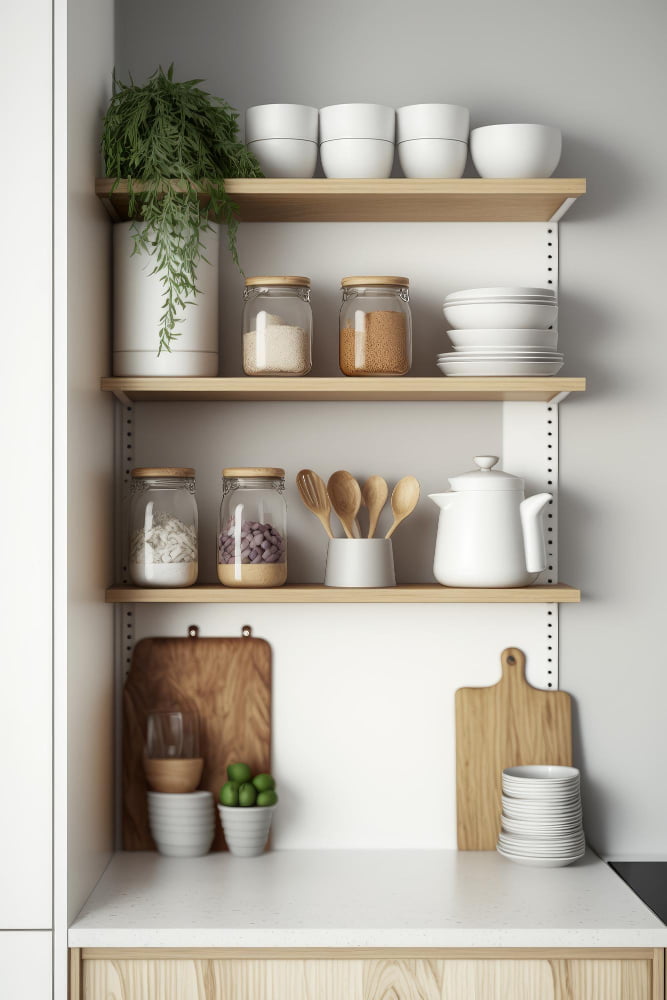
If you’re using a bakers rack in your kitchen area specifically for cooking supplies storage purposes then consider organizing them in baskets with labels on them so that they are easy-to-find when needed without having everything cluttered up together on one shelf!
Customizing Your Baker’s Rack
There are many ways you can customize your DIY bakers rack, from adding decorative elements to changing the color or finish of the wood. One popular customization option is to add hooks or baskets for additional storage space.
You can also add shelves at different heights, depending on what items you plan on storing.
Another way to customize your baker’s rack is by incorporating lighting into its design. Adding LED lights under each shelf will not only provide extra illumination but also create an ambient atmosphere in any room.
If you’re feeling particularly creative, consider painting or staining your bakers rack with a bold color that complements the rest of your decor scheme. This will give it an eye-catching look that stands out as a statement piece in any room.
Care & Maintenance

Regular cleaning and maintenance will help keep your bakers rack looking its best and functioning at its highest level.
To clean the surface of your baker’s rack, use a soft cloth or sponge with mild soap and water. Avoid using harsh chemicals or abrasive materials that can scratch the finish.
If there are any stubborn stains on the surface, try using a mixture of baking soda and water to gently scrub them away.
It’s also important to regularly check for any loose screws or bolts in order to prevent accidents from happening due to instability. Tighten up any loose parts as soon as possible before they become bigger problems.
If you have a wooden baker’s rack, be sure not expose it directly under sunlight which may cause fading over time; instead place in an area where there is indirect light exposure only.
Proper Care and Maintenance of a Baker’s Rack
Here are some tips for maintaining your baker’s rack:
1. Regular Cleaning: Dust and debris can accumulate on the shelves, so make sure to clean them regularly with a soft cloth or duster.
2. Avoid Overloading: While bakers racks are designed for storage, overloading them with heavy items can cause damage or even collapse the structure.
3. Check Stability: Periodically check that all screws and bolts are tightened properly to maintain stability.
4. Protect from Moisture: If you’re using your baker’s rack in a kitchen or outdoor space, be mindful of moisture exposure as this can lead to rusting or warping of wooden components.
Alternative Uses for Bakers Racks
In fact, they make great additions to any room that needs extra storage or display space. For example, you can use a bakers rack in your living room to store books and magazines or as an entertainment center for your TV and media devices.
You could also use it as a plant stand in your sunroom or even as a towel rack in the bathroom.
Another creative way to utilize bakers racks is by using them outdoors on patios, decks, and balconies. They provide ample space for potted plants, gardening tools, outdoor decor items like lanterns and candles while adding charm to any outdoor setting.
Bakers Rack for Outdoor Spaces
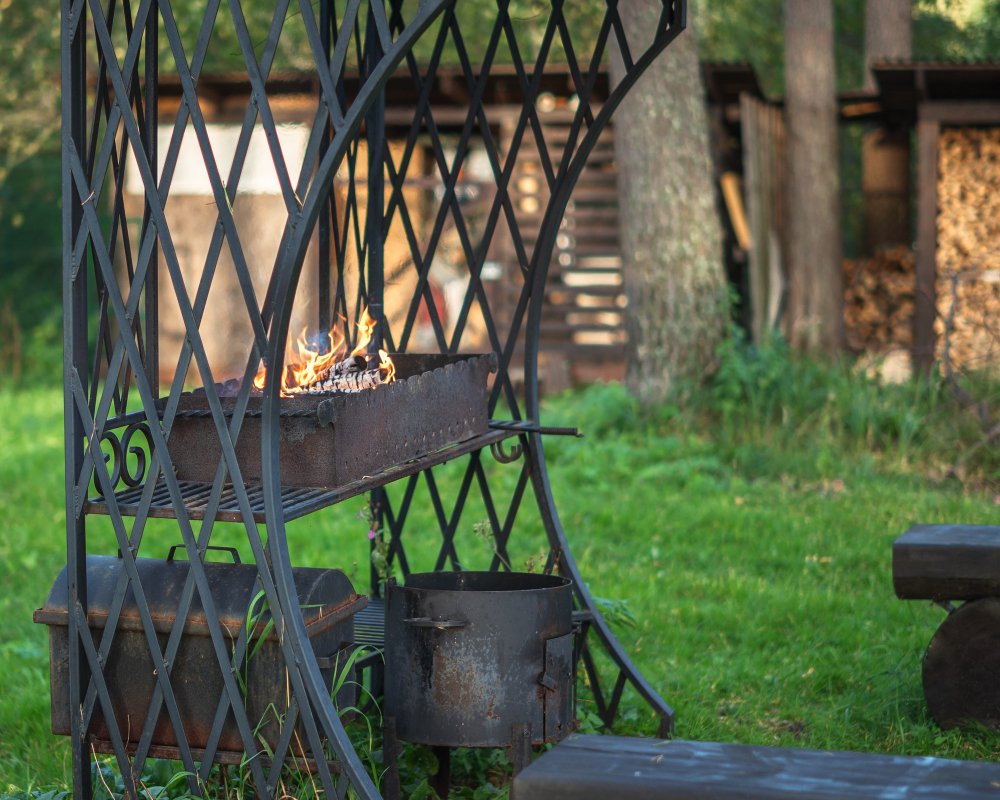
Not only does it provide ample storage for gardening tools, pots, and plants but also serves as a decorative accent that can enhance the overall aesthetic of your garden or patio area.
When selecting a bakers rack for outdoor use, it’s essential to choose materials that are durable enough to withstand harsh weather conditions. Look for racks made from wrought iron or powder-coated steel as they are rust-resistant and sturdy enough to hold heavy items.
You may also want to consider accessorizing your outdoor baker’s rack with hanging baskets filled with colorful flowers or herbs. This will not only add beauty but also create more space on the shelves below.
This style of bakers rack typically features ornate metalwork and intricate details that give it a timeless appeal. To achieve this look, start by selecting materials that mimic the appearance of aged metal or wrought iron.
You can also incorporate decorative elements like scrollwork or fleur-de-lis designs into your design.
When building an antique-inspired baker’s rack, keep in mind that functionality should still be a top priority. Make sure there are plenty of shelves for storage and display purposes while maintaining the overall aesthetic appeal with unique finishes such as distressed paint or patina effects.
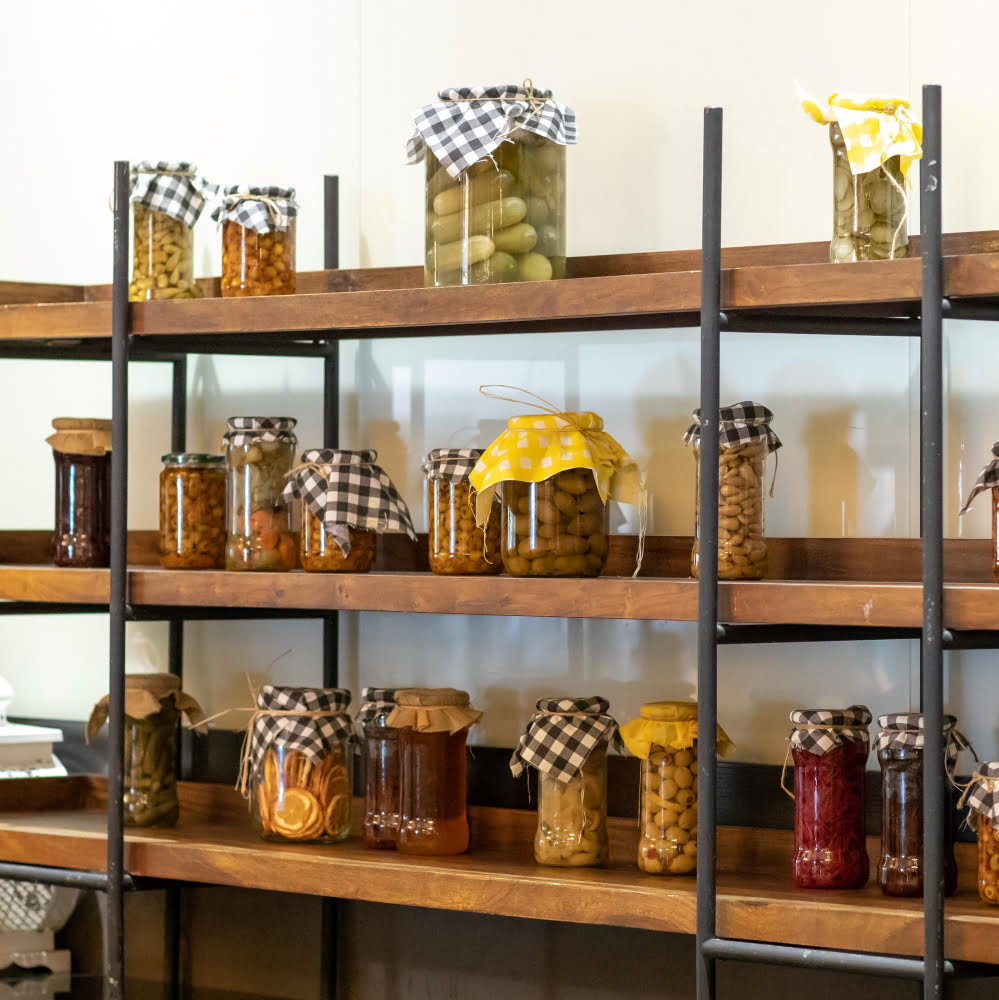
To complete the look, accessorize with vintage-style kitchenware such as copper pots and pans or old-fashioned glass jars filled with spices and herbs.
How to Find and Use Building Plans
There are many resources available online where you can find free or paid building plans for a variety of projects, including bakers racks. Some popular websites include Pinterest, Ana White’s website, and Etsy.
When searching for building plans online, make sure to choose one that is suitable for your skill level and matches the size requirements of your space. It’s also important to read reviews from other users who have tried out the plan before starting on it yourself.
Once you’ve found a plan that suits your needs, take some time to study it thoroughly before beginning construction. Make sure all measurements are accurate and double-check any instructions or steps that may be unclear.
Using a good set of tools is essential when working with wood so ensure they’re in good condition before starting work as this will help prevent accidents during construction.
Common DIY Mistakes to Avoid
Some common errors can be easily avoided with proper planning and preparation. Here are a few things you should keep in mind when creating your own bakers rack:
1. Not measuring accurately: One of the most common mistakes is not taking accurate measurements before starting your project.
This can lead to ill-fitting shelves or hooks that don’t align properly.
2. Choosing the wrong materials: Selecting low-quality materials or using inappropriate tools for the job can result in an unstable and unsafe bakers rack.
3. Skipping steps: It’s important not to skip any steps during assembly as this could compromise the structural integrity of your finished product.
4. Rushing through finishing touches: Taking time with painting and finishing touches will ensure a professional-looking end result that will last for years.
Safety Precautions for DIY Projects
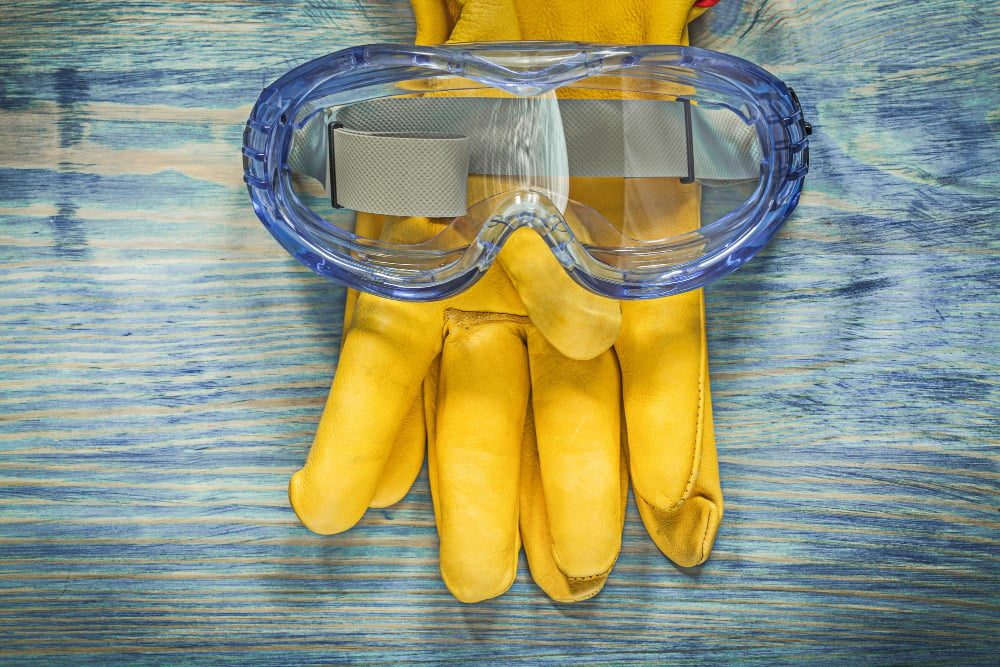
Before you begin building your own bakers rack, make sure you have the proper tools and equipment needed for the job. Wear protective gear such as gloves and goggles to prevent injuries while handling sharp objects or power tools.
It’s also important to work in a well-ventilated area with plenty of natural light. Avoid working alone if possible, especially when using heavy machinery or lifting large pieces of wood.
Always follow instructions carefully and double-check measurements before cutting any materials. If you’re unsure about how to use a particular tool or piece of equipment, seek guidance from an experienced DIYer or professional carpenter.
Keep children and pets away from your workspace at all times. Store sharp objects out of reach when not in use and clean up any debris immediately after finishing each step in the process.
By taking these simple safety precautions into consideration throughout your project’s duration will ensure that both yourself as well as those around are safe during this fun-filled activity!
FAQ
What do you put on a corner bakers rack?
On a corner baker’s rack, you typically put baking supplies, utensils, and it serves as a space-saving, stylish addition to your kitchen.
What is the point of a bakers rack?
The point of a baker’s rack is to provide versatile storage and to help cool hot baked goods, such as pies, breads, and pastries, using its conductive material shelves, often made of steel or iron.
Can you put a bakers rack in the bathroom?
Yes, a bakers rack can be used as bathroom storage due to its ideal dimensions for fitting behind doors and in corners where other furniture doesn’t make sense.
How do I organize my kitchen bakers rack?
Organize your kitchen baker’s rack by assigning specific spots for items such as spices and dressings on the top shelf, hanging hooks for long utensils, oven mitts, and maintaining consistency with your designated plan.
What materials can be used to create a DIY bakers rack for your kitchen?
Possible materials for creating a DIY bakers rack for your kitchen include wood, metal, and repurposed furniture pieces.
How can you customize your bakers rack to match your kitchen decor and style?
To customize your baker’s rack to match your kitchen decor and style, you can paint it, change the hardware, or add decorative accents that coordinate with your existing theme.
In addition to its traditional use, what alternative ways can a bakers rack be utilized in other areas of the home?
In addition to its traditional use, a bakers rack can be utilized in other areas of the home such as holding books, displaying plants, organizing kids’ toys, and functioning as extra storage.
Read More Like This
 15 Funny Graduation Cap Ideas to Make Your Big Day Unforgettable
 15 Unique DIY Christmas Decorations Ideas for a Festive Home
 15 Creative Science Fair Board Ideas to Amaze Your Audience
 15 Handmade Envelope Decoration Ideas for Creative Gifting
 10 DIY Gifts for the Whiskey Lover in Your Life
Recap: