Last updated on
Dive into this treasure trove of creative graduation picture display ideas because every proud milestone deserves a unique celebration.
I’ve designed unique illustrations for these ideas. I hope you get inspired!
Drenching in the nostalgia of our university years, graduation pictures hold a precious place in our hearts. Often, they can get lost amongst hundreds of other photos, thus robbing them of the attention they truly deserve. This article endeavors to make your graduation pictures stand out by focusing on inventive display ideas.
The internet is teeming with suggestions on this topic, from classic frames to DIY projects. To facilitate your exploration, the best of these traditional ideas will be consolidated with links at the article’s end. However, this piece aims beyond the orthodox. It aspires to explore fresh, exciting, and unique perspectives to elevate your graduation picture displays to extraordinary heights. With this goal in mind, let’s embark on this quest for creativity, charm, and individuality that should make your graduation photos an eye-catching centerpiece.
Old Window Pane Picture Display
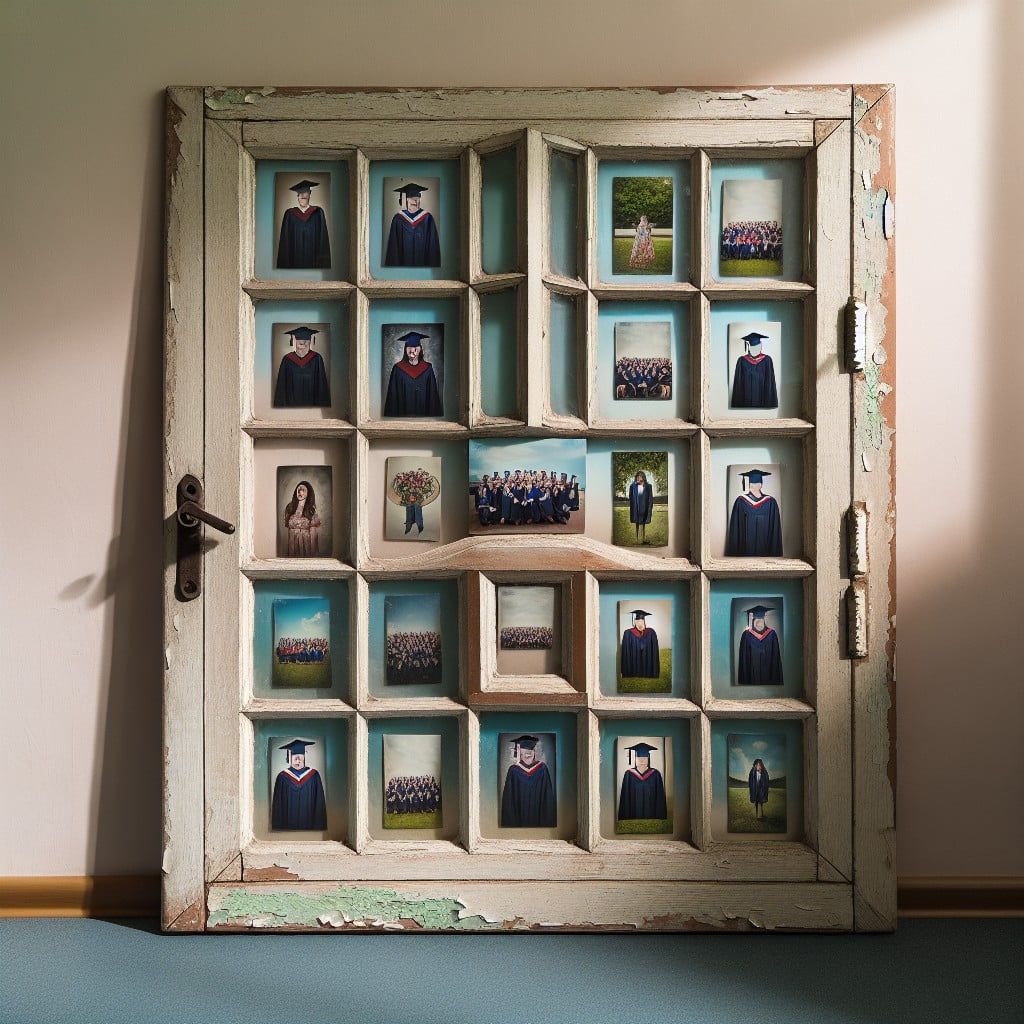
Revitalizing an old window pane into a charming photo frame can transform your graduation pictures into a rustic work of art.
First, secure your chosen photos behind each pane, arranging them in a way that captures the narrative of your academic journey.
This can be done by simply taping the photos in place or using small clips for an easy swap-out system.
For an added touch, consider painting the wooden frame in your school’s colors or leaving it in its natural state to complement a more vintage aesthetic.
To hang the piece, attach wall-mounting hardware to the back, making sure it’s secure to support the weight.
This creative approach not only personalizes your living space but also repurposes a bygone item with nostalgic flair.
Mortarboard Mini Photo Holders
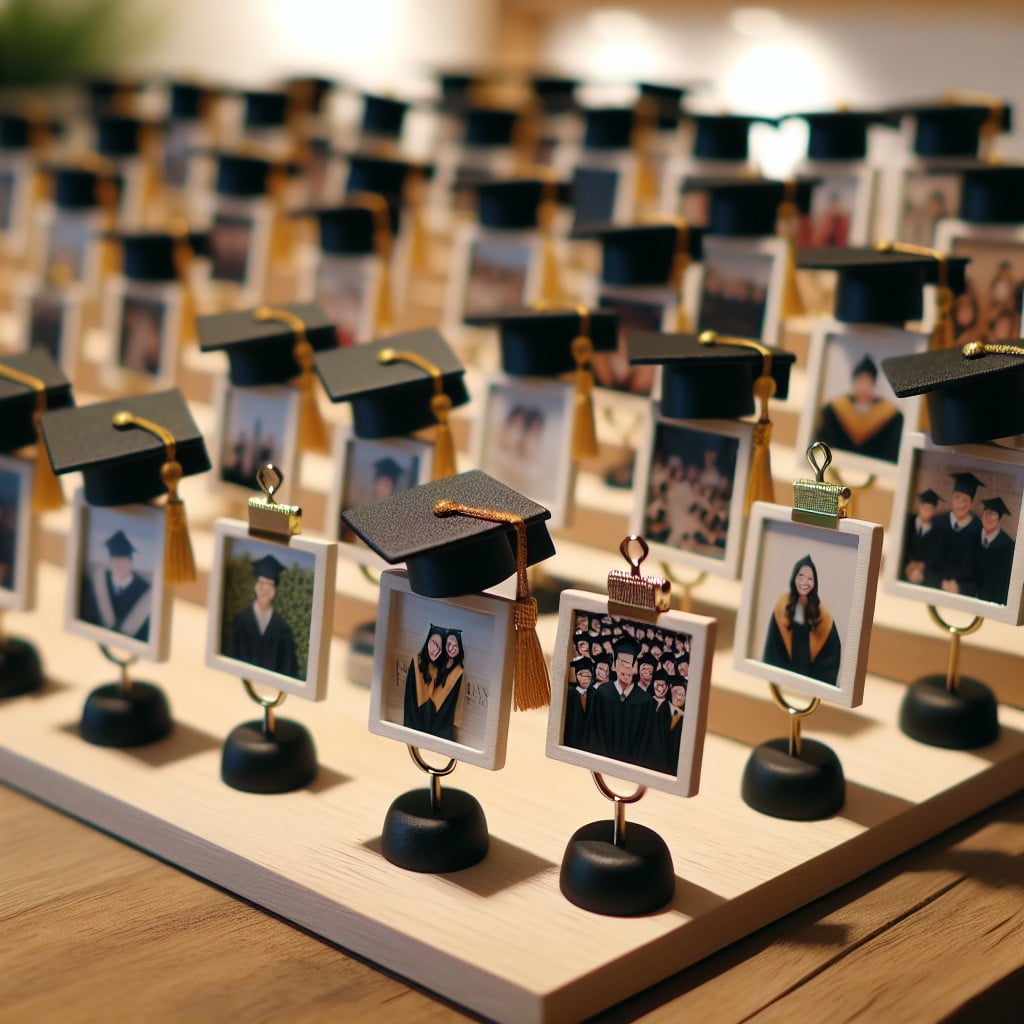
Transform your graduation cap into a nostalgic centerpiece by creating miniature mortarboard photo holders. These charming displays serve as an innovative way to commemorate your academic journey.
To craft them:
- Cut out small squares from black cardstock, mimicking the shape of a mortarboard.
- Attach a photo to each cardstock using double-sided tape or a glue dot.
- For the tassel, use embroidery thread or thin ribbon in your school colors, securing one end to the center of the cardstock square.
- Mount each mini mortarboard onto a wire photo holder or a wooden skewer.
- Arrange these holders in a vase or small pot filled with decorative stones or sand to keep them upright.
Place them around your celebration space for a personalized touch, or use them as charming placeholders for your graduation party tables.
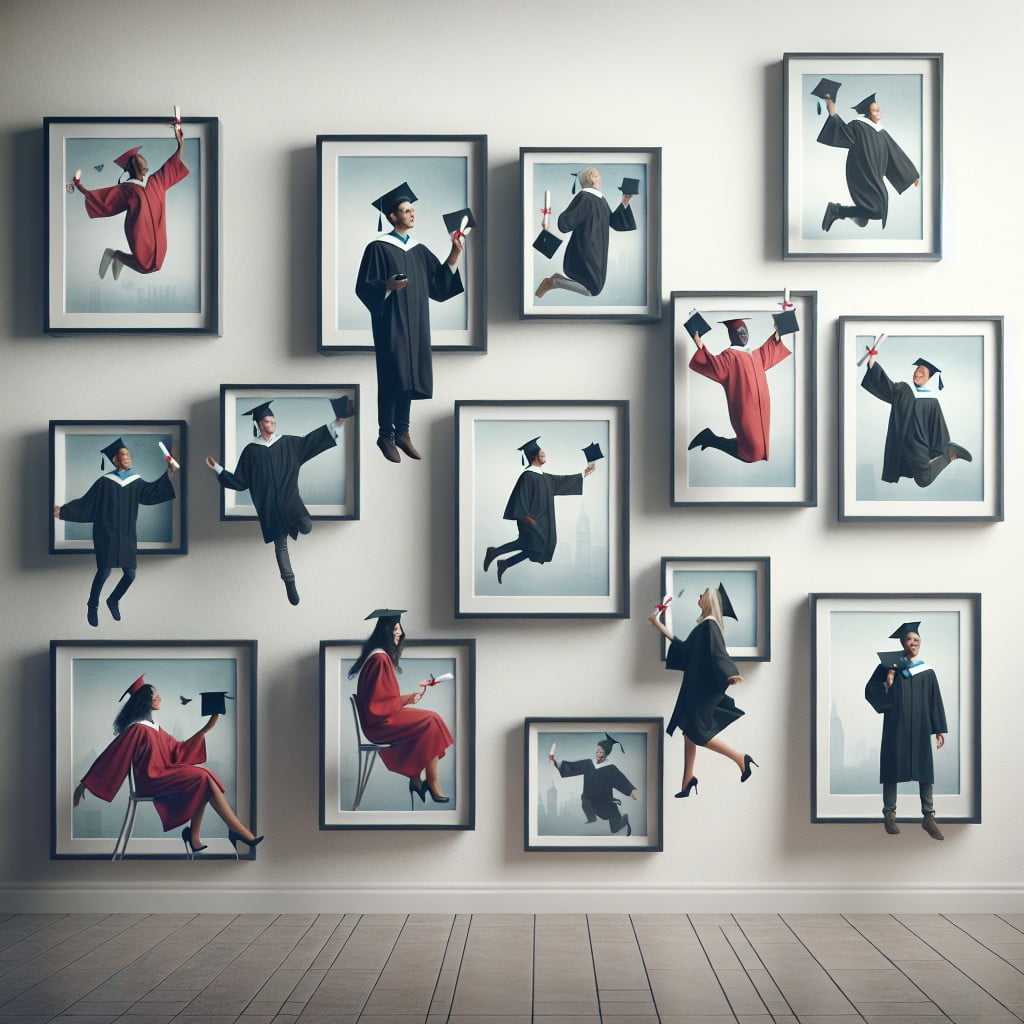
Graduation Cap Photo Mosaic Wall Art
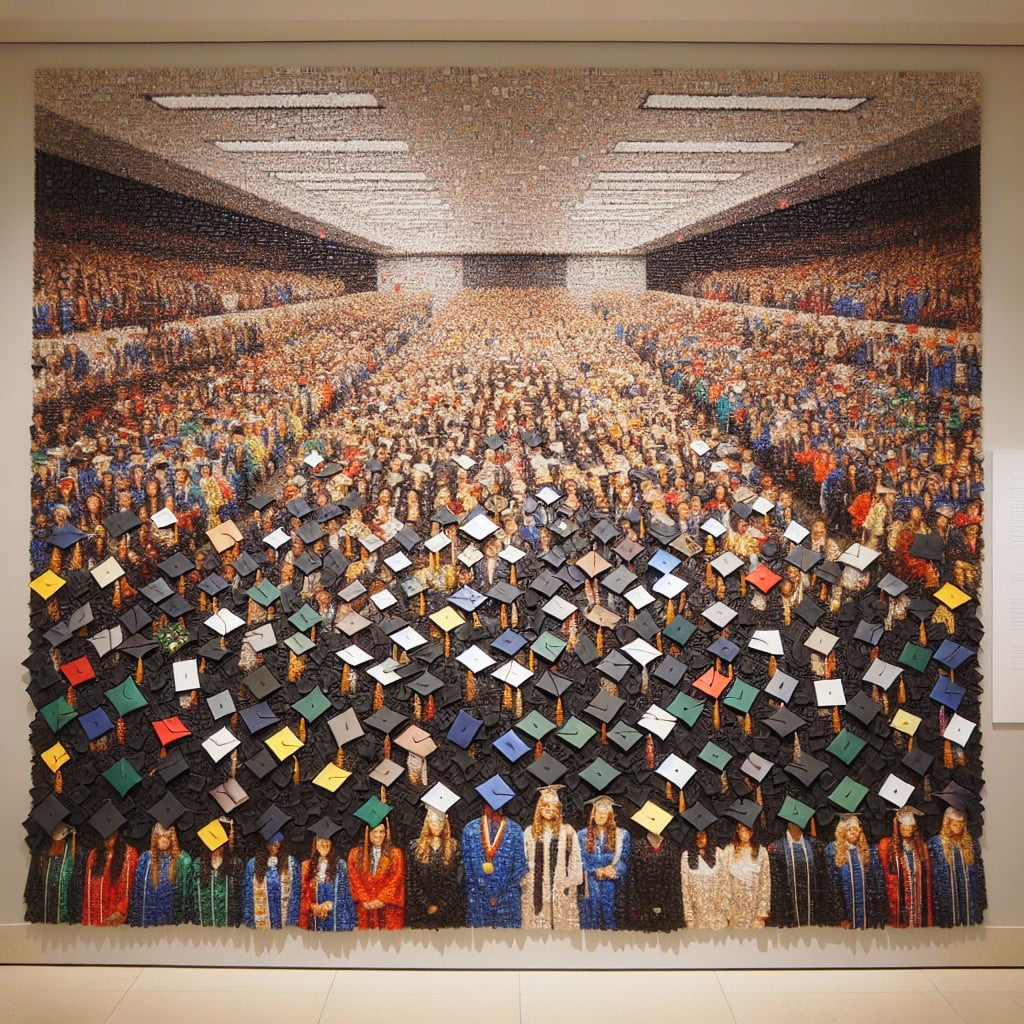
Creating a mosaic out of graduation cap photos adds a personalized artistic touch to your celebration. This project involves arranging various small pictures in such a way that, when viewed from a distance, they merge into a single, larger image—an iconic graduation cap.
To accomplish this:
- 1. Gather a collection of photos from different moments throughout the academic journey.
- 2. Choose a base for your mosaic, such as a poster board or a canvas.
- 3. Print a silhouette of a graduation cap to use as a template.
- 4. Starting from the bottom, arrange your photos following the shape of the cap, ensuring to overlap them slightly for a cohesive look.
- 5. Secure the photos using double-sided tape or photo-safe adhesive.
- 6. Once completed, hang your mosaic at a vantage point that allows viewers to appreciate both the individual photos and the overall design.
This approach not only offers a unique aesthetic but also serves as a visual narrative of the graduate’s experiences leading up to their milestone achievement.
DIY Picture Display Ladder
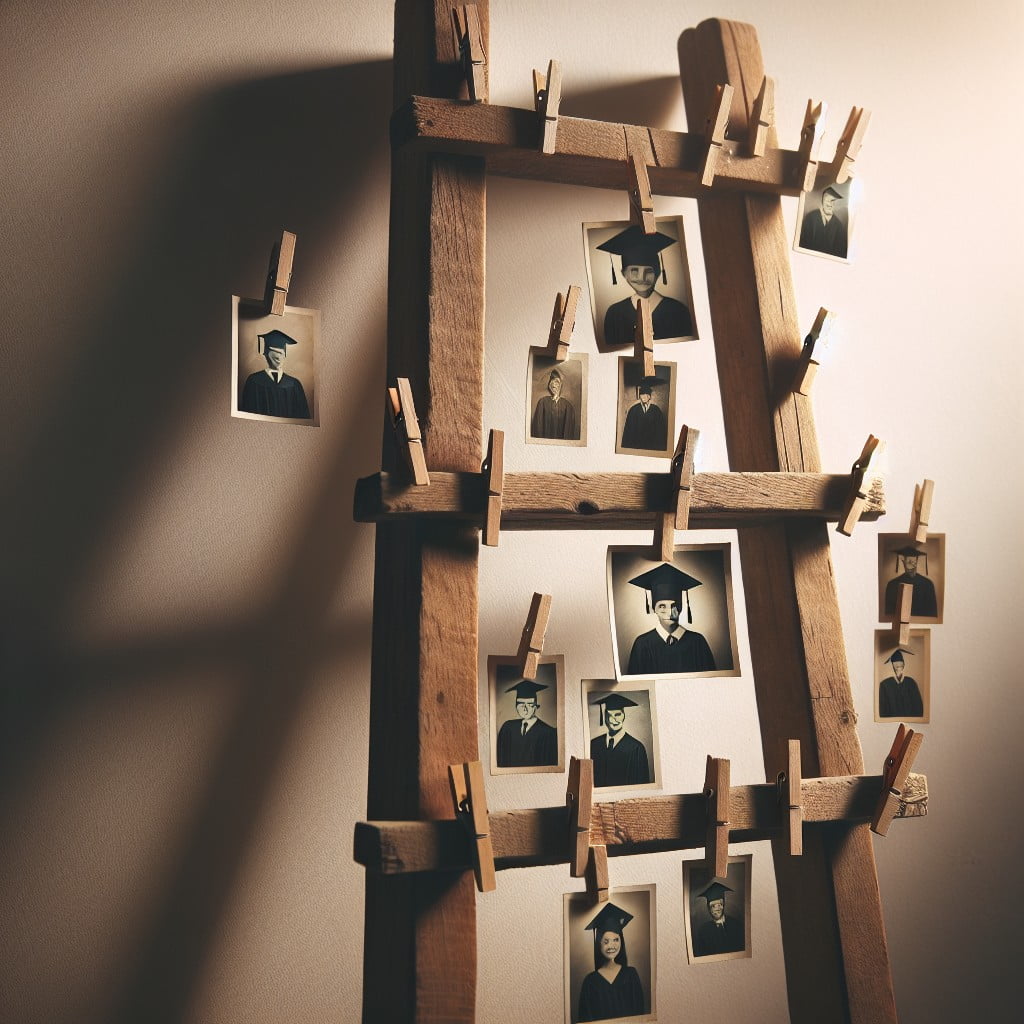
Transform an ordinary ladder into a rustic showcase for your favorite graduation snapshots. Here’s how:
- Sand and paint or varnish an old wooden ladder to match your decor.
- Securely fasten twine or string between the rungs.
- Use small clothespins or clips to attach photographs along the twine.
- Add decorative elements like fairy lights or greenery to enhance the visual appeal.
- Situate the ladder in a corner or against a wall where guests can easily admire your display.
This method allows for flexibility as you can change out photos, add new memories, and adjust decorations to complement seasonal themes. With each step, you create a timeline of achievements, leading up to that special graduation moment.
Polaroid Photo Garland
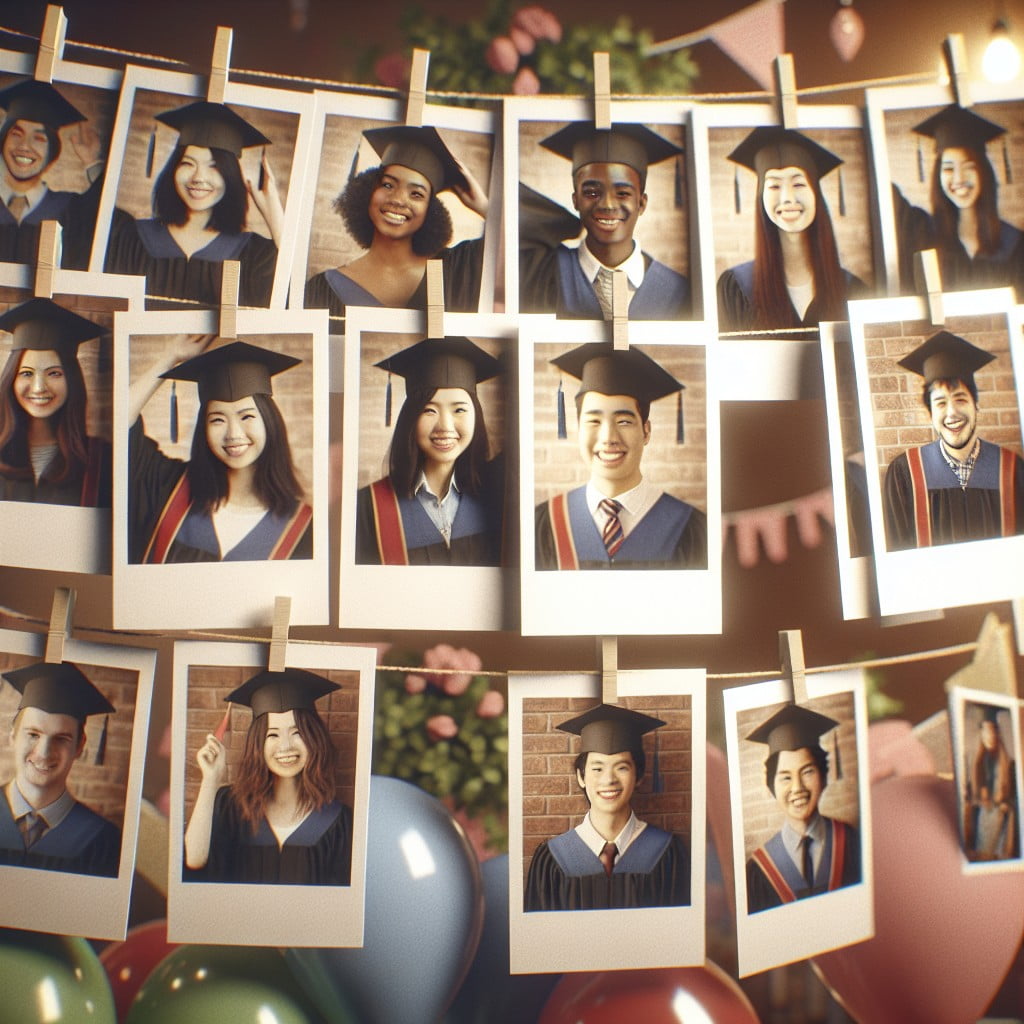
Capture the spirit of the day with a charming garland featuring instant snapshots. String together a series of Polaroid photos with twinkling fairy lights for a magical touch.
Choose images that tell the story of the graduate’s journey, encapsulating moments from early childhood through their academic career. Clothespins or clips can be used to secure the photos to the light string, allowing for easy customization and adjustment.
Drape this personalized exhibit over the mantel, along a bannister, or around the buffet table at the graduation party for an eye-catching display that invites guests to walk down memory lane. Opt for a mix of candid shots and posed portraits to keep the garland eclectic and entertaining.
Light-up Photo Marquee

Illuminate your graduation memories with a light-up photo marquee to draw attention to your accomplishments after dark. Here’s how you can create a dazzling display:
- Select a marquee lightbox that complements the ambiance of your graduation party. Consider one that spells out “GRAD” or the graduation year.
- Print your favorite graduation snapshots in the size that fits within the individual compartments of the marquee.
- Secure the photos within the lightbox using small clips or double-sided tape. Ensure that each image is straight and clearly visible.
- Position the marquee in a central location, such as near the entryway or above the refreshment table, for maximum impact.
- Turn on the lights as the event transitions from day to evening. The backlit photos will become a glowing focal point that encourages guests to reminisce and celebrate your journey.
This simple yet captivating display not only enhances your decor but also adds warmth to your celebration, making your graduation milestones shine even brighter.
Vintage Suitcase Photo Gallery
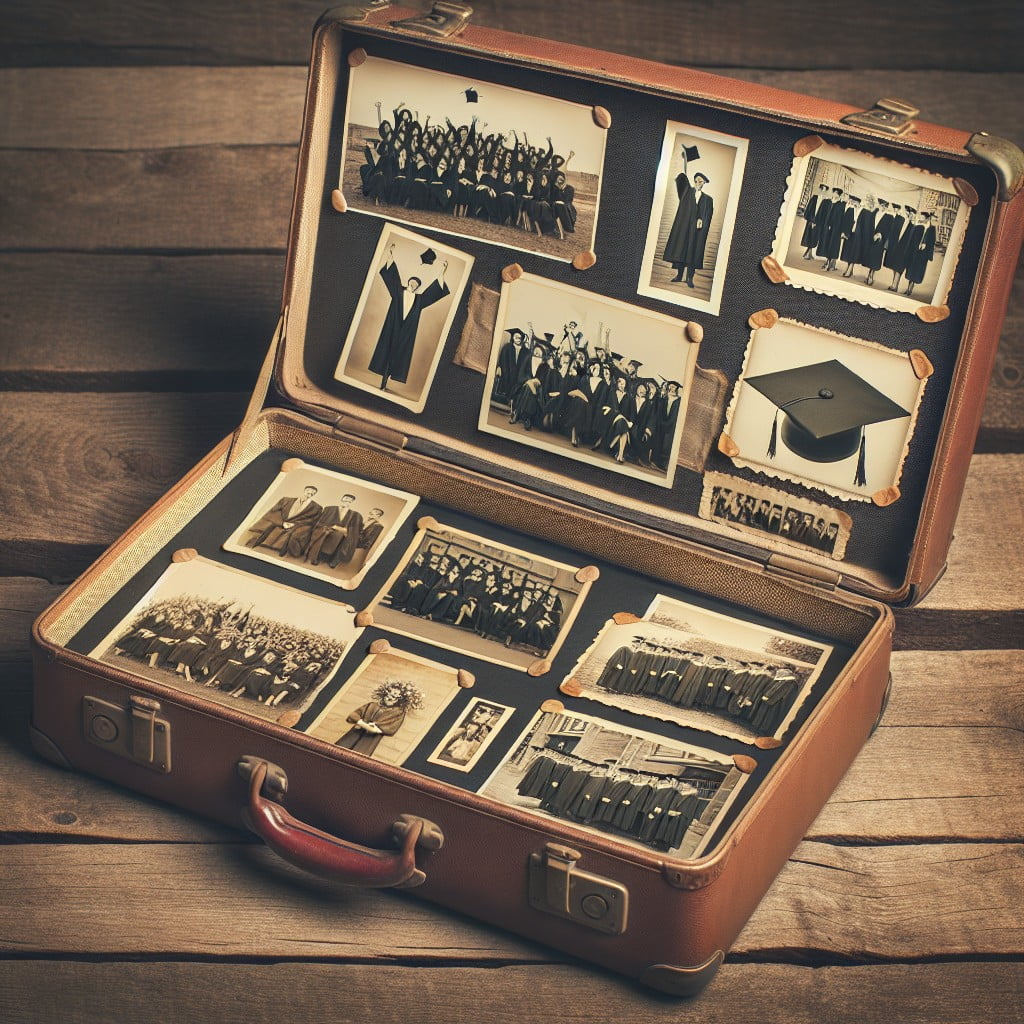
To create a charming retro vibe, repurpose old suitcases into a portable photo gallery. Here’s how to bring this concept to life:
- Select suitcases of various sizes and colors for a layered, eclectic look.
- Clean the inside surfaces to ensure a pristine backdrop for your photos.
- Use the suitcase lining as a pinboard to attach photos, using push pins or decorative clips.
- Arrange photographs in a chronological order or by themed clusters to tell a story.
- Accentuate the display with vintage decorations like old maps, postcards, or travel souvenirs.
- Stack suitcases in an open position for added depth and interest.
- Place the suitcase gallery in a prominent area during the graduation event for easy guest access.
This setup allows for mobility, so you can easily transport your memories from the celebration to your home as a keepsake display.
Picture Chandelier
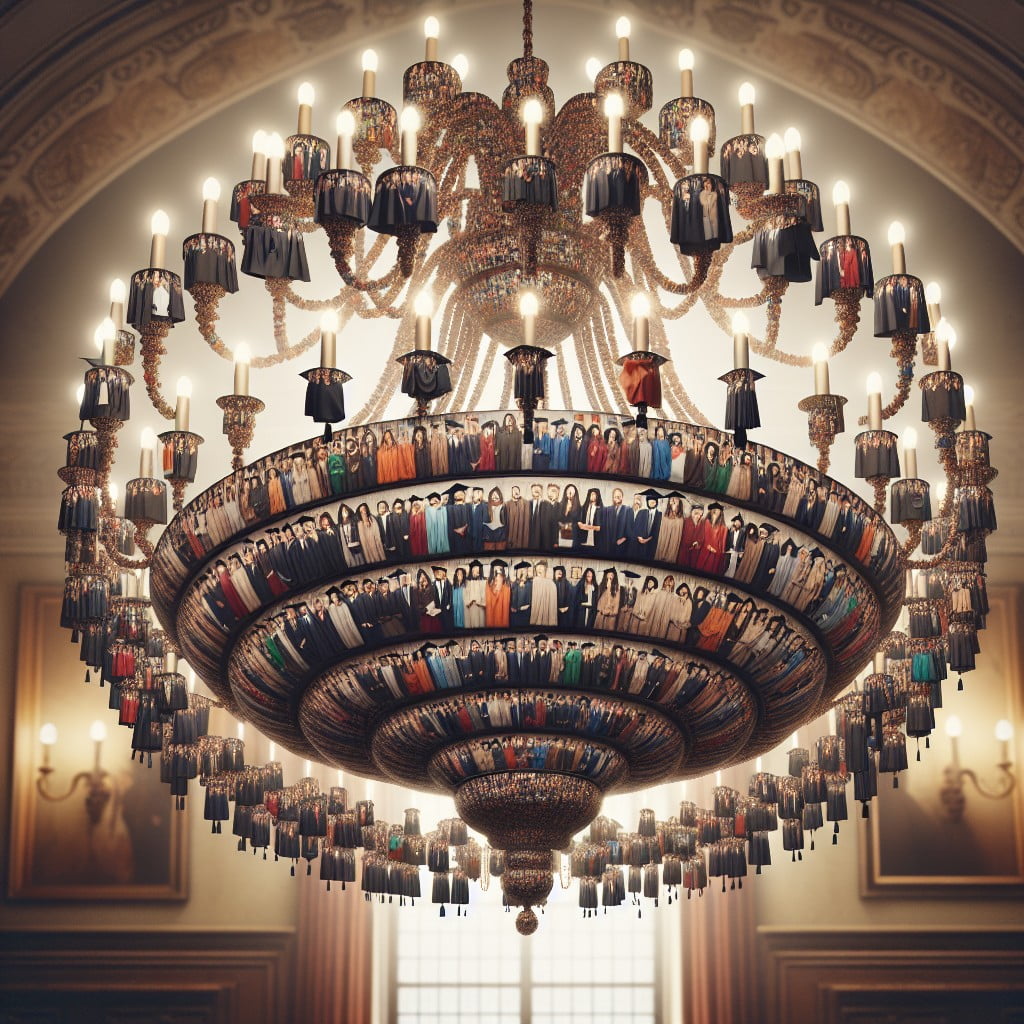
Transform a plain room into an enchanting space with a creative twist—suspend photos from the ceiling as if they were parts of a chandelier. This unexpected presentation adds a touch of whimsy and draws the eye upward, making it a captivating focal point for your graduation celebration.
- Gather a selection of your favorite graduation snapshots, ensuring a good mix of candid moments and formal portraits.
- Choose a sturdy hoop or ring as the base; this can be an embroidery hoop, a metal ring, or even a repurposed lampshade frame.
- Attach clear fishing wire or thin ribbons at varying lengths to the hoop, and secure your photos using small clips or double-sided tape so they dangle gracefully.
- Consider interspersing the photos with decorative elements such as tassels, faux greenery, or small twinkle lights to enhance the visual interest.
- Install a hook securely into the ceiling where the chandelier will hang and ensure the installation is stable before adding your photos.
- Play with the arrangement, mixing orientations and sizes until you achieve a balanced, attractive display.
This creative project not only showcases your memories in style but also serves as a fantastic conversation starter as guests look up to reminisce and admire your journey.
Memory Quilt With Photos
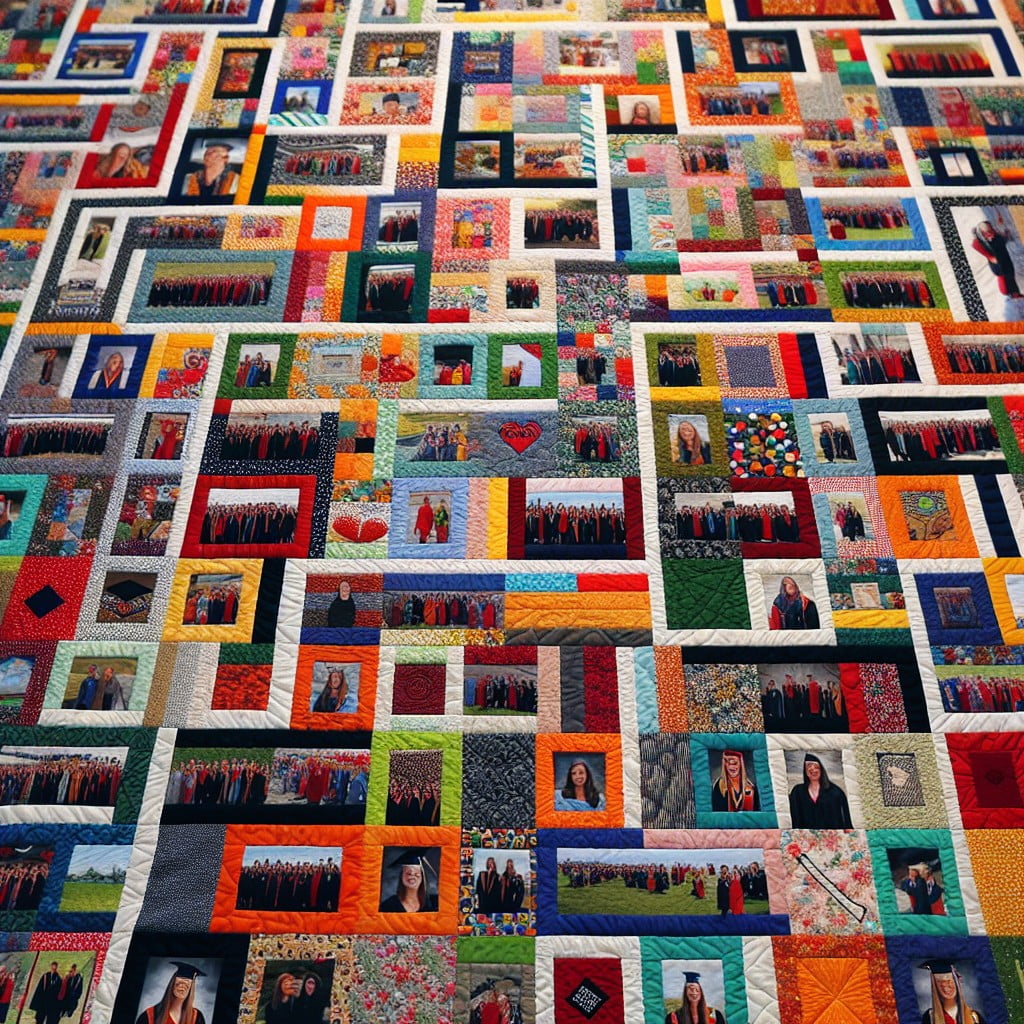
Combining the warmth of traditional quilting with the personal touch of memorable snapshots, a memory quilt serves as a cozy memento for any graduate. Here’s how to create one:
– Choose photos that represent milestones and special moments throughout the graduate’s journey, ensuring they’re printed on fabric-safe transfer paper. – Select coordinating fabric pieces that match the graduate’s school colors or preferred palette. – Cut the fabric into squares or shapes, leaving space to incorporate the photo transfers according to the quilt pattern you wish to follow. – Arrange the photo squares and fabric pieces on a flat surface to finalize your quilt design before sewing. – Sew the pieces together, adding batting and a backing fabric to complete the quilt.Remember to set your iron to the appropriate temperature for transfers and to stitch with care, preserving the integrity of each image. This handcrafted quilt not only offers physical warmth but also serves as a lasting embodiment of cherished school memories.
Graduation-themed Photo Cake

Transforming sweet memories into a delicious centerpiece, a graduation-themed photo cake serves a dual purpose. Here’s how to make your celebratory dessert stand out:
- Use edible photo images: Choose your favorite graduation photos and have them transformed into edible images at a bakery or by ordering edible photo sheets online.
- Personalize with school colors: Incorporate the graduate’s school colors through icing, fondant accents, or edible glitter for a festive touch.
- Add graduation symbols: Embellish the cake with fondant or icing caps, diplomas, or the year of graduation for thematic flair.
Remember, a graduation photo cake isn’t just a treat—it’s a personalized conversation starter that honors the graduate’s journey.
Lightbox Picture Showcase
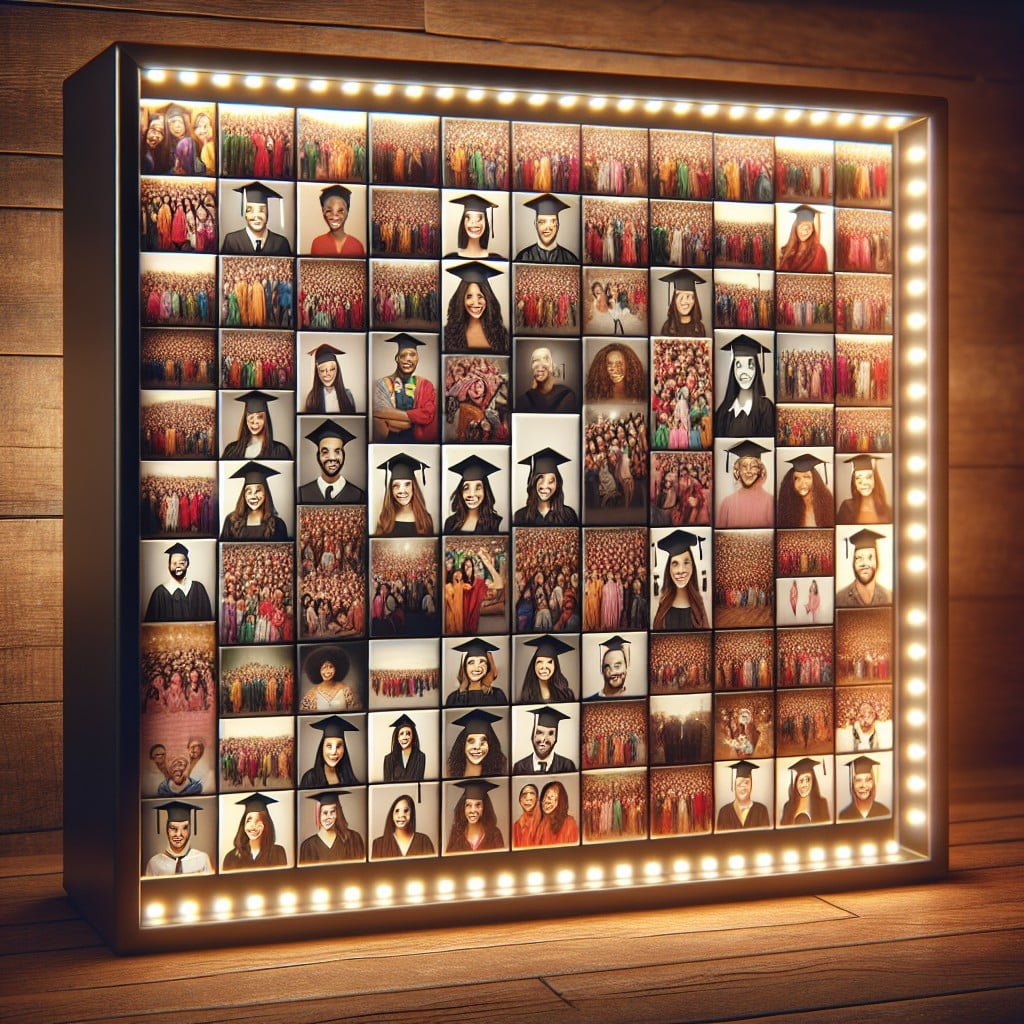
Illuminate your graduation memories with a lightbox picture showcase. This modern take on displaying images adds a touch of sophistication and drama to your graduation photos.
Here are some steps to create this eye-catching display:
- Choose a high-quality lightbox that can accommodate the size and number of photos you wish to showcase.
- Select standout images from your graduation that evoke strong memories or emotions.
- Print your photos on translucent materials, allowing them to be backlit effectively by the lightbox.
- Arrange the photos within the lightbox, experimenting with different compositions for visual appeal.
- Place the lightbox in a prominent area during your graduation party or as a permanent fixture in your room, drawing attention and starting conversations.
Remember that the ambient lighting in the room can dramatically affect the visibility of your lightbox display, so position it in a spot where it can shine and be appreciated, whether day or night.
Magnetic Board Photo Display
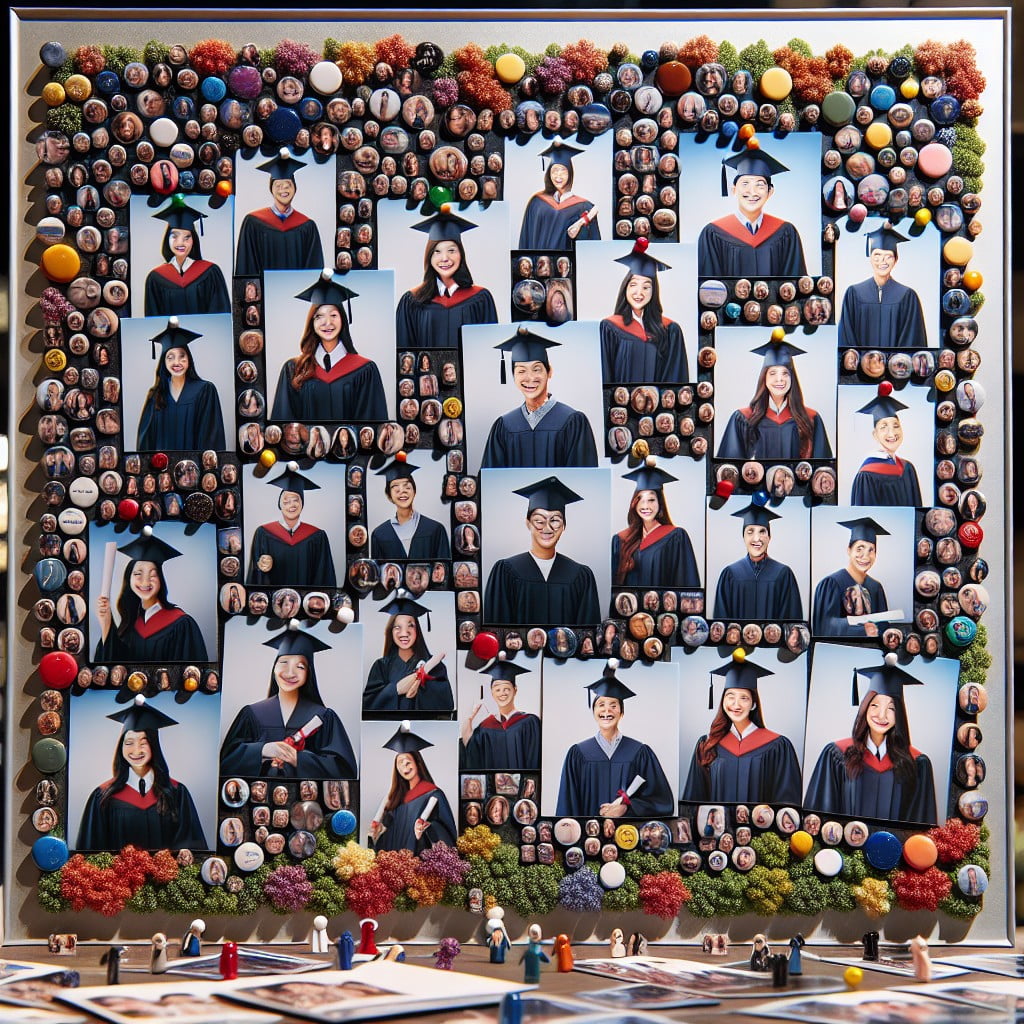
Creating a magnetic board photo display adds a modern and interactive element to your graduation celebration. Here’s how to bring this concept to life:
- Choose a magnetic board or paint a section of your wall with magnetic paint to serve as the backdrop.
- Print your favorite graduation photos onto magnetic sheets or affix small magnets to the backs of your printed pictures.
- Arrange the images on the magnetic surface, playing with the layout to create a visually appealing display. The flexibility of this setup allows for easy swapping and rearrangement of photos throughout the event.
- Personalize the space further with magnetic letters to spell out graduation years or messages of congratulations.
- Accessorize with magnetic frames or decorative elements to complement your photos and add pops of color or thematic details.
This dynamic display encourages guests to interact with the memories, swap stories, and even take home a magnetic photo as a keepsake.
Graduated Photo Ladder
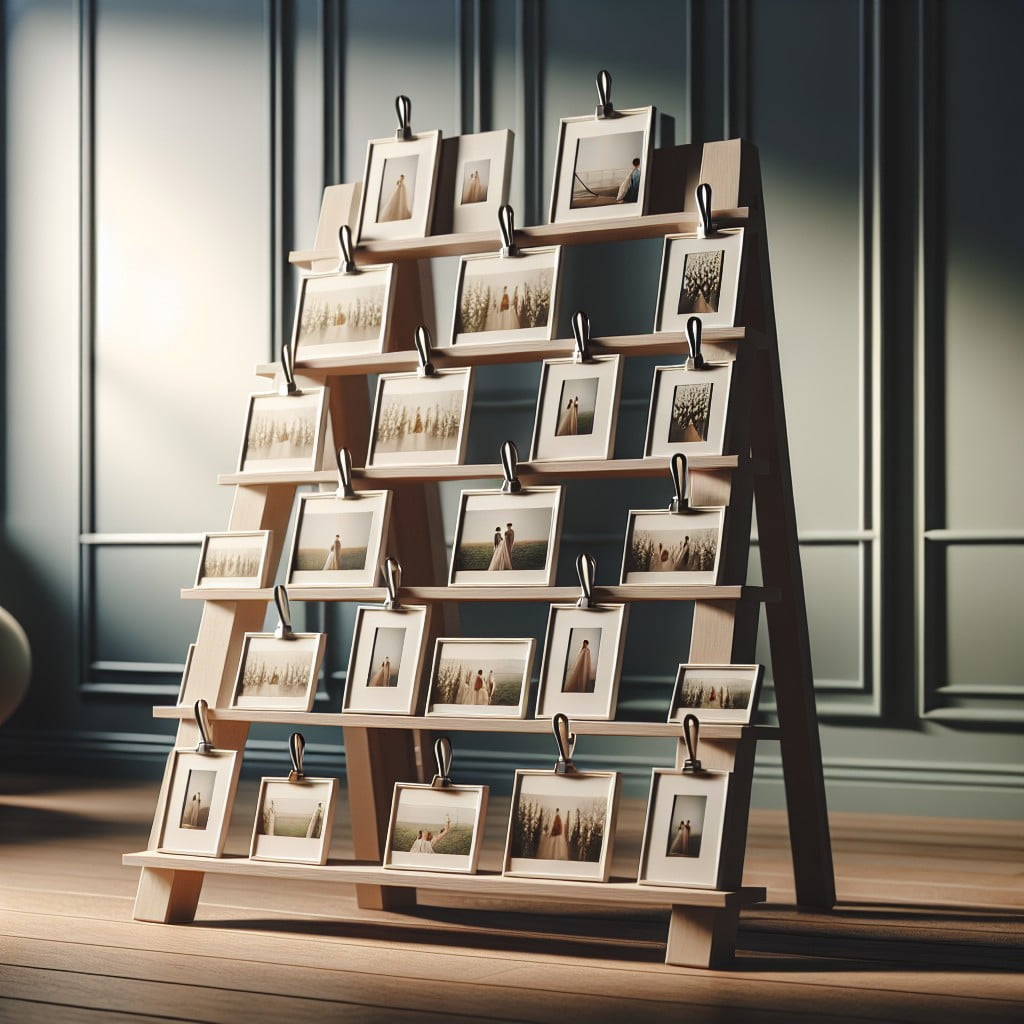
Transforming a simple ladder into a chic showcase offers a unique way to present the graduate’s journey through the years. Here’s how you can create this visually appealing display:
- Select a ladder: A wooden step ladder is ideal for a rustic look, while a sleek metal one fits a modern aesthetic.
- Prep the ladder: Clean the surface and, if necessary, apply a coat of paint in the graduate’s school colors or to match the party theme.
- Arrange photos chronologically: Start from the bottom with early school days, and ascend toward graduation snapshots at the top.
- Secure the photos: Use twine, clips, or small frames to attach pictures to the ladder rungs.
- Embellish with decor: Accentuate with garlands, flowers, or graduation tassels for a personalized touch.
- Interaction: Encourage guests to climb the ladder for a closer look and to evoke a sense of progression, symbolizing the graduate’s ascent to new heights.
By following these points, the graduated photo ladder becomes not just a display, but a narrative piece that engages guests and celebrates the graduate’s accomplishments.
Themed Photo Pompoms
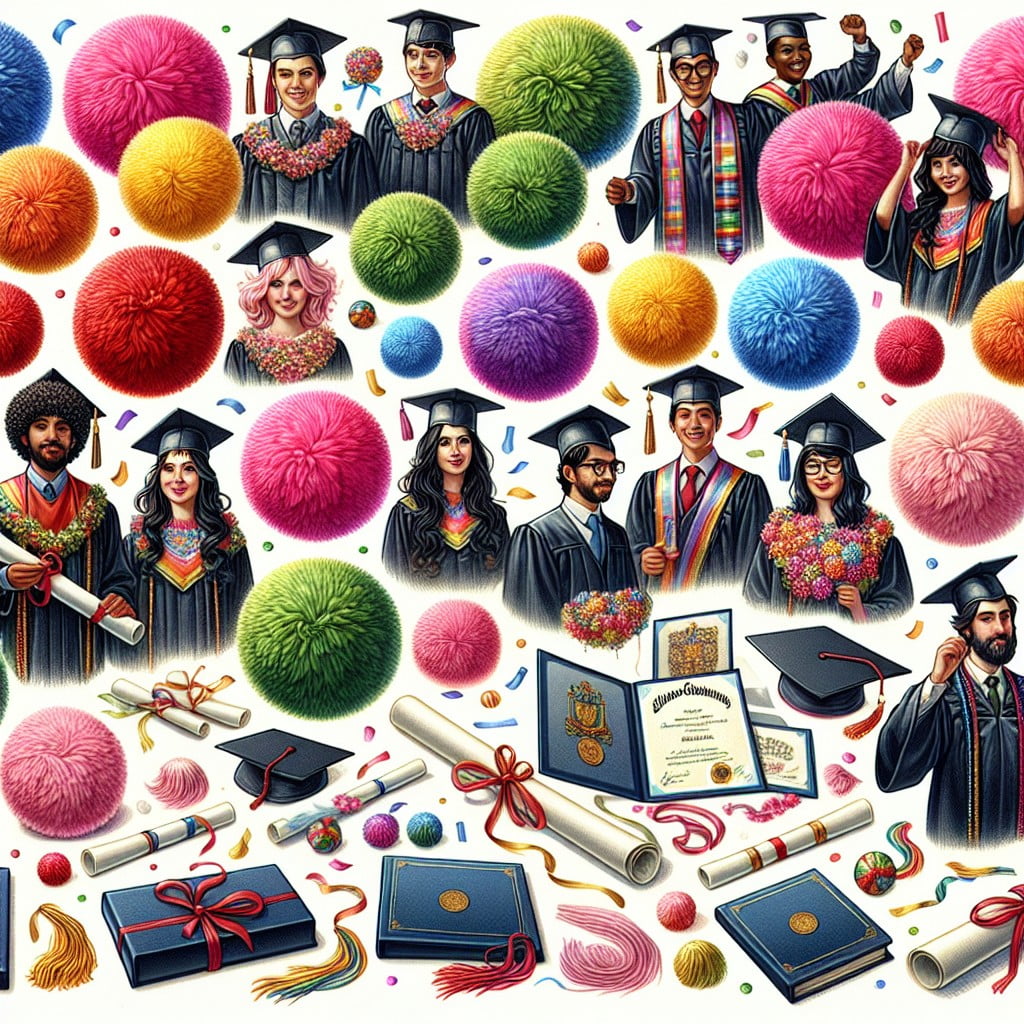
Transform your favorite graduation memories into a playful piece of decor by crafting themed photo pompoms. These hanging orbs of joy blend the traditional celebratory pom-pom with the personalized touch of your cherished snapshots. They’re perfect for adding depth and variety to your display.
- Select lightweight cardstock in your school colors to create a unified look.
- Print out small-sized pictures, either in color or black and white, depending on your preference.
- Cut photos into circles and attach them to the pom-pom’s paper layers.
- Mix and match images with inspirational quotes or messages to keep it dynamic.
- Hang them at different heights for a whimsical, floating gallery that moves with the breeze.
This idea not only livens up your space but also serves as a nostalgic interactive element where guests can reminisce on the milestones achieved.
Edible Photo Cake Pops Display
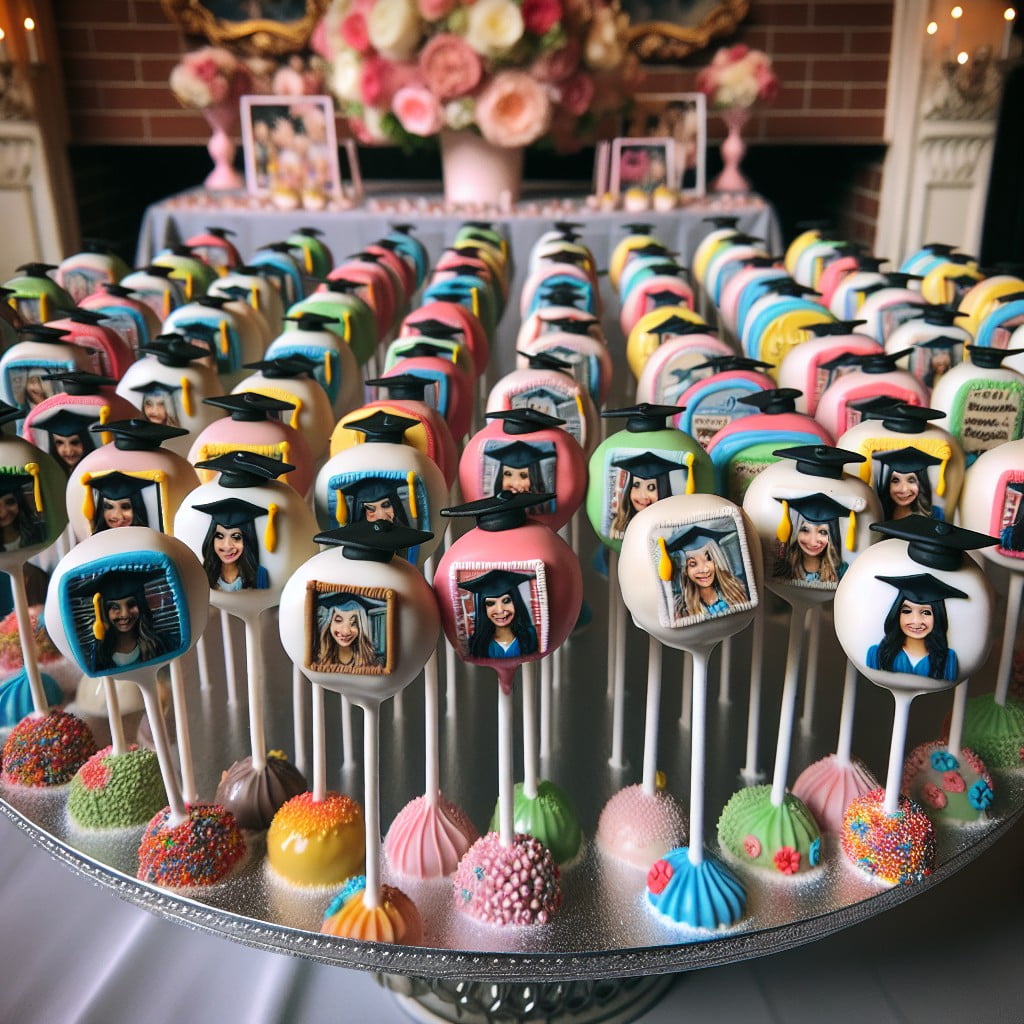
Creating an engaging and delicious centerpiece for a graduation party, edible photo cake pops use images printed with edible ink. They can feature the graduate’s pictures throughout the years or even replicate the look of mini diplomas.
Here are some points to consider for a successful display:
- Use a food-safe printer to print the graduate’s images onto edible paper.
- Select pictures that are clear and have good contrast to stand out on the cake pops.
- Bake your preferred flavor of cake pop and ensure they’re frosted smoothly to create an ideal surface.
- Apply the edible images onto the cake pops once they’re slightly cooled but the icing is still tacky.
- Arrange the photo cake pops in a decorative stand or a customized arrangement that spells out the graduation year or the graduate’s name.
- Consider placing them at different heights to give the display depth and make all images visible.
- To make the display interactive, label each pop with the year or event, creating a sweet timeline of memories for guests to enjoy.
This playful approach not only adds a personalized touch to the festivities but also provides guests with a delightful treat to commemorate the special occasion.
DIY Graduation Cap Photo Balloons
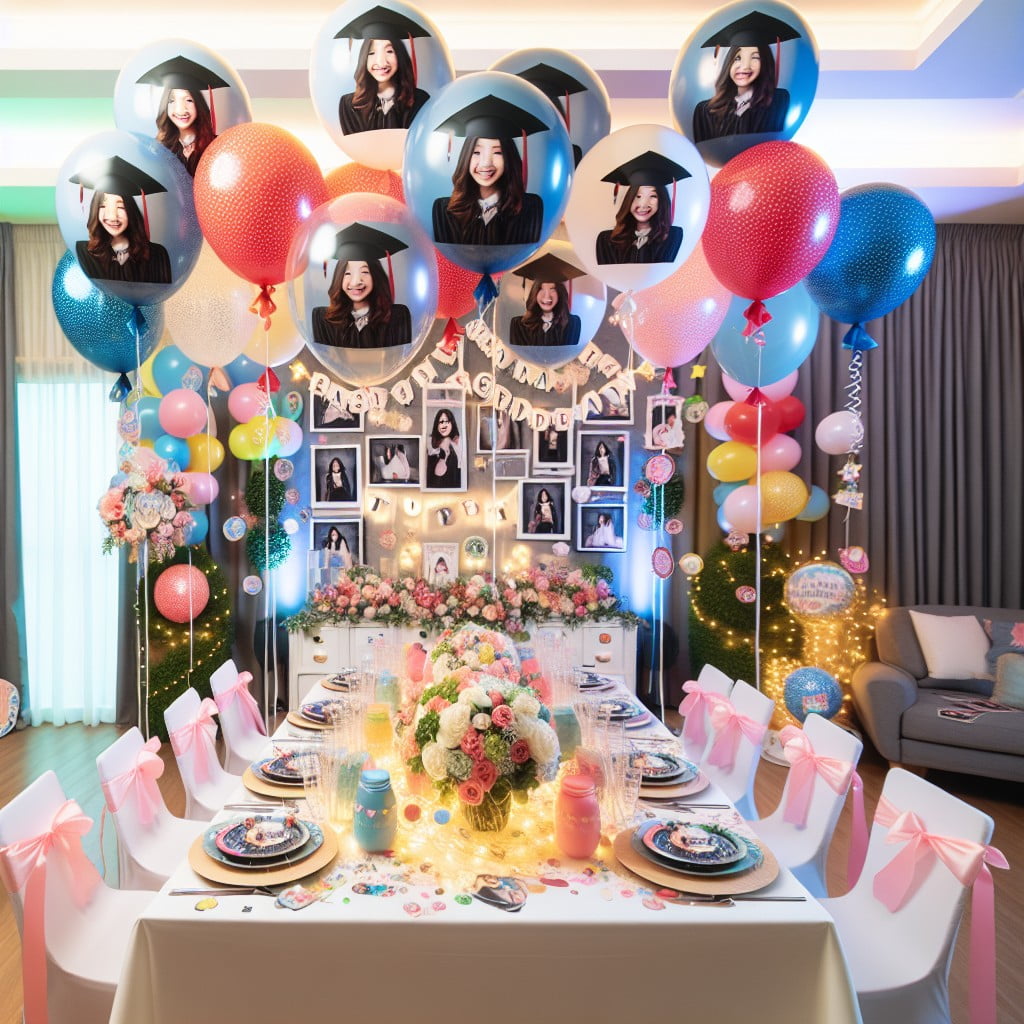
Add a personal touch to your graduation celebration with balloons that double as floating photo frames. Gather pictures that capture key moments from the graduate’s journey, preferably in a square format similar to a graduation cap.
To create this whimsical display:
- First, inflate helium balloons in colors that complement your graduation theme.
- Then, cut out square pieces of cardstock, slightly larger than the photos, to serve as the ‘caps’.
- Affix a photo to the center of each cardstock square using double-sided tape or a glue dot.
- Secure the photo ‘caps’ to the balloon strings using a small piece of clear tape, ensuring they face outward.
- Adjust the length of the strings so the balloons float at various heights, creating a dynamic arrangement.
This display offers an eye-catching way to showcase memories while adding vertical interest to your party decor.
Classroom-themed Photo Display
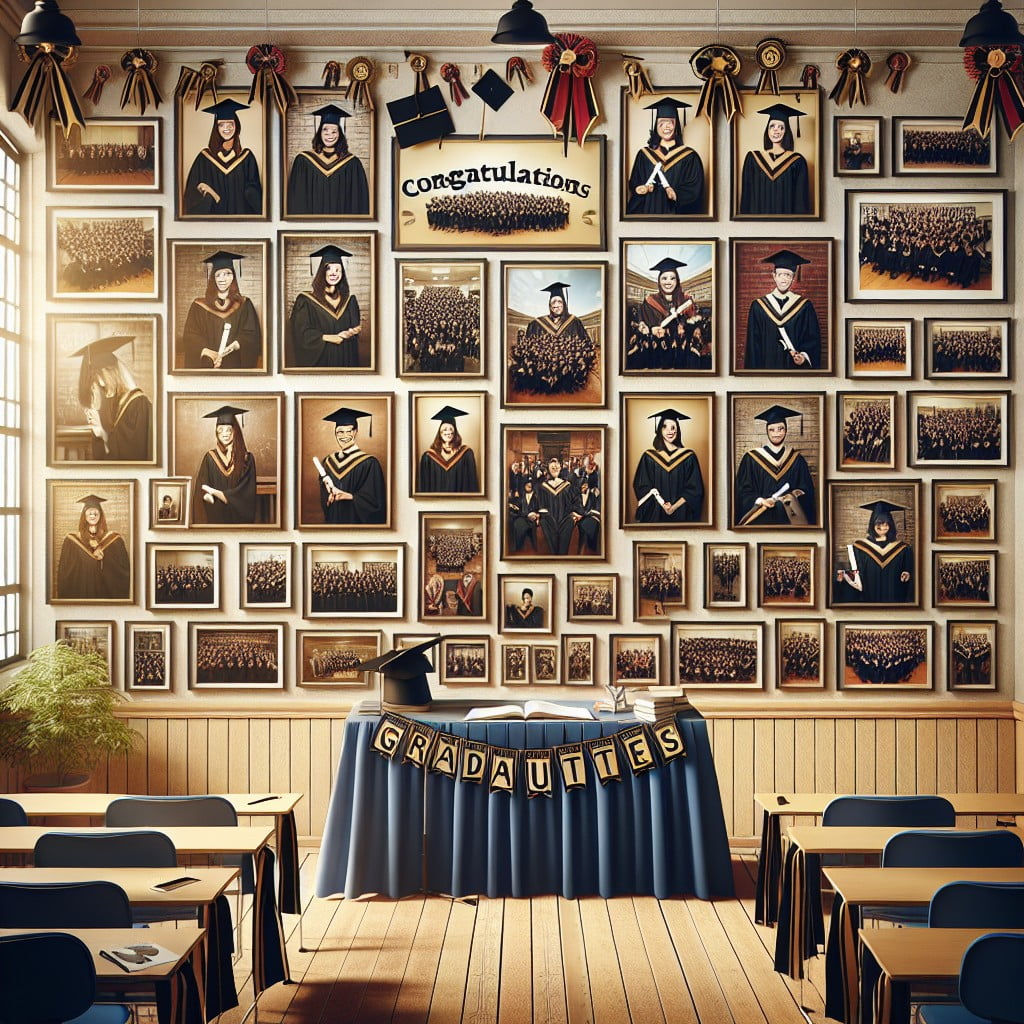
Channel the spirit of the school years by creating a display that captures the essence of a classroom setting. Use an old chalkboard or whiteboard as a backdrop, and frame pictures using colorful construction paper that mimics the look of classic notebook paper. Incorporate elements such as wooden rulers, pencils, and erasers to add an authentic touch.
For a three-dimensional effect, attach photos to stacks of old textbooks or arrange them around an apple, which traditionally symbolizes teaching. This display not only showcases graduation photos but also pays homage to the journey of learning and the environment where it took place.
Floating Picture Cloud
Create a whimsical effect with photos appearing to float majestically above your graduation celebration space. To achieve this:
- Select a mix of lightweight fishing line or clear thread and attach it to varying lengths to create a tiered effect.
- Use small, discreet adhesive hooks or thumbtacks on the ceiling to secure the other end of the thread.
- Choose assorted photos that represent precious memories or pivotal moments in the graduate’s journey.
- Attach the photos to the thread using miniature clothespins or paper clips for a secure hold.
- Vary the arrangement, ensuring a balanced and eye-catching display that allows guests to walk beneath a cascade of cherished moments.
- Opt for double-sided printing or back-to-back photos if they will be viewed from all directions.
This aerial photo display can act as a unique conversation piece, truly highlighting the “sky’s the limit” mantra for the graduate’s future endeavors.
Yearbook Page-Themed Wall Display
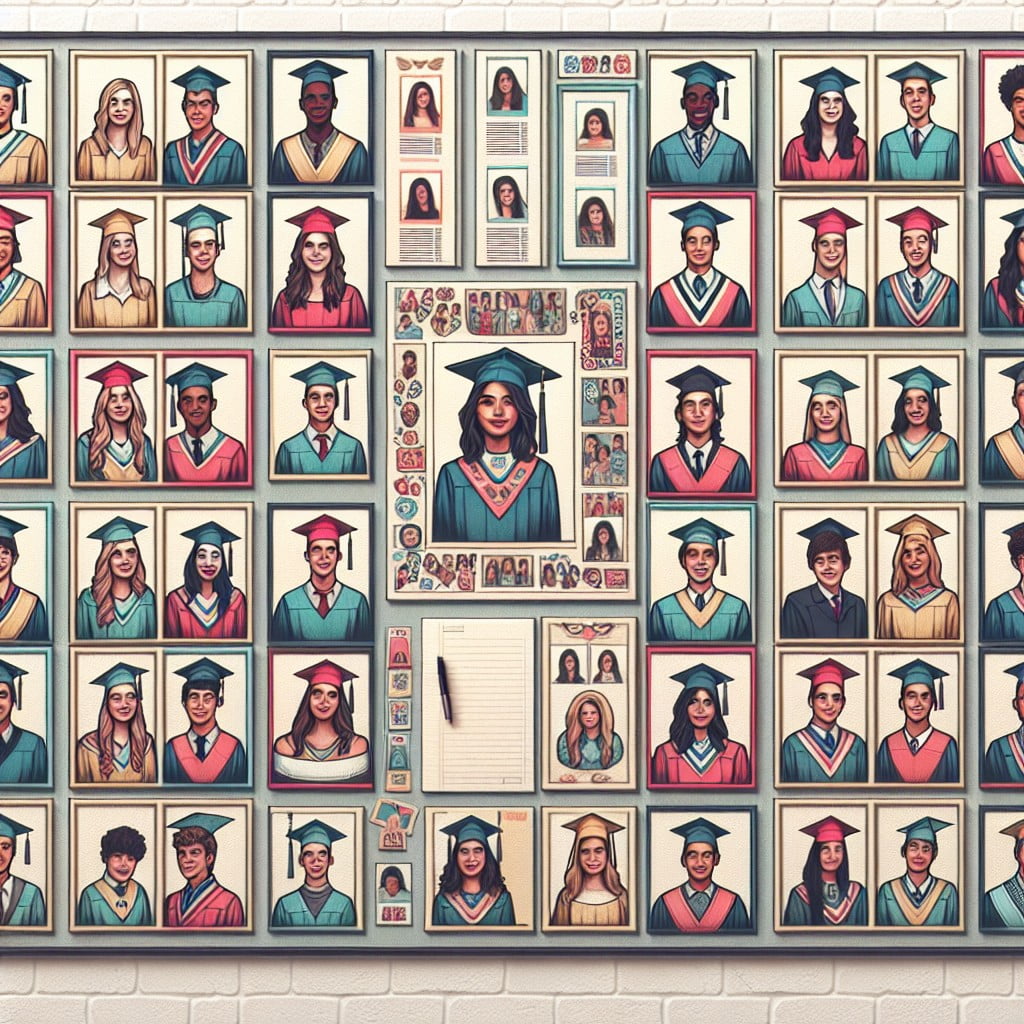
Create a personalized homage to high school or college memories by arranging a collage that mirrors the layout of a yearbook page. Choose a selection of candid snapshots, official portraits, and signature moments, then organize them in an editorial style against a large poster board or framed canvas.
Incorporate memorable quotes, signatures, and well-wishes from friends and teachers to recapture the essence of those messages typically scrawled on yearbook margins. Play with fonts and graphics to mimic the yearbook’s typography and design, ensuring a nostalgic and eye-catching tribute to those formative years.
Such a display not only serves as a visual centerpiece for the celebration but also as a conversation starter, inviting guests to stroll down memory lane. To add depth, use adhesive spacers to give certain photos a 3D effect, making key moments pop.
Framed Mirror Photo Display

Transform a simple mirror into a centerpiece that celebrates academic achievements with this unique display idea. Select a large framed mirror and arrange printed photos around the perimeter, layering them slightly to create depth.
The reflection adds dimension, making it look like your cherished moments are part of a larger scene. Secure photos with double-sided tape or use photo corners for a non-permanent option that allows you to swap pictures over time.
For an extra touch of personalization, use a white or metallic marker to write congratulatory messages, dates, or quotes directly on the mirror’s surface. This method creates a conversation-worthy display that doubles as functional decor and a nostalgic glance back at school days.
Ideas Elsewhere
- https://myinspirationcorner.com/photo-displays-for-graduation-parties/
- https://simplylifebybri.com/graduation-party-photo-display-ideas/
- https://www.memoriesforyouco.com/easy-steps-for-graduation-photo-displays/
- https://www.shescraftycrafty.com/2019/05/clever-ideas-for-graduation-display.html
- https://www.twinsdish.com/the-best-picture-decor-ideas-for-your-grad-party/
Read More Like This
 15 Homecoming Decoration Ideas to Elevate Your Celebration
 15 Christmas Cake Decorating Ideas to Sweeten Your Holidays
 15 Outdoor Party Tent Decorating Ideas for a Magical Celebration
 15 Ideas for Welcome Home Decorations
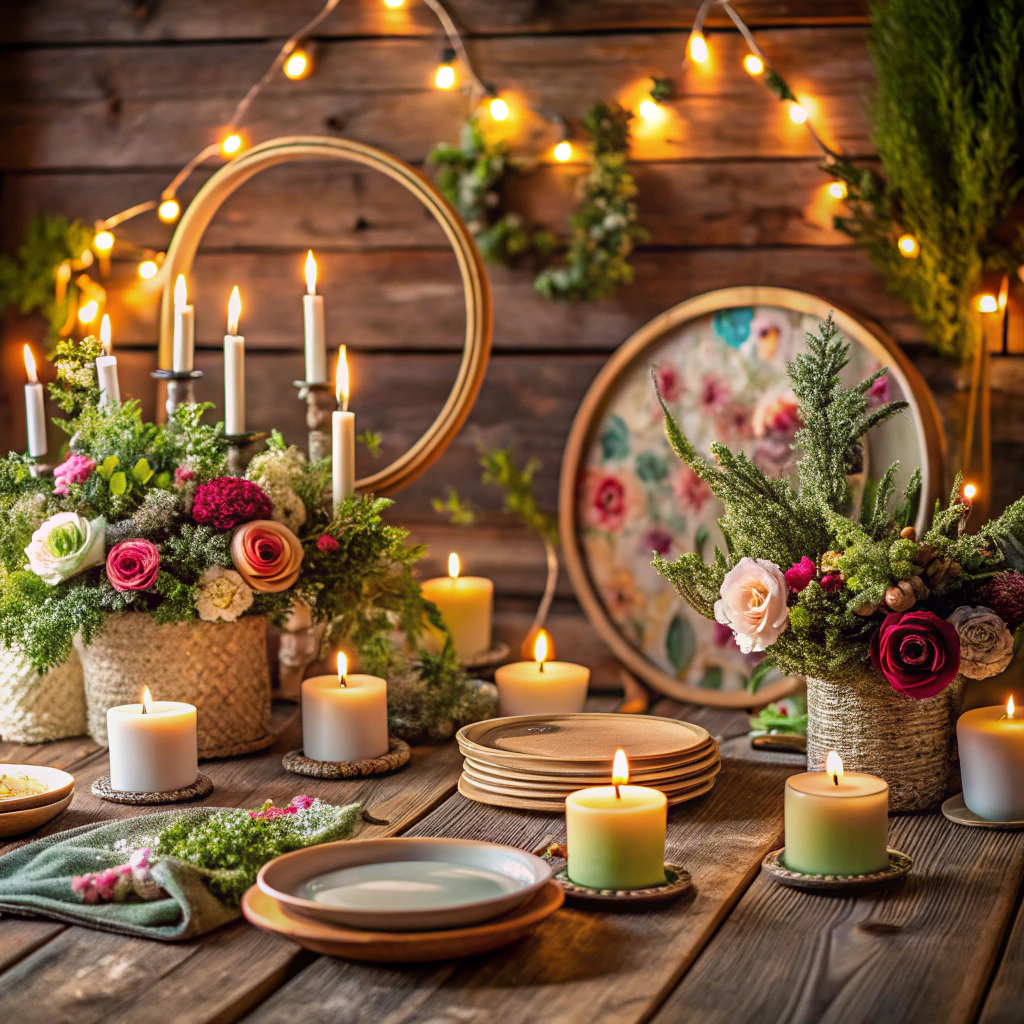 15 Cheap Table Decoration Ideas to Elevate Any Gathering
Recap: