Last updated on
Understanding how long it takes to paint a 1,500 sq ft house interior is crucial because it helps you plan your renovation schedule effectively, ensuring each task dovetails into the next with precision.
Key takeaways:
- Clear understanding of workload and scope of work.
- Estimate paint and material needs accurately.
- Thorough preparation and primer application is essential.
- Systematic approach to painting different surfaces and finishes.
- Allow sufficient time for second coats and touch-ups.
Assessing the Scope of Work
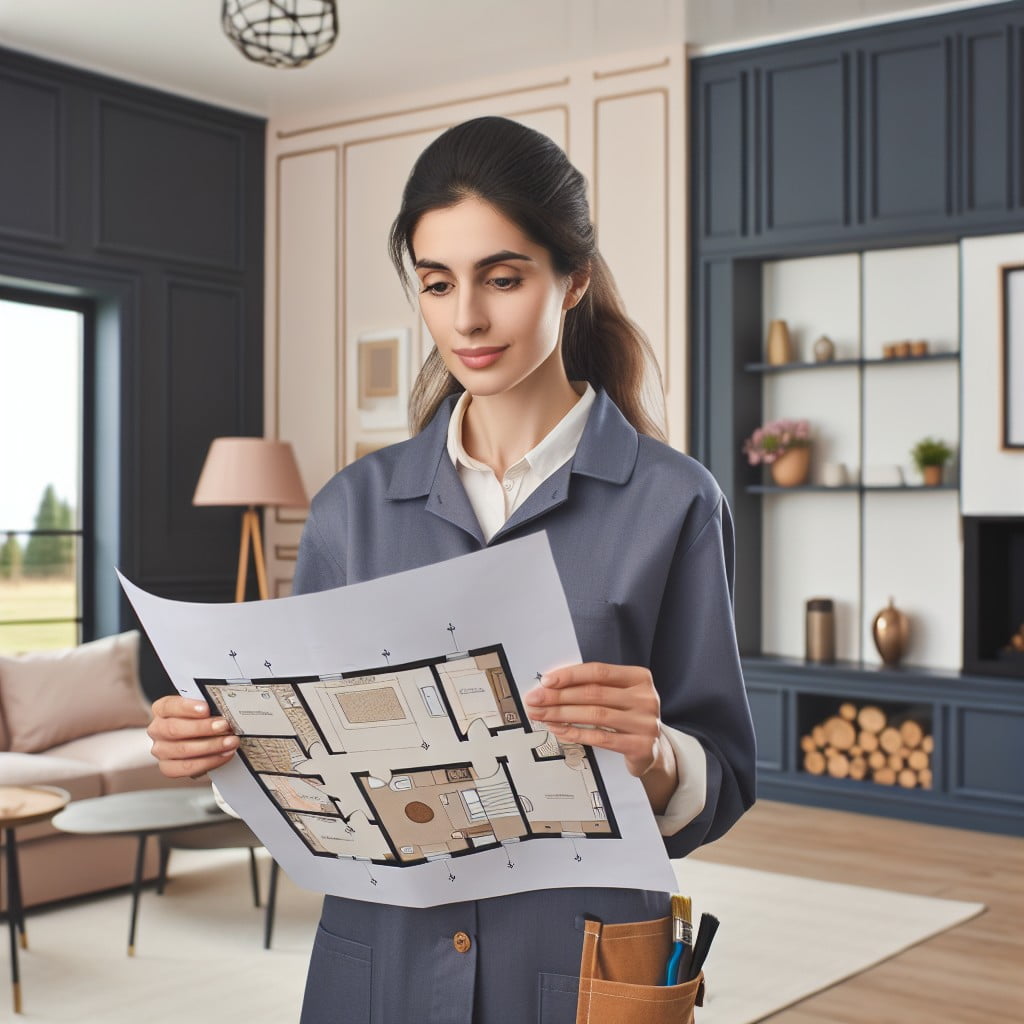
Before embarking on any painting project, it’s crucial to have a clear understanding of the workload. Start by evaluating each room that requires painting. Take note of the condition of walls and trim—do they need minor repairs or thorough sanding? Consider the number of doors, windows, and architectural features, as these elements can increase the complexity and time required for the job.
Additionally, factor in the existing wall colors; transitioning from dark to light hues, or vice versa, typically necessitates additional coats of paint for even coverage. Finally, review the type of finishes desired, as glossy finishes may demand more preparation and precision than matte options. By carefully considering these elements, you’ll gain an accurate representation of the project’s scope, enabling a smoother painting process.
Calculating Paint and Material Needs

To estimate paint requirements, measure the square footage of each room’s walls and ceilings, subtracting space for doors and windows. One gallon typically covers 350-400 square feet with one coat, meaning for a 1,500 sq ft interior, you’d need around 3-4 gallons for a single coat. Remember, different surfaces and colors might necessitate additional coats.
Crucial materials include:
- Drop cloths: Essential for protecting floors and furniture.
- Painter’s tape: For sharp edges and protecting trim.
- Rollers and brushes: A variety of sizes ensures you can reach every corner and crevice.
- Paint trays: Necessary for holding and rolling out paint.
- Ladders or scaffolding: To access high areas safely.
- Sandpaper and spackle: For prepping surfaces before applying primer or paint.
Don’t overlook primer, especially if painting over a darker color, making significant color changes, or dealing with stains. One gallon of primer covers approximately 200-300 square feet.
Consider factors such as paint type (e.g., oil-based or latex) and finish (e.g., matte, eggshell, semi-gloss). These choices impact the quantity of paint and the types of brushes or rollers required.
Lastly, keep extra paint on hand for future touch-ups; storing a quart of each color used can save you from a larger paint job down the line.
Preparation and Primer Application
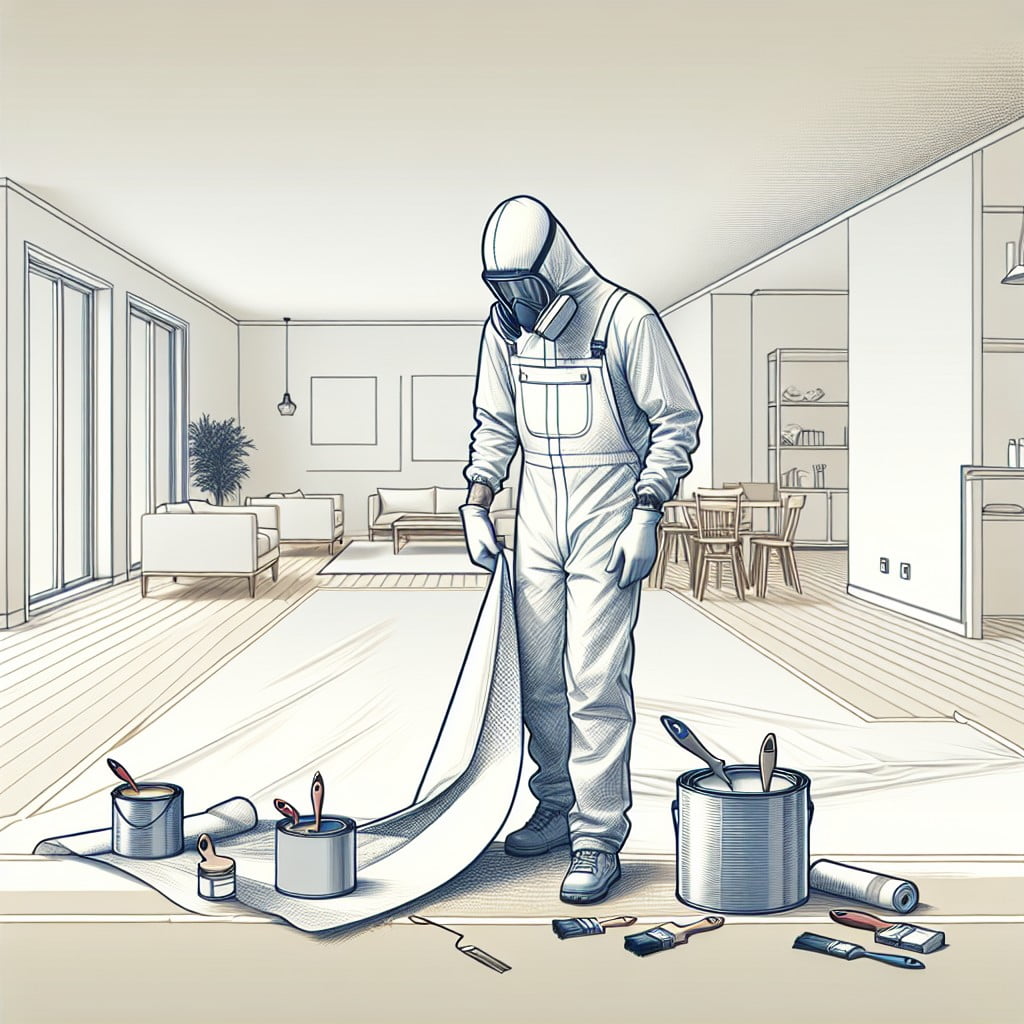
To lay the foundation for a smooth paint job, thorough preparation is vital. Clear the rooms of furniture and remove outlet covers for easier access to wall surfaces. It’s essential to repair any holes or imperfections with spackle and to sand these areas smooth once the spackle dries.
Washing walls to remove dust, grease, and other residues ensures that primer and paint will adhere properly.
Next, applying a high-quality primer serves multiple purposes—it evens out the wall surface, covers stains, and provides a cohesive layer for the paint to bond with. In some cases, tinting the primer can reduce the number of paint coats needed, especially when making dramatic color changes.
Masking off edges with painter’s tape protects trim, ceilings, and other surfaces from stray brush strokes or roller marks. Floor coverings, either canvas drop cloths or plastic sheeting, are laid down to shield flooring from drips and spills.
Upon completing these preliminary steps, you’ll have set the stage for a more efficient painting process with professional-looking results.
Painting Ceilings, Walls, Trim, Baseboards, and Moulding
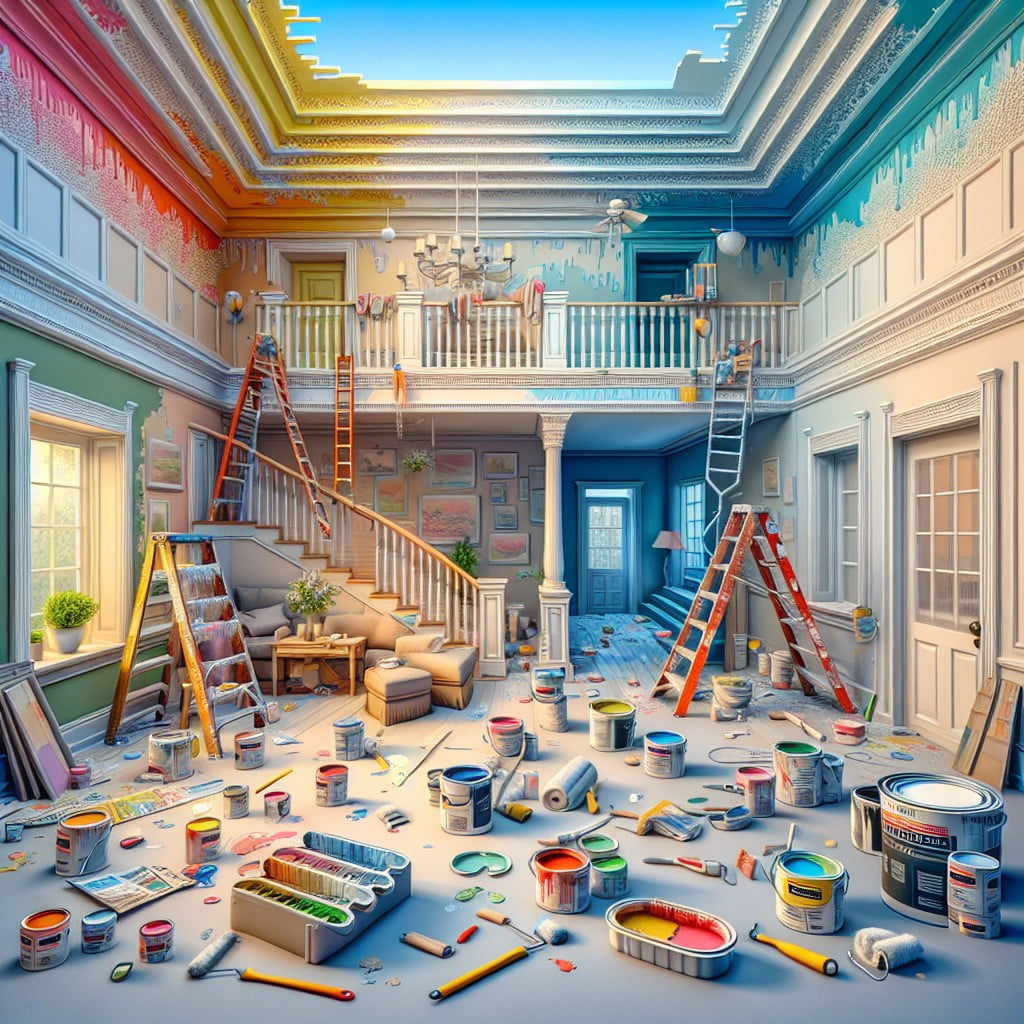
When tackling ceilings, it’s often best to start here as drips will inevitably fall. Using a roller with an extendable handle helps reach high places comfortably. Typically, a flat or matte finish is preferred for ceilings to avoid drawing attention to any imperfections.
Moving to walls, a key point is to cut in around the edges with a brush first. This means painting the corners, near the ceiling line, and around any outlets or switches. Then, fill in the larger areas with a roller, working in sections and using a “W” or “M” pattern for even coverage.
For trim, precision is paramount. A smaller angled brush usually gives the best results, allowing for careful painting around door frames, windows, and baseboards. Glossier finishes are commonly used on trim for durability and ease of cleaning.
Baseboards may require kneeling or bending, so consider comfort and the need for knee pads. These often require a steady hand to ensure a straight line where the color meets the wall.
Lastly, when painting, moulding details demand special attention to highlight architectural features without smudging the paint onto adjacent surfaces. Patience and a fine-tipped brush will serve you well for these intricate tasks. Remember to allow each area to dry thoroughly before taping off for the next section to avoid any paint bleeding or smudging.
Applying Second Coats and Touch-ups
Once the initial coat of paint has achieved sufficient drying time, a second layer is often necessary to provide an even finish and depth of color. This is particularly important in areas where the old color may still be showing through, or where paint has been absorbed unevenly by the wall’s surface.
During the second coat application, the aim is also to address any imperfections that may have been missed during the initial application, such as drips or streaks. It’s essential to apply the second coat consistently to avoid texture differences between the areas with one and two layers of paint.
A meticulous inspection for touch-ups should follow. Often performed with a smaller brush, touch-ups are the final refining steps that ensure no small spots, edges, or corners were overlooked. These minor but crucial fixes contribute to a polished and seamless appearance.
It’s also advisable to check for any potential issues in lighting that could reveal imperfections missed under different lighting conditions. This ensures that once furniture is replaced and the room is back in use, the finish remains smooth and uniform throughout.
Remember to allow for adequate drying time between the second coat and touch-ups. Rushing through these steps can lead to suboptimal results, decreasing the overall quality of the paint job.
Cleanup and Furniture Reset
Once the paint has dried, the final step is to restore the room to its original state. This involves removing all painter’s tape, tarps, and drop cloths to ensure no residues are left behind that could stick to the fresh paint. Carefully inspect walls and floors to clean any splatters or spills. Vacuum and mop as necessary to eliminate any dust or debris generated during the painting process.
Return furniture to their designated spots, but do this with caution to avoid damaging the walls. Replace the outlet covers, switch plates, and hardware that were removed. It’s also essential to air out the space for proper ventilation, helping to clear out any lingering paint fumes. The goal is to leave the interiors clean, fresh, and ready for habitation, reflecting the hard work put into the painting job.
Project Timeline Breakdown
Breaking down the timeline for painting a 1,500 square foot interior allows for a clearer understanding of the project’s duration.
- Day 1-2: Initial setup includes moving furniture, laying down drop cloths, and cleaning walls. Primer application follows this step, with adequate drying time.
- Day 3-5: The bulk of painting is done during these days, starting with ceilings and working down to walls. Efficiency is crucial, and working systematically can save time.
- Day 6: Focus shifts to trim, baseboards, and moulding, which require a more detailed approach.
- Day 7: A second coat enhances durability and finish, while also addressing any missed spots or blemishes that require touch-ups.
- Day 8: Finalize by removing all masking tape, cleaning up any spills, reassembling rooms, and conducting a detailed inspection to ensure quality.
It’s important to note that each phase may vary in length depending on factors such as paint type, wall condition, and team size. This rough timeline aims to provide a general idea of the painting process duration.
Estimating Total Labor Hours
Professional painters typically estimate labor hours by considering the total square footage and the complexity of the space. For a 1,500 sq ft interior, the basic painting work without significant repairs or detailed trim work might take between 60-120 man-hours.
Key considerations for these estimates:
- Room layout: Open spaces with few angles save time, whereas complex layouts with multiple small rooms or alcoves increase hours.
- Ceiling height: Standard 8-foot ceilings require less time than taller ones, which necessitate scaffolding or ladders.
- Paint condition: If existing paint is in good shape, less prep might be needed. Conversely, peeling or chipped paint necessitates more prep time.
- Number of coats: Typically, one primer coat plus two color coats are standard, but additional coats may be required for dark colors or to ensure an even finish.
Remember, each project is unique, and professionals will assess the specifics before providing an accurate labor estimate.
Variables Affecting Interior Painting For House Painters
Several factors can influence how quickly a professional can complete an interior painting project in a 1,500 sq ft house:
- Complexity of Spaces: Rooms with intricate details or hard-to-reach areas, such as vaulted ceilings, require additional time.
- Condition of Walls: Surfaces needing extensive repairs or sanding can add hours to the project.
- Number of Colors: Each color change necessitates additional setup and cleanup time.
- Quality of Paint: Higher quality paints might cover more efficiently, potentially reducing the number of coats required.
- Experience of Painters: Seasoned painters typically work faster and more efficiently due to honed techniques.
- Type of Finish: Different finishes, from flat to high gloss, may affect how the paint applies and dries.
- Occupied Space: Painting an empty house is generally quicker than one with furniture and residents.
Understanding these variables enables homeowners to set realistic expectations and helps painters to accurately estimate the project timeline.
How Long Does It Take to Paint a 1,500 Sq Ft House Interior?
When considering the time it takes to paint a 1,500 square foot home’s interior, several key variables come into play:
1. Current State of the Walls: Freshly built interiors with clean, smooth walls will require less prep time than older walls with cracks or wallpaper to remove.
2. Complexity of the Space: Open-concept homes with high ceilings may take longer to paint than compartmentalized spaces, due to additional setup for ladders and scaffolding.
3. Quality of Paint Used: High-quality paints often provide better coverage with fewer coats, saving time. Conversely, lower-quality paints may necessitate additional coats, extending the project duration.
4. Number of Colors and Finishes: Different colors or finishes applied to various rooms or features add complexity and time—as equipment must be cleaned or changed between applications.
5. Experience of Painters: Professional painters, working efficiently as a team, can complete the task faster compared to DIY efforts, which can be slower due to potential learning curves and fewer hands on deck.
6. Working Hours: Full-time painters typically work faster due to uninterrupted workdays, while DIY painters might only tackle the project during evenings or weekends, stretching out the timeline.
Knowing these factors helps in creating a more accurate timeline for your painting project and ensures you can plan accordingly for the transformation of your home’s interior.
FAQ
How long does it take to paint the interior of a 1500 square-foot house?
The time required to paint the interior of a 1500 square-foot house would typically range between 3 to 5 days.
How long does it take a professional painter to paint the interior of a house?
A professional painter typically requires around 3 to 5 days to fully paint the interior of a house, although this timeframe can vary based on the size of the home and the specifics of each project.
How many square feet can a painter paint in a day?
On average, a painter can cover about 1,200 to 1,600 square feet in an 8-hour workday.
How long does it take to paint the inside of a 3 bedroom house?
Painting the interior of a 3 bedroom house typically requires around 3 to 4 days, considering the various factors that can influence the process.
What factors could affect the timeframe for painting a 1,500 sq ft house interior?
The timeframe for painting a 1,500 sq ft house interior can be affected by factors such as the complexity of the job, the type of paint used, the condition of the walls, the number of coat applications, and the size of the painting crew.
How does the complexity of the house’s layout influence the duration of an interior painting project?
The complexity of a house’s layout significantly influences the duration of an interior painting project, as intricate designs and multiple rooms require more time for precise application and necessary detailing.
How does the type of paint and number of coats applied impact the time needed for painting a 1,500 sq ft home interior?
The type of paint and number of coats applied considerably influence the time needed for painting a 1,500 sq ft home interior, as thicker, high-quality paints might require fewer coats but more drying time, and multiple coats will inevitably extend the entire painting process.
Read More Like This
 15 Unique DIY Christmas Decorations Ideas for a Festive Home
 15 Creative Science Fair Board Ideas to Amaze Your Audience
 15 Handmade Envelope Decoration Ideas for Creative Gifting
 10 DIY Gifts for the Whiskey Lover in Your Life
 15 Creative Ideas for DIY Outdoor Birthday Party Decorations
Recap: