Last updated on
Setting the right timeline for painting a room becomes easier when you know what to expect, because this comprehensive guide demystifies the process in its entirety.
Key takeaways:
- Assess room size and dimensions accurately for better planning.
- Determine the amount of prep work needed for a smooth painting experience.
- Calculate paint amount based on room size and consider extra for high ceilings or textured walls.
- Choose the right paint type and tools for a professional finish.
- Factor in drying time between coats and address touch-ups effectively.
Assessing Room Size and Dimensions
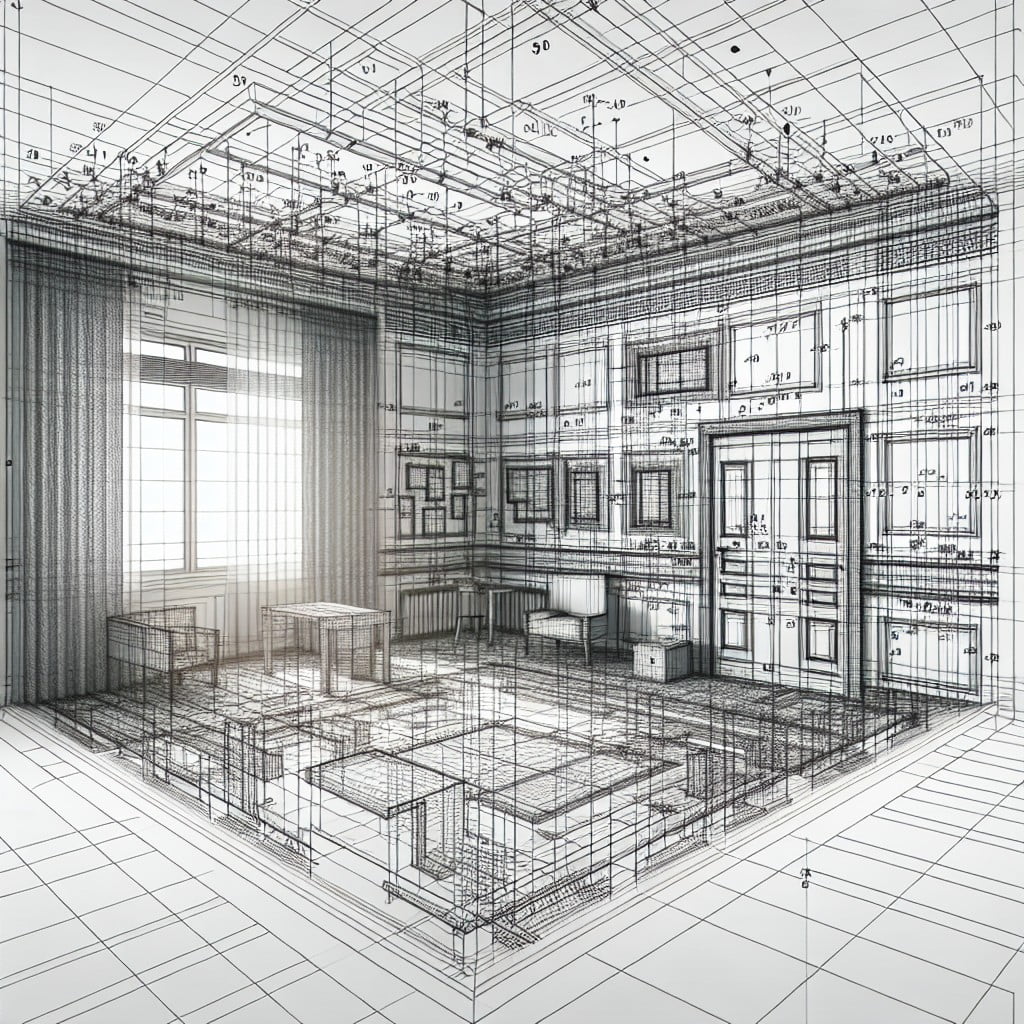
Begin by measuring the length and width of the room to calculate the total square footage. This step is crucial as it influences the quantity of paint needed and helps in estimating the time required for the painting project. Don’t overlook the height of the walls; it will determine how long you’ll spend on a ladder or if scaffolding is necessary.
Keep in mind obstacles such as doors and windows, which can slightly reduce the painting area. For precision, use a digital laser measurer or a standard tape measure. Note these measurements on a piece of paper or a digital note-taking app for easy reference when purchasing paint and supplies.
Consider architectural features, such as built-in shelves or fireplaces, that may also impact the painting process. Assessing the space accurately ensures a smoother painting experience. Remember, accurate dimensions pave the way for a well-executed paint job.
Determining the Amount of Prep Work Required
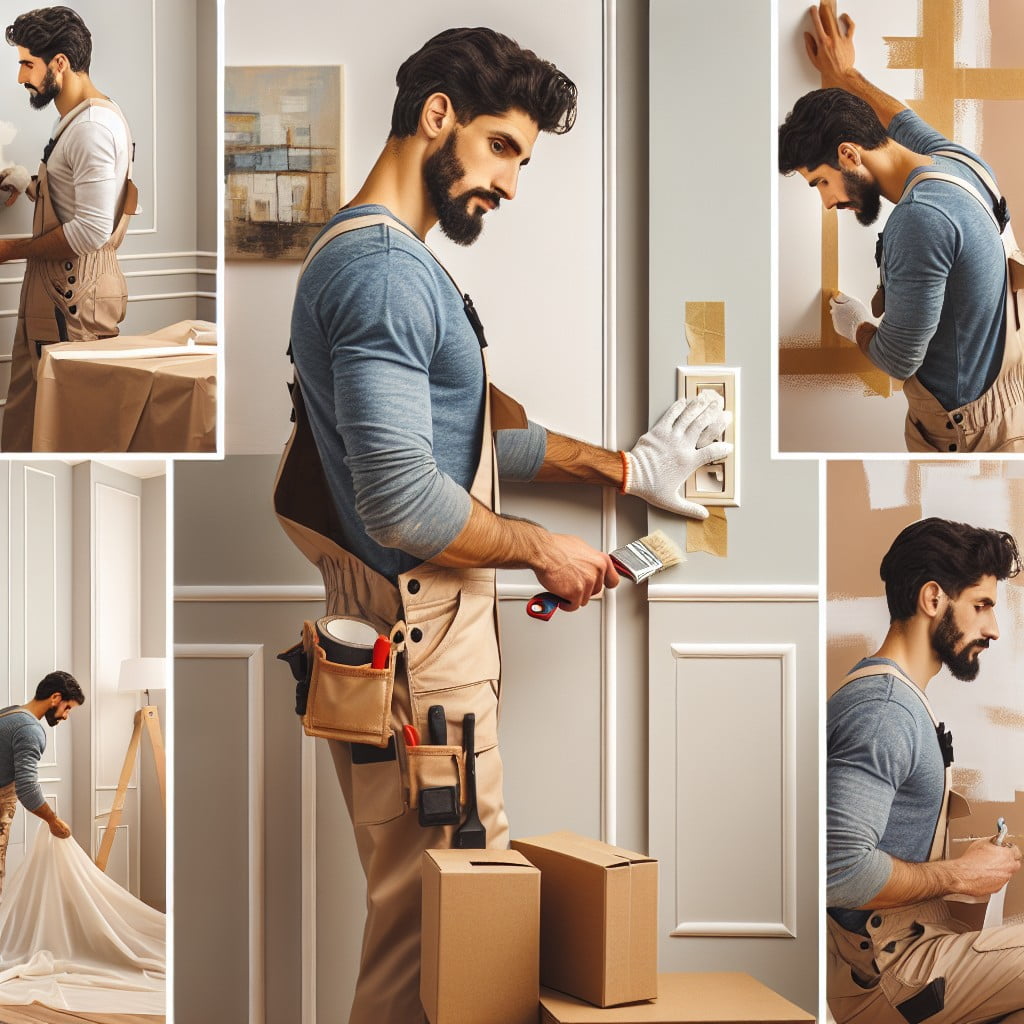
Before diving into the application of paint, assessing the condition of your walls is crucial. Smooth, clean surfaces ensure the best outcome. Here are a few key items to check off your prep list:
- Repairs: Fill any holes or cracks with spackle and allow it to dry.
- Sanding: Once repairs are made, sanding the walls can eliminate rough spots and help achieve a smooth finish.
- Cleaning: Dirt and oils can impede paint adhesion. Wipe walls with a damp cloth to ensure they are free of dust, cobwebs, and stains.
- Priming: If you’re changing wall colors or painting over dark hues, a coat of primer will help in achieving true color payoff and reduce the number of topcoats needed.
- Taping: Use painter’s tape to protect trim, ceiling edges, and electrical outlets for clean lines.
Evaluating and completing these preparatory steps sets the stage for a successful painting project, effectively streamlining the process when you’re ready to bring color to your walls.
Calculating Paint Amount Based On Room Size
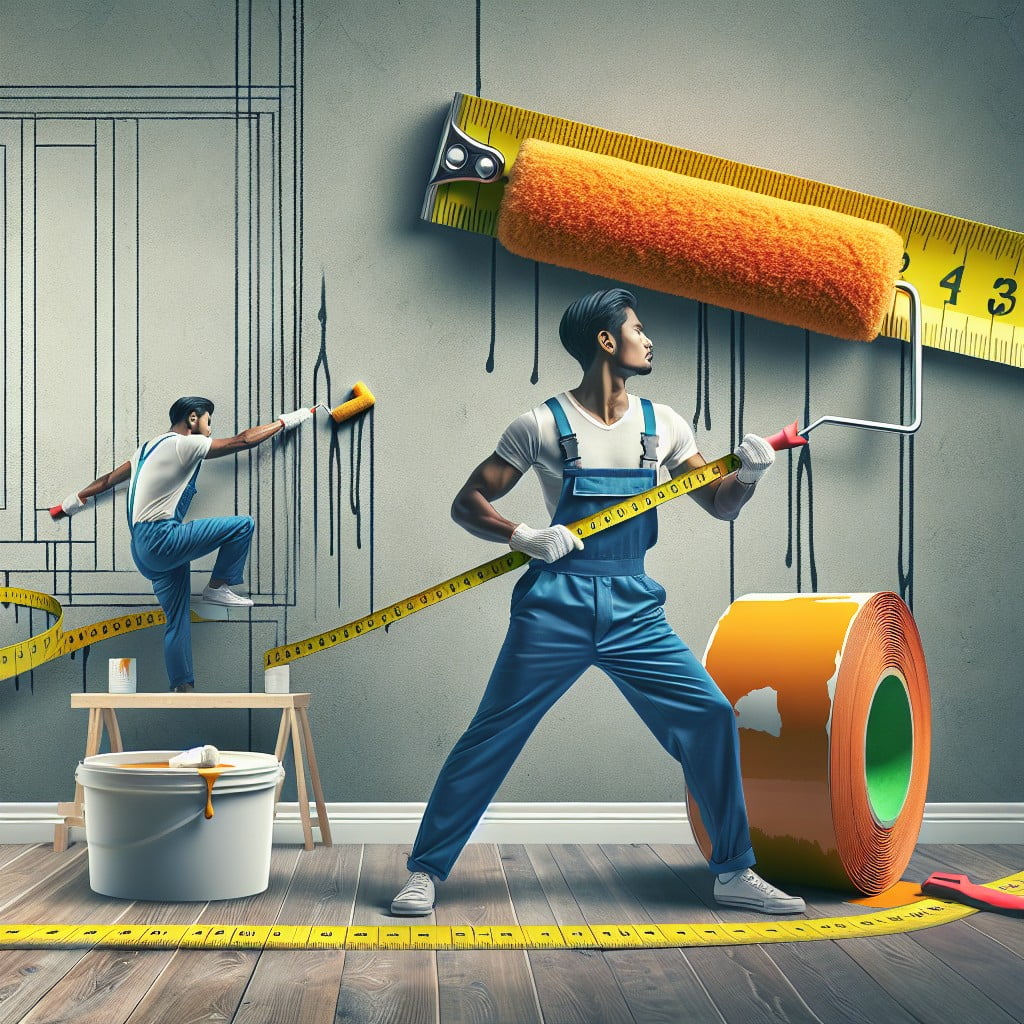
To accurately determine the amount of paint needed, measure the room’s length and width. Multiply these dimensions to find the total square footage. A gallon of paint typically covers around 350 square feet, but check the paint can for exact coverage. Remember that doors and windows occupy space; deduct their area from the total square footage.
For high ceilings or textured walls, consider buying a little extra paint, as they tend to require more product. Always round up to the nearest gallon to ensure you have enough paint for touch-ups. Keep in mind that multiple coats will double or triple your paint needs. Keep a record of your room’s measurements and the paint required for future reference or touch-ups.
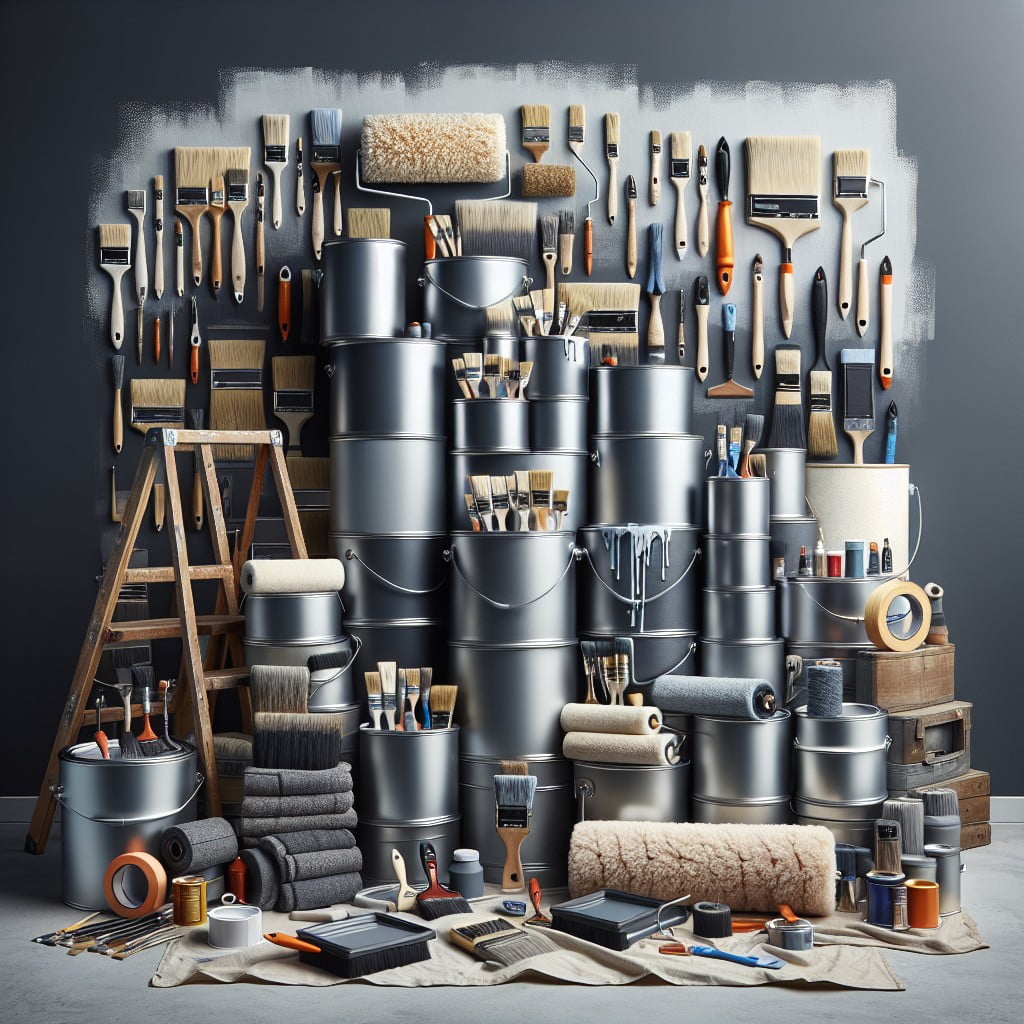
Choosing the Right Paint and Tools for the Job
Selecting an appropriate paint type is essential, as different finishes—matte, eggshell, satin, semi-gloss, and high-gloss—have varying reflections and durability.
Matte finishes are ideal for hiding wall imperfections, while high-gloss is more durable and suitable for high-traffic areas.
Opt for a water-based latex paint for most interior walls due to its ease of clean-up and short drying time. Oil-based paints are tougher, but they require more time to dry and a different clean-up approach.
For the tools, invest in high-quality brushes and rollers to ensure a smooth application. Brushes with angled bristles are excellent for cutting in corners and edges, while rollers with a 3/8-inch to 1/2-inch nap are versatile for most wall textures.
A paint tray, painter’s tape for protecting trims and creating clean lines, drop cloths to protect floors and furniture, and a sturdy step ladder to reach high places are also needed.
Lastly, don’t forget personal protective equipment such as gloves, eyewear, and possibly a respirator mask when working in an inadequately ventilated space.
Deciding On the Number of Paint Coats Needed
The number of coats required hinges on several factors. A light color over a dark wall often necessitates additional layers, typically two or more, for full coverage. Conversely, painting a dark hue over a light one might also demand multiple coats to achieve the depth and uniformity desired. Quality of paint plays a significant role; high-quality paints with good opacity might reduce the need for extra coats. Primer application is vital, especially for new walls or those with significant color changes, as it can minimize the number of topcoats needed. Similarly, a sheen finish, such as satin or semi-gloss, can affect coverage and might alter the total coats applied. Lastly, consider the wall surface condition—imperfections may require additional coats or touch-ups to achieve a smooth, consistent finish.
Painting the Main Areas of the Walls
Once the room’s perimeter has been addressed with a brush, the time has come to fill in the expanses of the walls. For efficiency, a roller is the ideal tool due to its ability to cover larger areas quickly. Begin by loading the roller evenly with paint from the tray, ensuring it’s fully saturated but not dripping.
Employ the ‘W’ or ‘M’ method, which involves painting a large ‘W’ or ‘M’ on the wall and then filling it in without lifting the roller. This technique helps distribute the paint more evenly and minimizes streaks. Always roll from top to bottom, maintaining a wet edge to avoid lap marks. Overlap each stroke slightly with the previous one for a uniform finish.
For the smoothest appearance, use light pressure and let the roller’s weight do the work. If you press too hard, it can cause the roller to slide and leave unwanted texture or lines. It’s important to refill your roller often to maintain the same level of coverage and prevent the edges of your painted area from drying out, which can lead to blending difficulty on subsequent passes.
Factoring in Drying Time Between Coats
Drying time is crucial for a flawless finish. Different paints have varying drying periods, typically noted on the can. Latex-based paints often require a minimum of two to four hours before applying a second coat, whereas oil-based choices might necessitate up to 24 hours.
Room temperature and humidity levels are also key influencers. Conditions that are too humid or cold can extend drying times significantly. Ideally, maintain a well-ventilated space at 50-70 degrees Fahrenheit to promote optimal drying.
Furthermore, the type of finish chosen impacts drying time. For instance, glossier finishes may take longer to dry than their matte counterparts. Keep in mind that rushing this process can lead to drips, streaks, or a need to redo the work.
Pause between coats not only solidifies color continuity but provides a moment to inspect the initial layer for any necessary touch-ups. Although waiting may test one’s patience, it’s a fundamental step towards achieving a professional and durable result.
Always abide by the manufacturer’s instructions for the best outcome and incorporate additional time into your project timeline for this important phase.
Addressing Touch-Ups and Imperfections
Once the main paint application is complete, inspect the walls closely for any missed spots or irregularities. Imperfections are normal and easily fixable with a bit of extra attention. Here are a few tips for effective touch-up work:
- Wait for the Right Time: Ensure the paint is thoroughly dry before assessing for touch-ups to avoid smudging wet paint.
- Use a Small Brush: A small, angled brush is ideal for precision work, allowing you to fix any imperfections without affecting the surrounding area.
- Same Paint, Same Batch: For consistency in color and texture, use the same paint from the original batch. Stir it well before using, as separation can occur.
- Feather the Edges: When applying touch-ups, lightly feather out the edges to blend the new paint with the old for a seamless appearance.
- Proper Lighting: Good lighting is crucial to spot and fix any blemishes. Daylight is best, but if not possible, use a bright, handheld light to mimic natural light.
Approach touch-ups with patience, as rushing can lead to more noticeable repairs. A careful eye and steady hand will ensure a pristine finish.
Average Time Estimates for Different Room Types
Smaller spaces such as bathrooms and powder rooms often require two to four hours to paint, assuming the walls are prepped and ready for a fresh coat. Bedrooms and living rooms, which are medium-sized on average, might take approximately four to eight hours. For larger areas like open-plan living spaces or kitchens, you might need to allocate a full day, which is generally eight hours or more.
Keep in mind that these estimates can vary widely depending on the room’s complexity, the number of windows and doors, which may require additional detailing and cutting-in work around the edges, and the condition of the walls. Detailed work tends to slow the process down, as precision takes time. Additional time should be accounted for if you plan to paint ceilings, trims, and baseboards, as these tasks add to the overall duration.
For professionally painted results at a speedier pace, a team of painters rather than a solo act can dramatically cut down the time required, often managing to complete multiple rooms or even a whole house in a day or two, depending on the scope and size of the project.
Consideration of the Painter’s Skill Level
Experience plays a pivotal role in the efficiency and quality of a painting project. A novice painter may require additional time to navigate tasks such as cutting in the edges or applying even coats. As skill level increases, so does the speed of application and the ability to swiftly correct mistakes or deal with challenging areas.
Professionals often follow systematic approaches, enabling them to complete rooms more rapidly while maintaining high standards. They are also likely to foresee and mitigate potential issues before they arise, saving time in the long run.
In contrast, those painting a room for the first time should factor in a learning curve, possibly adding several hours to their project estimate. Regardless of skill level, patience and attention to detail are key factors that contribute to a job well done.
FAQ
How long should it take to paint a 12×12 room?
A proficient painter should ideally take approximately 4-6 hours to paint a two-coat layer on a 12×12 room, a duration encompassing preparation, taping, corner and edge cutting, paint application, and subsequent cleanup.
How long does it take to paint a 10×10 bedroom?
Painting a 10×10 bedroom typically takes between 6 to 10 hours.
How long does it take to paint a 1 bedroom apartment?
The duration to repaint an average-sized 1 bedroom apartment, considering only the walls and same color for a single coat, typically takes a skilled painter a day.
How long after painting can I sleep in the room?
After latex-based painting, it’s safe to sleep in the room the same night, but with oil-based paint, you should wait for three days to allow the room to air out due to the fumes’ unhealthy nature.
What is the drying time for a standard coat of interior paint?
A standard coat of interior paint typically dries in about 2-4 hours.
What factors can influence the duration of a painting project?
The duration of a painting project can be influenced by factors such as the size of the space, the type of paint used, weather conditions (if painting outdoors), the painter’s experience level, and the amount of preparation work required.
How does room size affect the time frame for painting?
The size of a room can greatly affect the time frame for painting, with larger rooms typically requiring more time due to increased wall and ceiling surface area.
Read More Like This
 15 Creative Science Fair Board Ideas to Amaze Your Audience
 15 Handmade Envelope Decoration Ideas for Creative Gifting
 10 DIY Gifts for the Whiskey Lover in Your Life
 15 Creative Ideas for DIY Outdoor Birthday Party Decorations
 15 Creative Ideas for What to Do With Empty Liquor Bottles
Recap: