Last updated on
Navigating the process of painting your bedroom becomes instantly simpler because this article provides a meticulously detailed, step-by-step guide to help establish a realistic timeframe.
Key takeaways:
- Assess room size and condition before painting
- Properly prepare the room before starting
- Gather all necessary materials and equipment beforehand
- Protect furniture and cover the floor during painting
- Follow a systematic painting process for efficiency and smooth finish
Assessing the Room Size and Condition
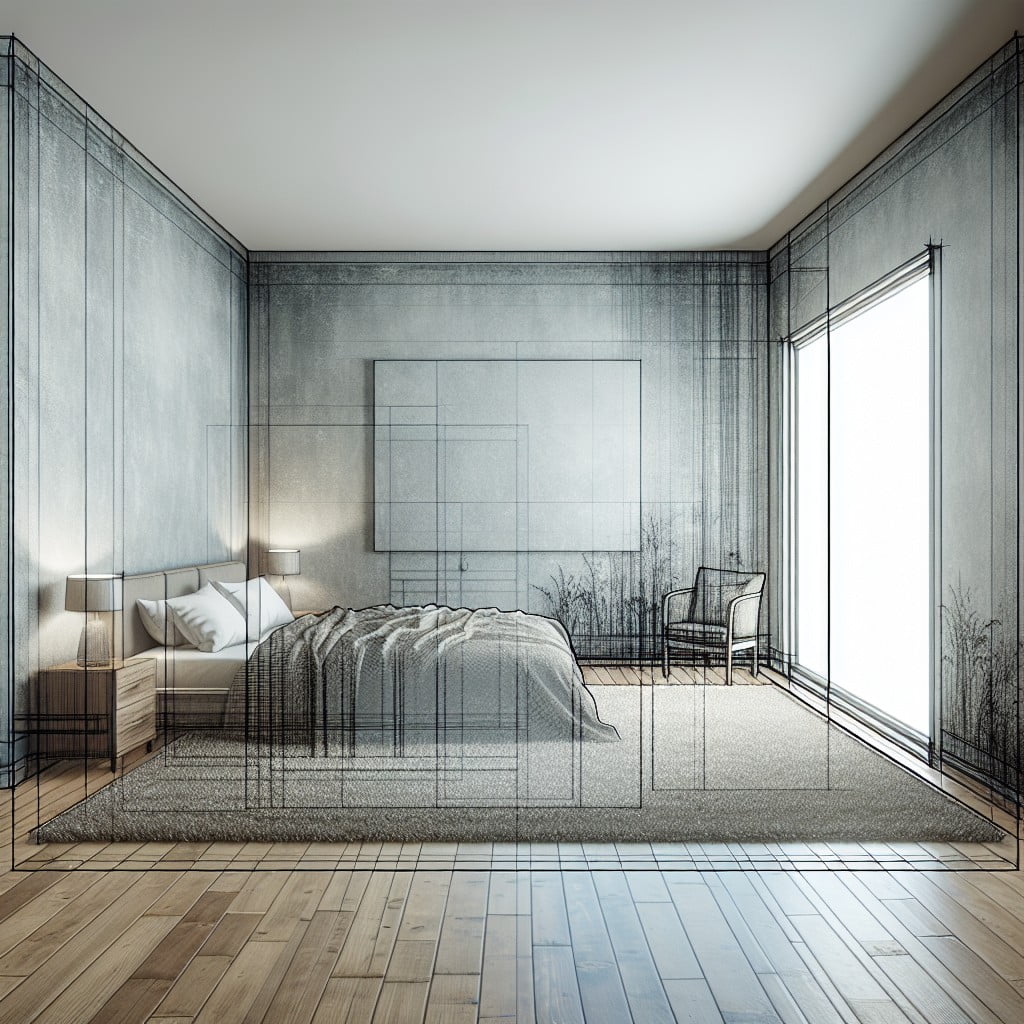
Before diving into the painting process, taking note of the room’s size is crucial — it directly influences the amount of paint needed and the project’s duration. Larger rooms require more paint and time, naturally. But it’s not just about square footage; ceiling height matters too, as taller walls take longer to cover.
Equally important is the room’s condition. Newer walls with clean, smooth surfaces often need less prep and can be painted more quickly. On the other hand, walls with peeling paint, cracks, or holes will need some TLC before a paintbrush ever touches them. Tending to these imperfections ensures a more even coat and professional finish but adds extra steps and time to the overall painting project. Therefore, assessing the room thoroughly beforehand allows for a more accurate estimation of the time and materials required.
Preparation Required Before Painting
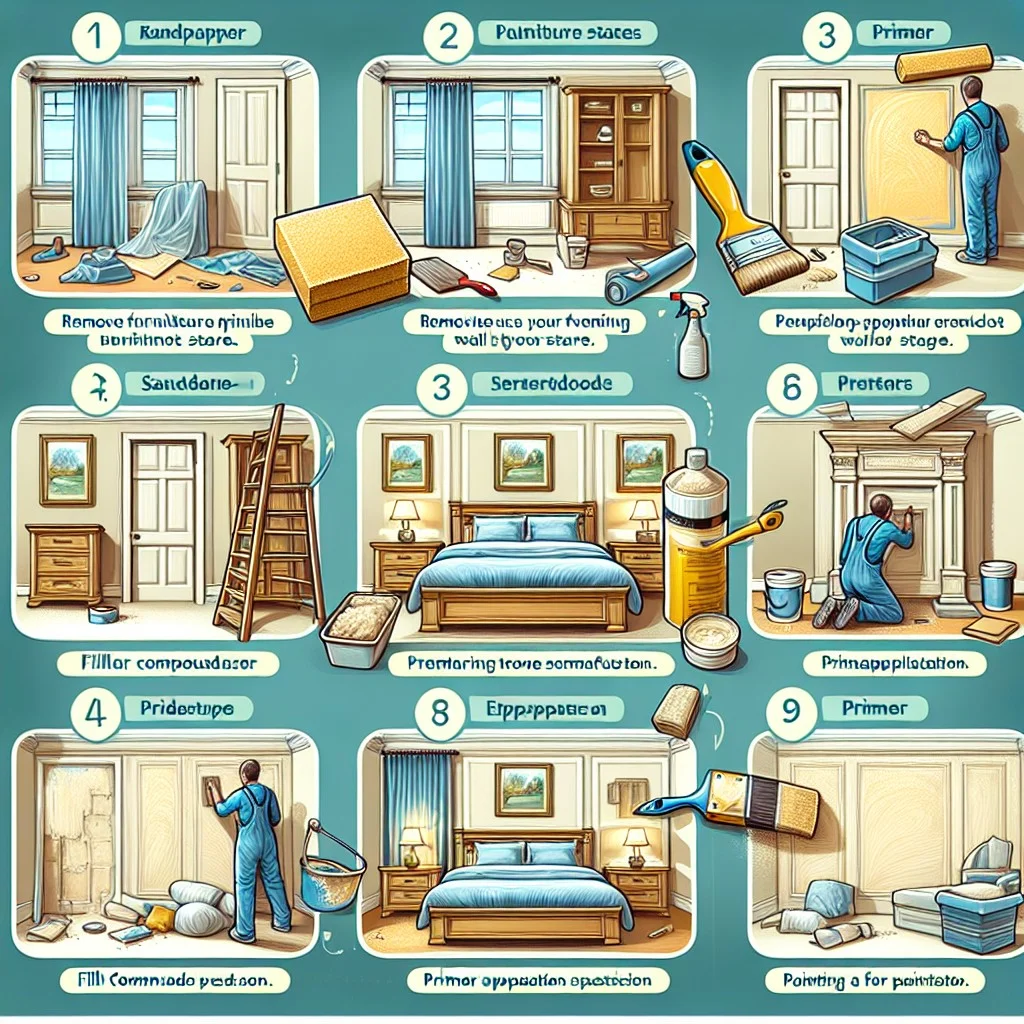
Prepping your bedroom for a new coat of paint is critical for a smooth and professional finish. Start by removing all wall hangings, photographs, screws, and nails. Fill any holes with spackling paste and allow it to dry according to the manufacturer’s instructions.
If the current paint is glossy, lightly sand surfaces to help the new paint adhere better. Next, cleanse walls with a damp cloth to remove dust and dirt, ensuring that paint will stick properly. Don’t forget to protect the flooring and any furniture that cannot be moved out of the room by covering them with drop cloths or plastic sheeting.
Proper preparation ensures that the painting process goes smoothly and contributes to a long-lasting finish.
Necessary Materials and Equipment

To ensure a smooth painting process, gather all your materials in advance. You’ll need paint, which typically involves a primer and the main color. Look for high-quality interior paint – a gallon covers approximately 400 square feet. The number of gallons depends on the room’s size and how many coats you plan to apply.
Choose brushes for corners and finer details, as well as rollers for covering large, flat surfaces more efficiently. Roller extensions can help reach higher areas without a ladder. Drop cloths or plastic sheeting is essential for protecting floors and furniture from drips and spills.
Don’t overlook smaller items like paint trays, stirrers, and a pour spout for the paint can. Sandpaper is handy for smoothing walls before you start, and spackle is needed for filling any holes or cracks. Ensure you have a putty knife for applying spackle, and a ladder for reaching all areas of the room.
Additionally, consider protective gear for yourself, such as gloves, a mask, and optionally, eye protection, to guard against splatters and fumes.
Moving and Covering Furniture
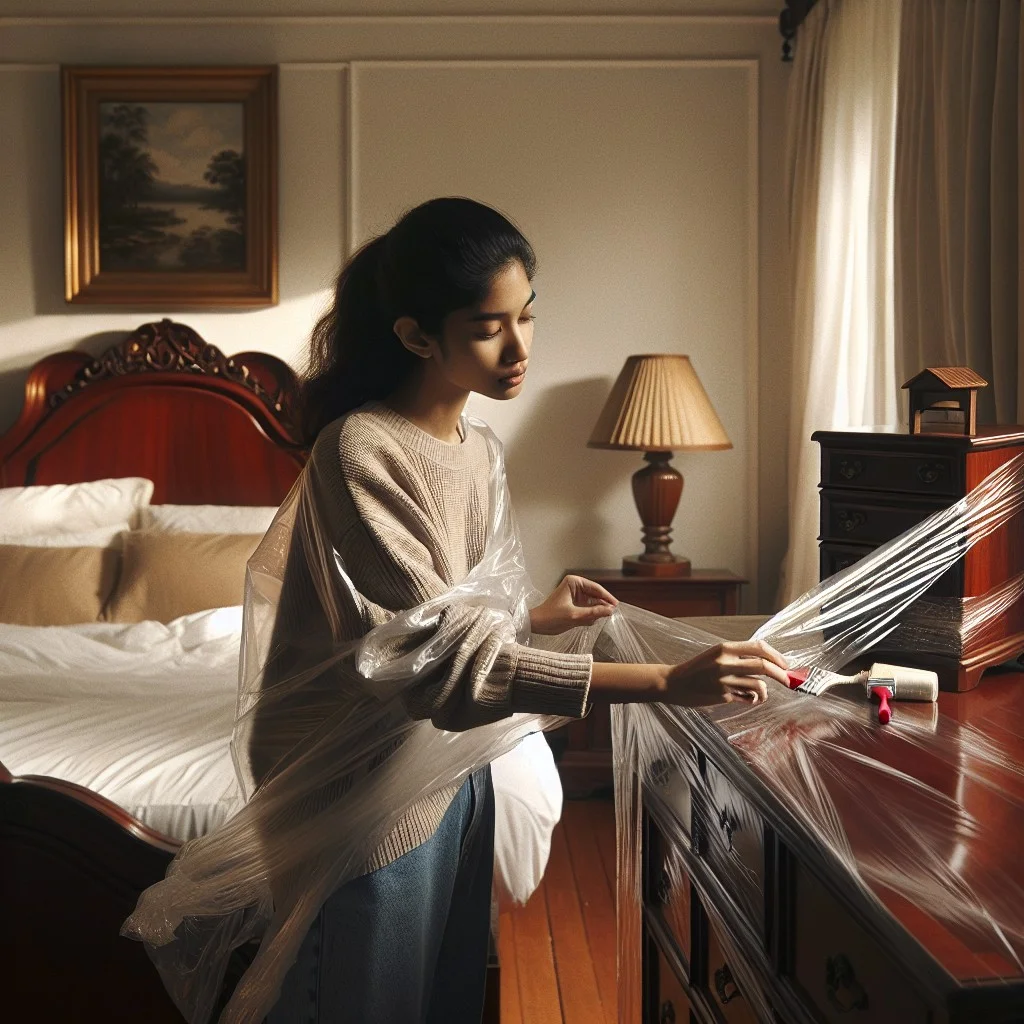
Before you start painting, ensure your furniture is protected from drips and splatters. It’s best to remove smaller items from the room entirely.
For larger, heavier pieces that are difficult to move, push them to the center of the room. Once centralized, cover them with drop cloths or plastic sheeting to shield them from paint. Make sure the covers are secured, so they don’t slip off midway through the job.
It’s also wise to tape the edges of the cloth to the floor for extra protection. At this stage, also consider covering the floor with a canvas drop cloth to absorb any paint that might escape your brush or roller. Canvas is preferable to plastic for floors as it is less slippery and can be reused for future projects.
Wall Cleaning and Patching
Before unleashing your inner Rembrandt on the bedroom walls, ensuring they’re squeaky clean and smooth is paramount. Grease, dust, and spider webs tend to be party poopers, inhibiting paint adherence. Gentle washing with soapy water does the trick—think of it as prepping a canvas.
Post-drying, inspect the area for imperfections; dents and holes are unwelcome guests for a fresh coat. Spackle them away, my friend—fill, smooth, and allow to dry. A light sanding ensures a surface as seamless as a skater’s glide across ice. Voilà! Ready for the color’s grand entrance.
Applying Painter’s Tape to Trim and Ceilings
To ensure sharp lines and protect trim and ceilings, attentively apply painter’s tape. Choose a tape width suitable for the area – narrow for trim and wider for ceilings. Start in the corner, and work in small sections for precision. Press down firmly to seal the edge and prevent bleed-through. For curves or uneven surfaces, use smaller pieces of tape or look for tape with added flexibility. If the tape resists sticking due to dust or texture, a light sanding can improve adhesion. Remove the tape while the last coat of paint is slightly wet to avoid peeling paint off with the tape.
Wall Painting Process
Begin by stirring the paint thoroughly to ensure consistent color and texture. Pour it into a lined paint tray and start with the edges of the wall (also known as “cutting in”) using an angled brush; this requires a steady hand along the trim, ceiling, and corners where rollers can’t reach.
Once cutting in is complete, use a roller to fill in the larger wall spaces. Dip the roller into the paint, rolling it along the tray’s ribbed area to remove excess.
Work in small sections, using a zig-zag pattern to apply paint in a way that avoids drips and uneven coverage. Overlap each stroke for a seamless look, ensuring the previous edge stays wet to blend the paint effectively. For optimal results, paint from the top of the wall down, which helps to control streaks and blends the paint more naturally as you work your way downwards.
When it comes to corners or areas near trim, a smaller roller or brush may be necessary for precision. Avoid pressing too hard with the roller to prevent paint lines on the wall’s surface. Instead, aim for light, even pressure.
Remember to refresh your roller with paint frequently and don’t let the edges dry out, as this could lead to visible seams. With patience and consistent technique, the wall will start to show an even, smooth coat of fresh paint.
Drying Time Between Coats
The duration for paint to sufficiently dry varies based on the paint type and the environment. Here’s what to consider:
1. Type of Paint: Latex-based paints often dry to the touch within an hour and may be ready for a recoat in four hours. Oil-based paints typically require six to eight hours before applying another coat.
2. Humidity and Ventilation: Rooms with low humidity and good airflow facilitate faster drying. Increased humidity or poor ventilation can extend drying times.
3. Thickness of Application: A thick coat takes longer to dry. Aim for even, thin layers to expedite the process.
4. Temperature: Paint cures best at room temperature. Excessive heat or cold can lead to slower drying times.
Always refer to the manufacturer’s instructions for specific drying times. Patience ensures a smooth, even finish, so resist the temptation to rush the process.
Final Touch-Ups and Detail Work
Upon completing the majority of the painting, focusing on the details can transform a good paint job into a great one. Inspect the room in good lighting for any uneven edges or missed spots. Utilize a small brush for precision work, redefining the lines along the trim, corners, and baseboards to ensure a professional appearance.
Remove the painter’s tape slowly to avoid pulling off dried paint; any seepage beneath the tape can be tidied up with a clean, damp cloth or a small artist’s brush. If you discover imperfections or drips once the walls are dry, lightly sand the area and touch it up with leftover paint. Remember, patience and attention to detail in this final stage are key to achieving a flawless finish.
Considering Professional Painters Vs. DIY
Deciding between hiring professionals and undertaking a DIY project pivots on several factors, each impacting the project timeline and outcome.
Reflect on expertise and quality; professional painters bring a wealth of experience, ensuring a high-quality finish with clean lines and an even coat.
Time is another factor; professionals can typically complete the job faster due to their skills and team size.
Cost considerations are crucial; while professional services will incur greater expense, DIY means investing time and possibly purchasing equipment or materials you may not have on hand.
Lastly, consider the value of your own time and potential stress; if the painting process feels overwhelming or doesn’t fit into your schedule, the convenience of professionals might be worth the extra cost.
Balancing these aspects will guide your final decision on how to proceed with painting a bedroom.
FAQ
Can you paint a bedroom in one day?
Yes, painting a bedroom can be achieved in one day considering approximately 3-4 hours are spent on preparation and paint application, however, the drying time may vary based on environmental conditions and location.
Can you paint a room in 2 hours?
Given an average-sized room, it’s achievable to paint the walls in a time range of 1 to 2 hours, contingent upon the number of coats required.
How long does it take a painter to paint a 12×12 room?
An experienced painter typically requires between 4-6 hours to properly paint a 12×12 room, accounting for two coats of paint and necessary preparation tasks including taping trim, cutting in corners and edges, and cleanup afterwards.
Is it OK to sleep in a room that was just painted?
While it is permissible to sleep in a room freshly painted, one must ensure the paint has thoroughly dried and the room adequately ventilated to prevent potential health hazards from paint fumes.
What are typical factors affecting the time taken to paint a bedroom?
The time taken to paint a bedroom is typically influenced by factors such as the size of the room, the type of paint used, the number of coats needed, the condition of the walls, and the experience level of the painter.
How does the type of paint used influence the duration of the painting process?
The type of paint used significantly influences the duration of the painting process as different paints have varying drying times, coverage capacities, and application methods.
What are effective strategies to reduce the time required for painting a room?
Effective strategies to reduce painting time include prepping the room before painting, choosing high-quality paint, using larger brushes or rollers, and employing a systematic painting approach.
Read More Like This
 15 Funny Graduation Cap Ideas to Make Your Big Day Unforgettable
 15 Unique DIY Christmas Decorations Ideas for a Festive Home
 15 Creative Science Fair Board Ideas to Amaze Your Audience
 15 Handmade Envelope Decoration Ideas for Creative Gifting
 10 DIY Gifts for the Whiskey Lover in Your Life
Recap: