Last updated on
Discover a plethora of creative ideas to transform your ordinary lantern into an extraordinary piece of art by exploring these imaginative decoration techniques.
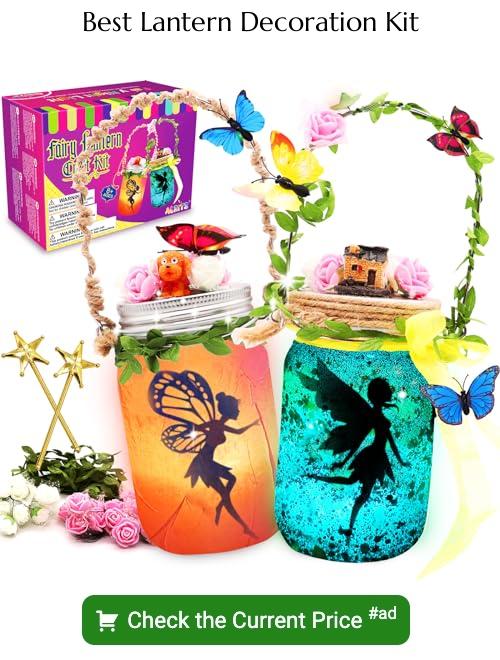
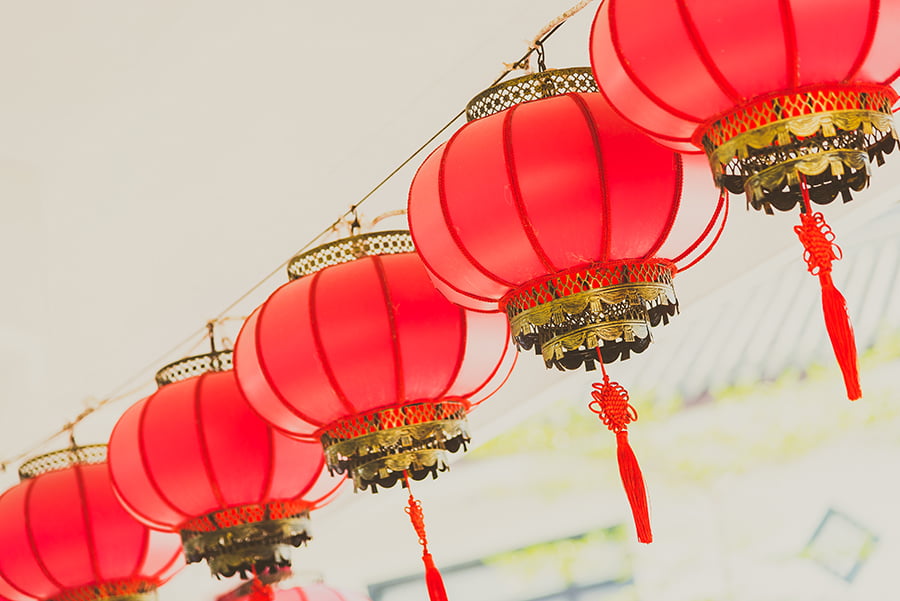
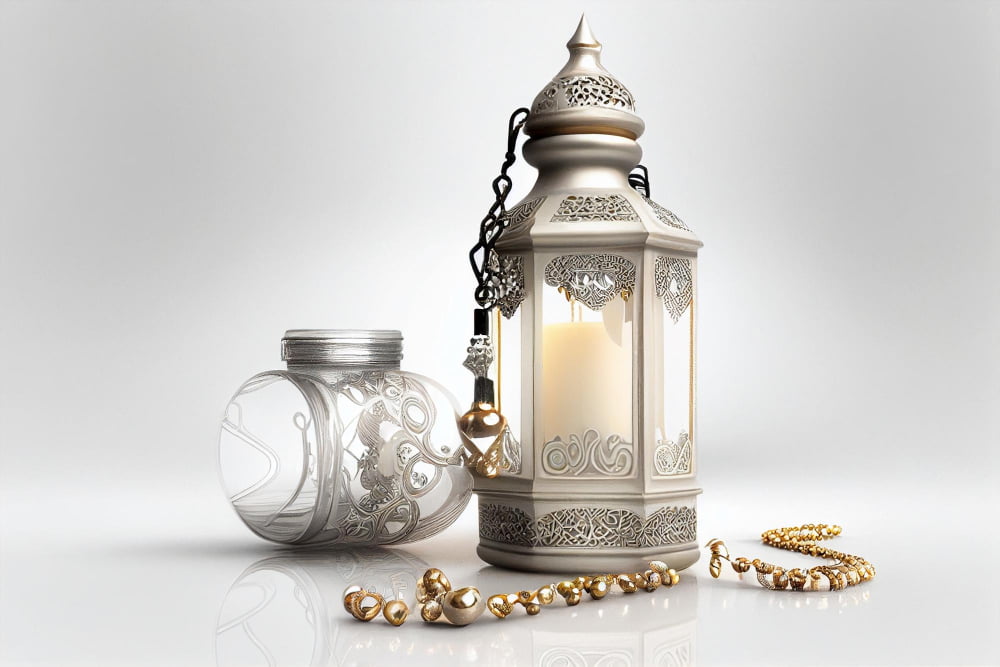
Lanterns are a versatile and timeless decor item that can add a touch of elegance, warmth, and charm to any space. Whether you’re looking to create a cozy ambiance in your living room or add some character to your outdoor patio, decorating lanterns is an easy and affordable way to achieve the desired effect.
In this article, we’ve compiled 20 creative ideas for decorating lanterns that will inspire you to get crafty and transform these simple yet beautiful objects into stunning pieces of decor. So grab your favorite lanterns and let’s get started!
Paint Swirls
Paint swirls are a fun and easy way to add some color and personality to your lantern. To achieve this look, start by selecting two or three colors of acrylic paint that complement each other.
Then, apply the first color in a circular motion around the top of the lantern using a small brush. Next, add another color on top of it in swirling motions until you have achieved your desired effect.
You can also use painter’s tape to create straight lines between colors for an even more intricate design! Allow the paint to dry completely before displaying your newly decorated lantern for all to see!
Ribbon Wrap
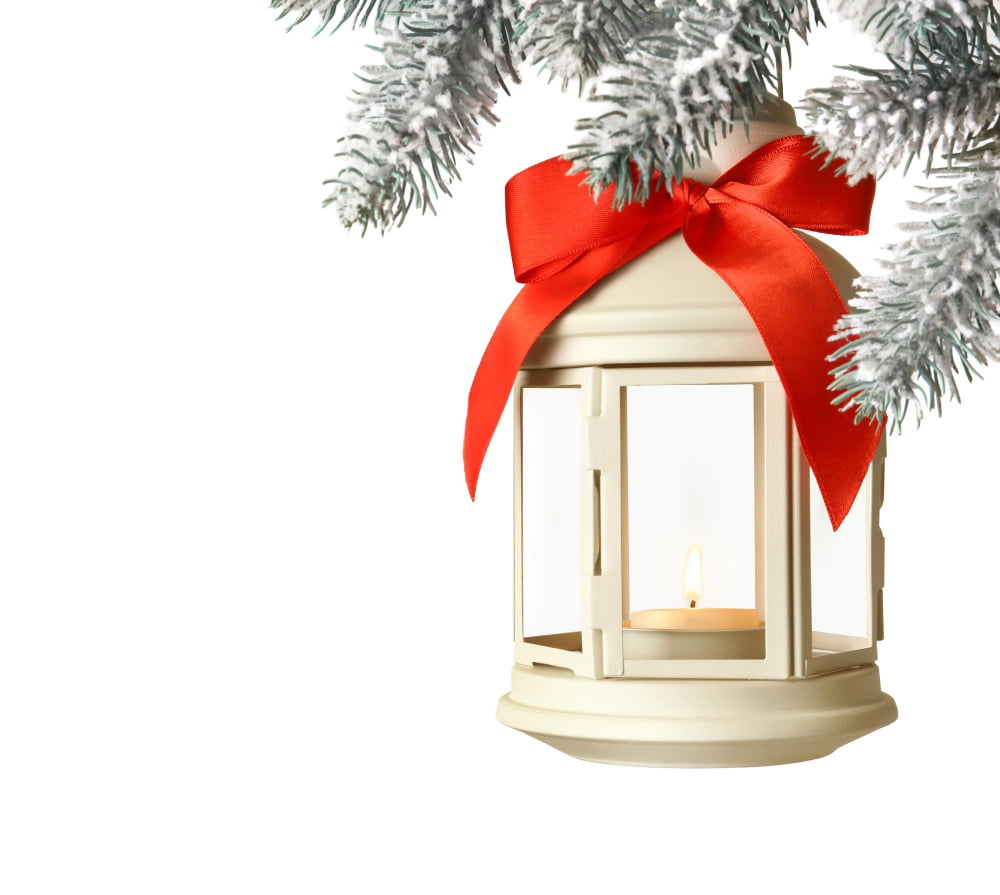
You can use any type of ribbon, from satin to grosgrain, and in any color that matches your decor. Start by measuring the circumference of the lantern and cut enough ribbon to cover it with some overlap.
Then, apply double-sided tape or glue along one edge of the ribbon and attach it at the top rim of the lantern. Wrap it around tightly until you reach back where you started, then secure with more tape or glue.
You can add multiple ribbons in different colors for an even more festive look!
Glitter Coat

To achieve this look, you will need some glitter paint or glue and a brush. First, clean the surface of the lantern with a damp cloth and let it dry completely.
Then apply an even layer of glitter paint or glue all over the surface using your brush. You can choose from various colors such as gold, silver, red or green depending on your preference.
For best results, use fine-grain glitter that will give you an elegant finish without being too overwhelming. Once applied evenly across the entire surface of your lantern allow it to dry for at least 24 hours before handling it again.
Hanging Beads
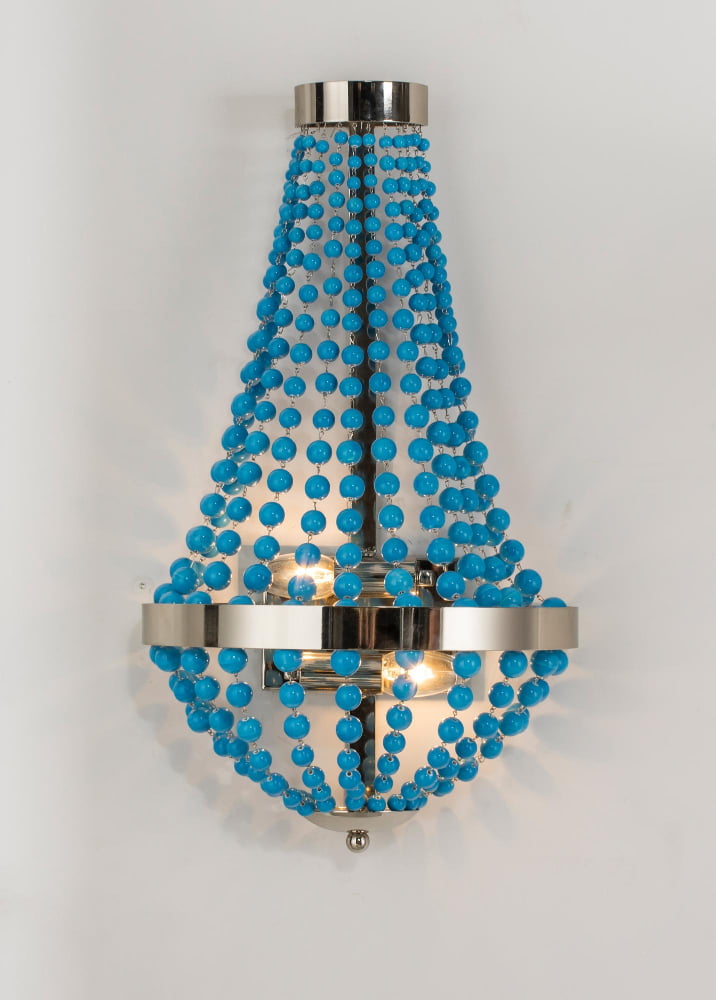
You can use any type of beads, from wooden ones to glass or plastic. To create this look, start by tying a knot at the end of a long piece of string or fishing line.
Thread the beads onto the string in whatever pattern you like until you have enough length for your lantern.
Next, tie another knot at the other end of your beaded strand and attach it securely around the top rim or handle of your lantern using glue dots or clear tape.
Paper Cutouts
You can use colored paper or even recycled materials like old magazines or newspapers. Cut out shapes of your choice, such as stars, hearts, flowers, or animals.
Then glue them onto the surface of the lantern using a clear adhesive like Mod Podge.
For added interest and texture, you can layer different sizes and colors of cutouts on top of each other. Or create a pattern by repeating one shape in various sizes across the entire surface.
Mosaic Tiles
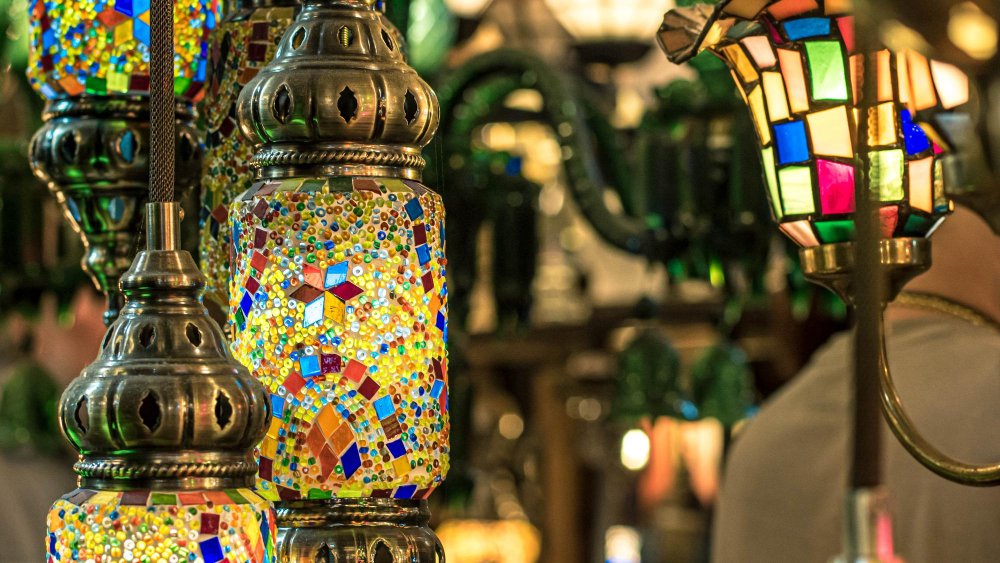
You can use small pieces of glass, ceramic or stone tiles in different shapes and colors to create intricate patterns on the surface of the lantern. To get started, clean the surface of your lantern thoroughly with soap and water before applying any adhesive.
Then, apply a thin layer of tile adhesive onto the area where you want to place your mosaic tiles using a trowel or spatula. Next, carefully arrange each tile piece onto the adhesive according to your desired pattern until you have covered all areas that you want decorated with mosaic tiles.
Once all pieces are in place allow them time for drying completely before grouting it together which will help hold everything firmly into place while also filling gaps between individual pieces giving it an even look overall.
Stencils
You can purchase pre-made stencils or create your own using cardstock or plastic sheets and a craft knife. Once you have the stencil, simply tape it onto the lantern and use a sponge brush or spray paint in your desired color over the cut-out areas of the stencil.
When you remove the stencil, you’ll be left with a beautiful design that looks like it was professionally painted on! Stenciling is perfect for adding patterns such as flowers, leaves, geometric shapes, and more.
Attached Flowers
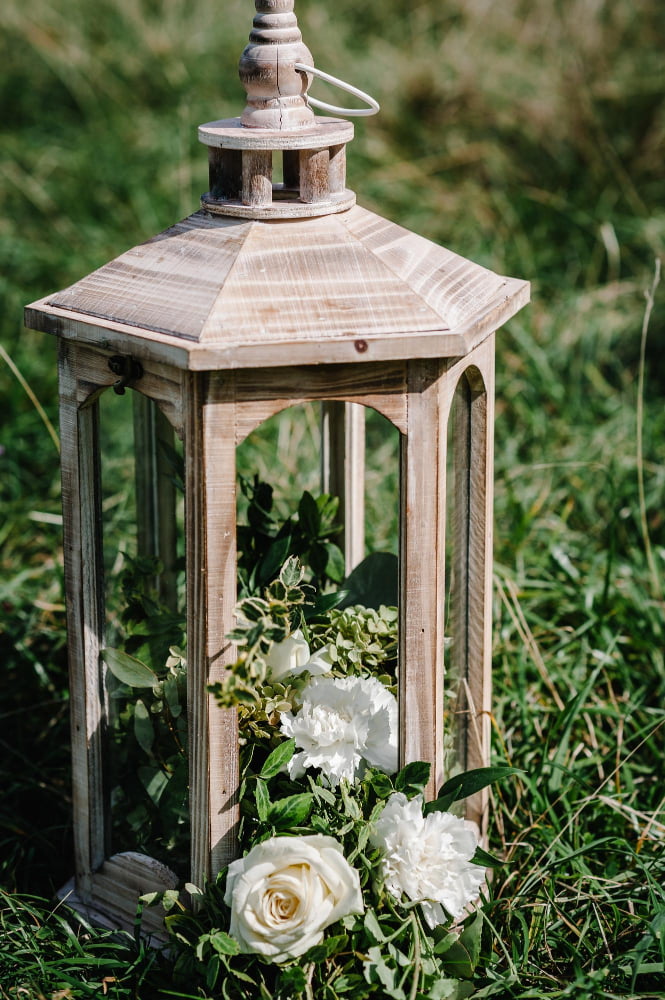
You can use real or artificial flowers, depending on your preference and budget. For real flowers, you can choose small blooms like baby’s breath or daisies that will fit nicely inside the lantern.
Use floral wire to attach them securely to the top of the lantern frame.
If you prefer artificial flowers, there are many options available in craft stores and online shops. Silk or paper blooms work well for this project because they won’t wilt over time like fresh ones would.
String Lights
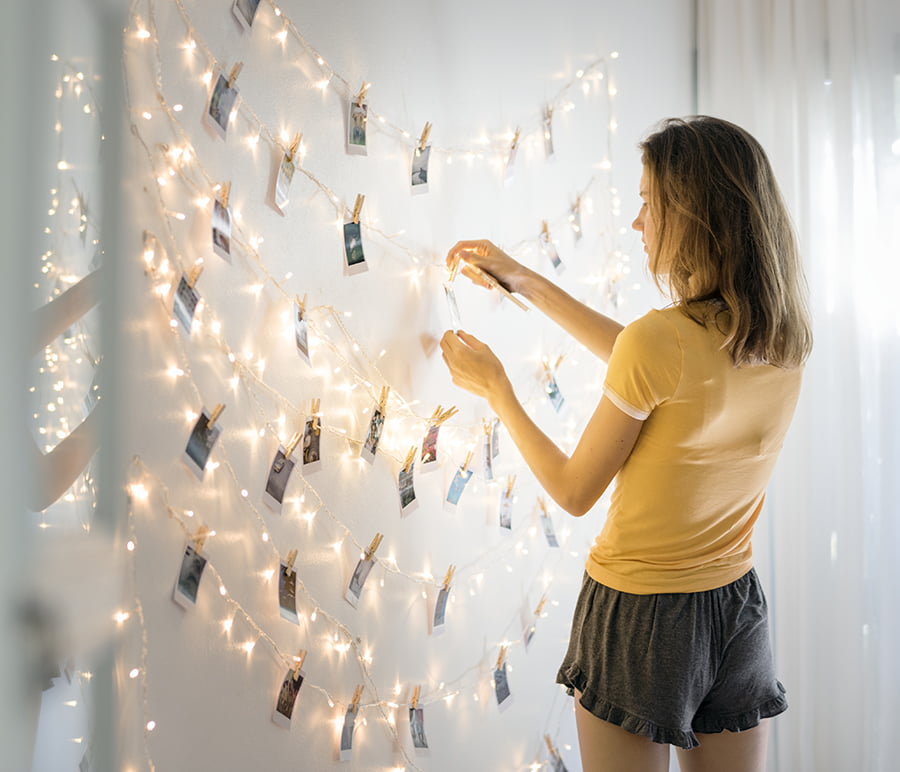
You can wrap them around the outside of the lantern or place them inside for a soft glow. Use white lights for an elegant look, or choose colored ones to match your decor theme.
For added interest, try using different sizes and shapes of string lights such as globe bulbs or fairy lights. Battery-operated string lights are also available if you don’t have access to an electrical outlet nearby.
With so many options, it’s easy to create a unique and eye-catching lantern decoration with string lights!
Colored Sand
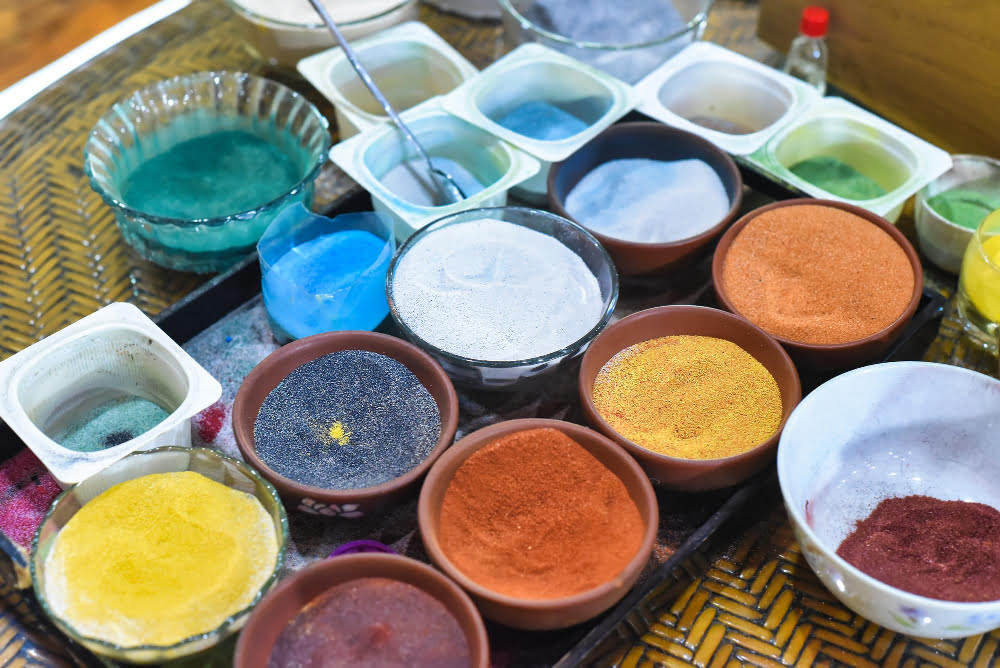
You can use different colors of sand to create patterns or even write words or phrases on the surface of the lantern. To apply colored sand, you will need some glue and a brush.
Simply paint the glue onto the surface where you want to apply the sand, then sprinkle it over until it covers all areas with glue. Shake off any excess and let dry completely before handling again.
Colored sands are available in many craft stores in various shades so that you can choose one that matches your decor theme perfectly!
Seashells
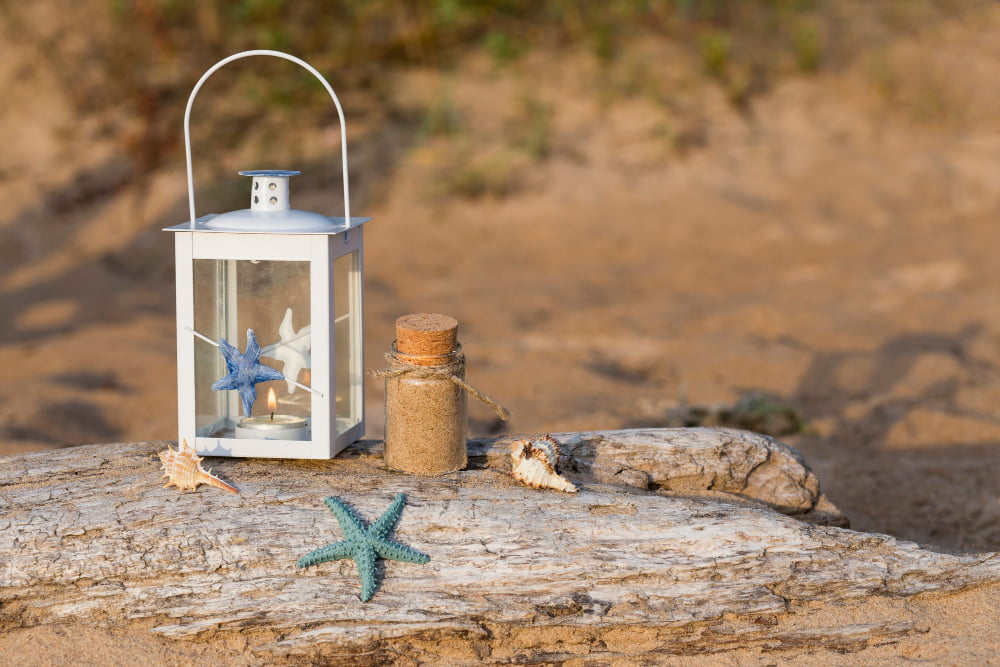
You can glue them onto the surface of the lantern or hang them from strings inside. For an extra touch, you can paint the shells in different colors or patterns before attaching them.
Seashell decorations work especially well for outdoor lanterns that will be used during summer parties and gatherings by the pool or at the beach house.
Mini-flags

You can use flags from different countries, or create your own designs using fabric markers or paint. Simply attach the flags onto the lantern with glue dots or double-sided tape, making sure they are evenly spaced out for a cohesive look.
Mini-flags work particularly well on paper lanterns as they provide an interesting contrast between softness and rigidity of materials used in decoration.
Tiny Photos
You can print out small pictures of your loved ones, pets or favorite places and attach them to the inside of the lantern using double-sided tape or glue dots. For an even more creative approach, you could use photo transfer paper to transfer images onto tissue paper and then adhere it onto the surface of the lantern with decoupage glue.
This technique will give your lantern a vintage look while showcasing some cherished memories at the same time.
Feather Fringe
You can use feathers of different colors, sizes, and textures to create an interesting pattern that will add depth and dimension to your lantern. To attach the feather fringe, you can either glue it directly onto the surface of the lantern or tie it around the handle or top of the lantern for added movement.
Feather fringe works particularly well on bohemian-style lanterns but can also be used on more traditional designs for an unexpected twist.
Engraved Patterns
You can use stencils or freehand designs to create intricate patterns on the surface of the lantern. Once you have created your design, use an engraving tool or a sharp knife to carefully etch it onto the surface of the lantern.
This technique works particularly well on metal or glass surfaces, but can also be used on wood and other materials with some practice. Engraved patterns are perfect for adding texture and depth to your lanterns, making them stand out as unique pieces in any room they’re placed in!
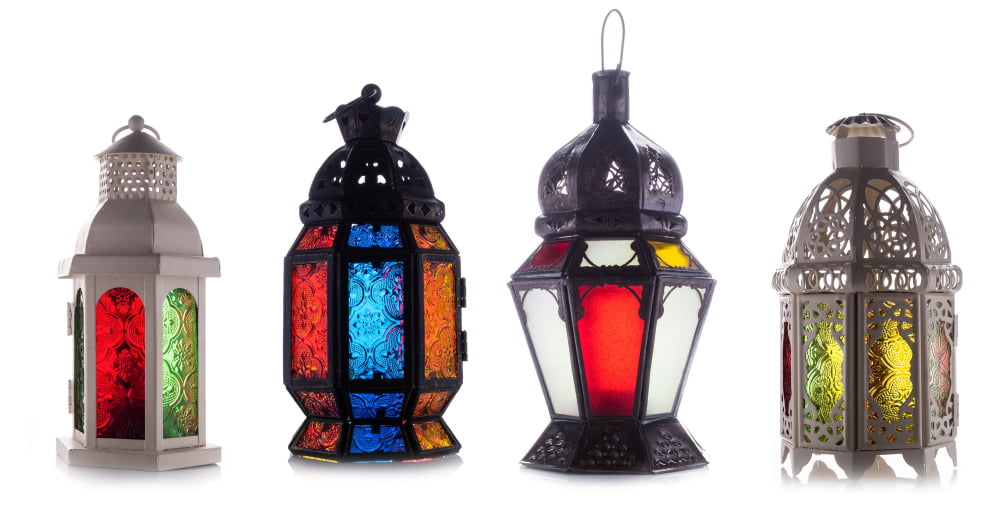
Stained Glass

You can either purchase pre-made stained glass pieces or create your own using colored tissue paper and glue. To make your own, cut the tissue paper into small squares or shapes and apply them to the lantern with a mixture of white glue and water.
Once dry, you will have a stunning stained-glass effect that will add color and interest to any room in which it is displayed.
Origami Shapes
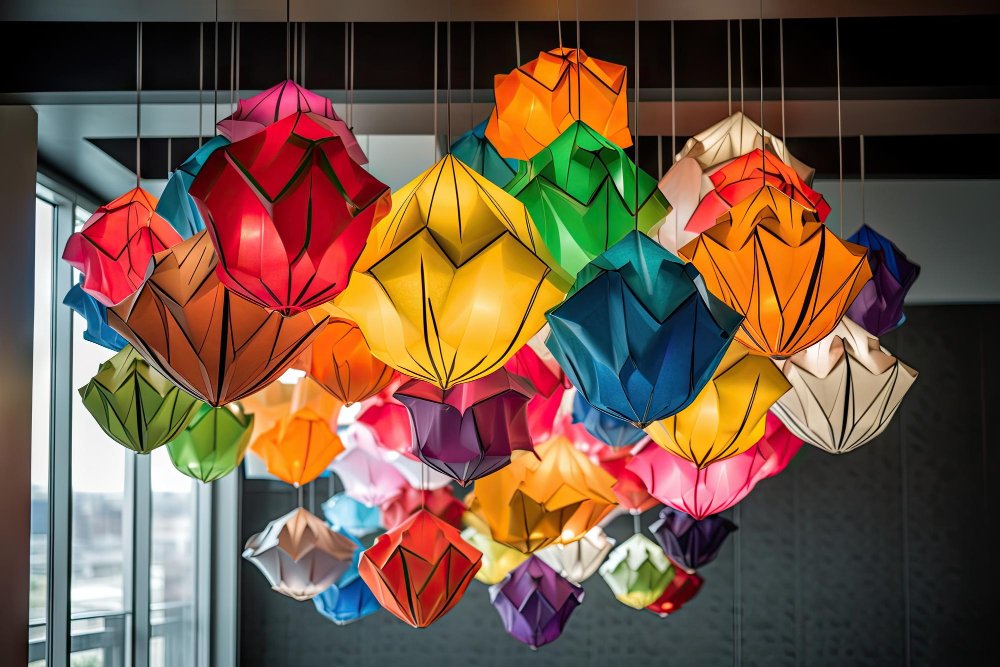
You can fold paper into various shapes, such as cranes, flowers, or butterflies. These origami pieces can be attached to the lantern using glue or string for an added touch of elegance.
Origami is also a fun activity that you can do with your family and friends while decorating your lanterns together!
Dangling Crystals
You can use crystal beads or chandelier prisms to create this effect. Simply attach the crystals to the bottom of your lantern using fishing line or thin wire, making sure they hang at different lengths for a more dynamic look.
When light hits the crystals, it will reflect beautifully and create stunning patterns on nearby surfaces. This is perfect for weddings, formal events or even just as an eye-catching piece in your home decor collection!
Felt Animals
You can create your own felt animal designs or find templates online. Cut out the shapes from different colored felt and glue them onto the lantern for a cute, whimsical look.
Some popular animal designs include owls, foxes, rabbits, and birds. This is also a great project to do with kids as they can help pick out colors and assist in cutting out the shapes (with adult supervision).
Calligraphy
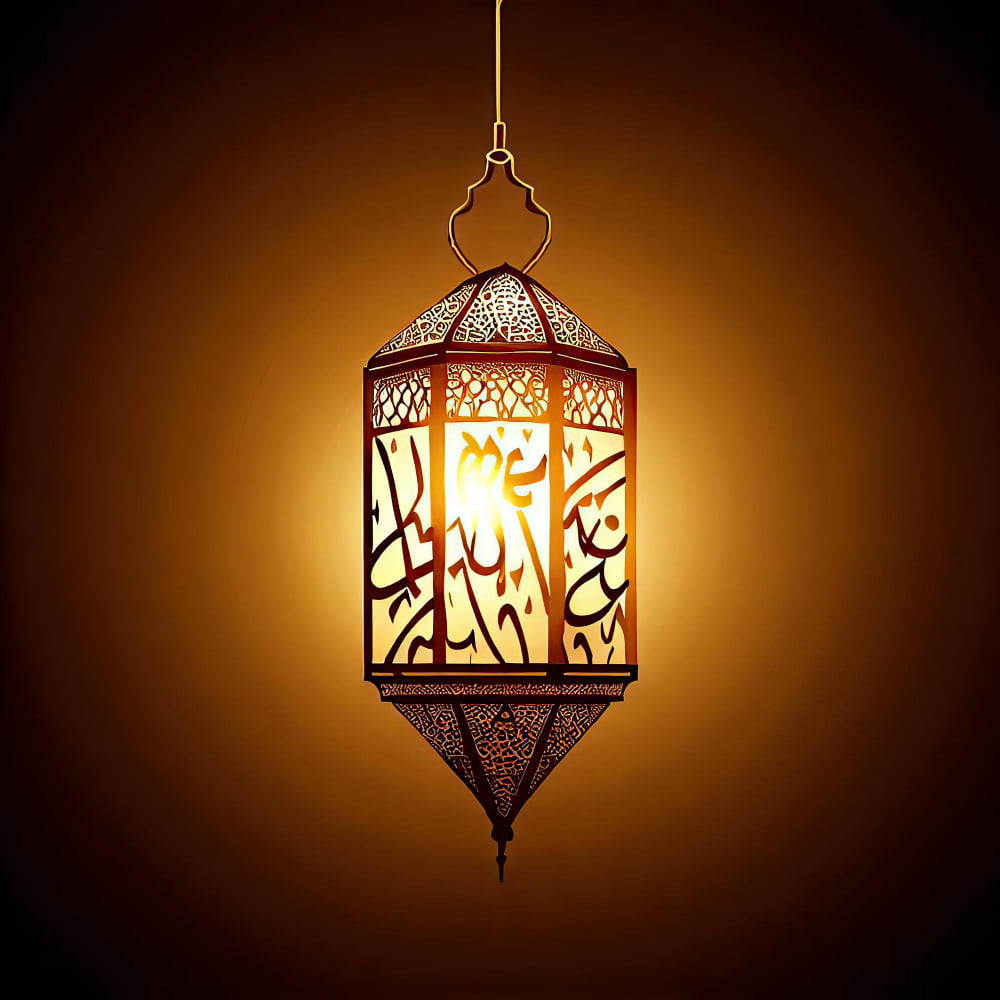
You can use different styles of calligraphy, such as modern or traditional, to write words or phrases that are meaningful to you. Use a fine-tipped brush pen and black ink for an elegant look.
Write the words in cursive or block letters depending on your preference and skill level. Some ideas for calligraphy on lanterns include writing inspirational quotes, names of loved ones, special dates like anniversaries or birthdays, and even song lyrics that hold significance for you.
Calligraphy adds a personal touch to any lantern decoration project!
Read More Like This
 15 Homecoming Decoration Ideas to Elevate Your Celebration
 15 Christmas Cake Decorating Ideas to Sweeten Your Holidays
 15 Outdoor Party Tent Decorating Ideas for a Magical Celebration
 15 Ideas for Welcome Home Decorations
 15 Cheap Table Decoration Ideas to Elevate Any Gathering
Recap: