Last updated on
Discover practical solutions for fixing tile mistakes in this comprehensive guide that will help you achieve flawless results and transform your space.
Tiles are a beautiful and functional addition to any home. They come in different colors, shapes, and sizes, making them versatile for any design style.
However, installing tiles can be a challenging task that requires patience and attention to detail. Even the most experienced DIYers or professional contractors can make mistakes during the installation process.
But don’t worry! In this article, we’ll show you how to fix tile mistakes like a pro and get your tiling project back on track in no time. So let’s dive in!
Key takeaways:
- Choose the right type and color of tiles for your project.
- Clean and prepare the surface properly before installation.
- Use the correct amount of adhesive and ensure proper drying time.
- Maintain consistent and appropriate spacing between tiles.
- Fix uneven tiles with a leveling compound and address grout issues promptly.
Tile Selection Errors

One of the most common mistakes people make when installing tiles is choosing the wrong type of tile for their project. It’s essential to select a tile that suits your design style, budget, and intended use.
For instance, some tiles are better suited for high-traffic areas like hallways or kitchens than others.
Another mistake is not ordering enough tiles to complete your project or ordering too many and wasting money on unused materials. To avoid this error, measure your space accurately before placing an order and add 10% extra as a buffer in case you need more later.
Lastly, it’s crucial to consider the color scheme of your room when selecting tiles. Choosing colors that clash with other elements in the room can ruin its overall aesthetic appeal.
Always take samples home before making any final decisions so you can see how they look under different lighting conditions throughout the day.
Surface Preparation
Any debris or unevenness on the surface can cause problems during installation and lead to tile mistakes. Start by cleaning the area thoroughly with a broom or vacuum cleaner to remove any dirt, dust, or loose particles that may interfere with adhesive bonding.
Next, check for any cracks in the substrate and repair them using an appropriate filler material. If you’re tiling over existing tiles, make sure they are firmly attached and not loose before proceeding.
Ensure that your surface is level by using a spirit level tool. Uneven surfaces can cause lippage (uneven edges) between adjacent tiles resulting in an unattractive finish.
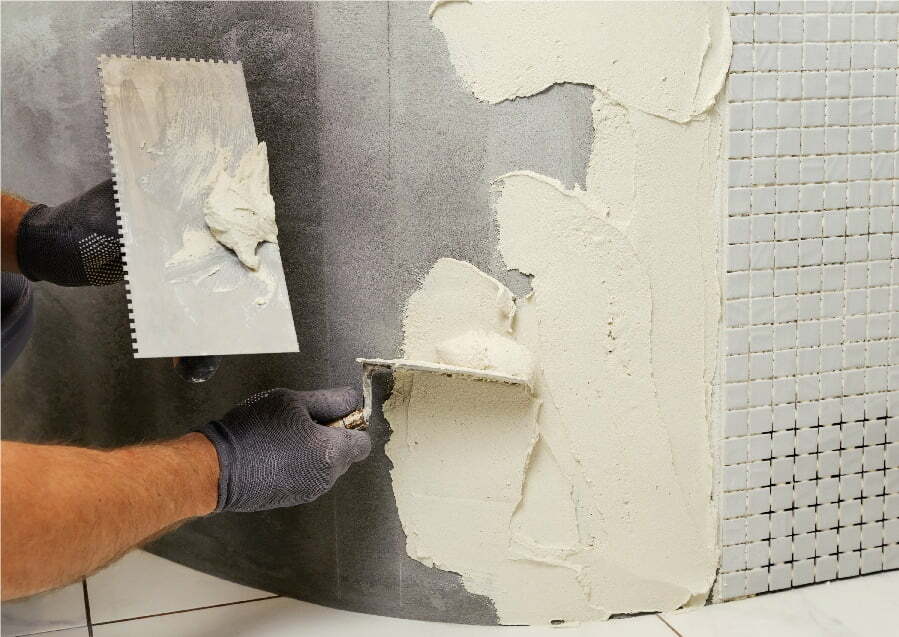
Adhesive Application
Using too little or too much adhesive can cause tiles to shift, crack, or even fall off over time. To avoid this issue, make sure you follow the manufacturer’s instructions for mixing and applying your chosen adhesive.
Start by preparing a small area with enough space to work on comfortably. Apply a thin layer of adhesive using a notched trowel at an angle of 45 degrees in one direction only.
This will ensure that there are no air pockets between the tile and substrate.
Next, press each tile firmly into place while twisting it slightly back and forth to create suction between the tile and substrate surface. Repeat this process until all tiles have been installed.
Remember that different types of adhesives require different drying times before grouting can begin; be sure to check your product’s label for specific instructions regarding curing times.
Incorrect Spacing
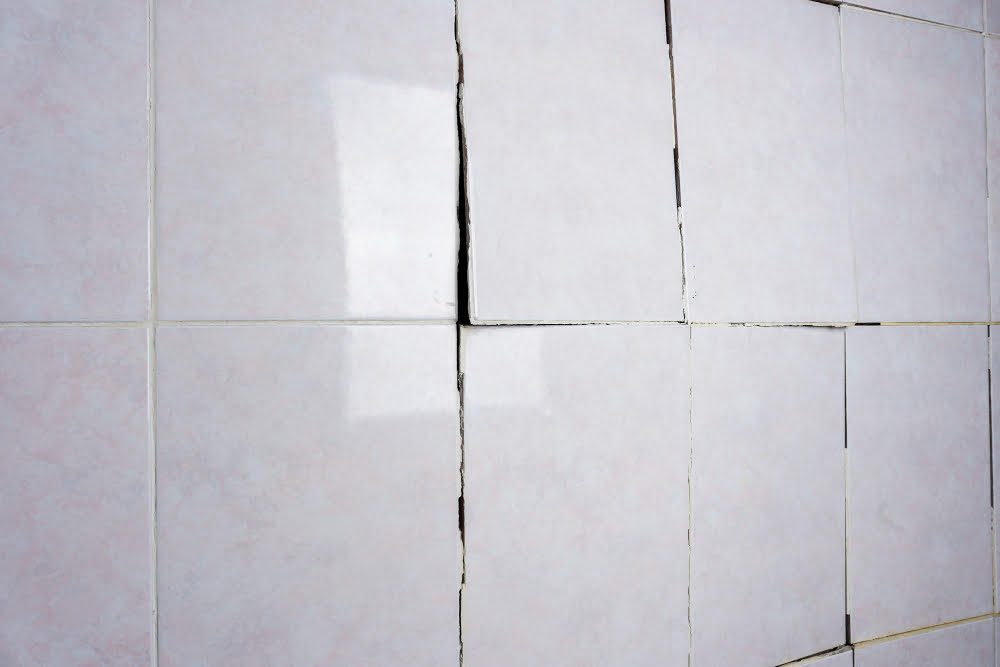
It’s essential to have consistent and even spacing between tiles for a professional finish. If you don’t leave enough space, your tiles will look cramped, and if you leave too much space, it can create an uneven appearance that looks unprofessional.
To fix this mistake, remove the affected tiles carefully using a grout saw or chisel. Clean up any debris left behind before reapplying adhesive to the back of each tile and placing them back in position with proper spacing.
It’s important to note that different types of tiles require different amounts of spacing between them. For example, large-format porcelain or ceramic tiles may need more significant gaps than smaller mosaic pieces.
Uneven Tiles
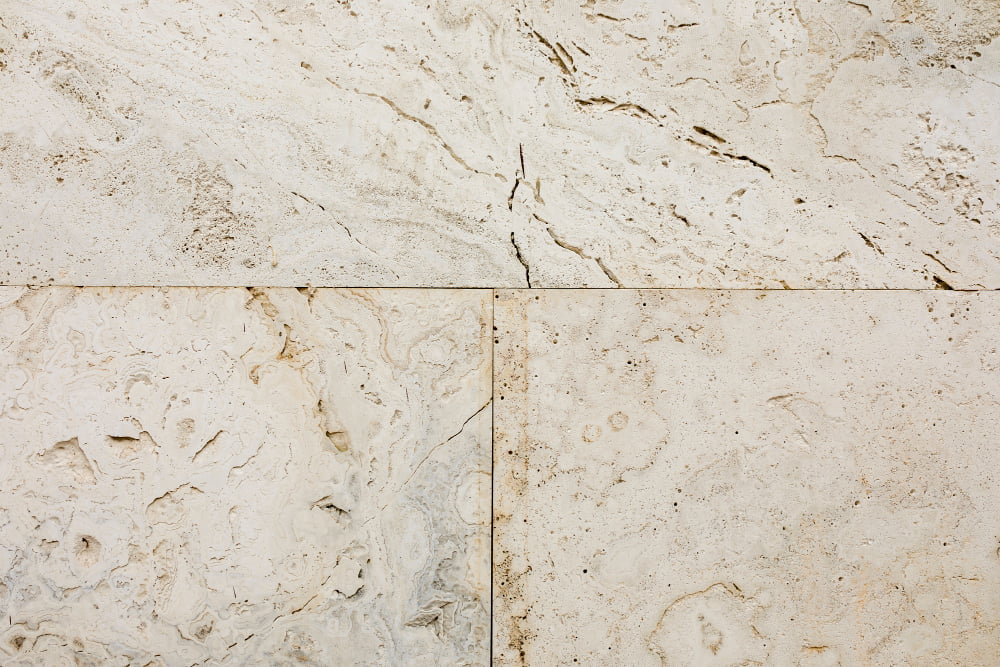
If you notice that some of your tiles are higher or lower than others, the first step is to identify the cause of the problem. It could be due to an uneven subfloor or improper adhesive application.
To fix this issue, you’ll need a leveling compound and a trowel. First, clean any debris from between the uneven tiles and apply primer on them using a paintbrush.
Then mix up your leveling compound according to manufacturer instructions and spread it over the affected area with your trowel.
Make sure that you work quickly as most compounds dry fast! Once applied evenly across all areas where there are issues (not just one tile), leave it for at least 24 hours before walking on it again so that everything has time settle in place properly.
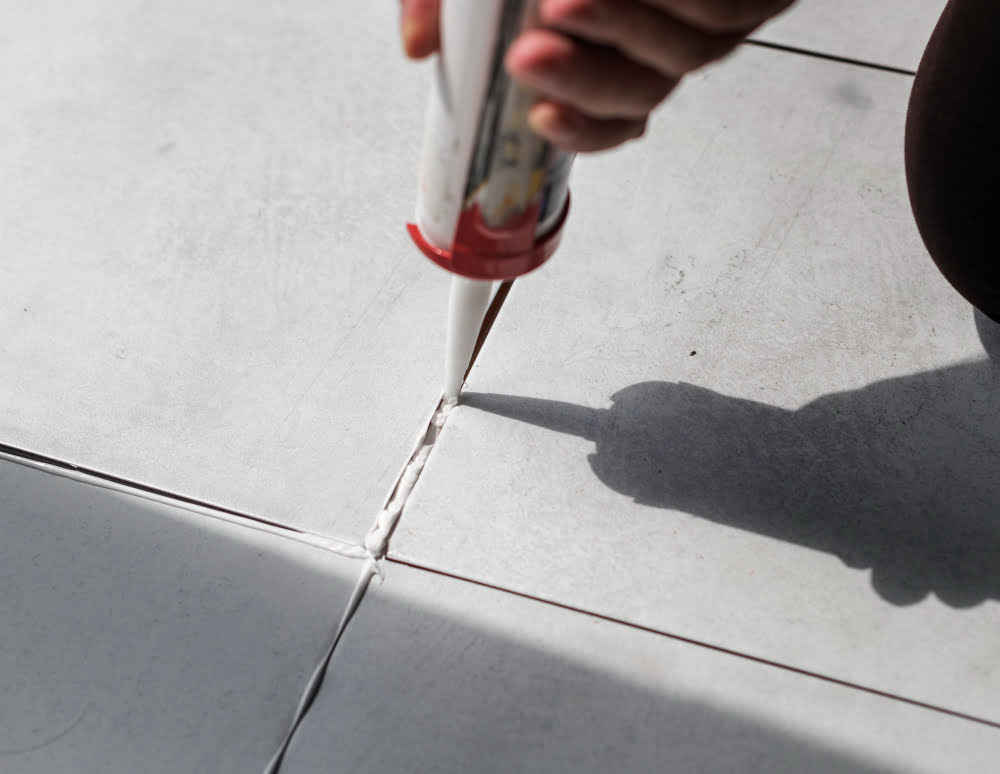
Grout Issues
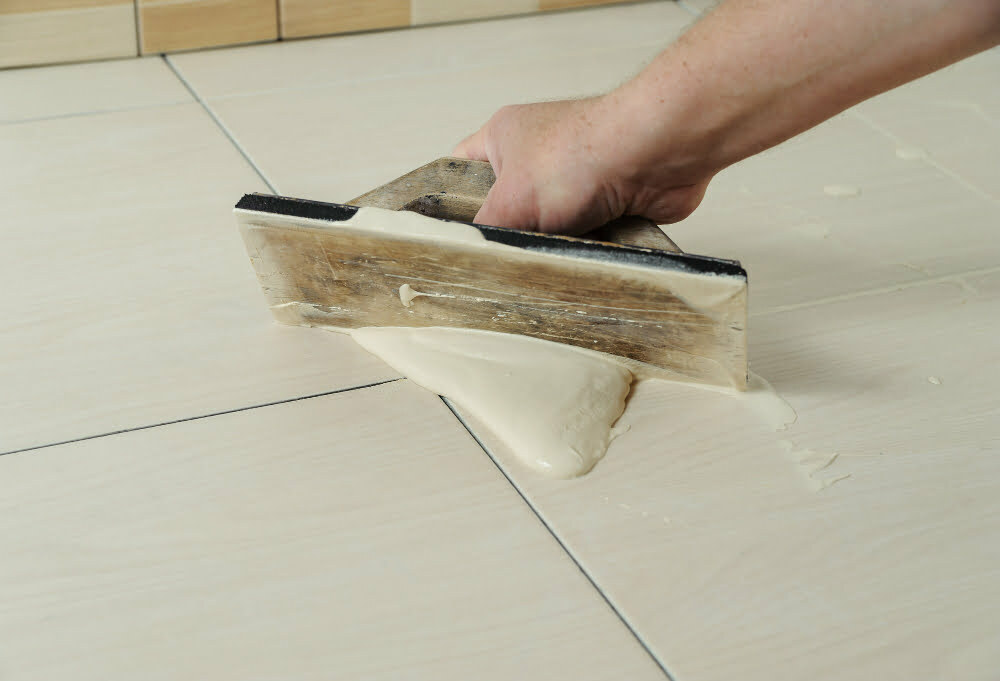
Grout can also be a source of problems if not done correctly. One common issue with grouting is when it dries unevenly or cracks over time due to improper mixing or application.
To fix this problem, you’ll need to remove the old grout using a grout saw or rotary tool and reapply new grout evenly across the entire surface. Be sure to mix your new batch of grout according to manufacturer instructions and apply it carefully with a rubber float.
Another issue that may arise with your tile project is when excess water from cleaning seeps into unsealed areas around tiles causing discoloration on both tiles and surrounding surfaces like walls or countertops.
Cutting Mistakes
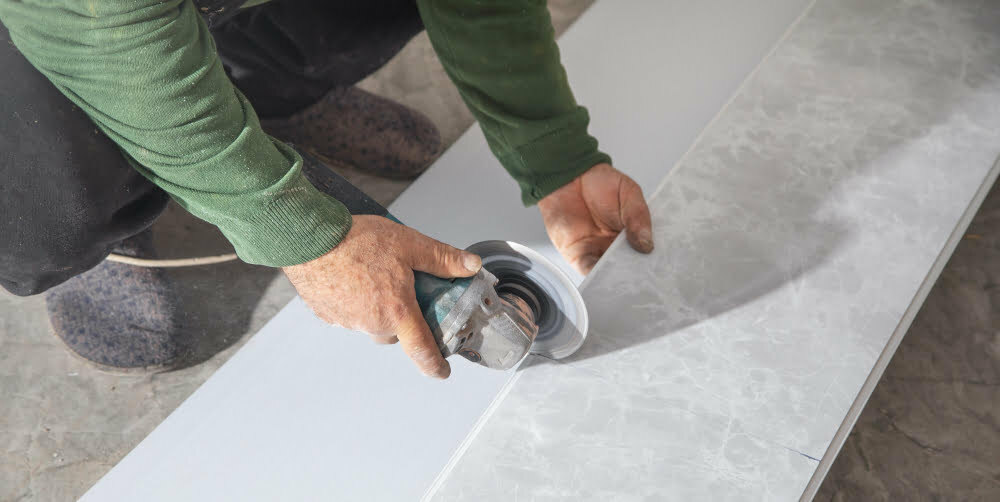
Cutting mistakes can happen even to the most experienced tile installers. One common mistake is not measuring correctly before making cuts.
This can lead to uneven or poorly fitting tiles that ruin the overall look of your project.
Another mistake is using dull blades or incorrect tools for cutting specific types of tiles. For example, glass tiles require a different blade than ceramic ones because they are more delicate and prone to cracking.
To avoid these mistakes, make sure you measure twice before making any cuts and invest in high-quality tools that are appropriate for your tile type. If you’re unsure about how to cut certain materials properly, consult with an expert or watch online tutorials beforehand.
By taking extra care when cutting your tiles, you’ll ensure that they fit perfectly into place without any unsightly gaps or overlaps – giving you a professional-looking finish every time!.
Read More Like This
 15 Homecoming Decoration Ideas to Elevate Your Celebration
 15 Christmas Cake Decorating Ideas to Sweeten Your Holidays
 15 Outdoor Party Tent Decorating Ideas for a Magical Celebration
 15 Ideas for Welcome Home Decorations
 15 Cheap Table Decoration Ideas to Elevate Any Gathering
Recap: