Last updated on
Optimize your home lighting by understanding how to install multiple pendant lights in one junction box, because doing so can dramatically elevate the aesthetic and functionality of any room.
Venturing into the world of the DIY approach, particularly when it comes to pendant lighting installation, can be daunting but promise satisfaction once pulled off correctly. If you’re looking to install multiple pendant lights from a single junction box, you’ve chanced upon an ideal guide to help you accomplish this task effectively.
Mastering this technique opens up expansive home decor potentials, allowing for an amalgamation of lights to converge at a central point and illuminating spaces beautifully. This guide offers a detailed step-by-step approach, from gathering the necessary materials, configuring the wiring, all the way to the final installation phase.
With your safety, aesthetic appeal, and functionality at the heart of this guide, soon, you’ll have your pendant lights illuminating your living space in stunning harmony. Let’s kick things off, shall we?
Key takeaways:
- Gather necessary materials for installation: junction box, pendant lights, screwdrivers, wire cutters, wire strippers, wire connectors, voltage tester, electrical tape, safety gear.
- Identify the existing electrical circuit and ensure it can handle the added wattage of the pendant lights.
- Calculate the wattage of the combined pendant lights and make sure it does not exceed the capacity of the junction box and circuit.
- Shut off the power in the relevant circuit before starting the installation process.
- Properly connect the ground, neutral, and live wires of the pendant lights to the junction box.
Gathering Necessary Materials for Installation
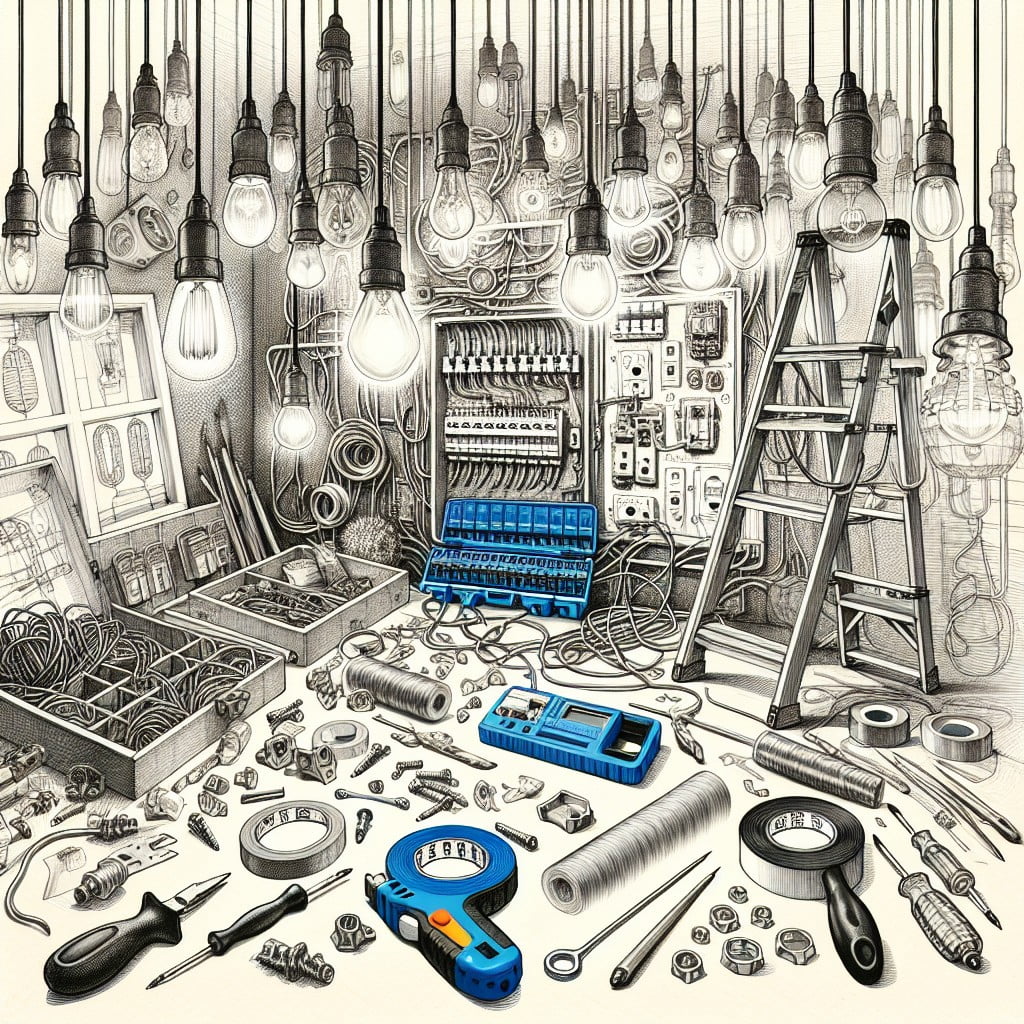
Having the correct tools at hand not only makes the job easier but also ensures a safer and more efficient installation. Here’s what you’ll need:
- Junction box: Depending on your needs, opt for either a single gang or double gang box.
- Pendant lights: Ensure they are compatible with your home’s voltage.
- Screwdrivers: Both flat-head and Phillips-head versions are generally required.
- Wire cutters and wire strippers: These are used for adjusting the length and exposing the ends of the electrical wires.
- Wire connectors: Necessary for secure and safe connections within the junction box.
- Voltage tester: A handy tool to guarantee power is off before you commence your work.
- Electrical tape: Utilized to insulate and secure wire connections.
- Safety gear: Always remember that protective eyewear and gloves are a must when dealing with electricity.
Ensure all your materials are of the right type and quality for the task at hand since quality directly affects durability and safety.
Identifying the Existing Electrical Circuit
Recognizing your home’s electrical setup is crucial. First, find the circuit breaker or fuse box, generally located in a basement, garage, or utility room. Use the existing labels if they’re accurate and detailed. If not, you might need to trace the circuits. You can use an advanced circuit finder, which includes a transmitter and a receiver. Plug the transmitter into an outlet of the circuit you want to trace, then use the receiver to identify the correct breaker.
Take note of other devices or lighting fixtures on the same circuit. Overloading can be a concern, especially in older homes or where other high-wattage appliances are present. Be aware that circuits generally should not load more than 80% of their maximum capacity for continuous use. For a 15-amp circuit, that equates to a 1440-watt limit.
Ensure the circuit can handle the added wattage of your pendant lights, avoiding potential circuit overloads and maintaining the safety of your home.
Calculating the Wattage of the Combined Pendant Lights
To ensure a safe and efficient installation, it’s crucial to consider the total wattage of your pendant lights. Begin by checking the wattage on each light bulb which is typically printed on the bulb or packaging. Add these numbers together to get the total wattage. If you plan on using four pendant lights each with a 40-watt bulb, for instance, the total wattage would be 160 watts.
Remember, the total wattage of the lighting set-up must not exceed the wattage capacity of the junction box and existing electrical circuit. A general rule is that a 15-amp circuit can handle about 1800 watts while a 20-amp circuit can carry about 2400 watts. Ensuring this balance prevents overheating and potential electrical fires. If your total wattage exceeds these limits, it may be necessary to either use lower wattage bulbs or divide the lights between multiple circuits. If you feel uncertain, please consider consulting a professional electrician.
Shutting Off the Power in the Relevant Circuit
Prior to commencing your work, ensure all power to the relevant circuit is switched off. This critical step is non-negotiable as it protects you from electric shock. Find your home’s electrical panel, usually located in a garage, basement, or utility room. The panel will have multiple breakers, each labeled for a different area of your home.
Locate the breaker related to the installation location and flip it to the “Off” position. A helpful tip is to have a non-contact voltage tester on hand. It will confirm whether the power is indeed off and the environment is safe to work. Remember, safety always comes first when dealing with electrical tasks.
Determining and Establishing Appropriate Wire Connections
For a seamless installation, correct wire cables are crucial. Start by scrutinizing the pendant light’s manual. It will specify the wire type needed. Usually, a typical pendant light needs a three-wire cable, consisting of a black (live), a white (neutral), and a green (ground) wire.
The live wire connects to the pendant light’s power source, while the neutral forms a loop and connects back to the power source, ensuring a safe pathway for electricity to return. The ground wire serves as a safety measure, reducing the risk of electrical shock in case of any fault.
Be sure the wire gauge measurement matches that of the junction box. Wire gauge indicates the thickness of the wire and affects the amount of current it can safely conduct. Keep in mind, the smaller the wire gauge number, the thicker the wire.
Next, arrange all the necessary wires. This is simply a case of measuring the distance from the junction box to where each individual pendant light will hang, then adding a few extra feet for safe measure. Cut the wiring to the lengths you just worked out, making sure each cut is clean and free from fraying.
Finally, strip the insulation from each wire end. Bare about half an inch of wire on each end with a sharp wire stripper tool. With all wires prepared, you’re ready to proceed with the installation process.
Connecting Ground, Neutral and Live Wires of the Pendant Lights
Each wire within your lighting fixture plays a crucial role in ensuring both functionality and safety. The ground wire, often green or bare, connects to the ground terminal on the junction box, vital in protecting against any potential electrical short circuits. Meanwhile, the neutral wire, typically white, links to the neutral terminal. This is the return path for the electrical current.
Finally, the live or ‘hot‘ wire, usually black or red, attaches to the live terminal. Carrying power to your lighting fixture, it’s essential to treat this wire with caution to avoid any electrical mishaps. Let’s break down the process:
- Ensure you’re wearing rubber gloves for safety.
- Start with the ground wire, connecting it to the ground terminal in your junction box. Consult the junction box’s manual to identify this.
- For the neutral wire, follow the same process, but this time connecting to the outlined neutral terminal.
- Repeat this procedure for the live wire, ensuring it attaches securely to the live terminal.
Please note that the wire color might vary based on where you are located, always consult the pendant light’s manual for wire recognition.
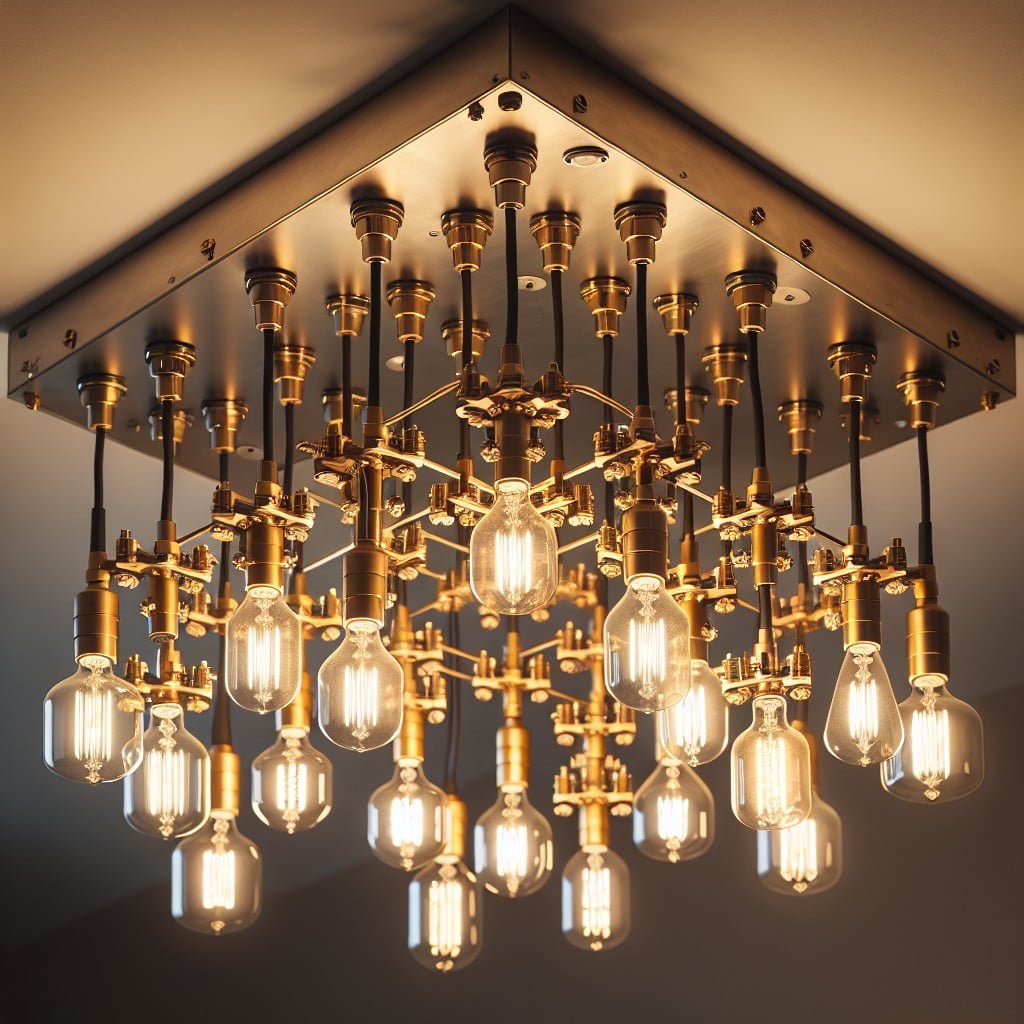
Installing the Junction Box for Multiple Pendant Lights
Bear in mind that the junction box is the central hub for wiring multiple pendant lights. Choosing a strategic location is crucial, typically the center spot of where all lights will hang.
First, fasten the junction box to a reliable support. If there isn’t a nearby stud or joist, a fan brace will do. Use screws or a mounting brace that comes with the box itself.
Remember, the box must be level with the drywall surface. For this purpose, deploy a torpedo level; it’ll guide you for a perfect horizontal alignment.
Secondly, prepare the junction box. Knock out any pre-cut holes using a hammer and screwdriver. These holes are where you’ll thread your electrical wires later on.
Next, fasten the cable clamp into the knocked-out hole. This clamp keeps wires in place, warding off potential damage as you pull them through.
Lastly, route the electrical cable through the clamp. Tighten it to ensure the cable is well-anchored. This rings the end of installing the junction box, paving the way for subsequent steps of your multiple pendant light setup.
Proper Installation of Mounting Hardware for Pendant Lights
Start by positioning the crossbar over the junction box. Ensure it’s securely attached using the supplied mounting screws. The long screws should be inserted through the crossbar’s outer holes and should protrude enough to mount the light fixture.
Next, check your pendant light fixtures. You’ll find a circular strap (a part of the mounting hardware) attached to the chain or cord, which needs to be correctly positioned over the protruding screws from the crossbar.
The length of the pendant lights is a critical aspect. Consider the ideal drop from the ceiling and adjust the chain or cord accordingly.
Lastly, handle the decorative canopy. It’s the part of the hardware that lies flush against the ceiling, hiding the junction box and the wiring. Slide it over the chain or cord before securing the rounded end of the fixture to the protruding screws.
Throughout this process, it is vital to maintain safe practices. Keep the wires neatly tucked away, avoiding any potential electrical hazards. Ensure all screws are tightly fastened to prevent any movements in the fixtures once they’re operational.
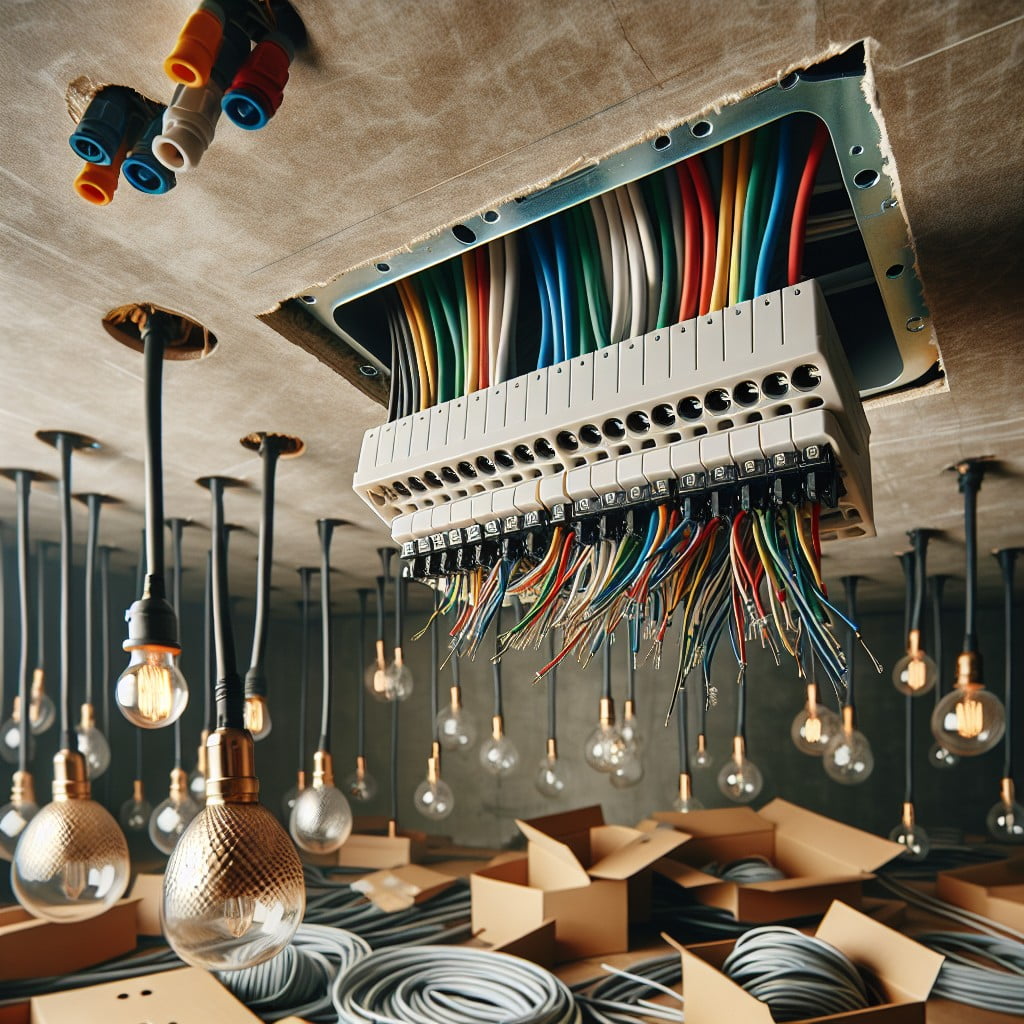
Connecting Multiple Pendant Lights to One Junction Box
To commence this process, carefully unravel the sheathing off the end of the electrical wire within the junction box using a utility knife. Be careful not to cut the individual wires inside. As we’re dealing with multiple pendant lights, it’s paramount that we commit to proper planning and orderliness.
Cross-connect the electrical wires from the junction box with those of each pendant light. Typically, we tie together wires of the same color – copper or green to ground, white to neutral, and black or red to hot. Here’s a friendly reminder to put a wire cap over each pair once they’re intertwined, ensuring that no raw wire is exposed.
Lastly, once each pendant wire connects to the box’s primary electrical wire, safely push them back into the junction box. Maintain neatness as the excess wires need a clear path to rest. Professionalism in this phase guarantees safety and aesthetics. Next, we’ll proceed to test these connections. But remember, exercise caution during every step.
Testing the Connections and Performance of the Installed Pendant Lights
Once your lights are securely connected and installed, the final step is to ensure everything is in working order. Using your voltage tester, verify successful power transmission through each light fixture. If all electricity is flowing seamlessly, screw in your light bulbs.
After this, restore power to the circuit, being careful not to touch any exposed wires. Once the power is back on, switch on your newly installed pendant lights. Each light should illuminate simultaneously—if one doesn’t, this could indicate a loose connection.
Check the brightness of each bulb; if it’s lower than expected, the circuit may be overloaded. If you notice any unusual sounds like buzzing, a faulty connection could be the cause.
Regularly verify connections for the first few days to catch any warning signs of electrical issues early. This process helps to ensure safe and efficient lighting, adding beauty and functionality to your space without worry.
Ensuring Safety During the Installation Process
Safety is paramount during any installation process. To keep yourself safe:
- Always switch off the power to the circuit you’re working on. Try turning on lights to see if power is indeed cut off.
- Use a circuit tester or multimeter to verify there’s no current flowing through the wires you’re about to work on.
- Put on protective gear, like gloves and safety glasses, to safeguard against potential sparks or accidental exposure to electricity.
- Keep your working area dry as water is a conductor of electricity.
- When working on a ladder, ensure it’s sturdy and well-positioned. Have someone hold it if necessary.
- Don’t forget insulation. Once pendant lights are connected, protect all exposed wire connections with wire nuts and electrical tape.
By taking these precautionary steps, you can ensure your own safety as you add a stylish touch to your home with multiple pendant lights.
FAQ
Does each pendant light need a junction box?
Yes, each pendant light requires a separate junction box.
How do you connect two pendant lights together?
To connect two pendant lights together, you would need two wire connectors, wherein into one, you insert all the brown wires from the stripped cords, and into the other, you insert all the blue wires.
How far apart should 3 pendant lights be spaced?
The three pendant lights should be spaced approximately 30 inches apart for optimum lighting and aesthetics.
How far should pendant lights be from each other?
Pendant lights should ideally be spaced approximately 24 to 30 inches (61 to 76 centimeters) apart, measured from the center of one fixture to the center of the adjacent one.
What is the recommended height for hanging pendant lights above a kitchen island?
The recommended height for hanging pendant lights above a kitchen island is 30-36 inches from the countertop surface and 60-66 inches from the floor.
What tools and materials will you need to properly install pendant lights?
To properly install pendant lights, you will need a step ladder, screwdriver, wire cutter or stripper, electrical tape, a pendant light kit, wire connectors, and safety goggles.
How do you safely wire pendant lights to one junction box?
Ensure safety when wiring pendant lights to one junction box by turning off the circuit breaker, securing wire connectors on the respective colored wires, attaching the ground wire to the junction box, and finally affixing the fixture to the box.
Read More Like This
 15 Funny Graduation Cap Ideas to Make Your Big Day Unforgettable
 15 Unique DIY Christmas Decorations Ideas for a Festive Home
 15 Creative Science Fair Board Ideas to Amaze Your Audience
 15 Handmade Envelope Decoration Ideas for Creative Gifting
 10 DIY Gifts for the Whiskey Lover in Your Life
Recap: