Last updated on
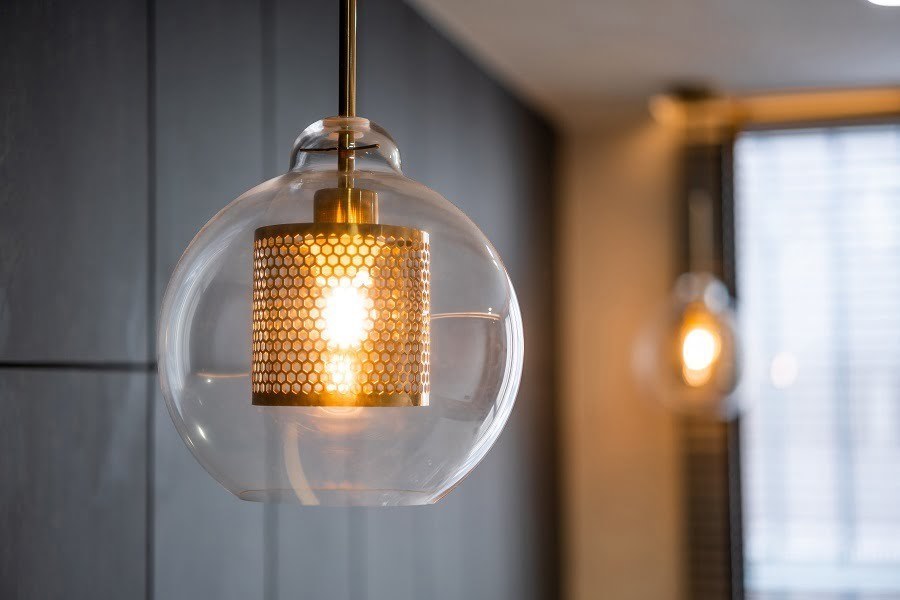
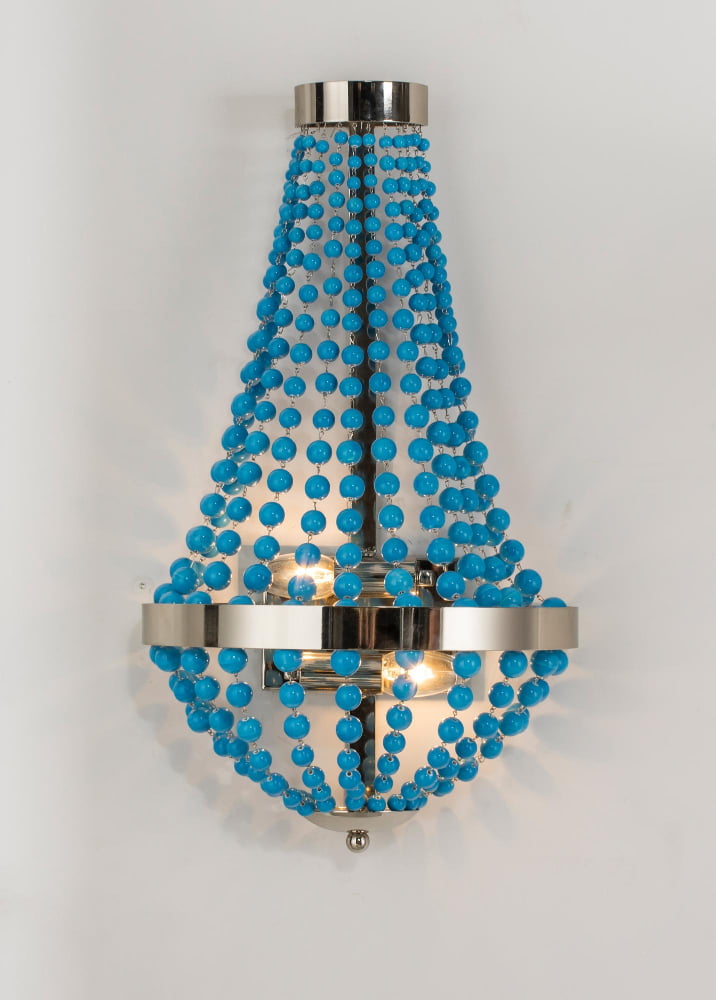
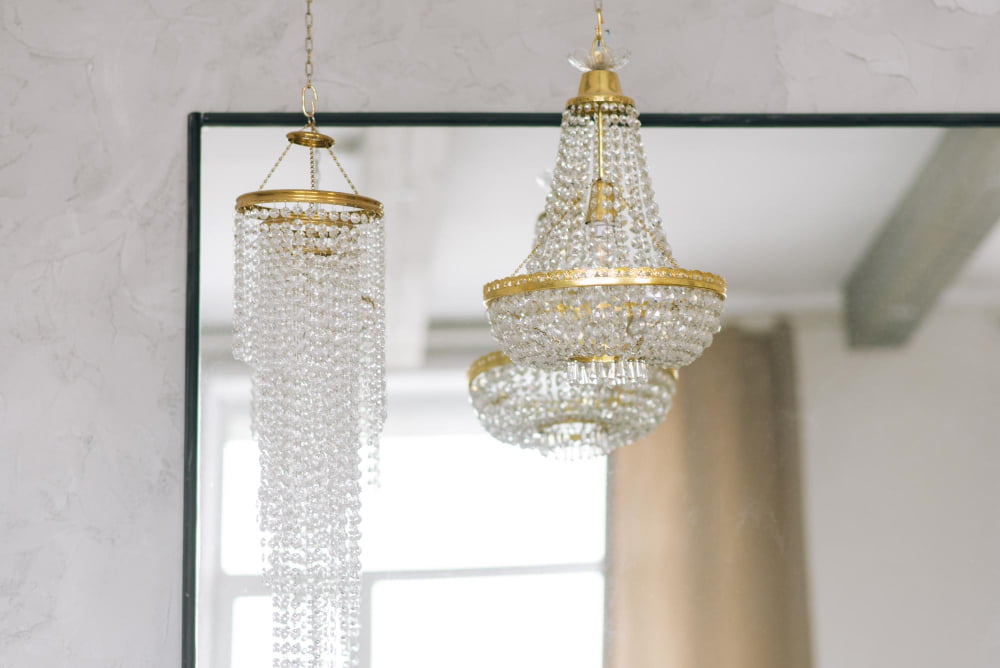
Discover the simple steps to create a stunning beaded pendant light, transforming any room with this eye-catching DIY project.
Are you looking for a unique and stylish way to brighten up your home decor? A beaded pendant light might just be the perfect addition! Not only is it a fun DIY project, but it can also add a touch of elegance and personality to any room. In this article, we’ll guide you through the step-by-step process of creating your own beaded pendant light.
So grab some supplies and let’s get started on this exciting home decorating journey!
Key takeaways:
- Choose a base that complements your desired style.
- Select beads in various shapes, sizes, and colors.
- Clear a comfortable workspace and gather materials.
- Measure wire length and add extra for attaching beads.
- Secure beaded wires tightly and test the light before hanging.
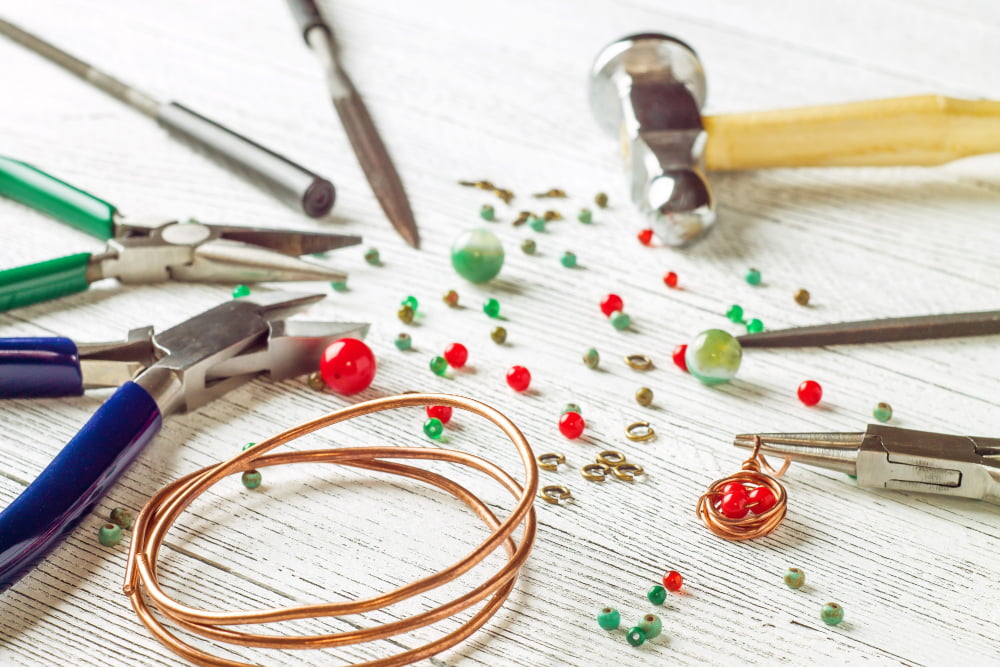
Materials Needed
The good news is that most of these items can be found at your local craft store or online. Here’s what you’ll need:
1. Pendant Light Base: You can choose from a variety of bases such as metal, wood or plastic.
2. Beads: Select beads in different shapes and sizes to add texture and depth to your design.
3. Wire Cutters: These are essential for cutting the wire to the desired length.
4. Pliers: Use pliers for bending wires into shape and attaching beads securely.
5. Wire Gauge: Choose an appropriate gauge wire based on the weight of your chosen beads.
6. Tape Measure/Ruler: To measure out lengths accurately.
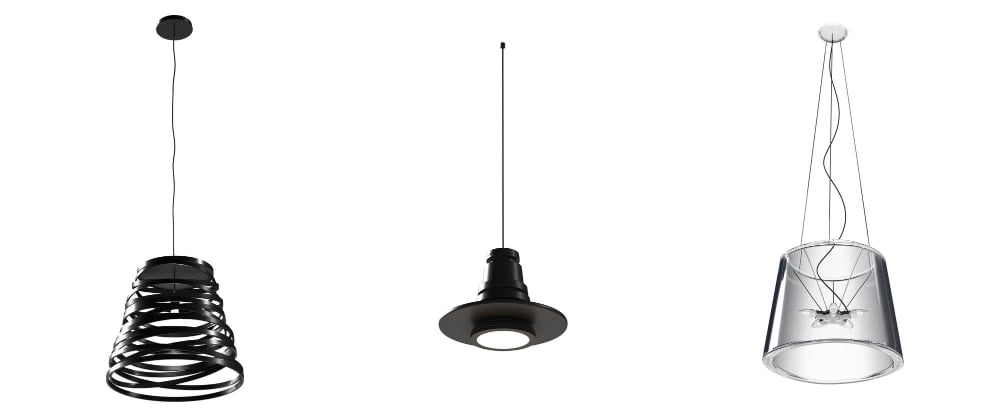
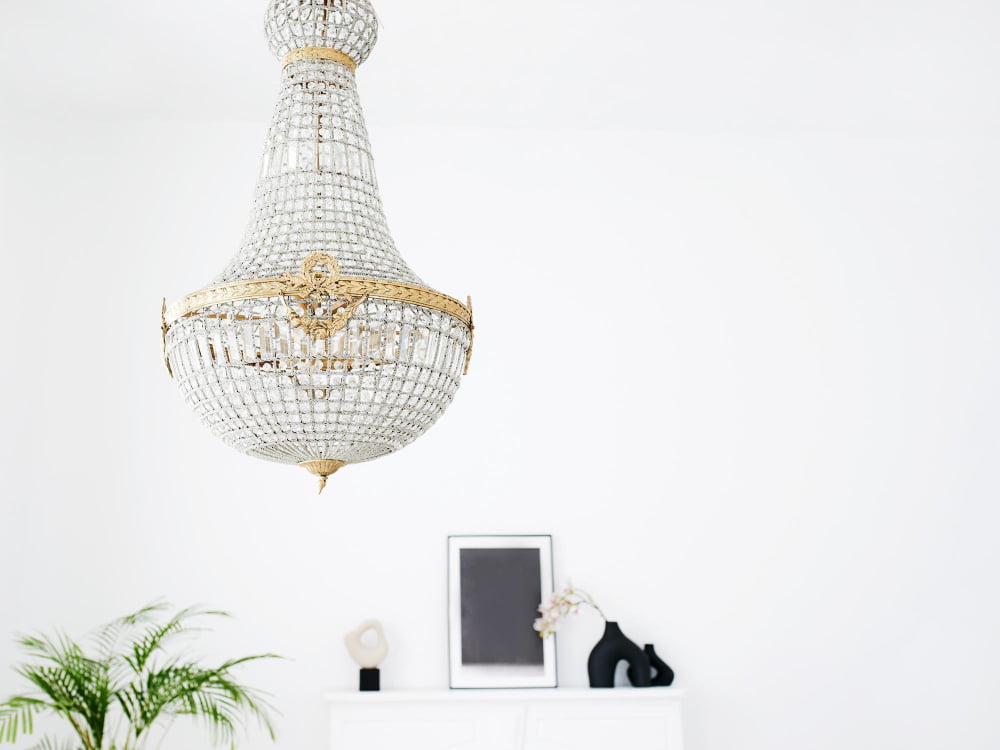
Choosing Pendant Light Base
The base will determine the overall look and feel of your finished product. There are many different types of bases available, including metal wire frames, lampshade rings or even repurposed items like baskets or bowls.
Consider the style you want to achieve when selecting your pendant light base. If you’re going for a more modern look, choose a simple wire frame that allows the beads to take center stage.
For something more traditional or bohemian-inspired, consider using an old basket as your base.
It’s also important to think about size and shape when choosing your pendant light base. Make sure it fits well in the space where you plan on hanging it and complements other decor elements in that room.
Selecting Beads

You can choose from a variety of colors, shapes, and sizes to create a unique look that complements your home decor. Consider the style you want to achieve – do you prefer something modern or more traditional? Do you want bright pops of color or subtle neutrals? Once you have an idea in mind, head over to your local craft store and browse their selection.
Keep in mind that not all beads will work well with wire; make sure they have holes large enough for the wire gauge being used. Don’t be afraid to mix and match different types of beads either! Experimenting with different combinations can lead to some truly stunning results.
Preparing the Workspace
This will ensure that you have everything you need within reach and that the process runs smoothly. Start by clearing a large, flat surface where you can work comfortably without any distractions or obstructions.
Next, gather all of the necessary materials and tools for this project. You’ll need wire cutters, pliers (preferably needle-nose), beads of various sizes and colors (depending on your design preference), a pendant light base with socket set included in its package or purchased separately from hardware stores.
Make sure to also have some paper towels handy for cleaning up any spills or messes as well as a trash bin nearby for disposing of packaging materials.
Measuring the Wire Length

This step is crucial as it determines how long your beaded pendant light will hang from the ceiling. To get started, take a measuring tape and determine how far down you want your light to hang.
Keep in mind that if you’re hanging your beaded pendant over a table or countertop, it should be low enough to provide adequate lighting but not so low that people bump their heads on it.
Next, add an extra 6-8 inches of wire length for attaching the beads and securing them onto the base. It’s always better to have more wire than less since cutting off excess is easier than adding more later on.
Once you’ve determined this measurement, cut two pieces of wire according to this length using pliers or scissors (depending on what type of wires are being used).
Cutting the Wire
This step is crucial as it ensures that your beaded pendant light will hang at just the right height. To determine how long to make your wire, measure from where you want the bottom of your pendant light to hang down to where you plan on attaching it (such as a ceiling hook or lamp fixture).
Add an extra inch or two for wiggle room and then use a pair of pliers or wire cutters to snip off any excess length.
Be sure not to cut too much off at once – remember that “measure twice, cut once” rule! It’s always better to err on the side of caution and trim more later if needed. Once you’ve made one clean snip with your pliers/wire cutter, use them again (or scissors) if necessary until both ends are even.
Stringing the Beads
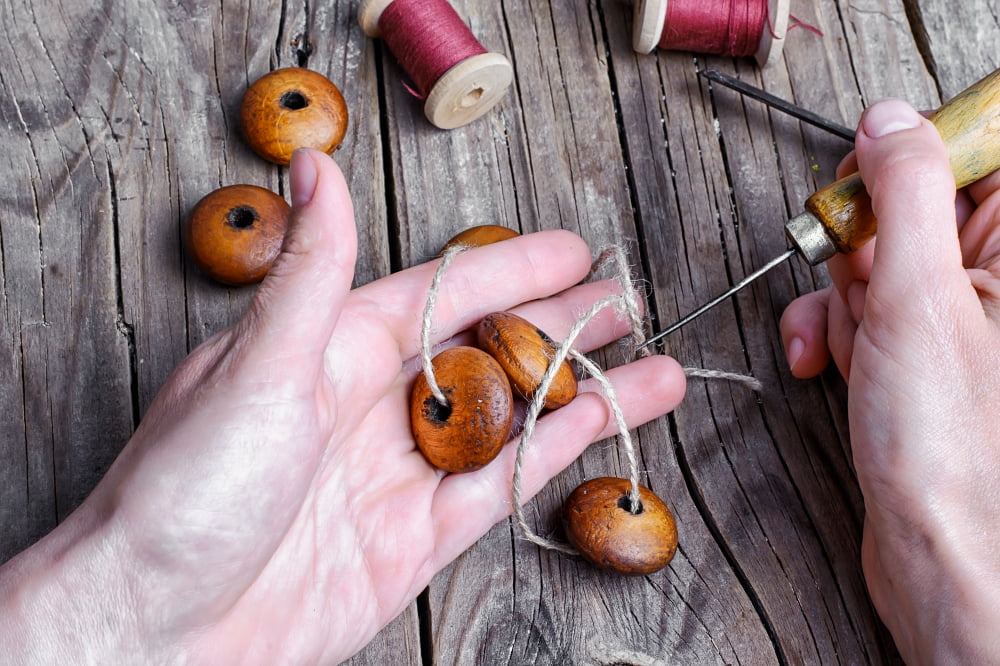
Begin by threading a crimp bead onto one end of the wire and then pass that same end through a jump ring. Next, loop back around and thread it through the crimp bead again before using pliers to flatten it down tightly.
Now comes the fun part – adding your chosen beads! Start with one type of bead at a time, sliding them onto both strands of wire until you reach your desired length. You can mix and match different colors or sizes for an eclectic look or stick with uniformity for something more classic.
As you add each set of beads, use another crimp bead to secure them in place on either side before moving on to add more sets. Once all sets are added and secured in place with their respective crimps, attach another jump ring at each end using pliers.
Attaching Beaded Wires
First, make sure that your beaded wires are evenly spaced and at equal lengths. Then, carefully wrap each wire around the base of the pendant light fixture until they are securely attached.
You can use pliers or a similar tool to help twist and secure each wire in place. Be sure not to pull too tightly on any one strand as this could cause damage or breakage.
Take extra care when attaching beaded wires if you’re using a fragile material like glass beads – these may require more gentle handling than other types of beads.
Securing Beaded Wires
This step is crucial to ensure that your beaded pendant light stays intact and doesn’t fall apart over time. To do this, use pliers to twist the end of each wire tightly around itself at least three times.
Make sure that there are no loose ends or gaps between the beads.
After securing all of the wires, take a moment to inspect each one carefully for any weak spots or areas where they may come undone easily. If you notice any issues, go back and reinforce those sections with additional twists until everything feels sturdy.
Setting Up the Light

First, make sure that all of your wiring is secure and that there are no loose connections. Next, attach a bulb socket to the end of your wire using pliers or wire cutters.
Now it’s time to test out your new beaded pendant light! Screw in a bulb and turn on the power switch. If everything is working properly, you should see a beautiful glow emanating from within each bead.
When positioning your new pendant light in its final location, consider factors such as height and placement relative to other furniture pieces or decor items in the room. You may want to experiment with different heights until you find one that works best for both lighting needs and aesthetic appeal.
Hanging the Pendant
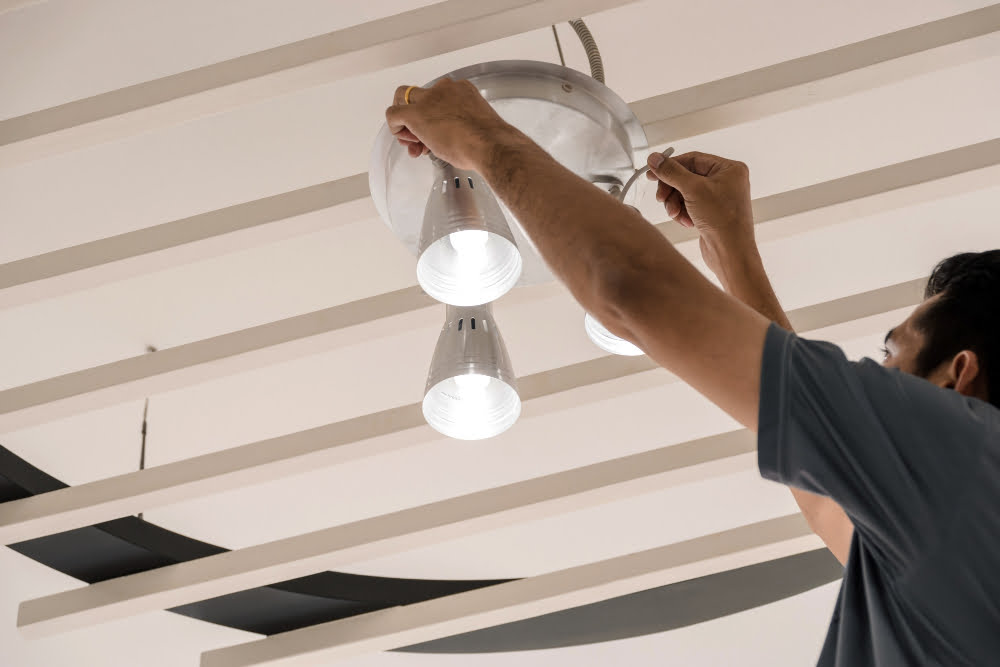
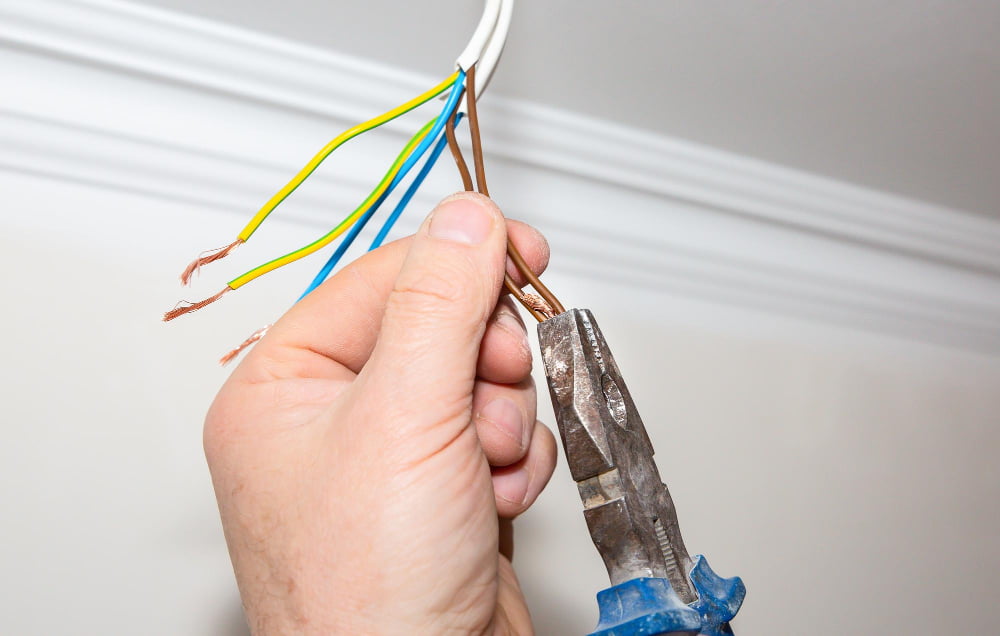
Then, carefully attach the pendant light base onto a ceiling hook or bracket using screws or chains. Make sure that it is securely fastened before attaching the wires.
Next, connect the wires from your new pendant light to those in your ceiling junction box according to manufacturer instructions. It’s important that you follow these instructions closely for safety reasons.
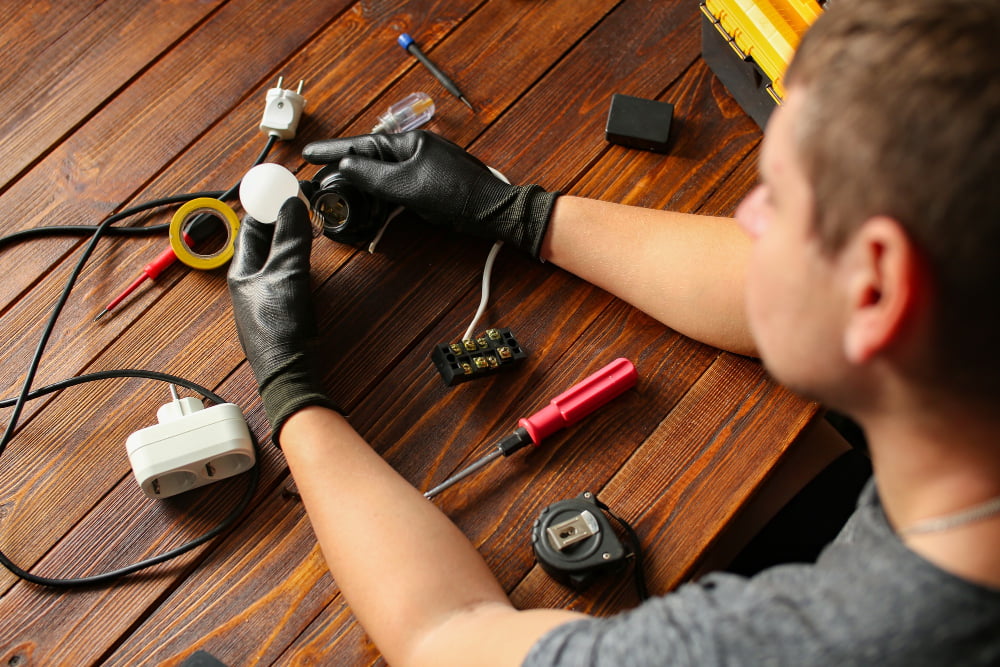
Safety Tips

When creating your beaded pendant light, it’s important to take the necessary precautions to avoid accidents and injuries. Here are some tips to keep in mind:
1. Always wear protective gear such as gloves and goggles when handling sharp tools or materials.
2. Make sure your workspace is well-lit and free of clutter.
3. Use caution when cutting wires or using pliers, as they can cause injury if not handled properly.
4. Be mindful of electrical hazards when setting up the light fixture – make sure you follow all instructions carefully and turn off power before making any connections.
Design Variations
There are endless design variations you can try out, from using different colored beads to experimenting with various wire shapes and sizes. You could even mix up the types of beads used for a more eclectic look or create patterns with specific bead colors.
Another way to add some flair is by incorporating other materials into your design, such as feathers or shells. These unique touches will make your pendant light stand out even more in any room.
Cleaning and Maintenance
Regular dusting with a soft cloth or feather duster will help prevent dirt buildup on the beads and wires. If necessary, you can also use a mild soap solution to gently clean the beads.
When cleaning your pendant light, always make sure that the power is turned off and that any bulbs have cooled down before handling them. It’s also important to avoid using abrasive cleaners or scrubbing too hard as this can damage both the beads and wires.
In terms of maintenance, periodically check for any loose or broken wires or beads that may need replacing. You should also ensure that all electrical components are in good working order by checking for frayed cords or loose connections.
FAQ
What materials and tools are needed to create a beaded pendant light from scratch?
To create a beaded pendant light from scratch, one needs materials such as beads, a pendant light fixture, wire or nylon thread, crimp beads, jump rings, and tools like wire cutters, crimping pliers, and needle-nose pliers.
What are some different beading patterns and styles that can be incorporated into a pendant light design?
Some different beading patterns and styles that can be incorporated into a pendant light design include geometric, floral, spiral, peyote stitch, and brick stitch patterns.
How can one choose the right type of beads and colors to create a visually appealing beaded pendant light?
To create a visually appealing beaded pendant light, one should select beads with complementary colors and a variety of shapes and sizes, ensuring that the chosen materials work well together and enhance the overall design.
Read More Like This
 15 Funny Graduation Cap Ideas to Make Your Big Day Unforgettable
 15 Unique DIY Christmas Decorations Ideas for a Festive Home
 15 Creative Science Fair Board Ideas to Amaze Your Audience
 15 Handmade Envelope Decoration Ideas for Creative Gifting
 10 DIY Gifts for the Whiskey Lover in Your Life
Recap: