Last updated on
Discover the art of creating a stunning macrame pendant light with our step-by-step guide, transforming your space into a cozy and stylish haven.
Are you looking for a unique and stylish way to light up your home? Have you considered making your own macrame pendant light? Not only is it a fun and creative project, but it also adds a touch of bohemian charm to any room. With just a few basic materials and some simple knotting techniques, you can create a stunning piece that will become the centerpiece of your decor.
In this article, I will guide you through the steps on how to make a macrame pendant light that will elevate your home’s style and ambiance. So grab some rope, turn on some music, and let’s get started!
Key takeaways:
- Basic macrame knots: square knot, half hitch knot, lark’s head knot.
- Materials needed: macrame cord, pendant light cord kit, wooden ring.
- Preparation: measure and cut cords, tie them onto the mounting ring.
- Creating the basket pattern: knot cords together in a specific way.
- Optional: add beads for decoration and stability.
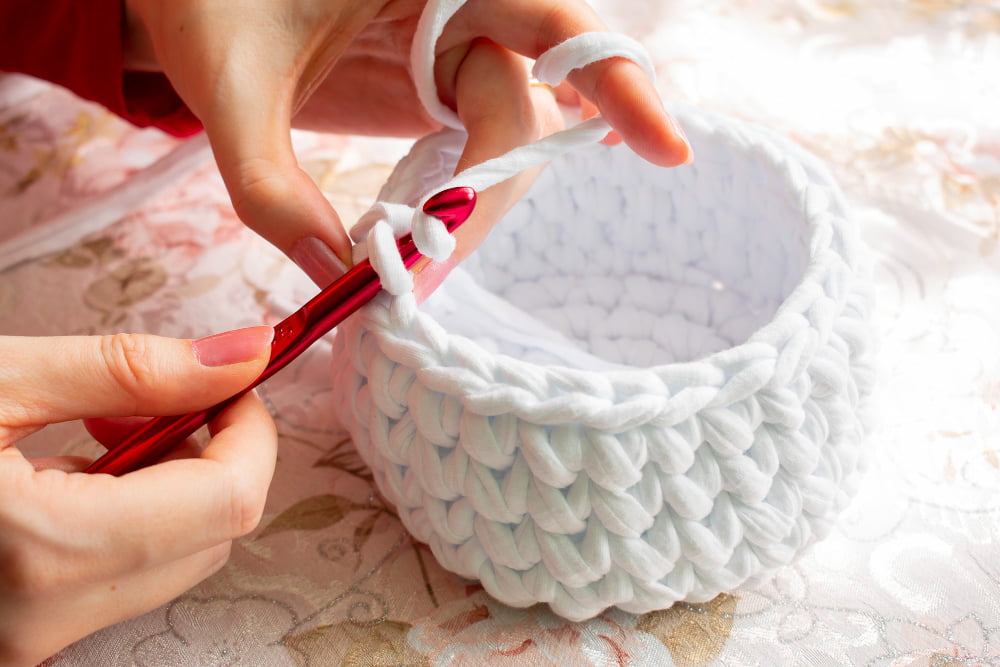
Macrame Knots Basics
Before we dive into the process of making a macrame pendant light, it’s essential to understand some basic knots. Macrame is an ancient art form that involves knotting cords or ropes in various patterns to create beautiful and functional pieces.
The most commonly used knots in macrame are the square knot, half hitch knot, and lark’s head knot.
The square knot is one of the fundamental knots used in macrame. It consists of two half-hitch knots tied together with opposite-facing ends.
This creates a flat pattern that can be repeated over and over again.
The half hitch is another crucial element when creating your own macramé piece; this simple but versatile technique allows you to add texture by alternating between different types of cord or rope.
Lastly, Lark’s Head Knots are often used as starting points for many projects because they provide a secure base from which other decorative elements can be added on top without fear they will come undone easily!.
Materials Needed
Here’s what you’ll need:.
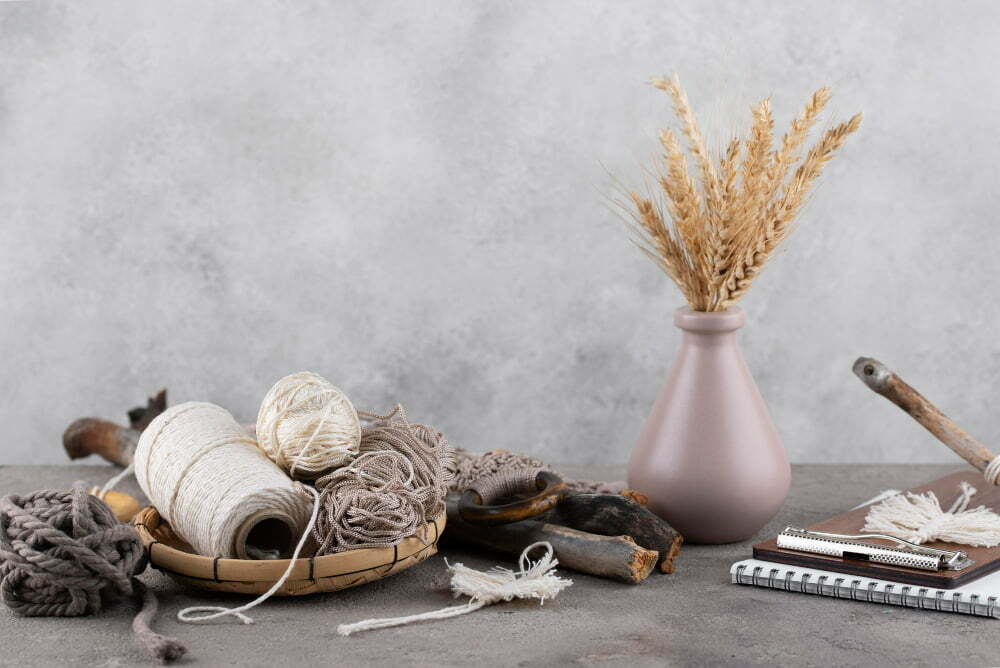
1. Macrame cord: Choose a sturdy and durable cord that can hold the weight of your pendant light fixture.
Cotton or nylon cords work well for this project.
2. Pendant Light Cord Kit: You will also need a pendant light cord kit with an electrical socket, bulb holder, and ceiling mount.
3. Wooden Ring: A wooden ring is used to hang the macrame basket from the ceiling mount.
4- Scissors & Measuring Tape/Ruler.
5- Optional Beads (for decoration).
Pendant Light Cord Preparation
You’ll need a cord with enough length to hang from your ceiling and reach your desired height. The type of cord you choose depends on personal preference, but I recommend using a sturdy material like cotton or nylon rope.
Once you have chosen your preferred material, cut it into four equal lengths. These cords will be used for knotting later on in the project.
Next, tie all four cords together at one end using an overhand knot. This creates a loop that can be attached to a metal ring or other hanging hardware.
Measuring & Cutting Cords
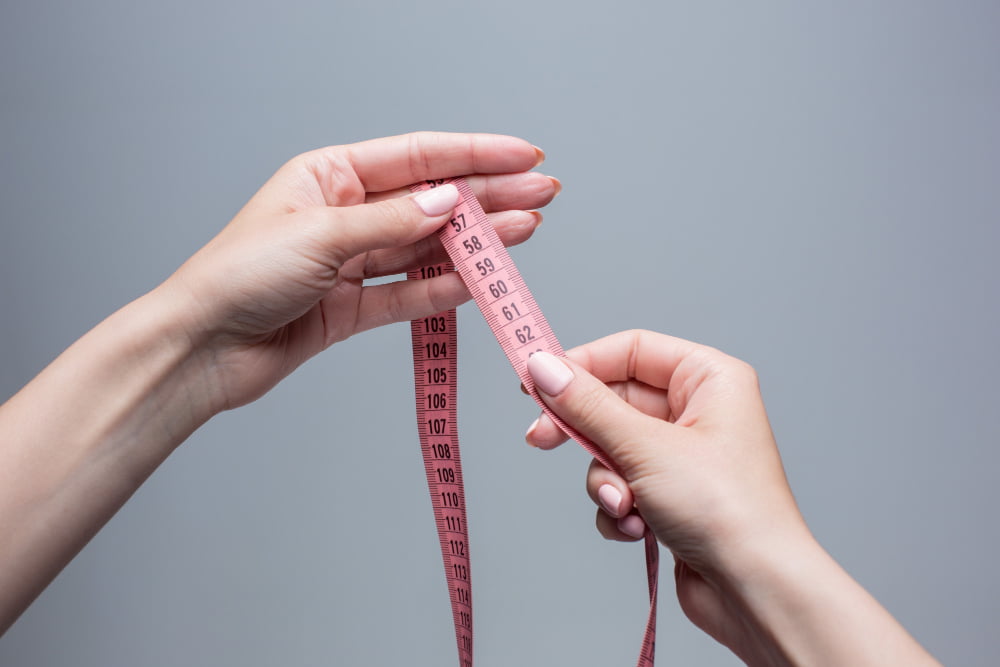
The length of each cord will depend on how long you want your pendant light to be. As a general rule, multiply the desired length by four and add an extra foot for knotting purposes.
For example, if you want a 2-foot-long pendant light, then each macrame cord should be approximately 9 feet long (2 x 4 =8 +1=9). It’s always better to err on the side of caution and cut longer cords than necessary as they can always be trimmed later.
Using sharp scissors or a rotary cutter with a cutting mat makes this process much easier. Once all cords are measured and cut evenly in size, gather them together at one end so that they are even before attaching them onto the mounting ring.
Mounting the Ring
The ring will serve as a base for your macrame pendant light and will help you create a beautiful basket pattern. To mount the ring, fold one of your cords in half and place it under the hoop so that both ends are on top of it.
Then take both ends over the hoop and through its looped center before pulling them tight.
Repeat this process with all remaining cords until they’re evenly spaced around your hoop. Make sure to adjust each cord’s length if necessary so that they’re all at an equal distance from each other.
Once you’ve mounted all cords onto your ring, double-check their placement before moving on to creating a basket pattern with them.
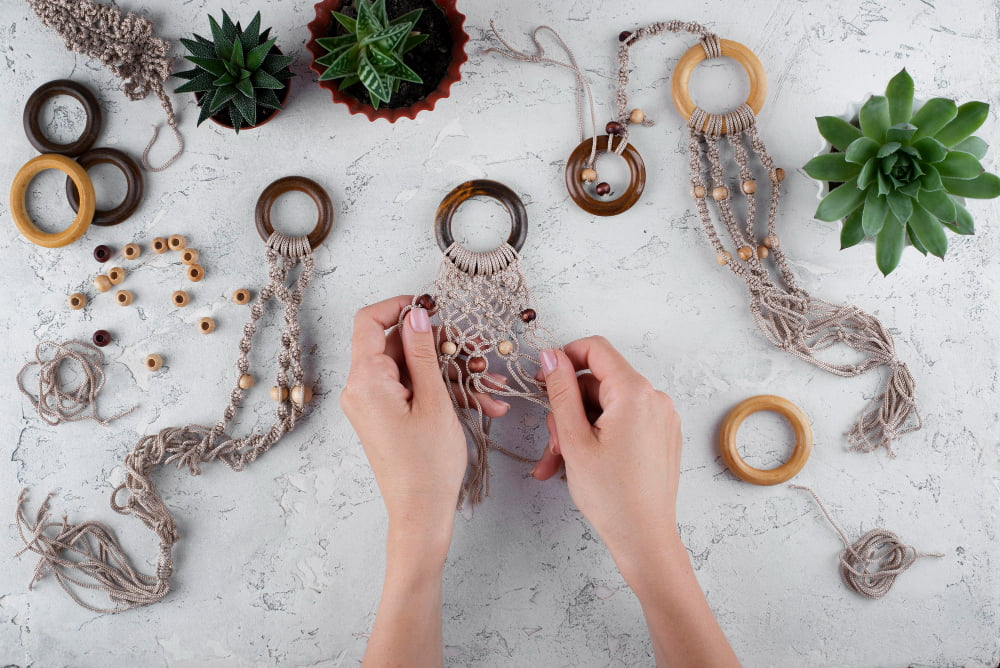
Creating the Basket Pattern
This is where you can get creative and choose a design that suits your style. The basket pattern involves knotting cords together in a specific way to create an intricate woven effect.
Start by dividing your cords into groups of four, then tie them together using square knots until you reach about 6 inches from the top of each group. Next, take two adjacent cords from one group and two adjacent cords from another group to form a new set of four.
Tie these new sets together with square knots until they are all connected in a circle around the ring. Continue this process until all groups are connected in one large circle at the bottom.
Once you have completed this step, continue knotting using different patterns such as half-square or diagonal double half hitch knots to add texture and depth to your design.
Adding Beads (Optional)
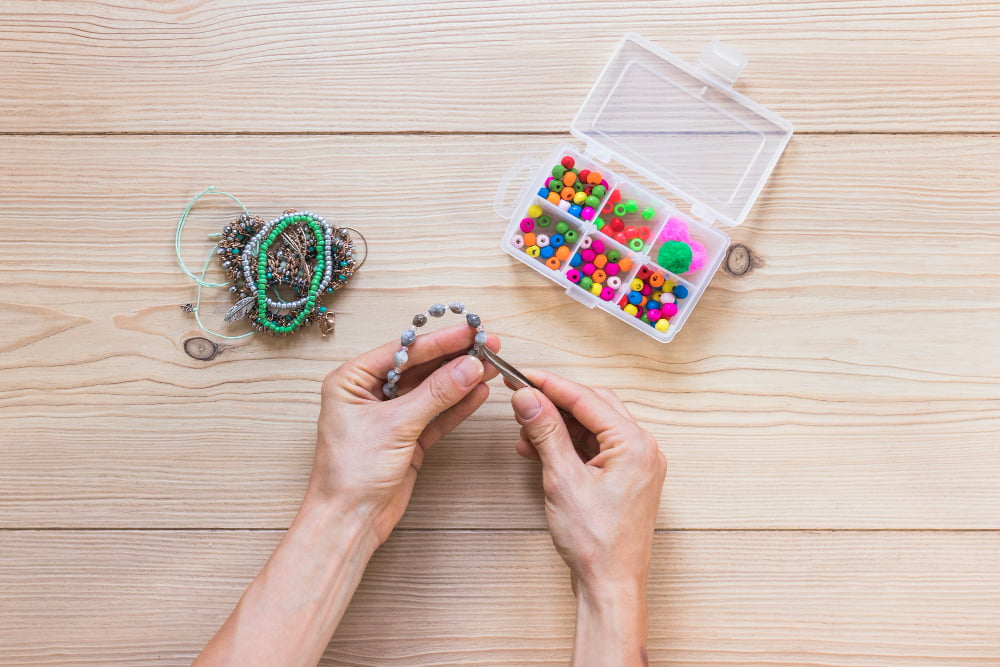
You can choose from a variety of bead sizes, shapes, and colors depending on the look you want to achieve. To add beads, simply thread them onto one or more cords before tying knots in the pattern.
You can also use different types of knots such as square knot or lark’s head knot to secure the beads in place.
Beads are not only decorative but they also help weigh down the cords for better balance and stability when hanging your pendant light fixture. However, keep in mind that adding too many heavy beads may cause strain on the cord and affect its durability over time.
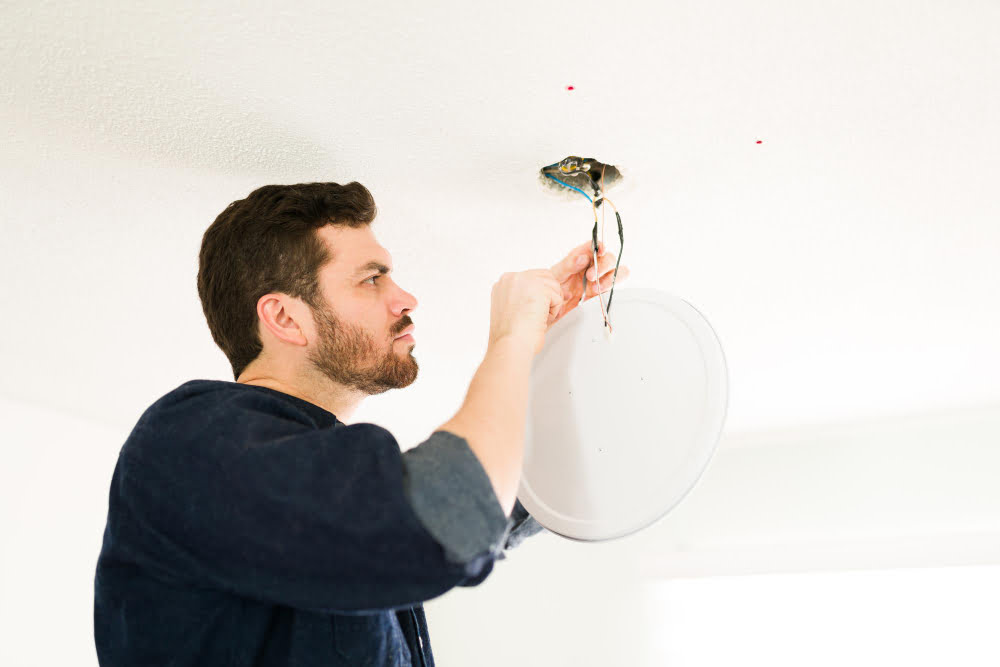
Assembling Pendant Light Fixture
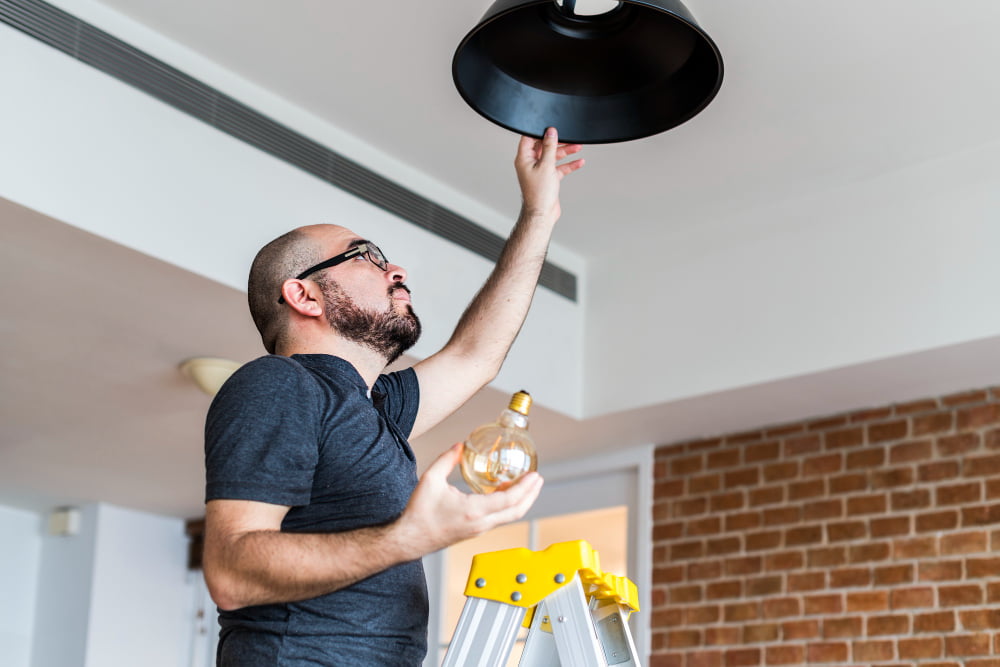
First, take your light cord and thread it through the center of the macrame basket. Then, attach a bulb socket to the end of the cord using wire connectors or by following manufacturer instructions if they are included with your kit.
Next, carefully tuck any excess cord into the top of your macrame basket and secure it in place with hot glue or tape. Screw in a lightbulb that complements both your decor style and wattage requirements.
With these simple steps complete you can now hang up this beautiful piece anywhere in need of some extra lighting!.
Read More Like This
 15 Unique DIY Christmas Decorations Ideas for a Festive Home
 15 Creative Science Fair Board Ideas to Amaze Your Audience
 15 Handmade Envelope Decoration Ideas for Creative Gifting
 10 DIY Gifts for the Whiskey Lover in Your Life
 15 Creative Ideas for DIY Outdoor Birthday Party Decorations
Recap: