Last updated on
Delve into this comprehensive guide to quickly learn how to transform ordinary paint into high-quality chalk paint using everyday baking soda.
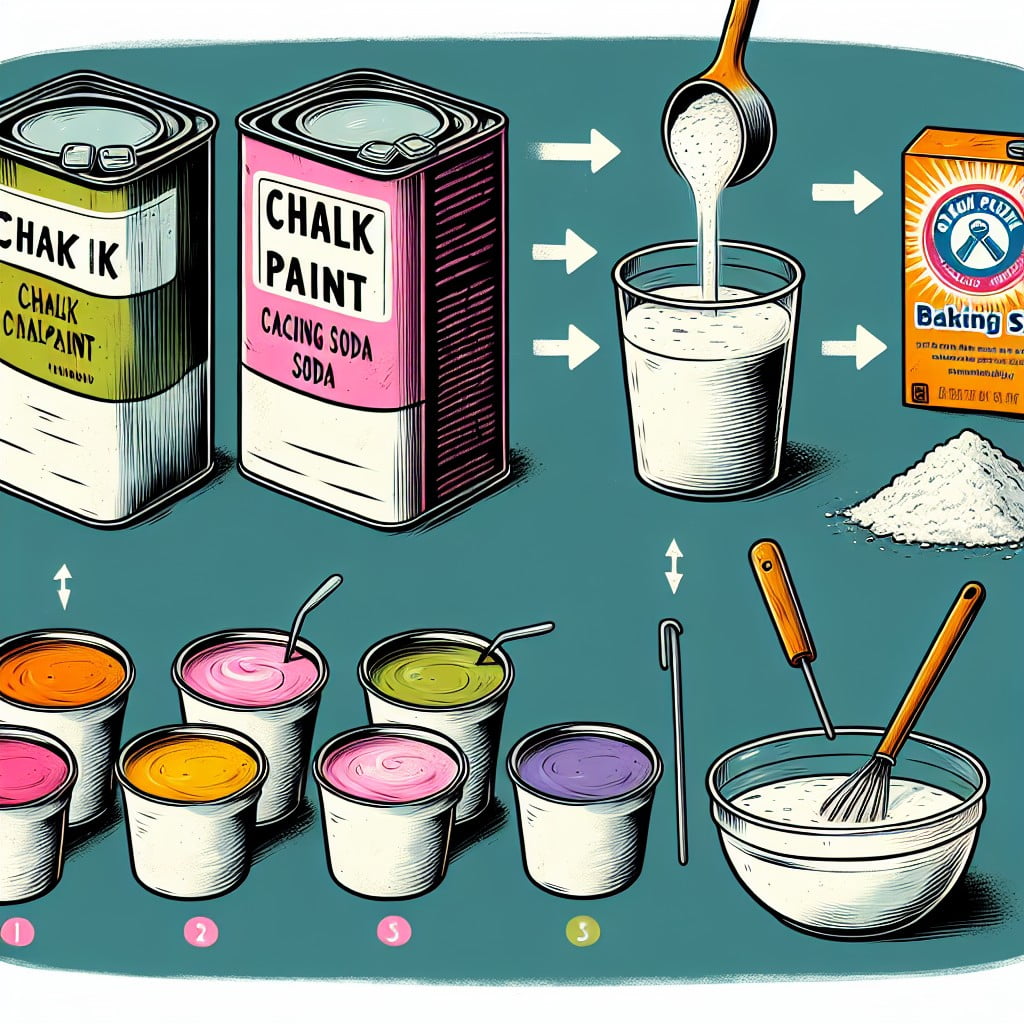
Key takeaways:
- Use flat or matte-finish latex paint as a base.
- Mix one part baking soda to two parts paint.
- Stir thoroughly to achieve uniform consistency.
- Apply thin, even coats with a high-quality brush or roller.
- Seal the finished project with wax or polyacrylic sealer.
Supplies You’ll Need for Baking Soda Chalk Paint
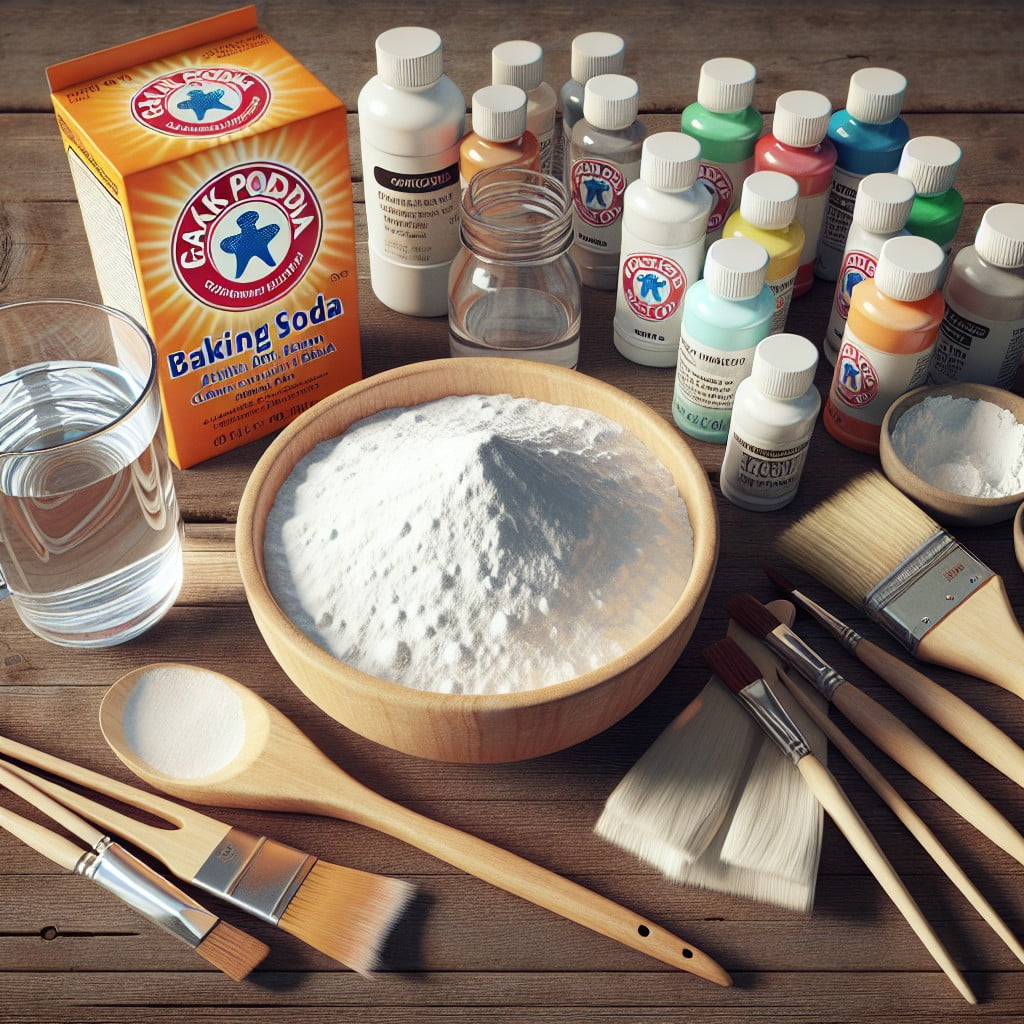
To craft your homemade chalk paint, gather the following essentials:
- Flat latex paint or acrylic paint in your preferred color
- Baking soda, which acts as the thickening agent to give the paint its chalky texture
- A mixing container, preferably one with a wide opening to facilitate easy stirring
- A measuring spoon or cup to accurately dispense the baking soda
- A stir stick or mixing spoon, which will be used to blend the ingredients thoroughly
- Sandpaper, which is optional, for prepping your painting surface to ensure the paint adheres well
Selecting quality paint and precise measurements will yield the best results, ensuring a smooth finish and consistent texture in your DIY project.
Choosing the Right Paint Base
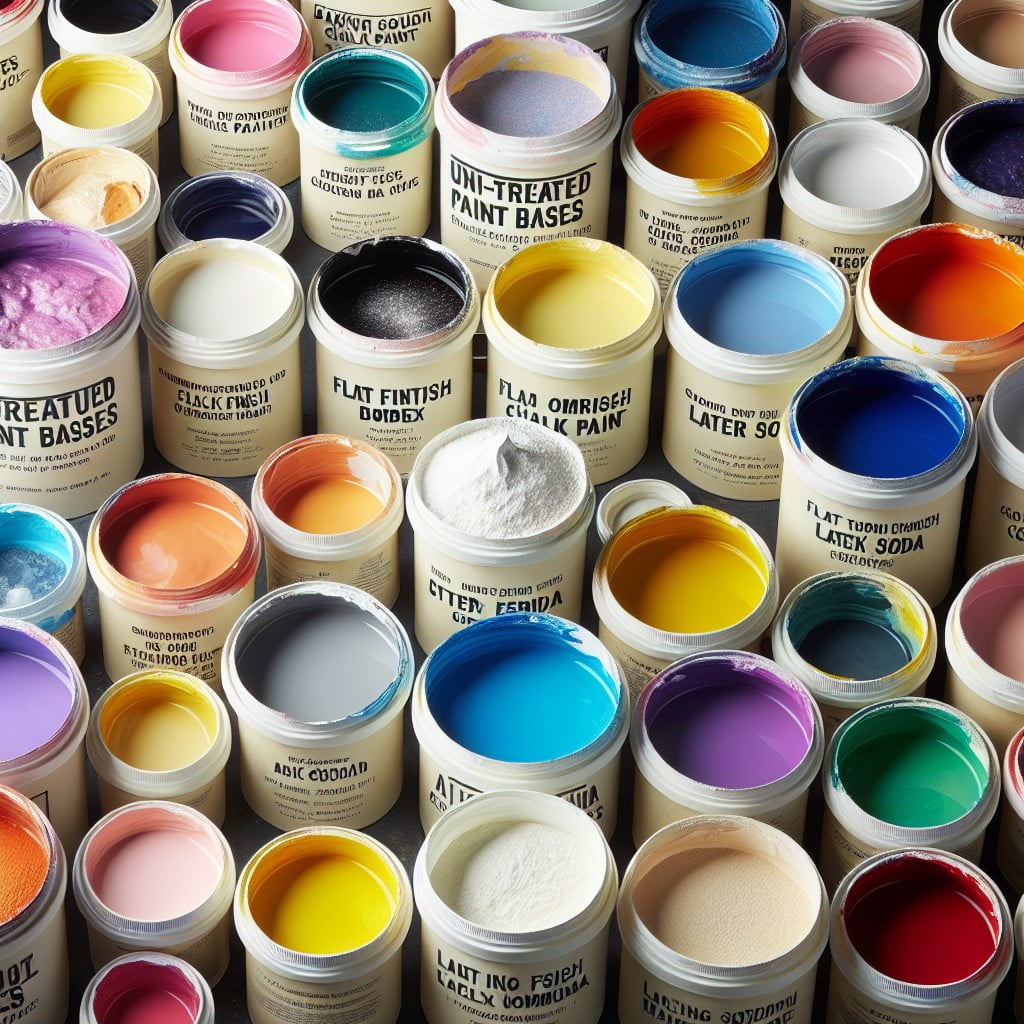
Selecting an appropriate paint base is crucial for your DIY chalk paint project. Flat or matte-finish latex paint works best due to its minimal sheen, allowing the baking soda to create that desired matte texture. Aim for a base that is non-glossy, as glossy paints can hinder the ability of the baking soda to adhere properly and provide the correct finish.
Acrylic paint can also serve as a base, especially for smaller projects. Opt for a color that complements your project area, keeping in mind that baking soda might lighten the hue slightly. Preferably, use water-based paint for easier clean-up and mixing.
Remember, the quality of the base paint can influence the durability and final look of your project, so choose a paint that’s well-suited to the surface you’ll be working with.
Correct Baking Soda Proportion
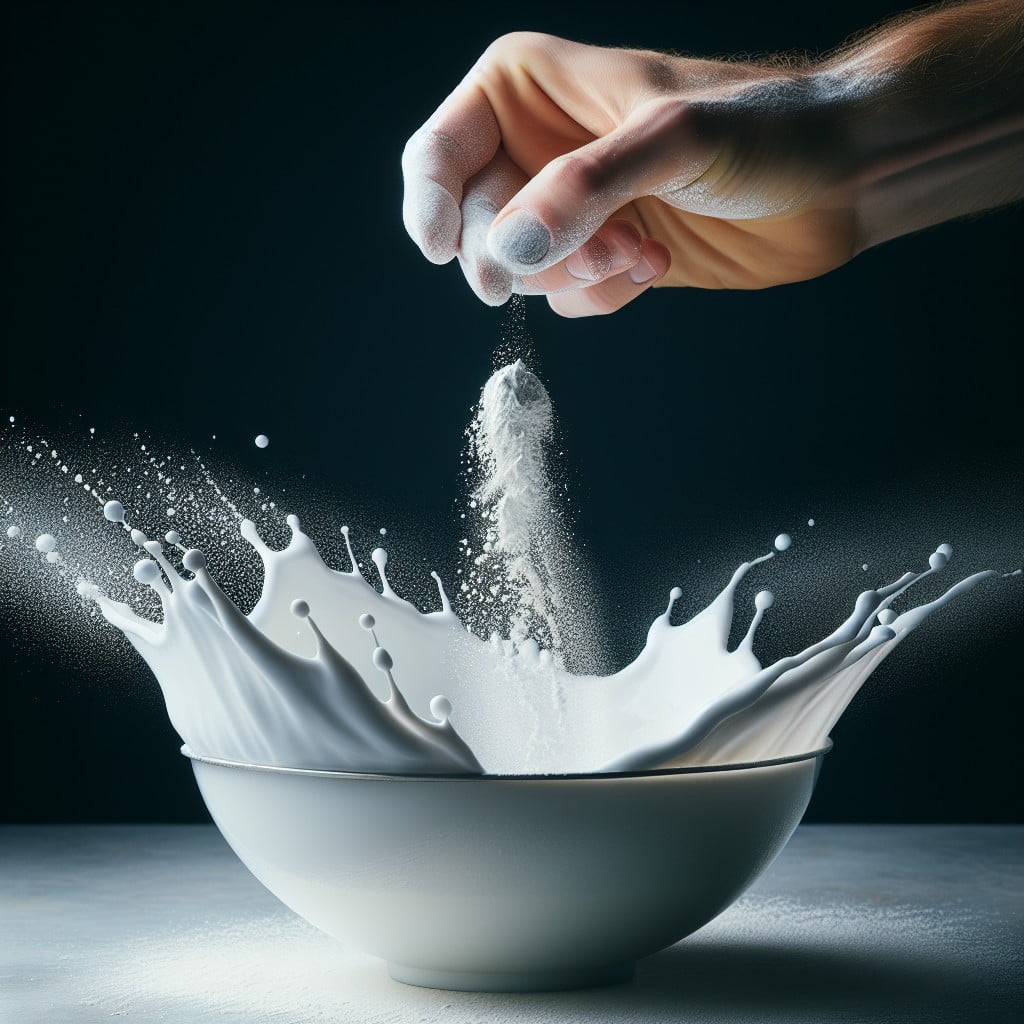
Achieving the ideal texture in your homemade chalk paint hinges on using the correct quantity of baking soda. The general recommendation is to mix one part baking soda to two parts latex paint.
For smaller batches, this translates to one-half cup of baking soda for every cup of paint. This ratio ensures that the paint will thicken to the desired chalky consistency without becoming too gritty or overly diluted.
Uniformity is key, so whisk the baking soda and paint thoroughly to avoid clumping. It’s important to remember that the consistency of the paint can be adjusted to your preference.
If the mixture is too thick, add paint in small increments until the desired fluidity is achieved. Conversely, if it’s too runny, sprinkle in more baking soda cautiously until you reach the perfect consistency.
Mixing Procedure for Baking Soda Chalk Paint
Begin with a clean mixing container to prevent unwanted color variations or contaminants. Measure out your paint and place it in the container; a smooth, flat latex paint is a suitable base that adheres well to various surfaces.
For every cup of paint, add one to two tablespoons of baking soda, starting with the lesser amount. This ratio creates a thick, matted texture typical of chalk paint. It’s essential to tailor the amount of baking soda to your desired consistency; more baking soda results in a thicker paint, while less produces a smoother finish.
Stir the mixture with a paint stick or a spoon, ensuring all lumps of baking soda are thoroughly dissolved. Achieving homogeneity in your mixture is crucial for an even application on your project surface. If the paint appears too thick, incrementally add water, thoroughly mixing after each addition until reaching your preferred viscosity.
Test the paint on a small, inconspicuous area to check for the correct consistency and adherence. If the paint doesn’t cover well or seems too thin, enhance the opacity by adding a small amount of baking soda. Conversely, if it seems too gritty or thick, dilute it with a few drops of water and mix again.
Application Tips for Baking Soda Chalk Paint
For smooth application, ensure your surface is clean and dry. Remove any grease or grime with a mild detergent, then let it thoroughly dry before painting.
Stir your homemade chalk paint before use, as the baking soda might settle. If the mixture is too thick, a small amount of water can be added to reach the desired consistency.
Use a high-quality brush or roller to apply thin, even coats. Brushes specifically designed for chalk paint are ideal, but any brush with fine bristles will work well. A roller can give a smoother finish on larger surfaces.
Be patient between coats. Allow the first coat to dry fully—typically around one to two hours—before applying a second layer. The drying time can vary based on the paint’s thickness and the environmental conditions.
Avoid overworking the paint. Chalk paint dries quickly, and going over the same spot can remove the paint you’ve already applied.
Experiment with different brush techniques, like stippling or cross hatching, for a more textured look. Baking soda chalk paint can lend itself well to creative finishes.
Embrace imperfections. Part of the charm of chalk paint is its matte, somewhat rustic finish. If the first coat seems streaky, remember that subsequent coats will often enhance the overall appearance.
When tackling edges and corners, a smaller brush will give you more control to ensure crisp lines and thorough coverage.
Drying and Curing Time
Once your item is painted, patience is key. Allow the paint to dry to the touch, typically within 30 to 60 minutes, depending on humidity and air circulation.
After the initial dry phase, the curing process begins, which is crucial for durability. This can take anywhere from 24 hours to a few days.
During this period, avoid heavy handling or use of the painted object to ensure the best finish.
To speed up drying without compromising the cure, ensure the item is in a warm, well-ventilated space.
Remember, cure time is not the same as dry time, so give your masterpiece the patience it deserves for a long-lasting, beautiful finish.
Finishing Techniques
Once your chalk paint has dried, applying a finishing coat enhances durability and imparts an attractive sheen. For a vintage look, lightly sand the edges and raised surfaces to distress the piece.
Seal your work with a wax or polyacrylic sealer to protect the surface; both options are effective, yet they create different finishes. Wax offers a smooth, matte finish and deepens the color of the paint. It requires more elbow grease but provides a luxurious feel. Polyacrylic sealers are water-based, dry clear, and are available in various sheens from matte to glossy. They’re durable and preferable for items needing regular cleaning or heavy use.
A sealer application tip: use a lint-free cloth for wax or a synthetic brush for polyacrylic, and always follow manufacturer directions for the best results. Remember, sealing isn’t just a protective step, it’s also an opportunity to enhance the character of your painted piece.
Storage Instructions for Baking Soda Chalk Paint
To ensure your homemade chalk paint remains usable for future creative endeavors, proper storage is key. Begin by transferring any leftover paint to an airtight container, preventing air from causing the paint to dry out or form a crust. If using a jar with a screw-top lid, consider adding a piece of plastic wrap under the lid to bolster the seal. It’s also advisable to label the container with the date and color mix to avoid any confusion later on.
Place the container in a cool, dry location away from direct sunlight or extreme temperatures which can compromise the paint’s consistency. Before reusing stored paint, give it a good stir since ingredients can settle over time. If the paint has thickened slightly while in storage, you can revive it by mixing in a few drops of water until the desired consistency is reached. Remember, though, that the shelf life of this DIY blend may not be as long as commercial paints, so plan to use it within a few months for the best results.
Advantages of Using Baking Soda in Chalk Paint
Incorporating baking soda into your DIY chalk paint recipe yields a handful of benefits. Not only is baking soda readily available and cost-effective, but it also adds a uniquely smooth and matte finish to your paint, perfect for crafting that vintage, shabby-chic look.
The texture it creates is thick and covers well, allowing for fewer coats and a more opaque finish on furniture or decorative items.
Moreover, the natural composition of baking soda allows for an eco-friendly paint option, often preferable for those sensitive to chemicals or working in enclosed spaces. Plus, the flexibility that comes with creating your own mix means you can adjust the thickness and texture to suit different surfaces and preferences, an advantage over the one-size-fits-all store-bought versions.
Using baking soda also presents an easy cleanup process; it doesn’t clump as easily as some alternatives and washes off with just water, simplifying your post-project routine.
So, whether you’re a prolific painter or diving into your first upcycling project, the use of baking soda in your chalk paint might just be the trick you need for a pleasing result with a personal touch.
Troubleshooting Common Issues With Baking Soda Chalk Paint
If the paint is too thick, gradually add water until you achieve the desired consistency. Stir thoroughly to ensure an even texture.
In case of clumping, pass the mixture through a fine mesh sieve or blend it for a smoother consistency.
For a paint that’s too gritty, reduce the amount of baking soda or increase the amount of paint in your next batch.
When the finish appears too dull, a light sanding followed by a wax or sealant can provide a more polished look.
Should the paint not adhere properly, ensure the surface is clean and sanded slightly to improve the grip.
If the chalk paint dries too quickly, work in smaller sections and use a damp brush to extend the working time.
Ideas for Projects Using Baking Soda Chalk Paint
Transform flea market finds into shabby chic treasures by painting old furniture, such as dressers or side tables, for a vintage look. Embrace imperfections for added charm.
Revive your kitchen by coating cabinets or pantry doors. The matte finish can hide surface blemishes and create a modern farmhouse aesthetic.
Create custom wall art by using stencils on wood or canvas. The texture of this paint is perfect for adding depth to your designs.
Upcycle glass jars or vases with a coat of paint, and then distress them gently for a rustic centerpiece or stylish storage solution.
Personalize children’s room decor, from bookshelves to toy boxes, with their favorite colors. This paint is typically safe for kids’ items, but confirm the base paint is non-toxic.
Craft unique gifts by painting picture frames or coasters. These can be thoughtful, handcrafted presents for friends and family.
Elevate garden pots with a pop of color. This paint can create an aged look on terracotta pots, perfect for both indoor plants and outdoor garden spaces. Remember to seal them properly for outdoor use.
Comparison: Baking Soda Chalk Paint Vs. Store-Bought Chalk Paint
When weighing the benefits of DIY baking soda chalk paint against its commercial counterpart, consider these key points:
Cost-effectiveness: Typically, creating your own chalk paint with baking soda and a paint base is more budget-friendly than purchasing pre-made varieties.
Customization: With homemade mixtures, you have the flexibility to adjust the amount of baking soda to your desired texture and to experiment with color blends, which is not as easily done with store-bought options.
Availability: Ingredients for the homemade version are readily available and can be found in most homes or local stores, whereas store-bought chalk paint may require a trip to a specialty store or an online purchase.
Eco-Friendliness: DIY chalk paint allows for a more environmentally conscious choice, as you can repurpose leftover latex paint and use natural ingredients, reducing chemical exposure and waste.
However, store-bought chalk paint usually boasts a more consistent quality, with a perfected ratio of ingredients to ensure durability and a smooth matte finish. The professionals who develop these paints have often fine-tuned the formulas to maximize coverage and adherence to a variety of surfaces. Additionally, for those looking for convenience and time-saving, ready-made chalk paint is an easy grab-and-go option that eliminates the need for preparation.
FAQ
What is the cheapest way to make chalk paint?
The most cost-effective method to create chalk paint involves using a combination of interior crack filler, water, and either acrylic or latex paint, ensuring the mixture reaches a smooth consistency.
What are the benefits of using baking soda for chalk paint?
Using baking soda for chalk paint can provide benefits such as cost-effectiveness, creating a smooth, matte finish, and enabling unique texture possibilities.
Can different types of baking soda affect the texture or performance of DIY chalk paint?
Yes, different types of baking soda can indeed affect the texture and performance of DIY chalk paint.
Are there any potential challenges or setbacks when making chalk paint with baking soda at home?
Making chalk paint with baking soda at home can potentially lead to a less durable outcome and vary in consistency due to the different absorption rates of baking soda.
Read More Like This
 15 Funny Graduation Cap Ideas to Make Your Big Day Unforgettable
 15 Unique DIY Christmas Decorations Ideas for a Festive Home
 15 Creative Science Fair Board Ideas to Amaze Your Audience
 15 Handmade Envelope Decoration Ideas for Creative Gifting
 10 DIY Gifts for the Whiskey Lover in Your Life
Recap: