Last updated on
You’ll be itching to get your hands on mason jar chalkboard labels because they are the key to transforming casual kitchen storage into something chic, organized, and personal.
Key takeaways:
- Chalkboard labels offer re-writable surfaces for easy identification and tracking.
- Various types of chalkboard labels cater to different needs and preferences.
- Apply chalkboard labels by ensuring a clean and dry surface, using adhesive or glue when necessary.
- Use fine-tipped chalk markers or sharpened chalk for precise and legible handwriting.
- Chalkboard labels can be used to organize pantry items, spices, home office supplies, craft supplies, kids’ snacks, and seasonal decor.
Benefits of Using Chalkboard Labels On Mason Jars
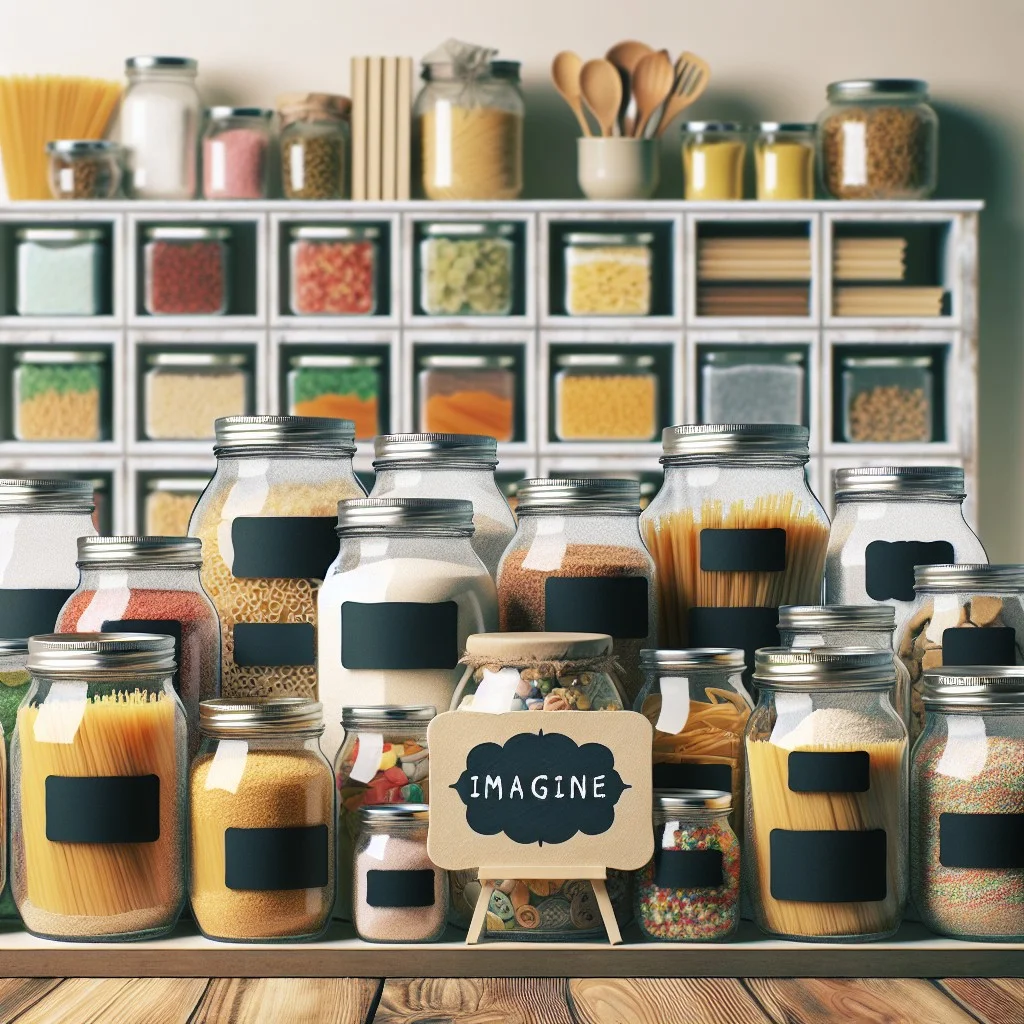
Chalkboard labels offer a re-writable surface that makes it easy to identify contents and track freshness dates.
They enhance the aesthetic appeal of mason jars, especially for those who value a rustic or vintage look.
These labels are also ideal for those who frequently change the use of their jars, as they can be wiped clean and relabeled without leaving residue.
They promote organization and are perfect for pantry storage, craft supplies, or as part of a gift presentation.
Being both functional and decorative, chalkboard labels can transform simple mason jars into versatile, stylish storage solutions.
Types of Mason Jar Chalkboard Labels
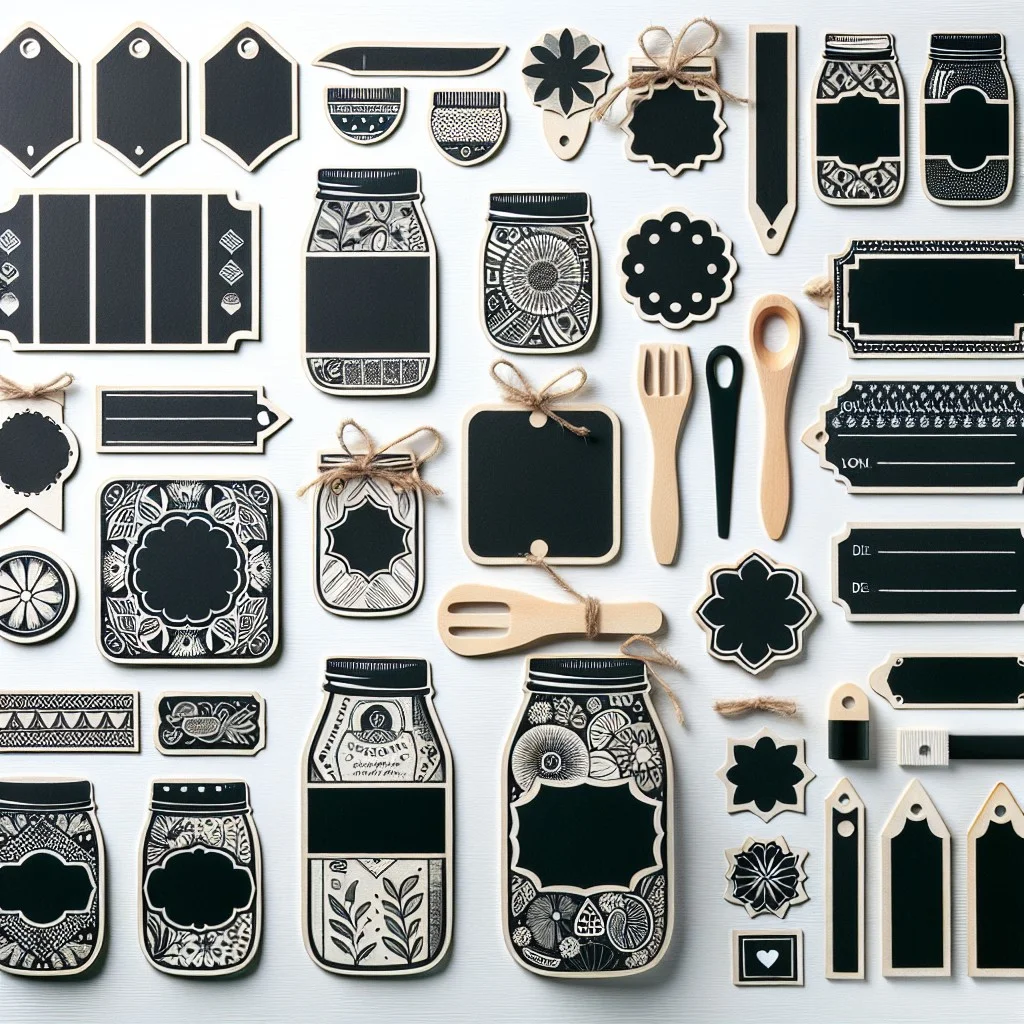
Various shapes and sizes cater to individual needs, whether you’re labeling a large batch of preserves or differentiating spices. Standard rectangles, ornate frames, and even die-cut shapes like hearts and circles can add a touch of personality to your storage solutions.
Self-adhesive labels are user-friendly, simply peel and stick, making them ideal for those seeking convenience. Meanwhile, reusable options equipped with a standard or liquid chalk pen offer the flexibility of changing labels as contents evolve.
Pre-cut vinyl labels are waterproof and durable, designed to withstand the condensation often associated with mason jars. They’re an excellent choice for those storing goods in high-moisture areas like refrigerators.
Customizable fabric labels provide a rustic charm and can be attached with string or fabric glue. They work well for gift-giving or craft projects and can often be personalized with fabric markers or paint.
Static cling labels offer temporary labeling solutions that stick to the glass without adhesive. Perfect for events like parties or weddings, they can be easily repositioned and removed without residue.
How to Apply Chalkboard Labels to Mason Jars
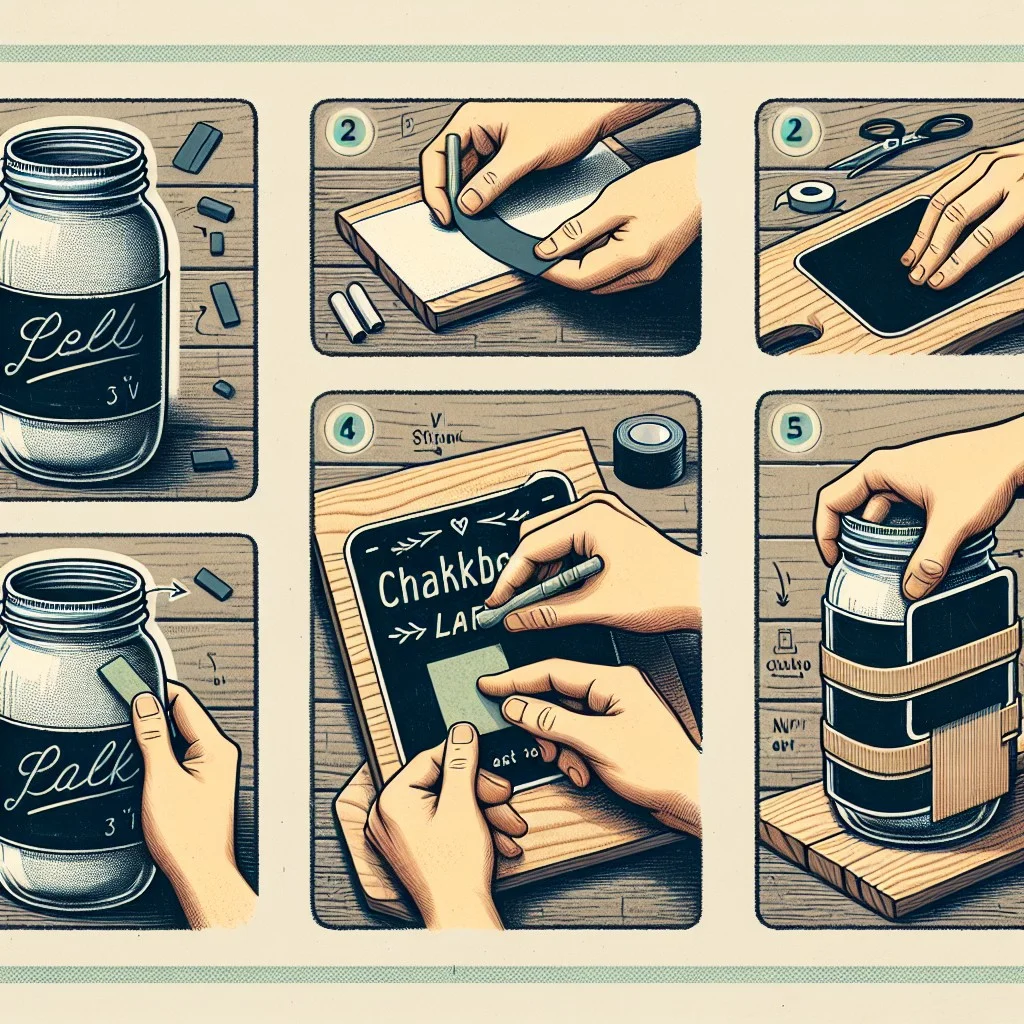
Begin by ensuring that the surface of the mason jar is clean and dry; any oils, dirt, or moisture can prevent proper adhesion.
If the labels are self-adhesive, peel off the backing, carefully position the label on the desired area, and smooth it out to eliminate any air bubbles.
For non-adhesive options, use an appropriate glue or adhesive spray following the manufacturer’s instructions.
Apply even pressure over the label for a few seconds to secure the bond.
Allow any glue to dry fully before attempting to write on the label.
When aligning the label, consider the contents and how the jar will be displayed or stored; labels should be visible and positioned at eye level for ease of identification.
Choose the placement of the label – whether it be centered or off to one side – based on personal preference and the uniformity of your storage display.
Tips for Writing On Chalkboard Labels
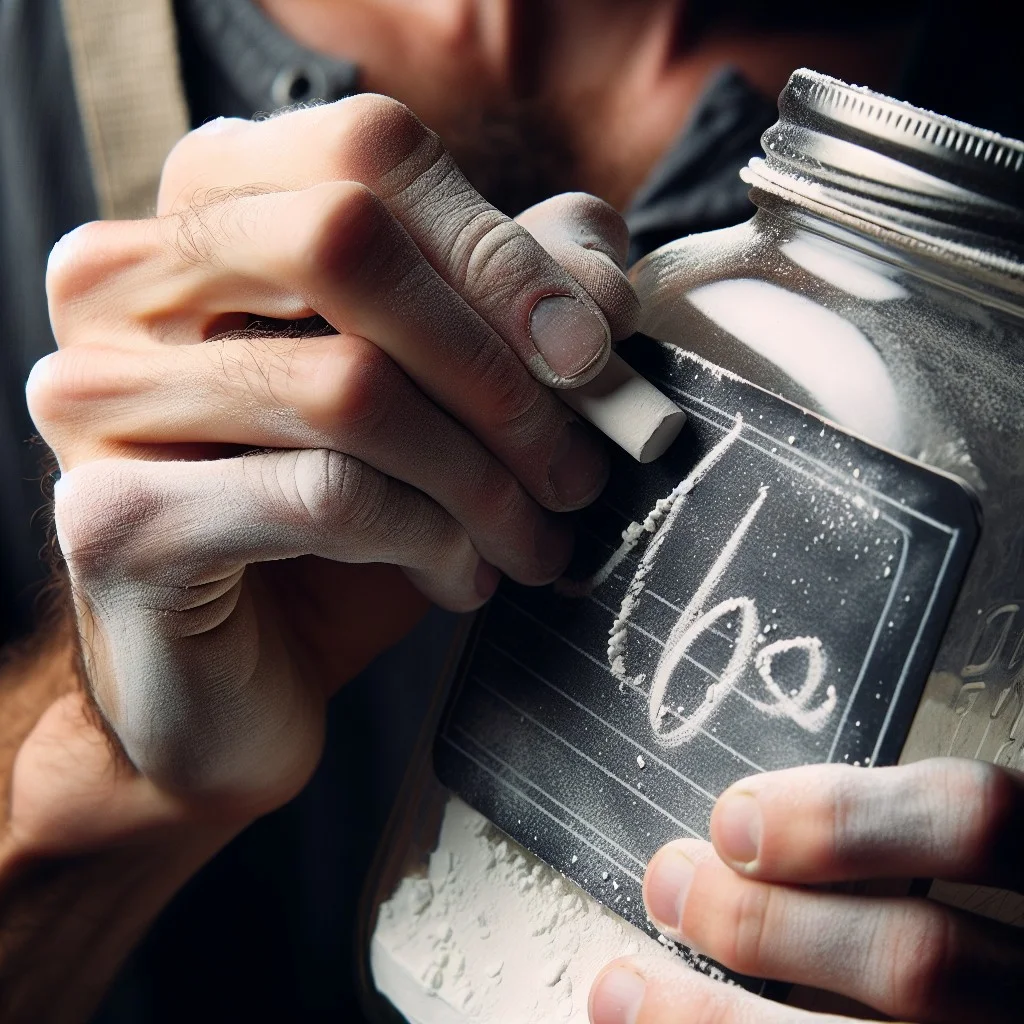
Use fine-tipped chalk markers for precise handwriting and to ensure your text fits neatly onto smaller labels. Allow the ink from chalk markers to dry completely before touching to avoid smudges.
If you prefer traditional chalk, sharpen the end with a pencil sharpener for a finer point. To achieve a more permanent design, especially on reusable labels, consider using a white paint pen.
Practicing your text layout on paper before writing on the actual label can save you from potential mistakes. When labeling a jar for the first time or changing the contents, make sure to erase the previous text completely using a damp cloth for a clean slate.
For consistency in your handwriting style and size across multiple jars, a stencil can be a handy tool. Remember, less is more – keep it short and legible.
Ideas for Organizing With Mason Jar Chalkboard Labels
Transform your pantry with mason jar labels that allow for quick identification of contents. Here are some creative ways to use them:
- Dry Goods: Label jars containing flour, sugar, rice, and pasta, which helps in distinguishing between different types like all-purpose flour and bread flour.
- Spices: Small jars labeled with the names of various spices can save time during cooking and maintain an inventory of what’s available or running low.
- Home Office: Sort and store items such as paper clips, rubber bands, and staples in labeled jars for a tidy desk space.
- Craft Supplies: Keep beads, buttons, and threads organized, making it easier to find what you need for your projects.
- Kids’ Snacks: Label jars with kids’ snacks to make it simple for them to grab and go, promoting independence.
- Seasonal Decor: Tag jars with seasonal items, so decorations like Halloween candy or Christmas ribbons are easy to locate.
By utilizing mason jar labels, you ensure that every item has its place, streamlining your organization and making the most of your space.
Maintaining and Cleaning Mason Jar Chalkboard Labels
To ensure your labeled mason jars continue to look neat and are easy to update, proper maintenance and cleaning are key. Here are practical tips:
1. Gentle Erasing: Use a damp cloth or sponge to wipe away chalk or liquid chalk marker. Avoid using harsh chemicals that could damage the label surface.
2. Regular Touch-Ups: Reapply chalkboard paint if you notice fading or if the labels become difficult to write on.
3. Avoid Scrubbing: Harsh scrubbing can remove the chalkboard surface, so stick to gentle wiping motions.
4. Protect from Scratches: Keep labeled jars in a location where they won’t be easily scratched by other items, which helps preserve the writing surface.
5. Test Cleaning Products: If you decide to use a cleaning product, test it on a small area first to ensure it doesn’t cause any discoloration or damage.
6. Refresh with New Labels: If the labels become too worn or stained over time, don’t hesitate to replace them with new ones to keep your organization system looking fresh.
Remember, a little care goes a long way in maintaining the crisp appearance and functionality of your chalkboard labels.
DIY Chalkboard Labels for Mason Jars
Creating your own chalkboard labels is a cost-effective and personalized way to organize your mason jars. To start, you’ll need chalkboard paint, which can be found at most craft stores, and stencil adhesive to ensure clean lines.
1. Select a Sticker Paper: Use adhesive vinyl or sticker paper that is compatible with chalkboard paint. Ensure it adheres well to glass surfaces.
2. Cut to Size: Determine the size of your labels depending on the jar’s surface area. Use scissors or a craft cutter for precision.
3. Apply Chalkboard Paint: Brush or spray a thin, even coat of chalkboard paint onto the cut-out sticker shapes. Allow the first layer to dry before adding a second coat for a richer finish.
4. Dry Completely: Let the labels dry thoroughly, usually for 24 hours, to ensure the paint cures and sticks to the sticker paper without smudging.
5. Peel and Stick: Once dry, peel the backing off and apply the labels to your clean, dry jars. Press firmly to remove any air bubbles for a smooth finish.
For those who prefer a more rustic look, consider using a paint pen to draw directly onto the jars, simulating a chalkboard effect. This method eliminates the sticker step but requires a steady hand for neatness.
Remember, chalk paint and pens come in a variety of colors, so you don’t have to stick to classic black; experiment with colors that match your home decor or personal style.
Where to Purchase Mason Jar Chalkboard Labels
Chalkboard labels for mason jars are readily available at craft stores, home organizing shops, and online marketplaces. Retailers like Michaels and Jo-Ann Fabric and Craft Stores offer a variety of styles in their crafting sections. Home improvement stores, such as The Home Depot and Lowe’s, sometimes carry these items in their kitchen organization aisles.
For a broader selection, online shopping platforms such as Amazon and Etsy provide an extensive range of options from different sellers. These websites allow you to compare prices, read customer reviews, and view pictures of the labels in use, which can help you make a more informed decision.
For those interested in sustainable options, eco-friendly stores may offer labels made with non-toxic, biodegradable materials. Additionally, there are office supply stores like Staples and Office Depot that carry labels which can double as chalkboard labels.
When shopping, consider adhesive strength, label size, shape variety, and whether the labels come with a chalk pen. You may also find value packs or sets that include additional organization tools, such as label holders or erasable chalk markers.
Common Mistakes to Avoid With Chalkboard Labels
To ensure enduring and attractive chalkboard labels on your mason jars, keep these pitfalls in mind:
- Avoid using permanent markers instead of chalk or chalk markers, as this defeats the purpose of having a reusable label.
- Writing on labels before adhering them to the jars might seem easier, but it increases the chance of smudging. Always affix labels first, then write.
- Steer clear of generic adhesive that might not withstand moisture or temperature variations. Use labels designed for jars.
- Resist the urge to over-decorate or write in excessively elaborate script which can render labels illegible. Stick to clear, concise lettering for easy identification.
- Don’t apply labels to dirty or wet surfaces. Clean the jar surface thoroughly and make sure it’s completely dry to ensure optimal adhesion.
Remember, the goal is to create a functional and flexible labeling system that helps keep you organized and your jars looking chic.
Customer Reviews
Customers often share their experiences with mason jar chalkboard labels, providing insights into quality, usability, and style. Positive reviews frequently highlight the convenience these labels bring to kitchen organization, as well as their reusability and aesthetic appeal. Negative feedback might point to issues with adhesiveness or the ease of writing on some label surfaces.
Seek out feedback from multiple sources, including online retail platforms and craft forums, for a well-rounded view. Pay attention to the longevity of labels mentioned in reviews and their performance under different conditions, such as after washing or with various writing tools. This can inform your choice, ensuring you select labels that best meet your needs.
Remember to consider the context of reviews, as personal preferences and specific applications can greatly influence satisfaction. Robust labels with higher customer satisfaction are often better value in the long run, despite potential upfront cost differences.
FAQ
Are chalkboard labels reusable?
Yes, chalkboard labels are reusable.
What can I use to write on chalkboard labels?
For writing on chalkboard labels, using high-quality chalk pens is recommended due to their neat and clean application, in contrast to cheap chalk markers that may have runny ink and unreliable pump mechanisms.
What are the benefits of using mason jar chalkboard labels?
Mason jar chalkboard labels offer benefits such as easy categorization and customization, enhancing the aesthetic appeal, and facilitating a swift updating or erasing of details as per changing contents.
How can you effectively clean and maintain a chalkboard label?
To effectively clean and maintain a chalkboard label, use a damp cloth or sponge with mild soap to gently rub off the chalk and pat dry, and re-condition with a fresh layer of chalk regularly for optimum usability.
Can all chalk types be used to write on chalkboard labels?
Yes, all types of chalk can be used to write on chalkboard labels.
Read More Like This
 15 Epic Nerf Party Ideas
 15 Deliciously Creative Cookie Design Ideas
 15 Creative Belly Cast Ideas for Expecting Moms
 15 Creative DIY Birthday Decorations for a Memorable Celebration
 15 Creative Ideas for Strawberry Cheesecake Decoration
Recap: