Last updated on
Understanding the correct closet framing dimensions is vital because it ensures optimal storage efficiency while enhancing the overall room aesthetics.
Key takeaways:
- Proper planning and preparation are essential for successful closet framing.
- Gather the necessary tools and materials before starting the project.
- Follow closet measurement guidelines to ensure optimal storage space.
- Lay out the closet walls and cut the top and bottom wall plates.
- Install studs, headers, doors, hinges, and trim to complete the closet.
Tools Required

Before jumping into the framing process, gather the following tools to ensure a smooth operation:
- Tape Measure: Essential for precise measurements, your tape measure is key for accurate cuts and alignment.
- Level: A level guarantees your frames are plumb and your shelves will be even.
- Saw: Whether you choose a hand saw or a power saw, you’ll need it to cut studs and plates to the correct length.
- Hammer: Used for nailing the frame together, a hammer is a must for traditional framing.
- Drill: A power drill will be handy for pre-drilling holes and driving screws, especially for securing the frame to the floor and ceiling.
- Stud Finder: This tool will help you locate existing studs for securing the new closet walls if you’re attaching them to an existing wall.
- Carpenter’s Square: Use this for achieving perfectly square corners and edges.
- Chalk Line: To mark the floor for your bottom plate placement, a chalk line creates a straight, visible guideline.
Having these tools at hand when you start will help keep the project moving forward without unnecessary interruptions.
Materials Required

To ensure the success of your closet framing project, you’ll need to gather the following materials ahead of time:
- 2×4-inch or 2×6-inch lumber for constructing wall frames and shelving supports.
- Plywood or oriented strand board (OSB) for sheathing if your closet will form an exterior wall.
- Drywall panels for wall surfacing, purchase sizes that minimize cutting and waste.
- Nails or screws, depending on preference for securing studs and sheathing.
- Construction adhesive for extra strength in attaching plates, studs, and sheathing.
- Drywall tape and joint compound for finishing wall surfaces.
- Door jambs and doors, be they pre-hung or slab, based on design.
- Door hardware, including hinges, handles, and locks.
- Closet rod and shelf brackets for hanging and storage solutions.
- Paint, primer, or stain to finish the closet to match surrounding decor.
Select materials in accordance with your closet’s design and dimensions, while also considering your style preferences and the overall aesthetic of the space where the closet will be incorporated.
Closet Planning and Prep Work
Before diving into the framing process, proper planning is critical to ensure your closet fits seamlessly into your space. Start with a clear vision for your closet’s function and aesthetics, considering not only the space available but also the type of items you plan to store. Make a detailed sketch or blueprint of the desired layout, taking into account the directions doors will swing or where shelving and hanging rods will live.
During this phase, it’s also vital to check your local building codes to confirm requirements for ventilation, electrical wiring, and structural support. Secure any necessary permits to ensure compliance with regulations. Additionally, evaluate the existing space for any obstacles such as electrical outlets, ductwork, or plumbing that might impact your plan. If you’re uncomfortable with these preliminary steps, consulting with a professional can provide valuable insights and direction for your project.
Preparation extends to the workspace as well. Clear the area where you’ll be working, removing old fixtures and ensuring a clean, safe environment. Gather all the tools and materials you’ll need, so they’re readily accessible once you start building. This foresight will streamline the process, keeping the project moving efficiently and reducing unnecessary pauses or delays.
Closet Measurement Guidelines for Planning
Before embarking on framing a closet, accurate planning is essential to ensure the space meets your needs. Consider the following:
Firstly, determine the purpose of the closet. Storage for long-hanging garments requires different space than shelving for shoes or folded clothes. Typically, allocate at least 24 inches of rod length per person for hanging space.
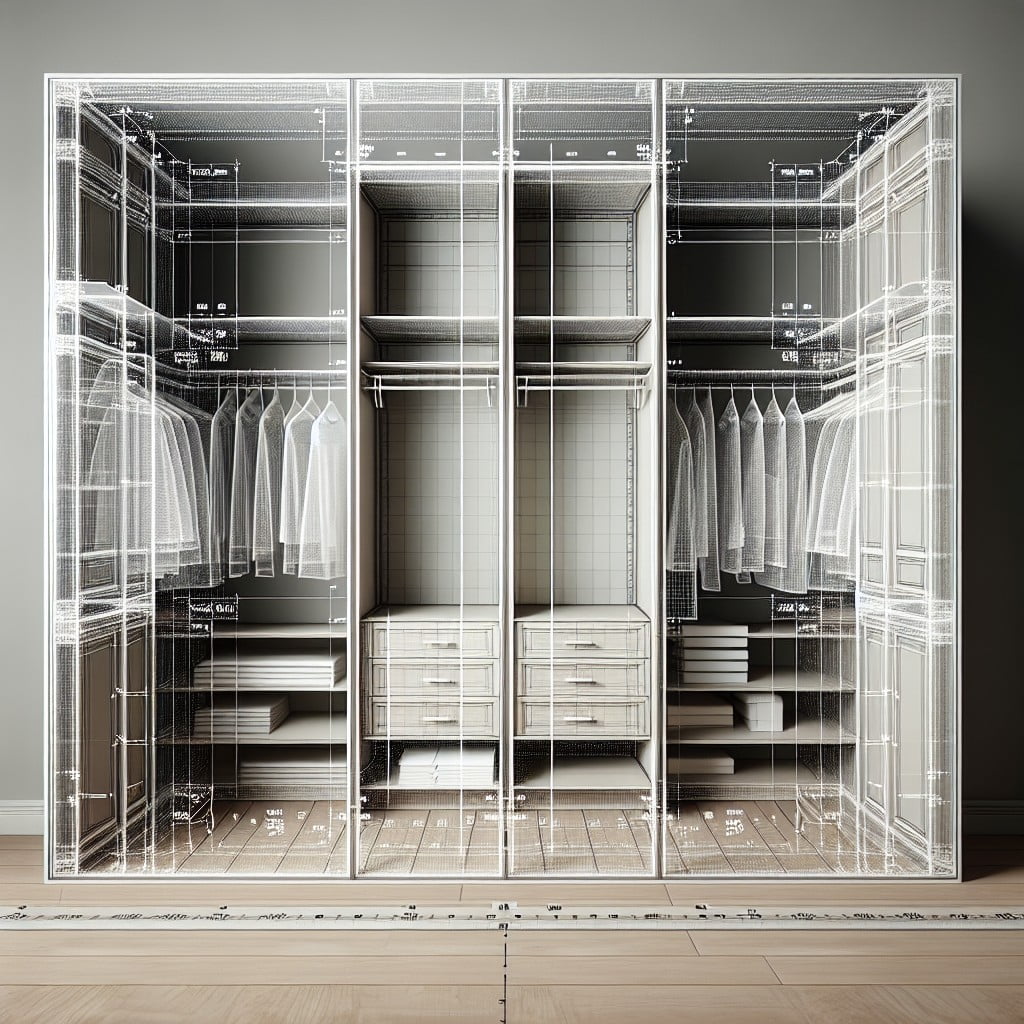
Next, account for the interior dimensions. A closet depth of 24 inches is standard to accommodate hanging clothes without them touching the back wall. For a reach-in closet, a width of at least 72 inches is advisable, which allows for a 24-inch section of double hanging rods and a 24-inch section of long hanging space with shelves above.
If considering a walk-in closet, aim for a minimum width of 6.5 feet. This allows for hanging space on one wall and shelves or drawers opposite, ensuring there’s enough room to stand and dress comfortably.
Lastly, remember to leave enough clearance for doors to open fully, whether you opt for swinging, bi-fold, or sliding doors. Sliding doors require width but save on the space needed to swing open, while swinging or bi-fold doors require additional clearance in front of the closet. Factor in at least 2 inches of space above the door for the header and an extra inch on the sides for jambs. Keep these measurements in mind to create a functional and accessible closet.
Lay Out the Closet Walls
Before diving into the physical build, take a moment to envision where your closet walls will reside. Using a chalk line or painter’s tape, mark the outline on the floor, being sure to check the square of the corners with a carpenter’s square. This visualization step is crucial for a smooth installation and aids in identifying any potential obstacles, such as electrical outlets or vents.
Ensure that the planned layout doesn’t impede any existing structures or systems within the room. Additionally, consider the door swing direction and include this in your layout to prevent future access issues. With your blueprint set on the floor, you’re ready for the next phase: constructing a solid framework that will define your new storage space.
Cut the Top and Bottom Wall Plates
Before cutting the top and bottom plates, measure the length of the closet wall and mark these measurements on your lumber. Use a framing square to extend these marks across the widths of the plates, ensuring accuracy for a plumb fit.
When cutting, opt for a circular saw for speed and precision, but ensure safety precautions are in place—goggles and ear protection. Remember, the top plate rests on the base of the ceiling while the bottom plate anchors to the floor, so double-check your ceiling and floor are parallel to avoid potential fit issues later on.
Lastly, when dealing with door openings, subtract the width of the door jamb from the overall length before cutting—this small step is crucial for proper door installation.
Fasten the Studs
Once the top and bottom plates are securely in place, the next step is to attach the vertical studs that will form the structural framework of your closet. Here’s how to effectively do that:
1. Measure and Mark: First, determine the standard spacing for your wall studs, which is typically 16 inches on center. Mark these measurements on both the top and bottom plates to ensure your studs will be perfectly aligned.
2. Cut Studs to Length: Measure the height of your closet area and cut the studs accordingly. Remember to account for the thickness of the sole and top plates when measuring the length of your studs.
3. Crown Alignment: Check each stud for the “crown” or slight curve along the edge. When installing, make sure all crowns face the same direction—typically outward—to ensure a plumb wall.
4. Secure the Studs: Place each stud between the top and bottom plates at the marked locations. Nail them in place using two nails at each end—driving them through the plate and into the ends of the studs. For added stability, nails should be driven in at a slight angle, creating what’s called ‘toe-nailing’.
5. Check for Plumb: After installing several studs, use a level to check for plumb. Minor adjustments can be made before securing all studs completely.
6. Double Up Around Openings: If your closet design includes openings or doorways, double up the studs on either side to reinforce these areas, providing a solid anchor for hinges and hardware.
Following these steps will ensure a sturdy skeleton for your closet framing, laying a solid foundation for drywall and any built-in structures later on.
Install the Headers
Once the studs are securely fastened, the next step is to frame the top part of the closet opening by installing headers. These horizontal members transfer the load above the door to the surrounding studs, ensuring structural integrity. For a strong build, ensure the header is made of two pieces of lumber joined together to provide adequate support.
To install:
- Measure the space between the king studs that flank the closet opening.
- Cut the header to size, considering the width of the door opening plus the additional space taken by the jack studs which support the header.
- Sandwich a piece of plywood between two pieces of lumber cut to the same length for the header. The plywood should be the same thickness as the wall studs to provide a flush surface.
- Place the header into the opening on top of the jack studs and nail it into position.
- Double-check that the header is level to prevent any issues with door installation later on.
Remember, a correctly installed header stabilizes the closet framing, especially vital if you’re planning to hang heavy mirrored or solid wood doors.
Install the Doors
When installing closet doors, precision is key to ensure they operate smoothly.
First, secure the tracks for sliding doors or the frame for hinged doors, making sure they are level.
If you’re opting for sliding doors, remember to leave enough space for them to overlap.
Hinged doors require proper spacing between the door and the frame to avoid rubbing; usually, a gap of 1/8 inch around the sides and top is recommended.
For bifold doors, align the top pivot point carefully and ensure the bottom pivot is seated correctly into the floor bracket.
Don’t forget to check that all doors can open freely without obstruction and make any necessary adjustments to the placement of hardware or the door itself to achieve a seamless fit.
Strengthen the Hinges
To ensure your closet doors open and close smoothly, reinforcing the hinges is a vital step. Begin by selecting hinges that are appropriate for the weight and size of your door. Heavy-duty hinges are recommended for full-size doors to prevent sagging. When installing, use screws that are long enough to anchor into the framing, not just the wall surface. Typically, 2-inch screws are sufficient for secure attachment.
For added stability, consider installing three hinges on doors over 80 inches tall. Space the top and bottom hinges approximately 7 inches from the ends of the door, with the middle hinge evenly distributed between them. Before tightening the screws, check the alignment with a level to ensure the door hangs evenly. If your closet will see frequent use, installing screw-in anchors can provide extra holding power, thus prolonging the lifespan of your doors and making adjustments easier down the line.
Trim the Doors With Casing
Once your closet doors are installed, adding trim or casing around them provides a finished look and helps conceal any uneven gaps between the door and the wall. To do this effectively:
1. Measure the doorway to determine the length of casing needed for each side. Remember to account for any overhang you prefer beyond the height and width of the door frame.
2. Cut each piece of trim at a 45-degree angle at both ends for mitered corners. If opting for butt joints, only one end of each vertical piece requires a 45-degree cut, while the horizontal piece will need straight cuts.
3. Test fit the trim to ensure a snug, accurate alignment. Minor adjustments can be made with sanding or trimming.
4. Nail the casing to the wall, beginning with the top piece before attaching the sides. Keep the nails spaced evenly, sinking them just below the wood surface to allow for wood filler later on.
5. Fill nail holes with wood filler, sand smooth when dry, and finish with paint or stain to match or complement your closet doors.
Applying these steps will give you a professional-looking detail that enhances the overall appearance of your closet while ensuring a seamless transition between the door and wall surfaces.
Standard Closet Width
When measuring for a standard closet, the width is typically 24 to 96 inches. This range accommodates various storage needs, from single-door reach-ins to expansive wardrobe setups.
- 24 to 48 inches: Ideal for a small reach-in closet with a single door. This size comfortably fits a hanging rod and some shelving.
- 48 to 72 inches: Suitable for larger reach-ins that can include a central divider for more organizational options, such as separate hanging spaces or additional shelving.
- 72 to 96 inches: This width is for spacious reach-in or minimal walk-in closets, allowing for ample storage, double hanging sections, and possibly a small seating area.
When planning, leave an allowance for the thickness of framing materials, and consider spaces needed for the opening mechanism of doors, such as folding or sliding doors. Remember, the width must align with your storage needs and maintain proportion to room size to ensure both aesthetic coherence and functionality.
Standard Closet Depth
For a standard reach-in closet, a depth of 24 inches is ideal as it provides ample space for hanging garments without cramping them. Keeping it at this size ensures clothes hang comfortably clear of the back wall. This measurement also allows most doors, including sliding and bifold doors, to fit without issue. If you plan to include shelving or drawers behind the hanging clothes, consider extending the depth to 28 inches to accommodate these elements while maintaining ease of access. Remember, too shallow of a closet won’t store clothing efficiently, and too deep of one can make items hard to reach. Always ensure the interior depth measurement accounts for the thickness of any doors or drawers when they are fully inserted into the closet space.
Walk-In Closet Width
To ensure a comfortable walk-in closet experience, adhering to the minimum width recommendation of 6.5 feet is crucial. This width allows for hanging space on one wall and a clear passageway. If you’re planning for a more luxurious closet, consider a 7 to 12 feet width, as this range allows for hanging spaces on both sides. For those who dream big, a width exceeding 12 feet can accommodate an island or seating area. Remember, these dimensions contribute to a functional and fluid navigation throughout your closet, enhancing the overall user experience.
Walk-In Closet Depth
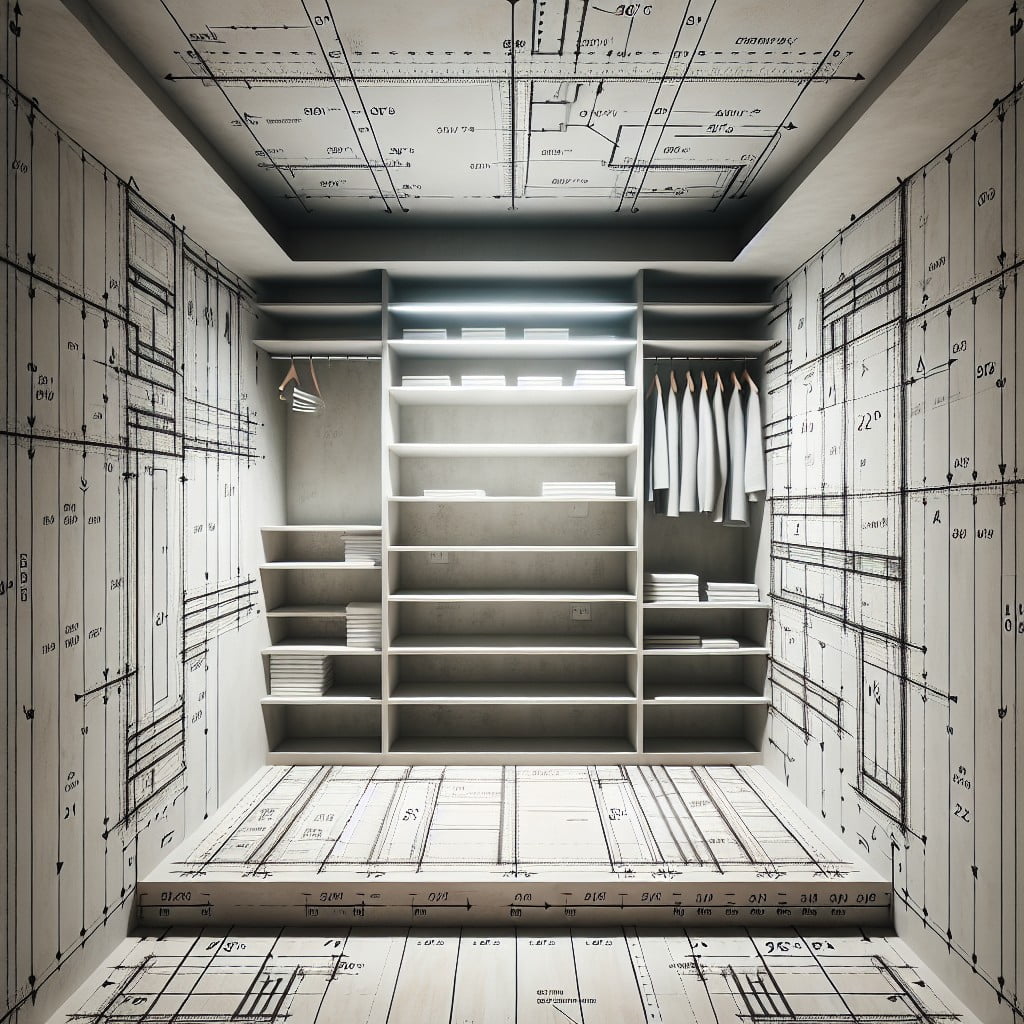
To maintain functionality in a walk-in closet, you should aim for a depth of at least 36 to 48 inches. This space allows for hanging garments without them brushing against the back wall and provides adequate room for walking and dressing.
For a more luxurious feel or for larger wardrobes, consider deeper dimensions, keeping in mind that the closet’s use should guide its size. To optimize storage, consider incorporating shelves or drawers that are 14 to 16 inches deep. This ensures that you have enough room for folded items without wasted space.
Balancing the depth with accessibility, make sure every part of the closet can be easily reached. When designing, leave a clear passageway of at least 24 inches to ensure you can move comfortably through the space.
FAQ
What is the standard size of a built in closet?
The standard size of a built-in closet typically starts from 6 x 10 feet for one person and increases to 7 x 10 feet for two people, ideally covering a total area of around 100 square feet for sufficient storage and comfortable navigation.
Can you frame a closet with 2×2?
While it’s technically possible to frame a closet with 2×2, issues such as drywall cracking are likely to occur, making 2×3 a more optimal choice or considering built-in wardrobe alternatives.
What is standard depth for closet?
The standard depth for a closet should be a minimum of 24 inches deep to allow clothes to clear the back wall.
How do the dimensions vary for walk-in closets?
Walk-in closet dimensions can vary widely, but typically range from 5 x 5 feet for a smaller closet up to 10 x 15 feet or larger for a more luxurious space.
Does the closet type affect the recommended framing dimensions?
Yes, the type of closet significantly impacts the recommended framing dimensions.
What factors should be considered when deciding on closet dimensions?
When deciding on closet dimensions, considerations should include the amount and types of items to be stored, the available room space, the user’s accessibility needs, and any potential future storage requirements.
Read More Like This
 15 Funny Graduation Cap Ideas to Make Your Big Day Unforgettable
 15 Unique DIY Christmas Decorations Ideas for a Festive Home
 15 Creative Science Fair Board Ideas to Amaze Your Audience
 15 Handmade Envelope Decoration Ideas for Creative Gifting
 10 DIY Gifts for the Whiskey Lover in Your Life
Recap: