Last updated on
Electrical projects at home can be both rewarding and cost-effective, but safety should always be a top priority. One essential component of DIY wiring is the junction box, a crucial element that ensures safe electrical connections. In this blog, we’ll guide you through the process of safely installing and using junction boxes, providing valuable insights for DIY enthusiasts.
Understanding Junction Boxes

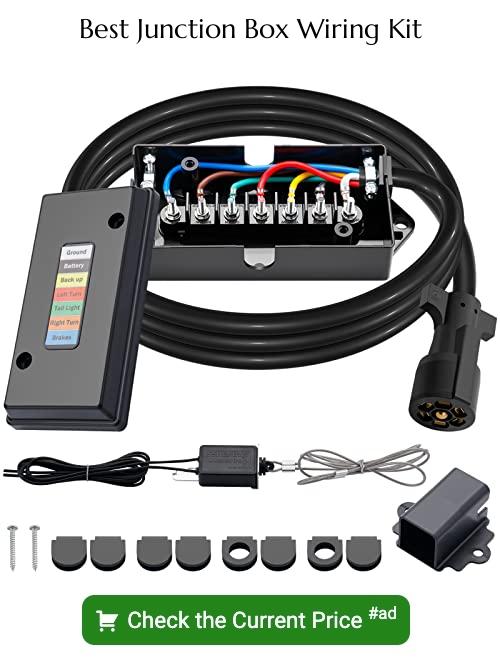
Understanding junction boxes is crucial for anyone undertaking electrical projects, especially in environments where moisture is a concern. There are various types of junction boxes, including metal and plastic variants, each serving specific purposes in different applications.
They play a pivotal role in housing electrical connections, shielding them from environmental elements, and preventing potential hazards. A waterproof junction box is designed to resist moisture, ensuring the electrical system’s integrity even in damp conditions.
It’s essential to comprehend the specific requirements of these boxes and how they contribute to the overall safety and functionality of the wiring system. Whether for outdoor installations, bathrooms, or any area prone to moisture, choosing the right waterproof junction box is key to maintaining a secure and reliable electrical setup.
Necessary Tools and Materials
Before embarking on a junction box installation, ensuring you have the necessary tools and materials is fundamental for a successful project. Common tools include a voltage tester, screwdrivers, wire strippers, and a power drill.
These tools enable you to work efficiently and safely during the installation process. Additionally, you’ll need materials such as the junction box itself, cable connectors, and screws to secure the box in place. Safety gear, including gloves and safety glasses, is essential to protect yourself during the installation.
Having these tools and materials at your disposal ensures that you can work systematically, following safety guidelines and manufacturer instructions to achieve a secure and effective junction box installation.
Step-by-step Installation Guide
Preparing for the Installation
Start by turning off the power to the circuit you’ll be working on and assessing the existing wiring. It’s crucial to ensure that the circuit is de-energized to prevent accidents.
Mounting the Junction Box
Choose an appropriate location for the junction box, making sure it’s easily accessible. Securely mount the box to the wall or ceiling using appropriate screws. Ensure that it’s flush and level for a neat and professional appearance.
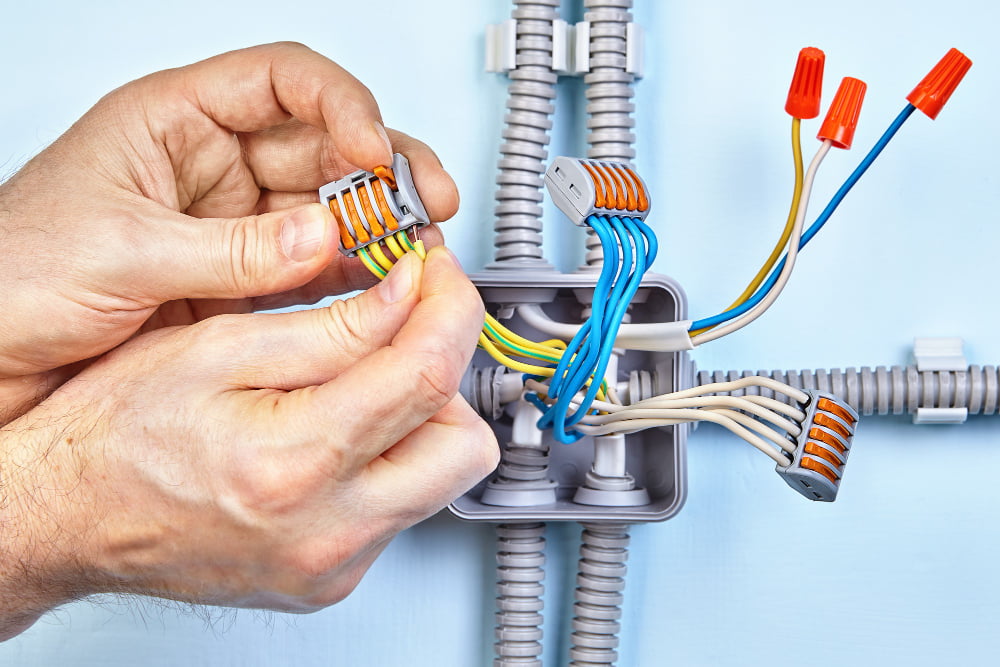
Connecting Wires Inside the Junction Box
Carefully strip the insulation from the wires and connect them inside the junction box using wire connectors. Follow the manufacturer’s instructions for proper installation. Pay attention to color coding and ensure a secure connection.
Properly Securing and Grounding the Junction Box
After connecting the wires, secure them neatly inside the junction box. Additionally, if the box is made of metal, ensure proper grounding by connecting a ground wire to the grounding screw provided in the box. This step is crucial for safety and compliance.
Testing the Installation
Once the wiring is complete, turn the power back on and test the installation using a voltage tester. Ensure that all connections are secure and that there are no issues with the wiring. If everything checks out, your junction box installation is successful.
Common Mistakes to Avoid
To ensure a secure and hazard-free junction box installation, it’s crucial to steer clear of common mistakes that may compromise the effectiveness of the wiring system. Overcrowding the junction box, using the wrong type or size of the box, poor wire connections, and neglecting proper grounding are pitfalls to avoid.
Overcrowding can lead to overheating, while using an incorrect box may result in inadequate protection. Ensuring proper wire connections is paramount for a reliable electrical system, and neglecting grounding poses potential safety risks. Adhering to electrical codes and regulations and avoiding these common mistakes will contribute to a successful and safe junction box installation.
Tips for Safe Usage
Regular Maintenance and Inspections
Schedule routine maintenance checks to inspect the condition of your junction boxes. Look for signs of wear, damage, or corrosion. Address any issues promptly to maintain a safe electrical system.
Identifying Signs of Wear or Damage
Be vigilant for signs such as burning smells, flickering lights, or discolored outlets, which could indicate issues with your electrical system. If you notice any problems, consult with a professional electrician for further assessment.
Ensuring Accessibility for Future Repairs or Modifications
When installing junction boxes, think about future accessibility. Ensure that boxes are easily reachable for potential repairs or modifications, avoiding the need for extensive renovations later on.
The Takeaway
The proper installation and use of junction boxes are paramount for a safe and efficient electrical system in your home. By understanding the function of junction boxes, using the right tools and materials, following a step-by-step guide, and avoiding common mistakes, DIY enthusiasts can tackle wiring projects with confidence. Remember to prioritize safety, adhere to regulations, and consult with professionals when needed for a successful DIY wiring experience.
Read More Like This
 How to Choose the Right Commercial and Residential Garage Doors in Florida
 Beyond the Kitchen: How Workwear Jackets Inspire Creative Expression
 The Rise of At-Home Hosting and Why It’s Shaping Modern Social Culture
 The Subtle Art of Renovating Character Homes
 Creating an Allergy-Friendly Home for Pet Owners
Recap: