Last updated on
Discover the fascinating science and simple steps behind creating your very own glow in the dark chalk, transforming your nighttime doodles into illuminated masterpieces.
Key takeaways:
- Glow-in-the-dark pigments absorb and emit light over time.
- Safety precautions when handling glow-in-the-dark materials.
- Ingredients needed to make glow-in-the-dark chalk.
- Step-by-step process for making glow-in-the-dark chalk.
- Tips for enhancing the glow effect and troubleshooting common issues.
Understanding Glow-in-the-Dark Pigments
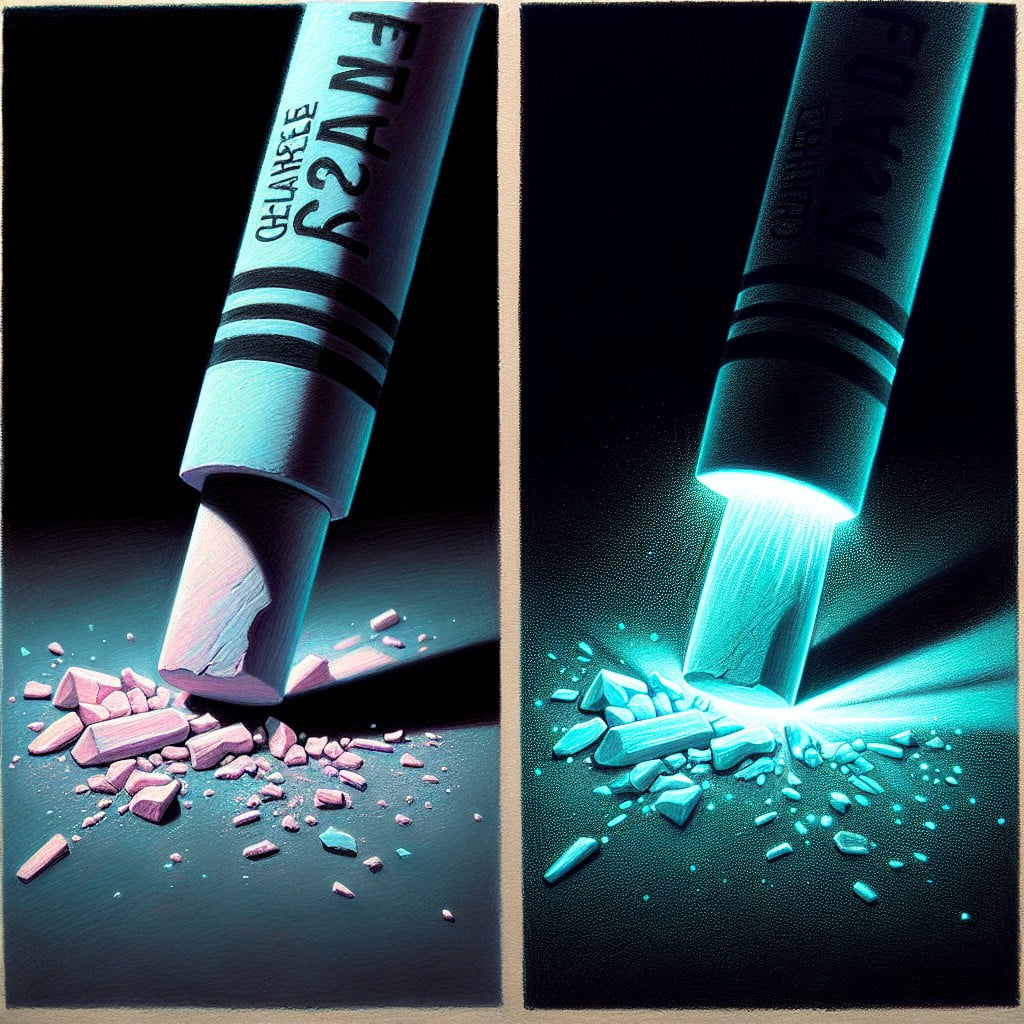
Glow-in-the-dark pigments, also known as phosphorescent materials, possess the unique ability to absorb light and then emit it over a period of time. These pigments contain substances like strontium aluminate, which are charged by exposure to light. Upon being “charged,” these materials exhibit a distinctive glow by slowly releasing the absorbed light energy.
The duration and intensity of the glow are determined by several factors, including the quality of the pigment, the time spent charging under light, and the surrounding darkness. Notably, these pigments are entirely safe for use in consumer products, as they are non-radioactive and non-toxic.
Understanding the properties of these glow-in-the-dark pigments is crucial when creating chalk that will be both vibrant and long-lasting. When mixing these pigments into chalk, it is important to achieve a balance that maintains the chalk’s usability while maximizing its luminescent effect.
Safety Precautions for Glow-in-the-Dark Materials
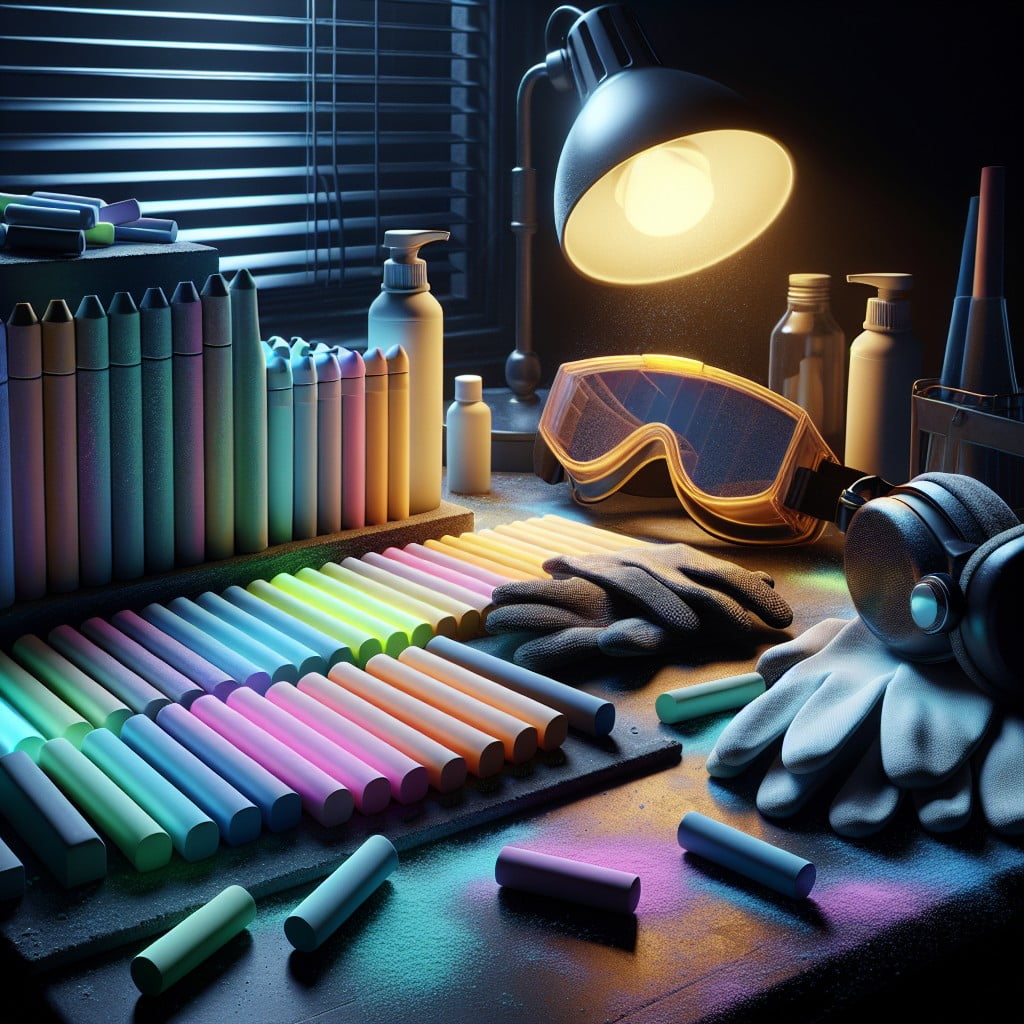
When handling materials for creating glow-in-the-dark chalk, prioritize your safety by following these guidelines:
- Wear protective gear: Don gloves to protect your skin, and consider safety glasses to shield your eyes from any accidental splashes or dust.
- Work in a well-ventilated area: Ensure that your crafting space has good airflow to dissipate any fumes from the materials you use.
- Read labels carefully: Understand the properties of the pigments and binders you’re using; some may be toxic or irritant, and it’s essential to be informed.
- Use non-toxic ingredients: Opt for pigments and other materials that are certified non-toxic, especially if the chalk will be used by children.
- Avoid ingestion: Keep materials out of reach of small children and pets to prevent accidental ingestion.
- Clean up spills immediately: If any materials spill during the process, clean them up promptly to prevent skin contact or staining of surfaces.
- Store materials safely: Keep your pigments and chalk in secure containers, away from food items and out of direct sunlight when not in use.
By adhering to these safety measures, you can enjoy making and using your glow-in-the-dark chalk without unnecessary risks.
Ingredients Needed for Glow-in-the-Dark Chalk
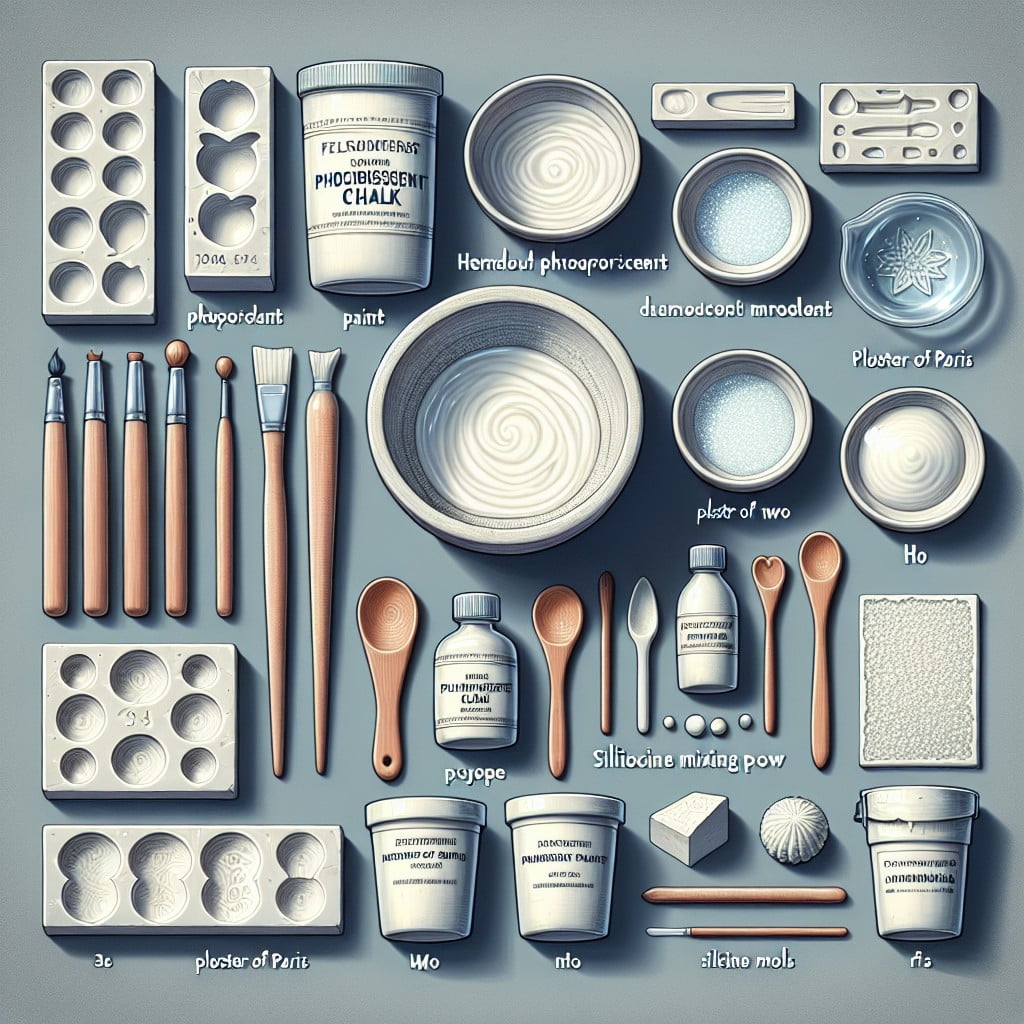
To craft your own luminescent chalk, gather the following essentials:
- Plaster of Paris: This fine powder serves as the base, providing the desired shape and solidity once mixed with water.
- Glow Powder: Choose a high-quality, non-toxic phosphorescent powder that charges under light and emits a glow in darkness.
- Tempera Paint (optional): For adding color to your chalk; pick a paint that complements the glow powder’s color for maximum luminosity.
- Water: Essential for activating the Plaster of Paris and binding the mixture.
- Mold: Silicone molds are ideal for casting, as they come in various shapes and easily release the dried chalk.
- Mixing containers: To blend ingredients without cross-contamination.
- Mixing tools: Such as spoons or sticks for thorough mixing that ensures even distribution of the glow powder.
- Personal Protective Equipment (PPE): Gloves and a dust mask to safeguard against inhaling fine particles and to keep hands clean during preparation.
Combine these components correctly, and you’ll be on your way to creating a glow-in-the-dark chalk that brightens up any nighttime artistry.
Step-by-Step Process to Make Glow-in-the-Dark Chalk
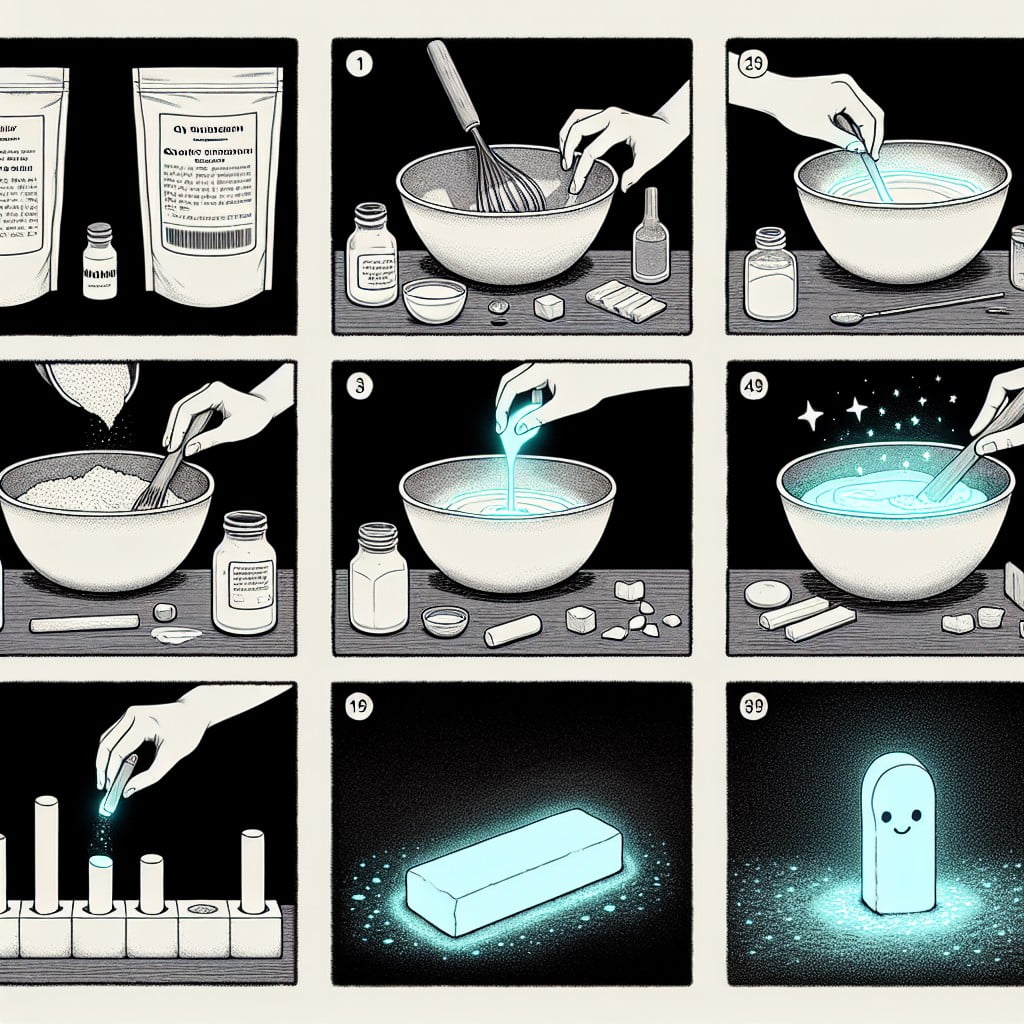
Begin by donning protective gear—gloves and a mask are essential to avoid inhaling any fine particles or coming into direct skin contact with the ingredients.
Measure out two tablespoons of plaster of Paris and place it in a mixing bowl. Plaster of Paris acts as the base for your chalk, enabling it to hold shape once dried.
Add one tablespoon of glow-in-the-dark powder to the bowl. Ensure that the powder is thoroughly mixed with the plaster of Paris for a uniform glow.
Slowly pour in one tablespoon of water while stirring. The consistency should be similar to that of thick batter; add more water if needed, but do so sparingly to avoid a runny mixture.
Choose your mold—silicone ice cube trays or a DIY cardboard mold lined with wax paper work well for shaping the chalk.
Carefully pour the mixture into the mold, tapping it gently to remove any air bubbles and to ensure the mixture settles evenly.
Set the filled mold aside to dry. This may take up to 24 hours, depending on the size of your chalk pieces and the humidity levels.
Once dry, gently remove the chalk from the mold. If the chalk sticks, flexing the silicone tray or peeling away the cardboard can help release it.
Charge the chalk under a bright light to activate the glow. The longer it’s exposed to light, the stronger and longer-lasting the glow will be when placed in darkness.
Store the finished chalk in an airtight container to protect it from moisture and to maintain its glowing properties.
Drying and Storage Tips for Glow-in-the-Dark Chalk
Once you’ve crafted your glow-in-the-dark chalk, proper drying is key to ensure it retains its glowing properties. Spread the chalk sticks out on a baking sheet covered with parchment paper to avoid sticking. Place them in an area with good airflow and low humidity to facilitate even drying. Turning the chalk occasionally helps prevent warping and ensures all sides dry uniformly.
After the chalk is completely dry, which can take up to 24 hours depending on thickness, storage becomes the next priority. To preserve the glow, store your chalk in a dark, airtight container. Exposure to light when not in use can lead to a decrease in the glow intensity over time. Keep the container in a cool, dry place to prevent any moisture from affecting the chalk. If you have silica packets, adding one to the container can help absorb any excess moisture, keeping your chalk in prime condition for your next nighttime art session.
Creative Uses for Glow-in-the-Dark Chalk
Transform your driveway into a nighttime galaxy. Sketch stars, planets, and comets with your homemade chalk, creating an astronomical scene that comes alive after sunset.
Jazz up outdoor parties with luminous games. Draw hopscotch grids, four-square courts, or create your own glowing obstacle course for an unforgettable evening of fun.
Illuminate walking paths or garden borders during evening events. Trace luminescent lines along walkways to guide guests or highlight the outlines of flower beds for a magical nighttime garden.
Craft unique murals on pavement that reveal their secrets after dark. Design daytime scenes that gain an extra layer of surprise when they glow under the night sky, captivating all who pass by.
Foster educational activities by drawing glow-in-the-dark anatomy figures, solar system models, or historic timelines on school playgrounds for an interactive learning experience during night-time school events.
Inspire interactive storytelling. Use your chalk to draw scenes and characters on the sidewalk, then make up stories with children as the tales come to light, quite literally, as darkness falls.
Maintenance and Cleanup for Glow-in-the-Dark Chalk
After enjoying the luminescent creations on sidewalks or driveways, proper maintenance ensures longevity of the chalk and safety of the surfaces. First, like regular chalk, the fluorescent markings can be rinsed off using a garden hose or a bucket of water and a brush. For more stubborn residue, mild soap mixed with water can be effective without harming the surface.
Store unused chalk in a cool, dry place to prevent it from becoming damp and losing its integrity. Be sure it’s sealed in a container to protect it from moisture and to prevent the phosphorescent powder from losing its efficacy. If the chalk gets wet, allow it to air dry completely before storing to avoid mold growth.
For clothing stains, pre-treat with a stain remover, then wash according to the fabric’s care label. Most importantly, always wash hands after using the chalk to remove any remaining pigment and ensure safety.
Tips for Enhancing the Glow Effect
To maximize the luminescence of your homemade chalk, consider the following pointers:
- Use a high-quality glow powder: Opt for strontium aluminate-based pigments, which tend to have a stronger and longer-lasting glow.
- Charge with a strong light source: Expose the chalk to sunlight or a UV lamp before use to energize the pigments more effectively.
- Apply multiple layers: If you’re painting over the chalk with a sealant, add multiple thin layers of glow powder and sealant to build up the glow potential.
- Choose the right surface: Lighter-colored surfaces will make the glow stand out more prominently than darker ones.
- Grind pigment finely: Ensure the glow pigment is ground to a fine powder for a more uniform and intense glow.
- Optimize the ratio: Experiment with the pigment-to-binder ratio to find the sweet spot for the best glow without compromising the chalk’s integrity.
- Store correctly: Keep chalk in a dark place when not in use to preserve the glowing properties of the pigment over time.
Troubleshooting Common Issues With Glow-in-the-Dark Chalk
If your homemade glow-in-the-dark chalk isn’t performing as expected, here are some quick fixes to common problems:
- Insufficient Glow: If the chalk isn’t glowing well, you might need to increase the concentration of phosphorescent powder in the mixture. Make sure you’re also ‘charging’ it under a light source before use.
- Hard to Apply: Chalk that’s difficult to use may be due to an imbalance in the wet to dry ingredient ratio. If it’s too hard, add a bit more water to the mixture. Conversely, if it’s too crumbly, add a tad more plaster.
- Chalk Doesn’t Stick: This can be due to too smooth of a surface or not enough binder in your mixture. Be sure to apply the chalk to a surface with enough texture for adherence, and consider increasing the binder quantity if the problem persists.
- Quick Fading: Rapid fading glow may result from not enough ‘charging’ or low-quality phosphorescent powder. Ensure your chalk gets enough light exposure and invest in a high-grade powder for better results.
- Uneven Color: Uneven color or streaks in your chalk could be due to improper mixing. Thoroughly blend the phosphorescent powder with the other ingredients before letting the mixture set.
By addressing these issues, your glow-in-the-dark chalk should offer the fun and creativity it was intended for.
Glow in the Dark Space Art Idea
Capture the magical essence of the cosmos by transforming your driveway or sidewalk into a celestial masterpiece using glow-in-the-dark chalk.
Begin by sketching out simple constellations or a sprawling galaxy.
Use a variety of chalk colors to represent different stars and nebulae, highlighting key constellations with bolder, brighter hues.
For an even more striking effect, create a backdrop by blending dark blues and purples, mimicking the night sky.
Dots and swirls can mimic distant stars and cosmic dust.
Once your space art comes alive at night, it seems as though you’re looking into the depths of space from your own home.
Consider adding educational elements by labeling constellations or planets, creating an interactive stargazing experience.
This activity not only fosters creativity but also promotes learning about astronomy in a fun and immersive way.
Remember to charge your artwork with bright light before dusk to ensure a long-lasting glow, and enjoy your personal universe twinkling under your feet.
FAQ
Does chalk glow-in-the-dark?
Chalk itself does not inherently glow in the dark; however, it can be made to glow with the application of glow-in-the-dark paint which must be charged by a light source.
Does neon chalk glow in blacklight?
Yes, neon chalk does glow in blacklight due to the utilization of a fluorescent compound in its composition.
How do you make neon chalk paint?
To make neon chalk paint, mix together 2 tablespoons of neon paint, 2 cups of water, and one cup of cornflour until well blended.
What materials are needed to create DIY glow-in-the-dark chalk?
To create DIY glow-in-the-dark chalk, you need Plaster of Paris, glowing paint, water, plastic cups, and ice cube trays or molds.
Are there safety concerns regarding the use of glow-in-the-dark chalk for children?
While non-toxic glow-in-the-dark chalk is generally safe for use by children, supervision is recommended to prevent ingestion or inhalation, which can be harmful.
What are the science principles behind the luminosity of glow-in-the-dark chalk?
The luminosity of glow-in-the-dark chalk is a result of phosphorescence, where energy absorbed from light exposure is slowly released, causing the chalk to glow.
Read More Like This
 15 Funny Graduation Cap Ideas to Make Your Big Day Unforgettable
 15 Unique DIY Christmas Decorations Ideas for a Festive Home
 15 Creative Science Fair Board Ideas to Amaze Your Audience
 15 Handmade Envelope Decoration Ideas for Creative Gifting
 10 DIY Gifts for the Whiskey Lover in Your Life
Recap: