Last updated on
Unleash your creativity with hay bale decorations because these rustic, readily available materials can transform any space into a charming, fall-themed wonderland.
Hay bales aren’t just for farms and fall festivals anymore. They’ve become a versatile and trendy element in home decor, offering a rustic charm that can be transformed to suit any theme or occasion.
From creating comfortable seating for your backyard gatherings, to crafting whimsical displays for your garden, or even using them as a unique coffee table, hay bales can add a touch of country chic to your home.
This article will guide you through innovative and creative ways to incorporate hay bales into your decor, providing detailed ideas that will surely inspire your next decorating project.
Painted Halloween Faces
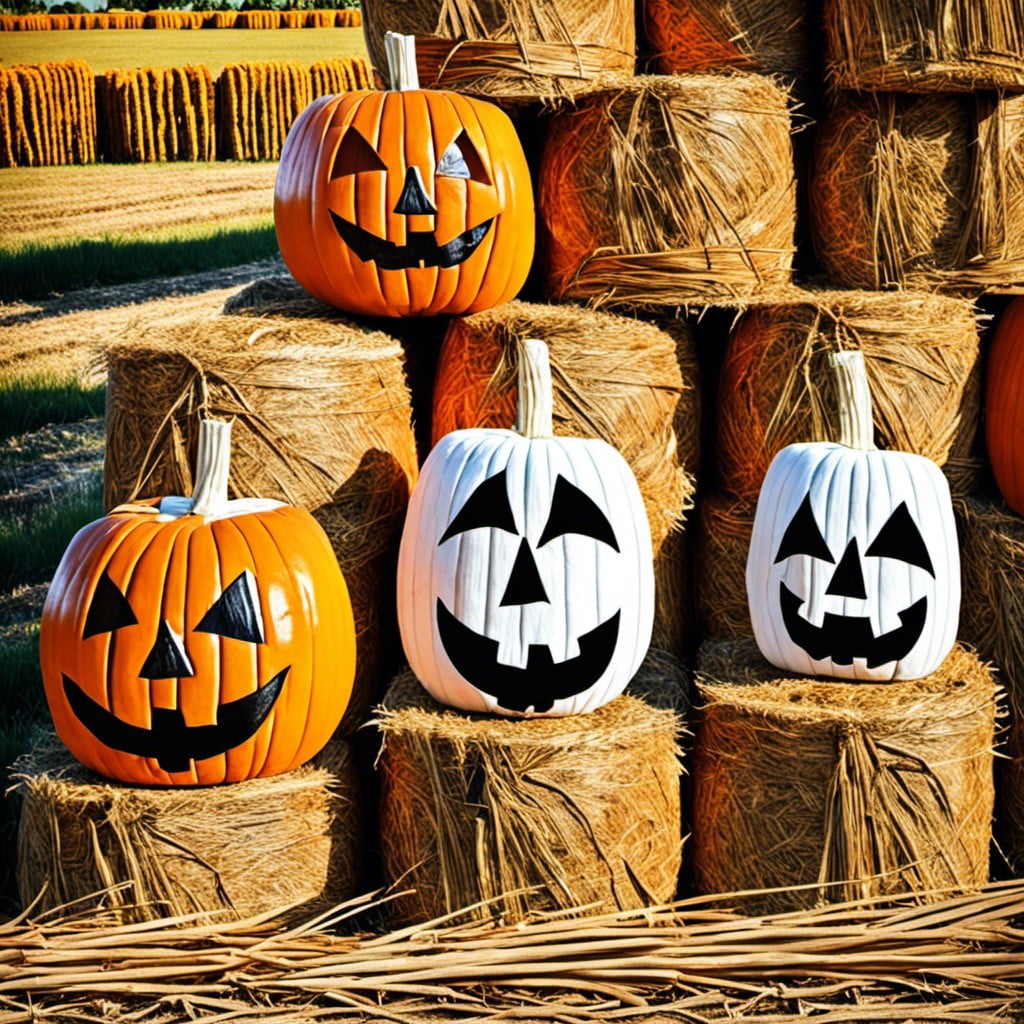
Creating these spooky characters is a simple and fun project. First, choose the main character – from a vampire to a witch, options are plentiful! Once the character is chosen, paint the entire hay bale using a suitable base color. Acrylic paint works best. Allow it to completely dry.
Drawing your favorite Halloween characters using paint markers adds depth to this DIY project. Remember, black is an excellent choice for the outlines. Next, fill in with colors to reflect your holiday spirit!
Accessorizing tops the final look. A cloak for a vampire, a hat for a witch, or maybe even a broom to lean against it. Use items from around the house or local thrift stores to keep costs down. A cordless LED light placed strategically behind it can give an eerie glow, making your hay bale face an enchanting Halloween highlight.
Straw Animal Sculptures
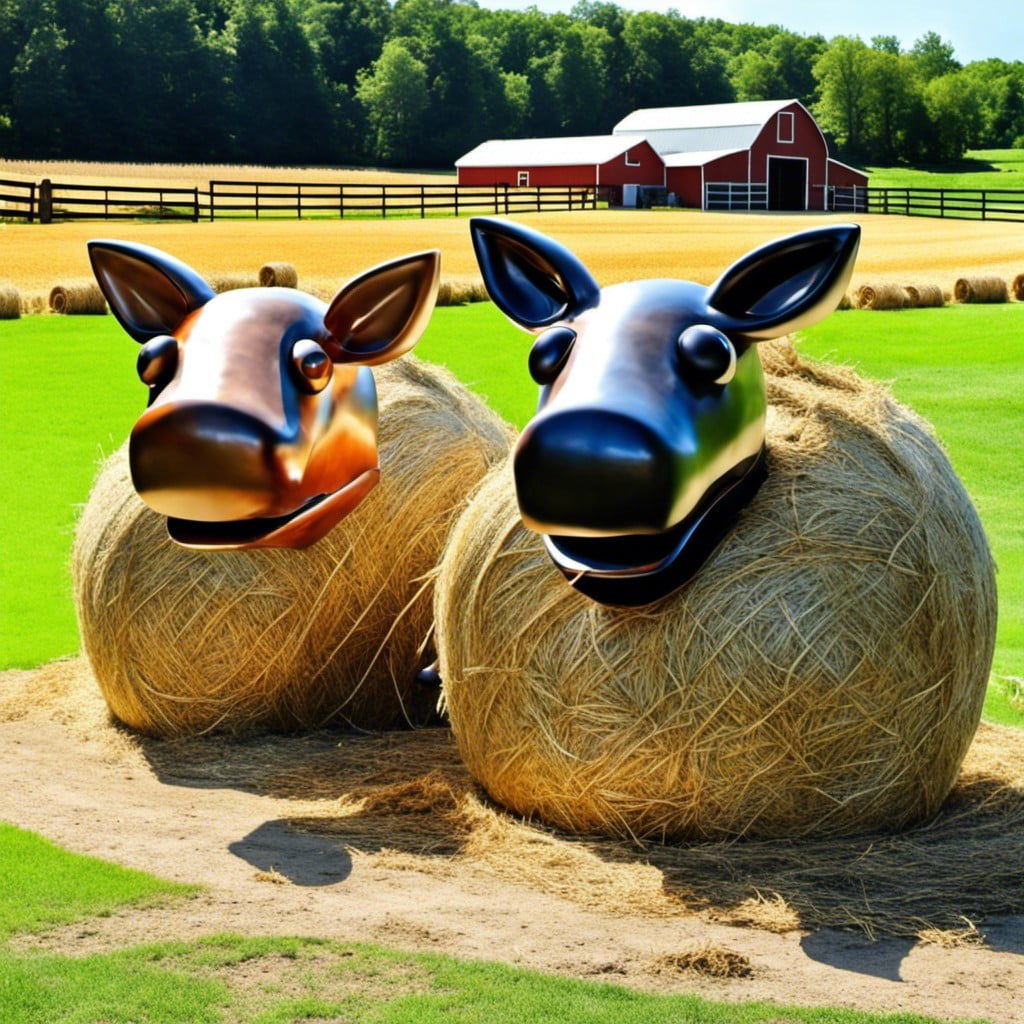
Creating a piece of outdoor art that’s unique, fun and appealing, straw animal sculptures are an unexpected use of hay bales. Here are essential points to remember while constructing one:
- Choose an easy and robust animal shape for beginners, such as a turtle or a caterpillar. A complex shape like a horse or a deer requires more expertise and precision.
- Remember to sketch the animal on a piece of paper to serve as your blueprint before you start.
- Use robust twine or wire to hold the hay bale sections together throughout the construction process.
- Coat your finished creation with a sealer to protect it from rainfall, and preserve it for longer.
- Incorporate natural materials for detailing, like sticks for antennae or carrot root for a pig snout.
- Position your hay bale animal strategically in your yard. High visibility areas near paths or entrances make a greater impact.
Follow these guidelines, and you can transform basic hay bales into playful animal sculptures that embellish your outdoor space.
Autumn Harvest Display
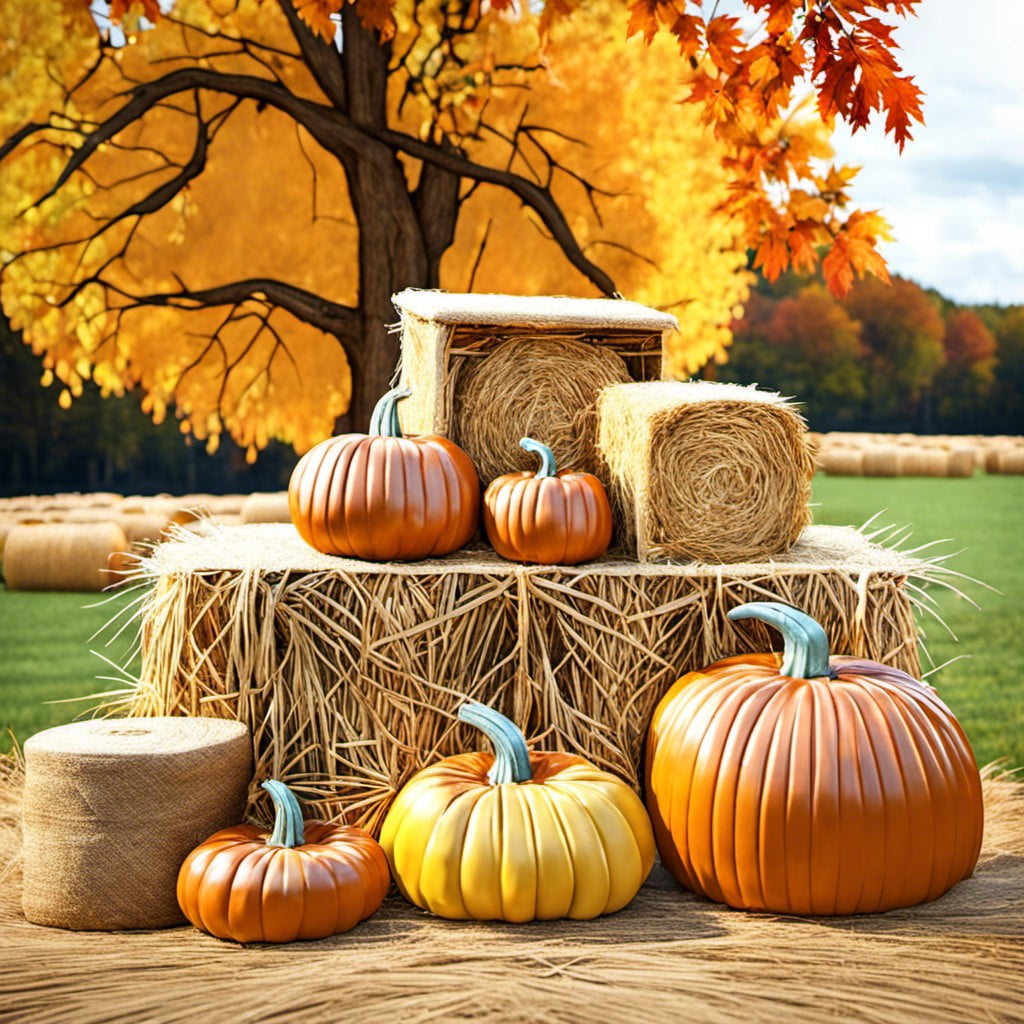
Incorporating hay bales into an autumn harvest display adds an element of seasonal charm and rustic warmth. Stack them to create varying levels for displaying an array of autumn produce such as pumpkins, gourds, and corn stalks.
Consider framing your display with tall corn stalks to enhance the full harvest effect. Add colorful mums and sunflowers for a vibrant pop of color amidst the golden hues of autumn. Raffia bows or burlap wraps tied around the bales can complement the display and add texture. But remember, moderation is key; overcrowding the setting may dampen the overall aesthetic.
Utilizing lanterns and LED lights can create a cozy and inviting ambiance in the evening. This decor not only allows a celebration of the harvest season, but also offers a fantastic photo opportunity.
Snowman Hay Bale Stacks
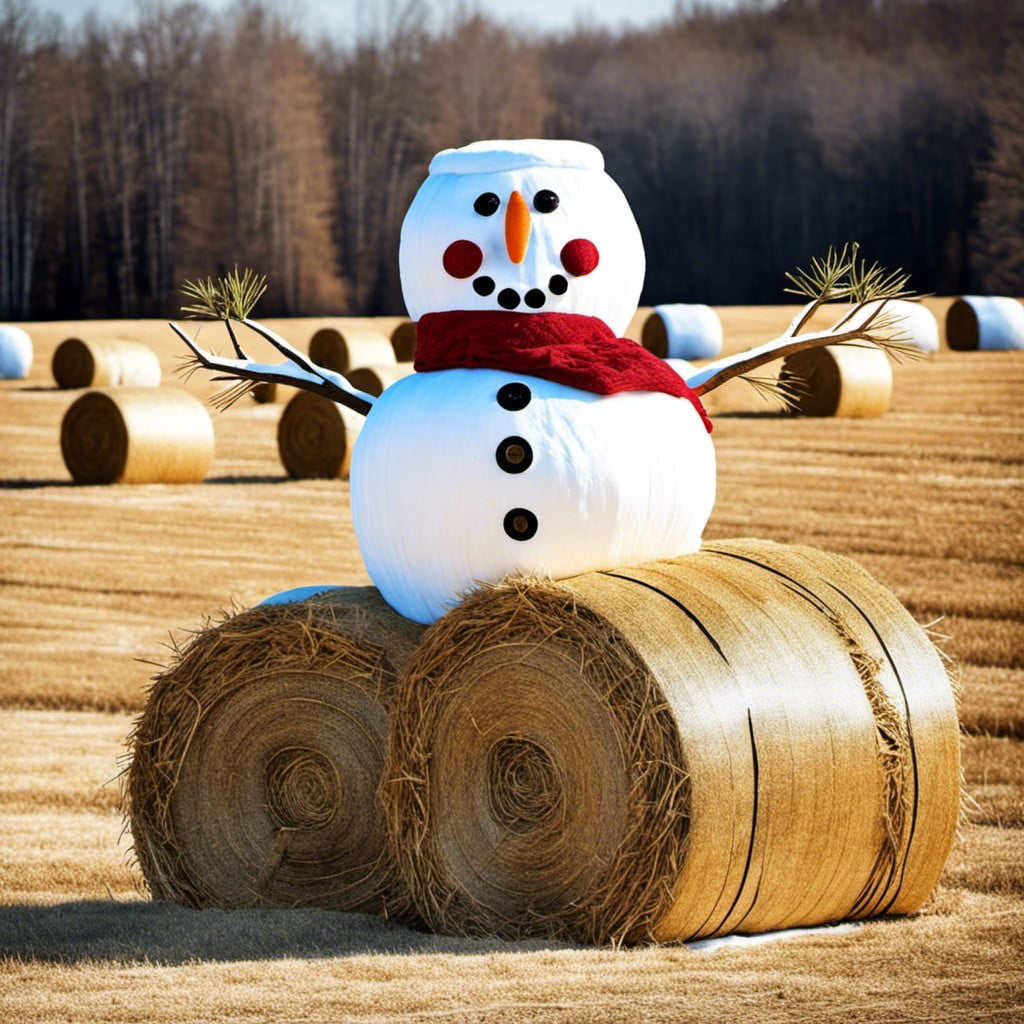
To create this winter wonder, you’ll need three hay bales of varying sizes. The largest bale serves as the base, the medium bale is the mid-section, and the smallest acts as the head. To fasten them securely, use strong, thick twine. Now comes the fun part, dressing up your snowman!
For facial features, use outdoor paint to craft bright eyes, a carrot nose, and a cheerful smile. Stick with a traditional hat and scarf to maintain the snowman motif. Use a broom or rake to mimic the arms. Outdoor holiday lights can add a festive touch, highlighting the structure after sunset. If the hay texture is too rough for decoration, consider laying a thick white cloth over each bale to create a smoother snow-like effect.
Remember, safety is paramount. Keep your hay bale snowman at a safe distance from open flames, especially if you’re intending to incorporate it into a Christmas lights display. It’s a creative and clever winter decoration that’s sure to catch the eye of passers-by!
Rustic Wedding Seating
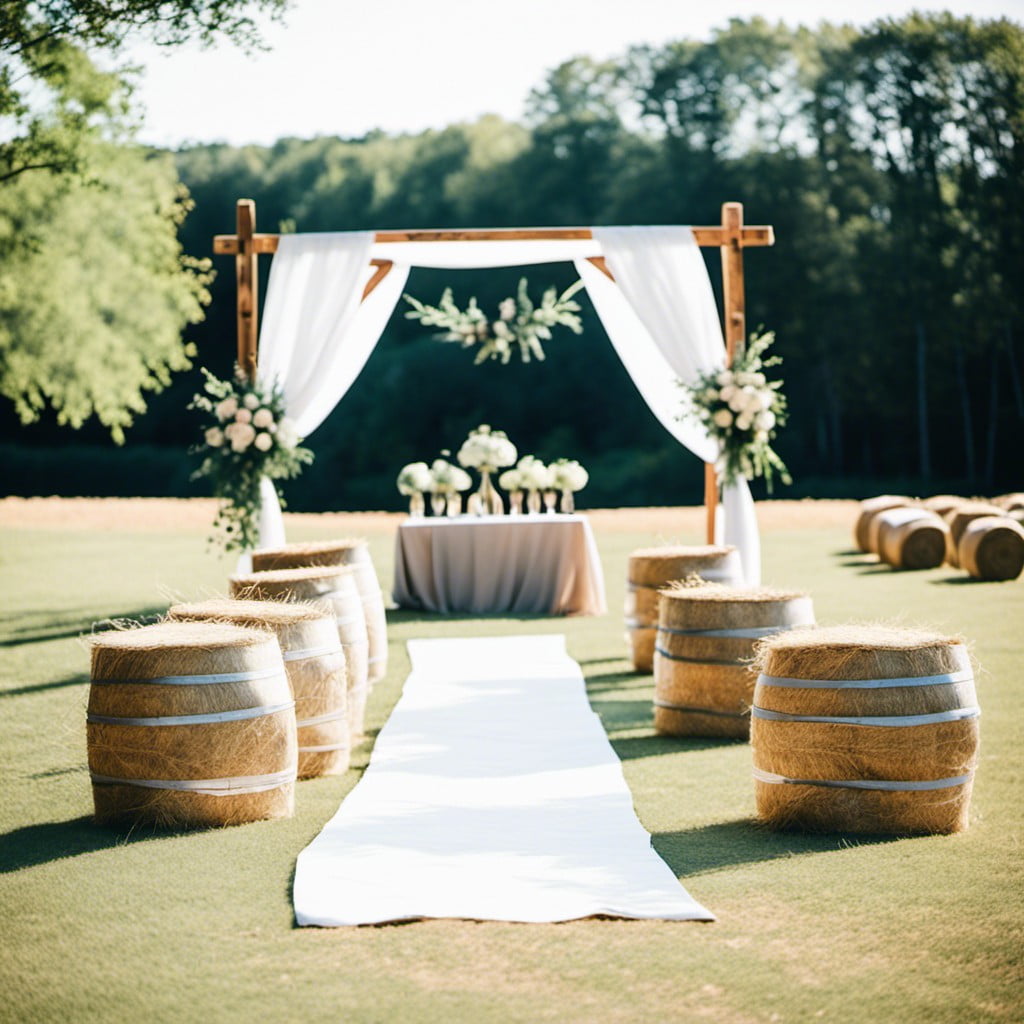
Consider bales of hay as a cost-effective and charmingly rustic solution for seating arrangements at a countryside or barn wedding. Not only does it ooze quaint charm, but it can also tie in seamlessly with the rural environment.
Here are some creative concepts to guide your hay bale seating arrangement:
- Comfort is Key: Drape plush throws or patterned blankets over each bale to offer comfort to guests and to contribute to an elegant vibe. Add accent cushions in your wedding colors for a personalized touch.
- Unique Arrangements: Instead of traditional rows, consider setting up the hay bales in circular or semi-circular arrangements. This will make the event more intimate and allow everyone a good view of the ceremony.
- Add Pizzazz with Lighting: Illuminate the aisle with lanterns, fairy lights, or even candles in mason jars. This will not only make the area more inviting as the sun sets, but also add to the charm of your rustic setting.
- Natural Accents: Play up your rustic theme by adding details like wildflowers, lace, or vintage books on or around the hay bales.
- Weatherproofing: Have clear tarps on hand to cover the hay bales in case of sudden rain. This will ensure your guests won’t end up seated on wet straw.
Remember, rustic doesn’t have to mean rough. With thoughtful considerations and a touch of creativity, you can transform hay bales into charming seats for your special day.
Hay Bale Flower Planters
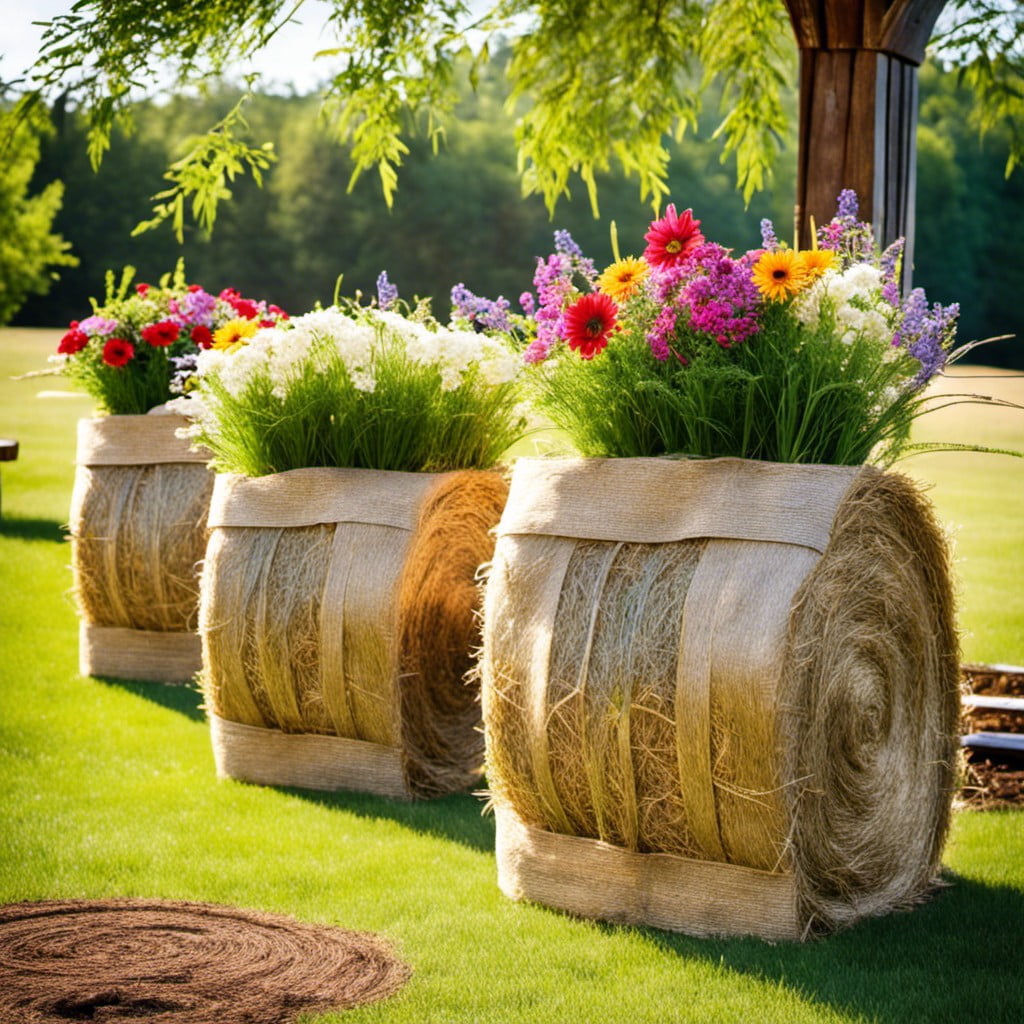
Turning straw blocks into vibrant planters forms a distinctive garden feature. Here’s how to get started:
- Choose the Right Bale: Dense, dry hay bales that don’t easily crumble work best. Remember they will need to be sturdy enough to support the weight of both the soil and plants.
- Prep the Bale: Before planting, condition the hay bale. Wet it thoroughly and let it start decomposing for a few days. This creates a nutrient-rich environment for plants.
- Add Soil and Compost: Scoop out a hollow on top of your bale. Fill this with a mix of compost and potting soil. This becomes the main fertile spot for your plants.
- Start Planting: Most types of flowers, vegetables, and herbs are suitable for hay bale gardening. Choose a variety of colors for an eye-catching display. Make sure to water regularly.
With this simple creativity, your garden gets a rustic appeal with a cost-effective, practical solution. Space utilization is optimal and yard maintenance becomes easier. Plus, reaping a blooming reward for your efforts is always a delight.
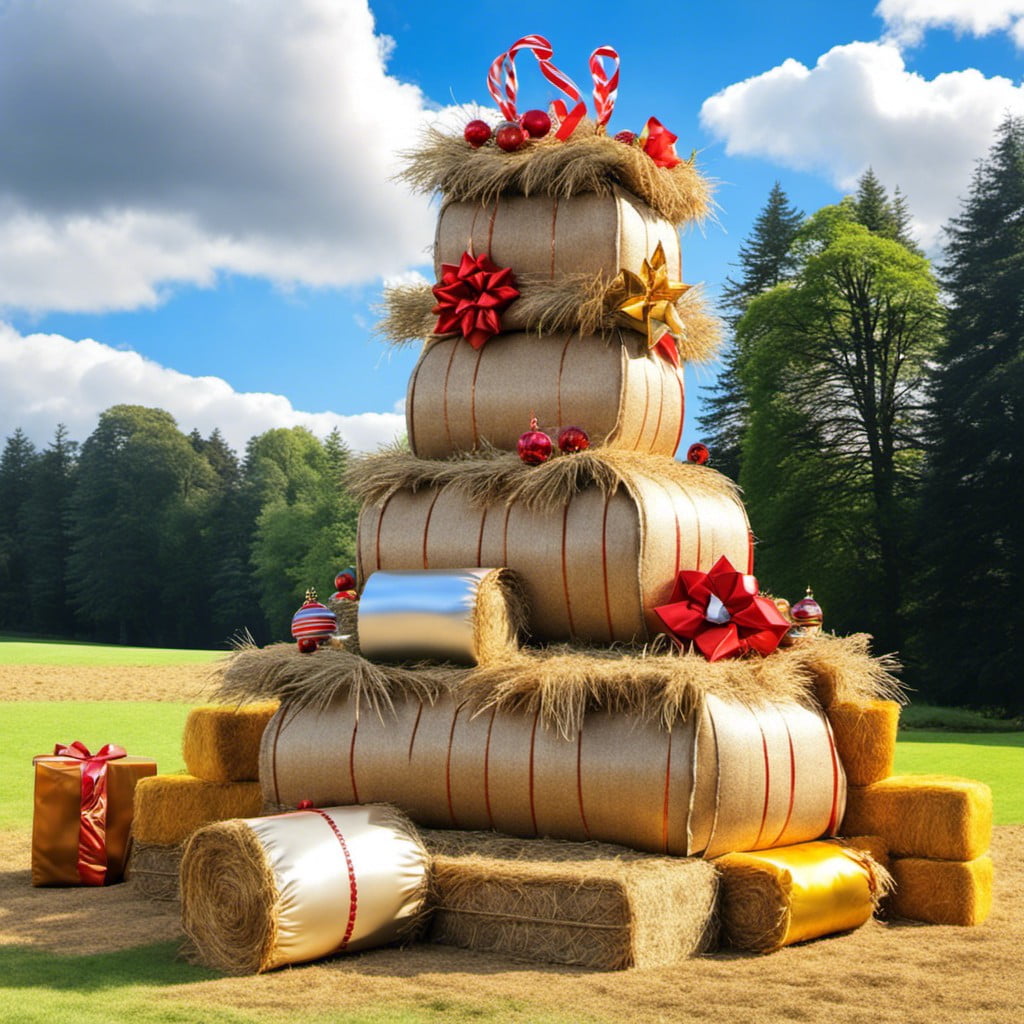
Festive Christmas Decor
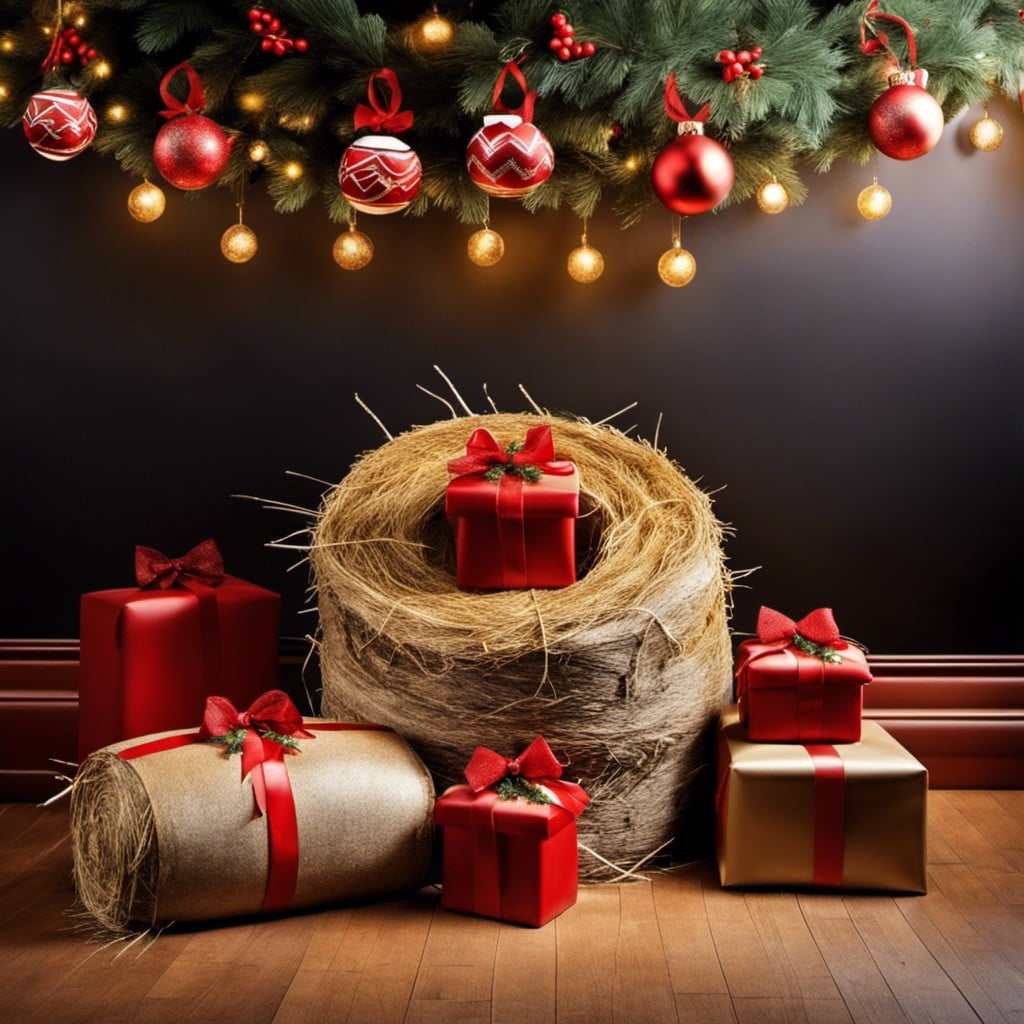
With a dash of festive spirit and a sprinkle of creativity, hay bales can become a wonderful Christmas focal point.
1. Santa’s Sleigh: Transforming a couple of hay bales into Santa’s Sleigh by painting them a glossy red, adding wooden slats as the runners and placing a sack of wrapped gifts on top makes it exceedingly festive.
2. Christmas Tree: For a rustic alternative to a traditional tree, stack hay bales in a pyramid formation, then string lights, garlands, and ornaments around it. It’s especially effective outdoors.
3. Nativity Scene: By arranging hay bales and adorned cut-outs, an intriguing nativity scene can be set. The hay bales make perfect mangers for the figures.
4. Glowing Lanterns: Placing lanterns on a bed of straw gives a cozy and inviting rustic charm to your garden. Extra points for adding candles or fairy lights to accentuate the magical ambiance of Christmas.
Remember, hay bales are highly flammable. Be cautious while using lights or decorations that might generate heat. The essence of these ideas is to incorporate originality, simplicity, and the spirit of Christmas in beautifying your space.
Outdoor Movie Night Seating
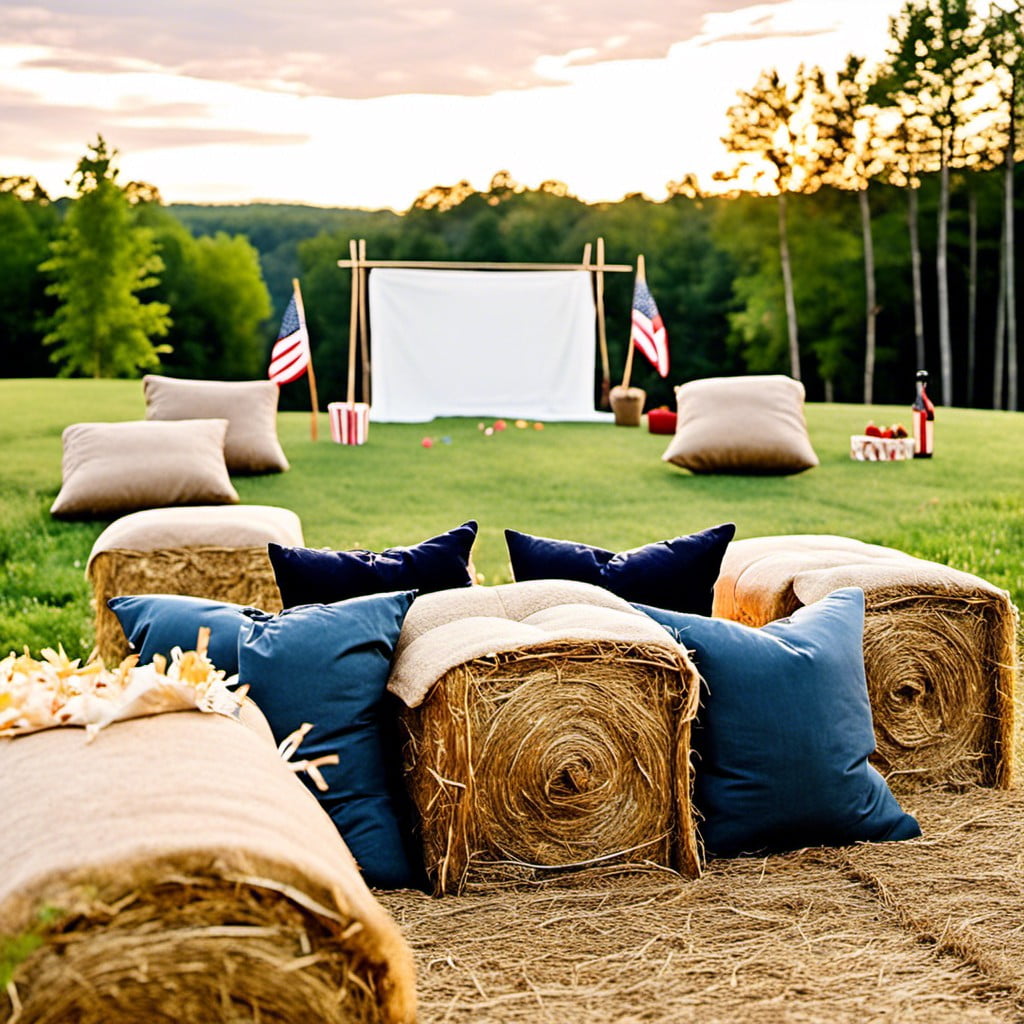
To create the perfect seating for an outdoor movie night, reuse hay bales to add a rustic and cozy element to your arrangement. Stack them in rows or a semi-circle facing the screen, ensuring each seat has an unobstructed view.
Cover each bale with warm, soft blankets or comfy cushions for enhanced comfort. For a romantic touch, place solar or battery-operated fairy lights around your seating area. This not only adds to the ambiance but helps in navigating the space after sunset.
Don’t forget side tables for snacks and drinks! A few smaller bales or wooden crates work perfectly for this, keeping everything within easy reach during the movie.
For cold nights, consider providing fuzzy blankets or an outdoor heater. This way, guests will be comfortable throughout the whole film, enjoying the starlit screen in their hay bale havens.
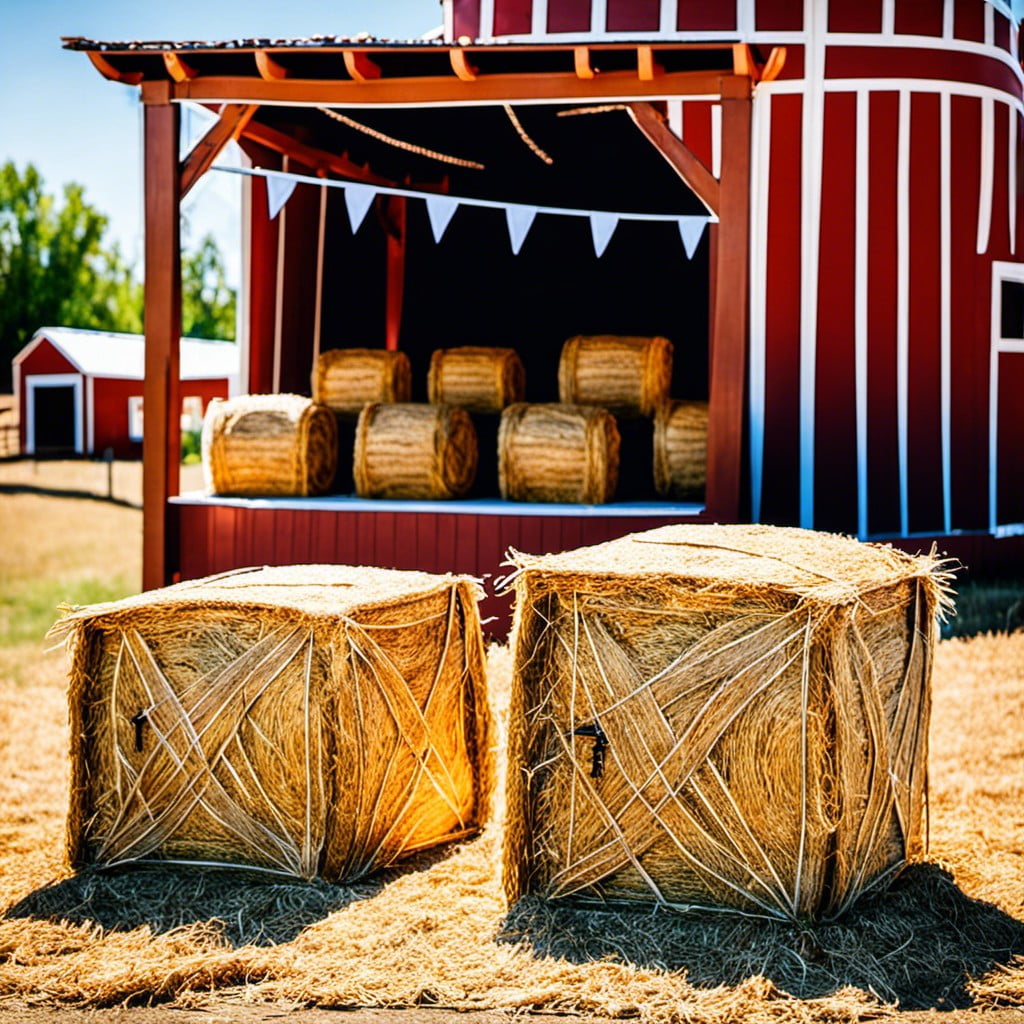
Farm-Style Photo Booth
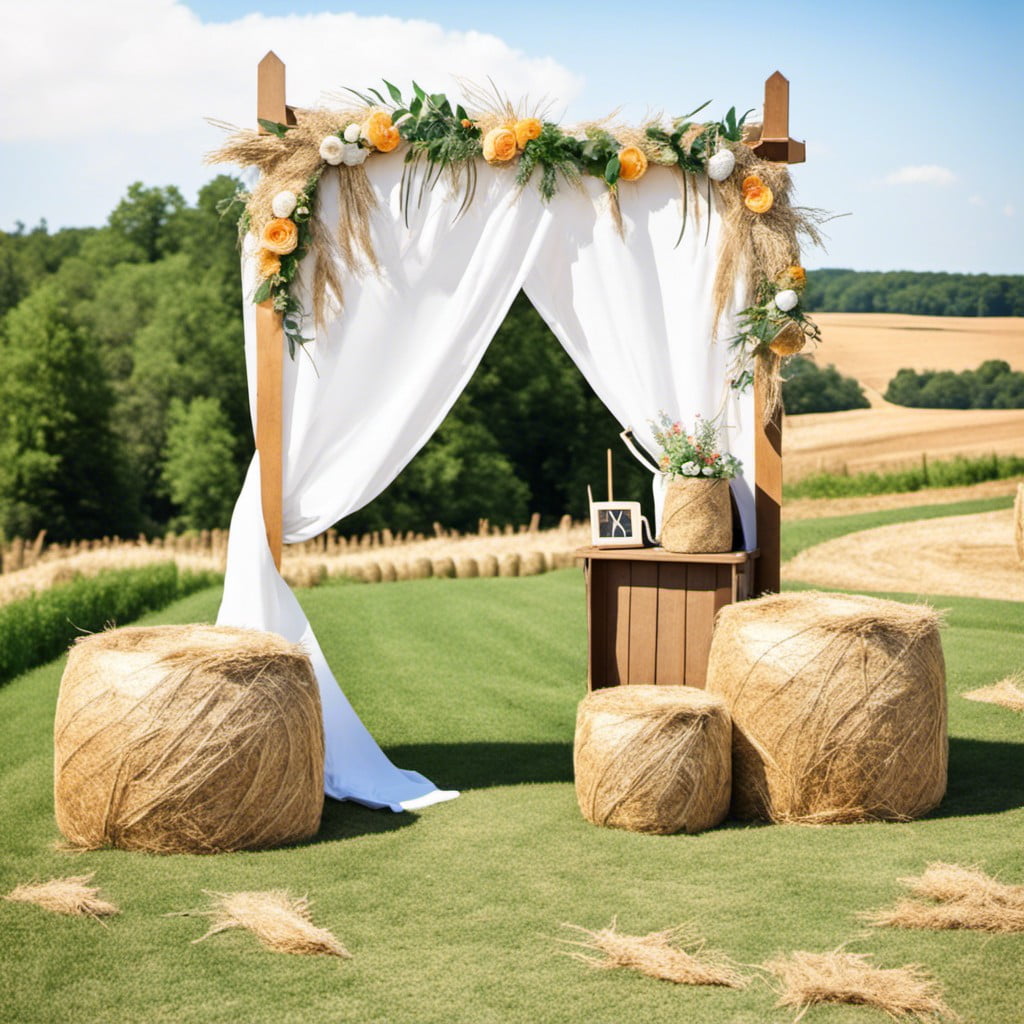
Crafting this unique and picture-perfect corner is quite straightforward. First, secure a backdrop, like a hand-painted canvas or a quilt. Position it behind or on your bales – a stack of two or three will provide ample height and depth for a captivating frame.
The prop table plays a crucial role here. Fill a crate with quirky accessories such as cowboy hats, pitchforks, and bandanas for guests to get into the rustic, farm-life spirit.
Lighting is key. String lights, lanterns, or playful sparklers can add a warm, magical touch when the sun goes down. For daytime shots, make sure your booth is correctly positioned to make the most out of natural lighting.
Lastly, don’t forget a scatter of hay around the photo area. It adds an authentic touch and also provides additional space for larger group photos. Alternating hay bales and old farm tools, like milk cans and wooden crates, can create varying levels for dynamic images.
Remember, the charm of a farm-style photo booth lies in its simplicity and homespun touches, so don’t hesitate to get creative with items you already have around your homestead. It’s all about creating fun, unforgettable moments!
Giant Hay Bale Monsters
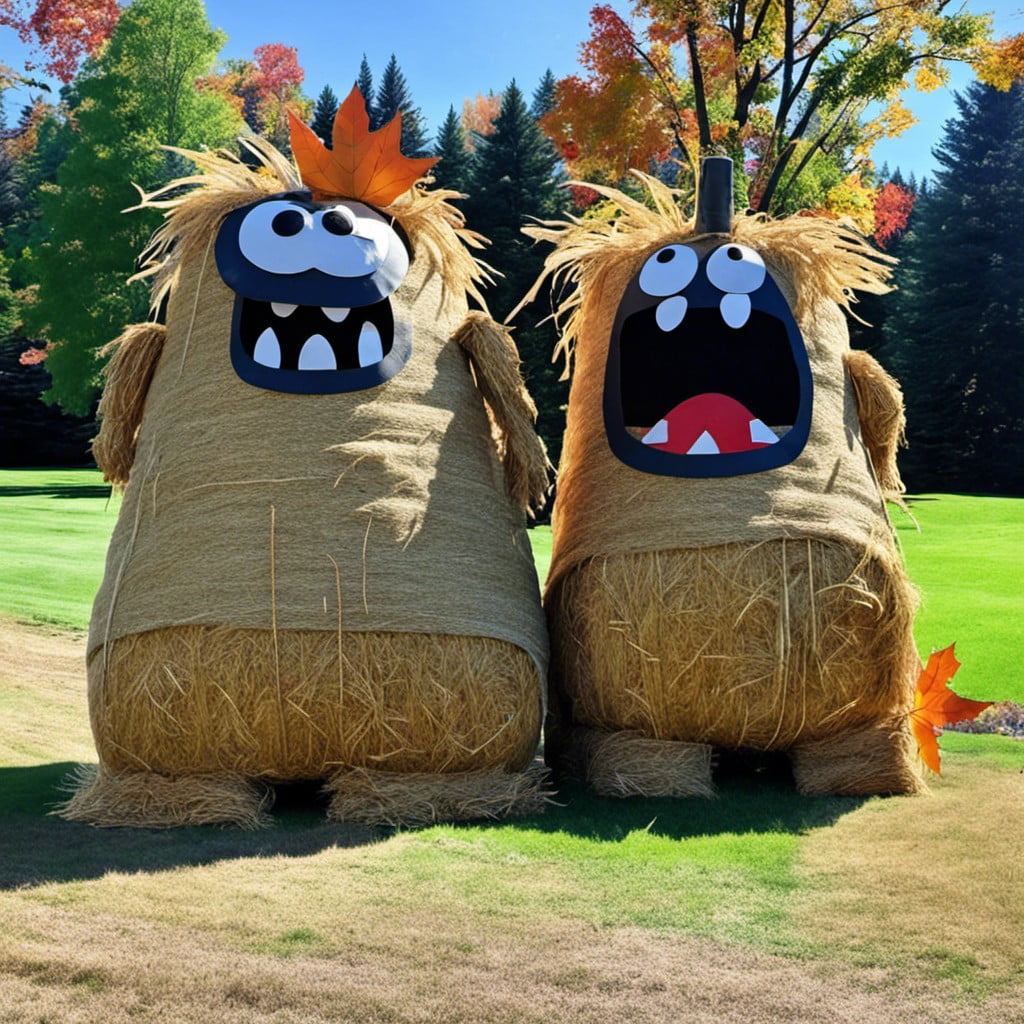
Creating an oversized, fantastical creature using hay bales can add a unique and thrilling element to your seasonal decorations.
First, you will need various sizes of hay bales to create the body parts of your monster.
Use wooden stakes to hold multiple bales together.
Paint can bring your monster to life, adding colorful and vibrant details.
Add some props, like old clothes or scary masks, to enrich the horror effect.
Artists can take this as an opportunity to get creative with the shapes, allowing the monster to burst forth from the imagination.
If children are around, remember to keep the monster more fun than scary to avoid frights.
To finalize, illuminate your creation with spotlights for an eerie evening display.
Garden Composting Bins

Implementing a hay bale composting bin is a fantastic, eco-friendly way to repurpose your decorations. Hay bales are organic in nature, making them a great material to speed up the composting process. The straw makes a phenomenal “brown” composting material, which balances out “green” compost including grass cuttings and vegetable peelings.
Here is a simple four-step guide on constructing your compost bin:
- Choose a well-drained and suitable outdoor area of your garden.
- Place four bales to form a box shape, leaving the top open. The straw’s natural sponge-like ability will soak up moisture and maintain good ventilation.
- Begin adding your green and brown compost materials, filling it up to three-quarters of the hay bale’s height.
- Allow the compost to break down naturally over time, turning it occasionally to accelerate the decomposition process.
Remember, the working compost should be kept moist, but not soaked, to promote the best possible composting conditions. Soon, you’ll be able to use this nutrient-rich compost to create the perfect soil conditioner for your garden.
Hay Bale Pool Party Floats
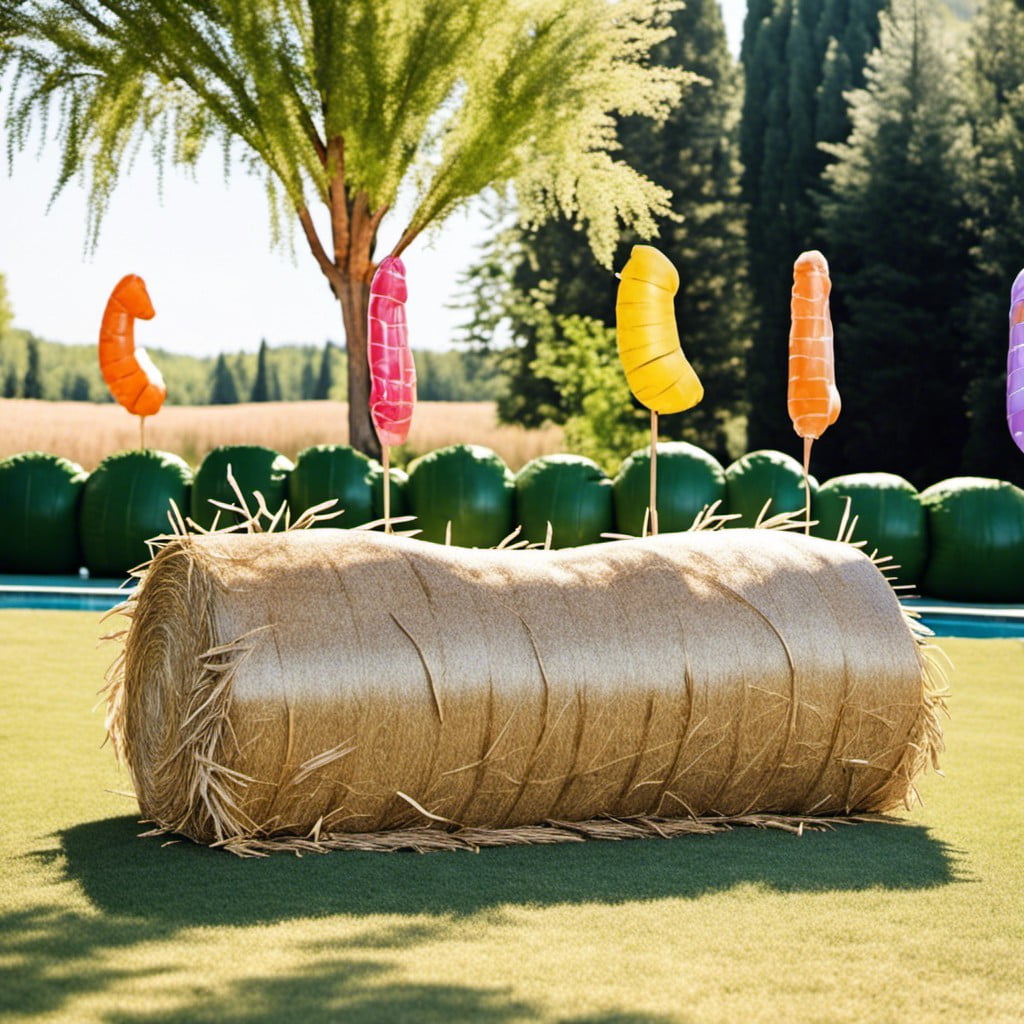
Creating whimsical and highly functional floats from hay bales is a summer must-do. This unique decor technique instantly adds a dose of rustic charm and novelty to any pool event, while impressively serving as buoyant table surfaces or stations in the pool.
The dense, compact nature of the hay makes it surprisingly water-resistant and buoyant, perfect for resting a few drinks or appetizers on during a casual swim.
Waterproof tarps or large tablecloths can be draped over the bales to shield the hay from excessive moisture and ensure longevity. If the Robinson Crusoe vibe isn’t your style, consider covering the bales with vibrant, waterproof fabric matching your party’s color scheme.
Just make sure tethering ropes are securely fastened to a fixed point at the poolside, preventing your hay bale floats from drifting to the deep end.
Adventurous pool party hosts could even anchor several hay bales together to create a main floating party hub. The options are indeed endless!
Miniature Fairy Garden
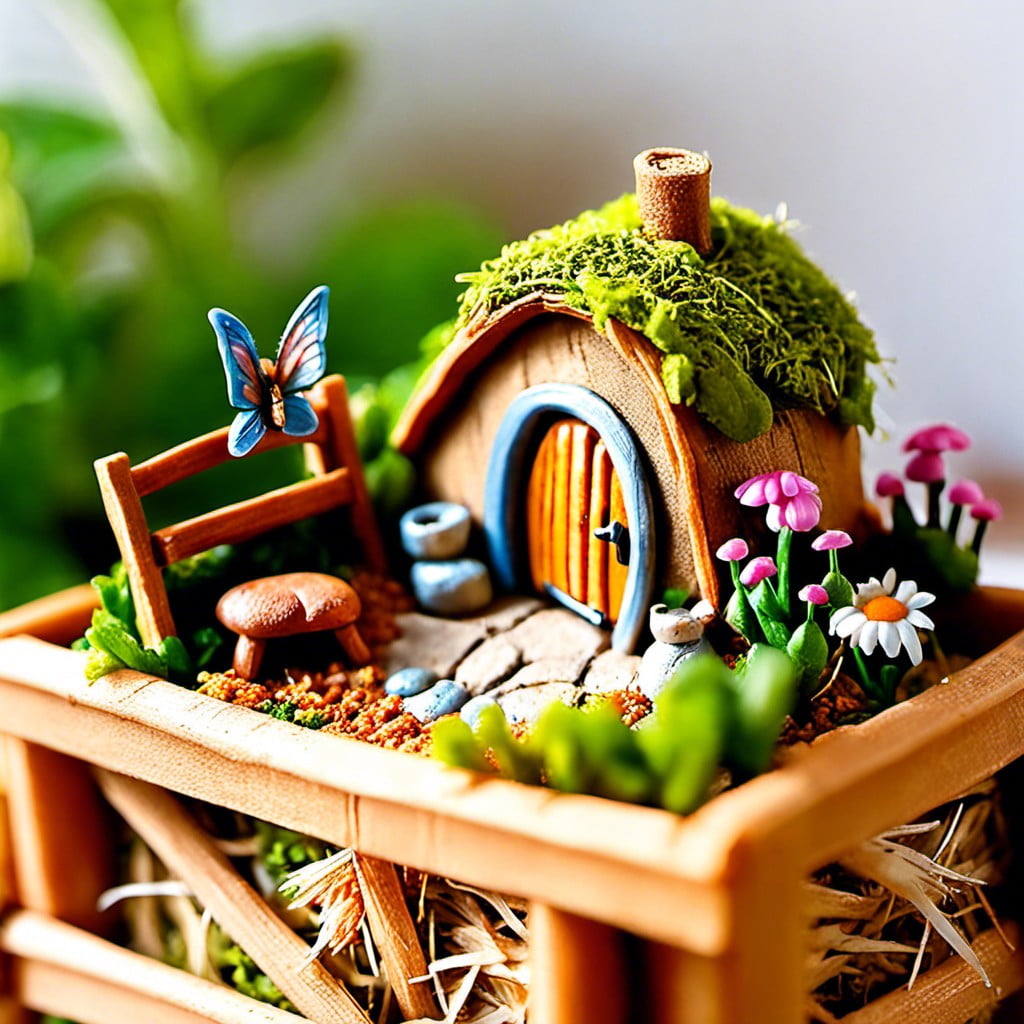
Crafting a tiny, whimsical world using a straw bale is an engaging activity that adults and kids can enjoy. Your first step is to hollow out a section of a small or medium hay bale. Fill it with potting soil, then integrate fairy garden props like miniature houses, bridges, and other fairytale creations. Add vibrant moss, petite flowering plants, or decorative stones for a touch of natural beauty. Remember to ensure small-scale proportions for an authentic, fairy-tale feel.
Fall Pumpkin Arrangements
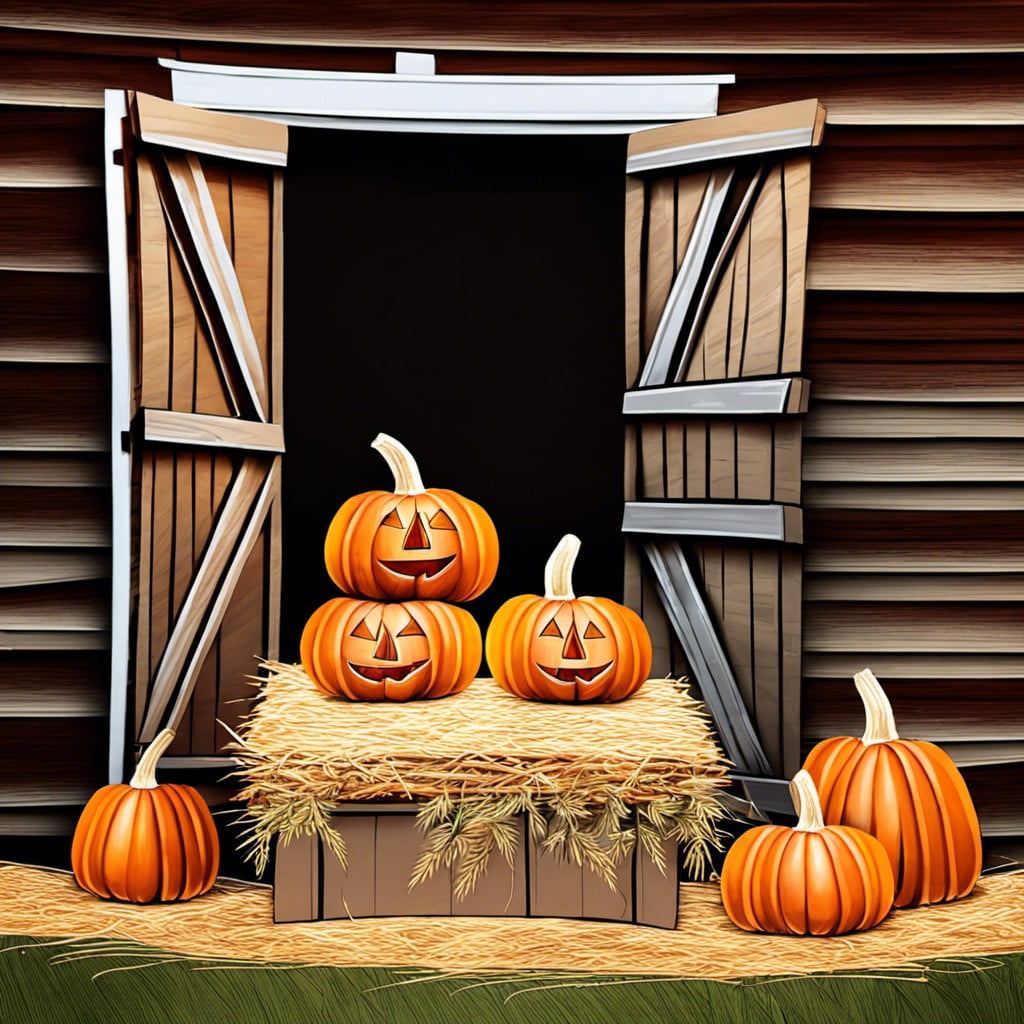
Opt for classic round, orange pumpkins for tradition, or an array of gourds in various colors and shapes to lend uniqueness to your arrangement. Once you’ve chosen your pumpkins, place them on top of the hay bale. They needn’t be evenly or systematically arranged – asymmetry here adds character.
Small stacks of corn cobs and a few fall leaves can fill in gaps and blend with the harvest theme. Including a lantern or two can also provide a warm, welcoming glow when dusk descends.
Another option is the use of painted or decorated pumpkins. Stenciling initials or patterns, or wrapping them in strips of burlap, can elevate a simple pumpkin to an artistic centerpiece.
Ensure the arrangement is stable and never place lit candles directly onto the hay bale. Safety should always be the top priority.
This decoration can be used for front porch designs, garden focal points, or marking a path for a fall gathering. Just remember, the aim is to create an eye-catching display that embodies the spirit and colors of the fall season.
Seasonal Welcome Sign
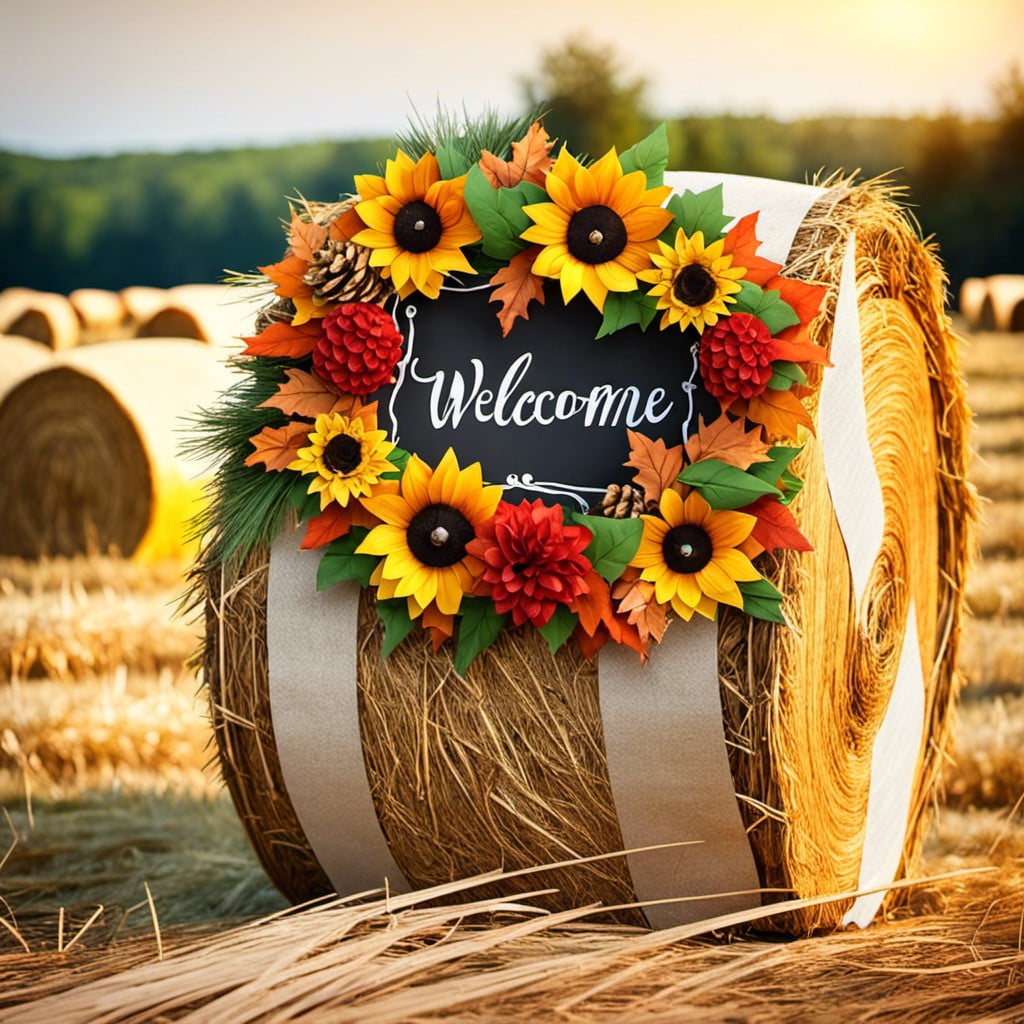
Utilizing haystacks as a canvas for your warm greetings combines charm with practicality. Here’s how:
1. Size and Position: Depending on the space, choose either a single large hay bale or a stacked arrangement. Ensure visibility from the road or entrance.
2. Material Selection: Use bold, weather-resistant paints for your message. Alternatively, consider using wooden letters attached to the bale with wire for a 3D effect.
3. Theme and Decoration: Match your message with the season – consider sunflowers for spring, colored leaves for fall, or snowflakes for winter. Natural adornments blend perfectly with the rustic hay texture.
4. Regular Updates: Keep the sign fresh and engaging by updating its message and theme throughout the year.
This DIY project not only enhances your home’s exterior but also showcases your creativity and seasonal spirit.
Straw Bale Herb Garden
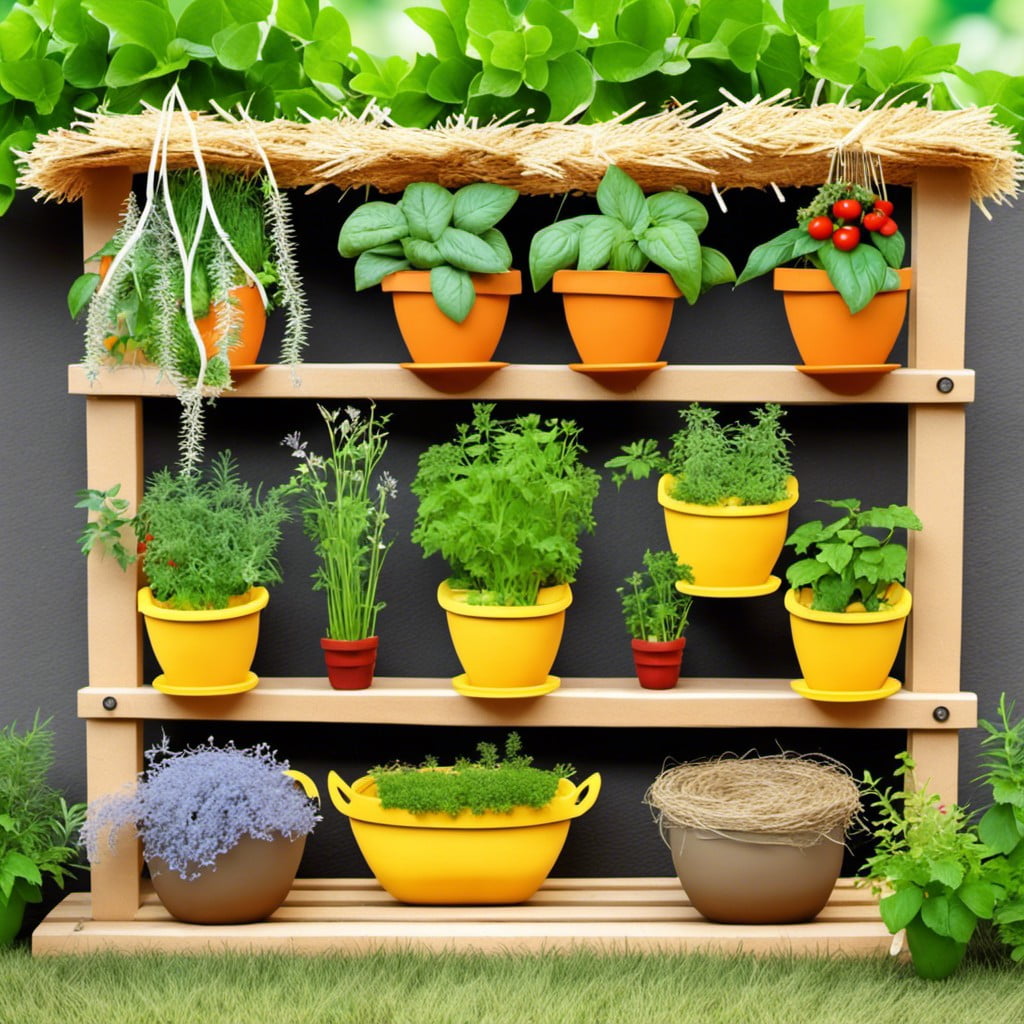
Growing herbs in a straw bale garden makes an enticing visual statement, aside from the practical gardening benefits it brings. This unconventional method holds soil and nutrients well, deters pests and prevents weed growth, making it ideal for herbs.
For start off, you need a straw bale, a good quality organic compost and your favourite herbs.
1. Position the bale: Decide where to place it, considering adequate sunlight for the herbs to flourish.
2. Prepare the bale: Drench it with water and allow it to decompose a few days prior to planting. Apply a layer of compost on top in the meantime.
3. Plant: Make small holes to place the herb seedlings. Ensure enough space for their growth.
4. Water: Regular watering is crucial as straw tends to dry out quickly.
5. Maintain: Trim the herbs as needed, to maintain good airflow and prevent disease.
Remember, just like any garden, a straw bale herb garden requires regular care. But it’s worth the effort, once you see it blooming. The delightful array popping from the straw adds an unexpected enchantment to your garden.
Cowboy-Themed Party Decor
When hosting a cowboy-themed event, hay bales can serve as functional and thematic decorations. Popular options include creating makeshift seating areas, where guests can gather and socialize. Simply pile a few hay bales together and top with a plaid blanket for comfort and visual appeal.
Strategically placing hay bales around the location, such as near entryways or food tables, further enhances the theme. Intertwine them with traditional western items like horseshoes, cowboy hats, and bandanas to exude an authentic feel.
And let’s not forget about hay bale photo props! Fashion a small stack of hay bales with cowboy accessories, providing a unique and fun backdrop for memorable snapshots.
Finally, don’t shy away from unique ideas like crafting a mini wild west town facade or a rodeo bull out of hay bales. These more creative applications certainly involve more setup, but the wow-factor and photo opportunities might be worth the extra effort.
Remember, the idea is to utilize hay bales to create a convincing and inviting cowboy-themed atmosphere that your guests will remember. Hay bales are a cost-effective and versatile decoration that can take a cowboy-themed party to the next level.
Hay Bale Maze for Kids

Creating a playful yet safe labyrinth for children could be achieved using strategically arranged hay bales. Here are some points to assist in building the perfect hay bale maze:
- Map Out a Plan: Having a pre-drawn design can make assembly easier and more streamlined.
- Use Large, Rectangular Bales: They are more stable, which enhances safety. They also provide a taller barrier which makes the maze more challenging for older kids.
- Ensure Supervision: Make sure the maze is located where adults can monitor playtime.
- Safety First: Pad sharp and pointed corners of the maze to prevent injury. A secure gate or door at the entrance and exit allows easy access in case of emergencies.
- Add Fun Elements: Incorporate stations with small games or hide little surprises within the maze for fun variations.
- Maintenance: Regularly check bales for stability and any signs of decay throughout their use.
Remember, the maze should be fun, challenging, but above all, safe.
Stacked Hay Bale Castle
Creating a castle out of stacked hay bales adds a fun, whimsical touch to a backyard party or event. Here’s how you can pull it off:
1. Buy or rent a variety of different-sized hay bales, ensuring they are tightly bound for safety purposes.
2. Design your castle: A simple tower might require four corner bales with a few more stacked on top for height.
3. Stabilize the structure: Use wooden stakes driven into the ground through the bales to prevent tipping or sliding.
4. Decorate: Use fabric banners, flags, or faux-stone spray paint to give the castle a more realistic look.
5. Safety considerations: Keep in mind, it’s essential to keep the structure away from flames, and monitor children playing near or on the structure.
Outdoor Farm-to-Table Dining Table
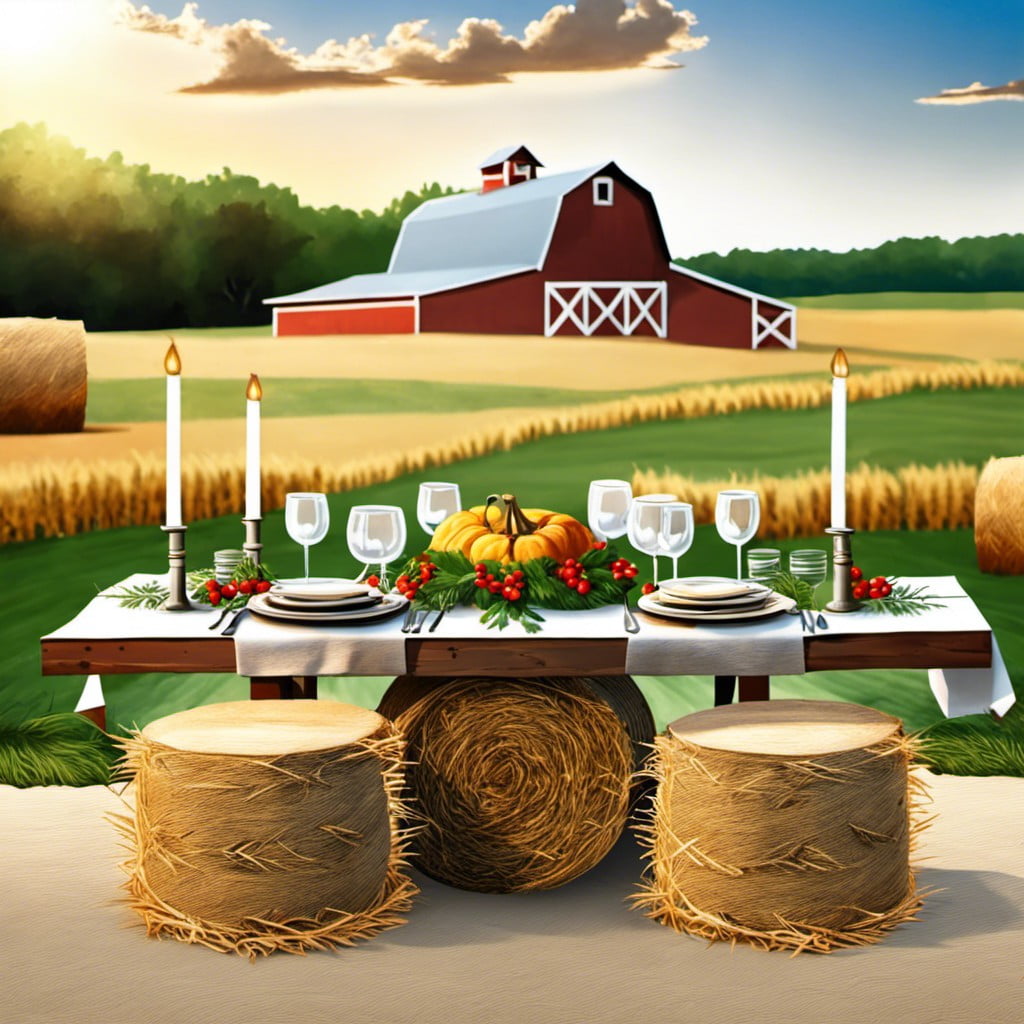
Imagine dining under the open sky, surrounded by nature, perched on straw bales. Rustic, charming, and downright Instagram-worthy, it’s perfect for embracing the farm-to-table concept.
1. Begin by arranging large, tightly packed hay bales lengthwise to create an uninterrupted surface.
2. Drape a substantial, earth-toned tablecloth over the hay bales, allowing the length to spill over, softening the edges.
3. Add seating around the table using additional hay bales, covered with soft fabric to ensure guest comfort.
4. Extend the farm feel by choosing mismatched vintage wooden chairs or benches for a more eclectic look.
5. Decorate the table with freshly picked flower centerpieces, lanterns for a warm glow, and linen napkins.
6. To protect food and drinks from straw particles, use raised serving trays or layer on a thick table runner.
Remember, capturing the authenticity of the farm-to-table dining experience lies in the intricate details. Add individual touches that reflect a rustic charm and celebrate the bounty of the fields.
Read More Like This
 15 Homecoming Decoration Ideas to Elevate Your Celebration
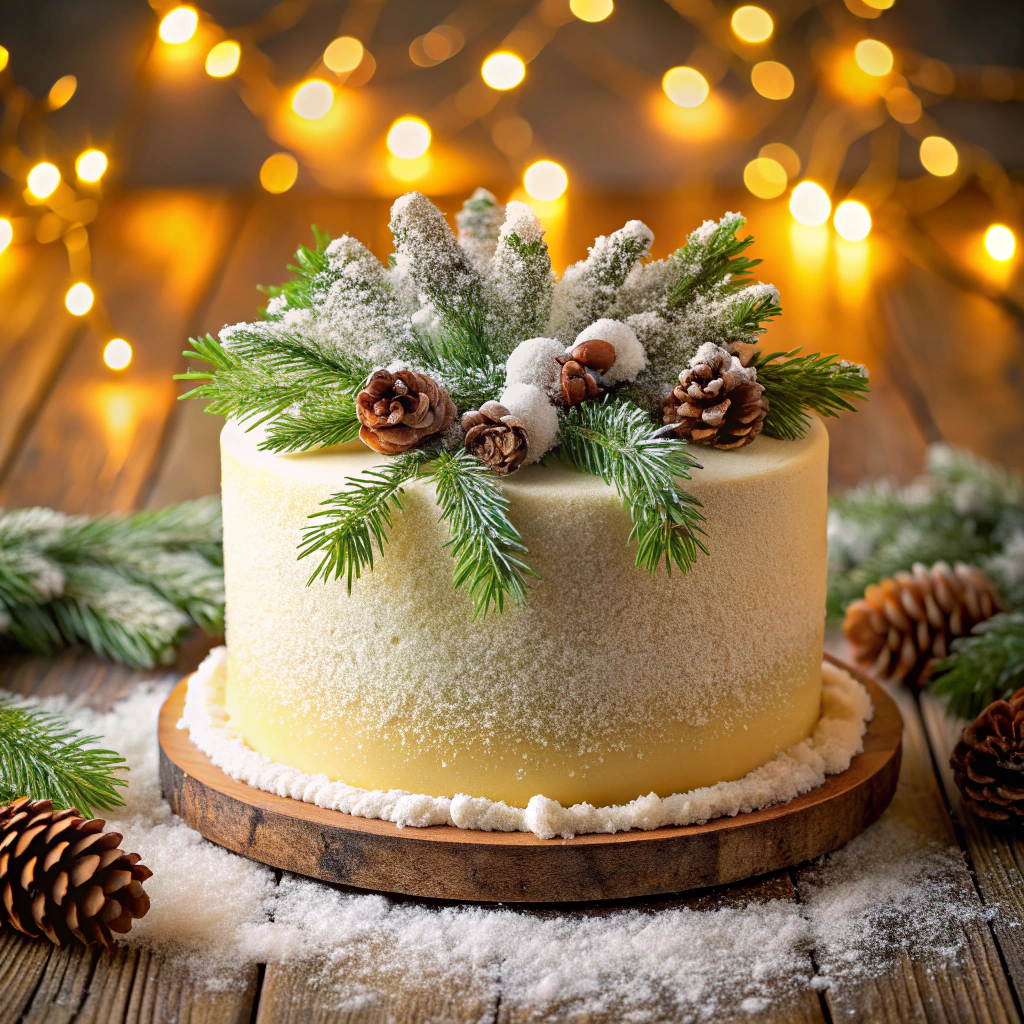 15 Christmas Cake Decorating Ideas to Sweeten Your Holidays
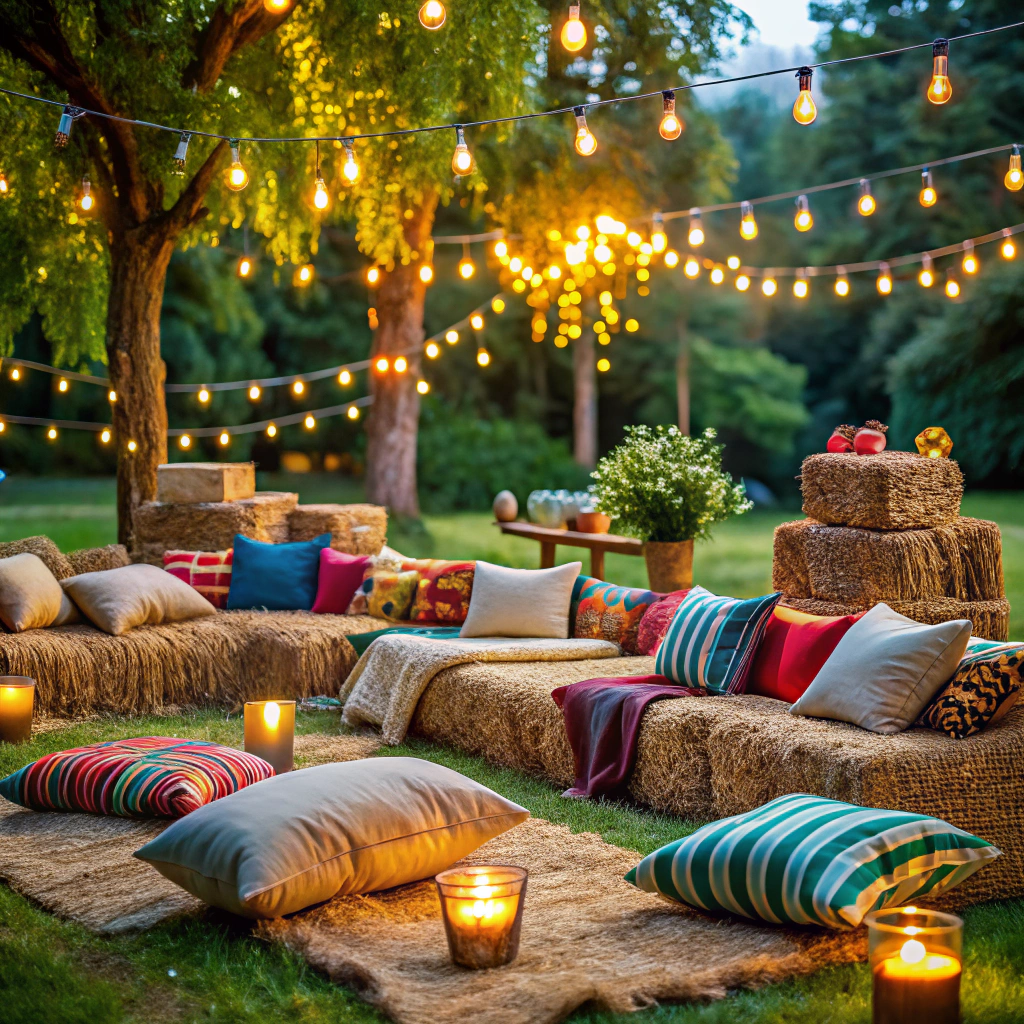 15 Outdoor Party Tent Decorating Ideas for a Magical Celebration
 15 Ideas for Welcome Home Decorations
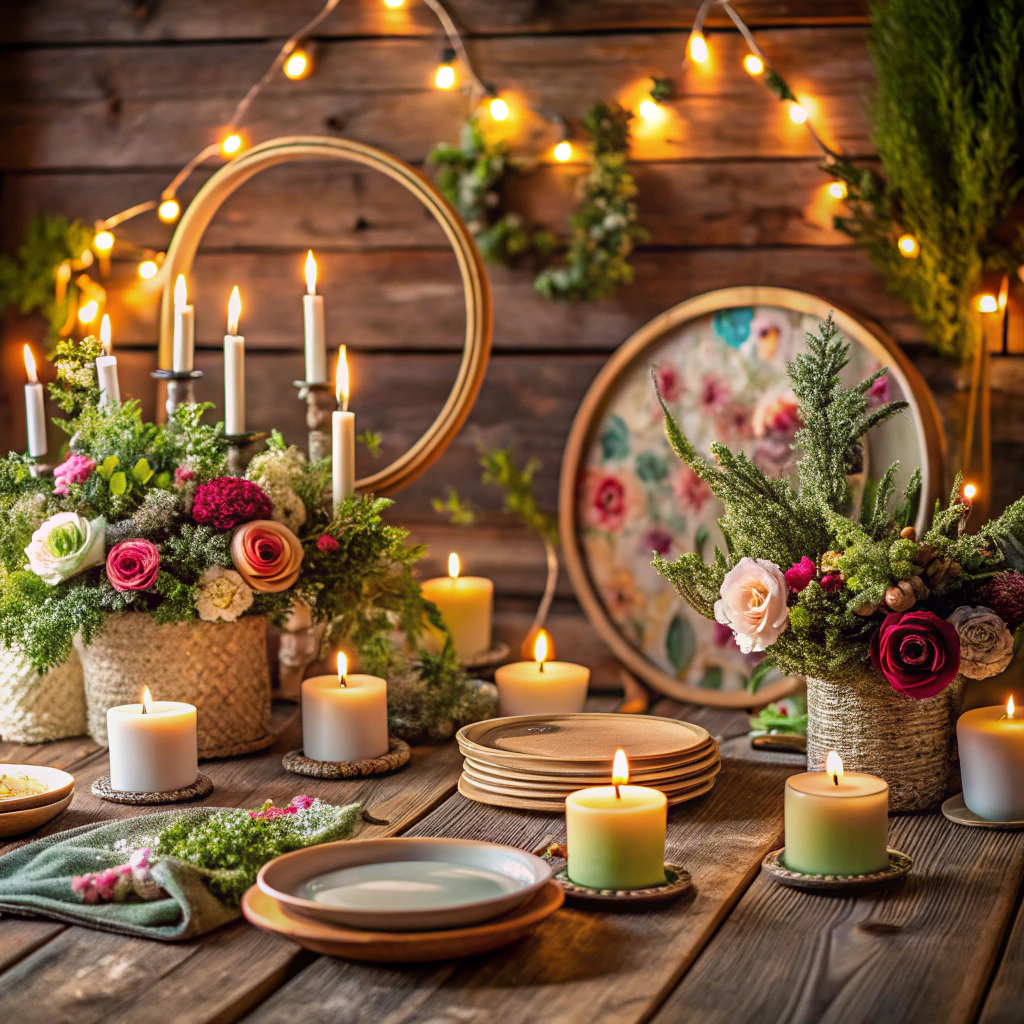 15 Cheap Table Decoration Ideas to Elevate Any Gathering
Recap: