Last updated on
Adjust a baker’s rack by loosening the screws that secure it in place, adjusting the height or width of the shelves as needed, and tightening the screws back up.
A baker’s rack in your kitchen can be a convenient and stylish way to store your baking supplies and other kitchen items. But sometimes, the rack height needs to be adjusted to make it easier for you to reach items on the shelves or because you want to fit more items onto the shelves.
Fortunately, adjusting a baker’s rack is relatively simple and can be done with just a few tools. In this blog post, we’ll review how to adjust a baker’s rack to fit your needs better.
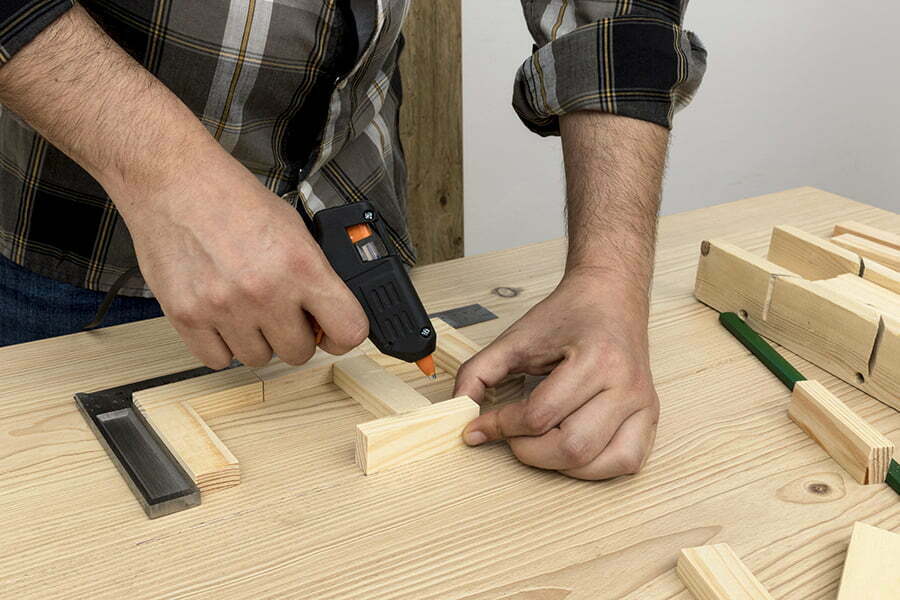
Assemble the Rack
First, gather all the necessary parts and tools. This includes the frame, shelves, feet, screws, and any other components that came with the rack.
Next, lay out all the pieces on a flat surface to quickly identify them. Then begin by attaching the feet to each corner of the frame using screws or bolts provided with your kit.
Once this is done, you can add shelves one at a time by inserting them into slots in the frame and securing them with screws or bolts. Finally, attach any additional components, such as hooks or towel bars if included in your kit, before standing up your new baker’s rack!
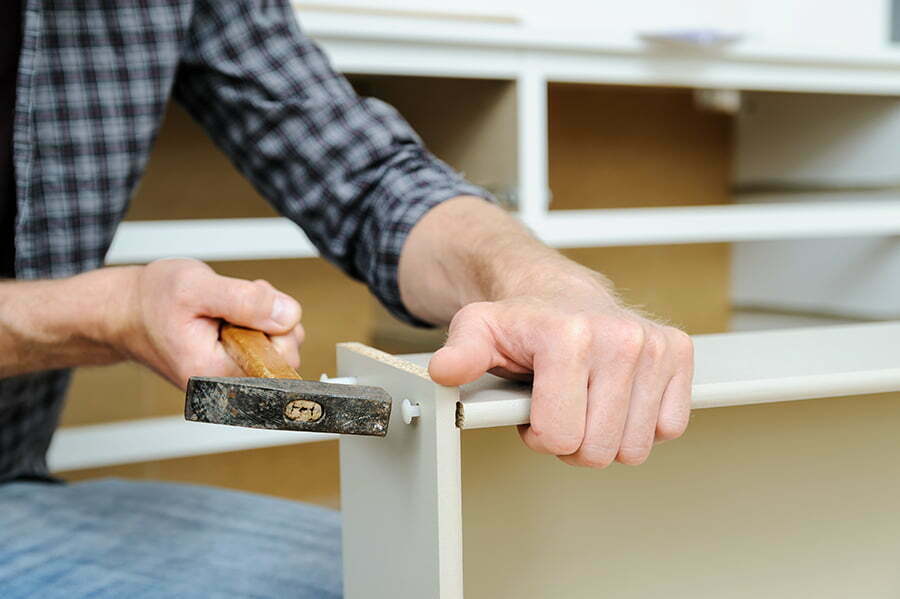
Secure the Screws

To do this, you will need a screwdriver and the appropriate size of screws for your baker’s rack. Start by placing the baker’s rack where you want it to be.
Then, use the screwdriver to attach each of the screws to their respective holes to secure them firmly in place. Ensure that all the screws are tightened securely so they won’t come loose over time.
Once all the screws have been secured, your baker’s rack should be adjusted appropriately and ready for use!
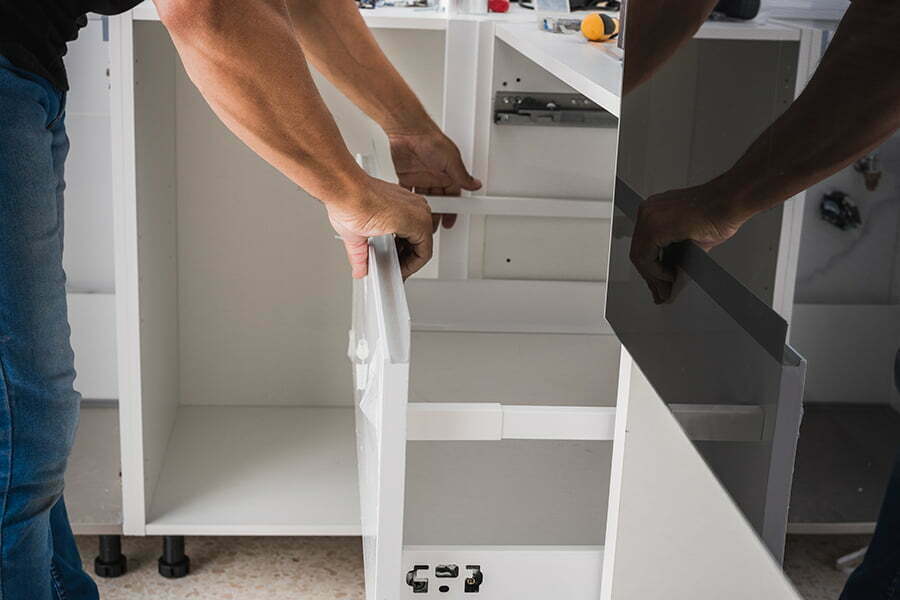
Attach Shelves and Drawers
First, you will need to locate the pre-drilled holes in the sides of the rack. These holes are used for attaching shelves and drawers.
Next, line up the shelf or drawer with these pre-drilled holes and use screws to secure them into place. Ensure that all screws are tightened securely, so they do not come loose over time.
Check that all shelves and drawers are firmly attached before using your baker’s rack.
Adjust the Height of the Shelves and Drawers
First, you must locate the adjustment screws at each corner of the shelf or drawer. Once you have found them, use a screwdriver to loosen them slightly.
Then, slide the shelf or drawer up or down until it reaches your desired height. Tighten the screws back into place to secure it in its new position.
This simple process lets you easily adjust your baker’s rack shelves and drawers to fit any space!
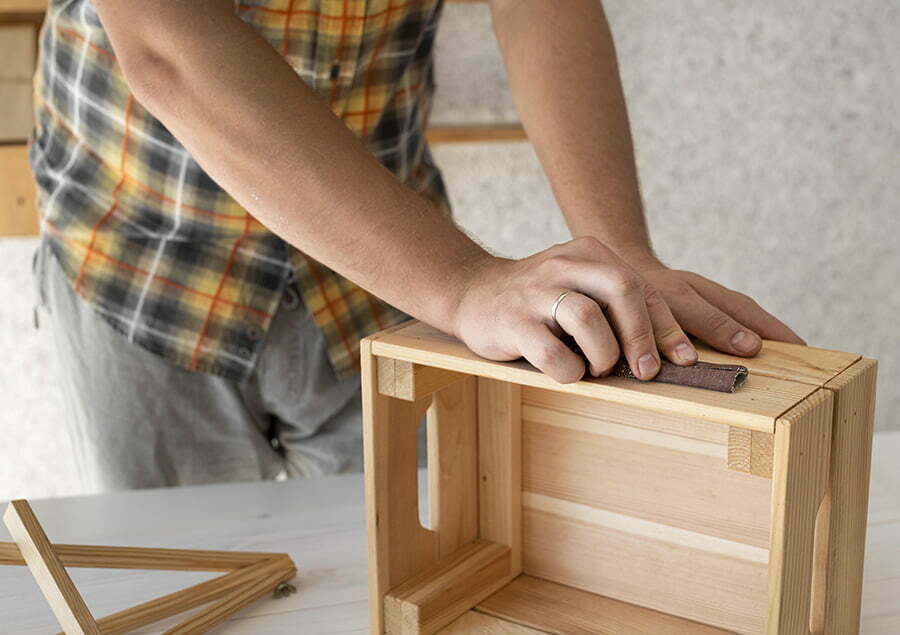
Add Decorations or Accessories
To decorate your baker’s rack, start by selecting items that fit with the overall style of your home decor. Consider adding small plants, framed photos, decorative plates, or other items that complement the existing design.
Once you have chosen your decorations or accessories, use screws and anchors to secure them in place on the shelves of your baker’s rack. Ensure all pieces are securely attached before displaying them in their new home!
Read More Like This
 15 Unique DIY Christmas Decorations Ideas for a Festive Home
 15 Creative Ribbon Decoration Ideas You’ll Love
 15 Creative Science Fair Board Ideas to Amaze Your Audience
 15 Ingenious Pool Noodle Decoration Ideas
 15 Creative Ideas for Wedding Car Decoration
Recap: