Last updated on
Transform your pantry into an organized haven by learning how to effectively categorize pantry items.
Categorizing pantry items can be a game-changer for your kitchen organization and meal preparation. It entails grouping similar items together, such as grains, canned goods, baking ingredients, spices, and snacks, to ensure a neat and functional pantry.
This method not only makes it easier to find what you need but also helps keep track of your supplies, reducing waste and saving money. This article will guide you step-by-step through the process of categorizing your pantry items, providing practical tips and strategies to maintain a well-organized pantry.
From choosing the right storage containers to implementing a system that works for you, we’ve got all the details covered.
Key takeaways:
- Remove all pantry items for an overview and thorough cleaning.
- Check expiration dates and discard expired or spoiled items.
- Determine pantry categories based on common items and personal needs.
- Use clear storage containers for visibility and freshness preservation.
- Employ shelf labels and baskets for easy identification and organization.
Remove All Pantry Items

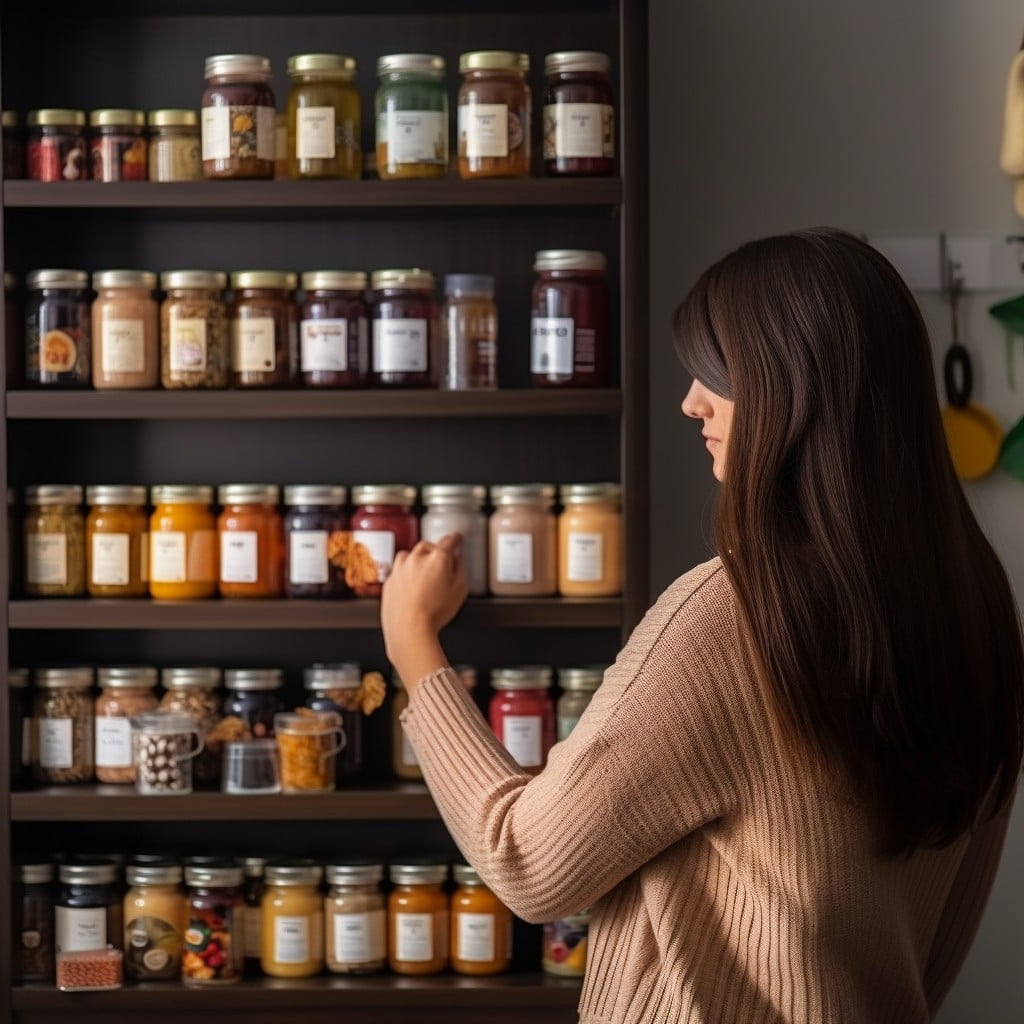
Beginning the pantry organization entails emptying its contents to have a comprehensive view. Start by one shelf at a time to avoid major kitchen disruption. Place contents on a clean, spacious table for the subsequent steps.
This process permits:
- Gaining a visual overview of available food items.
- Spotting duplicates or similar products often unknowingly purchased.
- Identifying hidden or forgotten goods that reside at the back or corners of the shelves.
- Facilitating thorough cleaning of the pantry space to discard any spills, crumbs, or traces of old food. Use a damp cloth dipped in a mild solution of water and vinegar for cleaning. Ensure shelves are completely dry before replacing items.
Check Expiration Dates
Begin by laying out all pantry items on a clean, flat surface. This systematic approach exposes anything hidden, forgotten or pushed to the back. Inspect each item carefully, taking note of:
- The printed expiry date
- Presence of any signs of spoilage like mold or unusual smell
- Any damage to the packaging
Discard items that are past their use-by date or show signs of spoilage. For any canned goods with damaged packaging, err on the side of caution and dispose of these too. Always remember – consuming expired food products can pose significant health hazards. Handling this step meticulously ensures that you’re starting your pantry organization with safe, edible items only.
Active interaction with your pantry reduces the chance of food waste. Make it a habit to periodically check use-by dates, especially before grocery shopping. This helps prevent overbuying and further ensures the items in your pantry stay within their safe consumption window.
Determine Your Pantry Categories
Recognizing the types of items in your pantry is the initial step. There are usually some common categories, such as canned goods, baking supplies, dry goods (like pasta, rice, and grains), snacks, breakfast items, and beverages. However, a person’s lifestyle influences the types of food they keep on hand, so consider your diet and meal prep routines. For instance, a vegan might have a category for plant-based protein sources, or a fitness enthusiast might have a category for supplements. Additionally, it could be helpful to have a section for cooking oils and spices, as well as non-edible pantry items like paper goods, cleaning supplies, or pet food.
Key Points:
- Common pantry categories: canned goods, baking supplies, dry goods, snacks, breakfast items, and beverages.
- Lifestyle-dependent categories considering dietary restrictions and routines: plant-based proteins, supplements, or specialty foods.
- Additional sections for cooking essentials like oils and spices, and non-food items.
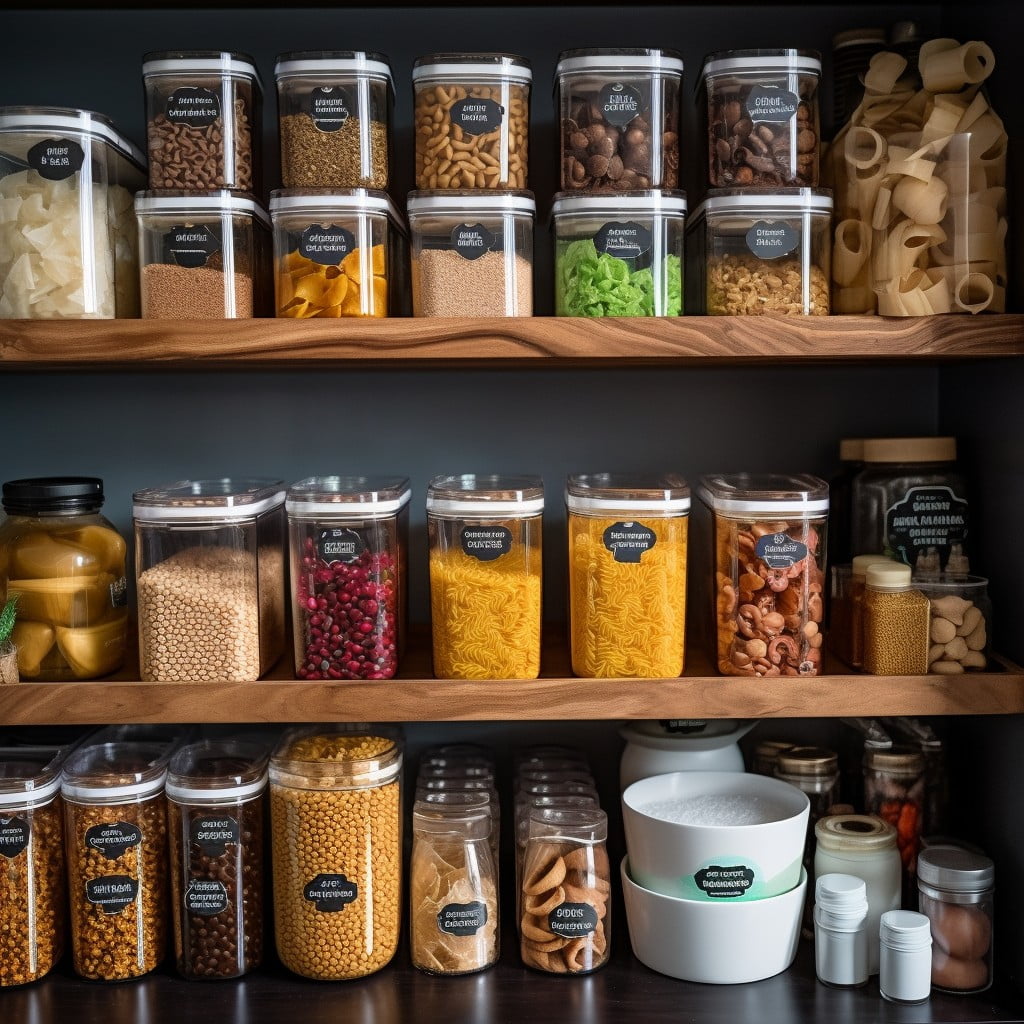
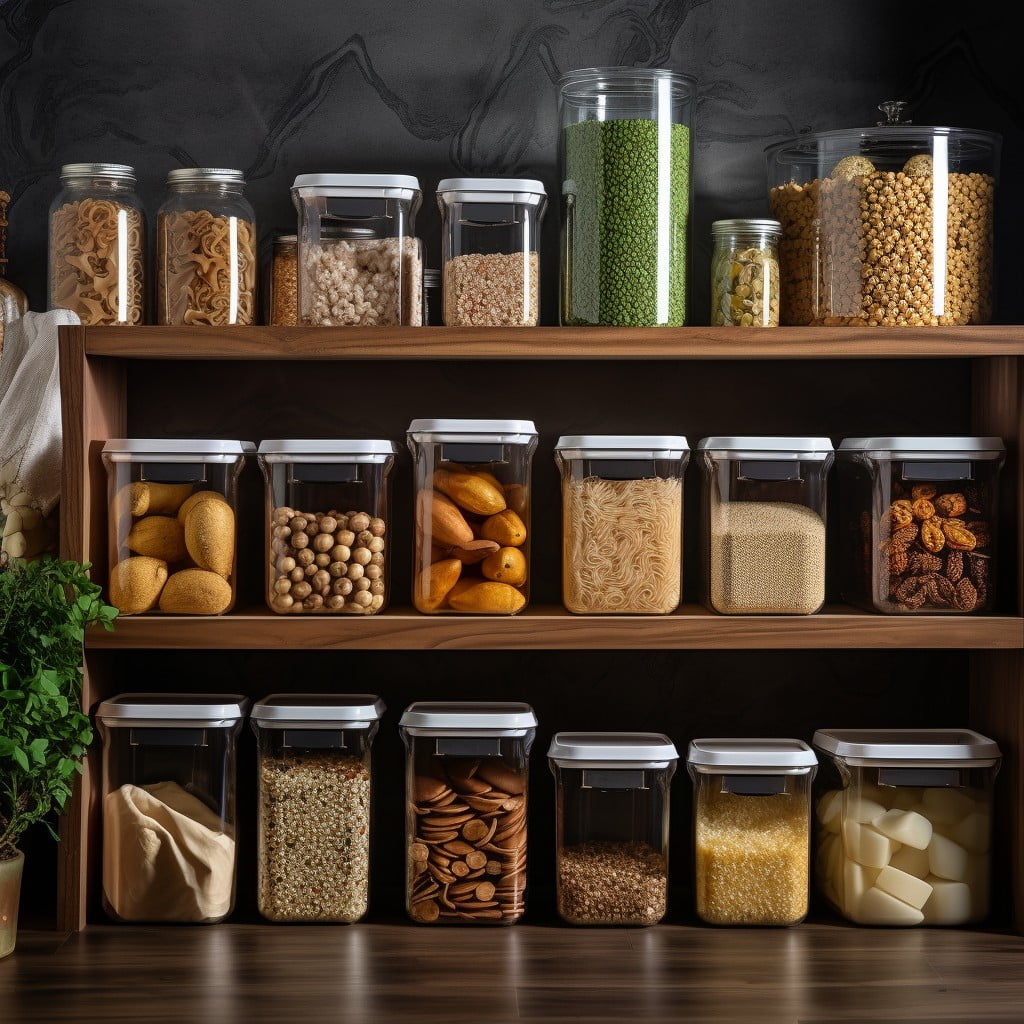
Utilize Clear Storage Containers for Visibility
Choosing clear containers serves dual purposes.
- Enhanced visibility: With transparent containers, it’s quick and easy to see what’s inside each one. This eliminates the need to open every container to find a specific item.
- Efficient organization: Clear containers come in a variety of shapes and sizes, which can help optimize use of space. Slender containers, for example, can be ideal for pasta, while wider ones can be used for rice or cereal.
- Freshness preservation: Most clear storage containers also come with airtight lids. These ensure that items inside stay fresh longer once they leave their original packaging.
- Sustainable option: As opposed to one-time-use packaging, clear containers are reusable. This means less waste in the long run.
Remember to label each container. Even with clear containers, labels help identify items at a glance, especially for similar-looking contents, such as different types of flour or grains.
To make the most of clear storage containers, purchase a variety of sizes. Small containers are perfect for storing spices, while larger ones work well for staples like flour and sugar. Even consider stackable options to maximize vertical space.
Employ Shelf Labels for Easy Identification
Shelf labels enhance pantry organization and make it quicker to locate items. They offer additional clarity, especially in a multi-person household.
1. Choose legible, preferably bold, fonts that are easily read at-a-glance.
2. Ensure labels are of a size that makes them conspicuous yet not too overbearing.
3. A strong adhesive is important to keep labels in place, but choose one that won’t damage surfaces if removal is needed.
4. Keep labels updated. If the contents of a shelf change, promptly adjust the corresponding label.
5. Make use of color-coding or symbols to identify different categories.
Remember, the overarching goal is to streamline your pantry organization process and reduce time spent searching for items.
Use Baskets for Corralling Small Items
Baskets not only add aesthetic appeal to your pantry but also work wonders in keeping small items organized and easy to find. They can hold everything from snacks to spices, preventing them from getting lost amongst larger pantry items.
1. Choose different basket sizes based on your pantry space and the number of items to store.
2. Designate specific baskets for particular groupings, such as seasoning packets, baking goods, or kids’ snacks.
3. Remember to place heavier items at the bottom of the basket to ensure stability.
4. Use wire or transparent baskets for easy visibility.
5. Keep baskets at an easily reachable height for frequent use.
6. To further ease accessibility, avoid stacking baskets.
7. Label the baskets to make location-specific items a breeze.
The basket technique optimizes space, reduces clutter, and adds an element of visual organization to your pantry. With this approach, your small pantry items are neatly corralled, readily available, and easy to replenish when needed.
Maximize Space With Shelf Racks
Optimizing pantry storage is seamless with the clever use of shelf racks. These ingenious solutions augment height and space, facilitating hinged visibility and access. Experiment with several types for maximal utilization:
- Stackable Can Racks: Ideal for organizing canned goods and enabling first-in, first-out rotation to curb wastage.
- Over-the-Door Racks: Make use of un-utilized door space, suitable for condiments and spices.
- Expandable Shelf Organizers: Monitor inventory at a glance, ideal for jars and smaller items.
- Pull Out Bins or Shelves: For seamless access to items in the back without disturbing the front row.
- Corner Shelf Racks: Exploit corner areas to store rarely used items.
- Under Shelf Baskets: These clever additions make use of the often wasted space beneath the shelf.
Shelf racks, if used effectively, can greatly maximize pantry space and organization, ensuring a more efficient and streamlined kitchen workflow.
Implement a Turntable for Hard-to-Reach Items
Turntables, also known as lazy Susans, are the perfect solution for making the most out of inaccessible corner spaces. By simply spinning the turntable, all the originally hidden items come into view.
Here’s how to effectively use them in your pantry:
1. Place large, bulky items that are seldom used toward the back of the turntable. This ensures they don’t block access to other items while staying within reach when needed.
2. Allocate the front and middle space of the turntable for frequently used items.
3. Use more than one turntable to divide different food types. This can be helpful for small pantries where food groups should not mix.
4. Ensure items placed on the turntables are stable and balanced to prevent accidental spills during the rotation.
Remember, the goal is to facilitate easy access to all items and minimize the need to remove multiple things to reach a single item in the back. Turntables enable you to view the contents of your pantry at a glance, with a simple twist of your hand.
Group Items Into Pantry Zones Based On Categories
Arranging belongings into corresponding segments makes navigation simpler. Choose the most applicable zone for each category, such as canned goods, baking supplies, snacks, or pastas and grains.
– Assign each type of item a specific area: For instance, cereals and breakfast foods situated together, while baking items, such as flours, sugars, and baking powder, share a different zone.
– Group similar items: Store sauces, condiments and spices together, separating sweet from savory if space allows.
– Designate a section for snacks: This could include chips, cookies and any go-to items for quick bites.
– Organize dry goods: Arrange pasta, rice and grains, or any dry goods typically used for main courses, in one particular zone.
Remember, one of the primary goals of zone arrangements is to make sure that the food you need is where you’d intuitively look first. Create zones based on the way you and your household utilize your pantry. Store less frequently used items or overflow in higher or hard-to-reach areas.
Maintain an Accurate Pantry Inventory
Creating a pantry inventory is fairly simple:
- Use a notebook or a spreadsheet application, such as Excel, Google Sheets.
- List down all the items, mentioning their quantity and expiration dates.
- Include columns for the last purchase date and estimated time of future purchase.
- Update your list each time you add or remove items. Remember, consistency is key for this system to work.
This inventory will act as a map of your pantry, guiding you in meal planning and grocery shopping, ensuring no product is wasted or runs out unexpectedly. A well-maintained, accurate pantry inventory aids in efficient kitchen operations.
Prioritize Accessibility for Frequent Use Items
Taking into account the frequency of utilization can drastically optimize your pantry organization. Here are three key concepts that can aid in achieving this:
1. Arrange commonly used ingredients in the lower and middle shelves. This placement makes them readily accessible without the need to stretch or crouch.
2. Organize the items used for specific recipes together. Having your pasta, sauce, and seasonings in one spot simplifies the cooking process.
3. Adopt a front-facing approach. Always ensure labels face forward for easy identification — no more shuffling around during busy meal prep times.
Rotate Items Based On Expiration Dates
A critical but often overlooked step in pantry organization is item rotation. This practice ensures food safety and helps to minimize waste.
Here’s what to keep in mind:
- 1. Always move older items to the front during restocking.
- 2. New purchases should be stored behind existing items.
- 3. Regularly check dates, even on non-perishable items.
- 4. Discard items past their expiry date to avoid potential health risks.
- 5. Never mix old and new batches of the same product to prevent cross-contamination.
- 6. Remember not all items have the same lifespan; canned goods usually outlast boxed items.
FAQ
What are some useful techniques to maximize space when organizing pantry items?
Maximizing pantry space can be achieved through techniques such as using clear bins for grouping similar items, implementing tiered shelving to enhance visibility, and attaching door racks to add extra storage.
How can labeling improve the efficiency and convenience of pantry accessibility?
Labeling improves pantry accessibility by enabling quick and effortless identification of items, which saves time and reduces disarray.
In what ways can placing pantry items according to their usage improve cooking and prep routines?
Organizing pantry items according to their usage can streamline cooking and prep routines by ensuring essential ingredients are easily accessible, thereby saving time and reducing stress during meal preparation.
Read More Like This
 15 Funny Graduation Cap Ideas to Make Your Big Day Unforgettable
 15 Unique DIY Christmas Decorations Ideas for a Festive Home
 15 Creative Science Fair Board Ideas to Amaze Your Audience
 15 Handmade Envelope Decoration Ideas for Creative Gifting
 10 DIY Gifts for the Whiskey Lover in Your Life
Recap: