Last updated on
Discover the art of creating pantry labels that are both functional and aesthetically pleasing, designed to simplify your kitchen organization.
Creating pantry labels is a simple, fun, and effective way to keep your kitchen organized. With a few basic materials like adhesive paper, a printer, and a pair of scissors, you can design your own customized labels that will make finding and sorting your pantry items a breeze.
This article will guide you through the process step by step, from choosing the right materials, to designing your labels, to applying them to your pantry items. So whether you’re a craft enthusiast or a beginner, you’ll find everything you need to make your pantry labels right here.
Key takeaways:
- Pantry labels serve important functions: content recognition, date tracking, aesthetic enhancement, systematized storage, and accessible consistency.
- Materials needed for making pantry labels include quality craft paper, printer, vinyl cutter, adhesive sheets, transfer tape, permanent marker, measuring tape, and various containers.
- DIY pantry labels can be made with materials like craft paper or vinyl, using design software or templates for customization.
- Printing and cutting process for label stickers involves using high-quality sticker paper, designing labels digitally, aligning printer settings, cutting out labels, and affixing them to jars.
- Vinyl labels are durable, waterproof, customizable, easy to apply and remove, and cost-effective for pantry organization. Materials needed include vinyl sheets, cutting machine, design software, transfer tape, scissors, and storage containers.
Understanding the Basics of Pantry Labels
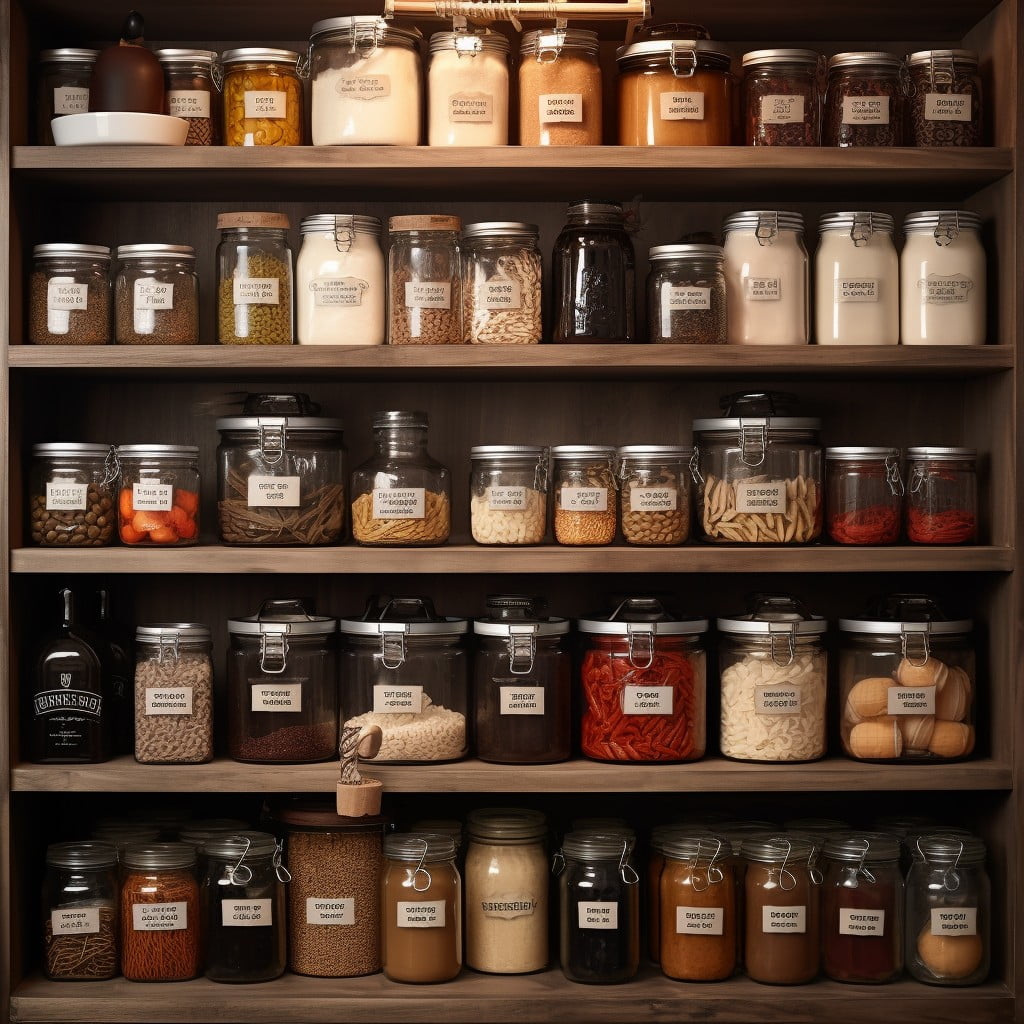
Pantry labels serve essential functions in maintaining an organized kitchen; they identify contents, keep track of expiration or purchase dates, and enhance the aesthetic appeal of your pantry.
Here are the key aspects:
- 1. Content Recognition: Easily distinguish between similar-looking ingredients such as baking soda and baking powder.
- 2. Date Tracking: Allows for the monitoring of fresh products, avoid food waste, and maintain health and safety.
- 3. Aesthetic Enhancement: Customized labels add a personal touch and improve the overall look of your pantry.
- 4. Systematized Storage: A well-labeled pantry simplifies tasks like cooking, grocery shopping, and cleaning.
- 5. Accessible Consistency: Ensure every family member or guest can navigate the pantry without confusion.
Materials Needed for Making Pantry Labels
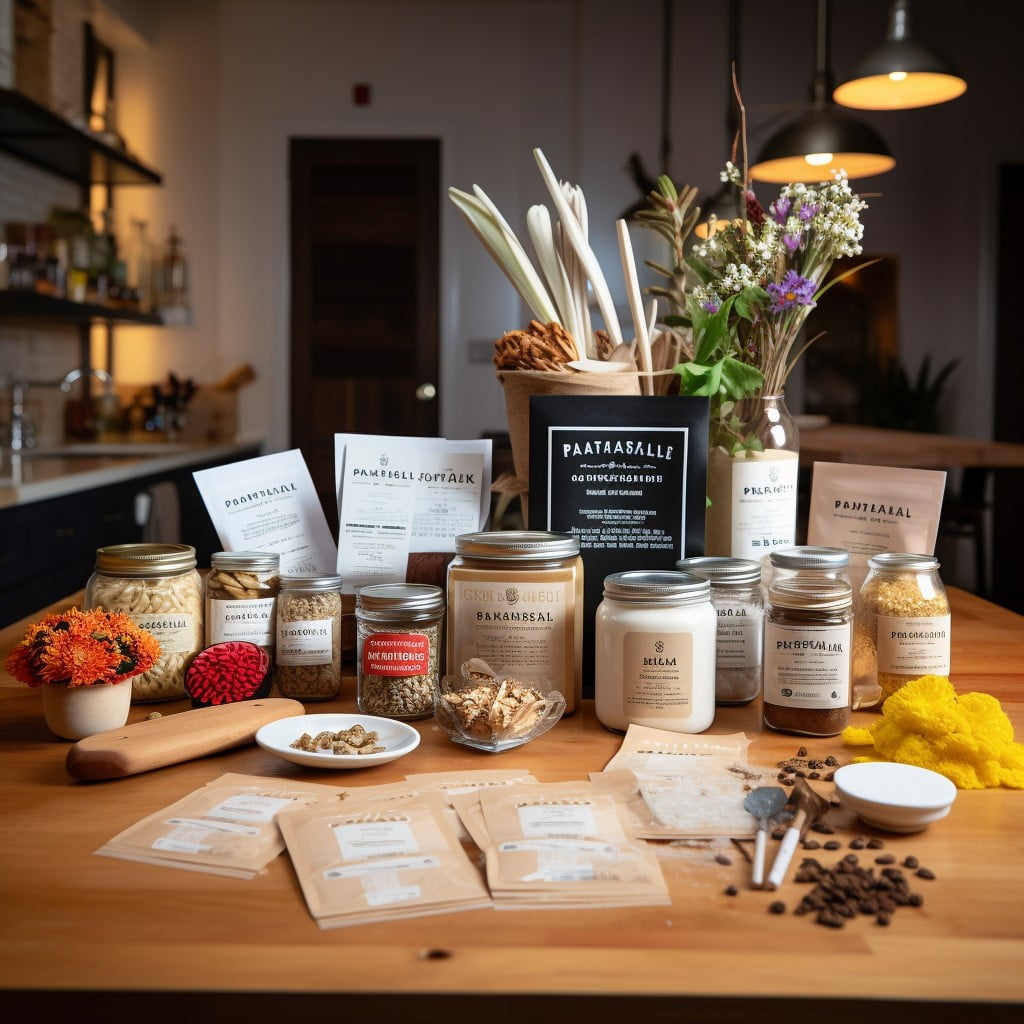
To undertake your pantry label project, ensure you have the necessary materials:
- Quality craft paper or card stock for a rigid base.
- A printer, suitable for printing intricate designs.
- A vinyl cutter or a precise scissors to make clean cuts.
- Clear adhesive sheets to secure the labels and protect them from moisture.
- Transfer tape for those preferring vinyl labels.
- Permanent marker or a computer for lettering.
- Measuring tape to ensure accurate sizing.
- Variety of containers to label. Different shapes and sizes may require different label style.
With these items at hand, you should have everything needed to kick-start your DIY pantry label project. Ensure to choose materials that complement each other in color and style to guarantee the best aesthetic outcome.
Clear Description of DIY Pantry Labels
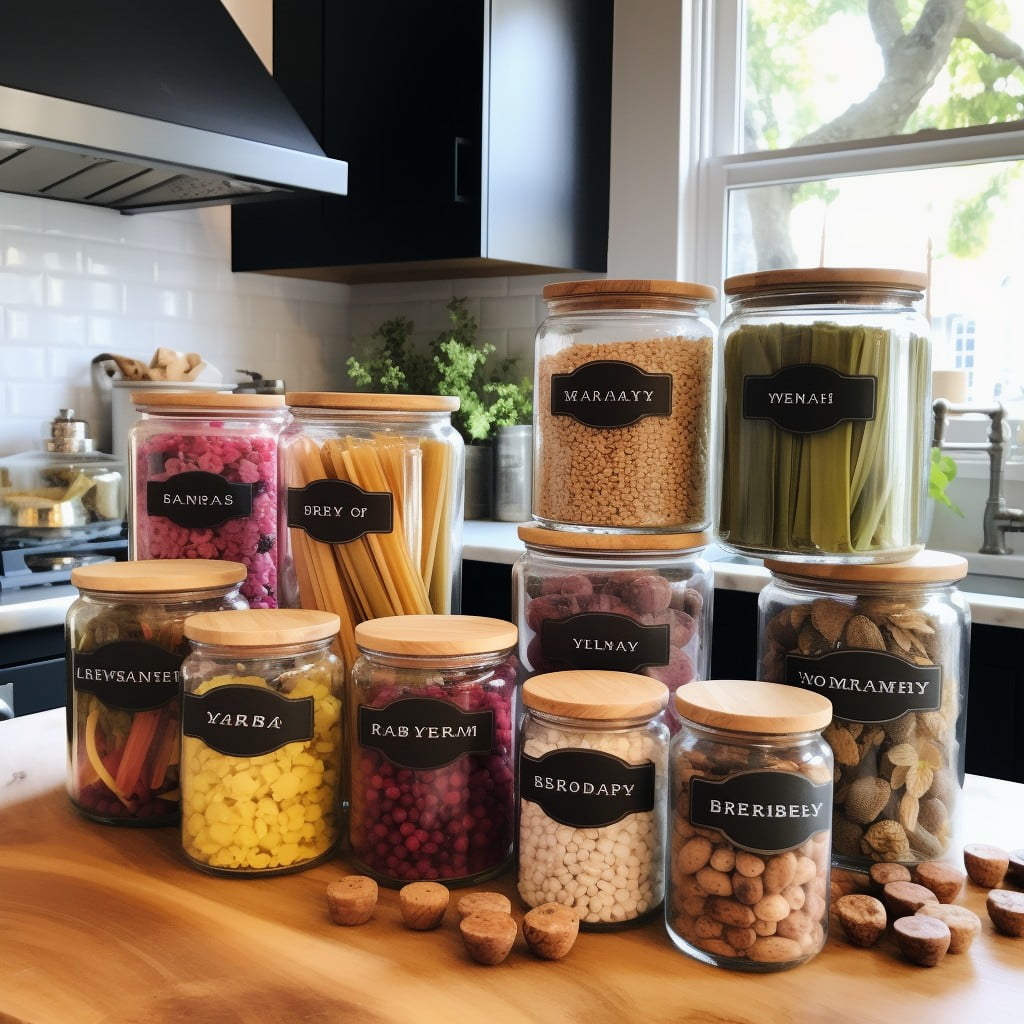
DIY pantry labels act as visual aids to turn your kitchen storage into a well-organized and user-friendly space, letting you and your family locate items with ease.
- Material selection is paramount. Options range from craft paper and cardstock to water-resistant vinyl.
- The design plays a crucial role in the aesthetic appeal and functionality. Simple, clear fonts enhance readability, while artistic elements add a personal touch.
- The size of pantry labels should correspond to the size of your jars or containers. Larger font for big containers while small but clear text for smaller ones.
- Implementing color coding could simplify categorization. For example, spices might have a different color label than baking supplies.
- Proper adhesion ensures longevity of labels. Opt for strong, waterproof adhesives or sticker paper.
- Laminating paper labels gives them durability, especially in a high-traffic kitchen environment.
- Reusable labels are popular among those who continually adjust their pantry contents. Chalkboard labels or hangtags provide flexibility.
By incorporating these key points into your label planning, you can achieve an efficient, stylish, and seamless pantry system.
Creating Pantry Label Stickers
Firstly, purchase high-quality sticker paper, designed for printer use. Then, design your labels. Opt for digital programs like Microsoft Word or Adobe Illustrator, allowing customization of fonts, sizes, and shapes. Alternatively, downloadable templates are available online for convenience.
Next, ensure printer settings match the material, select ‘sticker paper’, ensuring optimal print quality. Check alignment, then print your labels. Use precision tools, like a paper trimmer or scissors, to cut out the labels. Peel the sticker backing off carefully, then attach to clean, dry jars, pressing firmly for adhesion.
Key points:
- Use high-quality sticker paper designed for printers.
- Design labels in a digital program or use a downloadable template.
- Align printer settings and check alignment before printing.
- Cut out printed labels using a paper trimmer or precision scissors.
- Affix to jars after carefully removing the backing.
Required Materials for Pantry Stickers
Seamlessly creating your pantry stickers requires several essential items. High-quality sticker paper provides a durable base for your design, whilst a printer plays a pivotal role in getting your design perfectly onto the paper.
Alongside these, you would need both a sharp pair of scissors or a slide cutter for precision cutting. Additionally, an optional, yet useful, tool includes a punch cutter if circle or custom shape labels are preferred.
A design software such as Adobe Illustrator, Canva, or even Microsoft Word can be used for layout and design.
Remember, your choice of items can significantly impact the quality and longevity of your pantry stickers.
Printing and Cutting Process for Label Stickers
Following the design process, printing becomes the next step. Ensure you have an inkjet or laser printer for high-quality results. When your design is ready for printing:
- 1. Load sticker paper into your printer. Make sure it’s facing the proper direction to print on the adhesive side.
- 2. Set the printer settings to “labels” or “heavyweight” for the best outcome.
- 3. Print the label designs. Keep an eye out for unexpected printer errors or misalignments.
- 4. After printing, let the ink dry for several minutes to prevent smudging.
- 5. Utilize a paper trimmer or craft knife along with a ruler to cut out each label. Pay significant attention during this step to maintain consistency and precision.
Remember, practice makes perfect. The process may require several attempts for perfect execution, especially in manual cutting. Don’t be discouraged if the first few attempts do not come out as expected.
Application of Pantry Stickers to Jars
Begin with a clean, dry jar for optimal adhesion. Measure the jar’s surface area first, ensuring the label fits perfectly. Ideally, aim for placing the labels at eye level for easy visibility. For jar lids, center the sticker for a uniform appearance.
1. Ensure the jar is grease-free by wiping with rubbing alcohol and let dry.
2. Peel off backing from sticker, keeping the adhesive side free from dirt or dust.
3. Position the sticker, align with the predetermined spot, and adhere.
4. Start from the center and work outwards, pushing out any bubbles.
5. Repeat the process for the rest of the jars.
Remember, labels intended for dishwasher use need to be laminated or completed with a waterproof finish for increased durability. The same goes for jars containing oils or anything that could smear the labels.
Understanding Vinyl Labels for Pantry
Vinyl labels are a great choice for pantry organization due to their durability, waterproof characteristics, and sleek appearance. They can be custom cut to any shape and size making them versatile for any container size. Vinyl labels are also easy to apply and remove, leaving no residue behind – an added bonus for changing or correcting item names.
Key pointers:
- Durability: Vinyl labels withstand pantry conditions, not affected by temperature changes, humidity, or light.
- Waterproof: They resist moisture or spills, keeping the labels readable and neat.
- Customization: Designs are versatile, catering to your aesthetic preferences, befitting any jar or container size.
- Easy Application: Labels adhere smoothly to pantry containers, with no technical tools required.
- Residue-Free: Smooth removal without leaving stickiness behind, facilitating changes or corrections.
- Cost-effective: Affordable compared to other store-bought label options.
Necessary Supplies to Create Vinyl Labels
To start, you’ll need the following:
- Vinyl Sheets: Look for adhesive-backed vinyl sheets that are compatible with your cutting machine or scissors. Consider getting vinyl sheets in various colors for more customization options.
- Cutting Machine: A die-cut machine, like a Cricut or Silhouette, can make the job more precise and efficient, but standard scissors can also work in a pinch.
- Design Software: If you’re using a cutting machine, corresponding design software will be necessary for creating and adjusting custom label templates.
- Transfer Tape: This material is crucial for lifting the vinyl design from its backing and positioning it accurately on your storage containers.
- Scoring Tool or Tweezers: These tools simplify the process of weeding out and eliminating unwanted sections from your vinyl design.
- Storage Containers: Choose glass or plastic jars of your preferred size and shape. Ensure they have a smooth surface for the vinyl labels to adhere neatly.
Remember, each item plays a crucial role in crafting durable, visually pleasing labels that will help you achieve an organized and personalized pantry.
Preparation and Cutting of Vinyl Labels
Once you have your desired vinyl and a digital crafting machine such as a Cricut or Silhouette, you can start with the following steps:
1. Design your labels using design software. It could be as simple as text or include images. Ensure the design fits the size of your containers.
2. Transfer the design to the cutting machine software. Be sure the design is set to cut, not print.
3. Place the vinyl sheet on your cutting mat and load it into the cutting machine. Ensure the vinyl side faces up and the adhesive backing is against the mat.
4. Set the cutting machine to vinyl setting. Review the cut preview carefully before starting.
5. Begin the cutting process.
6. After completion, remove the mat from the machine and carefully peel off the excess vinyl around your design, also known as weeding.
This process will result in cleanly cut, ready-to-use vinyl labels.
Guidelines to Apply Transfer Tape to Labels
To secure your vinyl labels properly, adherence of transfer tape is crucial. Follow these steps:
1. Cut a piece of transfer tape approximately the size of your label.
2. Remove the tape’s backing layer, being careful not to touch the sticky side to ensure optimal adhesion.
3. Position this over your cut vinyl label, ensuring placement is centered and straight.
4. Use a credit card, squeegee, or scraper, apply pressure to secure the transfer tape onto the label, eliminating any bubbles.
5. Once satisfied with the application, gently peel away the transfer tape, leaving the vinyl label on the tape.
Remember, patience and precision are key in this process. Rushing or applying uneven pressure might lead to bubbles or creases. Maintain a steady hand and take your time for the best results.
Set of Instructions to Apply Vinyl Decals to Jars
Ensure the jars are clean and dry. Sticky residue or moisture may interfere with the adhesion process.
Start with the bottom end of the transfer tape, removing it gently while ensuring the vinyl decal adheres to it. Take care to avoid any creases or wrinkles.
Position the transfer tape carefully over the jar. Precision is crucial; aligning the edges of the decal with the necessary boundaries will result in a professional finish. Use a flat object, like a credit card, to softly scrape across the tape. This will assist with the adhesion of the vinyl decal to the jar’s surface.
Slowly peel back the transfer tape at a 45-degree angle. If the decal isn’t sticking to the jar, repeat the previous step, applying a bit more pressure this time. Continue the peeling process ensuring the decal stays adhered to the jar.
Finally, carefully smooth out any visible bubbles working from the center to the edges. Be sure not to scratch the decal.
Then, proceed to the next label, repeating the process until all jars are uniformly labeled.
Key points:
- Prepping jar surfaces
- Handling the transfer tape
- Positioning the decal
- Adhering the decal
- Removing transfer tape
- Smoothing out bubbles
- Continuing with the remaining labels
Remember, the successful application of vinyl decals requires cleanliness, precision, patience, and gentle handling. Applying too much pressure or haste can damage the delicate vinyl. You are more likely to achieve a clean, professional finish if these steps are followed correctly.
Making Pantry Labels in the Absence of a Cricut
Empty jars, a printer, paper or cardstock, and adhesive are the fundamentals for this DIY project.
1. Templates: Find and download printable label templates online that suit your style and pantry aesthetics.
2. Print: Depending on your preference, use either paper or cardstock, print the labels. Ensure the text is legible and fits the jar size.
3. Cut: After printing labels, cut accurately along the lines.
4. Adhesion: Attach double-sided tape to the back of each label, ensuring it doesn’t overlap the edges.
5. Alignment: Place them on the jars, align them correctly.
6. Protect: For added longevity, consider placing a clear adhesive over the label to protect against moisture and spills.
Remember, the magic of DIY allows for limitless creativity, so don’t hesitate to experiment with different colors, fonts, and materials until you find exactly what fits your pantry best.
Addressing Common Queries About Pantry Labels
Ensuring the best adhesive to resist kitchen conditions: Waterproof labels or vinyl are often the first choice.
Accommodating varying container sizes: Pantry labels can be resized according to the container’s surface.
Placing labels on a curvature: Align the label and gently smooth from the center outward.
Opting for reusable labels: Dry-erase and chalkboard labels can be updated as contents change.
Choosing readable font: Bold and clear fonts ensure easy identification of contents.
Deciding whether to list contents or storage instructions: Consider what would be most helpful for you – it’s your pantry.
Considering aesthetics: Match labels to your kitchen’s decor for a harmonious look.
Preserving the label’s longevity: Clean containers thoroughly before applying labels and use a sealant (mod podge or clear acrylic spray) for protection.
Ease of removal for washing or reusing jars: Heat from a hairdryer often helps in removing stubborn adhesive. Avoid the dishwasher to prolong the life of labels.
Suggested Crafts and Projects Similar to Pantry Labels
1. DIY Spice Rack Labels: Similar to pantry labels, customize your spice rack with elegant stickers, using a standard printer or cutting machine. Be creative with fonts and colors.
2. Personalized Wine Bottle Labels: Amp up your home bar or gift-giving with unique labels. Choose from vinyl or paper stickers, and add personal touches like name or occasion information.
3. Homemade Jam or Preserves Labels: Use pantry labeling skills to make your homemade treats stand out. Include product name, date, and quirky artwork or icons.
4. Craft Storage Containers Labels: Organize your crafting arsenal by labeling storage bins with your most used items. Opt for an easy-to-read and appealing design, large enough to quickly spot each item.
5. Children’s Toy Labels: An effective way to maintain order in the playroom. Consider colorful labels with pictures for non-reading children.
6. Personalized Gift Tags: Utilize your label-making skills to create unique gift tags. Incorporate the recipient’s name, design elements that reflect their taste, or occasion-specific motifs.
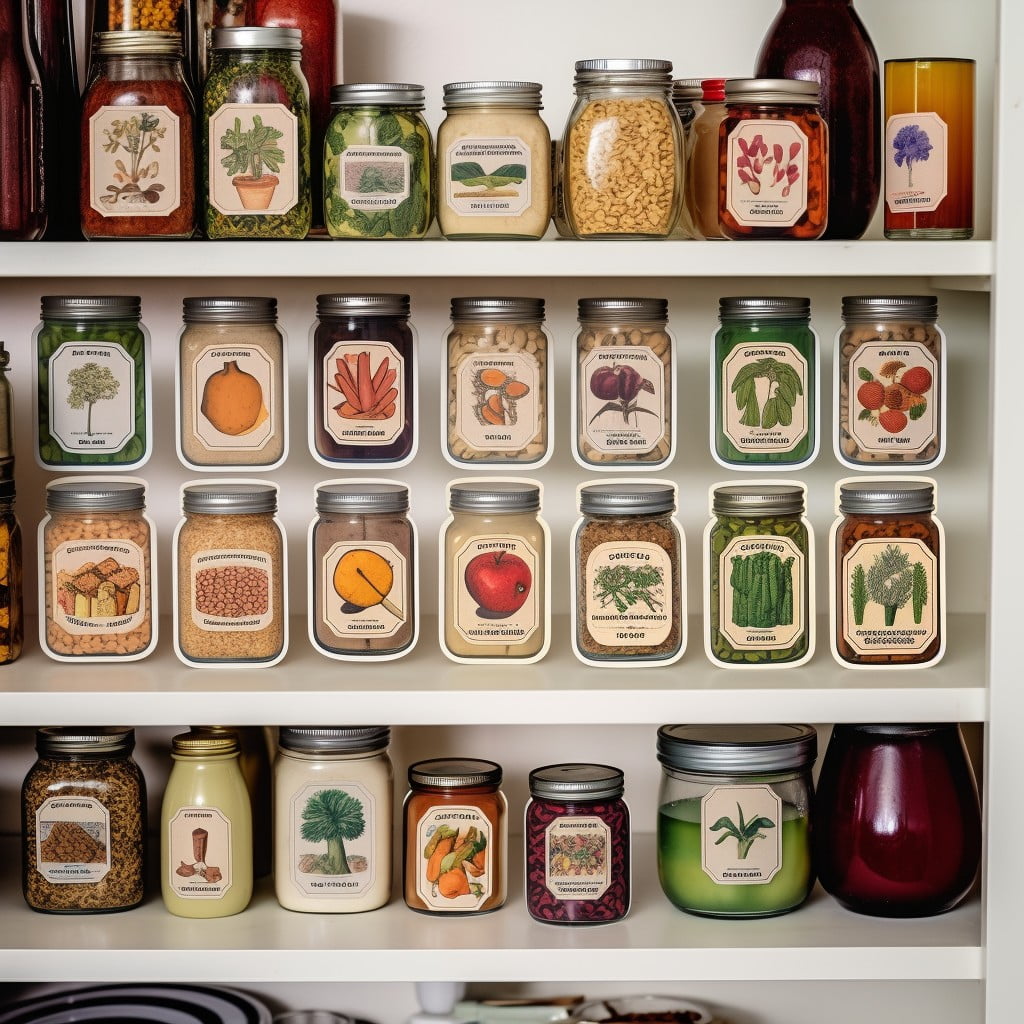
Organizing Your Pantry Effectively With Labels
Strategic placement: Assign specific regions in your pantry for different food types, such as canned goods, dry goods, and spices.
Visibility: Prioritize labeling clear containers, aiding easy identification of the items inside.
Label details: Include essential details like the expiration date or cooking instructions.
Categorization: Consider innovative label types such as color-coding, indicating breakfast foods, snacks, baking supplies, etc.
Regular updates: Maintain an up-to-date pantry label system, discarding old labels, and producing new ones as required.
Unification: Ensure uniform fonts and sizes across all labels to maintain aesthetic consistency.
Size-appropriate: Big containers should have larger labels and vice versa.
Accessibility: Place items used frequently at eye level, with their labels in easy sight.
Rotation: Enforce the ‘First In, First Out’ rule, rotating items as per their purchase date, and aligning labels for easy recognition.
Regular checks: Avoid pantry chaos with periodic checks, adjusting labels, and containers as needed.
Efficient storage planning coupled with a well-executed pantry label system can streamline your cooking process, avoid food wastage, and lead to a pleasant visual appeal of your pantry.
Utilizing DIY Labels for Pantry Decluttering
Superior organization is vital to the effective use of DIY pantry labels.
Begin by grouping similar food items together. It will increase the efficiency of your pantry by making items easy to find.
Mark each category with a unique label, such as “grains“, “spices“, or “canned goods.” This will ensure you or anyone else understand which items are located where.
Use labels to set a limit on space dedicated to each category to avoid overstocking. Not only does this prevent clutter but ensures desirable food rotation.
Take advantage of vertical space by stacking labeled bins or baskets. It provides you with the ability to store more items neatly.
Assign high and low priority zones to maximize the accessibility of frequently used items.
Finally, use color-coding or varying font sizes with your labels to signify product groups, minimizing the time spent searching for items.
These steps can help utilize the labels to their utmost potential and create a more efficient, clutter-free pantry.
FAQ
What is the best material for pantry labels?
The best material for pantry labels is vinyl, as it comes in a multitude of colors and sizes, is dishwasher safe, and allows for the production of many labels at once.
Which adhesives work best for attaching pantry labels to various surfaces?
High-quality sticker paper or vinyl adhesive labels work best for attaching pantry labels to various surfaces as they adhere well and are resistant to moisture and smudging.
How can one create washable pantry labels for long-term use?
To create long-term, washable pantry labels, one can use waterproof adhesive paper to print labels before laminating and cutting them, ensuring they remain pristine even after multiple washes.
What fonts are most easily legible when creating homemade pantry labels?
Clear, simple fonts such as Arial, Verdana, and Times New Roman are often the most legible for homemade pantry labels.
Read More Like This
 15 Unique DIY Christmas Decorations Ideas for a Festive Home
 15 Creative Science Fair Board Ideas to Amaze Your Audience
 15 Handmade Envelope Decoration Ideas for Creative Gifting
 10 DIY Gifts for the Whiskey Lover in Your Life
 15 Creative Ideas for DIY Outdoor Birthday Party Decorations
Recap: