Last updated on
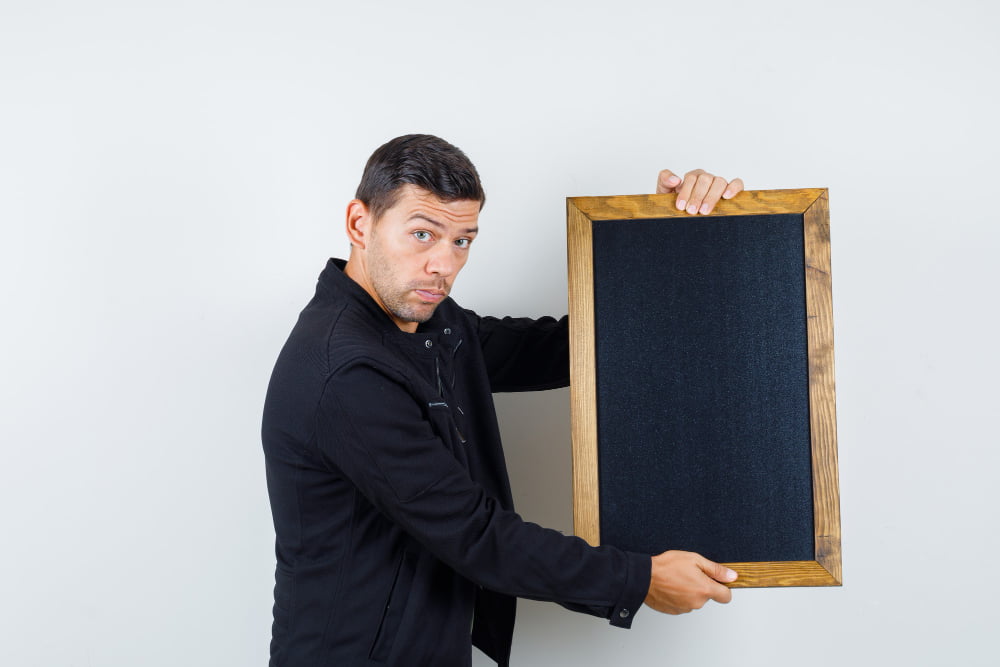
Discover the simple steps to effectively fix a chalkboard. Restore its smooth writing surface in no time.
Are you tired of looking at that old, worn-out chalkboard in your home or office? Maybe it’s covered in scratches and stains, or the surface has become uneven over time. Whatever the reason, don’t give up on your trusty chalkboard just yet! With a little bit of effort and some simple tools, you can easily fix your chalkboard and bring it back to life.
In this article, we’ll walk you through the steps to repair and restore your chalkboard so that it looks as good as new. So grab your tools and let’s get started!
Key takeaways:
- Assess the damage of the chalkboard before starting repairs.
- Clean the chalkboard using a soft cloth, water, vinegar, or rubbing alcohol.
- Repair minor scratches with fine-grit sandpaper or fill deeper scratches with wood filler.
- Resurface the chalkboard by sanding it down and applying chalkboard paint.
- Replace the frame carefully to give the chalkboard a fresh new look.
Assessing Damage
The first step in fixing a chalkboard is to assess the damage. Take a close look at the board and identify any scratches, dents, or other imperfections that need attention.
If there are only minor scratches or stains on the surface of your chalkboard, you may be able to fix them with some simple cleaning techniques.
However, if your chalkboard has deep gouges or cracks in it, you may need to consider resurfacing it entirely. In some cases where the frame is damaged beyond repair as well as being unsightly and detracting from its overall appearance; replacing it might be necessary.
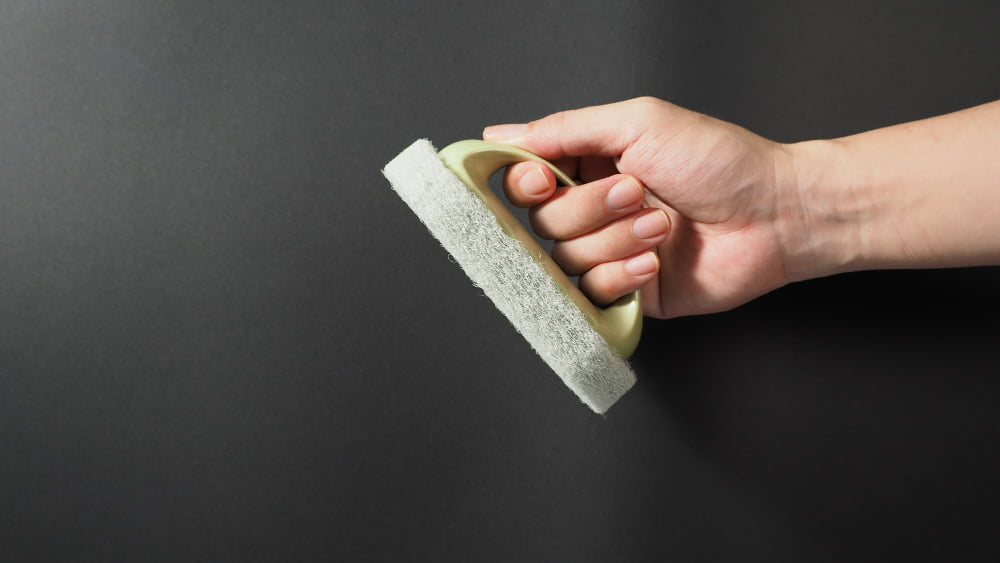
Cleaning Chalkboard

Cleaning is an essential step in restoring a chalkboard as dirt and dust can accumulate over time, making the surface rough and difficult to write on. To start cleaning your board, you’ll need a few basic supplies such as a soft cloth or sponge, water, vinegar or rubbing alcohol.
Begin by wiping down the board with a dry cloth to remove any loose debris. Then dampen your cloth or sponge with water mixed with either vinegar or rubbing alcohol (one part of each mixed into two parts of water).
Gently scrub the surface in circular motions until all stains are removed.
Once you’ve cleaned off all visible marks from your chalkboard using this method; wipe down again using plain warm water only – no soap! This will help ensure that there is no residue left behind which could interfere when writing later on.
Cleaning may seem like an easy task but be careful not to use abrasive materials that could scratch away at its delicate surface.
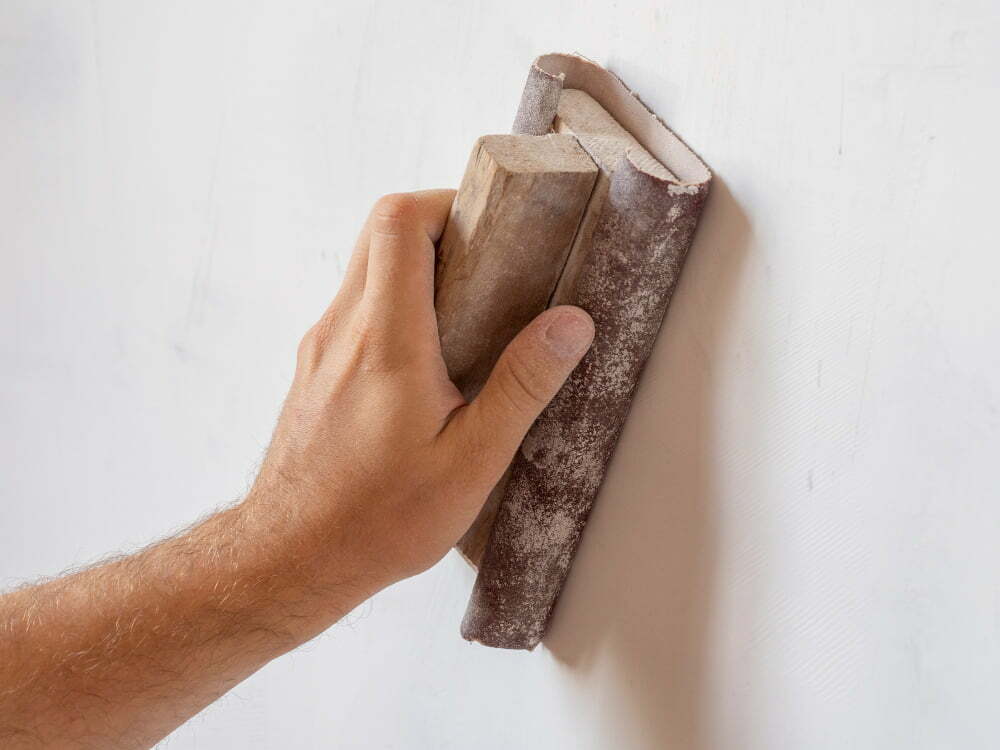
Repairing Scratches
Over time, these scratches can accumulate and make it difficult to write or erase on the board. Fortunately, repairing them is a relatively simple process.
To fix minor scratches, start by cleaning the surface of your chalkboard with a damp cloth and allowing it to dry completely. Then take a piece of fine-grit sandpaper (around 220 grit) and gently rub it over the scratched area in circular motions until you’ve smoothed out any rough edges.
For deeper scratches that have penetrated through the paint layer into the underlying material (usually MDF), you’ll need to fill them in before sanding. Use wood filler or spackle compound for this purpose; apply enough so that there’s excess above scratch level then let dry according to manufacturer instructions before sanding down flush with surrounding surface using same fine-grit paper as above.
Resurfacing Board
Resurfacing involves sanding down the surface of the board to remove any imperfections and create a smooth writing surface.
To begin, you’ll need to gather some sandpaper with varying grits (start with a coarse grit and work your way up to finer grits), an electric sander (optional but recommended for larger boards), and safety goggles.
Start by using the coarsest sandpaper on your chalkboard until all scratches are removed. Then gradually move onto finer-grit paper until you achieve a smooth finish.
Be sure not to oversand as this can damage or weaken the board’s structure.
Once finished, wipe away any dust from sanding before applying several coats of chalkboard paint primer followed by two coats of high-quality chalkboard paint in thin layers allowing each coat time dry completely before adding another layer.
Replacing Frame
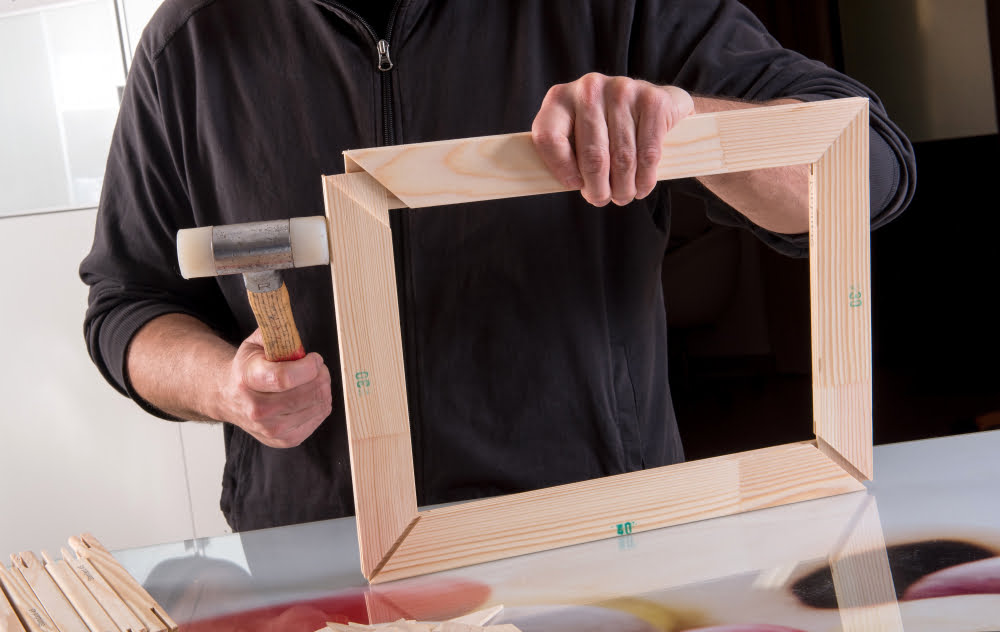
This can give your board a fresh new look and make it more functional for your space. To replace the frame, start by removing the old one from the board using a screwdriver or pry bar.
Be careful not to damage the chalkboard surface as you do this.
Once you have removed the old frame, measure its dimensions so that you can purchase a replacement of similar size and style. You can find frames at most home improvement stores or online retailers.
When installing the new frame, use screws that are long enough to secure it firmly in place but not so long that they penetrate through to the other side of your chalkboard surface.
With these simple steps, replacing an old or damaged chalkboard frame is easy and affordable!
Read More Like This
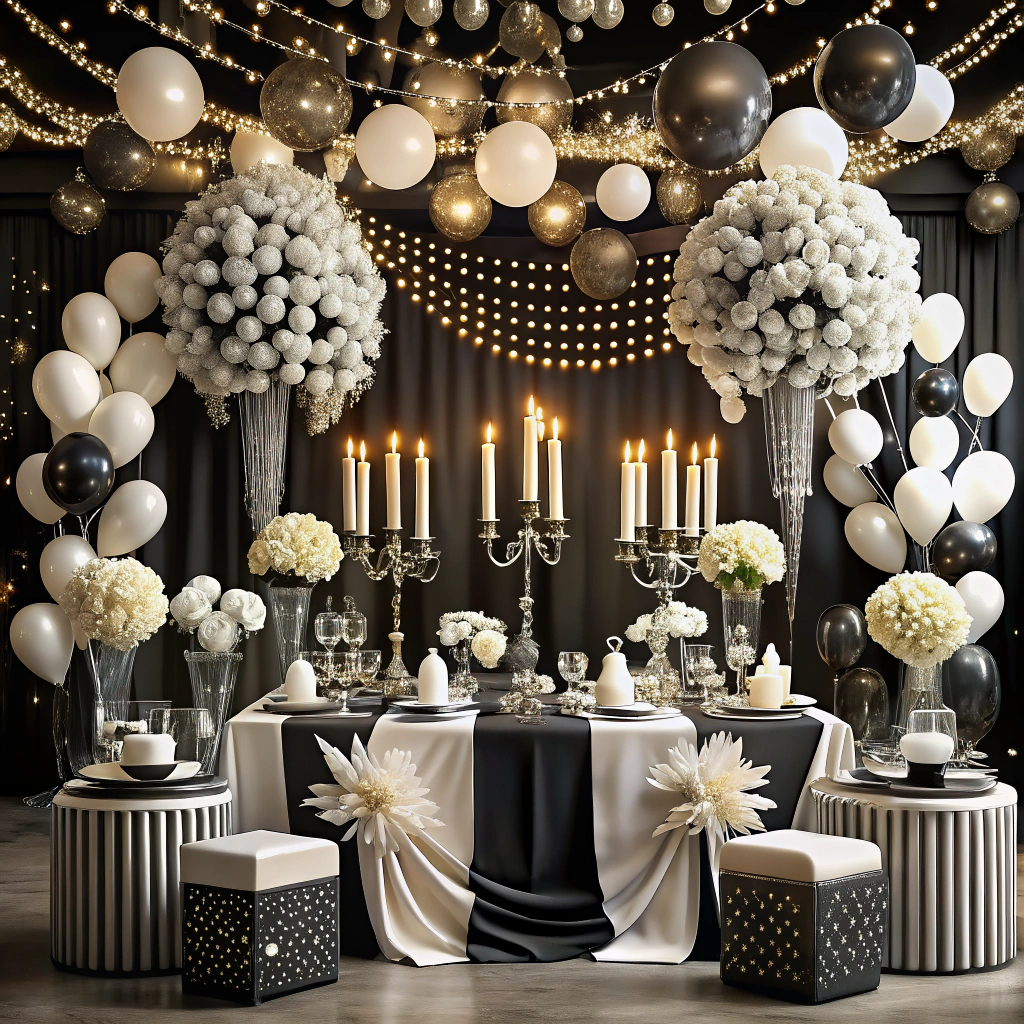 15 Homecoming Decoration Ideas to Elevate Your Celebration
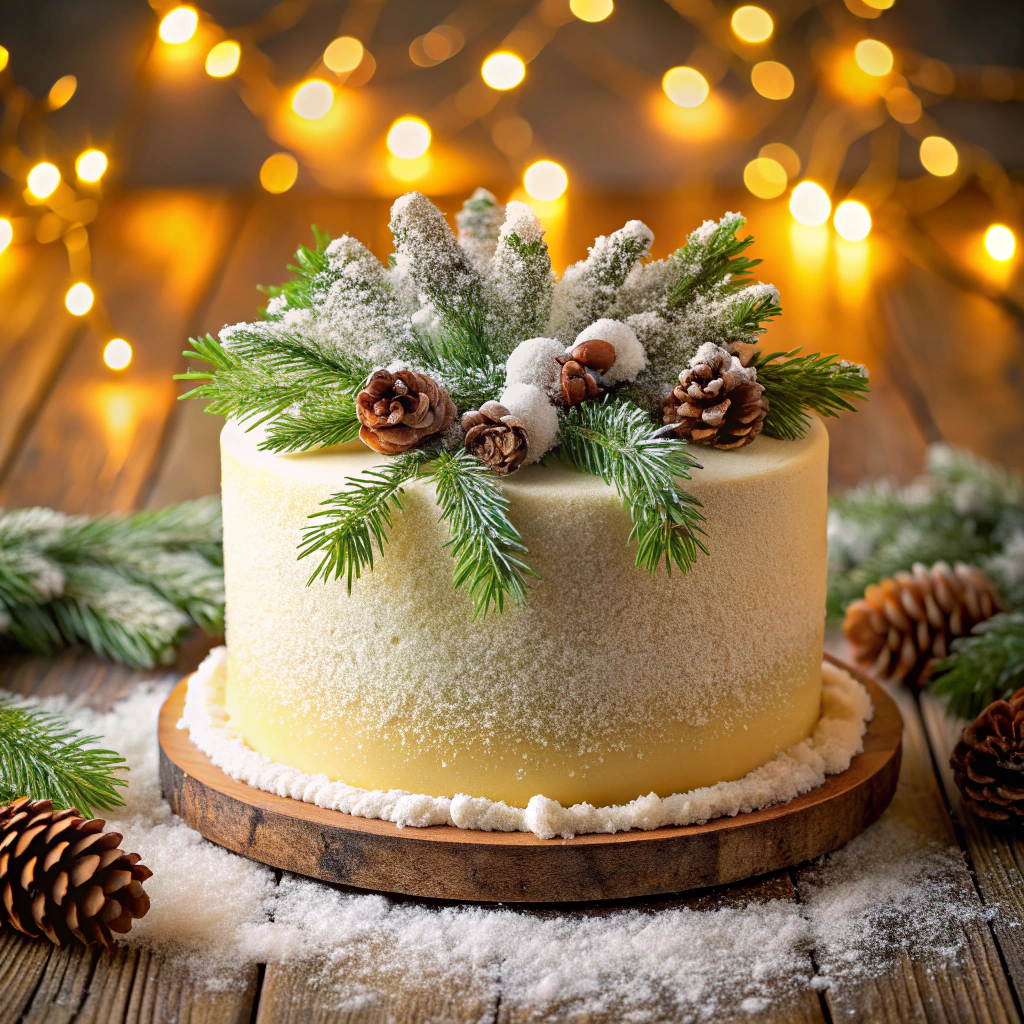 15 Christmas Cake Decorating Ideas to Sweeten Your Holidays
 15 Outdoor Party Tent Decorating Ideas for a Magical Celebration
 15 Ideas for Welcome Home Decorations
 15 Funny Graduation Cap Ideas to Make Your Big Day Unforgettable
Recap: