Last updated on
You’ll discover how to successfully remove chalk from wood in this article, because maintaining your furniture’s pristine condition enhances your home’s overall appeal.
Chalk on wood can be an unwelcome sight but with the right steps, it’s a problem that can easily be solved. Whether it’s a layer of sidewalk chalk left on your outdoor furniture or an unintended mark on your beautiful hardwood floor, this guide will show you how to get chalk off wood efficiently, without causing any damage.
All you’ll need is a few household supplies and a little elbow grease. Continue reading to gain a thorough understanding of the necessary steps, along with additional tips to help you handle any chalk-related mishaps in the future.
Key takeaways:
- Mix mild dish soap and warm water to create a cleaning solution.
- Use a soft cloth to wipe the chalky area, following the grain of the wood.
- Remove any soap residue with a separate cloth dampened with clean water.
- Finish by using a dry, absorbent cloth to remove lingering moisture.
- Protect wood surfaces from chalk by using sealants or chalk-resistant paints.
Steps to Remove the Chalk
Begin by dusting the affected area with a dry, soft cloth that won’t scratch the wood. If dusting doesn’t completely remove the chalk, proceed with the following steps:
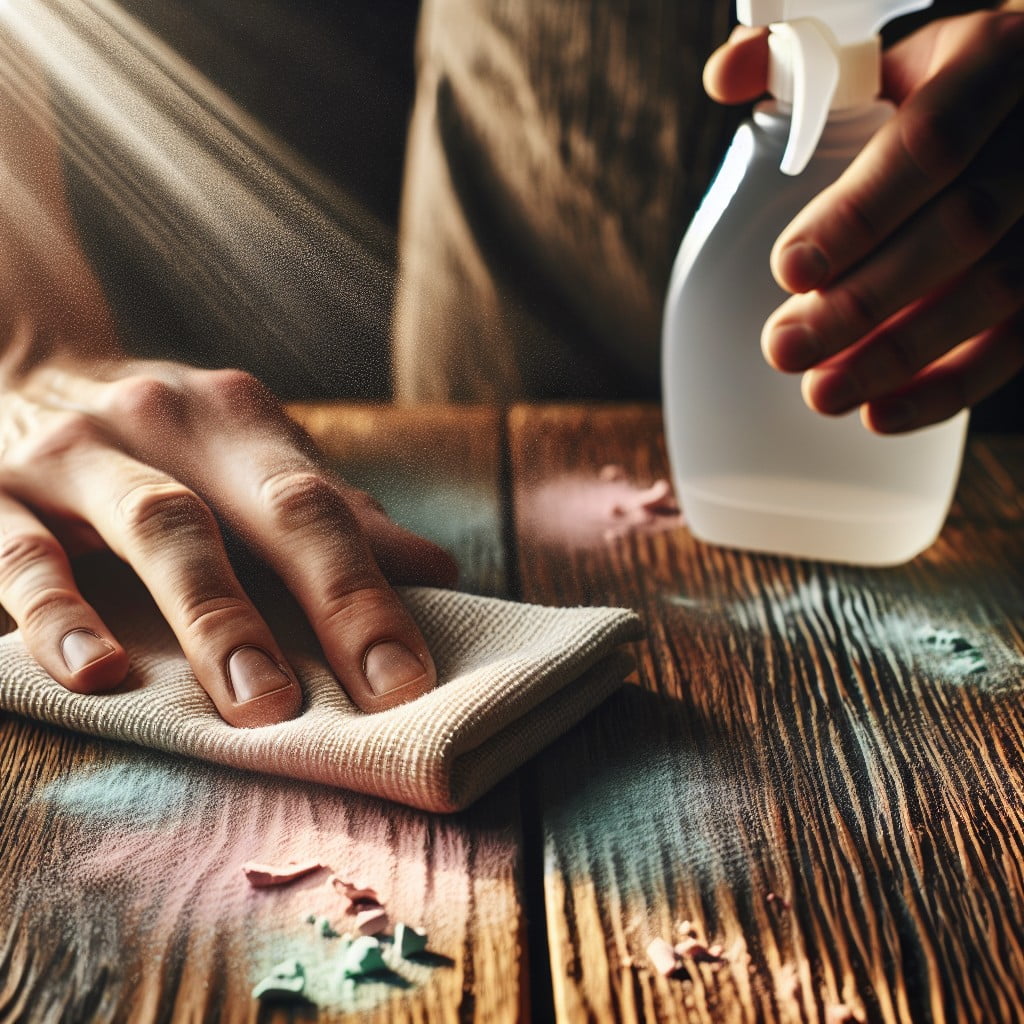
1. Mix a solution of mild dish soap and warm water – one cup of water per tablespoon of soap should suffice. Such home cleaning solutions are effective for removing chalk without damaging wood.
2. Dip a soft cloth into the soapy mixture, squeezing out any excess liquid to prevent the wood from becoming overly damp. Too much moisture can damage the wood.
3. Wipe the chalky area, following the grain of the wood. Avoid aggressive rubbing, which can scratch or damage the surface.
4. After wiping, dampen a separate cloth with clean water, removing any soap residue.
5. Finish the cleaning process with a dry, absorbent cloth to wick away any lingering moisture. This helps to prevent water damage to the wood.
Remember, always perform a spot test on a hidden area to ensure the cleaning solution won’t discolor or damage the wood.
The Need for Proper Wood Preparation
Starting with a clean slate is crucial to get effective results. Clear existing varnish, dust or stains with a soft, damp cloth, ensuring the wood’s surface is dry before you start the chalk removal process. Using mild dish soap with water is a trusted method if the surface is dirty. Remember, excess water is wood’s worst enemy.
Next, assessing the kind of finish your wood has can guide your approach. Finished wood may show less stain absorption, while untreated wood requires more care to avoid prolonged exposure to cleaning solutions. Tread carefully, understanding your wood’s properties can make chalk removal hassle-free and much more effective.
Lastly, testing your cleaning methods or products on a small, unnoticeable part of the wood beforehand can prevent damage. It’s a prudent step that saves you from unforeseeable mishaps. You don’t want to deal with a fixable problem which became unfixable due to impatience or negligence. It’s always better to be safe than sorry.
DIY Products Best Suited for Chalk Removal
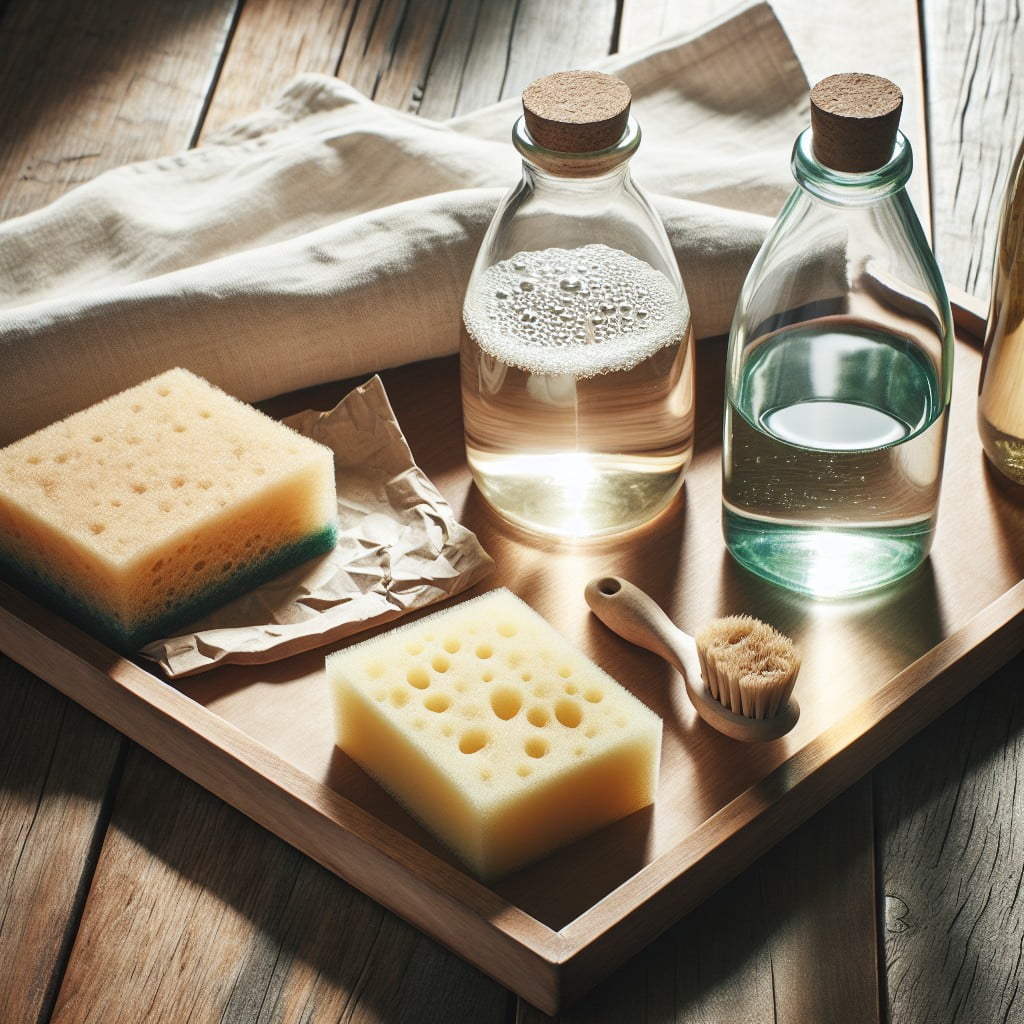
Several household items can effectively clean chalk off wood. White vinegar, a common kitchen staple, is one such product. Mixing one part white vinegar with two parts water creates a potent chalk-removing solution. Apply the solution with a soft cloth, then use a dry cloth to wipe the area clean.
Another option is baking soda. Make a paste by mixing small amounts of baking soda and water; apply this paste directly to the chalk spot. Gently scrub the area with a soft brush until the chalk is gone, and then wipe the area clean with a damp cloth.
Finally, consider rubbing alcohol. Used sparingly, it can break down the chalk. Apply it to the area using a soft cloth, then wipe it off with a clean, damp cloth. Be cautious not to overuse rubbing alcohol as it can dry out the wood.
Safety Measures in Chalk Removal
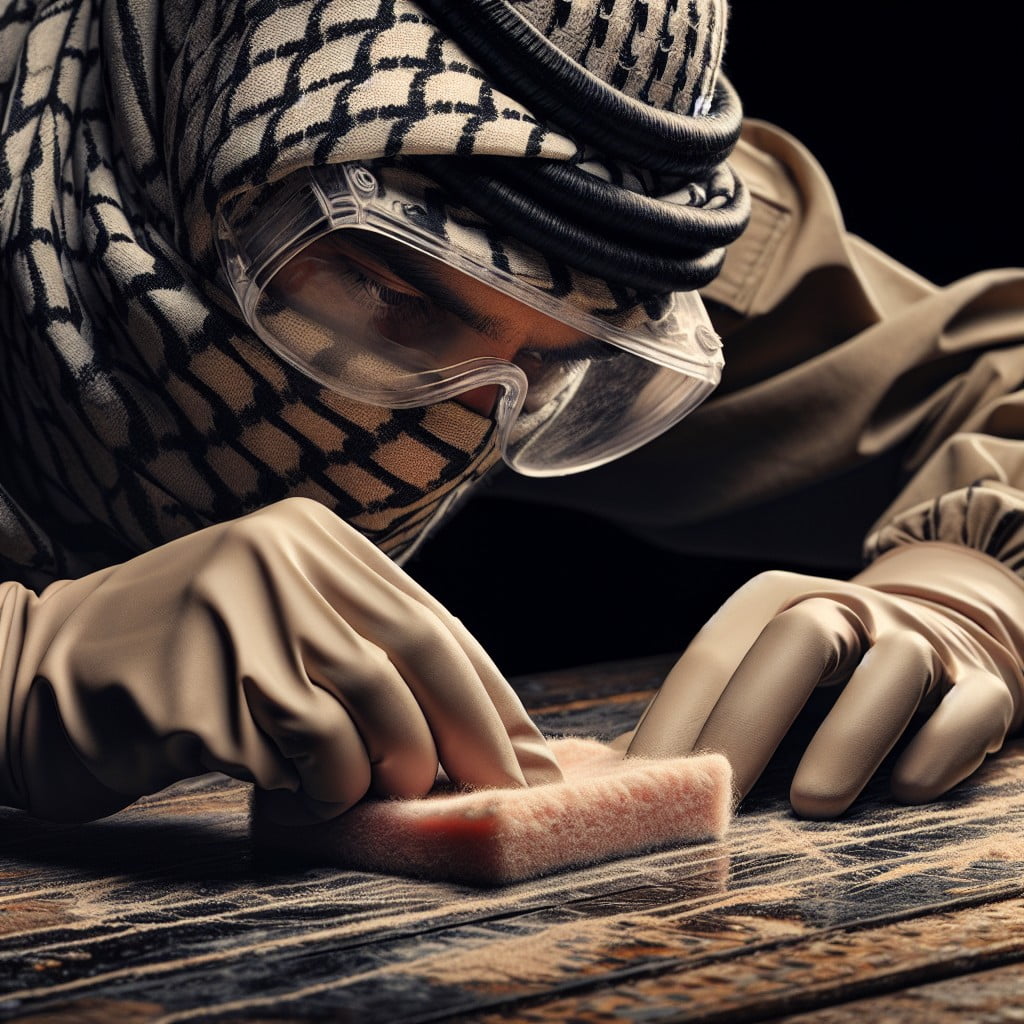
Before beginning the chalk removal process, take a moment to glove up and protect your eyes. While most cleaners are generally safe, they can cause irritation if they come into contact with your skin or eyes. Ensure your work area is well-ventilated to avoid inhaling any fumes.
Avoid abrasive techniques like sanding, particularly in a confined, unventilated space. It generates dust and could harm both your respiratory system and the wood’s surface.
Carefully read labels on any commercial cleansers to be aware of potential hazards. Many products recommend testing a small, inconspicuous area before full application to prevent damage or discoloration to your wood.
For those utilizing homemade or natural cleansers, such as vinegar solutions, be mindful of any reactions to the substance. While usually safer, they can still cause skin irritations or allergies in some individuals. Always clean up thoroughly after you’ve successfully managed to do away with the chalk stain.
Never combine different cleansing agents at once, especially bleach-based and acid-based products, as it can result in harmful chemical reactions. It’s advisable to have a neutralizer at hand, in case the wood surface reacts negatively to the cleaning solution.
These steps will not only make the procedure safer but also increase the lifespan of your favorite wood items.
Importance of Immediate Chalk Cleaning
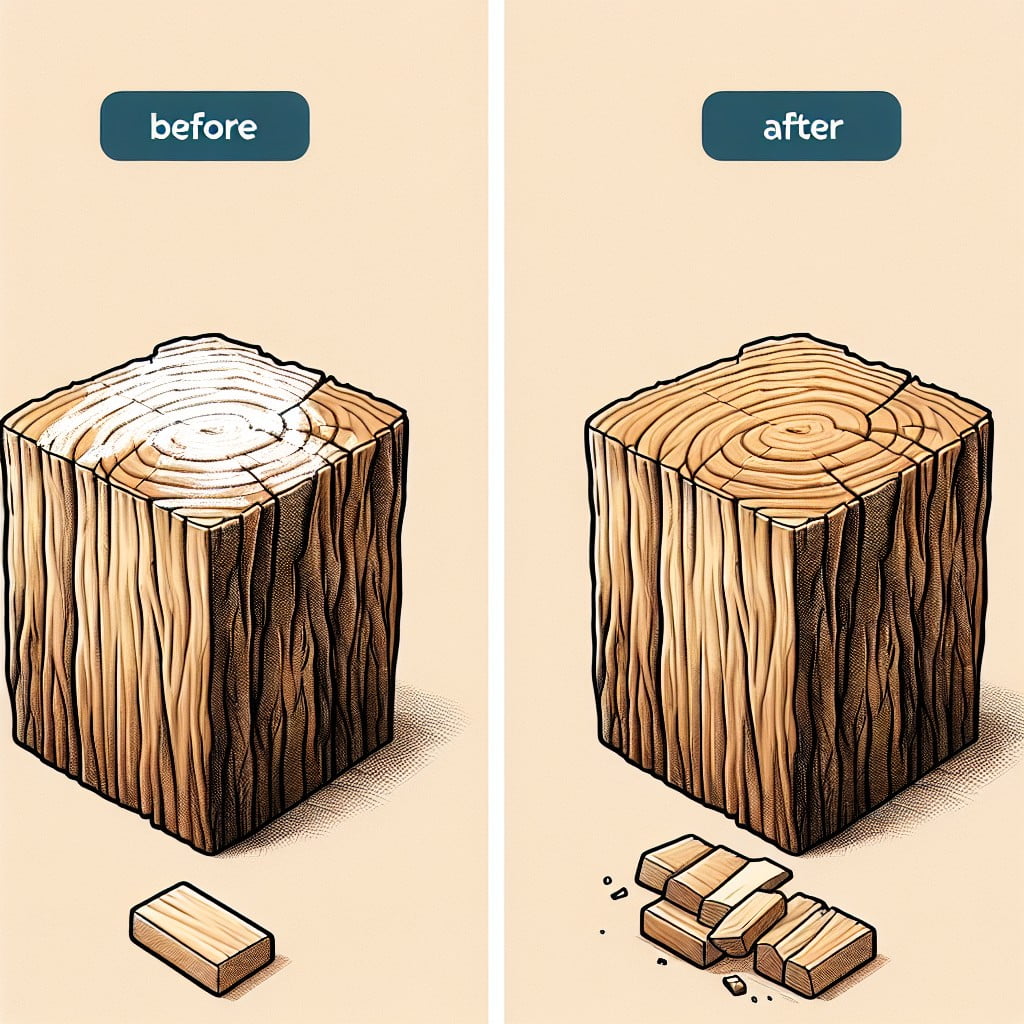
Timely action plays a significant role in chalk removal. When chalk dust settles onto wood, it might seem harmless initially. However, if left untouched, it can seep into the wood grain and become difficult to remove. It can also create a dull and dirty appearance, harming the wood’s actual texture and color.
Furthermore, if chalk gets wet on the wood, it can react with the water and potentially lead to wear and discoloration, which might call for more extensive wood treatments. Therefore, taking immediate measures to clean chalk off wood not only maintains its aesthetic but also potentially saves time and effort in future cleans or restorations.
Keep these points in mind to preserve your wood:
- 1. Clean chalk immediately after noticing it.
- 2. Periodically inspect your wooden articles for any chalk marks.
- 3. Always keep your cleaning tools at the ready.
- 4. Set up a routine cleaning schedule for your wood furniture or surfaces.
- 5. Educate children and family members about the importance of maintaining wooden surfaces free from chalk and other stains.
In essence, nipping the problem in the bud and springing into swift action plays a rampart role in adequate chalk removal and wood preservation. Resources spent now save double the trouble later!
Preventive Steps to Protect Wood
Awareness and timely action can significantly ward off chalky woes from your beloved wooden pieces. Consider these steps:
1. Use protectants: Sealants, generally acrylic or polyurethane in nature, serve as excellent shields against chalk. Apply a thin, even coat over the wood surface and let it dry according to the manufacturer’s instructions.
2. Opt for chalk-resistant paints: Such paints create a smooth, chalk-averse surface. They are readily available in different color options to match any decor theme.
3. Regular Dusting: Grit, dust, and dirt can turn chalky when left unattended. Regular dusting can help prevent this problem.
4. Position Furniture Correctly: Refrain from placing wooden items too close to chalk-prone areas, for instance, children’s play zone, classrooms, or art studios.
Remember, preventive care not only saves effort but also prolongs the lifespan of your cherished wooden possessions.
Additional Tips for Effective Chalk Removal
For a spotless finish, incorporate the use of a clean, damp cloth alongside the chosen cleaning solution. This will help to wipe off the chalk more efficiently.
Instead of scrubbing aggressively, which could cause damage, apply gentle strokes on the wood surface, moving in the direction of the grain, for an effective clean-up process.
Use a dry, soft cloth immediately after the damp one to prevent water damage. If the chalk stain persists post-initial methods, consider using a mildly abrasive pad to gently scrub the area.
Lastly, ensure an appropriately matched wood polish is applied after cleaning to restore the wood’s shine and protect it from future stains.
Embrace patience throughout the process, rushing rarely yields desirable results.
Safeguard your wooden surfaces from further exposure to chalk dust by covering them before any chalkwork is initiated in the vicinity.
How to Handle Stubborn Chalk Stains
When chalk stains resist the first cleaning attempt, don’t panic. It’s time to call on a stronger solution. Add a few droplets of dish soap to a cup of warm water. Dip a soft cloth in this mixture, and gently scrub the affected area. Rinse the area with a damp cloth, then pat it dry.
For ingrained stains, consider as a last resort, gently sanding the area. Use a fine-grit sandpaper and move in the direction of the wood grain, to prevent scratches. Once done, wipe away the dust and apply a matching wood stain for uniformity.
Remember, the key is patience and persistence, tackling stubborn chalk stains may take a few rounds of cleaning. Always test a small, hidden area first when using new solutions, to ensure they don’t damage the wood surface.
Choosing the Right Tools for Chalk Removal
Soft, natural-bristle brushes usually make the best choice for chalk removal. The fine, gentle bristles do an excellent job of loosening the chalk without damaging your wood surfaces. When dealing with less stubborn chalk, a microfiber cloth can effectively wipe off the residue.
For tougher situations, a non-abrasive scrubbing pad becomes an invaluable tool. These pads have just enough grit to rub away resilient stains, without scratching the wood. Utilizing a spray bottle to saturate the chalk with your chosen cleaning solution before scrubbing can enhance effectiveness.
Remember, the right tool depends on the stubbornness of the chalk and the delicacy of the wood surface. Always test a small hidden area first before starting the cleaning process.
Understanding the Nature of Wood and Chalk Interaction
While chalk may seem harmless, it presents a unique challenge when it comes into contact with wood. The porous nature of wood allows it to absorb moisture from the chalk, causing the chalk minerals to seep into its fiber.
1. Wood’s absorbent quality: This quality can lead to extended chalk retention, making full removal a challenge without proper tools and techniques.
2. Chalk’s composition: The presence of calcium sulfate in chalk can react with certain wood finishings causing discoloration.
3. Chalk and unsealed wood: When chalk interacts with an unsealed wood surface, it can become embedded in the grain, making it especially hard to remove.
4. Chalk dust and wood pores: Chalk dust can further clog the pores of wood, thus impacting the finish and texture.
These points illustrate that understanding the nature of the interaction between the material of chalk and wood is crucial for effective removal. It bolsters the importance of immediate cleaning and utilizing the right methods to preserve the integrity of wood surfaces.
FAQ
What removes chalk from wood?
The most effective method to remove chalk from wood is through sanding; however, ample ventilation and protective clothing are essential due to the large amounts of dust produced.
How do you remove chalk from raw wood?
To remove chalk from raw wood, apply a small amount of denatured alcohol, found at home centers and paint stores, and wipe clean.
Will sidewalk chalk wash off wood?
Yes, sidewalk chalk can be washed off from wood surfaces by using a damp sponge or soft cloth along with a cleanser like Soft Scrub to work on the stain in a circular motion, followed by a thorough rinse with water.
Can vinegar be used to remove chalk from wood surfaces?
Yes, vinegar can be used to remove chalk from wood surfaces by creating a mixture of one part vinegar to eight parts water and gently wiping the surface with a soft cloth soaked in the solution.
What precautions should be taken when removing chalk from antique wood furniture?
When removing chalk from antique wood furniture, ensure to use a soft cloth dampened with warm water and mild, pH-neutral soap to preserve the wood’s finish and prevent further damage.
Is it possible to eliminate chalk stains from wood without damaging the finish?
Yes, it is possible to safely remove chalk stains from wood without damaging the finish, typically by gently wiping with a damp cloth and mild detergent, followed by drying and possibly light buffing.
Read More Like This
 15 Funny Graduation Cap Ideas to Make Your Big Day Unforgettable
 15 Unique DIY Christmas Decorations Ideas for a Festive Home
 15 Creative Science Fair Board Ideas to Amaze Your Audience
 15 Handmade Envelope Decoration Ideas for Creative Gifting
 10 DIY Gifts for the Whiskey Lover in Your Life
Recap: