Last updated on
Dive into this guide to explore the practical techniques for removing chalk paint because it’s not as intimidating or messy as it may seem.
Removing chalk paint can sometimes prove a tad challenging, but not to worry. This brief guide provides efficient and effective methods to get your wooden or metal surfaces back to their original state.
With the various chalk paint removal methods unveiled here, from simple sanding to more complex chemical solutions, you’re sure to find an approach that suits your needs best.
Whether you’re a novice or a pro, the step-by-step directions offered will lead you through the process easily. So grab your tools and let’s get that chalk paint off.
Key takeaways:
- Chalk paint is a decorative paint with a matte, chalky appearance.
- Safety measures like wearing protective gear and working in a well-ventilated area are important.
- Tools and materials for chalk paint removal include safety gear, sandpaper, paint stripper, scraper, waste bags, and vinegar.
- Sanding and chemical paint stripping are effective methods for removing chalk paint.
- After removing chalk paint, clean the surface, apply a sealant if needed, and maintain regular maintenance.
Understanding Chalk Paint
Chalk paint is a type of decorative paint known for its matte, chalky appearance. It is often used for painting furniture, due to its ability to stick to almost any surface without primer or sanding. It is versatile, easy to use, and provides excellent coverage.
Chalk paint is made by adding calcium carbonate to regular paint, giving it its distinctive texture. This characteristic makes it different to regular paints, especially when it comes to removing it. It’s essential to know its properties in order to effectively tackle any removal project.
Many often confuse chalk paint with chalkboard paint. While chalkboard paint is used to create a writable surface, chalk paint is for decor purposes and cannot be written on. Understanding this is crucial before getting started with removing chalk paint.
Safety Measures for Removing Chalk Paint
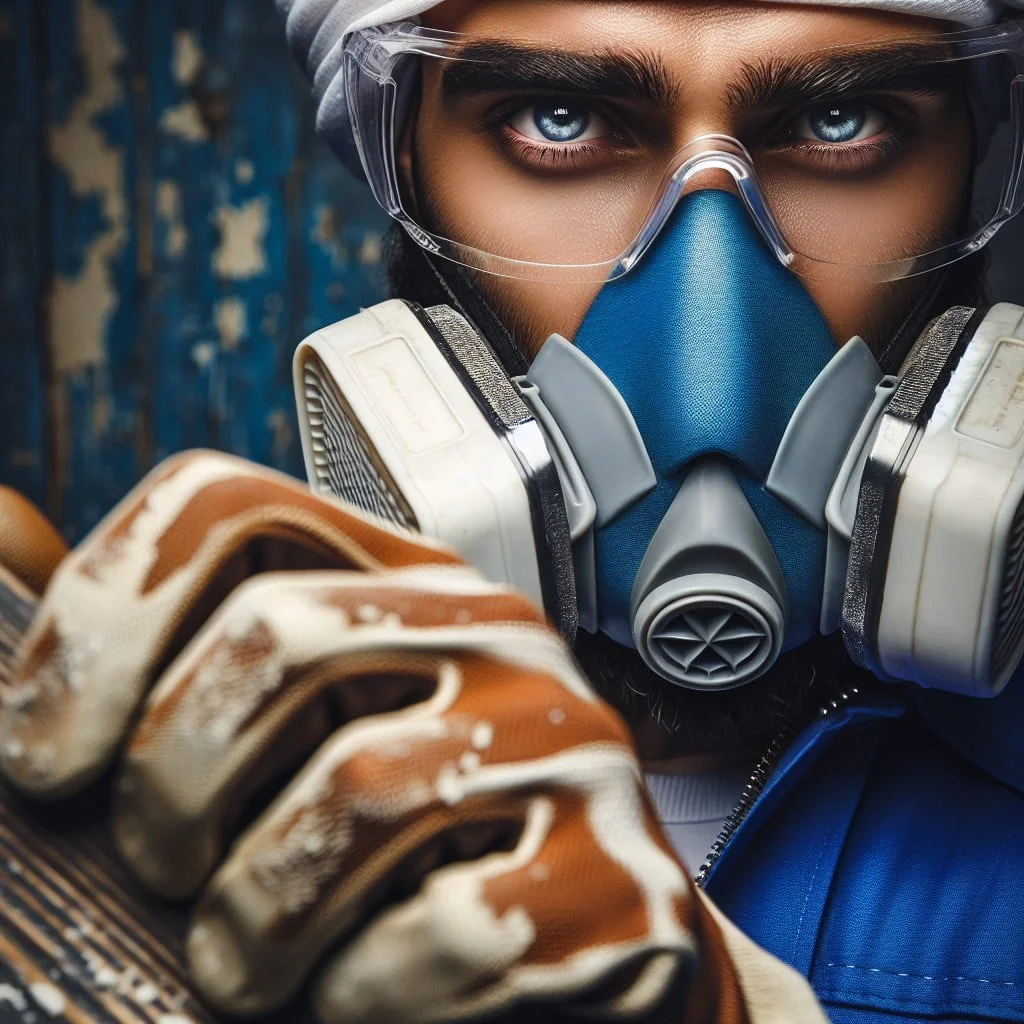
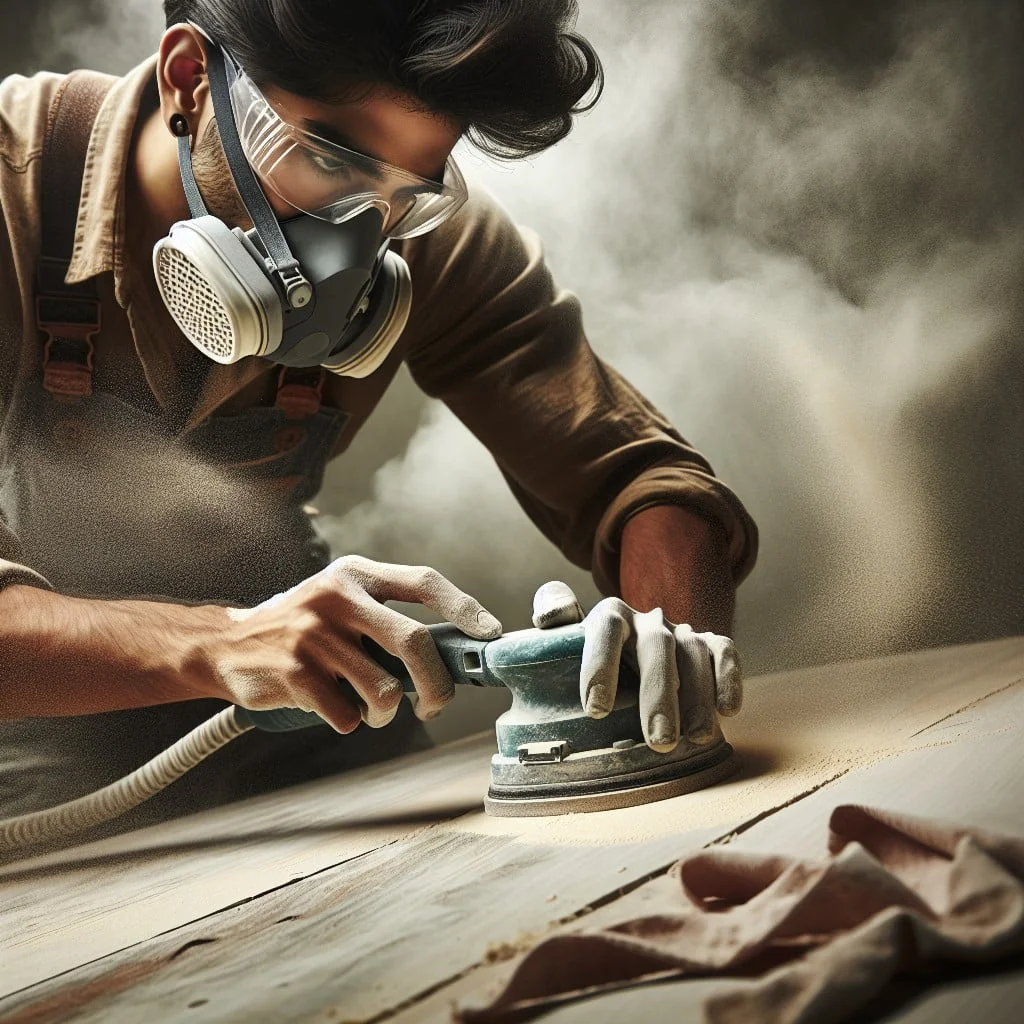
As you embark on the chalk paint removal project, it’s vital to observe safety protocols. Start by donning suitable personal protective equipment including gloves, goggles, and a dust mask. This will guard against skin, eye and respiratory system damage, especially during sanding or chemical stripping activities.
Choosing a well-ventilated area for your project cannot be over-emphasized. This is particularly important when using chemicals or heat treatments that may produce fumes or dust.
Also pertinent, treating chemical burns or accidental splashes promptly can mitigate any negative impact. If you’re using a heat gun, it should be set at the lowest setting that is effective. Leaving it unattended at any time is risky and must be avoided.
And finally, before you start, it’s advisable to read and follow the manufacturer’s instructions on all products to ensure maximum potency while maintaining safety standards.
Materials Needed for Chalk Paint Removal
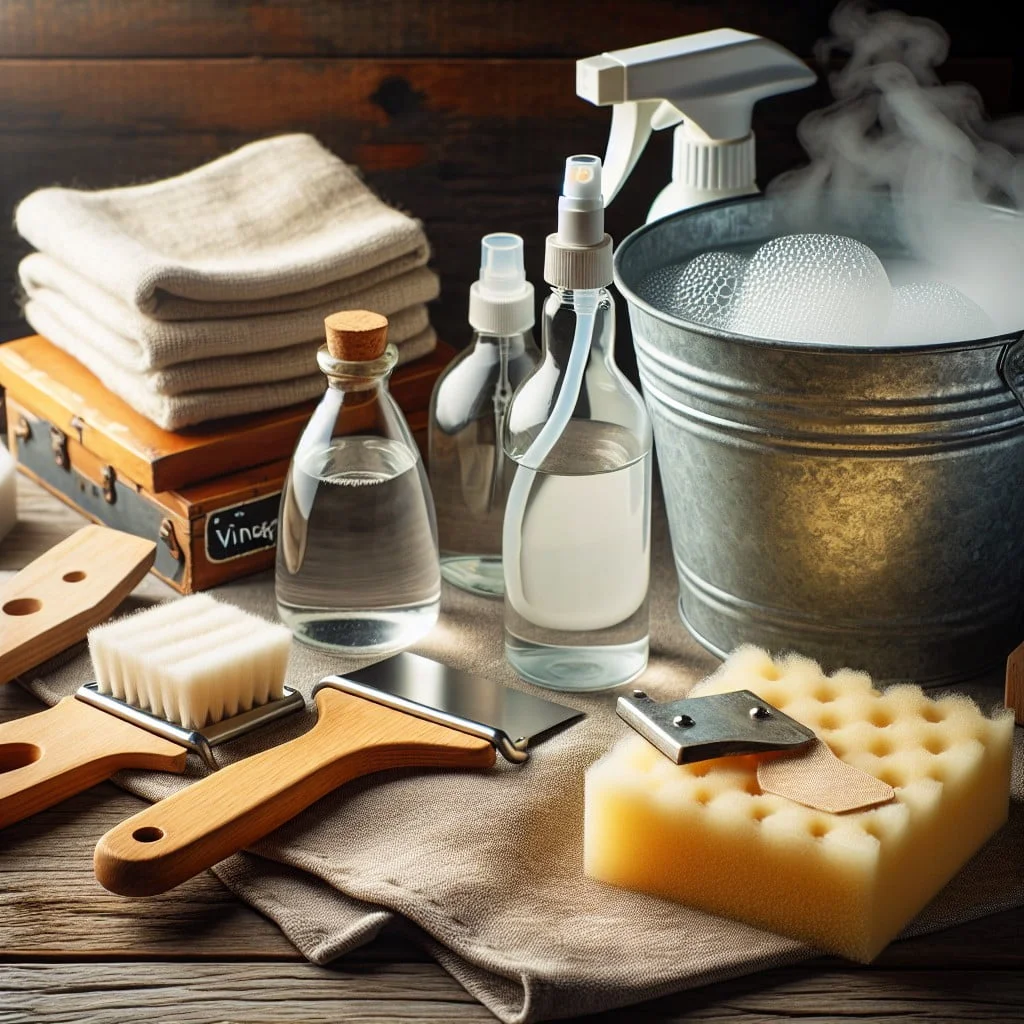
A wide range of tools and materials will aid the process of removing chalk paint. These include:
- Safety Gear: Protective gloves, goggles, and a face mask keep you safe from any chemicals that might splash or create fumes.
- Sander or Sandpaper: A power sander saves time and energy, but sandpaper is also effective, particularly with smaller projects.
- Paint Stripper: Select a quality one for effective removal, particularly for stubborn layers.
- Scraper: A plastic scraper is preferable to metal as it’s less likely to damage your surface, but either can work in a pinch.
- Waste Bags: To dispose of the peeling paint safely and keep your workspace clean.
- Rags or Cloth: Useful for cleaning off any remaining residue or dust after paint removal.
- Vinegar (optional): A natural alternative which can help to soften chalk paint for easier removal.
- Painter’s Tape (optional): If you’re only removing paint from a specific area, you can use this to protect the surroundings.
Remember, not all methods will require all of these materials, but having them on hand will ensure you’re ready for whatever your project throws at you.
Preparing the Surface for Chalk Paint Removal
Before jumping into the removal process, take the time for essential prep work. First, move the item to a well-ventilated area to keep dust and fumes at bay. Protect your floor with a drop cloth or old sheets. Remove any hardware or embellishments from your piece that could get damaged during the removal process. If the chalk paint is on a wall, mask any edges or trim with painter’s tape to protect surfaces you don’t want affected. Now, don a dust mask and safety glasses for personal protection, and you’re all set to proceed with a chalk-free future!
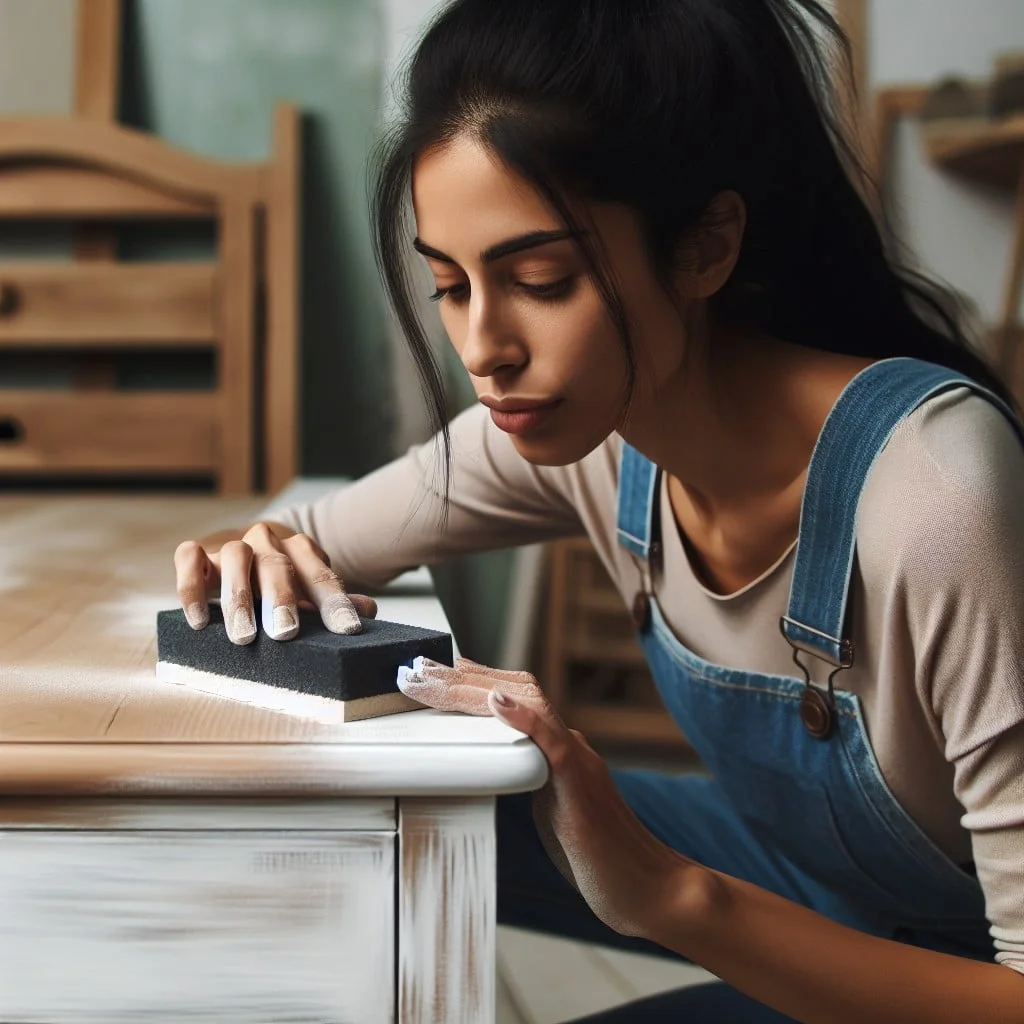
Sanding to Remove Chalk Paint: The Mechanical Removal
Beginning the mechanical removal process via sanding is straightforward. Always start with a coarse-grit sandpaper to remove the majority of the paint, gradually moving to a finer-grit paper to smooth the surface.
1. Use a handheld sander for flat surfaces and sanding blocks for details and curves.
2. Always sand in the direction of the wood grain to ensure an even finish and prevent scratching.
3. Employ a medium-grit sandpaper of around 120 to 150-grit for initial sanding.
4. Switch to a finer-grit sandpaper, around 220-grit, for a smoother finish.
5. After completion, use a damp cloth to wipe away the dust before inspecting the area.
Keep in mind that sanding can be a time-intensive method, especially for larger pieces or intricate details. However, it’s eco-friendly and doesn’t involve using harsh chemicals.
Removing Chalk Paint With Paint Stripper: Chemical Removal
Start by applying a liberal amount of paint stripper onto the chalk paint-covered surface with a paintbrush. You might notice the paint starting to react and bubble. After approximately 15-30 minutes, use a scraper to remove the paint, which should come off more easily due to the stripper. If layers of paint remain, simply repeat the process until the surface is paint-free.
Ensure to use gloves and protective eyewear when working with paint stripper as it contains chemicals that can irritate skin and eyes. Always adhere to the manufacturer’s instructions and guidelines. Afterwards, neutralize the stripper residue by applying white vinegar or a commercial neutralizer, and then clean off by washing the surface with warm, soapy water. Dry it thoroughly when done.
Remember, this method can be messy, so protect surrounding areas with drop cloths or plastic sheets. Ventilation is vital during this process, open doors and windows to ensure good air circulation.
Using Heat to Remove Chalk Paint: Thermal Removal
With a heat gun, the task of chalk paint removal becomes less daunting. Start by gently directing the hot air over the painted area, holding the gun at a distance of about three inches from the surface. It’s essential to keep the gun moving constantly to prevent scorching the underlying material.
As the paint softens, use a paint scraper to lift it away. The goal is to have the heat break down the chalk paint’s composition, making it easier to scrape off. Always maintain safety measures when operating a heat gun, including wearing heat-resistant gloves to avoid burns and ensuring the workspace is well-ventilated to prevent inhaling fumes.
Remember, while this method can be highly efficient, it works best on larger surface areas. Always test on a small, hidden section first to determine if this technique is suitable for your specific project.
Benefits of Using Bio-Strip in Removing Chalk Paint
Bio-Strip is an ideal tool for chalk paint removal due to its numerous benefits. It is eco-friendly, a standout feature for those looking for an environmentally conscious solution. Unlike other chemical-based paint removing substances, Bio-Strip does not produce harmful or offensive odors, minimizing discomfort during the process.
When it comes to the power of paint removal, it is incredibly efficient. It can remove multiple layers of chalk paint with a single application, saving you both time and material. Another advantage is its ease of use, applied directly onto the painted surface and left to work, eliminating the need for vigorous scrubbing or scraping.
Notably, Bio-Strip isn’t just safe on your surroundings but also kind to the surface underneath the paint. It reduces the risk of any damage or wear, ensuring the integrity of your valuable items. Its versatility allows usage on a variety of surfaces, be it wood, metal, or concrete, giving it a broad range of applications.
Using Carbide Scraper for Chalk Paint Removal
A carbide scraper, with its stiff blade, stands as a noteworthy tool. Primarily, this tool squanders the top layers without damaging the underlying material, making it apt for delicate surfaces.
Here are few pointers to leverage this tool effectively:
- Use a shallow angle: Holding at a shallow angle helps the blade to glide over the surface, peeling off the chalk paint layer.
- Apply even pressure: Consistent pressure maintains a regular scraping pattern, leading to smooth paint removal.
- Go with the grain: If working on wood, always scrape in the direction of the grain. This minimizes the risk of gouging the surface.
- Clean frequently: Regular cleaning of the blade ensures continuous, efficient work.
Remember, patience is a virtue, especially when dealing with old or intricate items. Give time, don’t rush.
Mineral Spirits to Remove Chalk Paint
Mineral spirits, generally considered a volatile organic compound, can be a useful tool in chalk paint removal from various surfaces. Due to its strong solvent properties, it’s well-suited to dilute and break down stubborn layers of paint.
To implement this process, saturate a lint-free cloth with mineral spirits, then start wiping down the painted area. Make sure to apply some pressure to work through the layers effectively.
Pay attention to your safety during this process – use gloves, keep your work area well-ventilated, and refrain from smoking or using any heat source, as mineral spirits are highly flammable.
Once you notice the paint starting to dissolve, switch to a clean cloth to gently wipe it away, repeating the process if necessary. When finished, it is advisable to cleanse the surface with soapy water, before moving on to further paint or lacquer treatments.
Paint or Chalk Marker Removal Techniques Using Vinegar
Vinegar, unassuming yet powerful, makes for an effective and eco-friendly solution to tackle chalk markers. It is especially useful when dealing with porous surfaces like wood or brick, where chalk markers can sometimes leave stubborn traces.
Here’s how to harness the natural potency of vinegar:
1. Mix equal parts of white vinegar and warm water in a bowl. This dilution ensures the vinegar is potent enough to dissolve the chalk, but not unduly harsh on the underlying surface.
2. Dampen a clean cloth with the vinegar solution. Wring out excess to avoid saturation, which can lead to inadvertent damage.
3. Gently rub on the marked area. Persistent stains may need a little extra elbow grease or a second application.
4. Once the chalk is off, wipe the area with a water-dampened cloth to neutralize the vinegar solution.
5. Dry the surface well to prevent any moisture-related damage or warping.
Remember, always perform a spot test if you’re unsure of a surface’s reaction to vinegar and be cautious on delicate surfaces.
Post-Removal Clean-up Strategies
Once the chalk paint removal process is complete, deep cleaning the surface is essential. Start by wiping down the area with a damp, soapy cloth. This aids in removing residual chemicals or dust particles from the sanding process. Ensure the surface is dry before proceeding to the next step.
Consider using a vacuum cleaner with a brush attachment in case the surface is rough or has intricate details where particles could hide. This process will also prepare the surface for its next coat of paint or for sealing.
Remember to dispose of materials used in paint removal ethically, following local regulations. Chemicals, sanding dust, and unwanted paint should not be flushed into the drainage system. Ensure to clean and safely store your equipment for future use.
Last but not least, you should always ensure proper ventilation of the room after the clean-up. This ensures any lingering chemical fumes are cleared out, creating a safer environment for further work or habitation.
Maintaining the Surface After Chalk Paint Removal
Once the surface is chalk paint-free, it’s essential to treat it with care to preserve its new, refreshed look. Even after a thorough cleanup, some remnants of paint dust or chemicals might linger. Hence, use a damp cloth to wipe down the entire surface gently, ensuring there are no residues left.
Next, consider applying a thin layer of a sealant appropriate for your specific surface. This could be a wood conditioner for wooden items, a primer for metal goods, or a simple coat of paint if you plan on giving the piece a new look. This helps in giving better adherence to the new paint and also saves it from immediate wear and tear.
Always remember to follow the manufacturer’s guidelines in terms of drying times when using sealants or paints. Impatience in this step could lead to uneven application and prolonged drying times.
Lastly, schedule regular maintenance procedures, like dusting and cleaning, to prevent accumulation of dirt and grime on your refurbished surface. This helps in preserving the pristine condition post chalk paint removal.
Taking care of your refreshed surface promises not just an aesthetically pleasing look, but it also helps in extending the lifespan of your beloved items.
Painting Over Chalk Paint Instead of Removing It
With the right prep work, you can certainly paint over chalk paint, creating an entirely new look without the effort of removal. Start by cleaning the piece thoroughly. Then, apply a high-quality, stain-locking primer to prevent the chalk paint from seeping through the new layer. Once dry, lightly sand the surface to ensure superior adhesion of the new paint. Now, your surface is ready for a fresh coat of paint in your chosen color. Remember, quality paint ensures superior result, so choose wisely.
Alternatively, one could keep the chalk finish by applying a tinted wax. This adds a whole new shade to your piece while maintaining that classic chalk paint finish. If you choose this route, apply the wax evenly with a brush, and then wipe away any excess with a clean cloth. Let it dry overnight before use to achieve a more durable, vintage finish.
Remember too that another option is to keep the chalk paint but change its color. To do this, make sure to mix a new chalk paint that is lighter than the existing one to prevent dark colors from peeping through.
With these techniques, you can change the look of your piece without having to completely remove the existing chalk paint.
How to Avoid Damaging the Underlying Surface
Preserving the integrity of the underlying material while removing chalk paint is essential. Here are some key strategies you can adopt:
1. Gentle Sanding: Use a fine-grit sandpaper for lighter coatings, reducing the chances of creating scratches or other surface damage.
2. Controlled Application of Heat: When using a heat gun, moving it constantly prevents concentrated heat from warping or burning the material underneath.
3. Diluted Chemical Strippers: If you choose to use a chemical paint stripper, consider diluting it to minimize potential adverse effects on the original surface. Always test it on a small, unnoticeable area first.
4. Proper use of Scraper: When using a scraper, hold the tool at a low angle and apply gentle pressure to avoid gouging the surface.
5. Rinsing off Chemicals: After chemical removal, thoroughly wash the surface to prevent the stripper from staining or etching into the material. Always follow manufacturer’s guidelines for safe and effective results.
These strategies will allow you to reduce the risk of irreversible damage, ensuring the surface remains in great shape for further decorative endeavours.
Necessity of Removing Chalk Paint Before Painting Over It
In some instances, you may be tempted to paint over chalk paint instead of removing it, but this isn’t always advisable. The textured, matte finish of chalk paint can influence the adhesion and final look of new paint layers, proving problematic especially when switching to a high-gloss or lacquer finish.
Addressing adhesion issues ensures your new paint job has a smooth finish. Newer paint may have trouble sticking to the chalky surface, resulting in peeling, cracking, or chipping over time. Removing the chalk paint can prevent such unwelcome anomalies.
More so, the thickness of chalk paint can obscure the intricate details of carved or embellished furniture. Stripping away the old paint brings back those details to life, enabling them to stand out in the new paint job.
Finally, differing color palettes between the old and new paint can alter your intended outcome. Dark chalk paint beneath a lighter top layer might dull the topcoat, altering its vibrancy.
In summary, while it may demand extra effort and patience to remove chalk paint before painting over it, the benefits to the final outcome are well worth considering.
Options for Removing Chalk Paint From Furniture
When dealing with furniture, it’s essential to consider its material and detail work. For intricate detailing or sensitive materials, sanding might not be the most effective choice. In such cases, a paint stripper is a viable option. It’s a more gentle approach to preserve the integrity of the furniture.
Remember to apply a thick layer of the stripper, leave it to work, and then gently scrape off the chalk paint. Testing a small area first will help you determine how long the stripper should stay on for optimal results.
If the furniture is made of heat-resistant material, use a heat gun carefully. Moving the gun in a slow, even motion over the surface can help lift the paint, making it easier to scrape away.
Bio-strip is a water-based stripper that’s safe to use on furniture. It does not contain harmful chemicals. Apply it evenly on the furniture surface and then scrub away the chalk paint once it dries.
When dealing with hardwood furniture, a carbide scraper can make the job quicker. It offers a good grip and allows for more control, eliminating the risk of damaging the underlying surface.
Also consider the use of mineral spirits as they’re compatible with various furniture materials and help soften the chalk paint, easing its removal.
Finally, if the paint is stubborn or the surface is large, you may opt to repaint over the chalk paint instead, but ensure you properly prime and sand the surface for a smooth finish.
Each approach requires patience, care, and proper safety precautions, to effectively remove chalk paint and ensure the longevity of your furniture.
FAQ
What is the easiest way to remove chalk paint?
The easiest way to remove chalk paint is by applying a chemical paint stripper that will break down the paint, enabling easy scraping off, especially on broad, mostly flat surfaces.
Does chalk paint peel off?
Chalk paint can peel off if the surface was not properly cleaned prior to application or due to unsuitable temperature conditions.
Will CitriStrip remove chalk paint?
No, CitriStrip will not effectively remove chalk paint.
Can you remove chalk paint from fabric?
Yes, chalk paint can be removed from fabric by applying a solution of warm water and mild dish soap, then gently patting and rubbing the stained area.
Is sanding an efficient method to remove chalk paint?
Yes, sanding is an efficient method for removing chalk paint from surfaces.
How can vinegar be used in the process of chalk paint removal?
Vinegar, mixed with equal parts of warm water, can be applied to the chalk painted surface, left for 15 minutes, then scrubbed down with a scrub brush to effectively remove the paint.
What precautions should you take while removing chalk paint from metal surfaces?
When removing chalk paint from metal surfaces, ensure to wear protective gear such as gloves and goggles, work in a well-ventilated area to prevent inhalation of harmful fumes, and avoid abrasive tools that could damage the underlying metal.
Read More Like This
 15 Funny Graduation Cap Ideas to Make Your Big Day Unforgettable
 15 Unique DIY Christmas Decorations Ideas for a Festive Home
 15 Creative Science Fair Board Ideas to Amaze Your Audience
 15 Handmade Envelope Decoration Ideas for Creative Gifting
 10 DIY Gifts for the Whiskey Lover in Your Life
Recap: