Last updated on
Understanding how to remove window chalk is essential because it prevents possible damage to your windows while restoring their transparency.
Window chalk, while brilliant for various decorating schemes and creativity, can often pose a challenge when it comes to removal. With the right tools and technique, however, it’s possible to eliminate these colorful markings without fuss.
From a simple mixture of dish soap, warm water, and a soft cloth to specialized cleaning products, this article offers detailed instructions on how to effectively and safely remove window chalk.
Stick around to glean all the necessary details and address common challenges encountered during the removal process for a clean, clear window.
Key takeaways:
- Soap and water method: Use warm soapy water and a squeegee.
- Car glass cleaner: Spray the area and rub with a cloth or sponge.
- All-purpose cleaners: Dampen cloth, apply, let it rest, and wipe off.
- WD-40: Spray, let it sit, and gently rub off the chalk.
- Toothpaste: Apply, scrub gently, and wipe off with a damp cloth.
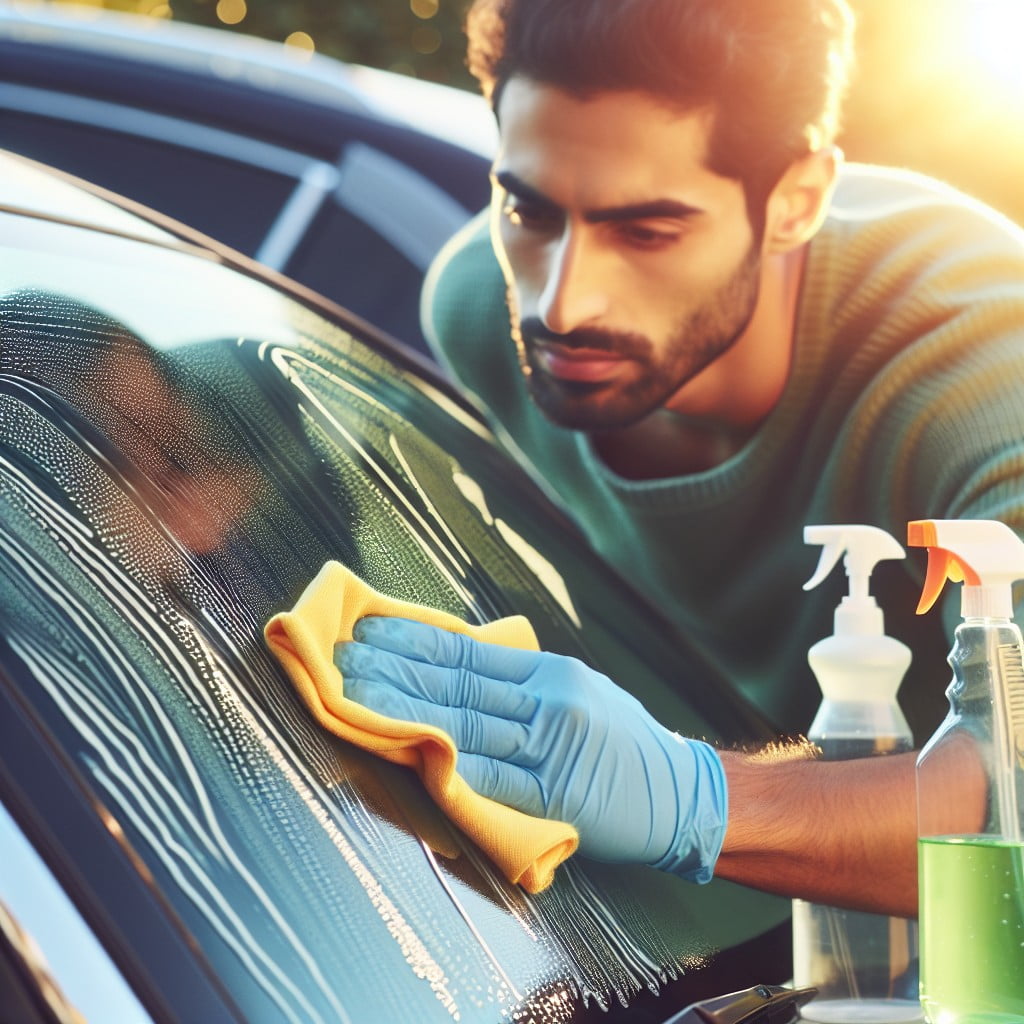
Removing Window Chalk With Soap and Water
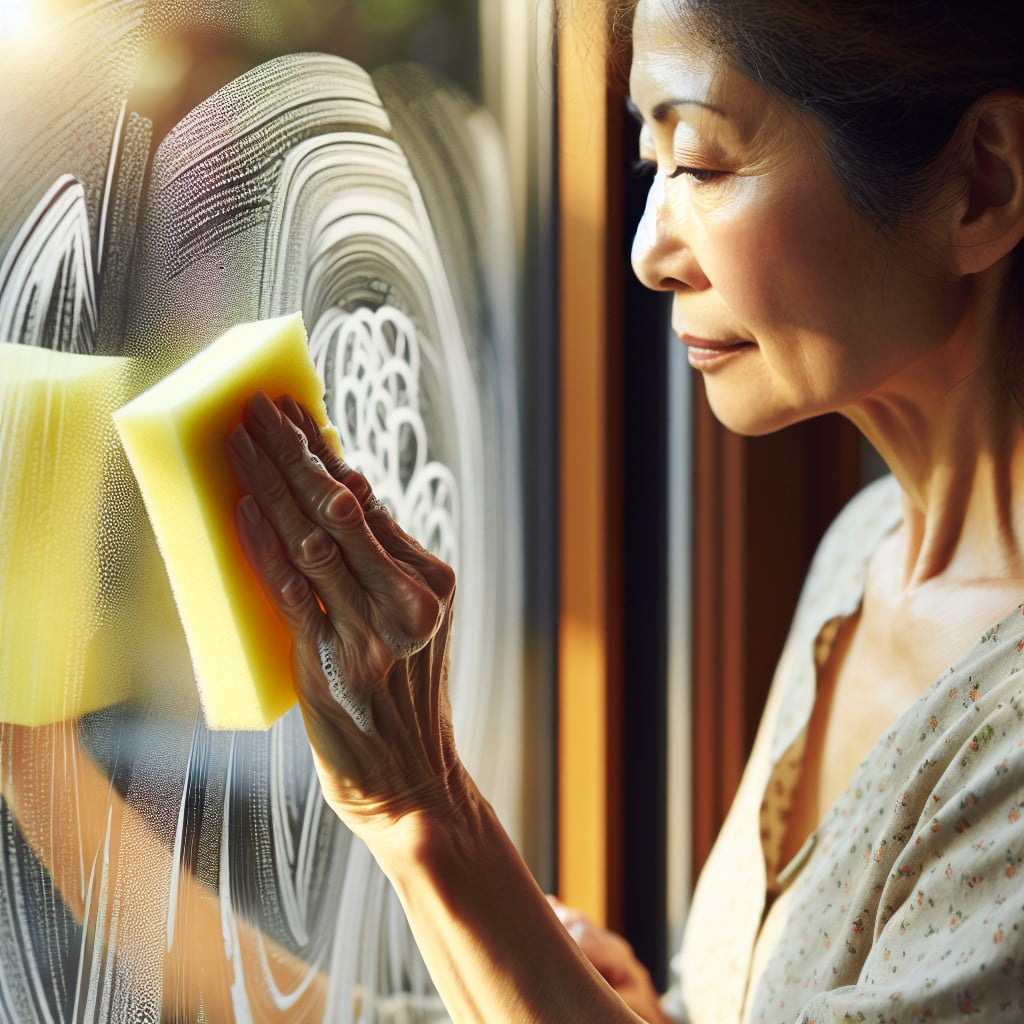
Begin the removal process by gathering the necessary tools — a bucket of warm soapy water, a sponge, and a squeegee. Immerse the sponge in the soapy water, then apply it exerting slight pressure over the chalk-covered glass.
The soap works to break down the chalk, while the warm water aids in dissolving it further. A few back-and-forth strokes may be needed to effectively loosen the chalk markings. Do not scrub with a hard surface as it may scratch the glass.
Afterward, use the squeegee to swipe across the wet surface, removing the water and dislodged chalk particles in one easy motion. Should any chalk residue persist, repeat the process until the result is satisfactory. Following removal, rinse the sponge and the window with clean water to ensure no soapy residue endures on the glass, causing streaks or further issues. Always dry the glass afterward using a soft towel or cloth to prevent water smears and marks.
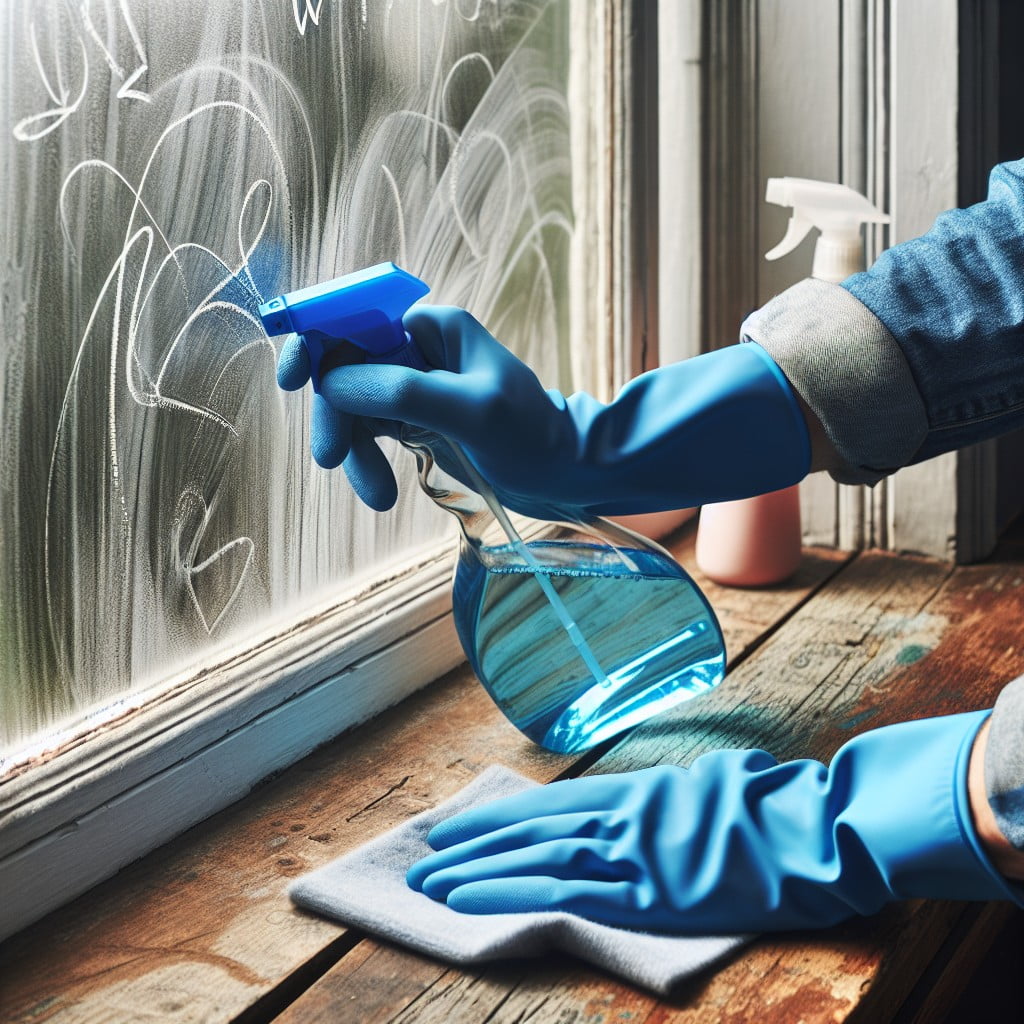
Utilizing Car Glass Cleaner for Window Chalk Removal

Car glass cleaner can work wonders in window chalk removal. It’s important to first spray the desired area with the cleaner, ensuring adequate coverage. After spraying, allow for a minute or two for the cleaner to work its magic and loosen the chalk particles.
Following this, a soft, absorbent cloth or sponge can be used to rub off the chalk. More stubborn markers might require a second application. Consider this the most straightforward method if the chalk markings are fresh and lightly applied.
Bear in mind, it’s always preferable to choose a cleaner that is ammonia-free to prevent any potential damage to the window tint or coating.
Employing All-purpose Cleaners for Chalk Marker Erasure
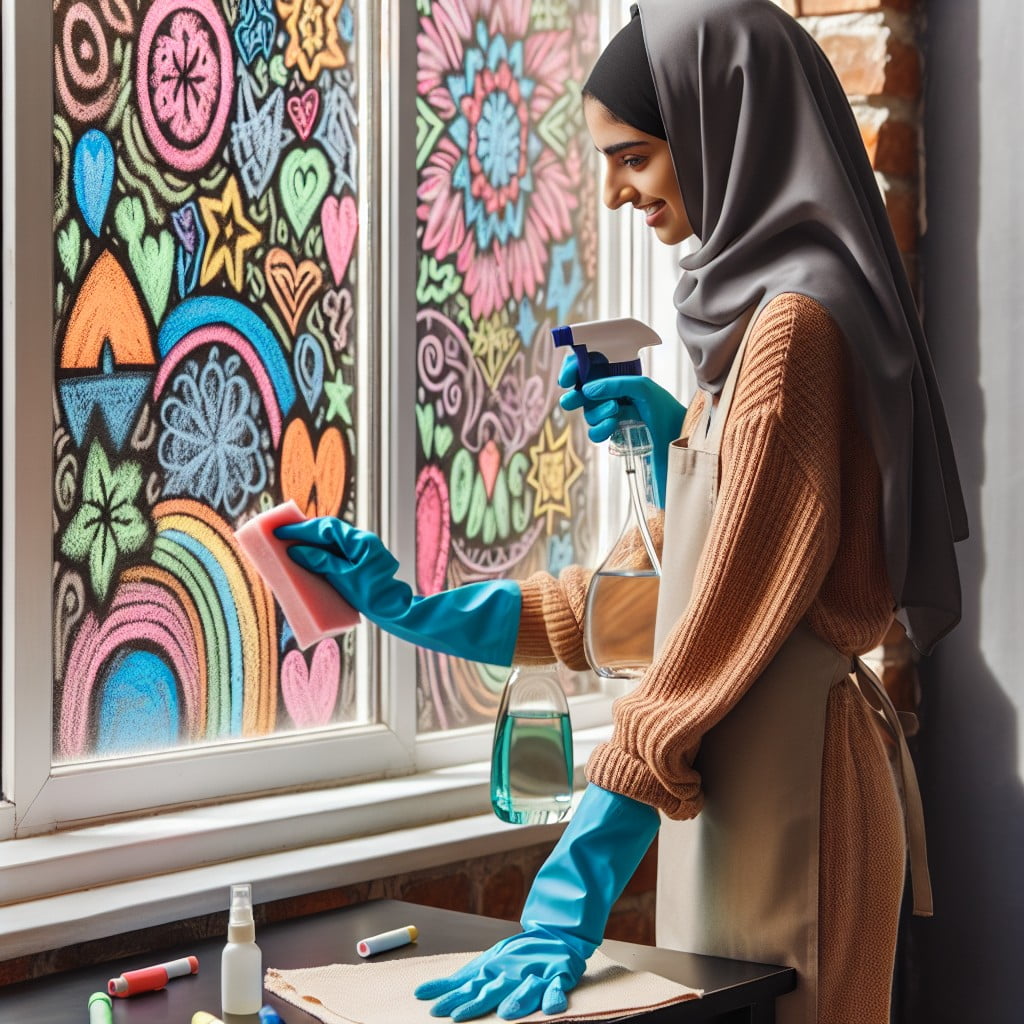
All-purpose cleaners can indeed do wonders in the quest to eradicate stubborn chalk markings. This is largely due to their impressive chemical formulation designed to handle a multitude of dirt types.
Here’s how to use them effectively:
- 1. Dampen a small portion of cloth or sponge with the cleaner.
- 2. Apply it gently but firmly on the chalk markings.
- 3. Let it rest, allowing the cleaner to break down the chalk effectively.
- 4. Wipe off the residue using a spare cloth or clean part of the sponge.
- 5. For persistent stains, a second application might be needed.
Take note, always abide by the safety guidelines of the product. Keep it out of the reach of children and pets. Always test the cleaner on a small portion of the window to confirm that it does not cause discoloration or damage.
Eliminating Window Chalk Using WD-40
A handy tool, present in most garages, is WD-40. While known for its rust-removing and squeaky hinge-silencing capacities, it also proves effective in wiping away pesky window chalk. Here’s how to get the job done:
1. Spray a light layer of WD-40 directly on the chalk markings.
2. Allow it to sit for a minute or two to loosen the chalk’s grip.
3. With a clean, dry cloth, gently rub off the chalk. It should lift easily.
4. After the majority of chalk is removed, grab a new cloth dampened with water. Wipe off any residual WD-40 solution.
If the chalk is stubborn, don’t despair! Repeat the process to get rid of any remaining marks. Remember, it’s crucial not to scratch or scrub too hard. Patience is key to keeping your windows scratch-free.
Applying Toothpaste for Window Chalk Clearance

To begin, apply a small amount of non-gel toothpaste directly on the chalk marks, ensuring the entire area is covered. Preferably select a toothpaste with baking soda for its gentle abrasive quality.
Then using a microfiber cloth or an old toothbrush, gently scrub the chalk away. Bristle your way into difficult crannies, but be mindful of exerted pressure, too much could result in minor scratches.
After the scrubbing, wipe the toothpaste off the window using a damp cloth followed by a dry one for a streak-free finish.
Always remember that although toothpaste, especially those containing baking soda, can effectively remove window chalk, they should be used sparingly to avoid causing undue wear and tear on your windows’ surfaces.
Exploring Whether Chalk Markers Can Damage Car Windows
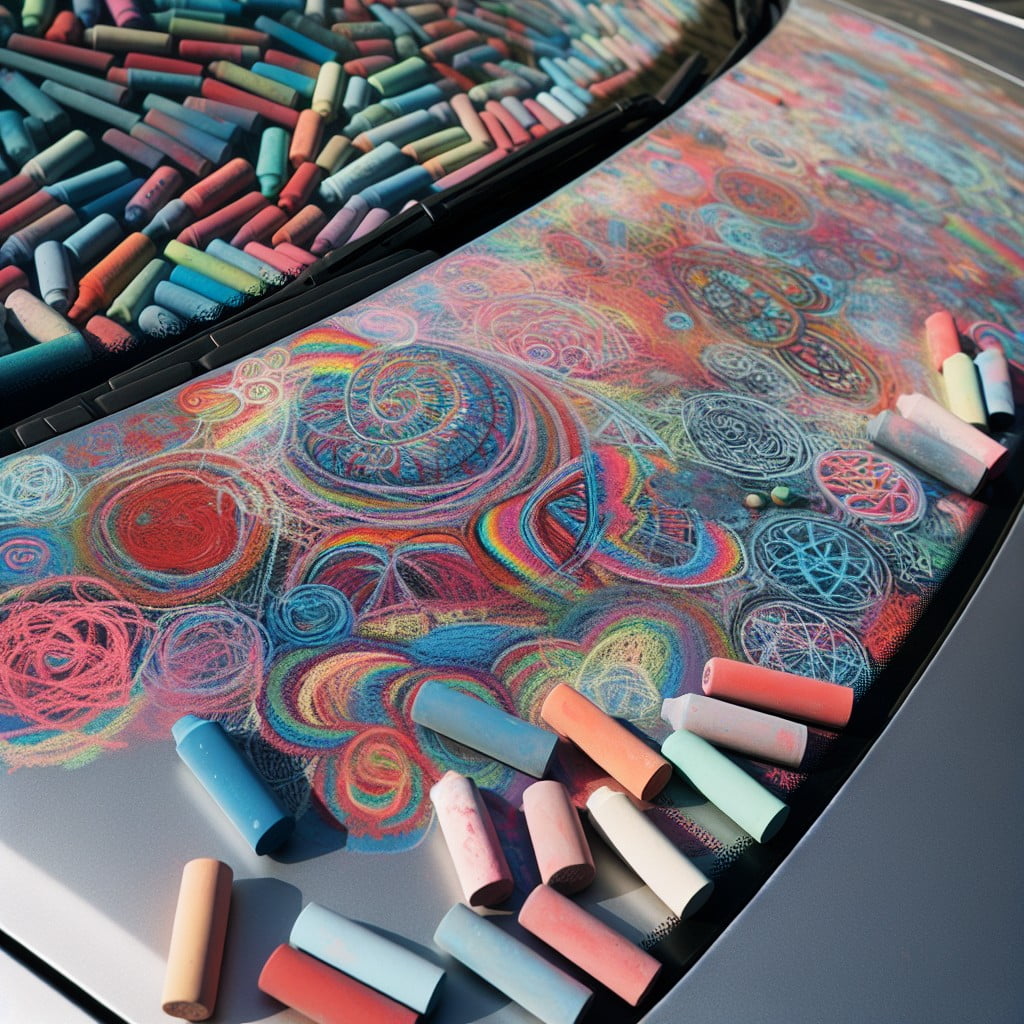
Despite their widespread use for temporary decoration or signage, concerns may often arise regarding the potential harm chalk markers can inflict on car windows. Rest assured, when used appropriately, these markers should pose no risk to your vehicle’s glass. Here’s why:
1. Non-permanent nature: Chalk markers are designed to be temporary and non-permanent. This thoughtfully intended feature ensures that the substance can be readily removed without leaving scratches or stains behind.
2. Surface compatibility: These markers interact with the glass surface without causing abrasions or engravings. The chemical composition is mild enough to avoid etching the glass, thereby preserving its integrity.
3. Weather resistance: Chalk markers can handle different weather conditions. Whether exposed to heat or cold, these markers maintain their property without corroding the glass surface.
Remember to always use and remove these markers as directed to prevent unexpected damage. They can be a fun, safe, and effective tool for expressing your creativity or displaying information on your vehicle’s windows.
Insights On Safely Removing Chalk Marking From Car Windows
To avoid any potential damage to your car windows while taking off chalk markings, bear in mind the following points:
1. Delicate Approach: Chalk marker pigment can seep into scratches or chip areas. Thus, gently rub the marked areas to avoid causing further damage.
2. Suitable Cleaning Agents: Opt for non-abrasive cleaners that are specifically designed for glass surfaces. Choose products with a balanced pH level to avoid any discoloration or smudges.
3. Effective Tools: Microfiber cloths or sponges are ideal for this job. Their soft texture ensures a gentle yet effective cleaning process. Avoid using sharp tools or rough materials which may scratch the glass.
4. Rinse Thoroughly: Always rinse the area meticulously after cleaning to eliminate any residue. A second cleanse may be necessary to ensure all the chalk has been removed.
5. Hot Weather: Try to avoid this process during hot weather, as heat can cause the chalk to stick even more to the window. Aim to do the task in a shaded area or cooler hours of the day to ensure efficiency.
Essential Facts to Know in the Process of Window Chalk Removal
When dealing with window chalk, it’s essential to acknowledge its distinctiveness from regular chalk. Being oil-based, it adheres to glass with greater tenacity than the water-based chalk used on blackboards.
The removal method chosen should correspond with the nature and volume of the chalk markings. Extensive, layered decorations often require more potent solutions like all-purpose cleaner or car glass cleaner for complete removal.
The timing of removal is also impactful. Chalk markers are easier to remove when they are fresh as opposed to when they have been subjected to heat, rain, or left sitting for a long time.
A firm hand can unintentionally scratch the window surface. Therefore, be careful when applying pressure during the removal process.
Always test your chosen removal method on a discreet area first. This helps to ensure the cleaner will not cause damage, especially on tinted or specially coated windows.
FAQ
How do you remove window marker?
To remove window marker, first wash the surface with water, glass cleaner, all-purpose cleaner or liquid dish soap, and then wipe it with a dry towel to eliminate chalk-like residue.
How do you remove chalk paint from windows?
To remove chalk paint from windows, dampen the glass and carefully scrape away the paint using a scrubber or steel wool, keeping the area wet to prevent scratches.
Does window chalk come off in rain?
Yes, window chalk can withstand rain but it can be easily wiped off non-porous surfaces using a damp paper towel.
Does chalk pen come off glass?
Yes, chalk pen can be removed from glass using a damp cloth or a damp Q-tip for smaller details.
Can vinegar be used to clean off window chalk?
Yes, vinegar can be used to effectively remove window chalk.
Are there any professional services to remove stubborn window chalk?
Yes, professional cleaning services often offer specialized treatments to remove stubborn window chalk.
What are the best home remedies for removing chalk pen from glass surfaces?
For removing chalk pen from glass surfaces, effective home remedies include applying a solution of equal parts vinegar and water or using non-gel toothpaste, both followed by a warm water rinse.
Read More Like This
 15 Funny Graduation Cap Ideas to Make Your Big Day Unforgettable
 15 Unique DIY Christmas Decorations Ideas for a Festive Home
 15 Creative Science Fair Board Ideas to Amaze Your Audience
 15 Handmade Envelope Decoration Ideas for Creative Gifting
 10 DIY Gifts for the Whiskey Lover in Your Life
Recap: