Last updated on
Discover the simple steps to transform any ordinary door into a functional and creative chalkboard surface. This is perfect for organizing schedules or expressing your artistic flair.
Are you looking for a creative way to add some personality to your home’s interior? Look no further than a chalkboard door! Not only is it a functional addition, but it also serves as a fun and unique decorative element. With just a few materials and some simple steps, you can transform any ordinary door into an interactive canvas for your family and guests.
Let this article guide you through the process of making your own chalkboard door and share some tips on how to make the most out of this versatile feature in your home. So, grab your tools and let’s get started!
Key takeaways:
- Gather the necessary materials: a door, sandpaper, chalkboard paint, paintbrush or roller, and painter’s tape (optional).
- Choose a smooth door that fits your space and style.
- Prep the surface by cleaning, sanding, and wiping down the door.
- Apply chalkboard paint in even coats, allowing each layer to dry.
- Give the door ample drying time before using and consider adding a frame for extra flair.
Materials Needed
Before you begin, gather the necessary materials to make your chalkboard door. You will need:
- A door (preferably a flat and smooth one)
- Sandpaper
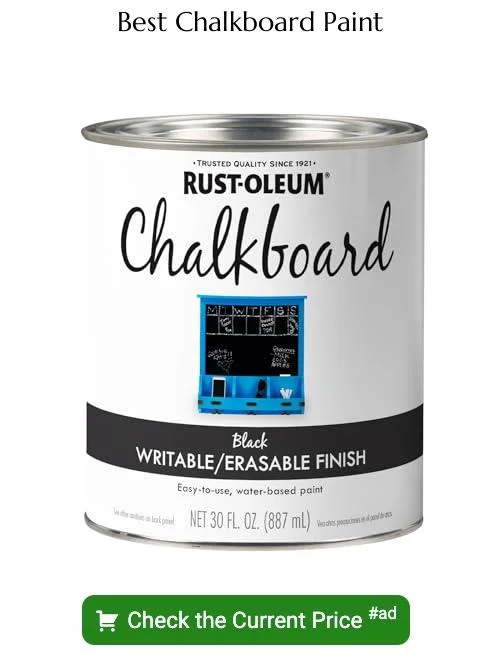
- Chalkboard paint
- Paintbrush or roller
- Painter’s tape (optional)
Once you have all of these items, it’s time to get started on transforming your ordinary door into a functional and creative chalkboard surface.
Choosing the Door
First and foremost, you want to make sure that the door is smooth and free of any major dents or scratches. This will ensure that your finished product looks clean and professional.
Another important factor is size. Consider where you plan on placing the chalkboard door in your home – do you want it as a statement piece in a main living area or as an organizational tool in a smaller space like a pantry? Measure out the dimensions of both the space where you’ll be hanging it and potential doors before making any purchases.
Lastly, think about style! While most doors can be transformed into chalkboards with some paint, certain styles may lend themselves better than others depending on what look you’re going for. A rustic wooden door could add warmth to an industrial-style room while sleek modern doors would fit well with contemporary decor.
Prepping the Surface

Start by cleaning it thoroughly with soap and water to remove any dirt or grime that may interfere with the adhesion of the paint. Once you’ve cleaned your door, sand down any rough spots or imperfections on its surface using a fine-grit sandpaper.
This step will help ensure that your chalkboard paint adheres evenly and smoothly.
After sanding, wipe down your door again with a damp cloth to remove any dust particles left behind from sanding. If there are still stubborn stains or marks on your door after cleaning and sanding, use a primer before applying chalkboard paint for better results.
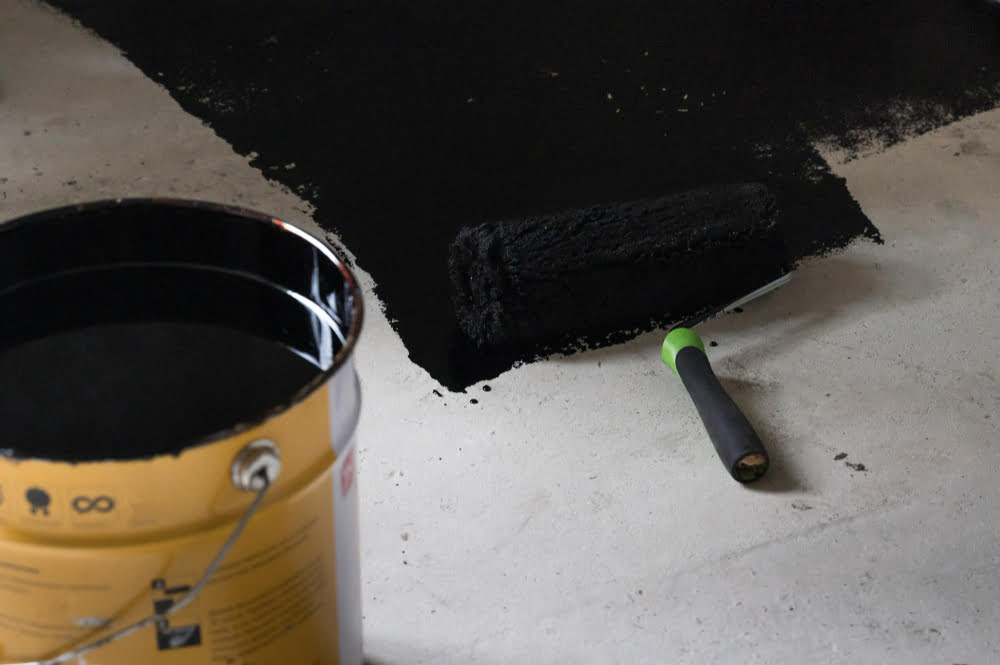
Applying Chalkboard Paint
Before starting, make sure that you are working in a well-ventilated area and wearing protective gear such as gloves and a mask.
Using a foam roller or brush, apply an even coat of chalkboard paint onto your door. Be careful not to overwork the paint as this can cause bubbles or streaks on your finished product.
Allow each coat to dry completely before applying another layer.
Depending on how dark you want your chalkboard surface to be, two or three coats should suffice. Once all layers have dried completely (usually within 24 hours), lightly sand any rough spots with fine-grit sandpaper for an extra smooth finish.
Drying Time and Tips

The drying time can vary depending on the brand of paint and environmental factors such as humidity and temperature. Generally, most brands recommend waiting at least 24 hours before using your new chalkboard surface.
To ensure that your chalkboard door is fully cured and ready for use, consider leaving it untouched for a few days after painting. This will give the paint enough time to harden properly so that when you start writing on it with chalk, there won’t be any smudging or ghosting.
In addition to allowing sufficient drying time, here are some tips to keep in mind:
- Avoid touching or leaning anything against the freshly painted surface until completely dry.
- Keep pets away from the area during this process.
- If possible open windows or doors in order ventilate well while painting
- By following these simple steps and tips during drying period ,you’ll have a beautiful new feature in your home that’s sure to impress!
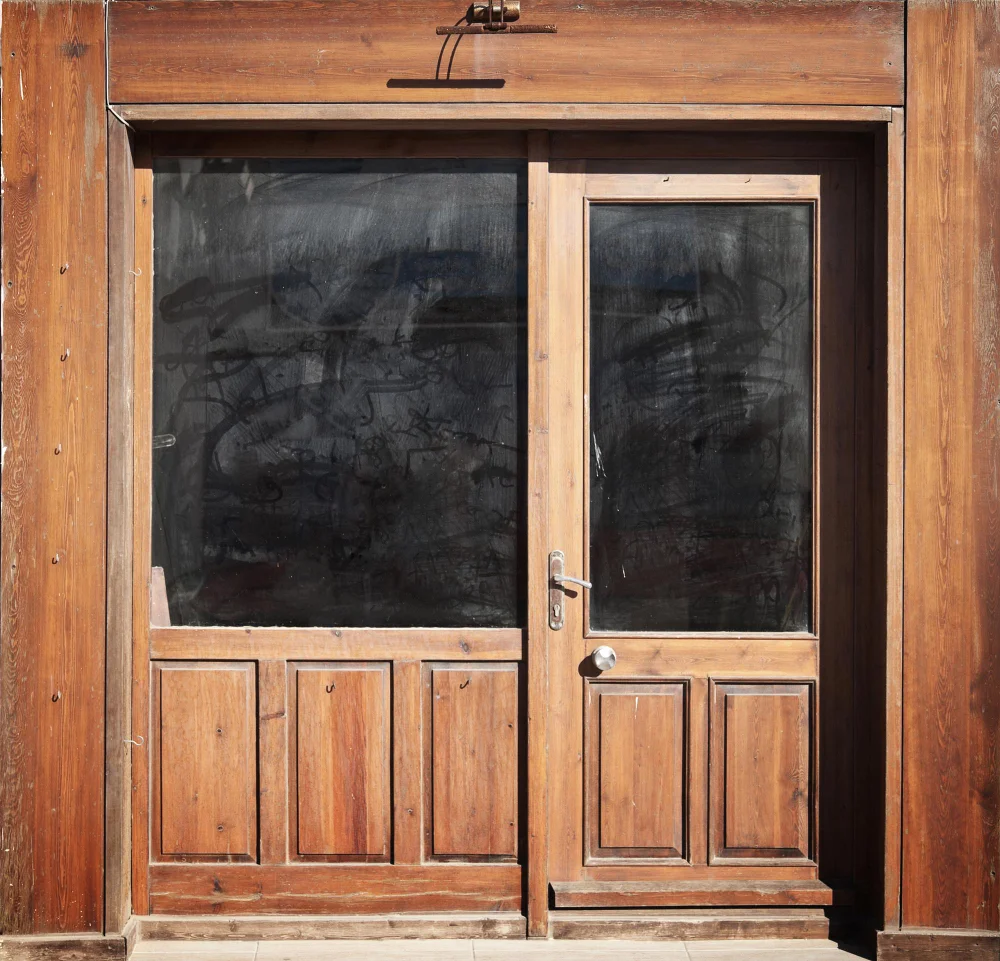
Adding a Frame (Optional)
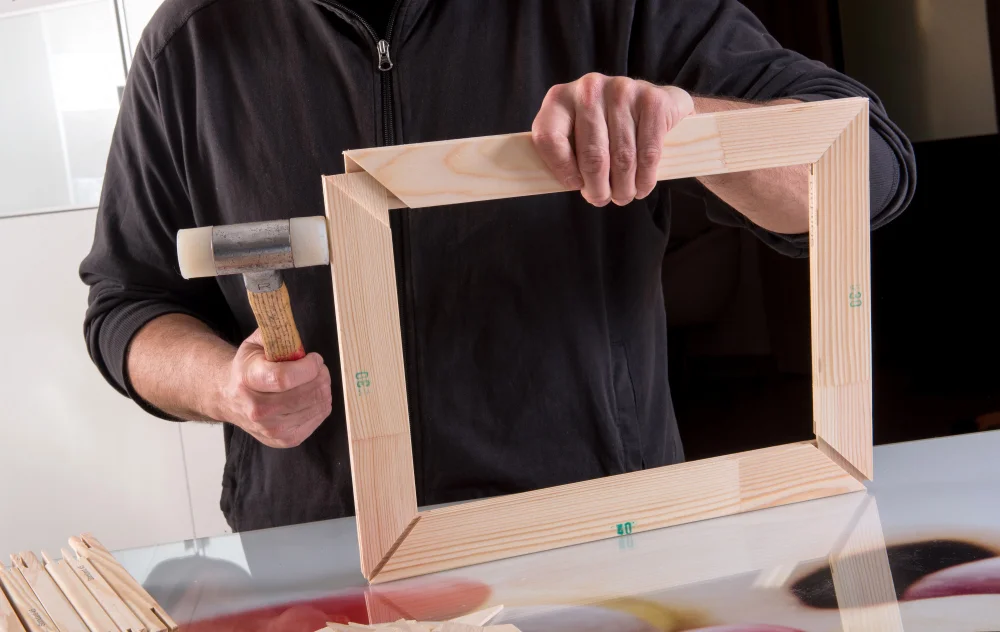
A simple wooden frame can be attached around the perimeter of the door using wood glue or small nails. You could also use decorative molding for added flair.
When choosing a frame, consider how it will complement your existing decor and color scheme. If you have neutral walls, opt for a bold-colored or patterned frame to make your chalkboard stand out as an eye-catching feature in any room.
Once you’ve added the finishing touches with framing, step back and admire your handiwork! Your new chalkboard door is now ready for use – whether that’s jotting down grocery lists in the kitchen or leaving messages for family members on their way out of the house.
Remember that creativity knows no bounds when it comes to decorating with this versatile surface; let yourself experiment with different colors and designs using regular white chalks or liquid markers designed specifically for blackboards!
Seasoning the Chalkboard
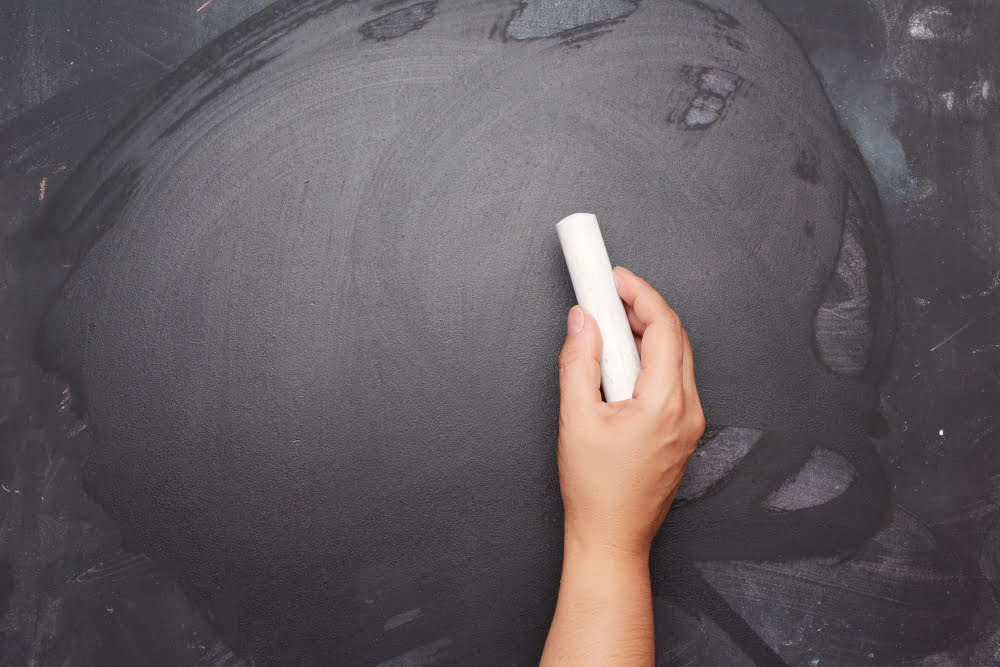
This process involves rubbing a piece of chalk over the entire surface and then wiping it off with a dry cloth or eraser. Seasoning helps prevent “ghosting,” which is when previous markings are still visible after being erased.
To season your new chalkboard door, follow these simple steps:
- Take a piece of white or colored chalk and hold it lengthwise against the board.
- Rub the side of the chalk along one edge of your board from top to bottom.
- Repeat this process until you have covered every inch of your board in horizontal lines.
Once complete, wipe down your board with an eraser or clean cloth.
By seasoning your new door properly, you’ll ensure that any future writing will be easy to erase without leaving behind any residue from previous use.
Now that we’ve covered how to make a DIY Chalkboard Door let’s explore some creative ways on how best utilize this unique feature in our homes!
Read More Like This
 15 Classroom Grinch Christmas Door Decorations Ideas
 15 Unique DIY Christmas Decorations Ideas for a Festive Home
 15 Creative Ribbon Decoration Ideas You’ll Love
 15 Creative Science Fair Board Ideas to Amaze Your Audience
 15 Ingenious Pool Noodle Decoration Ideas
Recap: